Did you lose your key or forget the combination to you lock? This tutorial is here to help you with tips on how to pick just about any combination or padlock without breaking them. All you need is a few household items and a bit of patience and you will be on your way!

You probably already know that duct tape is handy in a bind and is very versatile but did you ever think to make duct tape fabric? Find some fun colors or stick with the traditional silver, make your fabric and then the sky is the limit to fashion possibilities.
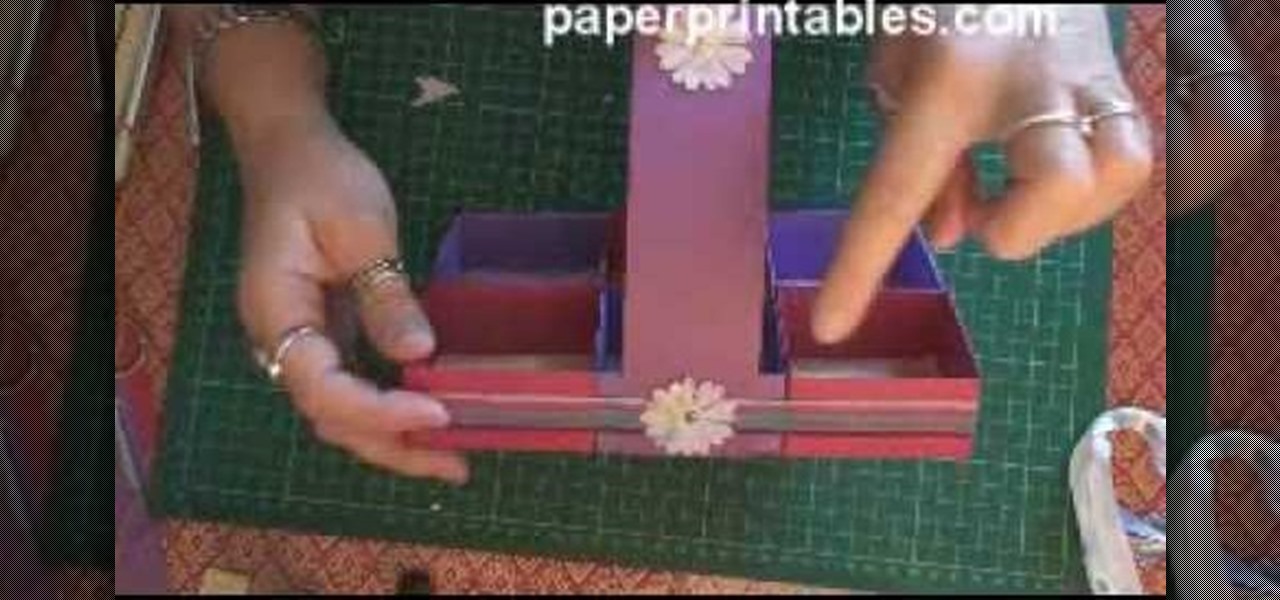
In this tutorial, we learn how to make a paper cup cake/muffin basket. First, take a piece of paper and fold it in half. After this, curl the edges up from each of the corners until you end up with a small square in the middle of the paper. Use scissors to create slits where you will make the tabs to construct the box. After all the tabs are cut, push them together so you have a small basket with a neat line. To finish this up, add a handle to the top and push into the sides. Then, draw on an...

In this tutorial, we learn how to make a Deadpool sword. To do this, you will need: a marker, scissors, hard plastic, cardboard, silver spray paint, duct tape, saw, electrical tape, sandpaper, and hot glue gun. First, cut the plastic into three thin knife shapes. Then, use sandpaper to smooth edges. Then, use the cardboard to create three layers of a rectangle. Make the corners round and then tape around them with duct tape. Put a hole in the middle and then put it into the plastic. Now, glue...
In this video, we learn how to cheat on any test using an eraser. First, take your eraser, it should be wide and thick, not one that comes on the top of a pencil. After this, you will cut a hole out of the middle of the eraser. You can do this easily using a straight edge blade. Once finished, you will take a small piece of paper and write down the answers or information you need on it. After this, you will fold the paper up into a tiny square and then place it into the hole in the eraser. Ta...
In this tutorial we learn how to cheat on a test using a Band-Aid. First, go on your computer and type out the answers and information that you need. After this, you will need to shrink down the size of the font until it's really tiny, but you can still read it. After this, you will print it out and cut it out around the edges. From here you can do one of two things. The first option is to roll the paper up and put it inside your pen and then take it out to use on your test. The second way is...

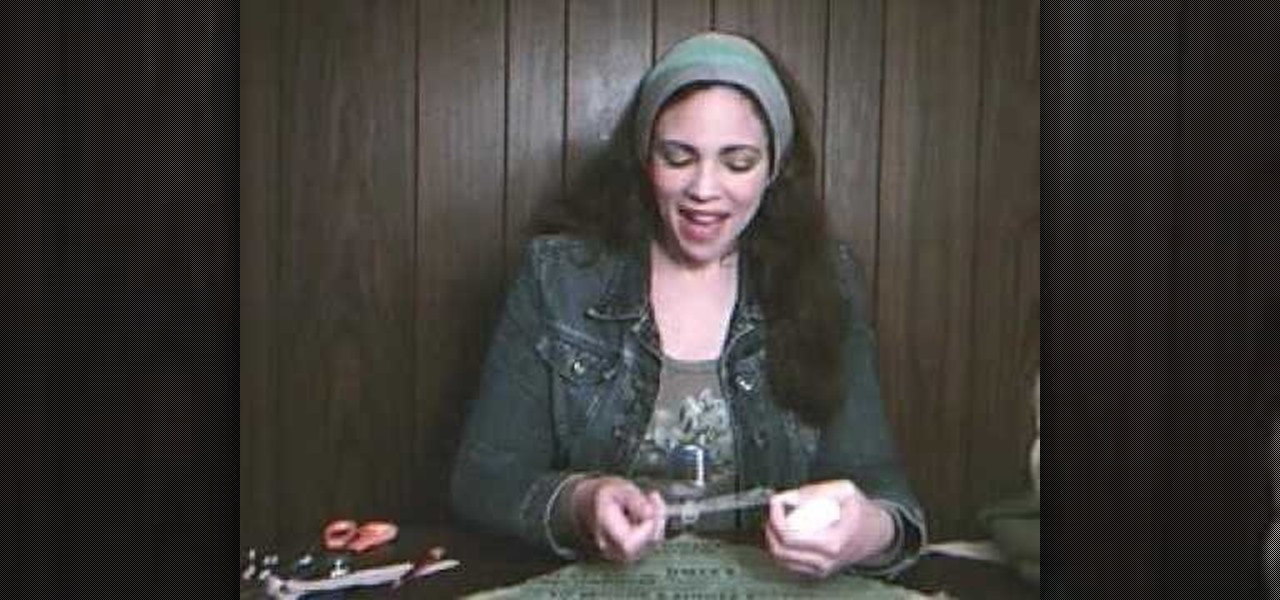
In this tutorial, we learn how to recycle an old t-shirt into a no-sew head scarf. First, lay your shirt out flat on a table and download the paper pattern from the video. From here, measure sixteen inches from side to side on the t-shirt that you are using. After this, follow the paper pattern on the shirt and cut out the pattern with scissors. Once you have finished this, use a fabric bonding agent to make the edges less frayed and fold them into each other. This is great for the environmen...

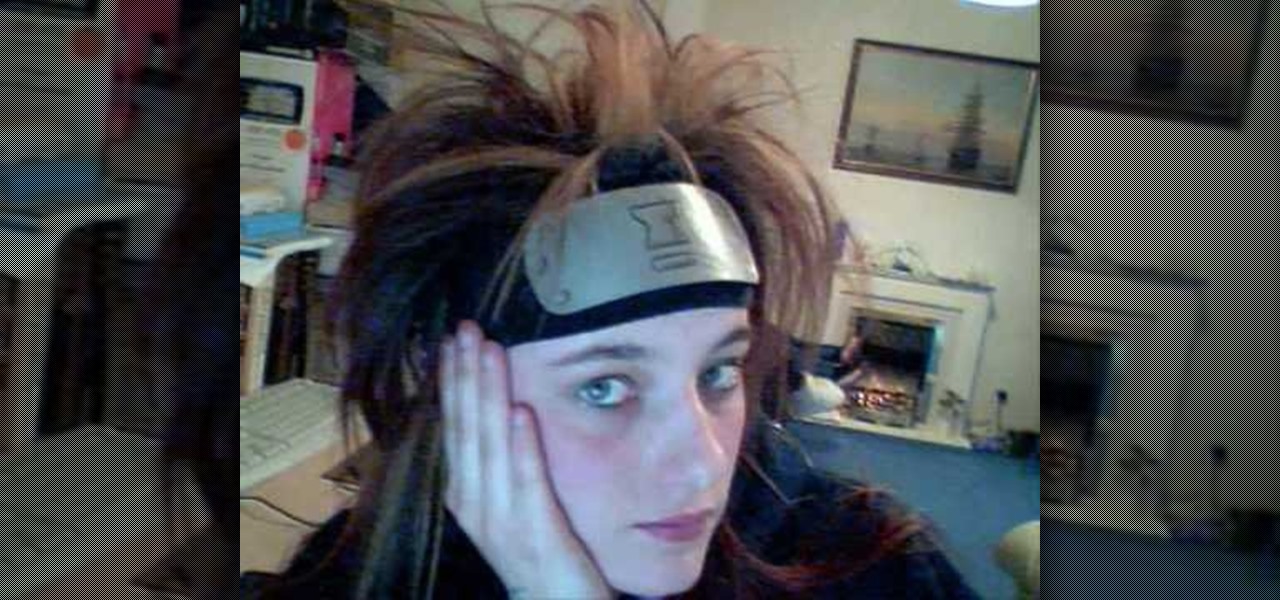
In this video, we learn how to make a decent Naruto headband. First, get a paper plate and figure out how big you want it, draw on the template so you can see it through the paint. Then, apply metallic paint with a paint brush using the template you drew as a guide. Next, you will wait for it to dry and then cut it out. Round the edges like it's a real headband, then draw on the hair band the village insignia. Once finished, glue this to an old sock and wait for it to dry. Then, you can attac...

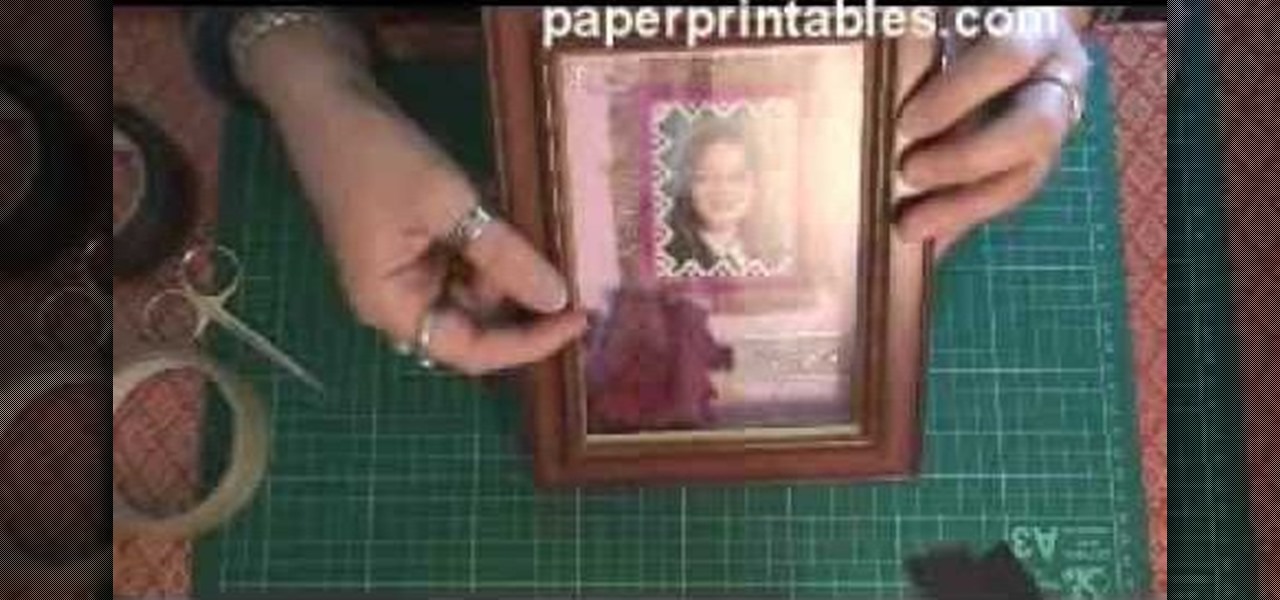
In this tutorial, we learn how to make a shadow box frame. First, grab a regular picture frame and remove everything from the frame. Next, remove the metal pegs that are around the sides. From here, grab a piece of card stock and draw the outline of the glass onto it with a pencil. Then, extend the edges of the box out on the paper. From here, you will cut it out and then bend it into a box. From here, add the picture and anything else you want inside of the box. Stick double sided tape insid...

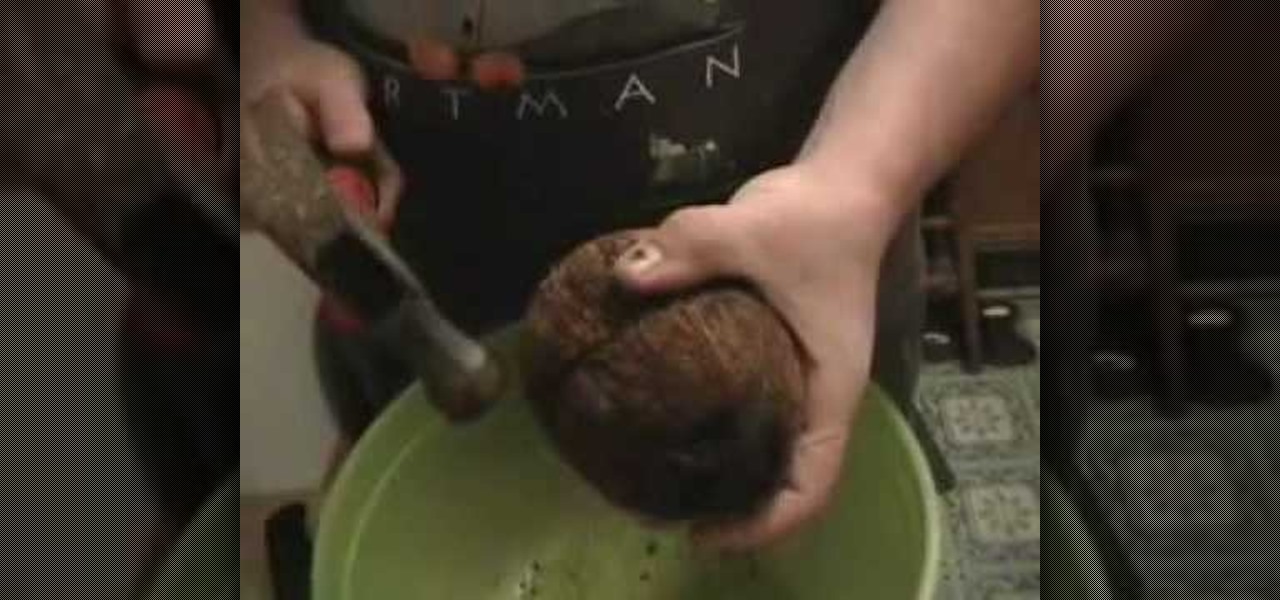
In this tutorial, we learn how to open a coconut to drink the milk. To start, you will need to grab a large bowl and place the coconut over it. Then, use a knife to hit it with the blunt side. Hit all around the coconut until you have cut an even edge around the middle of the fruit. You can also use a coconut to beat the knife into the coconut to open it up. From here, you can pour the milk from the coconut into a large bowl. Then you can drink it or use it in a recipe, enjoy!

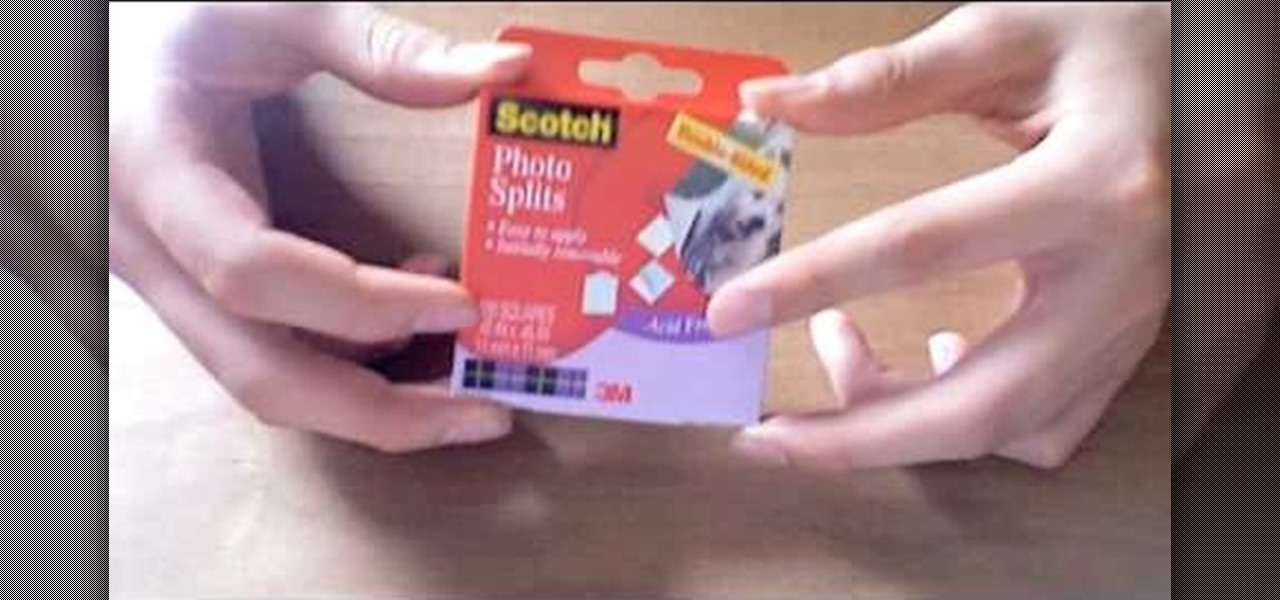
Make your own tiny katana out of paper! All you'll need is some durable printer paper or origami paper, double-sided photo album squares, quick drying craft glue, a small craft knife (like an x-acto knife), a straight edge and a cutting mat.

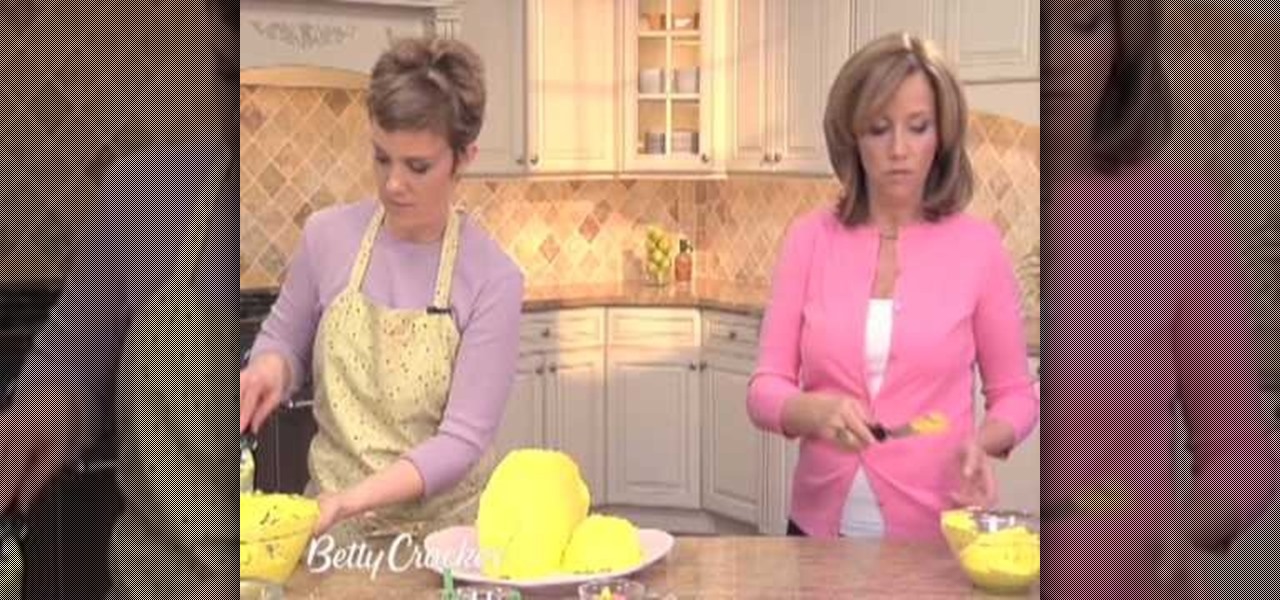
In this tutorial, we learn how to make a birthday cake in the shape of a purse. First, bake two round cakes and place them in the fridge. After this, cut off the edge of both the cakes that are the same size. Then, take some frosting and spread it onto the cake to adhere both together. Now, push the cakes together and have them stand up straight. Use the other pieces to make a mini cake and frost both cakes all over. Then, smooth out the frosting all over the surface. Now you can start to dec...

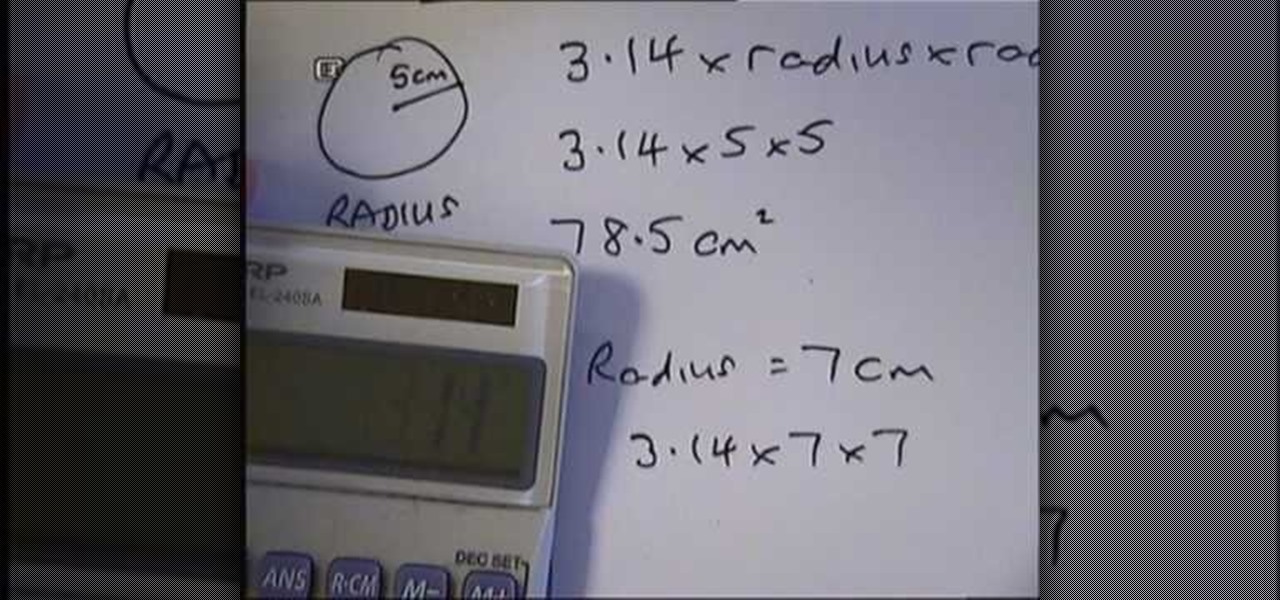
In this tutorial, we learn how to find the area of a circle. The line from the middle to the edge of the circle is called the radius. Find what this is in your equation, then multiply (3.14 X radius x radius). This will always work out the area of a circle for you. So, do this equation with your calculator or by hand, then you will have the correct answer for the area. Make sure to add the units squared after you get the answer. If you are given the diameter (line all the way across), you wou...

In this video, we learn how to make an easy paper rose. First, punch out three flowers with a paper punch from your favorite color of paper. Then, add contact ink to the edges of the flowers along the petals. Next, you will cut out two of the petals from the flowers and then glue half of the leftover scraps. Make this into a cone and then do this on the other pieces of flowers. Bend out the petals and curl them, then glue all of the petals together. Once finished, add on a green stem and then...

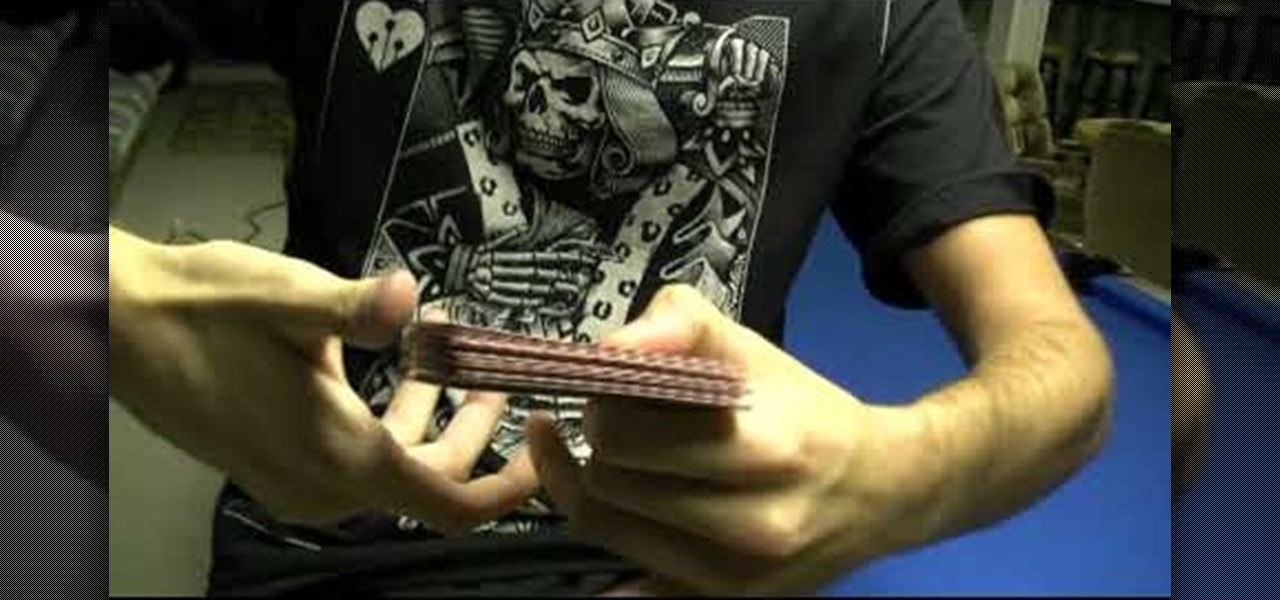
In this video, we learn how to perform a convincing false riffle shuffle. Start off with one deck of cards. After this, riffle the cards off half way and do a standard shuffle. Bend the cards up after this, then use your pinkie and pointer finger to touch each other. When you release, the cards are naturally going to separate from each other. They will push off in opposite directions because of the way you are working the cards. Square it up on the edges, then square on the back and use your ...

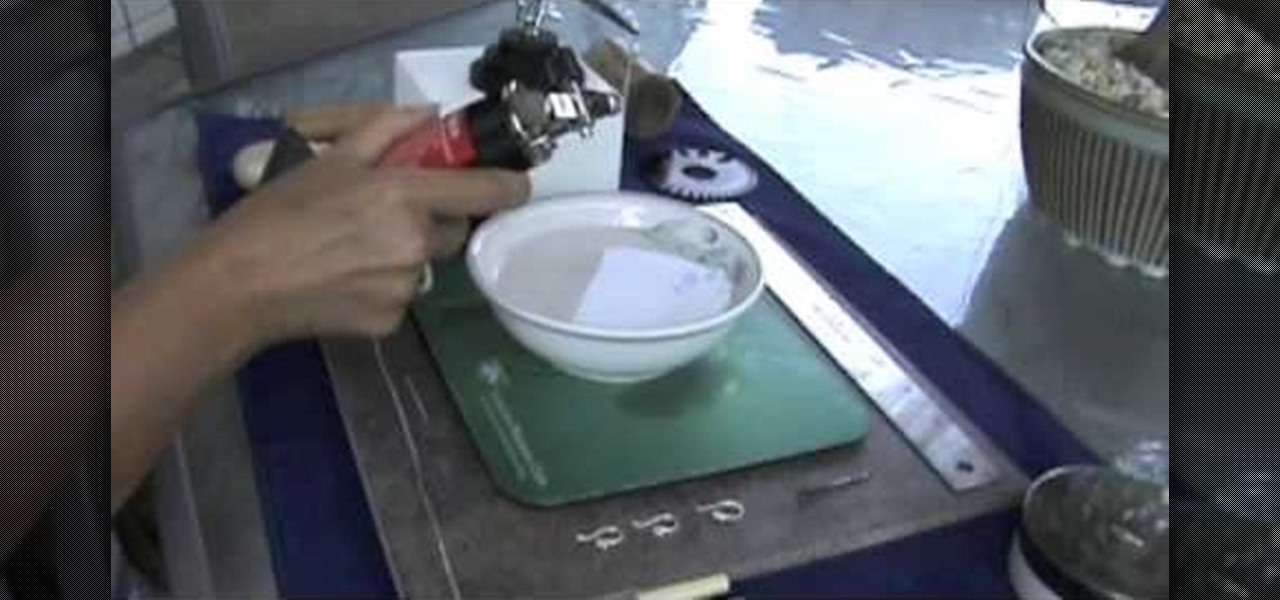
Make fine silver ball earring wires

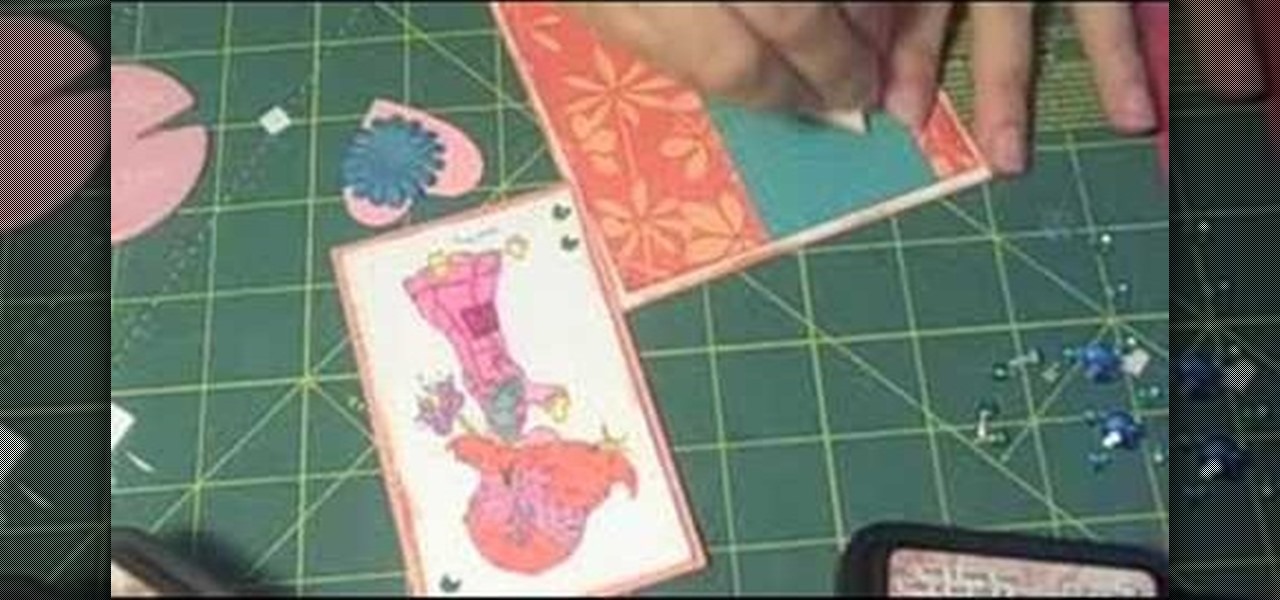
In order to make a pocket card out of an envelope, you will need the following: a used envelope, printed paper, adhesive, card stock, paper cutter, cuddle bug, an ink pad, stamps, markers, and crystals.

In order to make a hook for an earring, you will need the following: round nose pliers, a wire cutter, a nail file or sand paper, an ink pen, 20-22 gauge wire. With your round nose pliers, make little hook, in the end of the wire. Bend it, until it makes a little loop.

In this video tutorial, viewers learn how to make paper footballs. Begin by cutting a straight strip of paper. The wider the width, the larger the football will be. Then fold the edge into a right triangle shape and continue folding the strip in the right triangle pattern. Once you have reached the end of the strip, tear off the end at an angle and tuck it in the side of the football. This video also shows viewers how to play a game with the paper football. This video will benefit those viewe...

Secure a square-shaped piece of paper preferably six inches long on both sides. Cut the square paper into two equal halves. Fold one piece longitudinally right at the middle. Open the fold and refold it horizontally, on the shorter side. Refold the longitudinal crease you made earlier. Then, fold both sides diagonally but facing opposite each other.

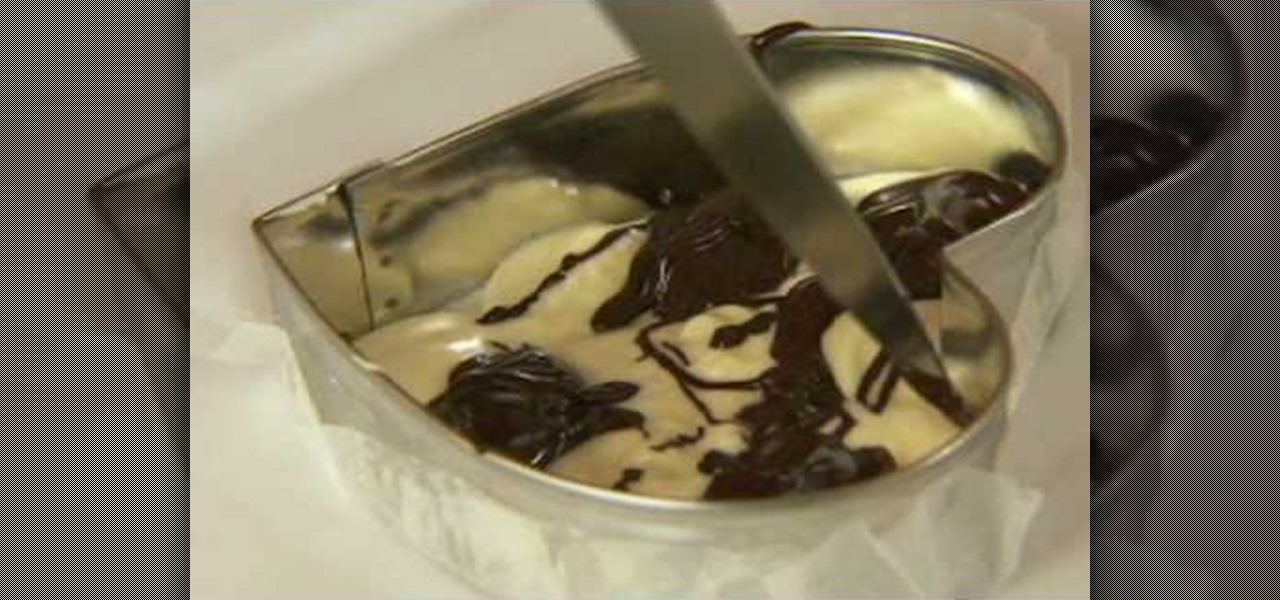
In this video tutorial, viewers learn how to make swirled chocolate heart cake decorations. Users will need a heart shape cookie cutter. Brush some oil inside the cookie cutter and some butter one the outside. Then press on some wax paper on the outside of the cookie cutter to create mold. Now pour in some melted white chocolate and fill in the heart shape. Now add the chocolate. Using the sharp point of a knife, swirl it around the chocolate to create a swirl design. Place the cake into the ...

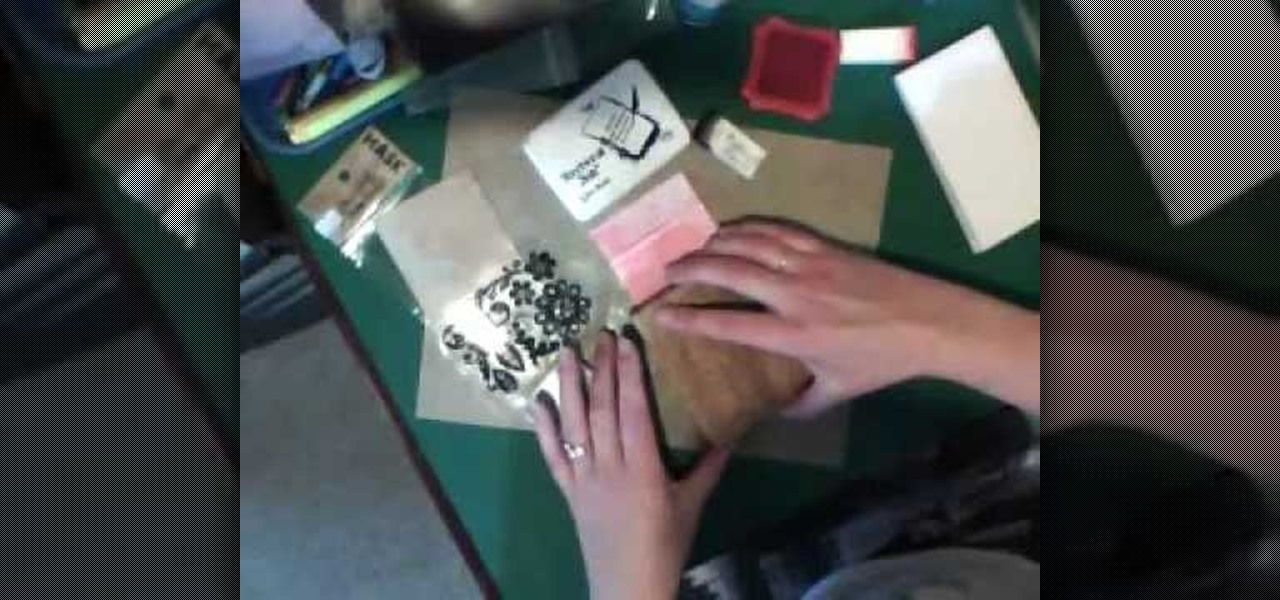
In this Arts & Crafts video tutorial you will learn how to make a stamped notepad cover. Put the note pad on the edge of a bigger sheet of paper, draw the outline and cut the paper along the lines. The paper should be longer than the notepad. Put the note pad on top of the paper aligned with one end and fold the other end of the paper. Remove the paper and crease it properly along the scoring lines. Depending on the theme you want for the cover, apply the required ink with sponge on the paper...

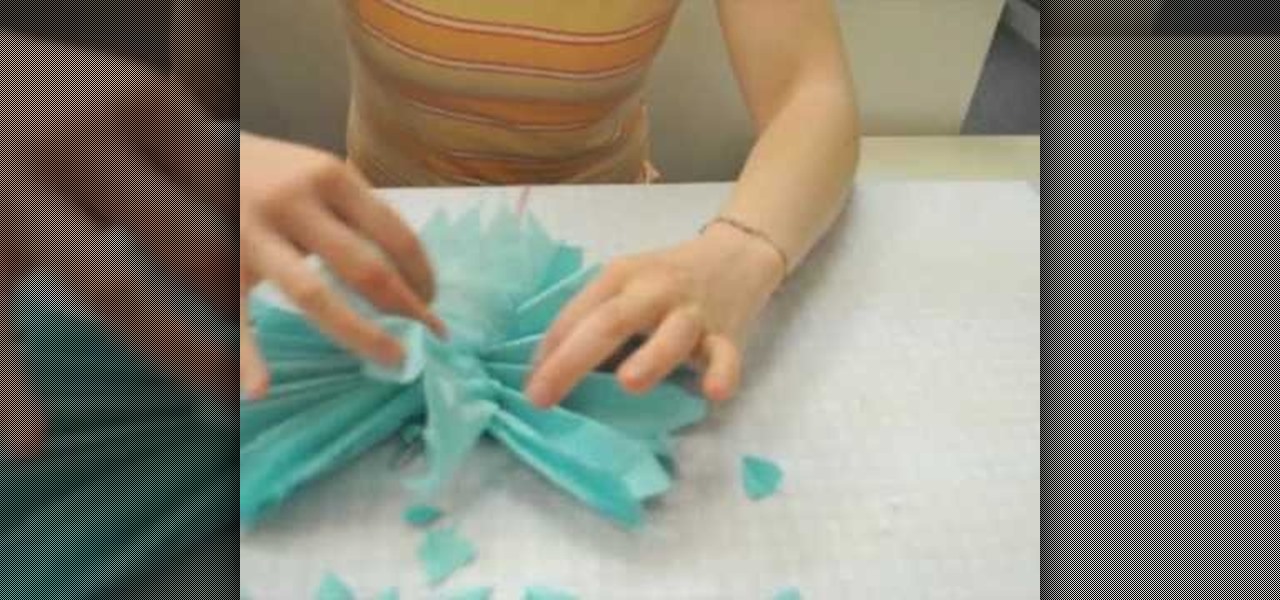
This video shows you how to make a puff flower ball using tissue paper.Spread out a tissue paper,of any colour,on a table.Keep one of the short ends of the paper,facing you and away from you.Then fold it back and forth,from one short to the other side until the whole of the tissue paper is used up.Fold this into half and release.Take a piece of ribbon and tie it on the center.Give the edges a pointed, partyish look by cutting them using a pair of scissors.Now take a single piece of tissue pap...

This is a video tutorial describing how to make a doll outfit that includes a half top and a skirt. The first step is to gather what you will need. You will need 2 pieces of fabric, some elastic band, and then something for closure such as a hook and eye, a button, or a snap. Then to make the top you need to cut a 12.5 cm by 6 cm rectangle, then fold the fabric and sew the length and the width, leaving 0.5 cm edges, then turn the rectangle inside out and sew up the opening. Next sew the elast...

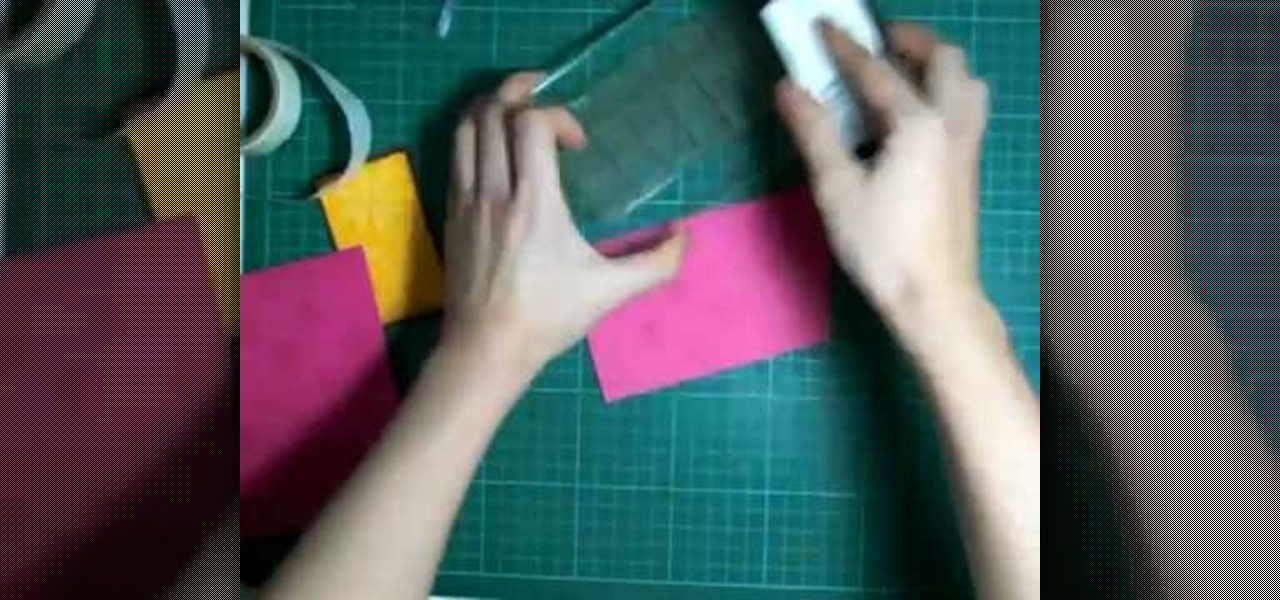
In order to make a Cuttlebug Smoosh Card, you will need the following materials: card stock (at least 3 different prints or colors), a ruler, distress tool, double sided tape or glue, distress ink, watermark stamp pad, decorative accessories, and scissors.

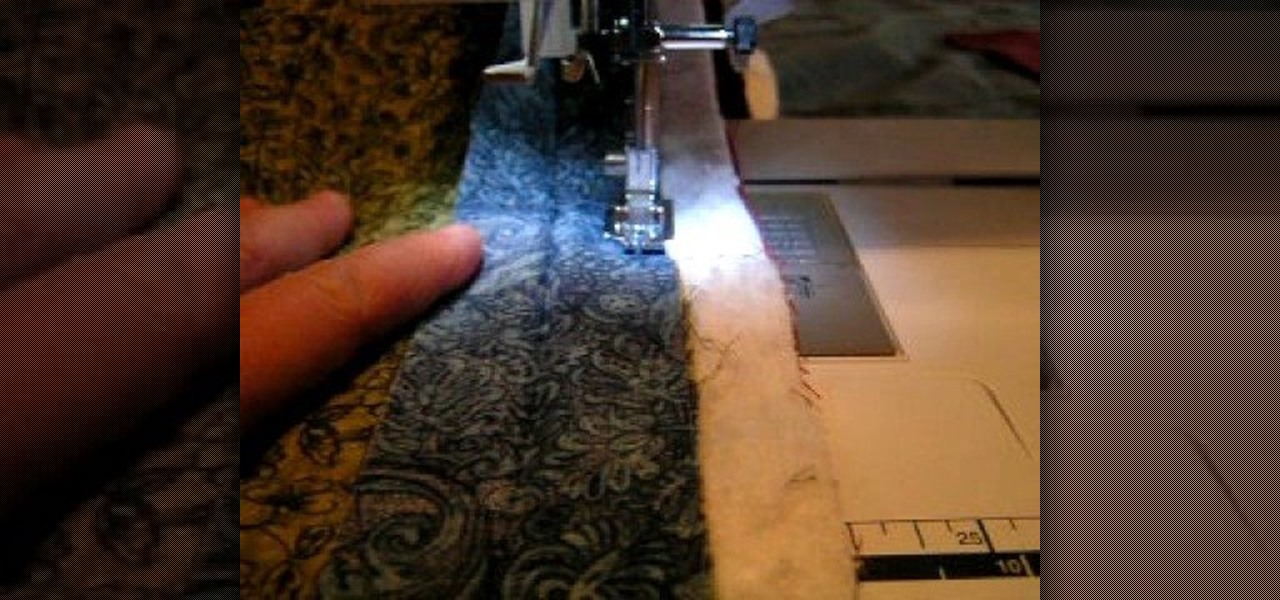
This video demonstrates how to attach a binding to a quilt. At the point of the video, your quilt should be complete up to attaching the binding. It should already be pinned and basted. You should have quilted together all of your squares into your desired pattern. Your batting should be cut. You should be in the final stages of assembling the quilt.

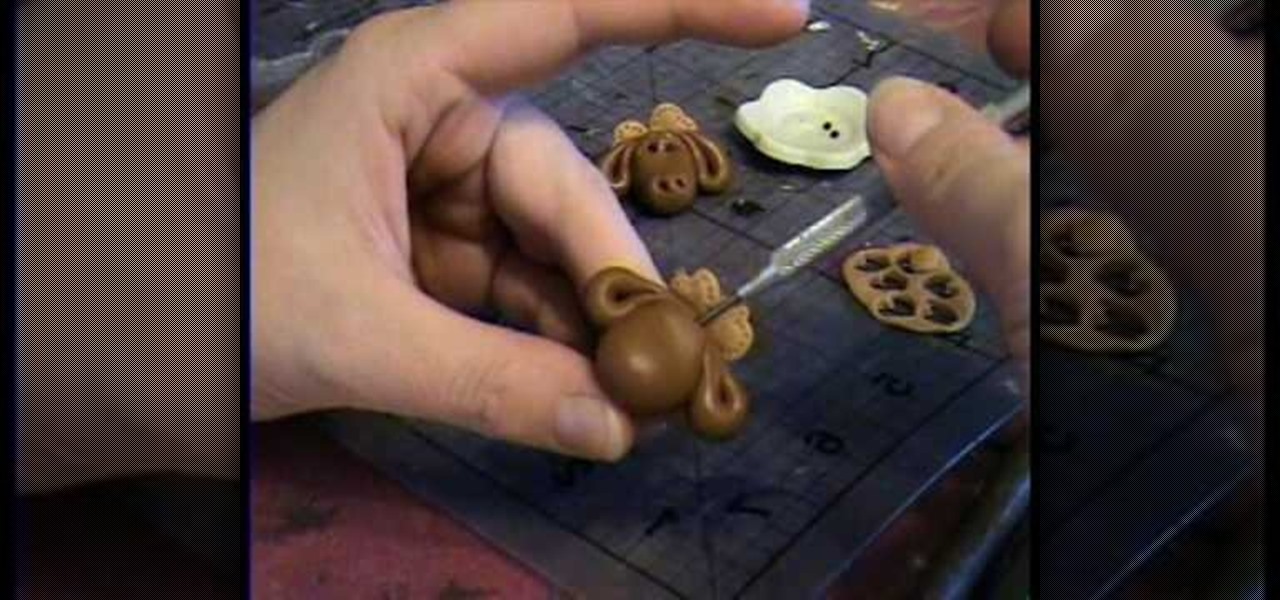
This video tutorial is going to show you how to make a Moose Bead from Polymer Clay by Garden of Imagination. You begin with clay and make a shape it like the head of the moose as shown in the video. Then take more clay and make the ears and attach them to the head. Now take lighter color clay, cut it out into heart shapes, poke around the edge with a pin, and attach them behind the head. Take a pin and make a hole at the top end of the head to make it a bead. Watch the video to finish the pr...

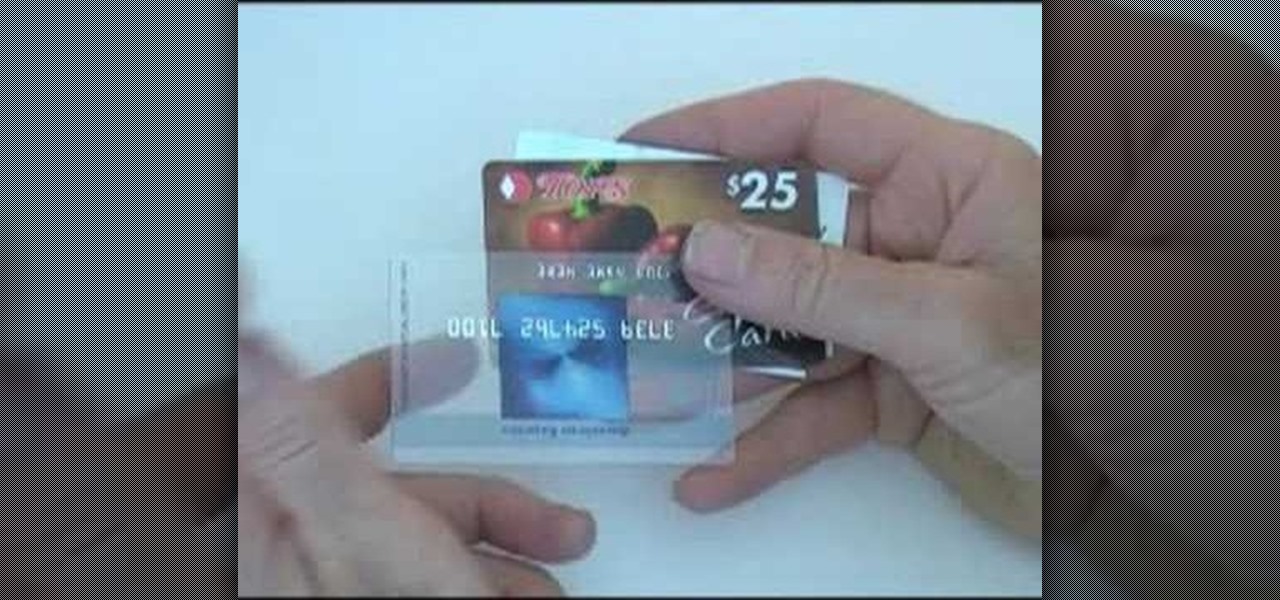
Reuse an expired credit or empty gift card to make a guitar pick instead of buying a brand new pick. You will need a pick, nail file (or sandpaper), card, and sharp scissors. Each card will probably yield about four or five picks. With a pen or Sharpie, outline your pick onto the card, centering it around whatever design or logo you want on the pick. Then, cut out this shape with your scissors. With the file, go back and file down the edges so that they are smooth, making sure that all sides ...

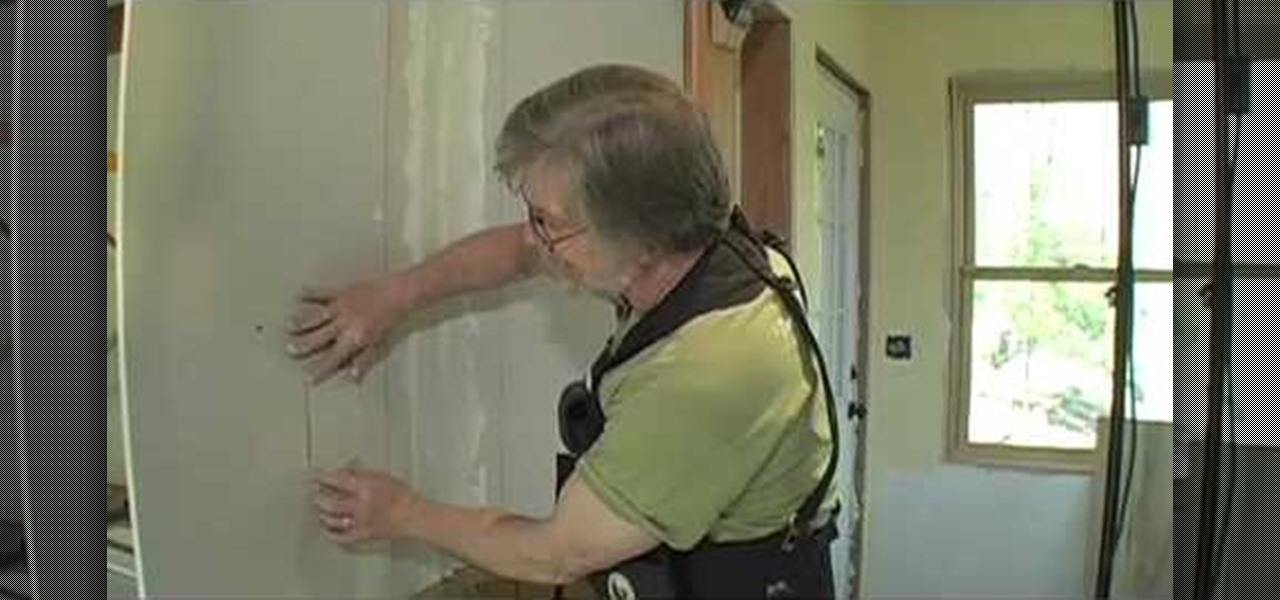
Chuck Miller gives us a great tip for patching a small hole in drywall, such as a hole from an outlet box.

Mix cinnamon brown chalk powder and clear polymer clay and roll it out flat. Paint some more powder on the flat clay. You need quite a lot of powder to create brown rings later. Roll up the flat clay into a sausage shape. Cut slices of the long sausage and lay them on a wooden tray. Blunt the edges with your finger. Put some white chalk into a blob of thick varnish to make icing. Drizzle the icing on the top of the cinnamon rolls. You can add yellow chalk to make it look dark and cooked befor...

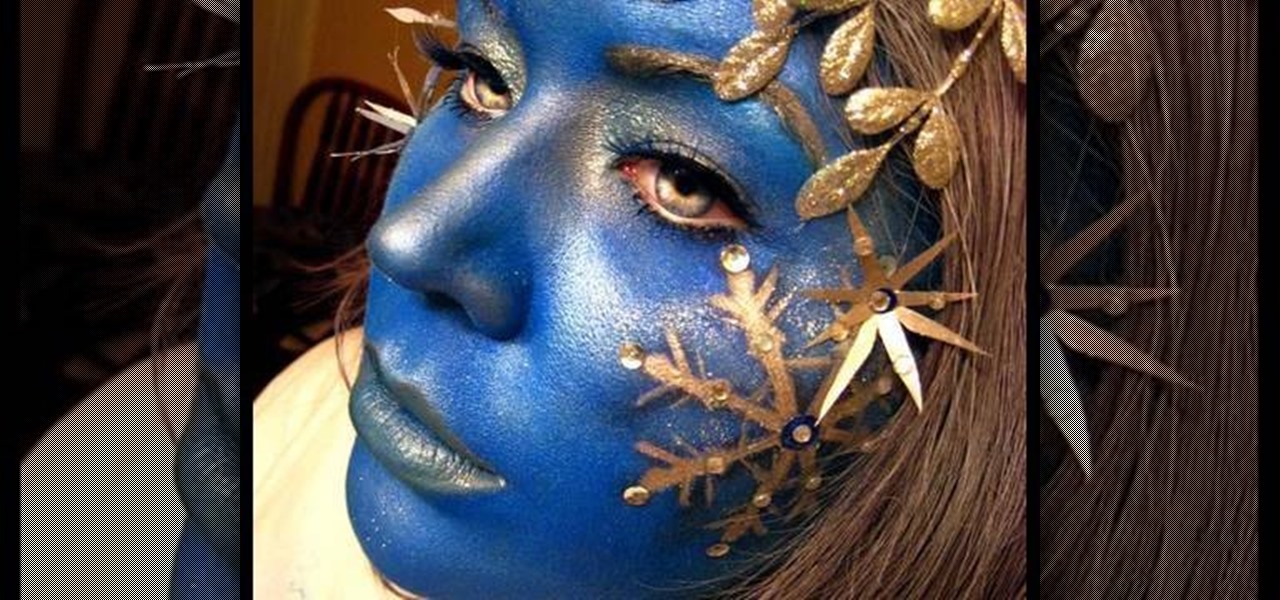
Goldiestarling teaches you how to apply a snowflake fairy makeup look. You first need to draw the snowflakes on some card stock and then cut them out. Apply those to the face using eyelash adhesive. Use a moisturizer and then a blue powder using a short haired brush. Apply a frosty white metallic color around the eyelids. Also add a darker blue around the snowflake edges. You can also add small rhinestones and glitter to the snowflakes. Use a light brown lipstick for the lips and blend it wit...

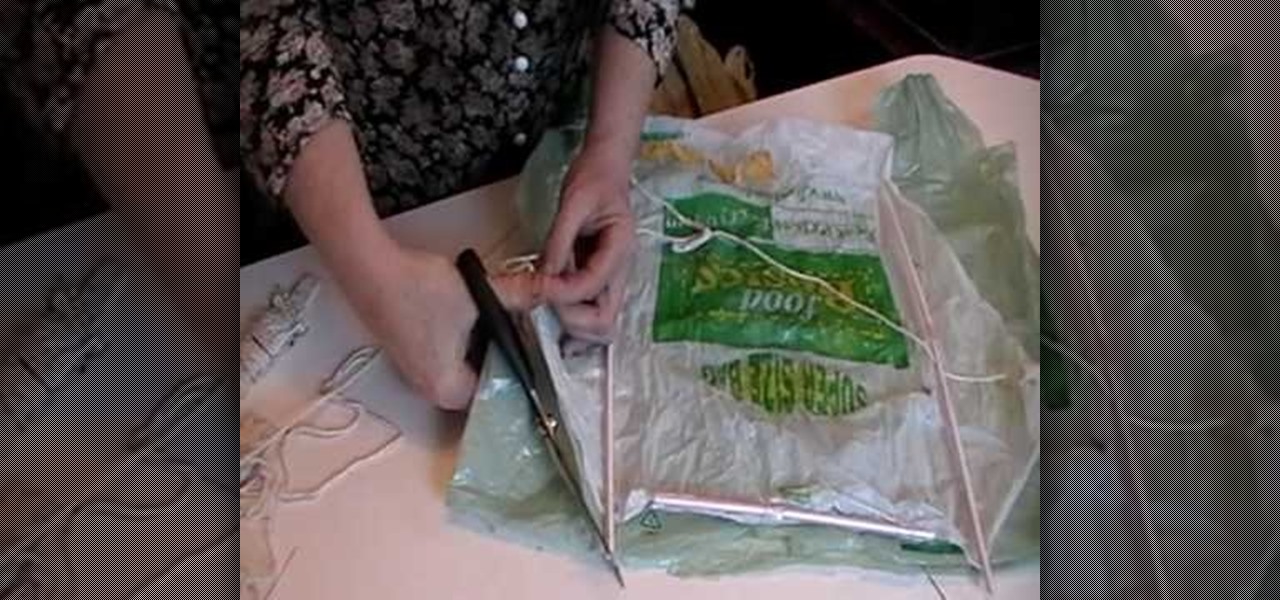
Learn how to make a homemade kite with this video. To do this you will need a regular plastic bag, some plastic straws, string and scissors. Begin by using the scissors to cut the bag in half, around the edges. Once you have this, make a rhombus shape out of it. You will need five straws and tape. Use one straw for the top and two straws on each side. Make sure that these two sides are the same side. Add clear or regular tape to stick the straws to the plastic bag. Lastly, tie the string at t...

This video teaches the secrets to sharpen a convex wood carving knife in simple steps. First find out how dull your knife is by cutting a paper or shaving hair on you hands. Now take a sand paper attached to a pad and start sharpening the ends by applying less pressure. Now try the sharpness of the knife, it will be better. Now take a double sided strop with sharpening compound and start rubbing the knife edge. After sharpening try the knife again, it should be good enough.

Learn how to make a simple paper box with this short video. You will need some strong paper like construction paper or light cardboard, a pair of scissors, and tape. For a neater box you will also need a ruler. First you will draw the shape of the box, which looks like a plus sign. Use a ruler for straighter edges. Then you will need to cut out the shape and fold along the lines. Add decorations to your box if desired. Last, you will be taping it to form a box shape.

In this video tutorial from StudioMallory, learn how to take Mapei premixed adhesive and grout and turn it into a six-point star. Begin by cutting out the star shape in a piece of cardboard. You can use a stencil to make sure the shape is accurate. With your fingers, spread the grout onto the shape. After you are done shaping the grout, spray a little bit of water on the grout to help you smooth out any rough edges on your star. Set the star on a flat surface and allow it to dry overnight. Th...

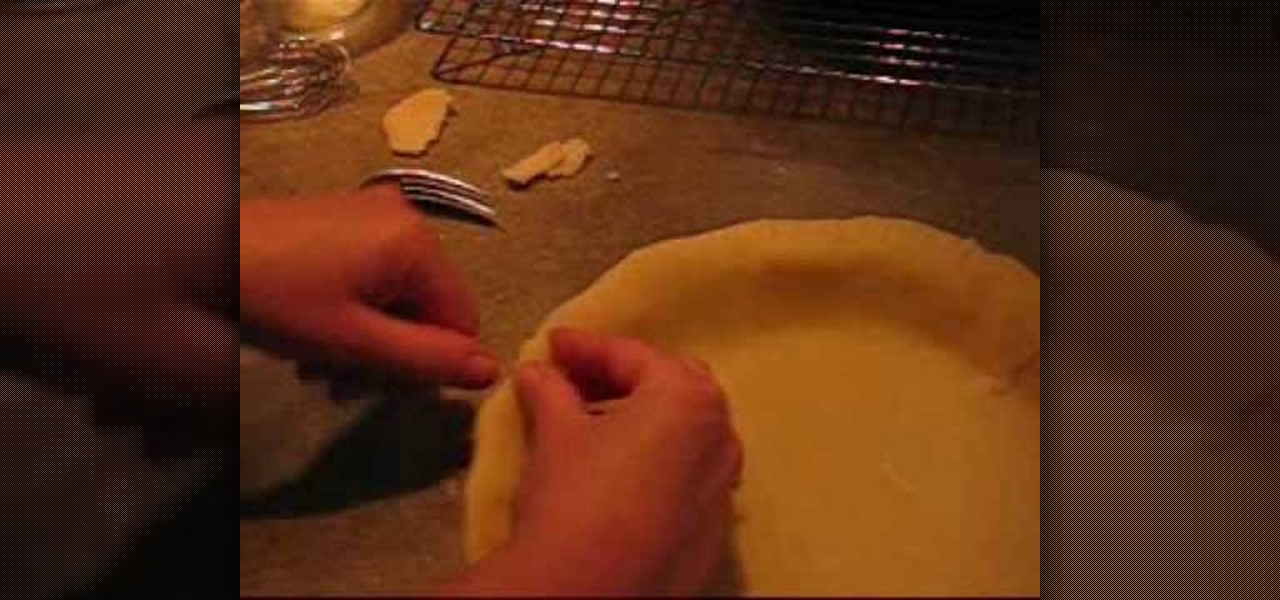
Angie shows us how to flute a pie crust which can be very helpful when baking pies. After dough is placed into a pie pan, the outer edges should be folded under the lip of the pan. The edge of the crust can be given a pattern. This can be accomplished by taking the prongs of a fork and making indents along the edges. You can also make a curved pattern. This is done by pushing in with your thumb from the outside, and with your other hand, pinching this area with your thumb and index finger. Th...

Emerald City Elegance Paper Crafting with Joann is really very interesting to watch. It takes us through the process of making a beautiful paper cup mini album. It explains us to properly cut the edges of the paper cup, to stick first the color page in the folded paper cup, making ready the plain album pages and punching it altogether. Finally embellishments are also done to add beauty to the mini album. Now the album is ready. After watching this video, any viewer develops the art of creativ...

This video is about how to make a paper snowflake. These are just amazing shapes made out of sheets of paper. They are used for decoration. We can make a paper snowflake in just 2 minutes. First take a plain paper sheet and fold the sheet to make a triangle out of it. Now just make 3 more triangles in similar fashion and after that make a half triangle and cut the extra edge from it. And now it is up to us how we to want design our snowflake. Open and see the nice and beautiful flake.

In this video, Marion shows you how make your own custom buttons. She first picks-out a piece of scratch paper, a clear button, and glue (glassy accents). You then apply some of the glue onto the button and lay the button onto the paper and let it dry. Next you would cut the paper around the button as close as you can with precision scissors. You would now use a file to sand the edges of the paper down. That is how Marion shows you, how to make a customized button.

In this video, Mark Donovan of Home Addition Plus shows you to remove ceramic tiles from a shower. Before you begin, remove the shower head and shower handle, leaving the walls bare. A lot of dust and debris will be produced so you should wear safety glasses and to protect the shower pan from damage, you should cover it up. Card board should suffice. Starting from the bottom, place the chisel on the edge of the tiles and tap it with a hammer. For the tiles in the middle, you can use a flat ba...


