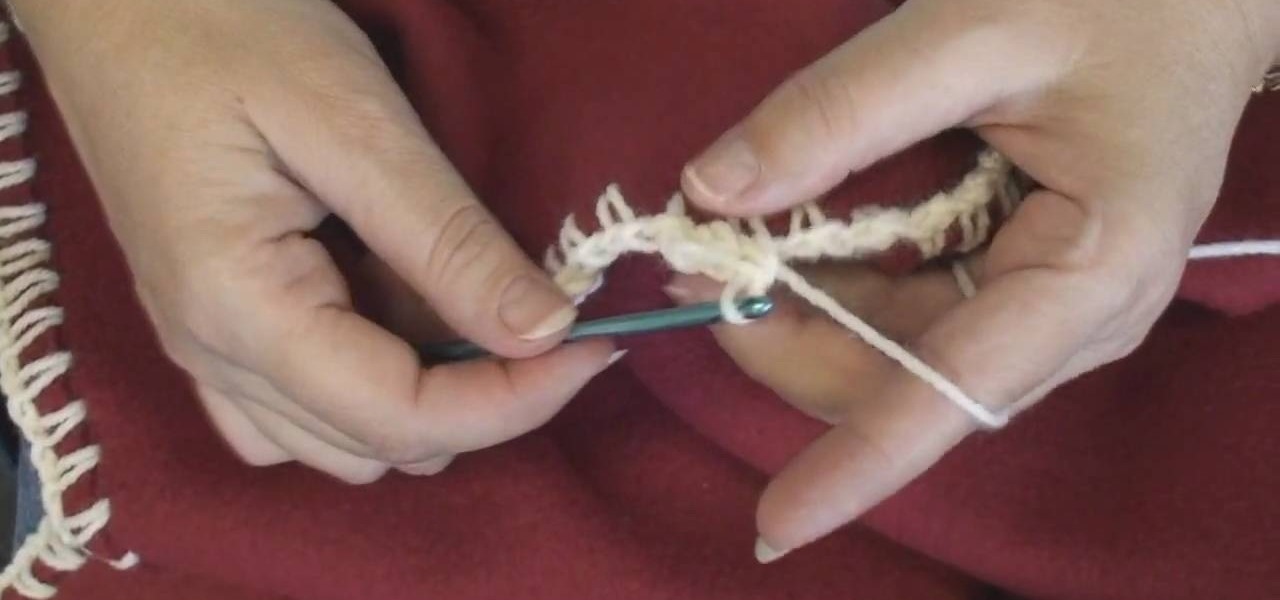
Crocheting is a hobby that has been around for years and years. It's a very useful practice that can be used to make material that is necessary like blankets or shirts. In this video tutorial, you'll find out howt o make a crocheted edge fleece blanket using this easy to follow instructional video. So check it out and good luck!
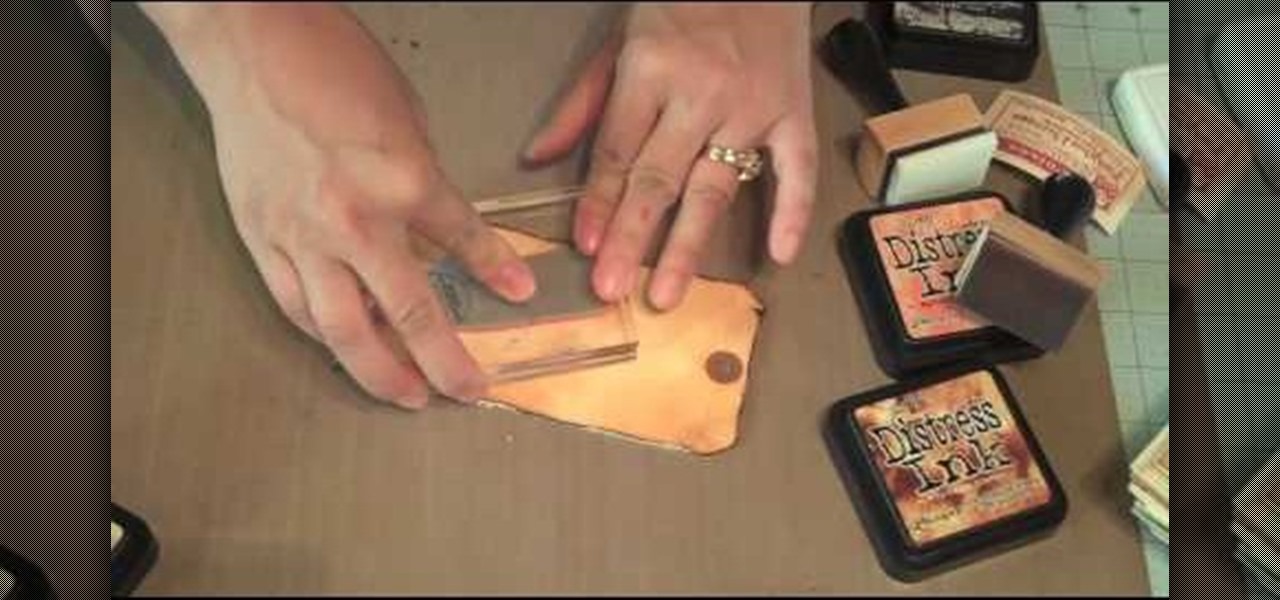
This video describes how to use distress ink. First we have to take a paper that we want to work on. Next take the distress ink colors. Spread the lighter colors first on the paper. Take the first color and spread it on throughout the paper. Next take the vintage photo and work on the edges with it. Next take the spiced marmalade ink and spread it on the edges again. Next take the paper and apply the paper edges directly to black soot ink pad. Next wait for sometime until it dry. Next take th...
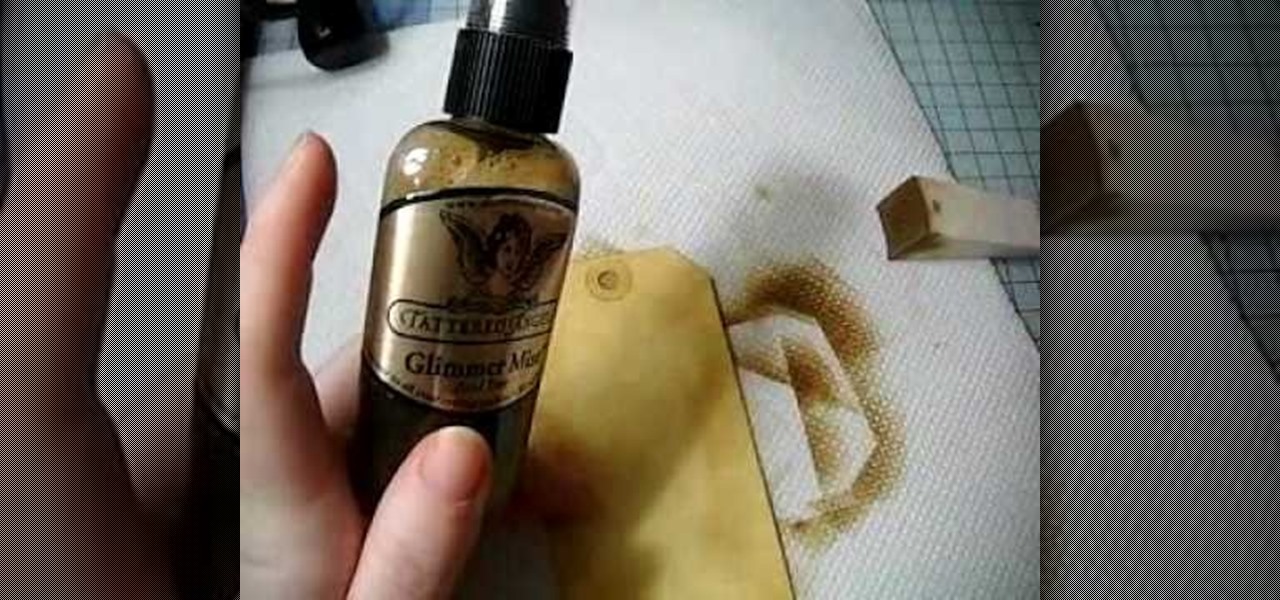
In this Arts & Crafts video tutorial you will learn how to make a distressed scarpbook tag. Take two tags, one red color and one yellow color and strip the threads off. Take a light color ‘Distress’ ink on a sponge and dab one side of the yellow tag with it to give it a light rough look. Now take little darker brown ink on another sponge and dab the edges of the tag with it. Then place the tag in a box and spray Glimmer mist on the tag. Dry the tag with a dryer. Now dab some more brown in...
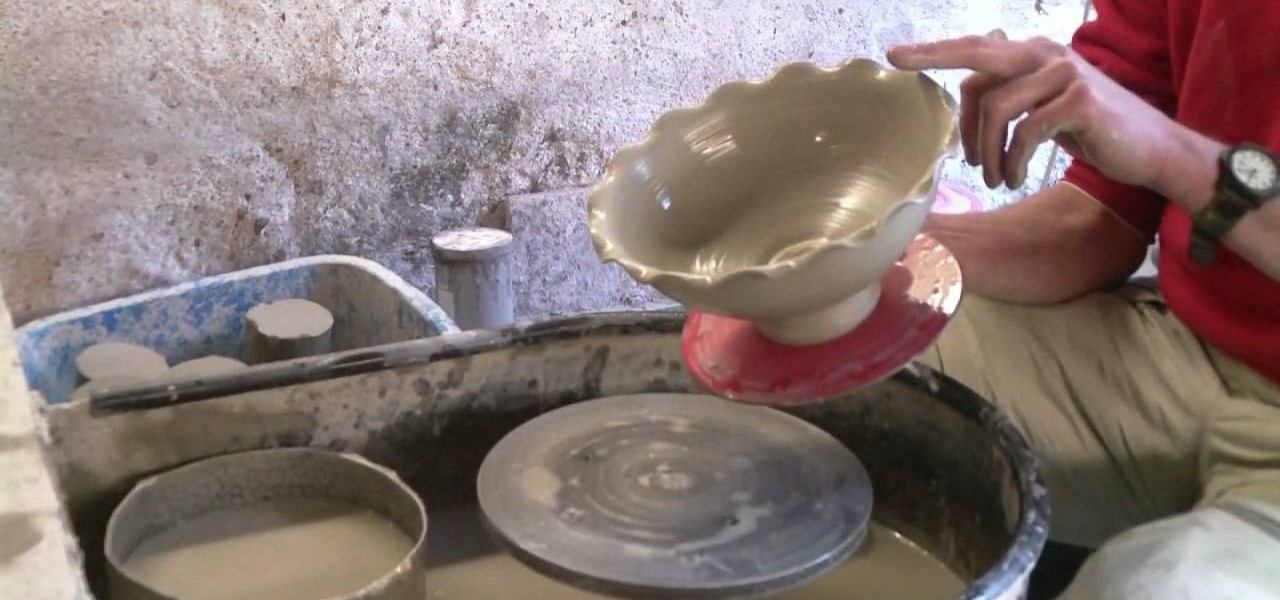
This video illustrates the method of throwing a wavy edged pottery bowl. This process comprises of the following stepsStep 1This process needs clay, pottery wheel and water in a bowl.Step 2Place the clay on the moving wheel.Step 3Now give the clay a desired shape with the help of your hands.Step 4keep wetting your hands at desired intervals and insert your fingers inside the clay so that it gives you the shape of a bowl.Step 5When your desired shape and size is ready take the clay bowl out of...
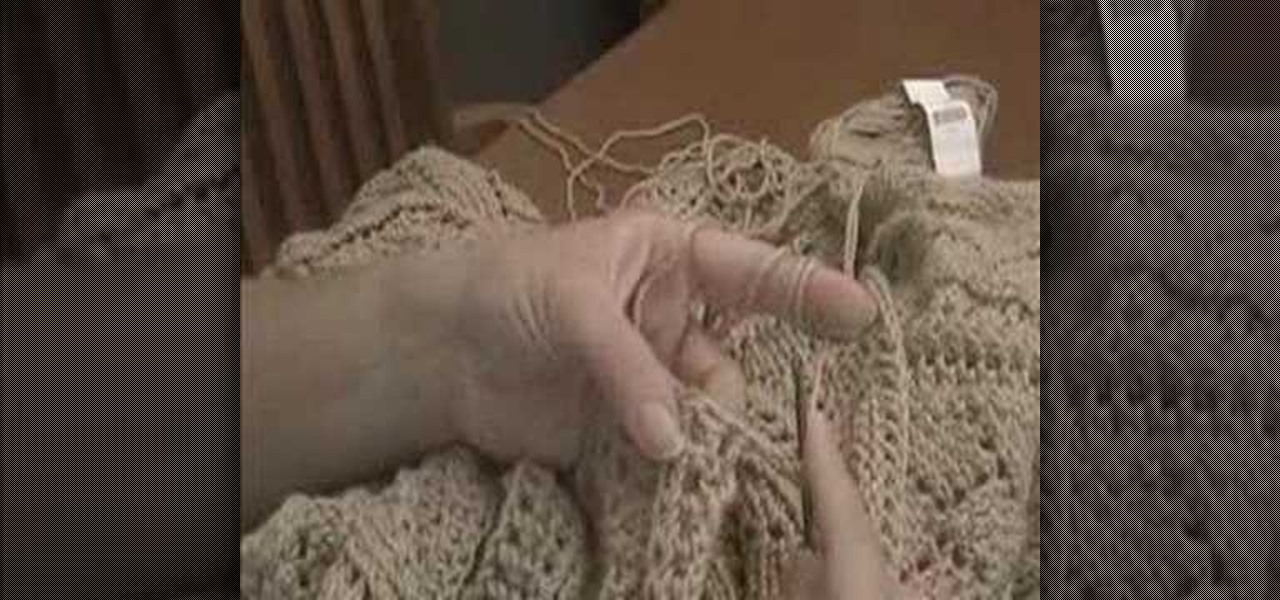
This video demonstrates how to make a double- crochet edge. The video uses a large cardigan neck to create a double crochet edge on. First, back the yarn around the hook and go into the next stitch. Then pull through a loop on to the hook. Take another loop on to the hook. Next, go through the first two stitches at the end of the hook. Then take another loop onto the hook and go through the last two stitches. So, you wrap, insert through next stitch, pull on another loop, draw the hook throug...

To make mini cupcake earrings first take a piece of sculpey and make a cylinder. Make vertical indentations around the cylinder, similar to those an the edge of a quarter. this forms the bottom of the cupcake. Next take another small piece of sculpy and role it into a line like a piece of yarn. starting at the edge of the top of your cylinder coil the line of sculpy around the edge and up, similar to a piece of novelty poop. this forms the cupcake. stick a earring finding through the top of t...

First, prep the nails. Apply the white tips to the end of your nail. Use a nail clipper to clip the edges and a nail file to round the edges so they are not pointy. Next, apply primer to the bed of the nail. Then apply white acrylic with a brush to the tips that you put on earlier. Use the brush to make sure it fits the shape you want. Next, apply nail polish on the nail bed until it is the same height as the acrylic. File the edges down again if needed. Coat with transparent pink mix (a mixt...

This how-to video explains how to use a tile file to remove a sharp edge from a piece of tile. To being you just need to buy a tile file (or a couple if you plan to use it a lot). A tile file would be used if a piece of tile has a sharp edge that you cannot hide in a corner or cover with another piece. To use the tile file simple rub the tile file against the tile like you would a piece of sandpaper on wood. Rub the tile file back and forth until the sharp edge has been smoothed out and then ...

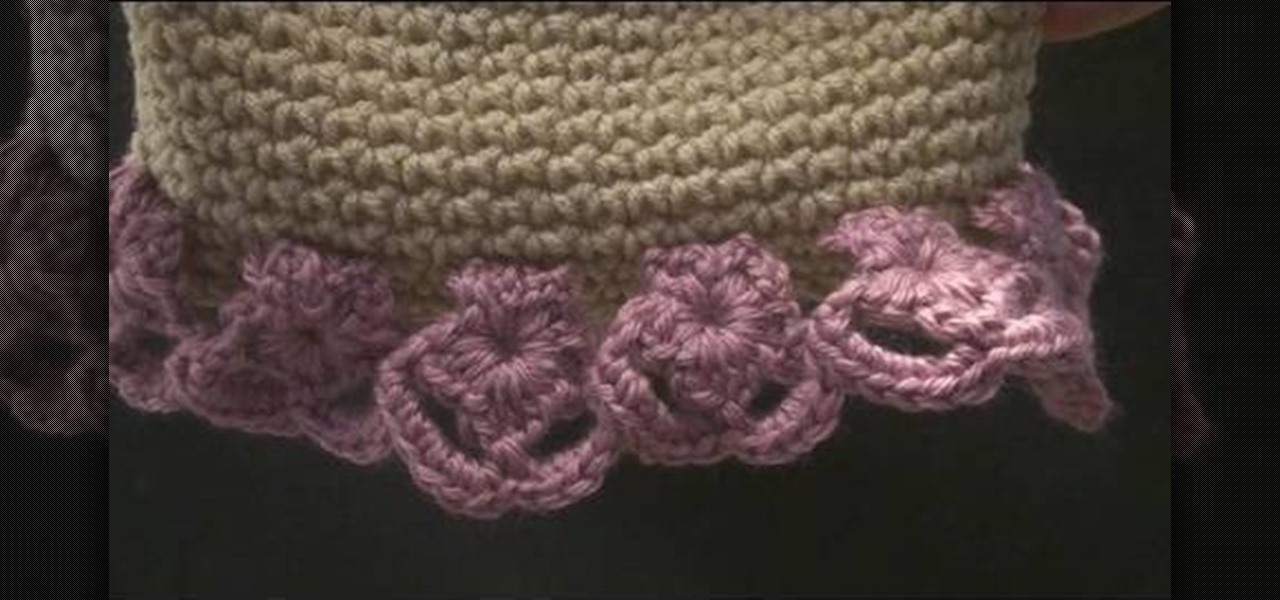
This how-to crochet video offers a simple pattern and instruction for stitching your own cute and easy crocheted hat. Knitted hats don't have to be for winter. While a cozy hat will protect you from the cold, a lighter yarn can add some style in warmer months as well. Check out this video d.i.y. arts and crafts lesson and learn how to crochet your own flower edging for hats.

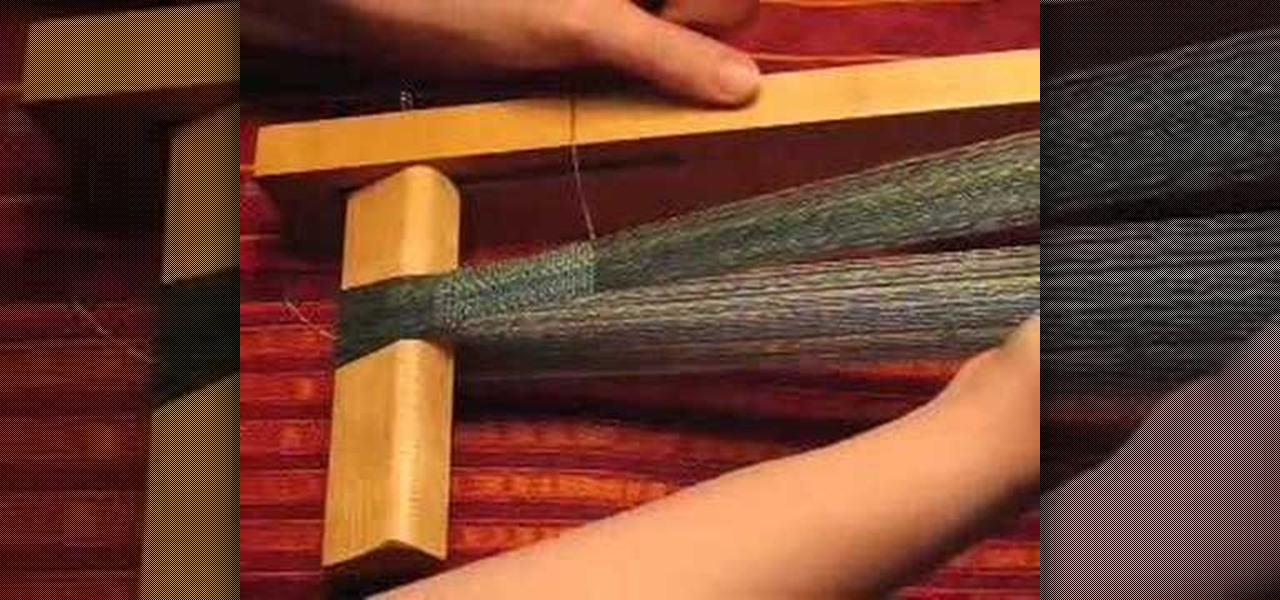
So you're weaving a narrow band. How do you keep the edges nice and straight? Here's a technique that combines weft insertion, beat, and selvedge control. It's useful for inkle weaving, tabletweaving, rigid heddle weaving, backstrap weaving... or even weaving small bands on a big loom. Try it!

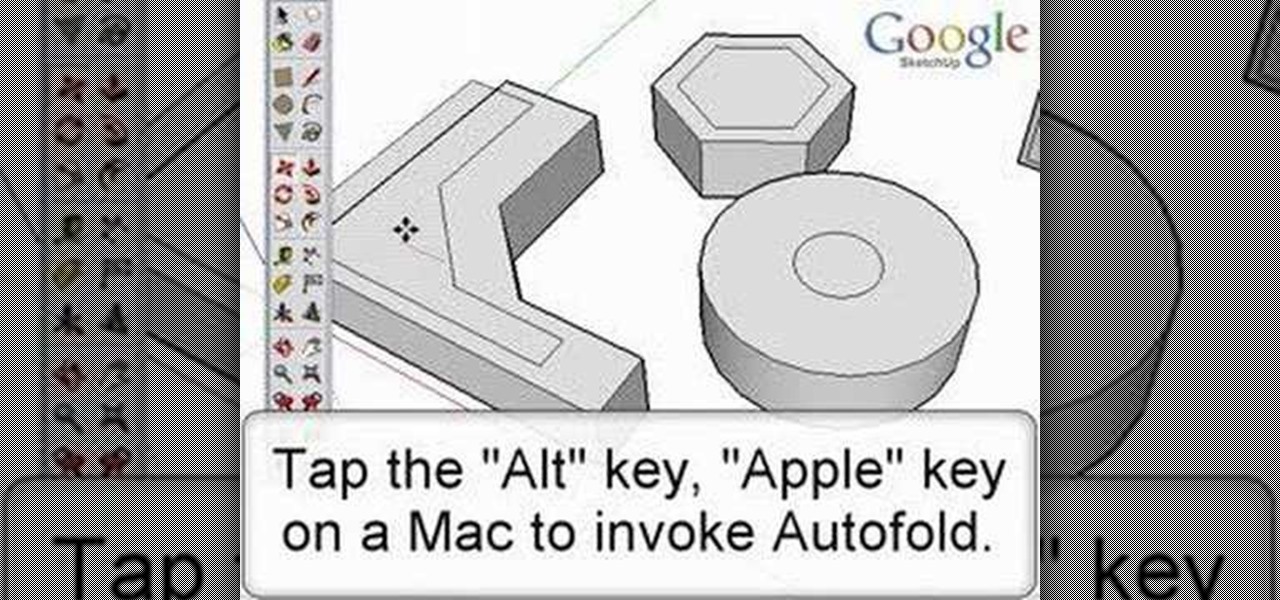
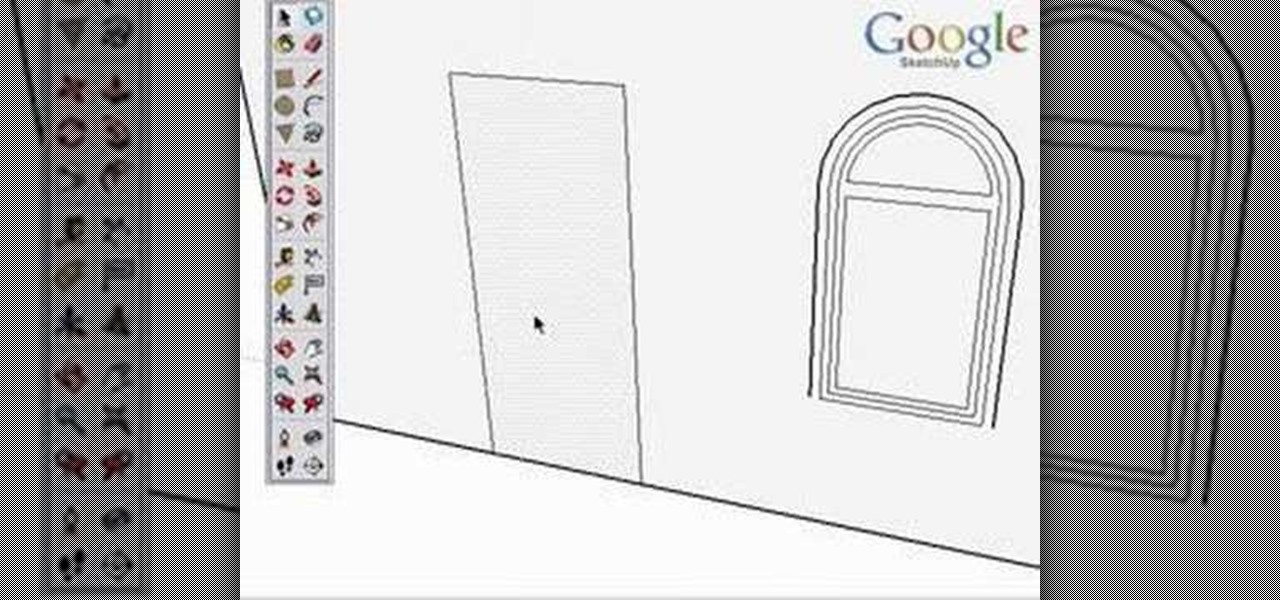
Autofold is part of the move tool and allows you to automatically create folding edges for new geometry. Take a look at this instructional video and learn how to use the move tool to autofold in Google SketchUp. The autofold can be activated by pressing the Alt key on the PC or the Apple key on a Mac. Autofold let's you move a point, edge or surface in any direction automatically creating fold edges as needed to do so.

Take a look at this instructional video and learn how to use the offset tool in Google SketchUp. To click on any surface to offset its edges, in or out. The tool auto selects any surface if no particular surface is selected. You can select a number of different surfaces or an individual surface. This tutorial covers offsetting surfaces versus edges, inferring, and some speedy tips.

This video cake decorating tutorial shows how to design piped scrolls of frosting on a cake. Start with a tube 44 or 43 at one point and twist it at the top, allow the tail of icing to fall on the edges to cover the edges of the cake. Repeat the same process around the cake. Piped scrolls are easy enough to replicate, just watch this instructional video and find out how it's done.

This Blender tutorial covers snapping points and merging objects as well as lofting between edges.

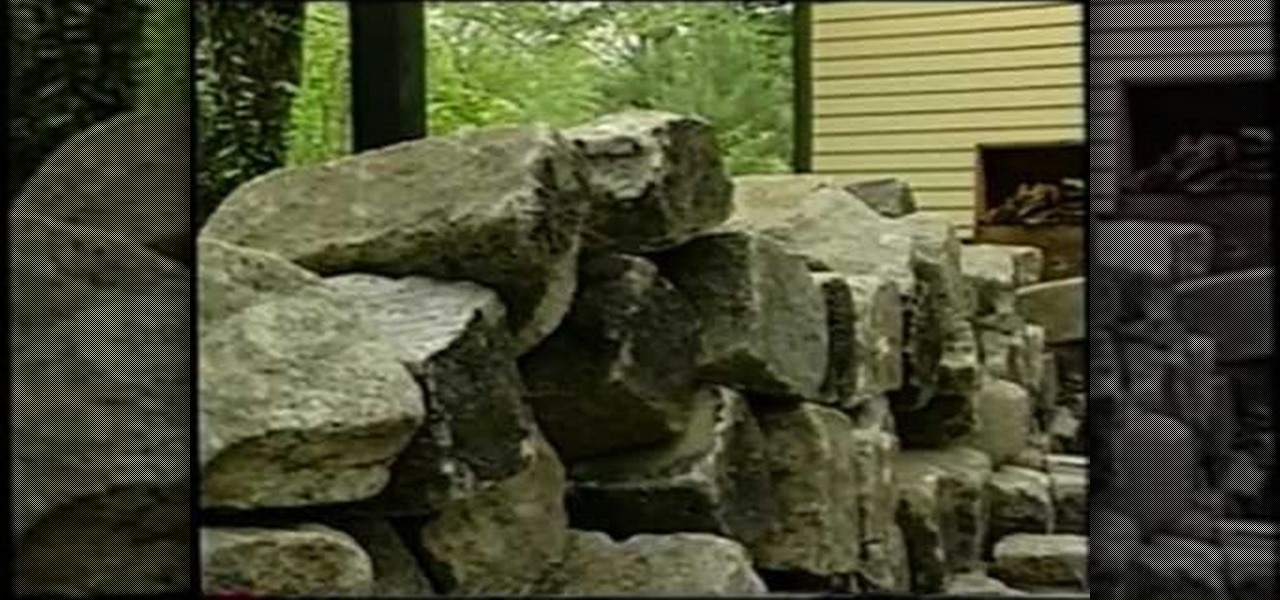
Tim Carter, of Ask the Builder, demonstrates how to use recycled cobblestones on your home property. Cobblestone can be used to edge gardens, driveways, and walkways.

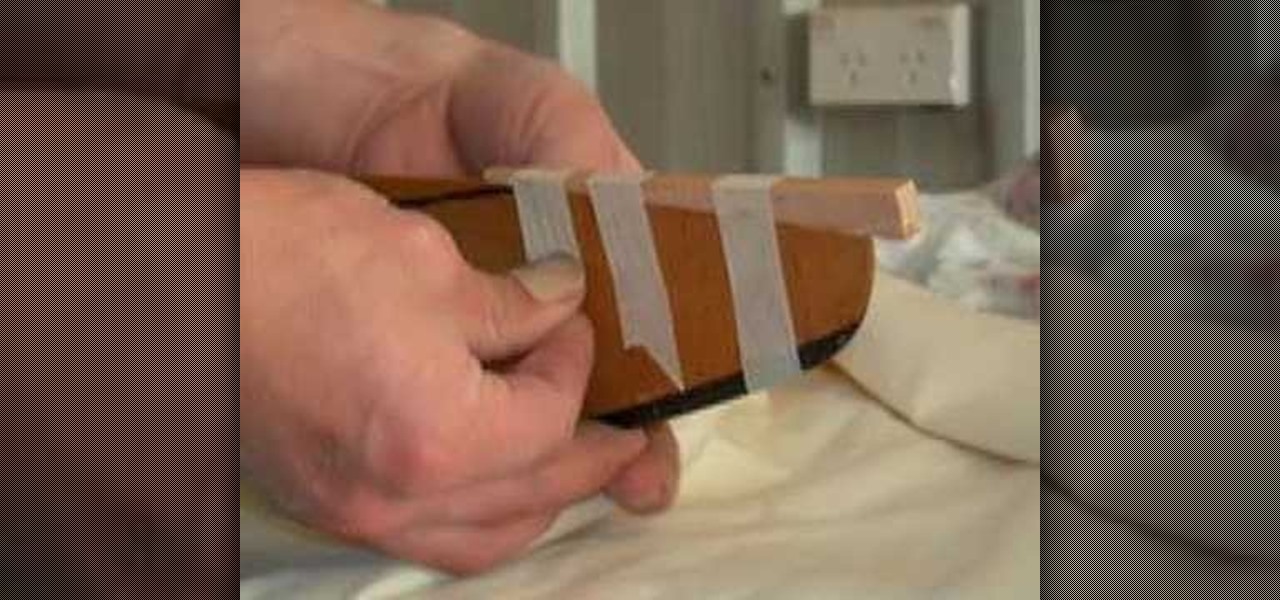
This video shows how to repair the damaged trailing edge of a wooden aircraft propeller using a scarf joint. It also shows how to fiberglass the repair.

This video explains what to do when edges on a face won't sink in. Part of Chapter 16 of the book "Google SketchUp for Dummies" this troubleshooting video will definitely come in handy.

A butterfly bandage is handy item when a wound has smooth edges. It brings the edges of skin together and thus speeds up the healing.

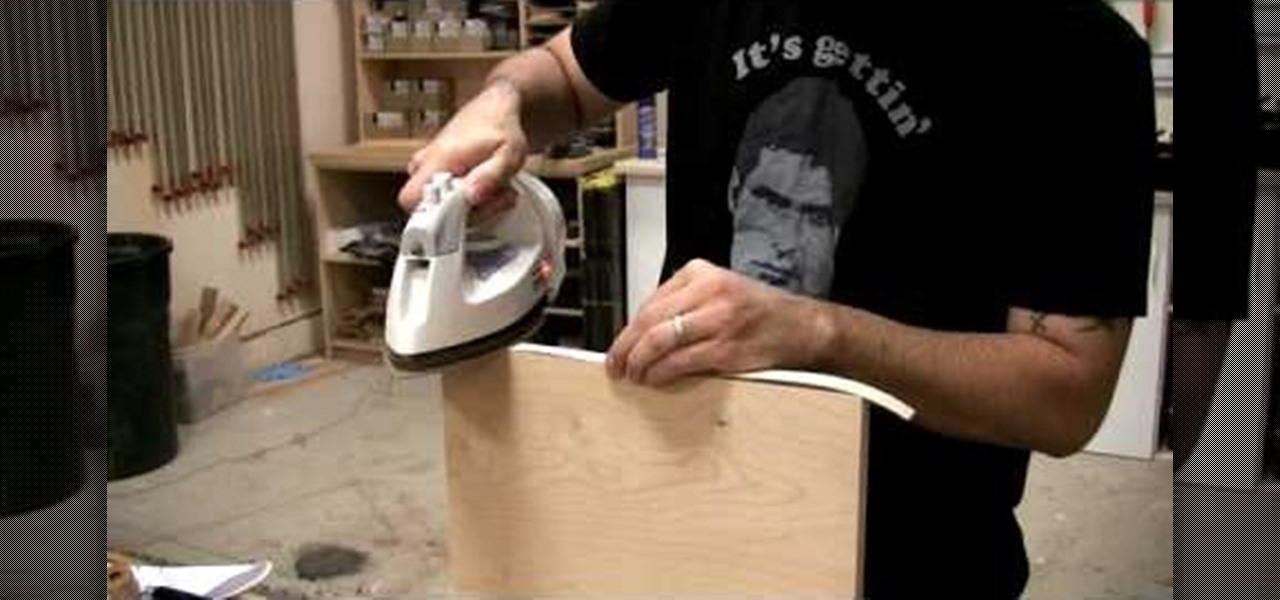
Watch this video to learn a few of the many ways you can cover the exposed edges of plywood. The Wood Whisperer demonstrates how to iron on veneer, thin solid wood, and thick solid wood.

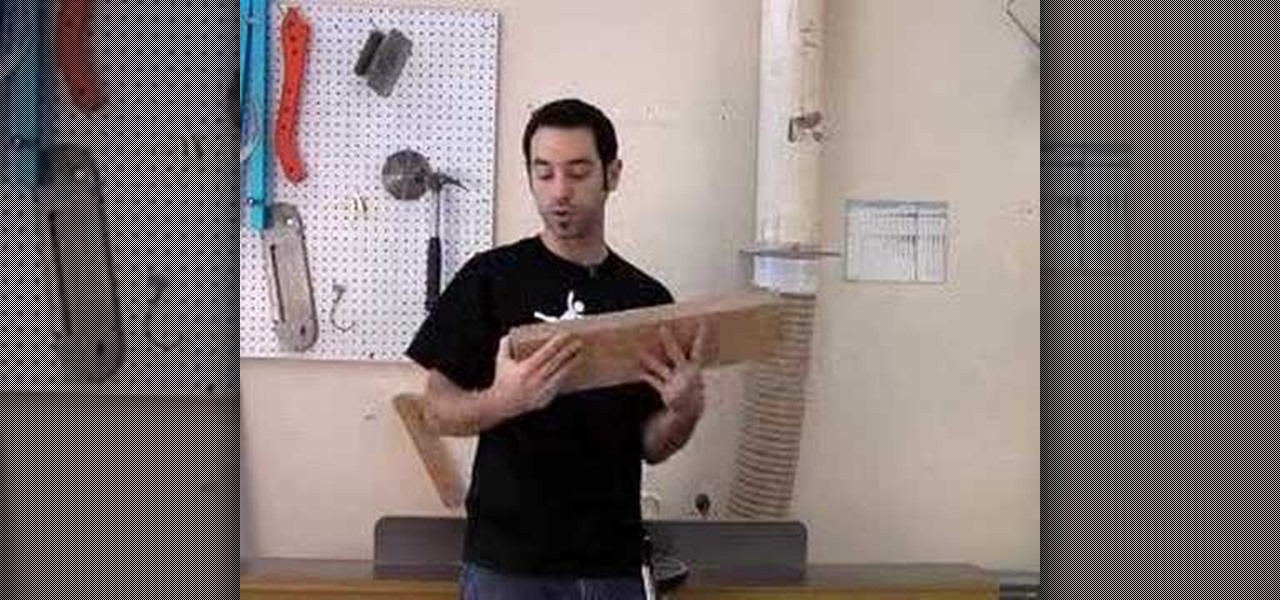
This video explains one of the most critical and fundamental aspects of woodworking: milling lumber. The Wood Whisperer reviews his 4-step milling process, which requires some big tools. Since many folks don't have a fully outfitted shop, he also presents numerous alternative methods for jointing edges and flattening faces. The jointer's jumpin'!!!

Have you taken a photo that's perfect in just about every sense other than one? Like, for instance, that picture of you and your newly minted husband dancing at your wedding reception with your husband's drunken brother getting freaky with one of the waitresses on the side?

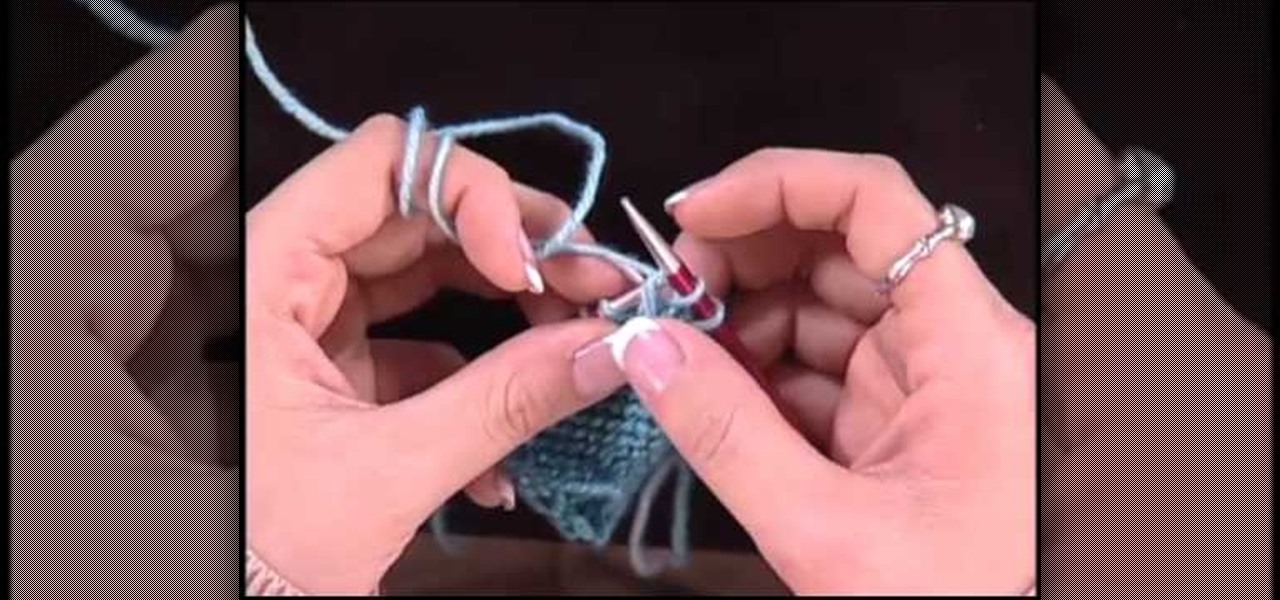
Are you 90% done with your lace shawl but have no idea how to finish the edges so they look rounded, complete, and not raggedy? Then a tubular cast-on may be just what you need to finish up the hems of your project in a professional manner.

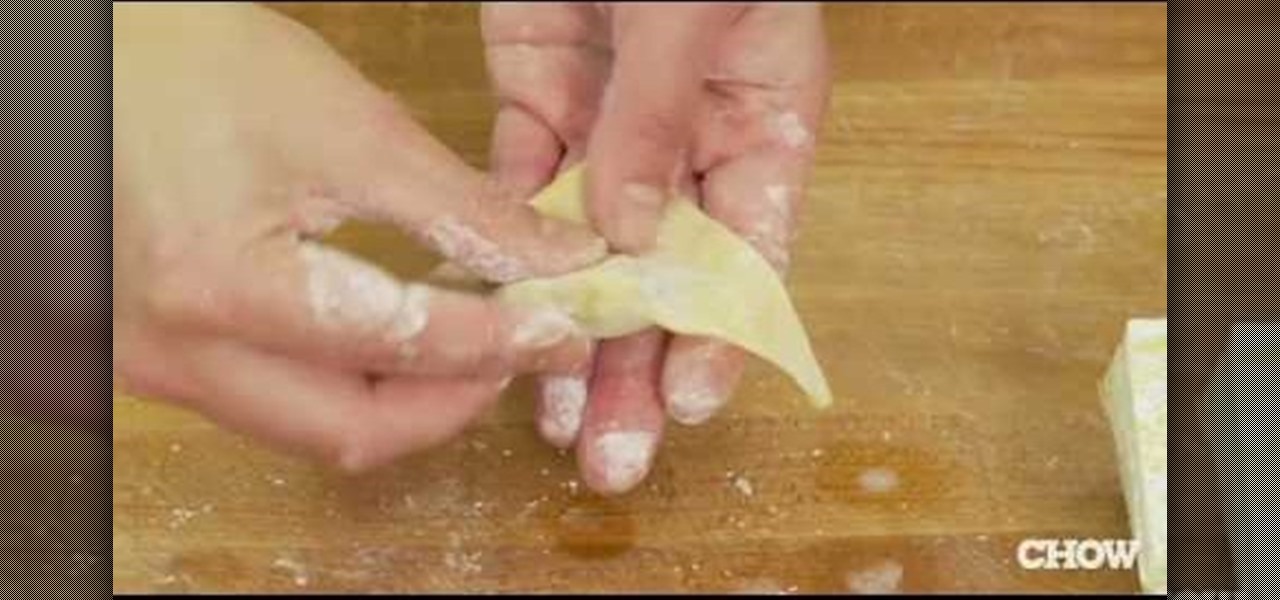
In this video tutorial, viewers learn how to fold won-ton. There are 3 basic won ton shapes: the triangle, flower bud and nurse cap. For the triangle shape, simply fold it diagonally in half to create a triangle and seal the edges. For the flower bud, begin with a triangle fold. Then fold up the spine and bring the 2 edges together. For the nurse cap, fold it horizontally to create a rectangular shape. Then bring the 2 corners together, similar to the flower bud. This video will benefit those...

In this video tutorial, viewers learn how to cut an onion without crying. Users will need to cut out the bulb of the onion. Begin by cutting out about 1/3 of the entire diameter of the onion. Cut it around the root part of the onion and take out the bulb part of the onion. Then remove the brown layer of the onion and cut down from the end point to the root point of the onion. Continue cutting the onion to your desired cut. This video will benefit those viewers who are interested in cooking, a...

You've had pumpkin bags and you've had ghost bags, now you can have a Halloween colored duct tape bag to collect candy in this year. This bag is fun to use and just as much fun to make. Plus, by adding some reflective tape your bag will help keep you safe.

This video illustrates how to light a match while bartending with one hand. Take a pack of match sticks. Slide the paper over the match pointer with your thumb. Fold a match stick backwards to the pack and fold it once at the edge of the pack. A match strip is printed over the edge in pack of match sticks. Just let the match stick rub the match strip using your thumb and the match stick is lighted up. Just slide over the table. Benefit after watching this video: 1. To light a match while bart...

As the best-selling toy of all time, the odds of you once playing with a Rubik's Cube are pretty high. And if you're like me, or even the cube's inventor Erno Rubik, your first attempts likely ended in futility. Every twist, every turn, the cube just gets more and more mixed up. Is there really a solution?

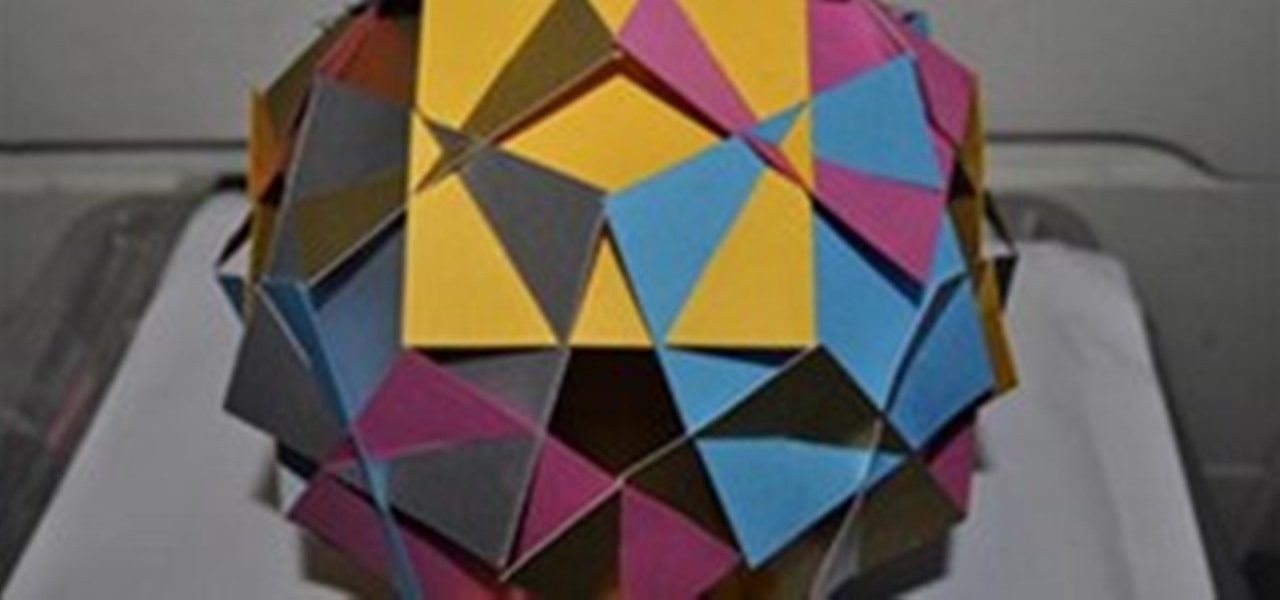
Cory's post with instructions and templates Here's my first attempt at the 30 squares model. I needed to be a little bit more careful in the measuring and cutting as not everything matches up - but it is still a really pleasing shape.

How far would you go to be resourceful? Early Britons used each others' skulls as drinking cups and bowls. Recently, researcher Silvia Bello found human skulls with the top cut off laying in Gough's Cave, England. Skillful cut marks make it look like fellow humans scraped off the dead skin to clean the bone, and chips around the rim of the skull cup make it look like the edges were evened out for a better drinking experience. Researchers have found other skull cups in France and Germany, but ...

Layar is cutting edge AR technology for the mobile phone. Currently for the Android devices and the iPhone 3GS.

Double click an edge, select a loop. That's the main principle behind edge loop modeling in modo. Modo has an entire suite of edge tools available for modeling - this tutorial shows you the basics of edge loop selection and getting started with this method of modeling in modo. Edge loop model in modo.

The Galaxy S7 edge comes with a feature called Edge Apps that lets you quickly launch your favorite apps by swiping in from the edge of your screen. It's a natural and intuitive gesture, and as a result, we've seen a recent influx of apps that look to emulate this feature.

Smoked foods are popular all over the world, but most of us don't have smokers at home. If you want smoked salmon, brisket or Gouda, you usually have to go out and buy it. Outdoor smokers aren't usually an option for city-dwellers, and the indoor versions can be pricey.

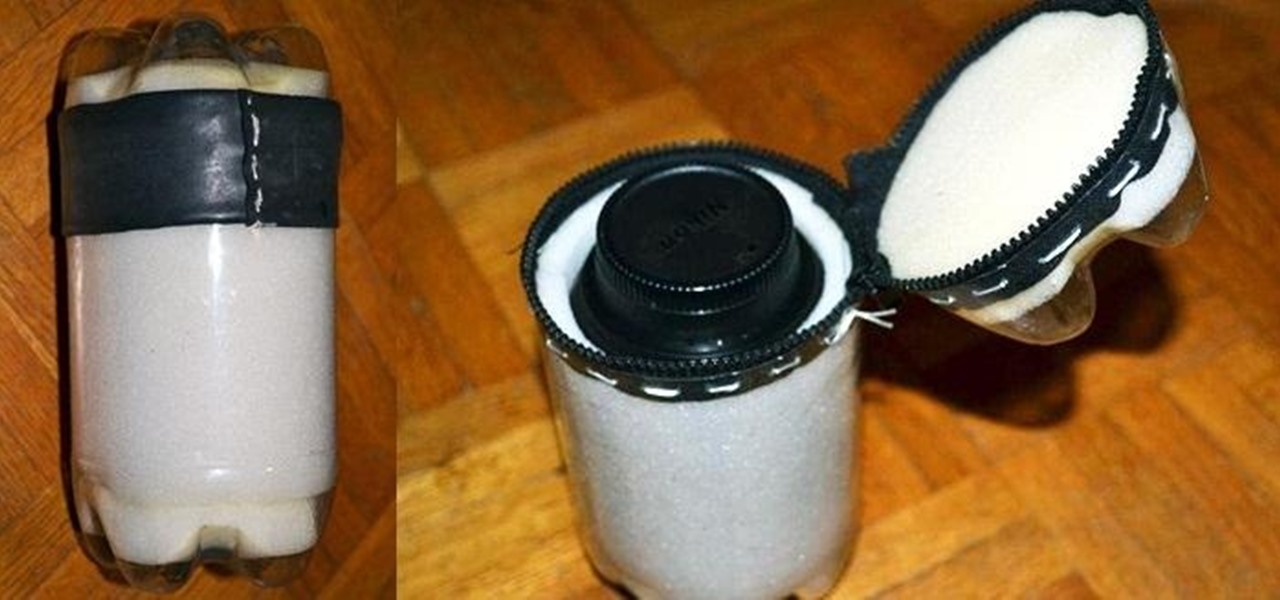
When you have a lot of equipment, dragging it everywhere with you can be a pain, especially when the weather's bad. Sure, you can put it in a camera bag, but a lot of them don't protect your stuff from water, and waterproof cases can get expensive.

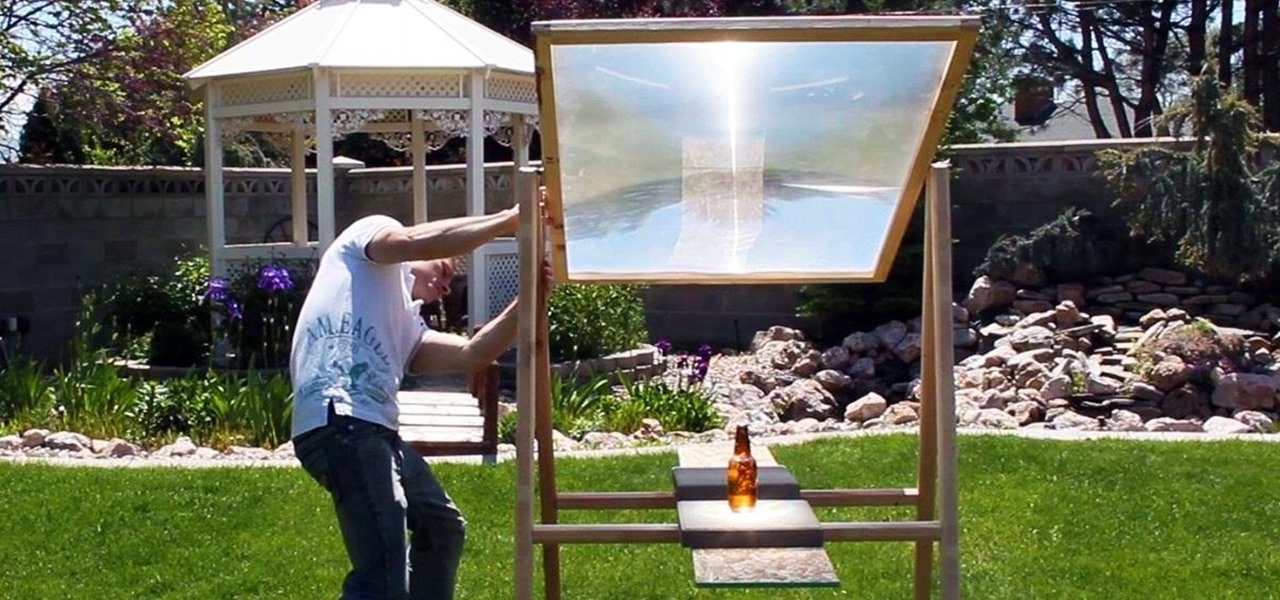
Here is how you can build a frame for your MEGA SOLAR SCORCHER in under an hour, and for less than $8!! This is effectively a 4 foot magnifying lens that concentrates insane amounts of heat from the sun. What would you do with all this free solar power? My design for this custom "Scorcher Frame" is easy to use, and incredibly cheap to make, as you can see in this step-by-step video.

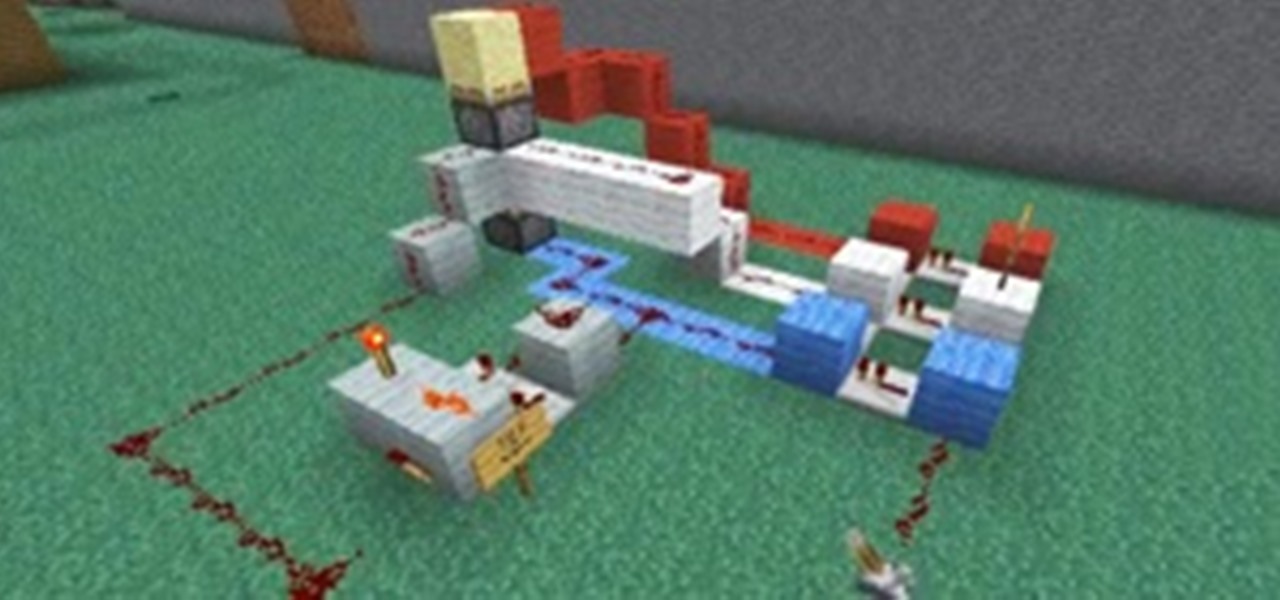
Okay, you can't really become the king of the world by stacking three pistons. For that, you have to stack four pistons.

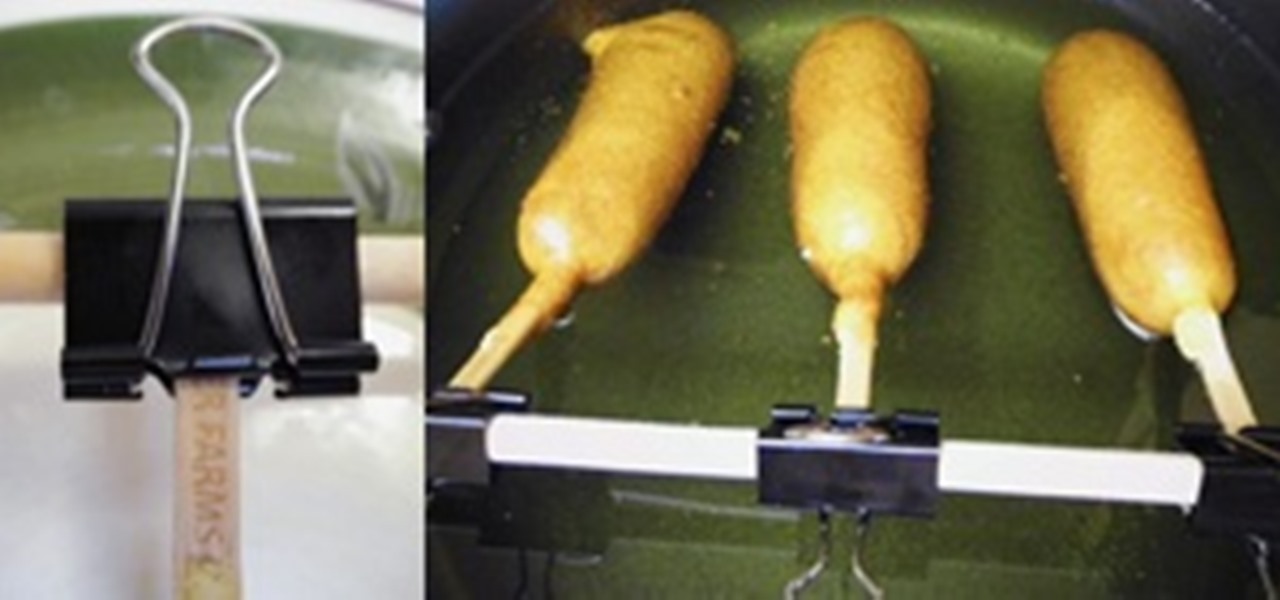
Fairs and festivals are awesome, and one of the best parts about them is the food. Sure, it's all deep-fried and terrible for you, but it's so delicious. It's also always on a stick, which makes eating fried food even easier for us fat Americans.

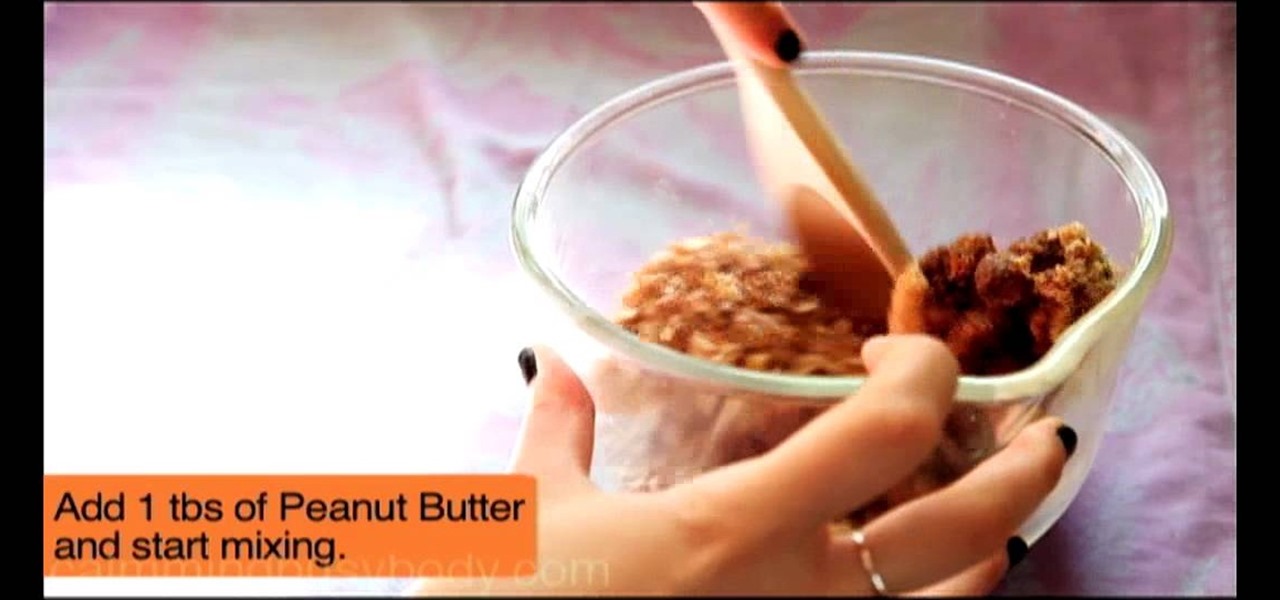
Try making your own granola bars instead of buying them at the grocery store. You could just surprises yourself. They may taste better. Start out by trying this recipe for peanut butter and banana nut granola bars. They're made of all natural and healthy ingredients, plus they're a cinch to whip up!

In order to make a piecrust from scratch, you will need the following ingredients: flour, cold butter, cold water, salt, sugar, and a pie plate.

Apple pie is the classic dessert enjoyed anytime, breakfast, lunch or dinner! And granny smith apples make the best filling. This golden, crisp apple pie is delicious with cinnamon, whipped cream or à la mode. Watch the full video recipe for baking apple pie with Chef Hubert Keller.


