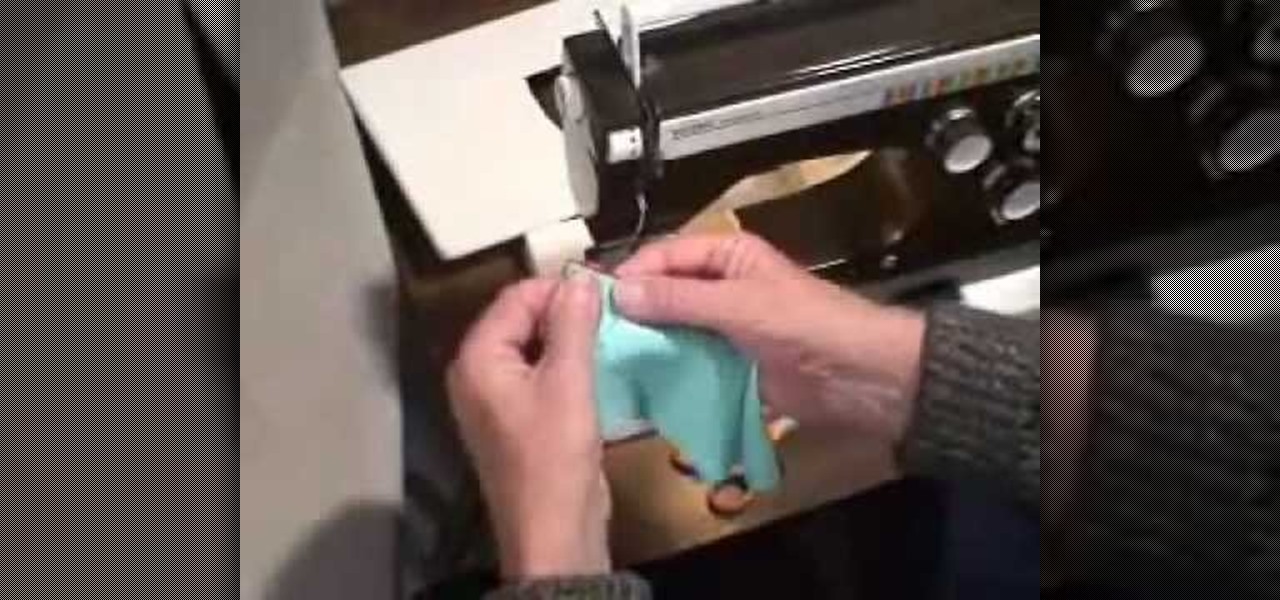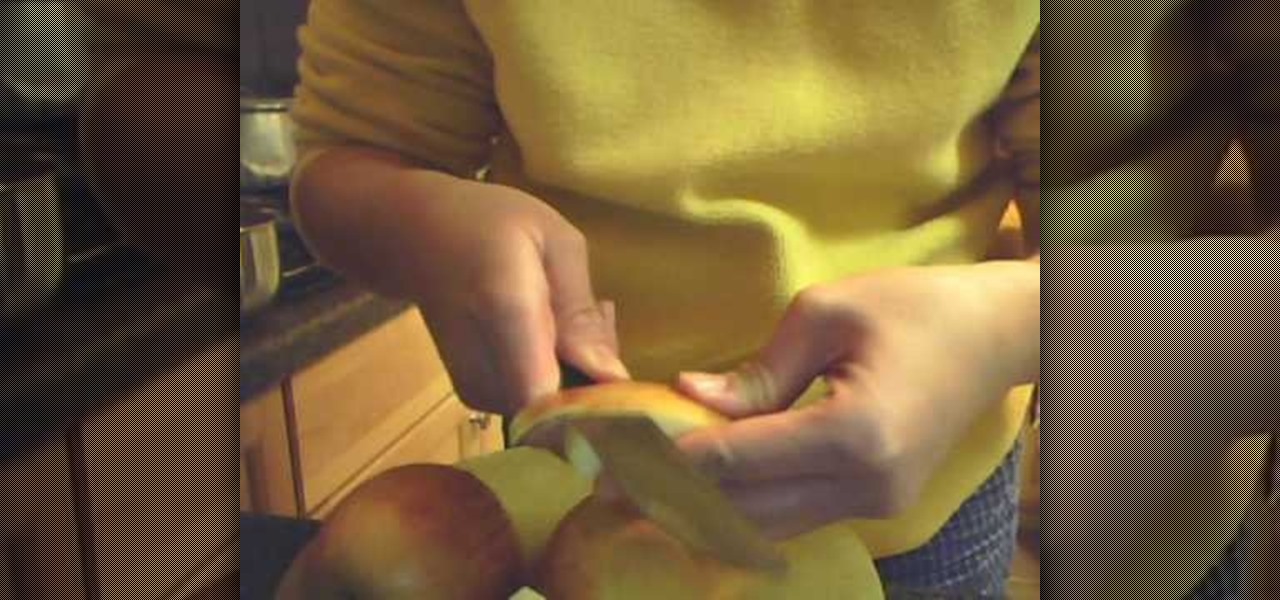
In this tutorial, we learn how to pick up stitches along a curved edge. You can see the slope on your fabric that you can work with. If you slip the first stitch you can avoid this. First, slip the first stitch and then bind off the next stitch as usual. This will create a nice curve. To pick up stitches, you will use a circular needle and then poke it through the area in the last row. Find a 'v' shape and then push the needle through this. Pull through just like you are normally knitting and...
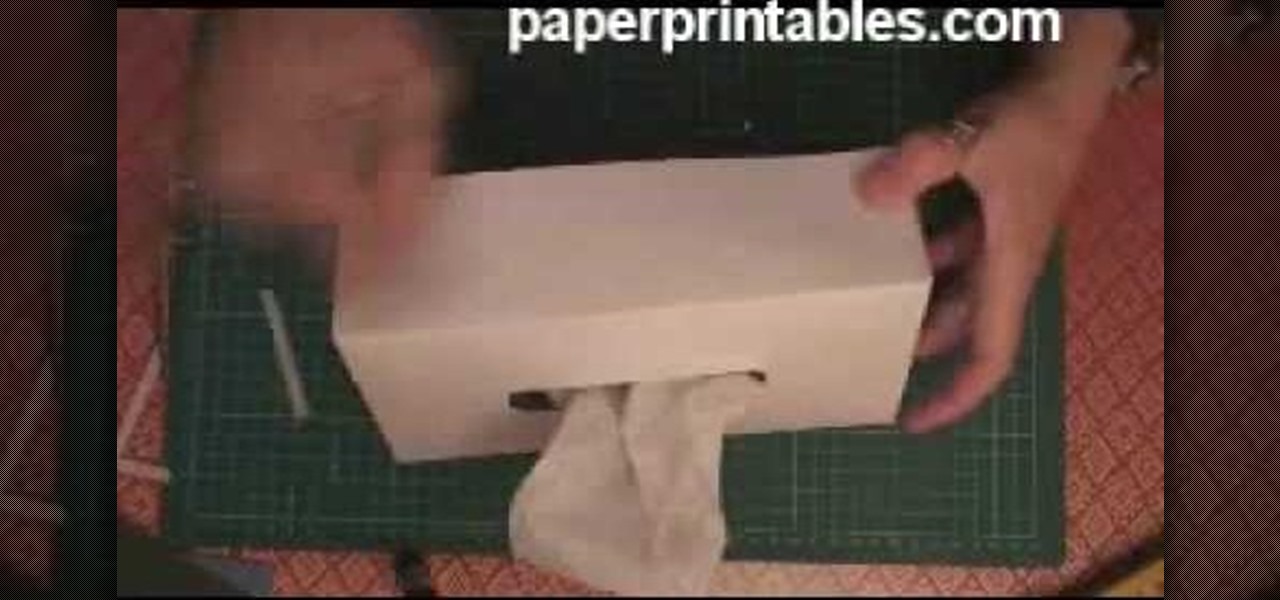
In this video, we learn how to make a decorative tissue box cover. First, you will need to get a piece of paper in your choice of color and set your tissue box on top of it. Use different colors of paper to trace out the edges of the box and then you will tape them all together. Make edges off the paper when you trace them so they fold over. When finished, you will put this onto the tissue box. You can also decorate this with any accessories that you would like to add a personal touch to the ...

In this tutorial, we learn how to install a zipper into your knit. The first way you can do this is to take it to a tailor and they will do it for around $15. To do this by hand, grab your piece that needs a zipper and then steam the edges. After this, take a sewing needle and start to sew the zipper underneath both sides of the edges of the piece. You can also use pins to place into these so it stays in place. Do a backstitch also, to help make the zipper more sturdy and stay on longer.
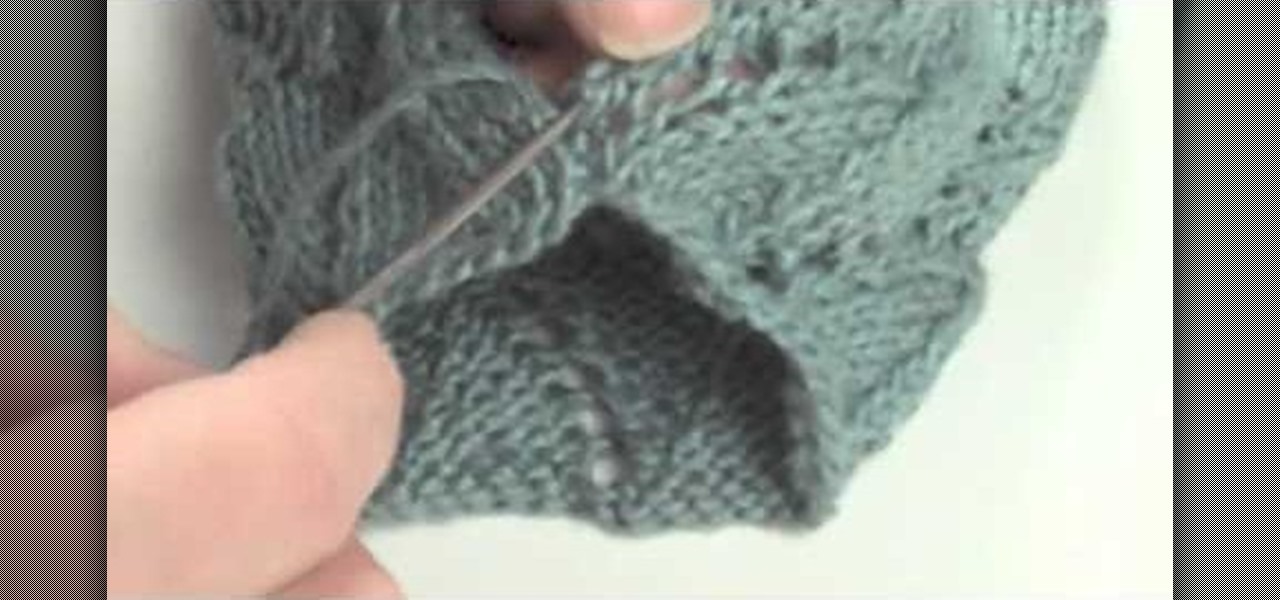
In this tutorial, we learn how to do the mattress stitch. First, lay the pieces flat and thread yarn tail onto the needle. Next, you will anchor the yarn to the bottom edge of the opposite piece. Then, go back through the side and find the tunnel of horizontal bars, one stitch in from the edge. Continue to do this around the stitches to combine them together. Keep alternating sides and just do one bar at a time to get the best results. You can do two bars at a time if you are comfortable with...
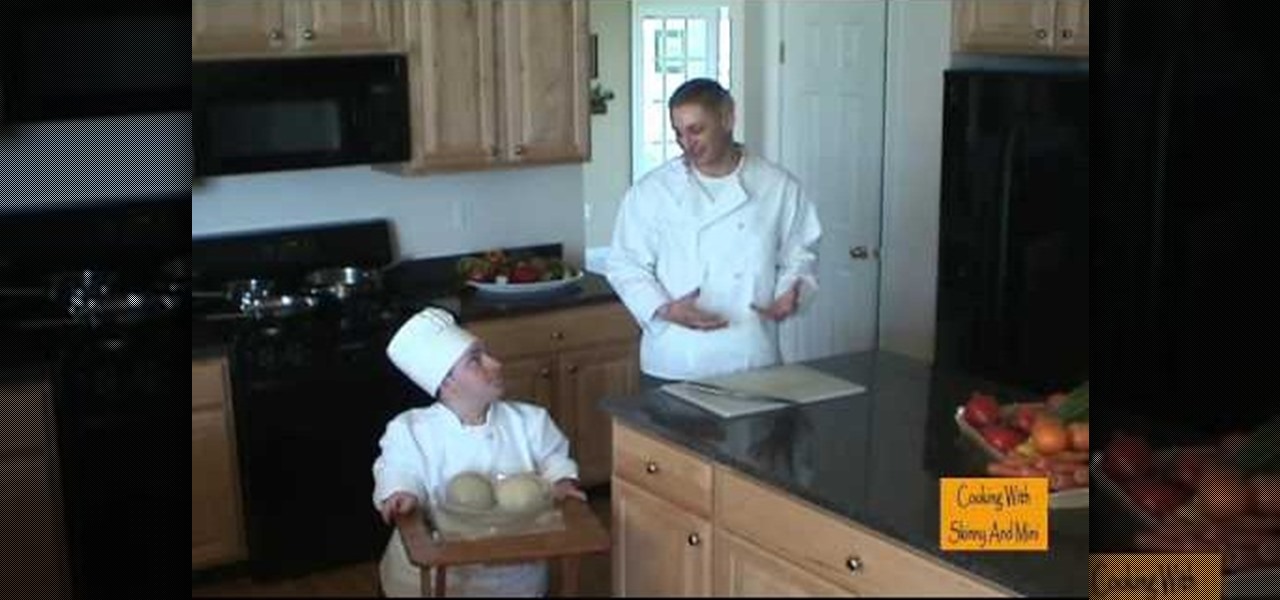
In this tutorial, we learn how to prepare a cantaloupe. First, cut the top and the bottom off of the cantaloupe. After you have these cut off, take a sharp knife and cut from the top to the bottom of the fruit. Cut just the skin off, making sure you get the least amount of orange left on the skin when it's cut off. Continue to cut all the way around the cantaloupe until there is no more green or skin left on the fruit. After this, cut the fruit in half and then scoop out all the seeds. From h...

In this video we learn how to use a table saw with Skil & Lowe's. The rip cut and the cross cut are two cuts that are most useful. A rip cut goes with the grain of the board to cut it to width. The cross cut goes against the grain and cuts it to length. First, position the board next to the blade and then raise the blade. The blade should be just above where the board is at. Slide the rip ends over to the dimensions you want and then lock it down. Put your safety glasses on, then turn on the ...

In this tutorial, we learn how to apply red eyeshadow with glitter eyeliner for a party. Start by applying a red shadow all over the eye, out into the outer corner of your eyes. Next, add a black color to the outer edge of the eye and blend in with the red in the crease of the eye so there are no hard edges. From here, apply a pink and white shadow underneath the eyebrow to create a highlight. Next, you will take a glitter eyeliner and apply it to your upper lash line, then take a small brush...

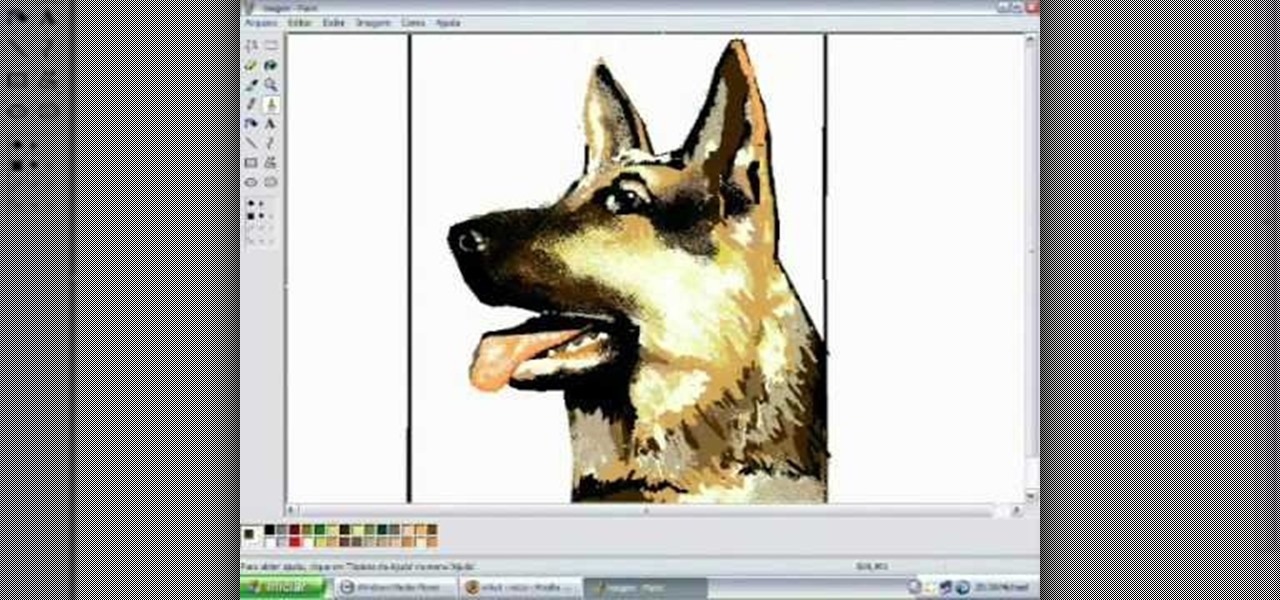
In this tutorial, we learn how to draw a dog in MS Paint. You will do this by using Paint and your mouse, not using a tablet or a pen on the PC. Start out by drawing the outline of the dog in the middle of the page. Next, fill in the nose, mouth, and eyes with black. Then, color the tongue and draw on the ridges of the teeth in the mouth. From here, you will spray paint the color of the dog onto the edges. Spray brown around the edges, then add in white, tan, black, and other colors to make t...

In this tutorial, we learn how to create a Kim Kardashian-inspired cat eye makeup look. Start by using a nude color eyeshadow on the eyes and tape to create an edge on the outer corner of the eye. After you do this, apply a white shadow underneath the eyebrows to create a highlight. Now, take a gray eyeshadow and apply it to the entire eye up until you reach the crease. Blend this out to the corner of the eye. Then, take a thick black eyeliner and apply it to the upper eye, creating a cat eye...

In this tutorial, we learn how to draw bat/demon wings. Start out using a light pencil marking to make the outline of the wings. You will want to draw wispy lines and make them light to create a light effect on the ends. Once you have the outline finished, use a hard pencil mark to draw over it. Create large wings with hard edges and mark in lines along the middle and the edges of the wings. After you have done this, make sure there is another wing on the side of the wings and then shade to f...

So, in The Pillar of Autumn mission in Halo: Reach, if you're feeling like ammo is a little scarce, at least for the weapon that you're using, and are looking for an edge on the battle field, try making an entire ammo cache pop itself out of a wall! Yes, this is possible, and the only way that you can do it is by watching this video to find out!

In this video, we learn how to quickly make an origami kusudama. This only requires six pieces of paper to make. First, fold one piece of paper into a triangle, then open it up and fold it in a triangle on the opposite side. Open this back up then flip over. Bend in the edges to make a new triangle, then press down the creases on the side. Bend the middle of the triangle up to the point on both sides. Bend these back down, then fold over the side and make a crease. Open up the bottoms where y...

In this video, we learn how to build a bionicle switchblade. Start with the piece of the blade that has holes inside of it. Then, start to connect the edges and the other pieces that go inside of it. Grab the piece for the blade, then lock it into place by attaching the elbow pieces that connect around it. Once you have connected these together, you will have one entire piece with the blade on the very edge of it. The end of it should be bendy, so grab a rubber band that is thick and wrap it ...

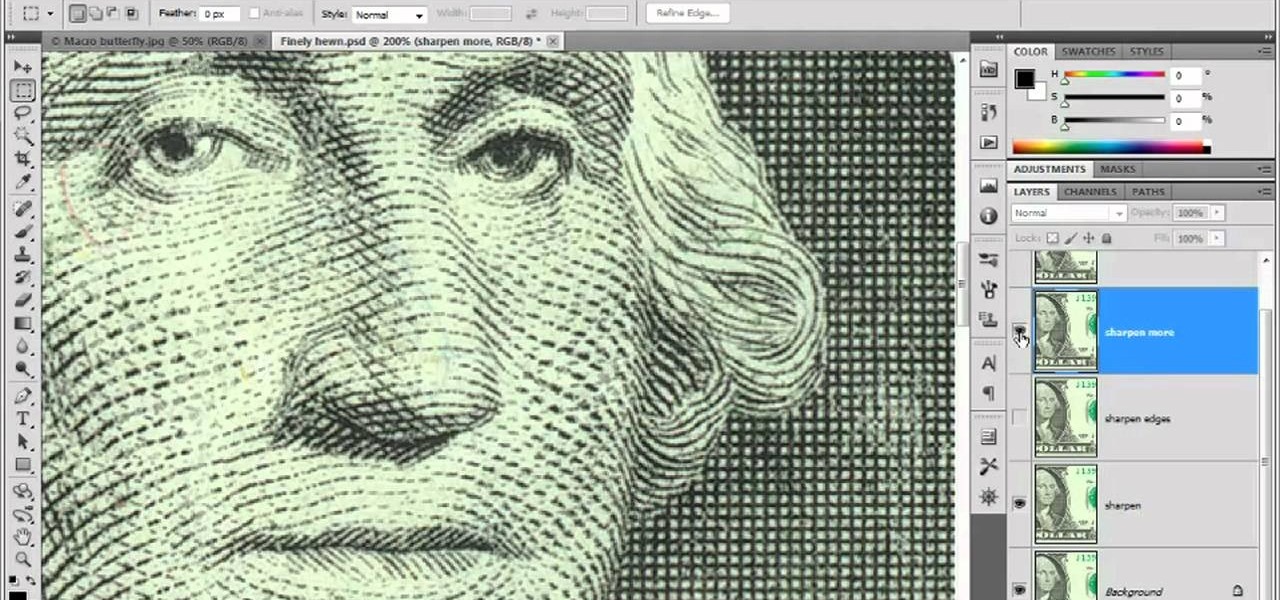
Looking for a general introduction to Photoshop CS5's single-shot sharpener tools? Well, you're in luck, as this clip presents just that. Whether you're new to Adobe's popular raster graphics editor or a seasoned designer looking to better acquaint yourself with the new features and functions of the latest iteration of the application, you're sure to benefit from this free software tutorial. For more information, watch this video guide.

In this two-part video tutorial, you'll learn how to use Magic Bullet Colorista to color grade and color correct your digital video when using Final Cut Pro Studio. Whether you're new to Adobe's popular motion graphics and compositing software or a seasoned video professional just looking to better acquaint yourself with the program and its various features and filters, you're sure to be well served by this video tutorial. For more information, including detailed, step-by-step instructions, w...

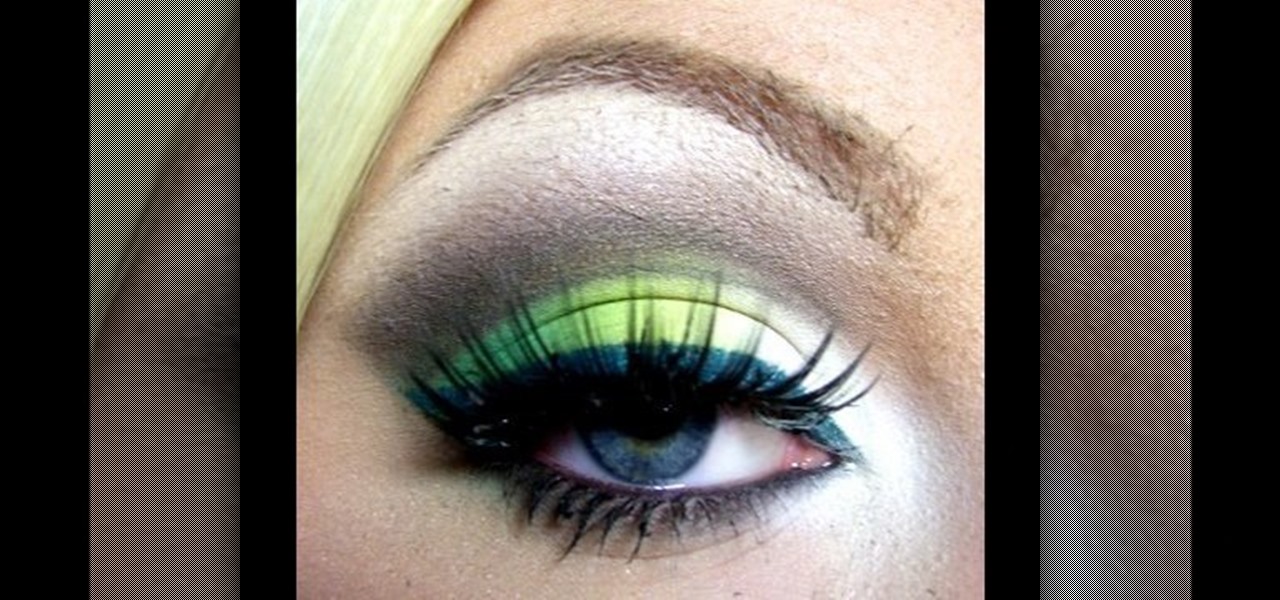
In this video, we learn how to get a spring makeup look with greens and whites. Start by applying a highlight underneath the eyebrow, brushing it on slowly, then blending down. Next, apply a white eyeshadow to the inner corner of the eye, into the middle of the eyelid. Follow this by applying a neon yellow color to the middle of the eyelid, then slightly blending the two colors together on the edges. After this, apply a dark green shadow to the outer edge of the eyelid and blend with the neon...

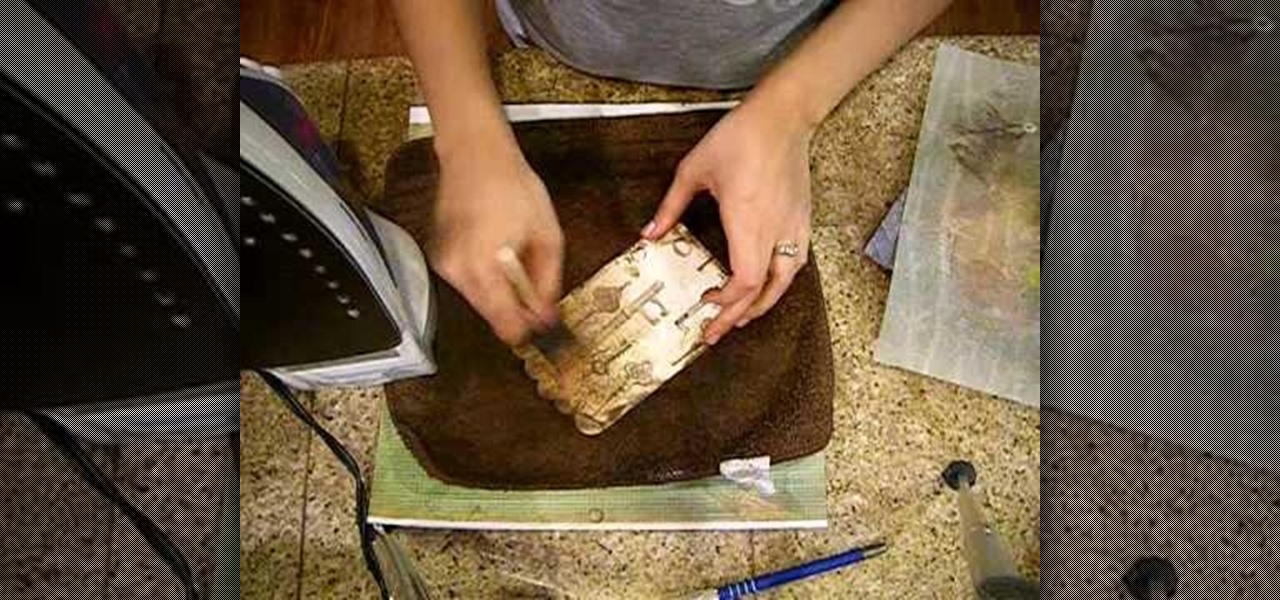
Crinkle top part and go over it with distress ink. Do edges front and back. Put extra ink on scallops. Spray with mustard seed and tattered jewels, olive vine and pine cone to add color. Place paper on pocket and iron on both sides. Spray with iridescent gold. Use brush to spread out. Iron again on both sides. This process makes it look aged. Take a film strip and spray with tattered leather. You want to use an iron when spraying grunge board with tattered jewels because it will make it seep ...

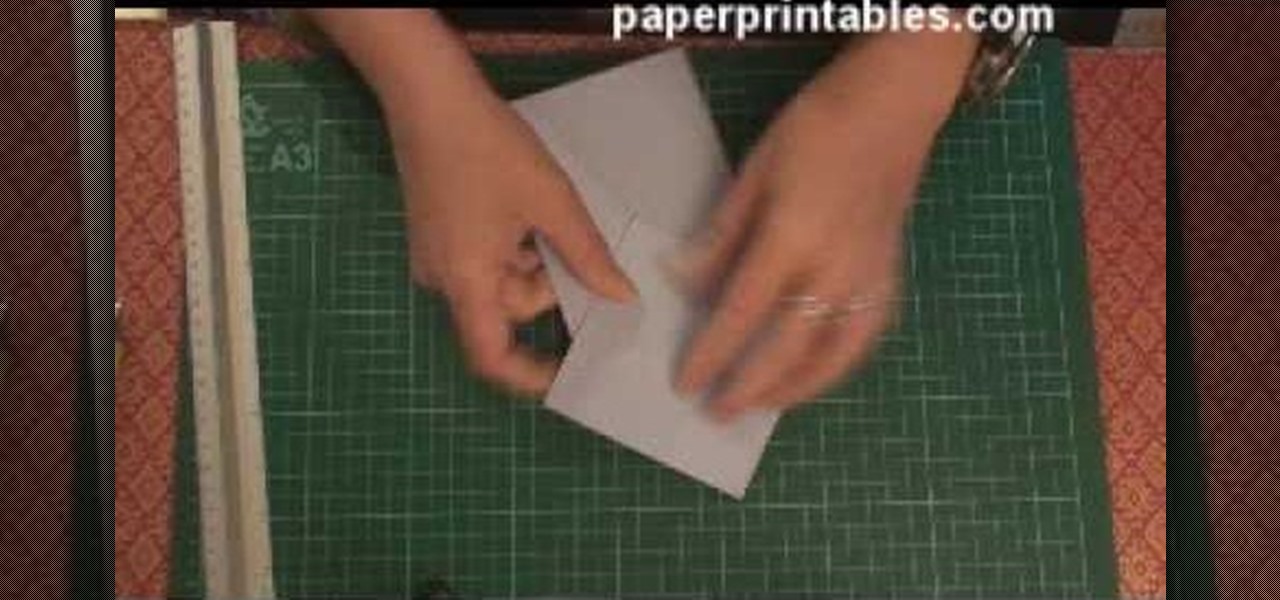
In this video, we learn how to make a box. First, fold the piece of paper into a triangle, then another triangle. Now, unfold the paper and fold all the sides into each other, making a square. After this, fold in the sides once more, making sharp creases on the edges. Now, open up the paper and do this again on the other sides, opening up again when finished. Now, fold the sides of the paper and turn it upside down. Follow the creases that you just made to fold the box up into a secure box. M...

In this tutorial, we learn how to edge finish with lingerie elastic. First, grab your elastic and place it onto your fabric. Line up the elastic so it matches in perfectly with the fabric. Use a sewing machine to sew the elastic onto the fabric. Go slowly while you are doing this and lift the elastic in your hand as you continue to sew it on the fabric. When you get to the end of the fabric, the elastic will be sewn on, and you will be able to wear it! This only takes a few minutes, just make...

In this tutorial, we learn how to use a stud finder to locate your wall studs. First, you will use your stud finder tool and place it against a wall. It will go off when it has found the edge of a stud. Place the finder against the wall then slowly move it until the red light on the top beeps. Move it around to make sure you know exactly where the stud would be located. The finder will go off wherever the edges of the studs are to help you pinpoint exactly where the stud is. You could get wro...

In this tutorial, we learn how to make a bunny shape out of an apple. First, grab your apply and cut it in half using a sharp knife. Next, cut a quarter out of one half of the apply. Now, take that cut quarter and cut out the very middle of it. Next, make a v-shaped cut on the outside of that same quarter. Next, cut another quarter out of that same half and make the same cuts as the one before. Cut two more quarters out of the remaining apple and remove the skins. Place the apples in an ice b...

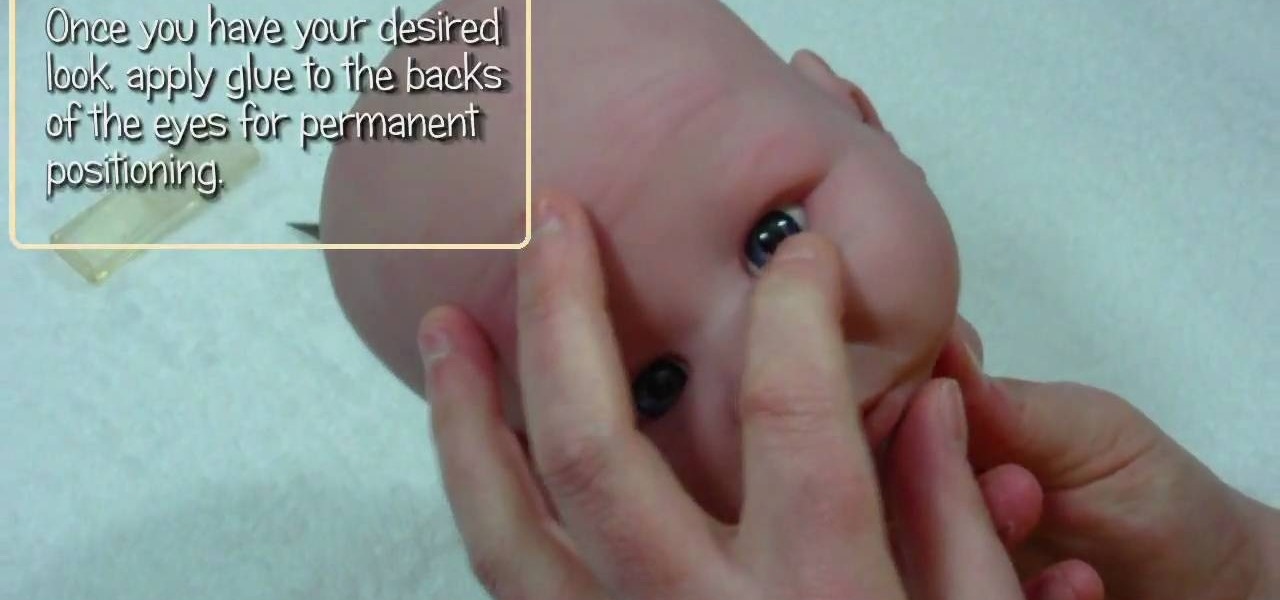
In this tutorial, we learn how to insert eyes from the back of a Reborn baby doll. To do this, you will need: a cutting knife, glues, and the correct type of eyes for your baby doll. Start off by cutting the vinyl on the back of the head, using your thumb to push the socket back into the head. After this, cut the bottom half just enough to push the eye through the socket. Insert the eyes into the cuts that you made, letting it sit flush to the vinyl. Look at the front of the doll to make sure...

In this tutorial, we learn how to mix purple & silver for a dramatic makeup look. First, apply primer to your entire eye lid. After this, use purple paint and brush it onto the outer edge of the eye and the crease on top. Next, paint the purple under the brow bone, and then paint a darker purple underneath the first purple. Use light blue on the inner edge of the eye, then paint purple underneath and add eyeliner to both the top and bottom of the eyes. Use a small black brush to outline where...

This video tutorial is in the Home & Garden category where you will learn how to install an interior door set on a pre-bored door. For this you will need a tube latch, straight plates, door plates, two knobs, two sets of ring guides and a spindle. You will also need a tape measure, ruler, screwdrivers, a drill and safety glasses. A pre-bored door has a face and an edge bore. First install the tube latch through the edge bore ensuring that the angle side of the tube face is towards the door ja...

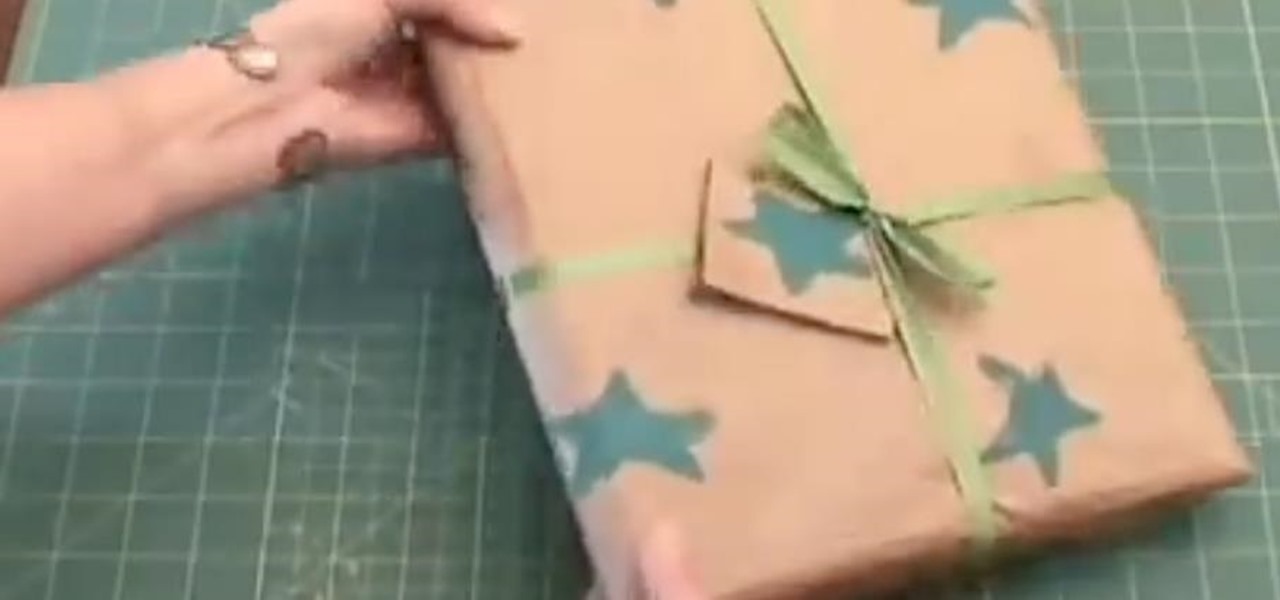
In this video tutorial, viewers learn how to gift wrap using recycled material. The materials need for this project are: a potato, large paper bag, tape, ribbon and paint. Begin by cutting the potato in half and draw a simple shape onto the sliced surface of the potato. Then cut out the negative part of the shape with a knife. Now open the bottom of the paper bag and cut down the side so that it lays flat. Then brush some paint onto the potato stamp and press it down along the paper to form a...

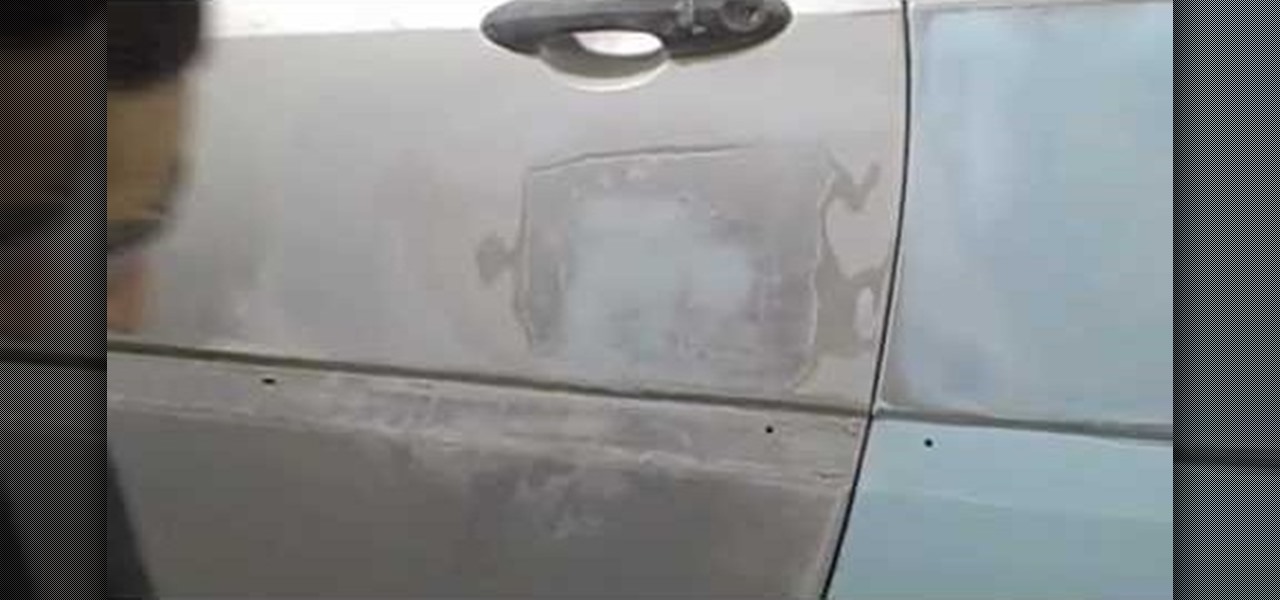
To apply glaze putty to your car, after it has been damaged, you will need the following: 80 grit sandpaper, goggles, respiration mask, putty

Mirror's Edge was an okay game, but the demo was one of the best ever made. It would have made a worthwhile budget game purchase by itself! If you, like many, got the demo but not the full game, this video will show you how to extend the life of said demo by teaching you how to escape the confines of the map using a glitch. A lot of the fun of this game is exploration, and now you can do more of it!

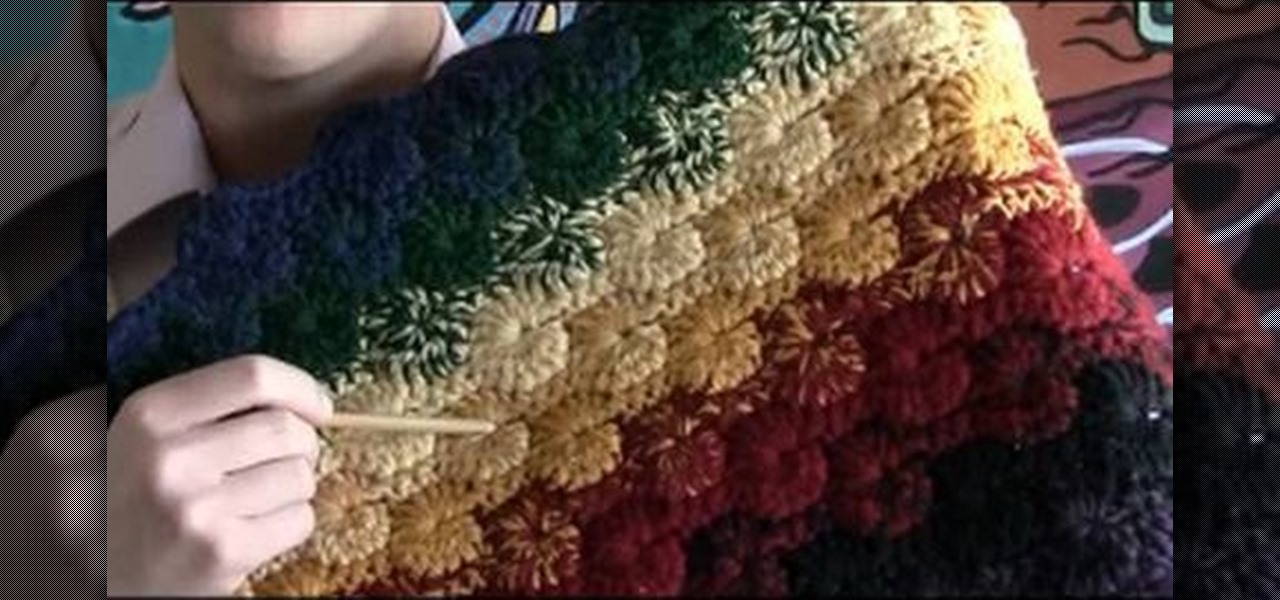
This left-handed crochet tutorial teaches you how to complete a Catherine wheel stitch, which consists of a row of vibrant pinwheels surrounded by an undulating, wavy edge.

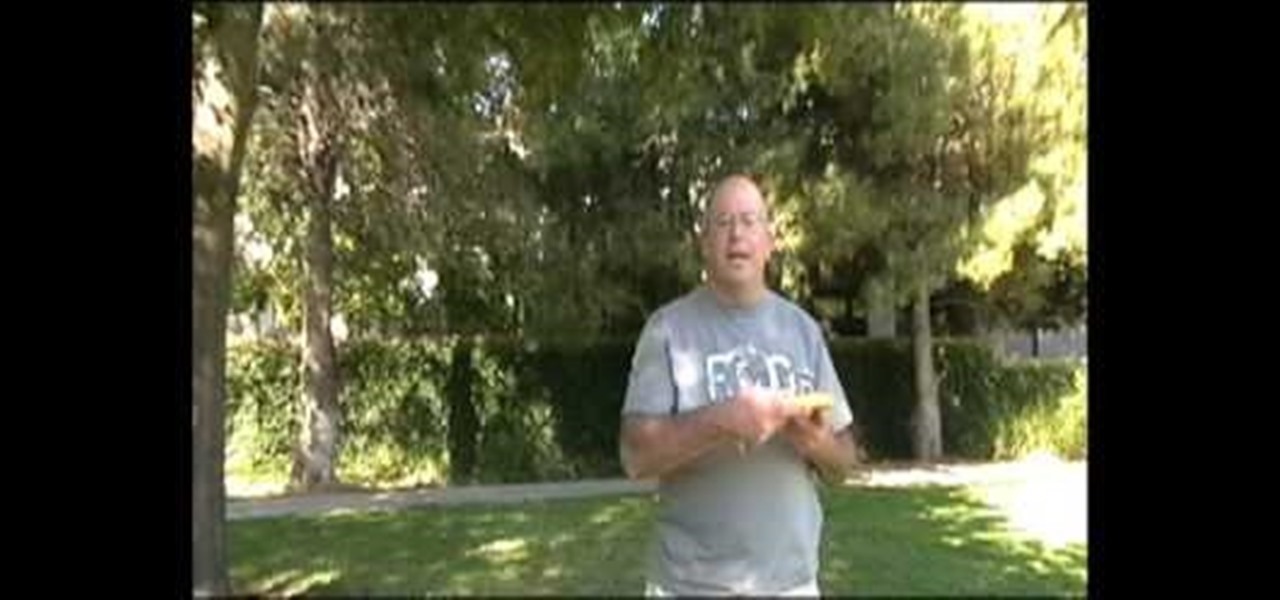
This is a demonstration of how to throw the frisbee the correct way.The idea of frisbee developed in a college campus in 1920 where students use to throw empty pie tins after eating the pie made by Frisbee Pie Company.Frisbees are available in the retail market for about $3.00.The convex side of the frisbee has ribs and edge is rounded.The frisbee is held in the palm with the thumb on top,over the ribbed portion,the index finger is kept along the edge and rest three fingers below into the con...

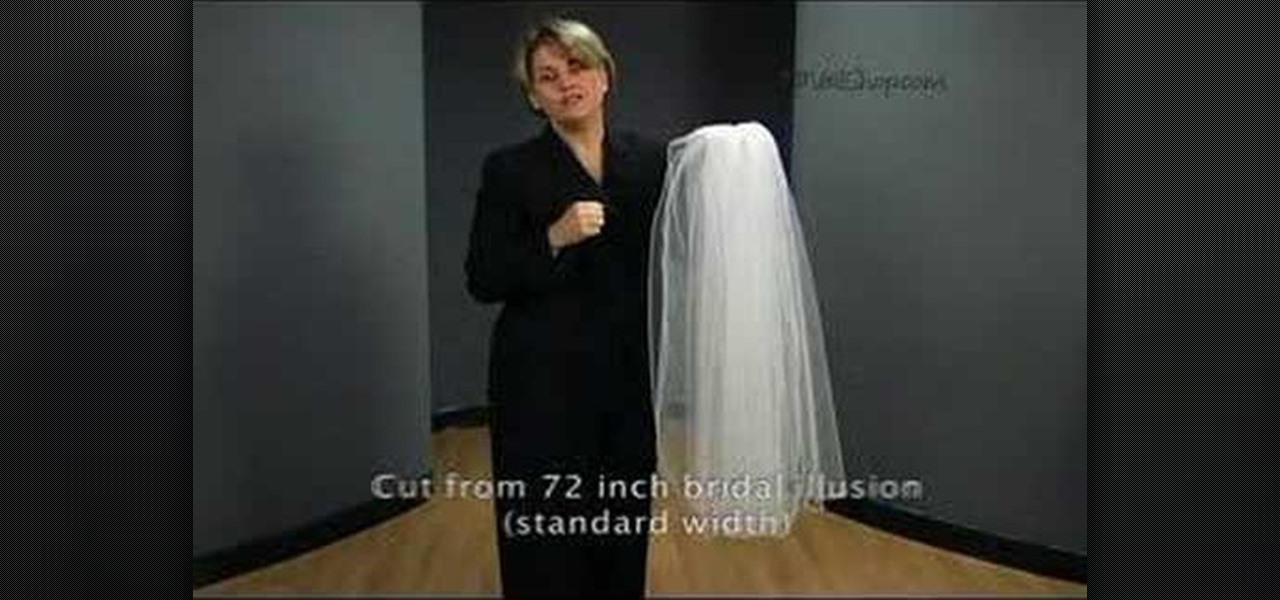
In this video tutorial, viewers learn how to cut an oval style wedding veil. The oval cut veils are exactly like the standard cut, except the sides are straight and the corners are curved. Only begin cutting 72 inches from the bridal illusion. Do not cut the veil any less than that. The standard width is 72 inches. The oval cut veil creates a more angular/squared off look. The oval cut style is only available in 2 layer styles. This video will benefit those female viewers who are getting marr...

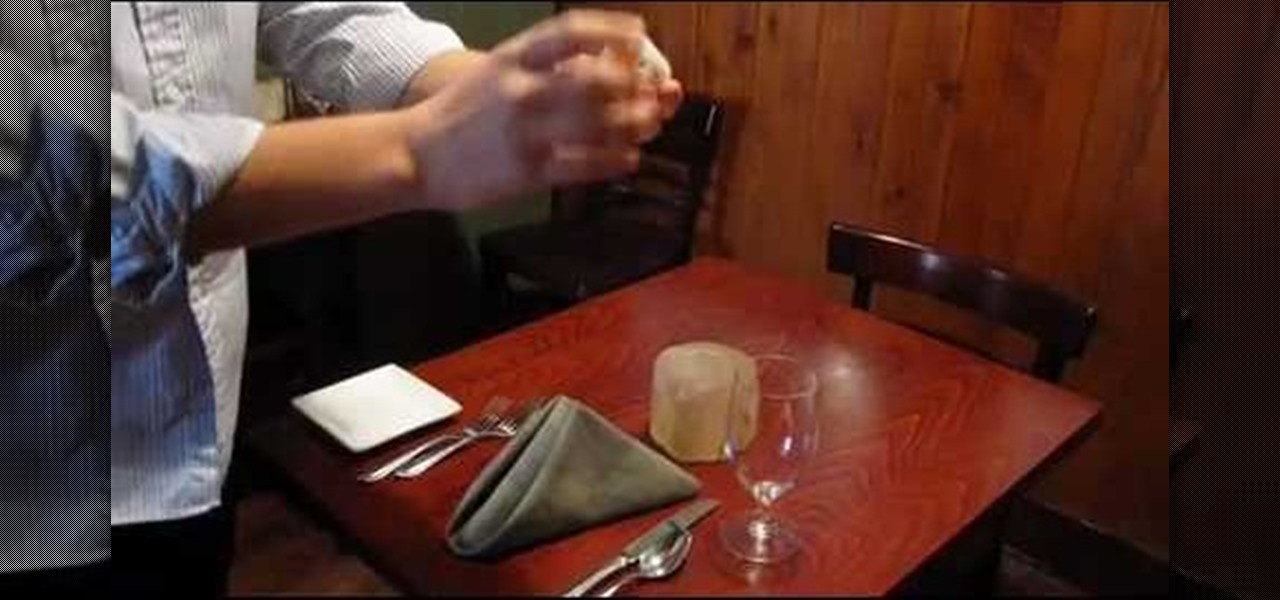
This video is a tutorial on how to set a table in a restaurant. The table should first be wiped thoroughly with a product called Thieves, a mixture of organic oils that contains no chemicals. Be sure it is dry before people are seated.

Tut Teacher shows that if you're going to edit alot of pictures, learning to change your eye color in Photoshop is helpful.Go to Photoshop and open "human eye", zoom in and it gives more room to work with. First, go to your lasso tool, hold down and click. You can click and drag or click along the outside edge. Set to 6 pixels, more or less depending on the image. Make sure you don't click on scanner..it'll make the image go crazy. Keep clicking along the edge there'll be a symbol on the circ...

Save some money on your energy bills by making an attic stairway box. For less than twenty five dollars, all you need is caulk, UL181 masking tape, insulated sheathing, and rubber foam sticky tape. Measure the width, the length, and the depth of the attic stairway opening. Lay the insulated sheathing down on the floor and get a straight edge. Take those measurements and create a rectangular box. Mark out six pieces to create the parts of the box – two large top pieces, and four shorter side p...

In this instructional video, the host will give you detailed instructions on how to sharpen your blades primarily using coarse, medium, and fine Arkansas sharpening stones. How to oil your stones, how many strokes on either side, and the different angles that can be used are just some of the helpful hints included in this short tutorial. The instructor also includes information on how to sharpen your knives in a pinch using any leather belt, how to align your blade's edge using a steel, and h...

In this video Pro Rider Matt Crowhurst talks about the wake jumps and what needs to be done to execute them. At the beginning of the video Matt says that in order to execute them one has to mater the perfect riding position, being in ease with moving left and right, inside and hillside edge, crossing and execute smooth turns. For executing wake jumps one has to concentrate on three major areas-1. Starting out wide, cruising along and a flat board.2.A progressive edge3.Holding that edge and po...

This is a USA fire and Rescue's favorite recipes segment. To make this quiche you begin by preheating the oven to 350 degrees Fahrenheit. After that you combine cheese, and flour (the thickener) in a mixing bowl and toss them until the cheese is lightly coated. Next, add beaten egg, and pepper. Mix again. Now you need to add cooked and drained broccoli, and drained mushrooms. Mix again. Pour into a pie shell and cook for about an hour, or until it sets. A good tip is to cover the edges with t...

Chef Dan Bobo explains the proper way to clean and cut a whole pineapple, putting safety and cleanliness first. The first step is to wash the pineapple. Then, you can start cutting it: First, try to find the flattest side of it by rolling it over the table. Then, hold it firmly, make sure you keep your hand clear the knife and just cut the top of it. Discard the cut piece and repeat the same to cut the bottom of the pineapple. Now, you can use the new, flat surfaces of the pineapple to cut th...

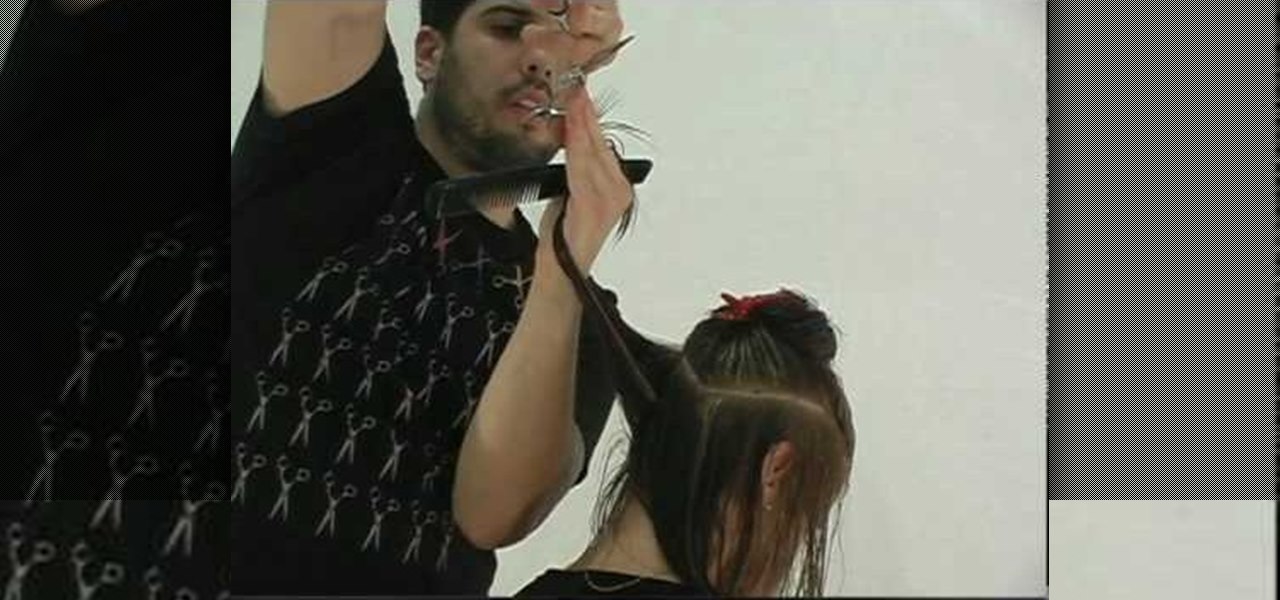
This video illustrate how to do long layered hair cut step by step. Here are the following steps:Step 1: First of all clean your hair and then take all your hair and hold them through a clip.Step 2: Now release a inch of your hair from the lower bottom and cut it.step 3: Now release the upper inch layer and cut it slightly above the lower most layer.Step 4: Similarly take the next layers and cut them so that each layer has sharp cutting and is differentiated easily.Step 5: Release hair on the...

This tutorial will focus on how to use the fit image function within Adobe Photoshop. You will utilize this function when you want the pixel width to match between different sized photos in portrait and landscape. First you will select all the photos (you must create a batch action in Photoshop). Next select the fit image option in the file menu under automate. You will need to put the same number into length and width to constrain the proportions of your landscape and portrait photos have th...

Watch this video to learn how to make a stunning diamond topped 3d card from a single sheet of A4 paper! 1. You'll need one A4 sheet of paper and some printed papers to decorate. 2. Score at 10. 5cm across length and 10. 5cm from one end. 3. Crease both scores in the same direction (mountain folds). 4. Turn card over mark 13cm from top on centre line an 17. 5cm from top on both edges. 5. Score from central 13cm mark to 17. 5cm mark on each edge. All printed papers used in this tutorial are av...


