If you have a beautiful Annual flower bed or a formal bed with lawn on one side you'll want a clean edge between the two. It not only looks nice but keeps weeds from encroaching into the bed helping reduce maintenance. There are several ways to create a nice edge to your beds. You can use a shovel, digging a line bit by bit but that gets hard on the back. Available materials for edging include, plastic edging and metal strips and wooden edging pieces. The wooden edges can be linked together b...
Cutting the moon and making the shape perfectly round is simple. Usually we have problems drawing a circle free-hand.

Celebrities are at the cutting edge of makeup. You can love them or hate them, but what matters is that they have access to the wolrd's best makeup artists, hairstylists, and stylists, which means they always look like human perfection on the red carpet.
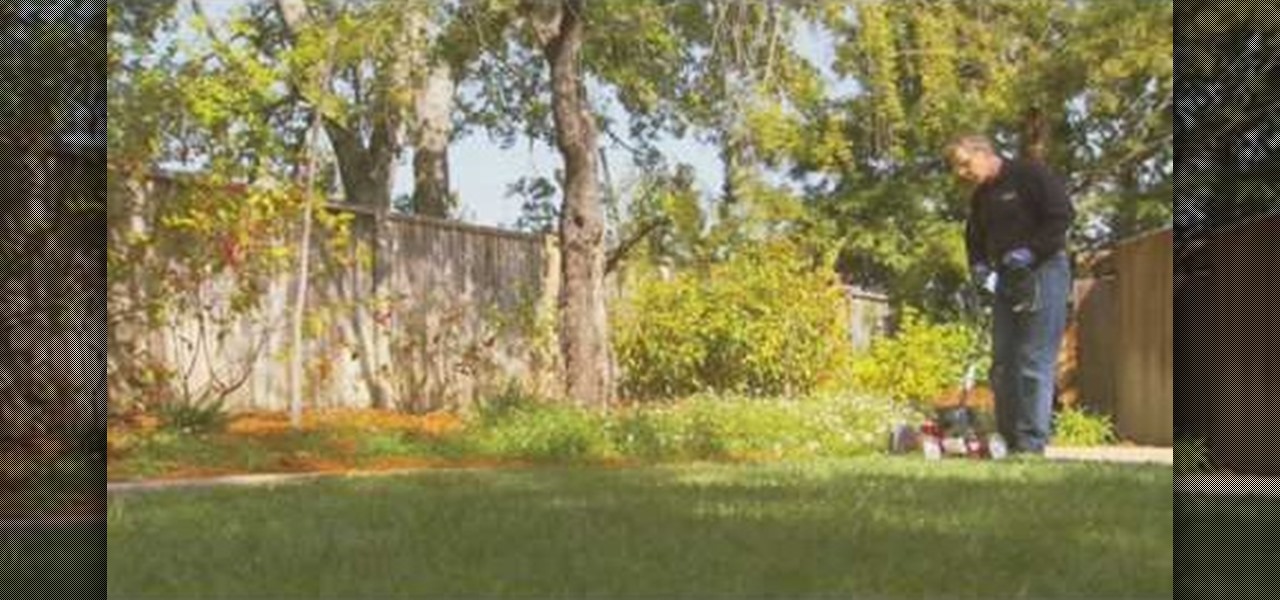
A gas-powered edger will give your lawn a finished professional look with a well-manicured appearance, without taking a lot of time or effort. An edger helps cut away weeds and grass that grows over sidewalks, patios, driveways and curbs. Plus it can get nice sharp looking edges for garden beds, pathways and roads to give your lawn a professional look. Lowe's home improvement expert, Mike Kraft, gives helpful tips on how to use a power edger.
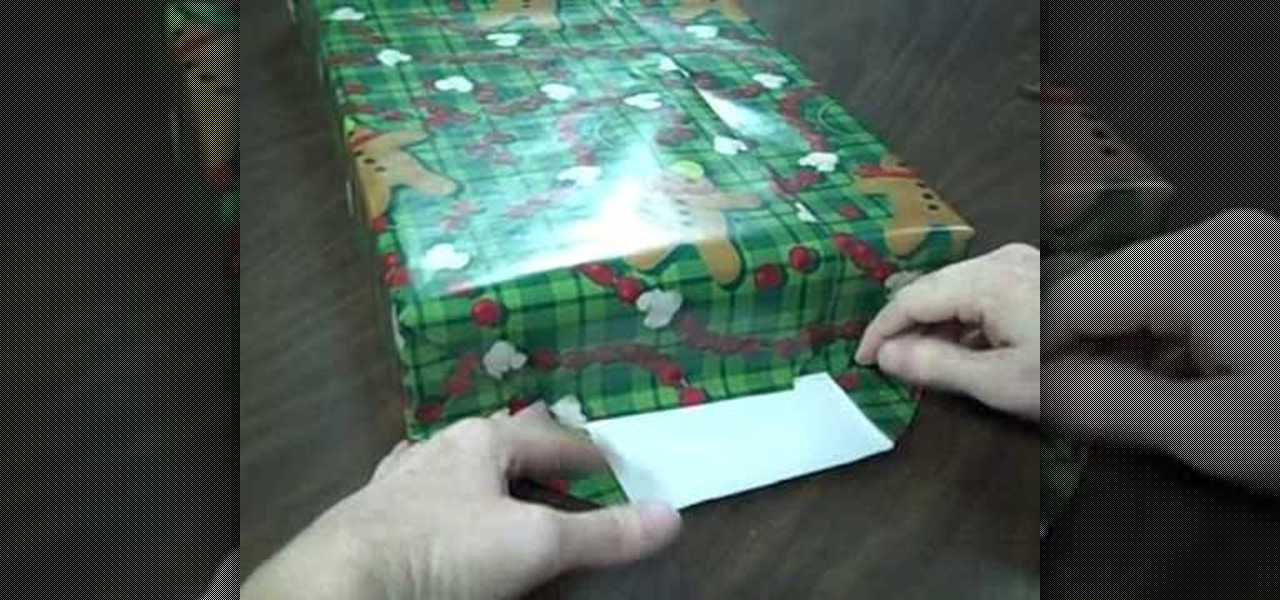
In this tutorial, we learn how to wrap a present. First, lay the wrapping paper on a flat surface and cut it so it's wide enough to fit the gift. After this, place the present in the middle of the paper and fold one side out to the edge, then make a crease and tape it. Now, take the other side and fold it up the side, then make a crease and tape that. After this, you will bring the sides up and fold the creases on the bottom and on the top. Next, make creases on the side of the box and then t...
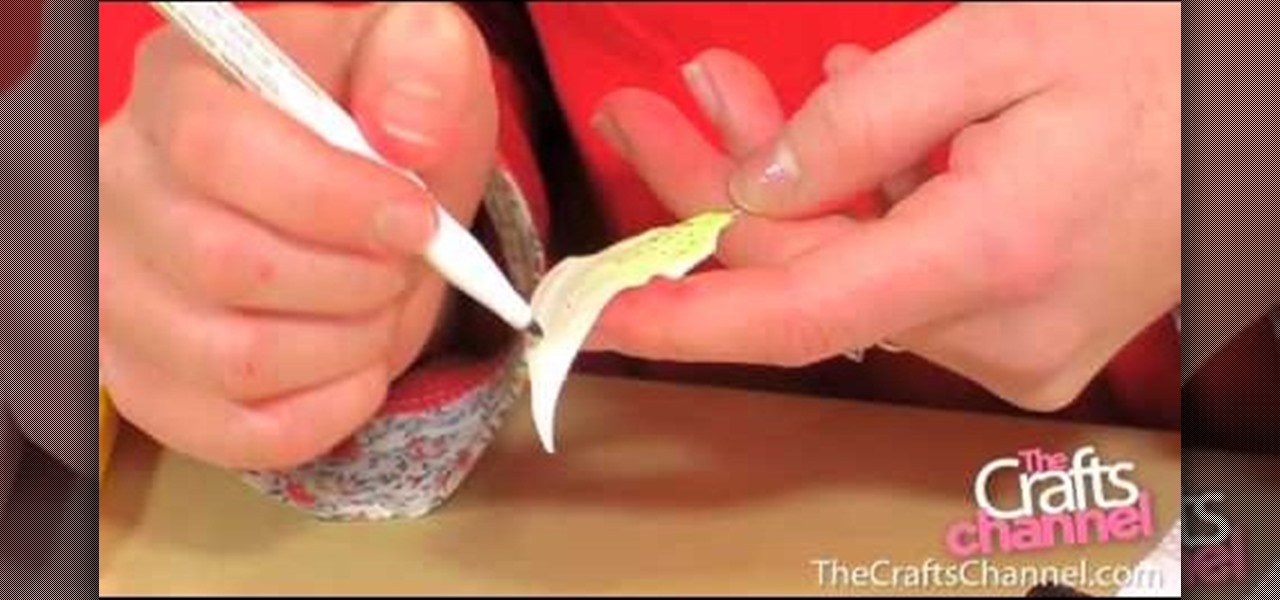
In this tutorial, we learn how to create lily petals. First, cut out a petal and then insert a small wire half way down into the petal. Ease it through so you don't damage the fondant. This can go into the center of the main lily flower. Use corn flower if it's stick. Press it into the molding for the lily petal, and then curl the edges out so it looks like a realistic petal. After this, let it dry, then color it with an ivory shimmer. After this, paint it with green food paint and any other ...

Before beginning to tape your hockey stick, take your desired cloth grip tape and score it in half with a knife making sure to not cut through the cardboard core. The purpose of this is to make thinner strips of tape. To begin the taping process, start at the top of the stick and go down the stick in a diagonal for about six inches. Then, back at the top of the stick, wrap with white (shin guard) tape around and around to make a knob. Now, we focus attention on the blade end. Run a thin strip...
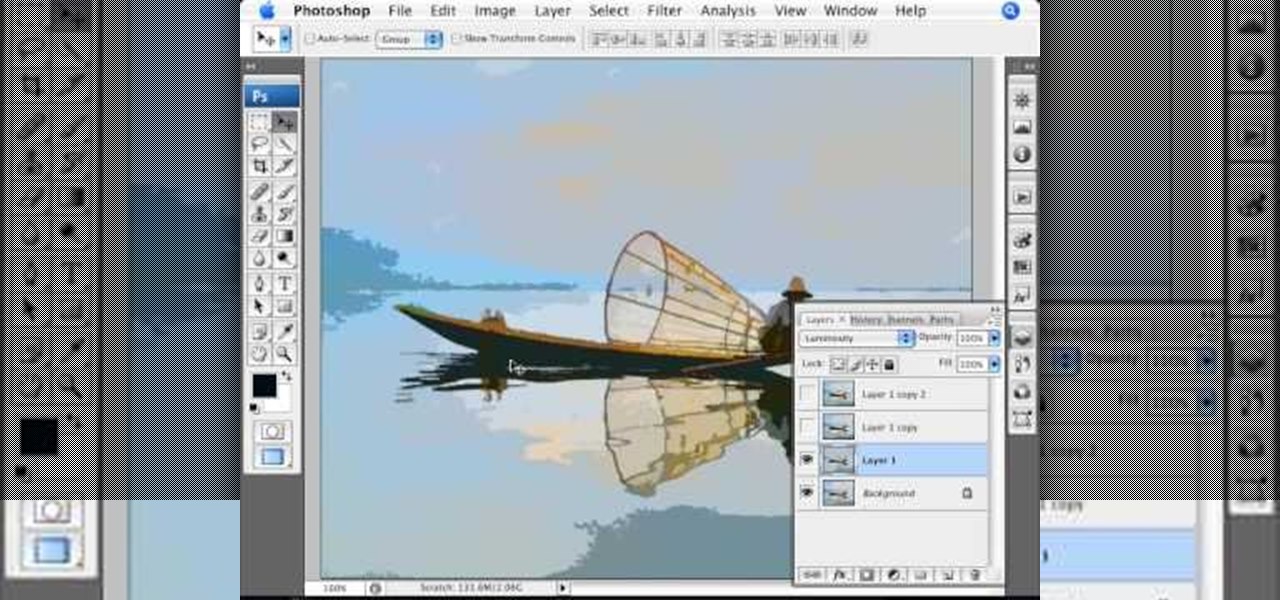
Photoshopuniverse shows you how to simulate a watercolor painting on Photoshop. With this you can take any photo and make it look like it was a water color painting. Take any photo and then duplicate the layer 3 times including original. Focus on the first layer go to cut out. You want a high edge fidelity, and add the number of levels no more than 5. Add some simplicity and the change mode too luminosity. Go to the second copy layer do a dry brush increase size to maximum. add just a little ...
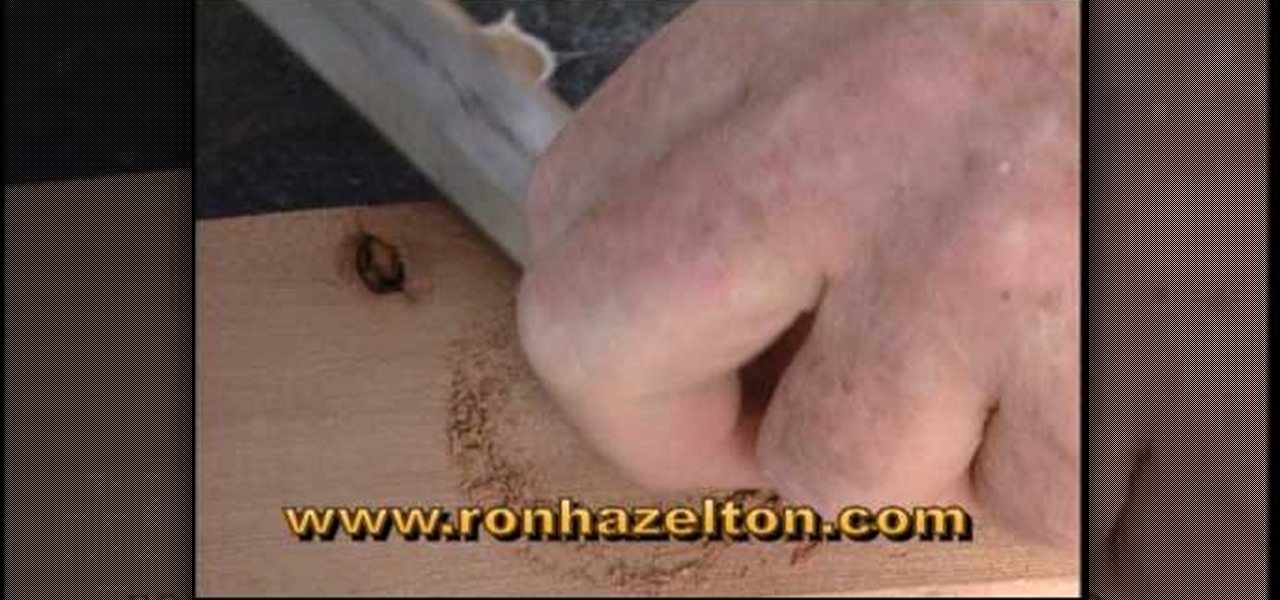
There are a number of ways to deal with screw holes that are visible. You can buy some wood buttons and put them in the holes. You put a little wood glue in the hole and then tap the wood buttons into the holes using a hammer. This is a decorative solution to cover up screw holes. If you want to completely cover up the holes completely put a plug cutter on your drill and cut a plug out of a piece of wood that matches the wood that the hole is in. Take the plug put a little glue on it and tap ...
Aluminum cans are useful for various DIY projects, but they can be tricky to take apart. In this video you'll learn how to easily disassemble cans.
The T-shirt may be the king of casual wear, but take care of it like your finest dress shirt and you'll be able to stay casual a good long time.
This video knitting tutorial shows how to attach an I-Cord onto another knitted piece. Start by picking up stitches along the edge to which the I-cord is to be attached. Break the yarn, and cast 3 stitches onto a double-point needle. Slip these stitches onto the front end of the needle that is holding the edge stitches, such that the working yarn is 3 stitches in, next to the first edge stitch. Begin by knitting 2 stitches, pulling the working yarn across the back, as for regular I-cord. The ...
We all need to store our rubber stamps somewhere and somehow, in a small amount of space with little effort and at low cost, well this is how I store mine.
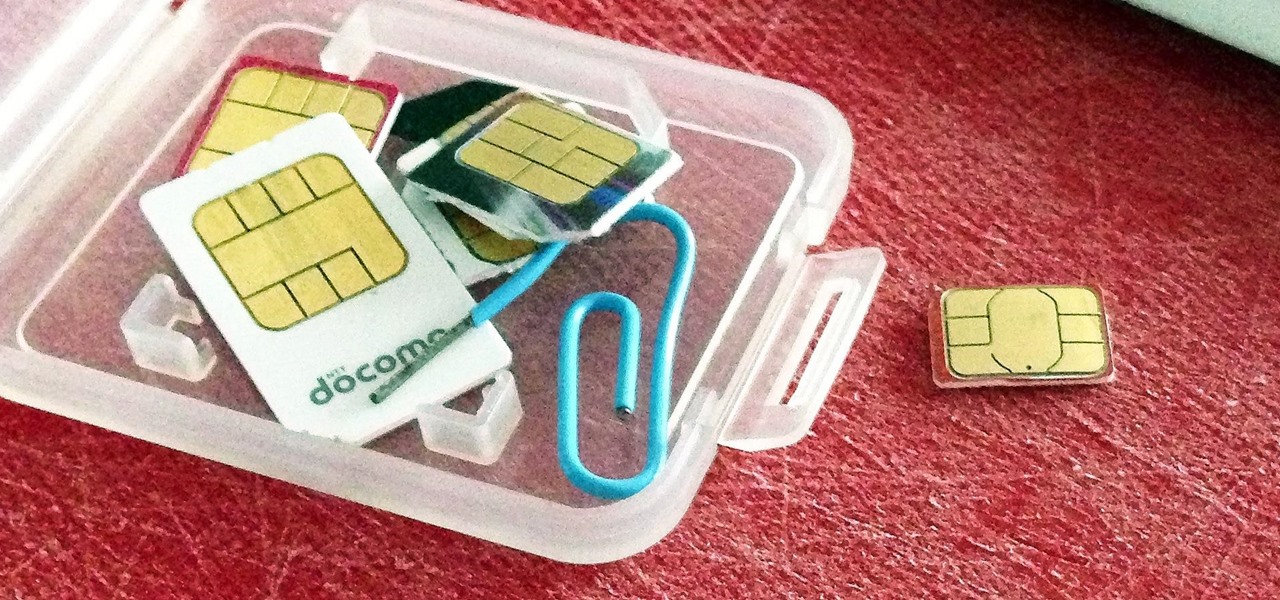
The new HTC One (M8) is a large phone, no doubt about it. Still, with those BoomSound speakers, 5-inch display, and 2600mAh battery, it's a wonder they managed to cram everything in that gorgeous, unibody metal shell. By that logic, it makes sense that the M8 makes the switch from a micro-SIM card to nano-SIM to save as much space as possible.
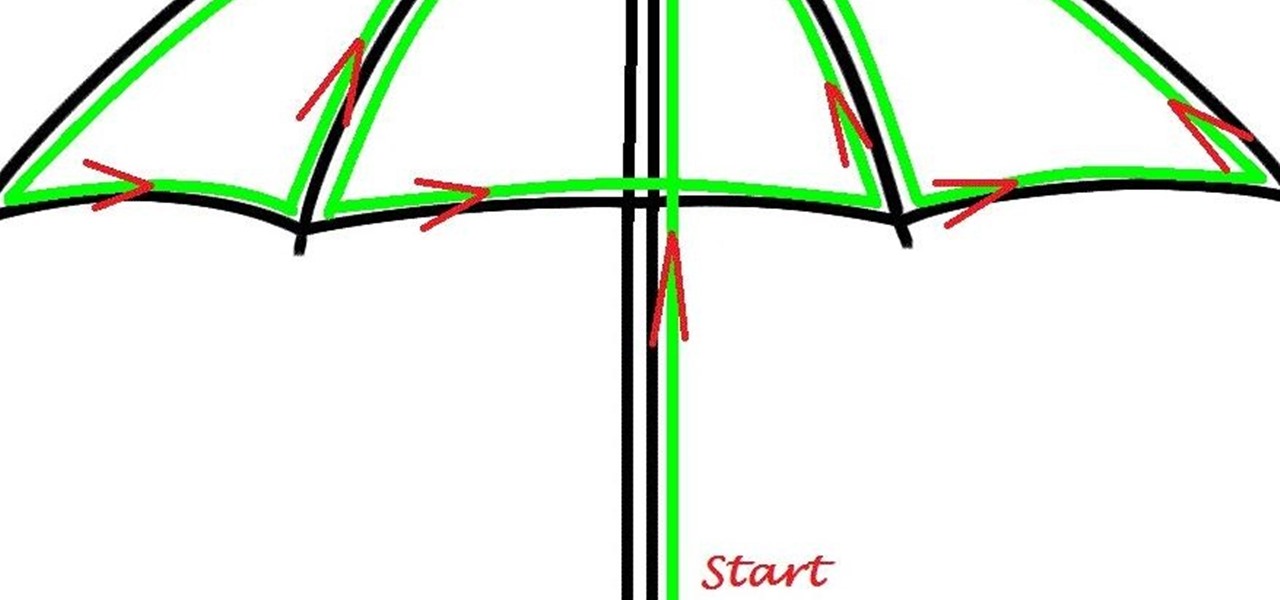
Here's a children's umbrella lined with neon green EL wire. It's definitely an easy and fun project for kids to do with their parents, and more importantly, it keeps the little mischiefs safer if they're out and about on rainy days.
Everyone knows that using your phone and driving is illegal, and rightfully so. Tons of people die on the road everyday due to careless people texting or calling someone. Everybody knows that it's wrong, yet everyone still does it anyway.
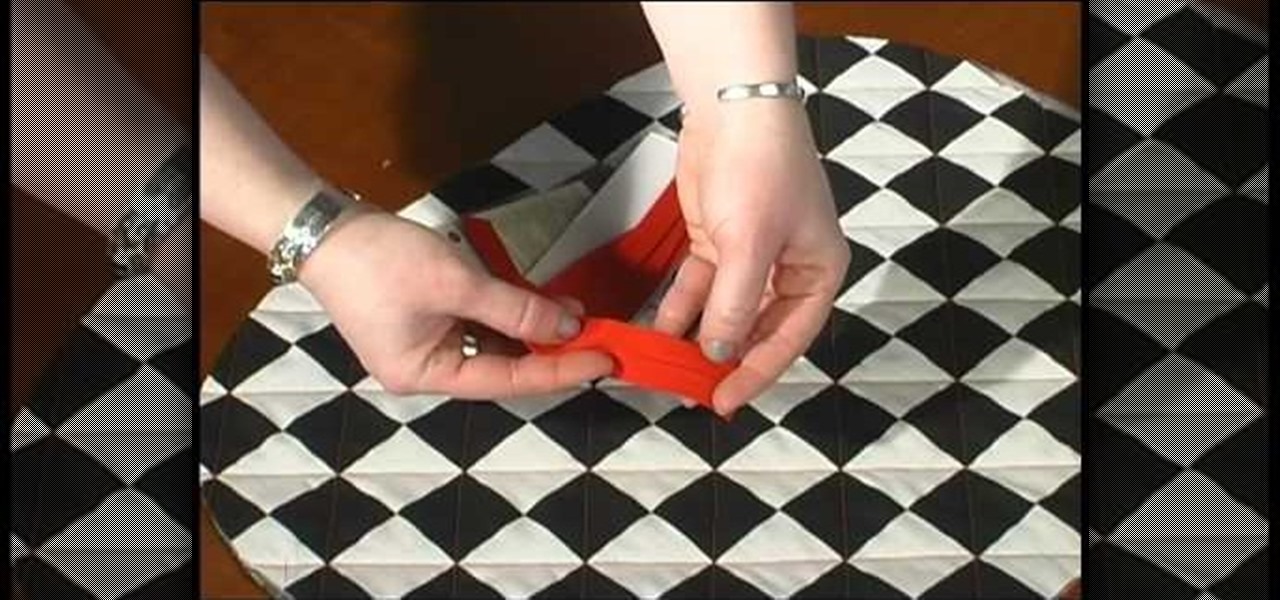
Bias tape can add a professional, classy edge or finish to any project. Working with bias tape on a straight edge certainly isn't hard, but the curves can sometimes be a bit tricky. However, they're not impossible, and you can pick up the technique in just a few minutes! This video shows you how to work with single fold bias tape and sew it evenly and professionally around curved edges.
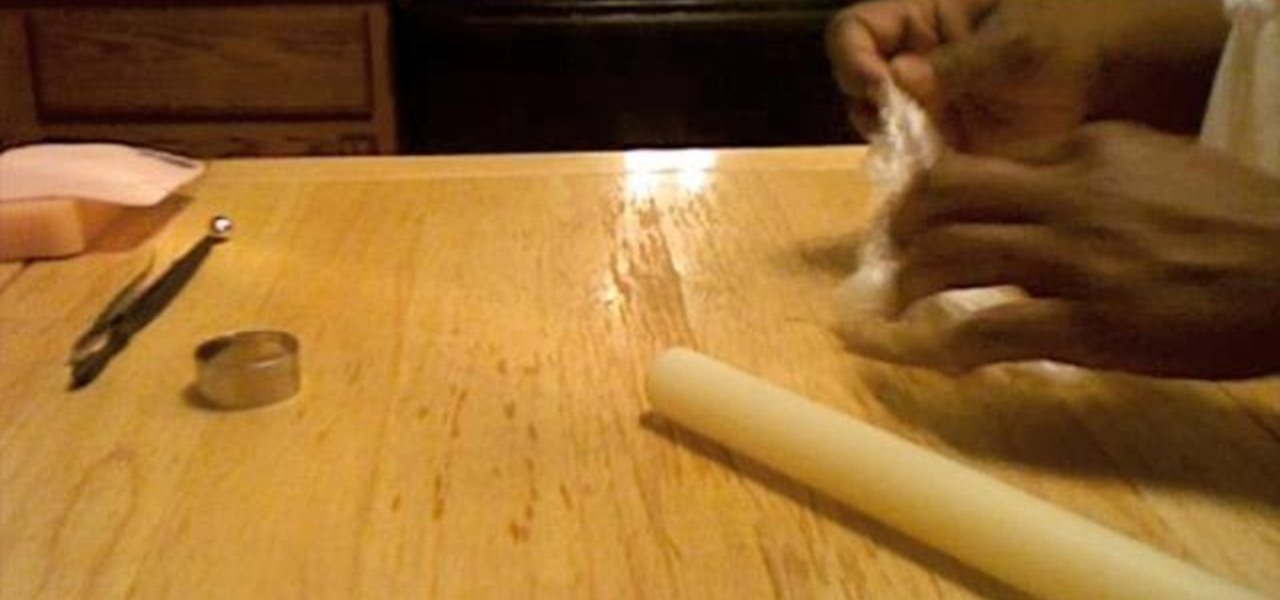
In order to make an Anemone with Fondant/Gum Paste, you will need the following: fondant, a rolling pin, tweezers, luster dust, a sponge, gum paste, glue, a roller, a small round cutter, and paint brushes.
Your bike is your prized possession - it is your mode of transportation, your exercise and definitely your fashion statement. But, just because you love your bike, doesn't mean you want to destroy your outfit by riding it. Follow this tutorial and add a pretty mesh barrier to your back wheel and stop ripping and soiling your skirts.
Handmade cards with rubber stamps can be made easily with the following instructions. First, fold a sheet of cardstock in half horizontally or vertically, whichever way you prefer to make your card. Then, trim around the edges with scrapbooking scissors to create a design, or leave the edges straight. You can also find rubber stamps with inspirational messages that you can stamp straight onto the cardstock. Now you can decorate the card front with any rubber stamp you like, but stamp it onto ...
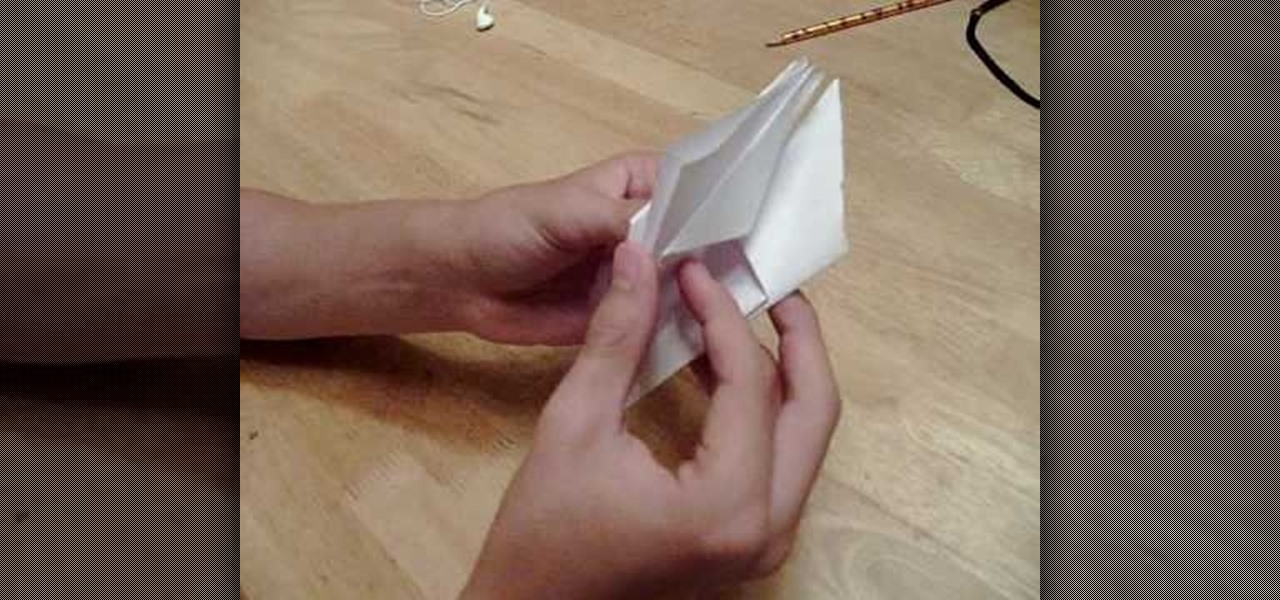
Learn to make an origami flower with just a few easy steps in this video tutorial! 1. Use an 8 inch by 11 inch piece of paper.
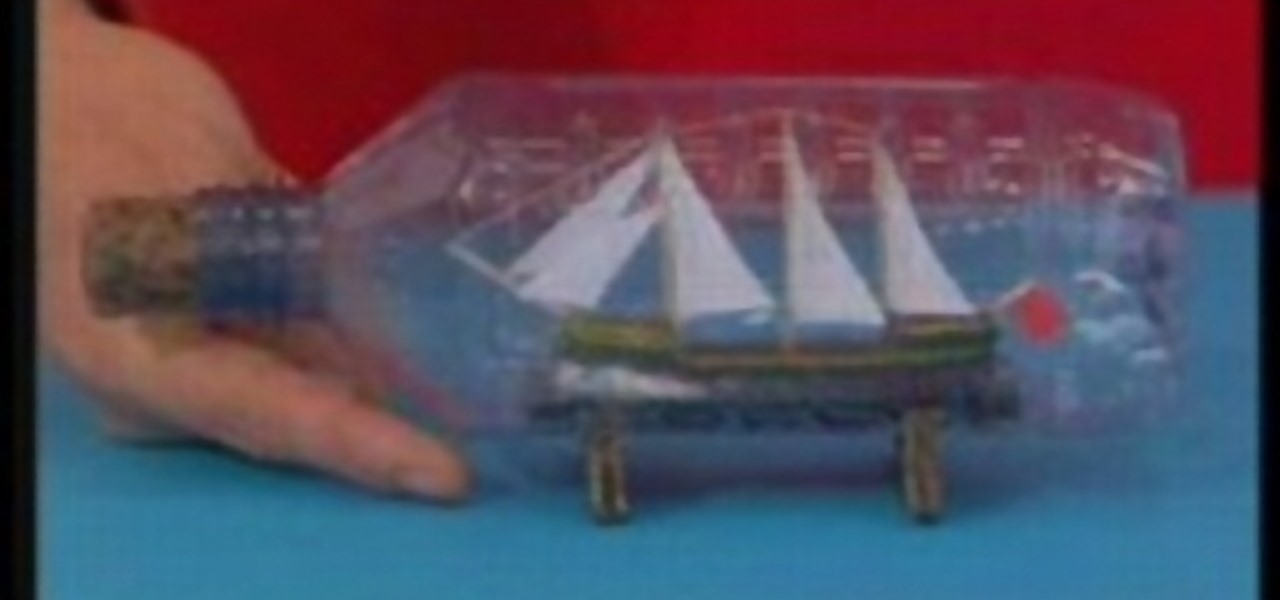
Learn to make a model ship to put in a bottle with this video guide. 1. Take clean plastic bottle with mouth about 5 inches to fit the ship
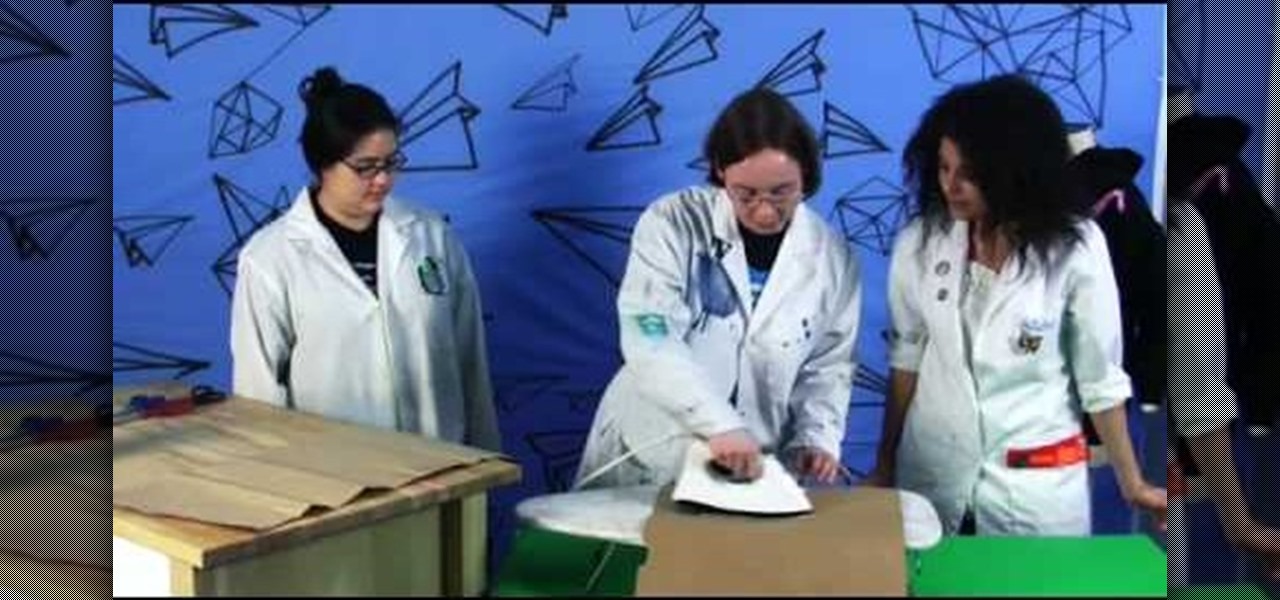
This week, Etsy How-Tuesday presents Kari aka ikyoto and Stella aka lookcloselypress of The {NewNew} York Team. Today we're going to learn how to screenprint our own snowflake gift wrap for the holidays. Kari and Stella remind us that recycling paper bags is a great source for materials for this kind of project.
Snowboarding: Hit the Slopes With Style There was a time when simply riding a snowboard made you the extreme guy on the slopes. But now, with more people strapping on a board instead of skis, the stakes have been raised. Fortunately, we've lined up this video tutorial to keep you on the cutting edge. See how to boardslide a rail on a snowboard.
Snowboarding: Hit the Slopes With Style There was a time when simply riding a snowboard made you the extreme guy on the slopes. But now, with more people strapping on a board instead of skis, the stakes have been raised. Fortunately, we've lined up this video tutorial to keep you on the cutting edge. See how to perform a frontside 720 on a snowboard.
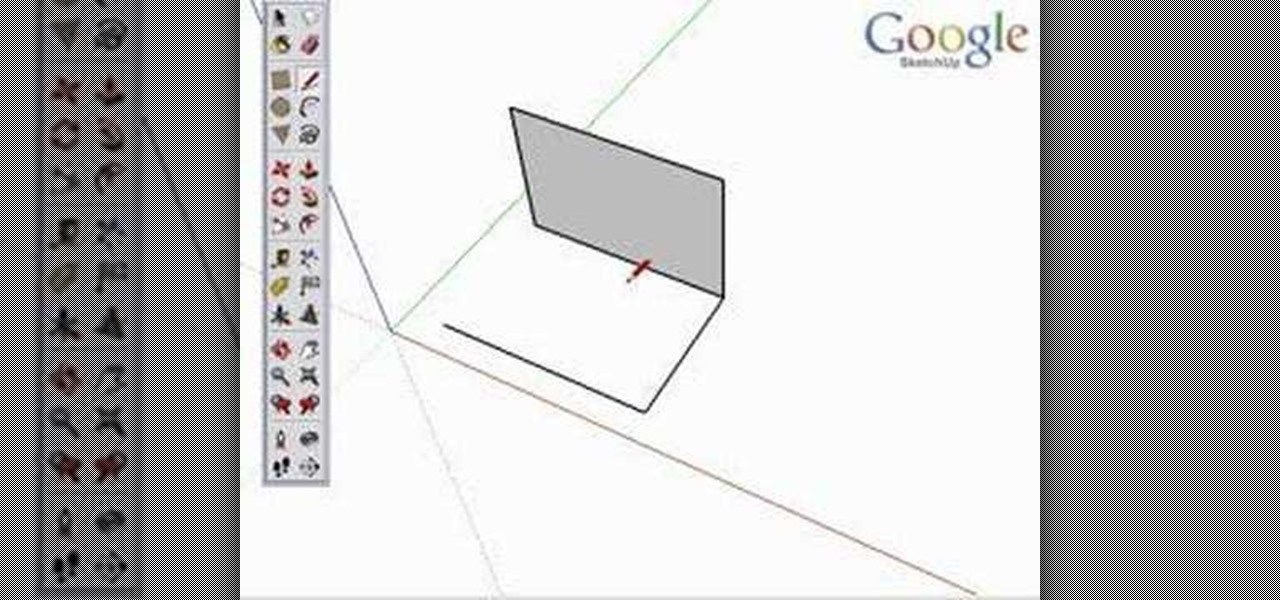
Take a look at this instructional video and learn how to use the line tool in Google SketchUp. There are two ways to draw edges with the line tool. The first method is to simply click your mouse at various points around the screen to draw connected edges in succession. The second way is by clicking and dragging the mouse button to draw an edge, and release the mouse button to create the edge. This tutorial covers the best practices for drawing lines or edges, how to draw accurately, and divid...
Raw edge applique is difficult to attach to a quilt; either the thread is ripping or the needle is making large holes. This instructional video offers tips for how to sew on a raw edge applique with as professional a finish as possible. Learn how to sew raw edge applique onto a quilt by watching this video crafting tutorial.
Use seam binding tape to quickly and easily finish the edge of a sleeve or neck edge or other garment edge. This sewing video tutorial shows you how to press your seam binding tape and easily sew it.
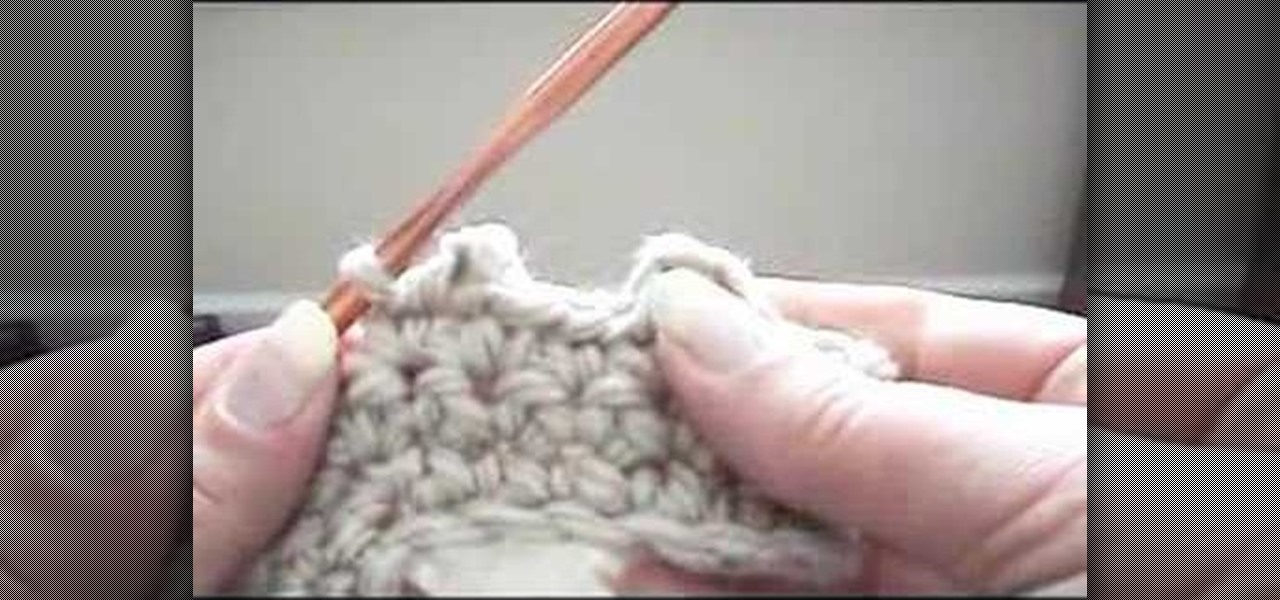
Improve you crocheting skills by learning different edging techniques. This how to video is a tutorial that will show you how to crochet a picot edging. Picot edging is a very beautiful way of decorating and finishing your crocheted projects.
Watch this video from This Old House to learn how to lay a flagstone walkway. Steps:
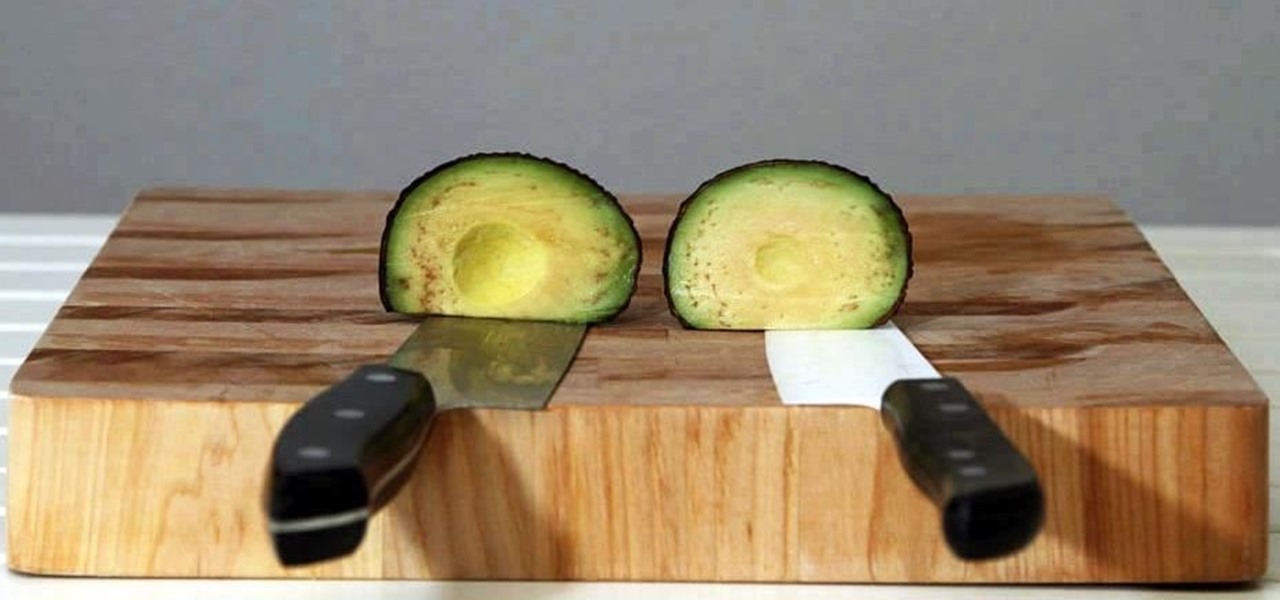
Keeping apples or avocados from browning after being cut is impossible; within minutes of being exposed to air, these fruits (yes, avocado is a fruit) begin to brown. No matter what you try—adding lemon juice, keeping the pits in place, immediately sealing the produce in an airtight bag—brown discoloration always occurs. However, air is not the only reason that foods like apples, avocados, and lettuce brown: it's also due to the knife you're using.
If you enjoy using the Bevel Tool in modo and you have a predilection for edges you will LOVE "Edge Bevel". This sparky little production examines the heartfelt story of edges who strive to be more than a single edge. Follow their story as they expand their horizons thru the use of the Edge Bevel tool in modo 101 and learn how to add details to edges on models and meshes.
In order to make a Two Pocket Card, you will need the following: double sided large card stock (8 x 4), precision trimmer, a ruler, tape, or glue, a pencil, and a ruler. Fold it in half, widthwise. Open it up and fold it lengthwise. Open it back up.
By watching this video, you will learn how to create your own art journal. Begin by cutting pieces of heavy weight cardstock 5" by 8". After you have cut all your sheets, fold them in half. If you want a defined crease, you can use a bone folder. Next, poke small holes in the crease of each sheet. Start at the center and then poke one every inch above and below the center hole. Then using a regular running stitch, sew through each hole of a single sheet. Once you reach the bottom hole, bring ...
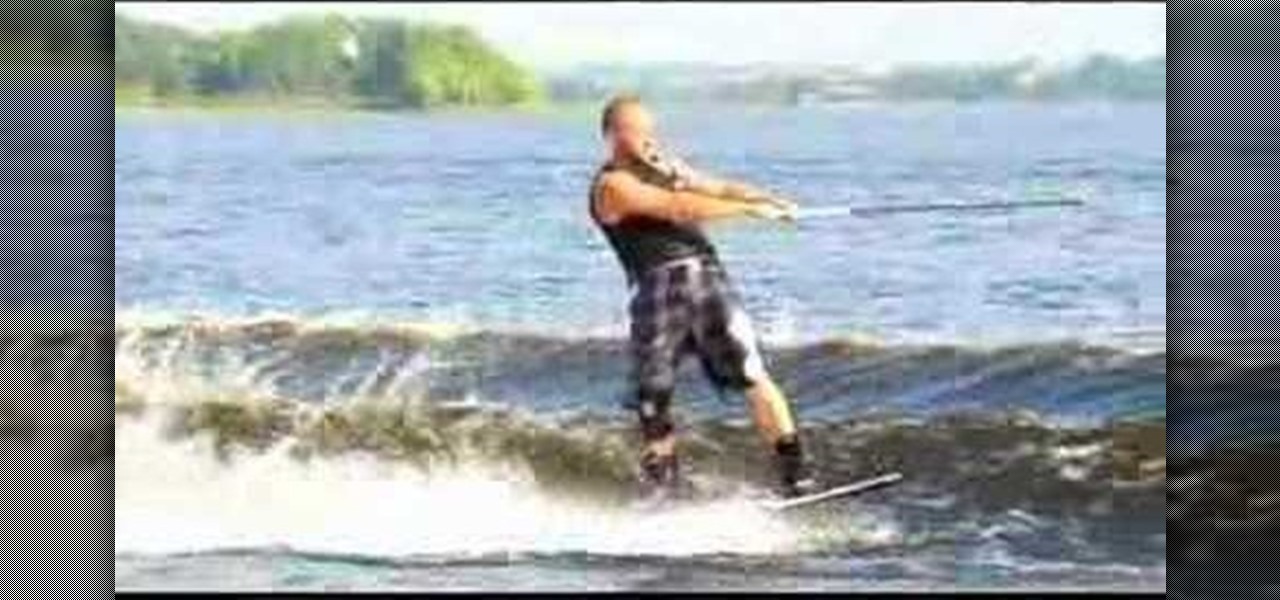
In this how-to video, you will learn how to get toe side leverage with this edging drill. This will teach you how to edge properly toe-side. If you are edging out in a bad position, this will cause you to use a bad position with muscle memory. If you edge out properly, you will reinforce a good habit so that you naturally use the position. First, stay outside of the wake. Remove the lead and grab your board shorts so you're forced to edge with your rear hand on the handle. You will have to ed...
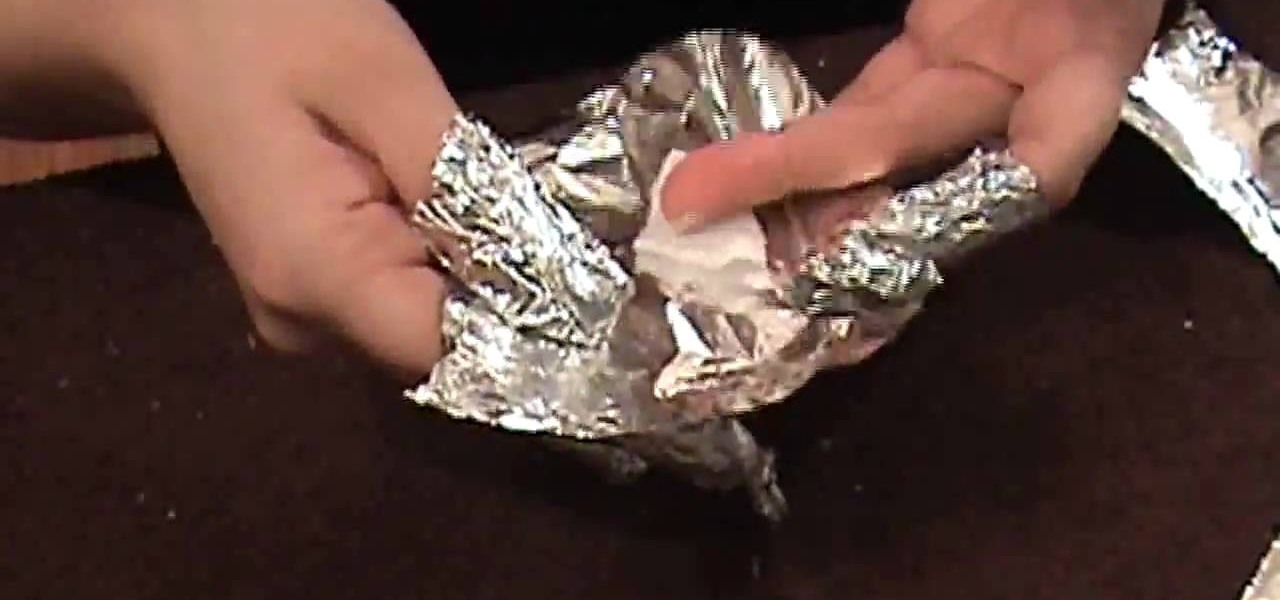
The first step in removing acrylic from nails is to cut nails down with clippers. Next file off gel sealer and seventy percent of acrylic with file or nail dimmer. The demonstrator then cut ten squares of foil, one for each nail. After the foil is completed cut cotton rounds into four pieces. You will only need two and a half cotton rounds. Using one hundred percent acetone saturate each cotton piece that you cut. Place saturated cotton pieces on each finger and then wrap securely with foil. ...
In this video, Meg will show you how to make your own wreaths. You’ll be creating two scenes on your wreaths : a woodland and an aromatic one. You’ll need 2 cardboard rings (one slightly smaller) cut in wreath forms, green moss, a hot glue gun, a knife, some pretty fabric, and a handful of old corks.
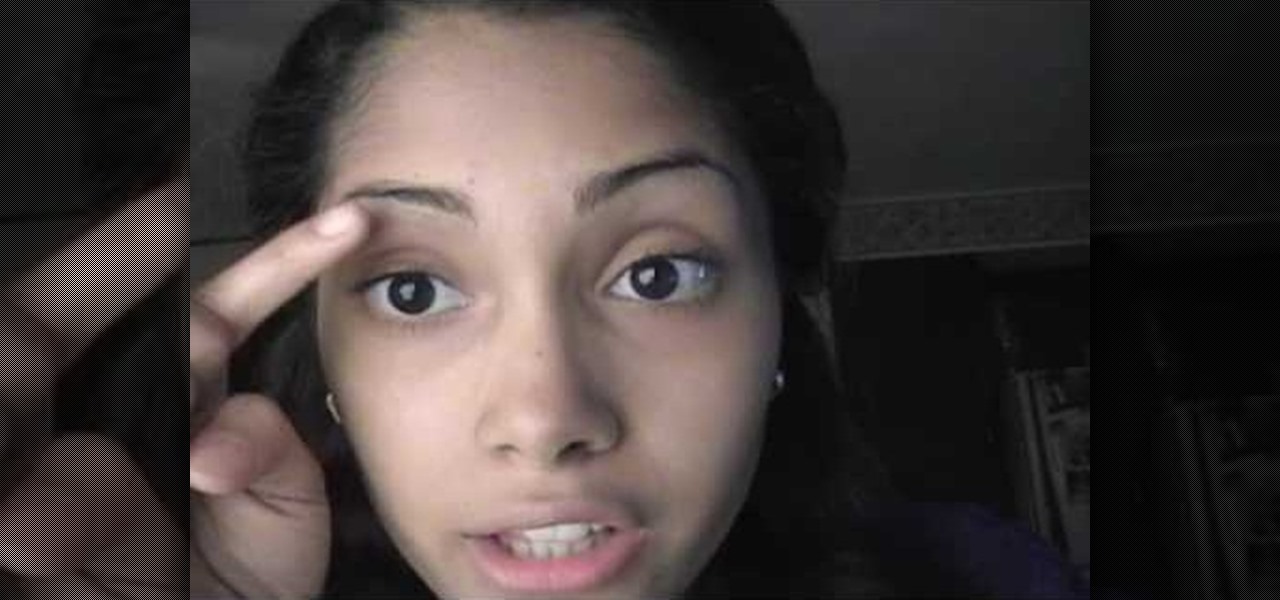
This is a video on how to shape your eyebrows. The tools used are a razor and a shining agent. The purpose of the Shining agent is to ease the pain of this process. The key to success of this process is to keep this lines that you cut straight. If you want them arched, do it straight. If you want them arched you need to make sure that when you do make the cut to not start arching immediately or they will come out looking thin. The consistency of your cut should stay the same until you get to ...
To make a paper gift box is one of the simplest projects that you can create on your own. In order to do this you need some materials: a Square of Paper, a Pencil, a Ruler & a Folding Bone. Take any size square of paper and draw two lines diagonally from corner to corner. This will form a large X, marking the center of the square. In turn, fold each corner into the center of the square. Firmly crease the fold. Fold the first corner to the line of the first fold made on the opposite side. Repe...
In this video you can learn how make an easy paper flower. Cut the card stock into strips of paper that are either 1/8 inch, 3/8 inch or 1/2 inch wide. The width doesn't really matter, but all the strips must be the same size. Use scissors to cut slits 3/4 of the way through the paper strip, creating a fringe along the entire edge of the piece of paper. The smaller the distance between cuts, the more realistic and delicate the flower will appear. Insert the end of the paper fringe 1/4 inch th...