
How To: Easily make a paper snowflake
Make simple snowflakes from paper. You can tape these snowflakes to a window for a nice winter decoration or paste them onto a piece of folded construction paper for a great winter card.


Make simple snowflakes from paper. You can tape these snowflakes to a window for a nice winter decoration or paste them onto a piece of folded construction paper for a great winter card.
In this video, we learn how to make a Necronomicon prop from the "Evil Dead" series. First, gather all of your materials together so you can make this prop. After this, cut up piece of cardboard into the desired shape, then tape them and make sure it's able to open and close. Next, you will use tape to make it look like creases in the skin and create the face by rolling it together. Use masking tape to connect these and make it look like it's all part of the same skin. Next, mix red, yellow, ...
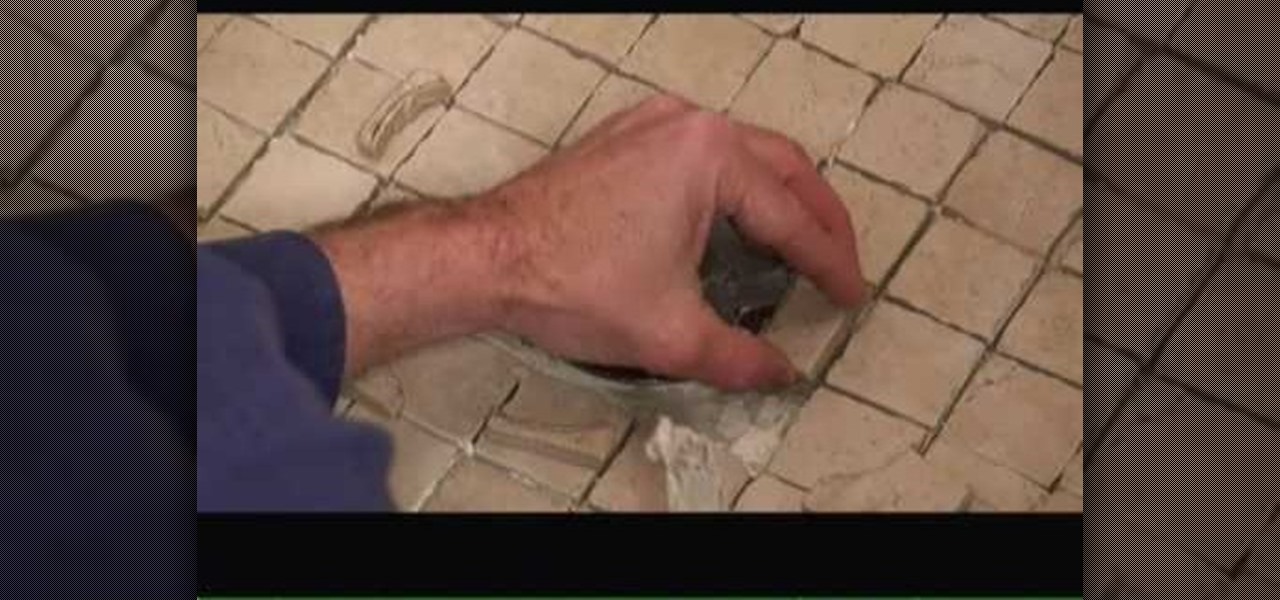
In this tutorial, we learn how to tile a shower floor and curb in your own bathroom. To start, you will need to apply the foundation of your tile with a smoothing tool from corner to corner of each of the corners. After the mortar is lied, grab your tile and press it down firmly onto the mortar. Use your hands to press down on all the corners of the tile, then place another one next to it and continue until you reach the end of the shower. Use a straight edge to cut tiles where the are too lo...
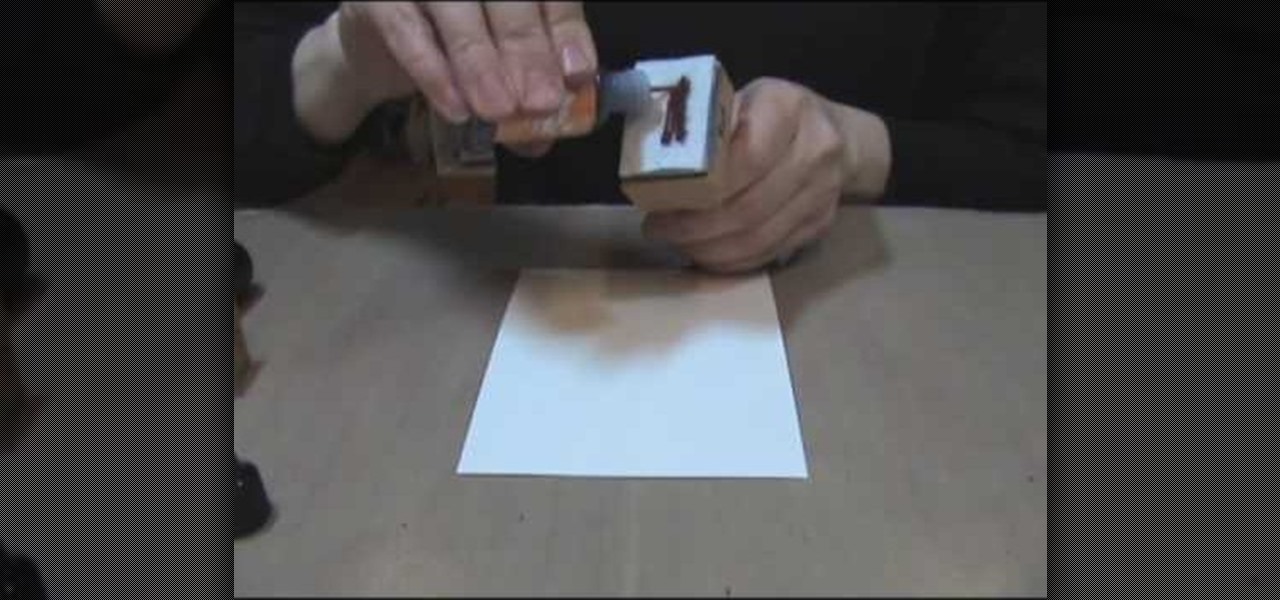
In this video, we learn how to make zebra and tiger prints with Ranger's alcohol inks. First, you will need some alcohol ink in black, gloss paper, a stamp, and felt. Now, take your felt and cut it into small strips. Make lines like a zebra or tiger would have. Next, push these strips onto the stamp bottom, arranging them to look like a zebra. After these are stuck on securely, trim off any edges and make some pointed. After this, you will squirt the black ink onto the bottom of the stamp on ...

In this video, we learn how to write numbers in calligraphy copperplate. To write the number five, you will simply make the shape of the number, but add in a thick edge to the bump and curved edges to the end. To write the six, use a thick line on the side of the number and a thin line for the circle in the middle. To make the seven, the top should be curved and thick, and the lower line should be very thick with a straight edge. To make the eight, draw the number so that the left edge is thi...
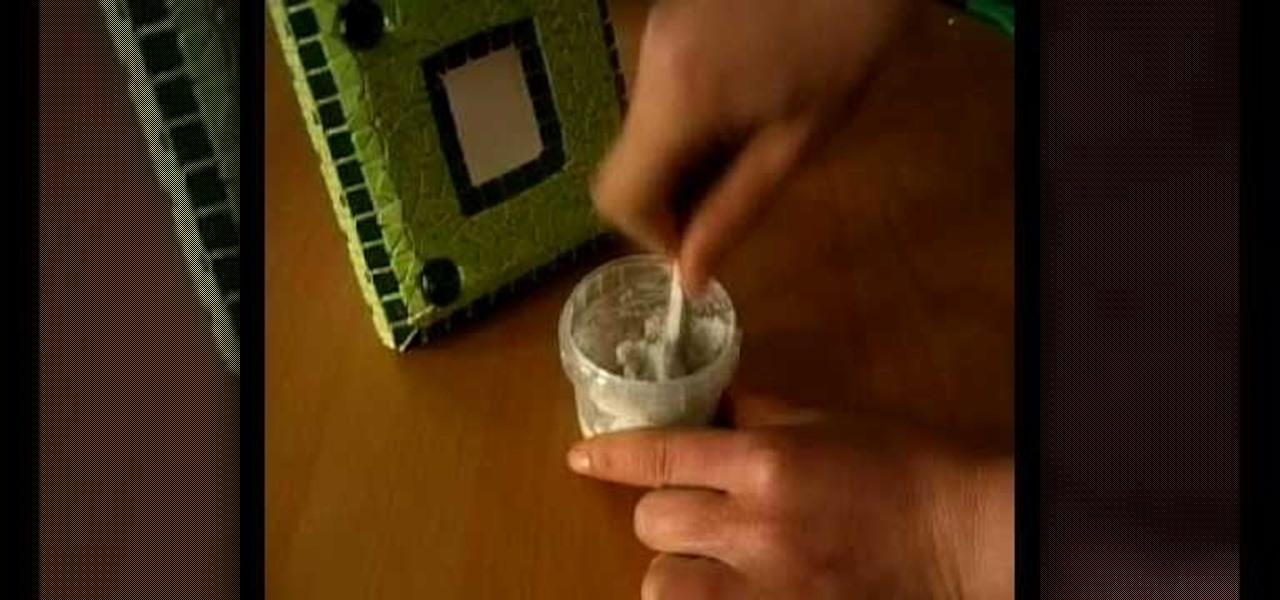
In this video, we learn how to make a mosaic picture frame with ceramic micro tiles. First, glue on the four gemstones. These will go on all four corners of the frame. Next, place the square mosaics onto the base. You will place these around the edges of the frame that are perfectly square. After this, cut the other squares in half and glue them onto the entire frame in the middle of the squares on the frame. Next, let the frame dry for two hours, then mix the powder together with water and r...

This video tutorial is in the Arts & Crafts category which will show you how to make crumpled flowers for scrapbooking. Cut out three circles of 2", 1 1/2" and 1" diameter out of a sheet of paper. Then wet the pieces of paper lightly with water or colored ink and crumple them one by one as shown in the video. Then place the three pieces together and pin them up with a split pin. Now crumple the edges of the paper further to give them the look of a flower. Allow it to dry and your flower is re...
In this video tutorial, viewers learn how to suture. Begin by lifting up the skin on the far side of the laceration with the tissue forceps and insert the needle with some distance far away from the wounded edge. Then lift up the skin with the near side laceration and mirror the course of the needle. Now move somewhat to the right of the subsection of this stitch, parallel to the incision line. Place the second subsection of the horizontal macro-suture like the first part. But this time from ...
This video tutorial belongs to the Film & Theater category which is going to show you how to build a light diffuser to improve your film lighting. Joe Richardson explains how to do this. You will need four pieces of pine wood 1" x 2" x 8 feet long, framing nails, duct tape and light cloth material. Cut the wood at the edges at a 45 degree angle and lay them out on ground to make the frame and hammer in the framing nails. Now spread the cloth over the frame and start stapling it. Pull the clot...
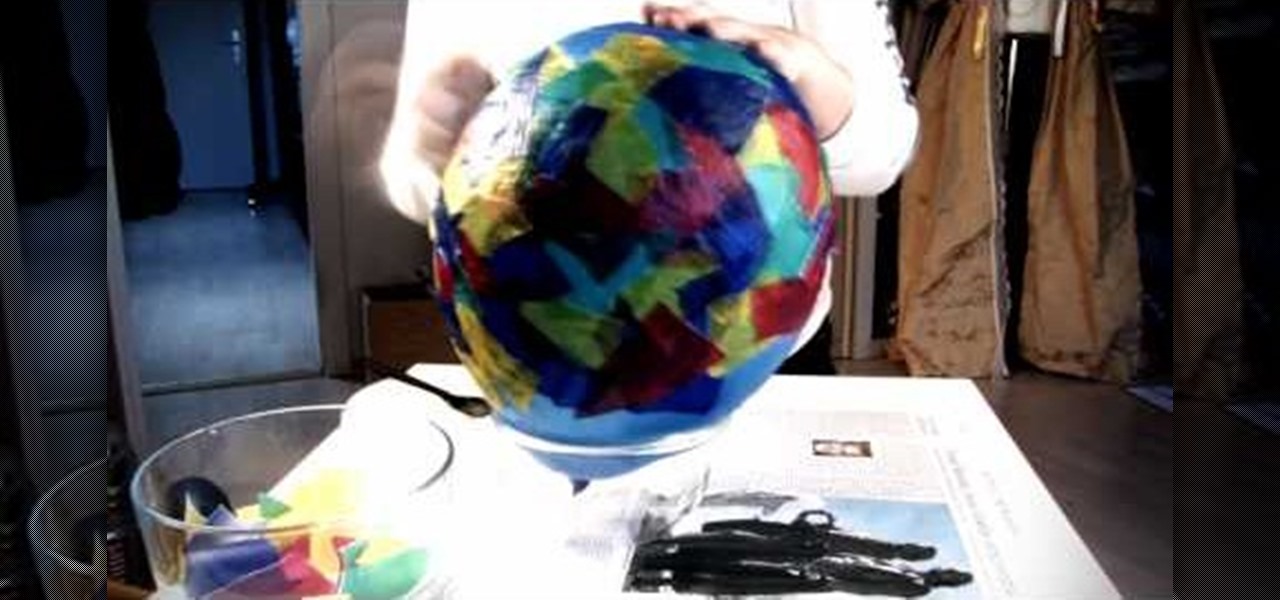
In this video tutorial, viewers learn how to make a balloon lantern. The materials required for this project are: balloons, lantern paper, wallpaper paste, bowl and scissors. Begin by ripping the paper into small pieces and place it into the bowl. Then shake the bowl and blow up a balloon. Now put some paste onto the balloon and layer it with the lantern paper pieces. Then let the paste dry and pop the balloon. Remove the balloon and cut off the lantern edges. Finish by hanging it and add a c...
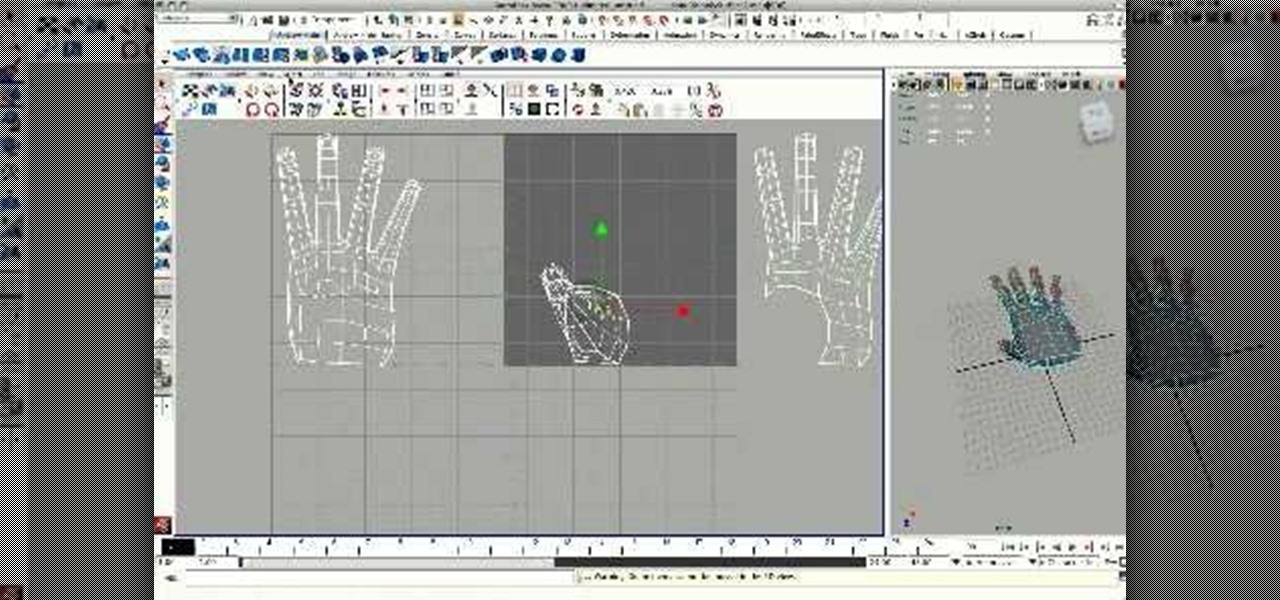
Maya 2009 introduced a lot of cool new UV tools to the already-powerful Maya 3D modeling software. This two-part video will teach you how to use some of these features to cut apart a 3D model of a hand by its UV edges. This technique is perfect for very fast organic UV unwraps, and should improve your skills and speed of modeling dramatically.
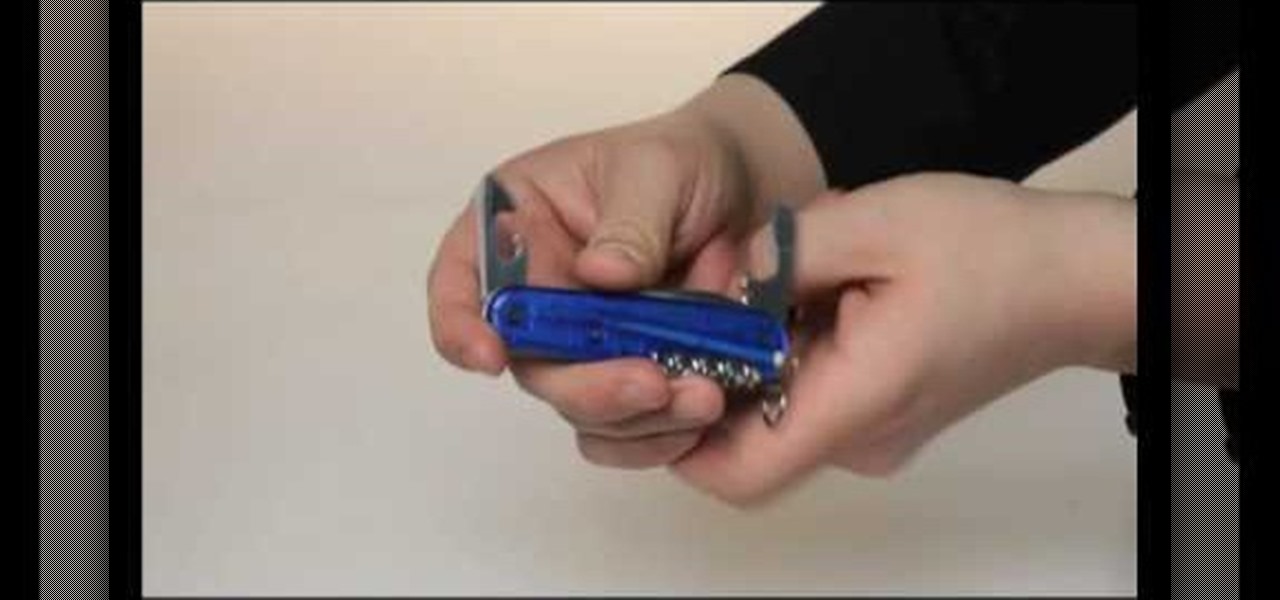
The Swiss army knife has a lifetime warranty and is the brand that MacGuyver used in his series so you know that it's good. The keychain side of the knife contains a bottle opener while the other side contains a can opener with a sharp cutting edge. The bottle opener has a flathead screwdriver on its top. You can use it to open bottles of ale when traveling through Europe by using a leverage technique. The top should then easily come off of your desired bottled beverage.
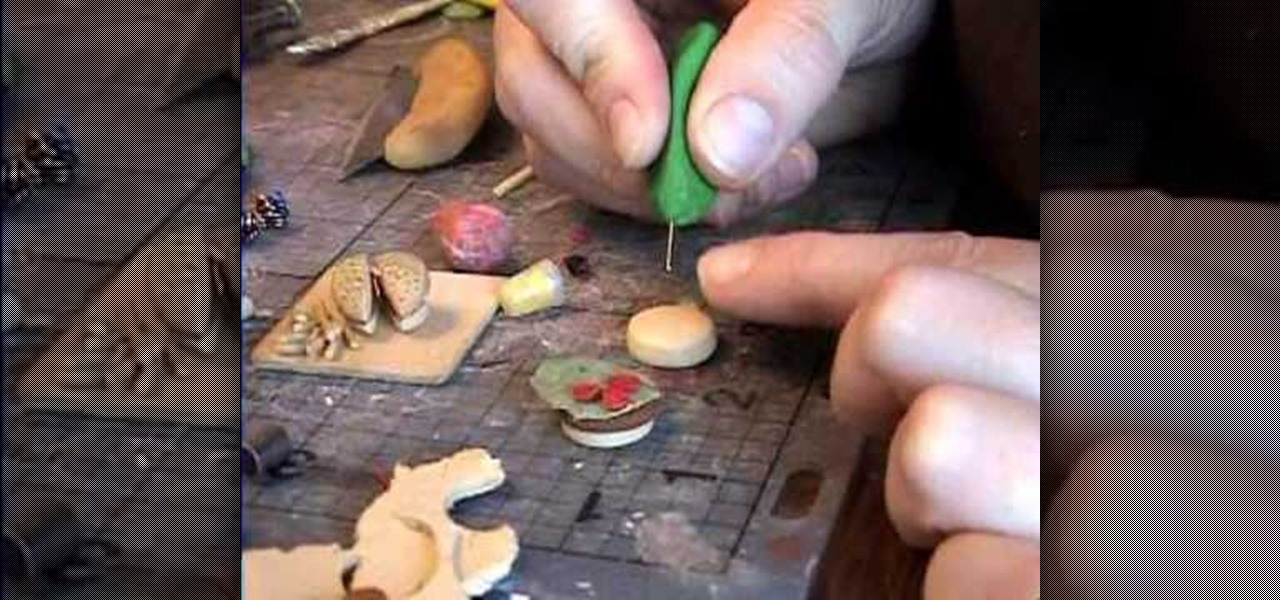
Using multiple layers of clay, garden of imagination shows how to make a hamburger and fries out of polymer clay. This decorative item would then be placed into a miniature dollhouse being displayed as a food item. She rolls a peppercorn on brown clay to give it the texture of meat. She mixes together green and whit clay for lettuce, and uses another piece of clay to ruffle the edges of the lettuce. She uses small round cuts of clay for tomatoes. Using an embroidery needle with a clay handle ...
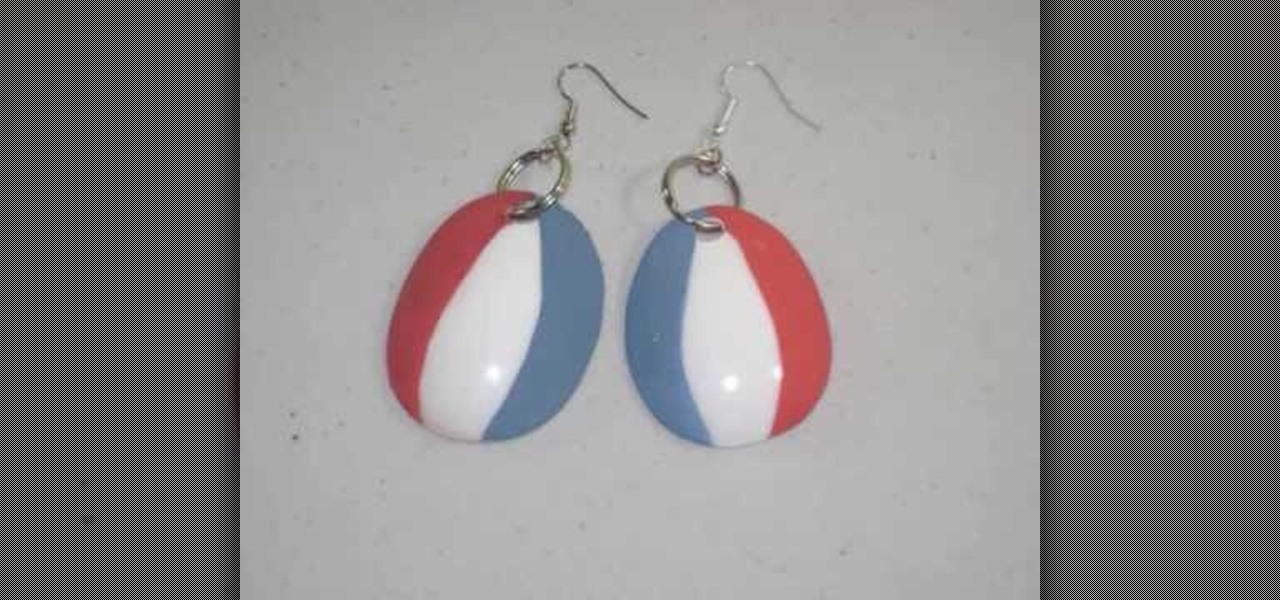
This video is about how to make earring from spoons. So to do this, just follow these simple steps. Things you'll need:
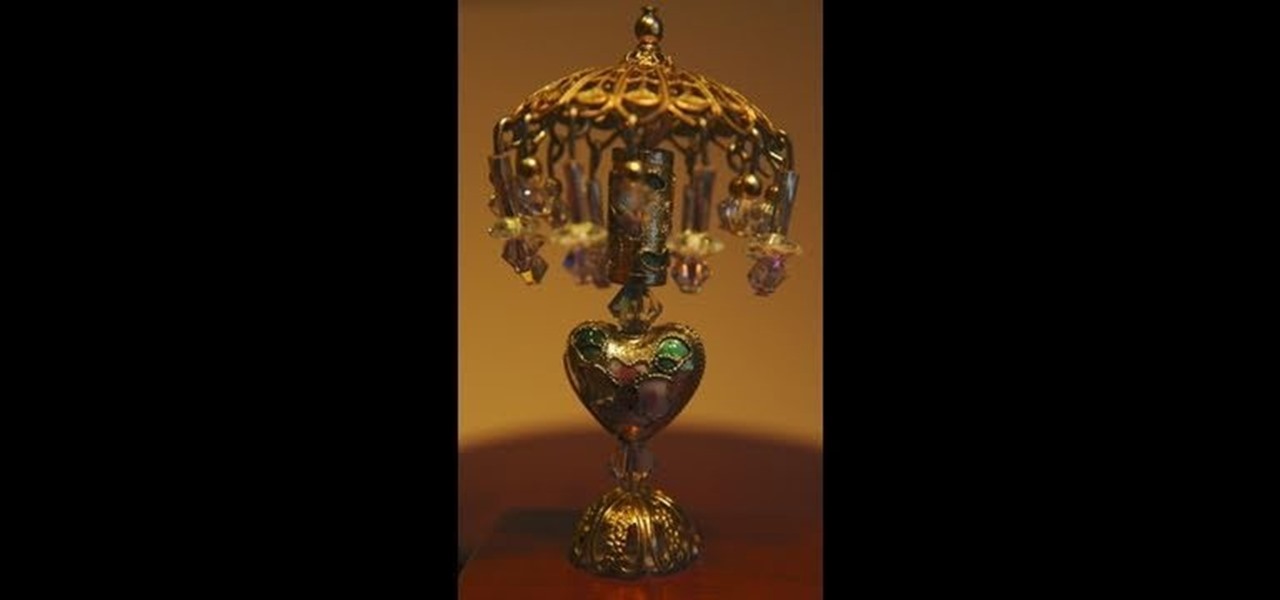
Start with an eye pin. Place a gold bead and end cap on it. Now put on a piece called a stamp, or stamping. You want to find one that is curved like a lamp. Next put on a large crystal (8mm). In this video she uses a Swarovski crystal. Find some beads you like and place them on the pin. At the end, place on a large plastic back of an earring to secure the beads and hold the "lamp" upright. Now to make the little beaded fringe at the edge of the lamp, you take another eye pin and thread on som...
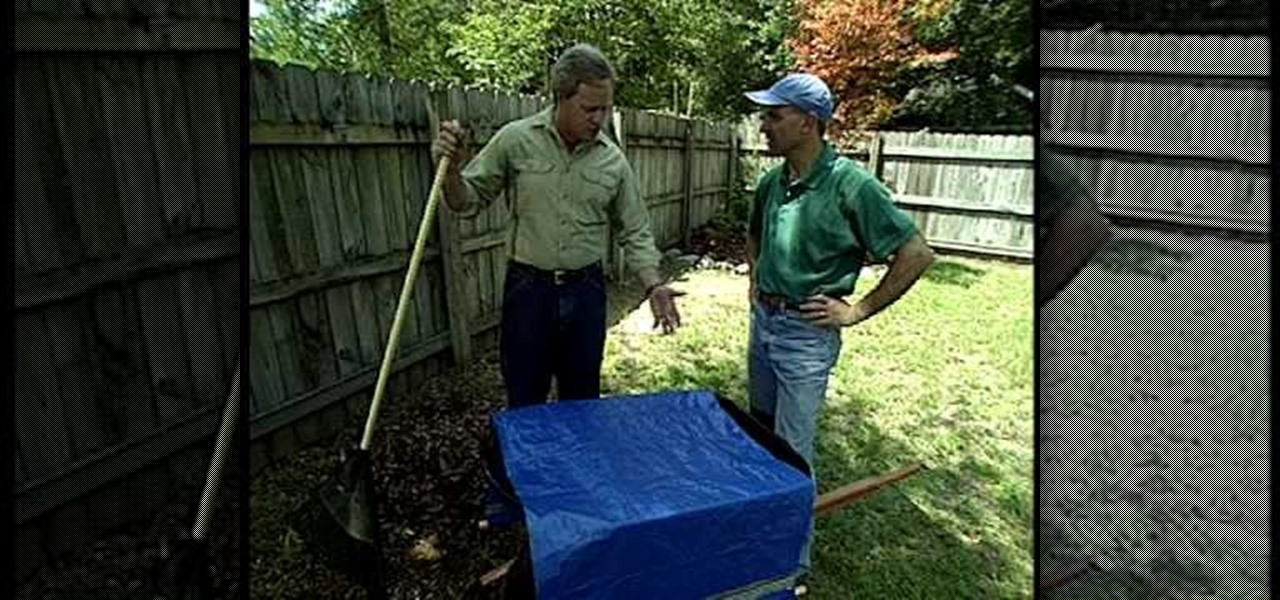
This video from Danny Lipford explains how to make a cover for raked leaves so that the wind won't blow them away. Get a tarp and cut it to the right size. Get two wooden dowel rods and put them along two ends of the tarp. Turn the tarp edge over the dowel rods and tape them down with duct tape. The cover can be used to cover leaves that are in a wheelbarrow or on the ground. You can also lay the tarp on the ground, rake the leaves into the tarp, drag them where you want them and pick up the ...
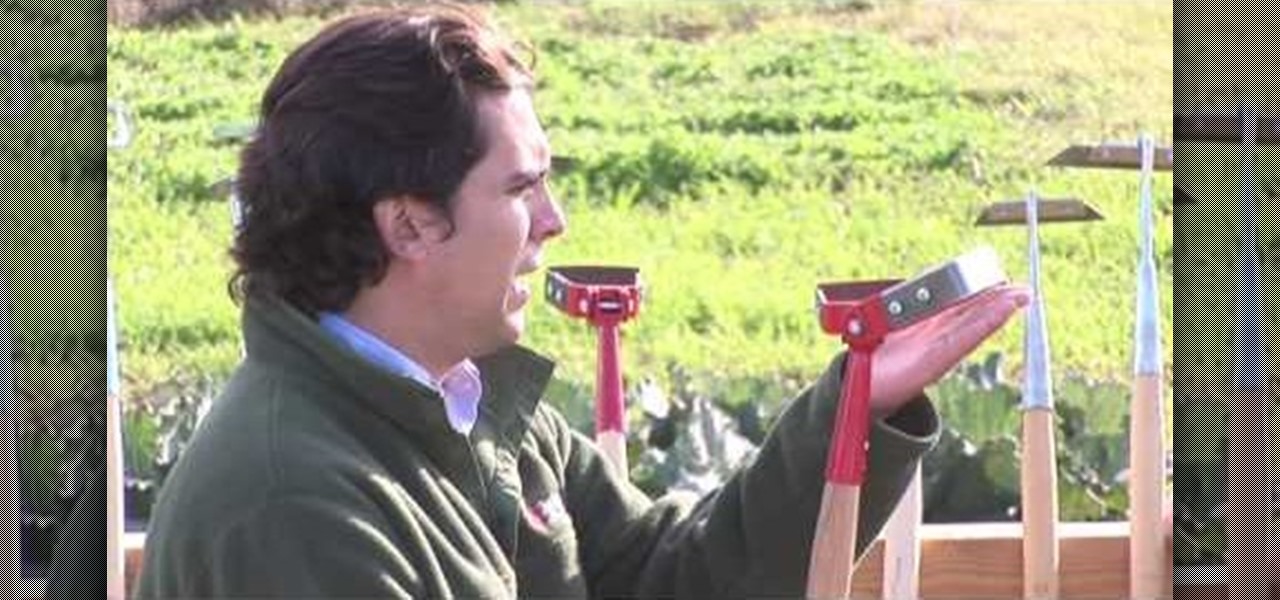
One of the most challenging, arduous parts of gardening is weeding vegetables that are close to the ground. Cabbage, for instance, leafs out near the earth and can be fiendishly tricky to weed. In this Growing Wisdom gardening tutorial, you'll learn about some of the tools that can help you weed those hard-to-reach spots without breaking your back in the process.

In this two-part song tutorial, you'll learn how to play Aerosmith's "Livin' on the Edge" on the electric guitar. While this tutorial is best suited for intermediate and advanced guitarists, players of all skill levels can play along. Watch this lesson to get started playing "Livin' on the Edge" on your guitar!

Halloween is coming up, so many of you may have a need or desire to carve a pumpkin and turn it into a Jack O' Lantern. This week we are going to explore carving our pumpkins into interesting geometric shapes. In this post, we will carve the pumpkins into spherical versions of polyhedra, and in Thursday's post we will carve 2 dimensional stars and some simple fractal designs into the pumpkins.
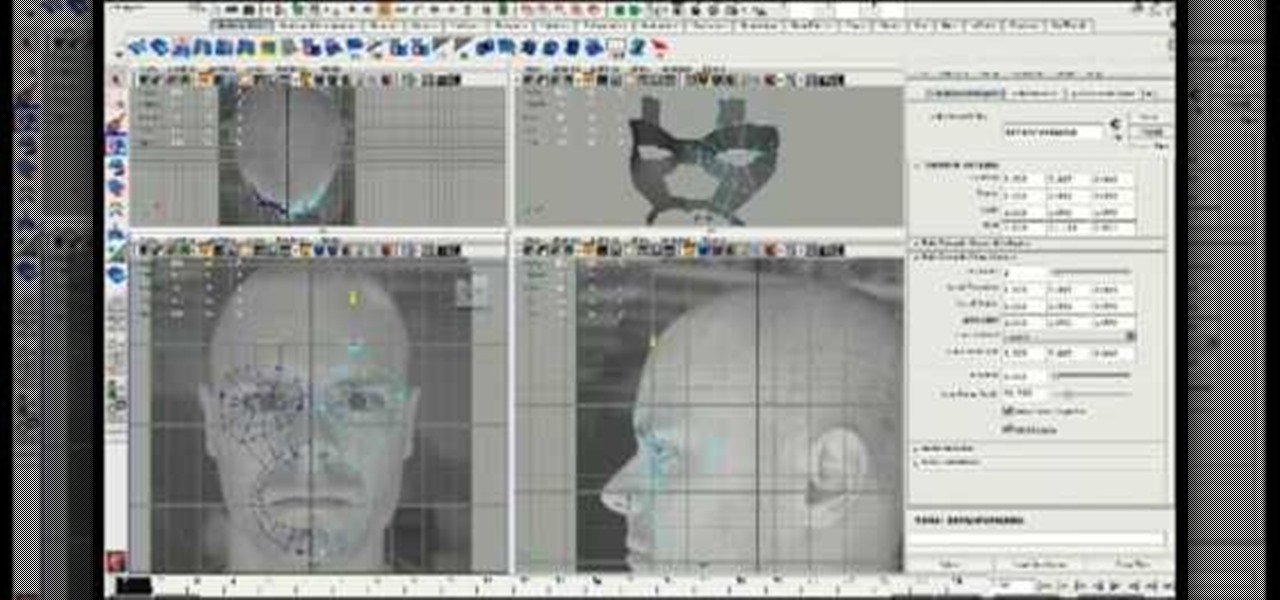
Modeling a face using Maya or any other 3D art program is tough to do without having the result end up looking like a zombie. See the film Final Fantasy: The Spirit Within if you don't know what I'm talking about. This six-part video will help you avoid this problem in your own 3D models by teaching you how to 3D model a face using the head extrusion method in Maya. You'll need a photo to start with (the creator does not supply the one he used here) but once you have that you should be able t...
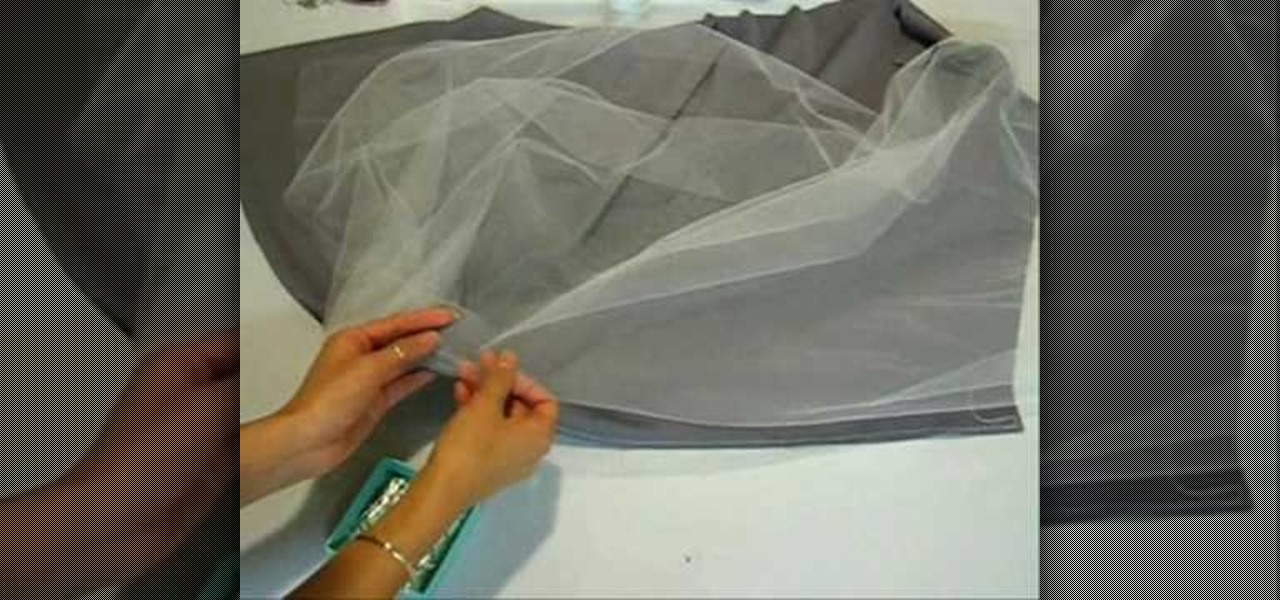
In this how-to video, you will learn how to create your own tube top dress with lace and tulle. This will be useful if you need a unique dress for prom. You will need a sewing machine, scissors, pins, ruler, measuring tape, thread, a half yard of gray knit, tulle, and a yard of lace. First, cut out a rectangular piece that can fold in half. The lower half is a trapezoidal piece. This will be the jersey skit. The smaller end should fit around your waist. Lay the rectangle first and then put th...
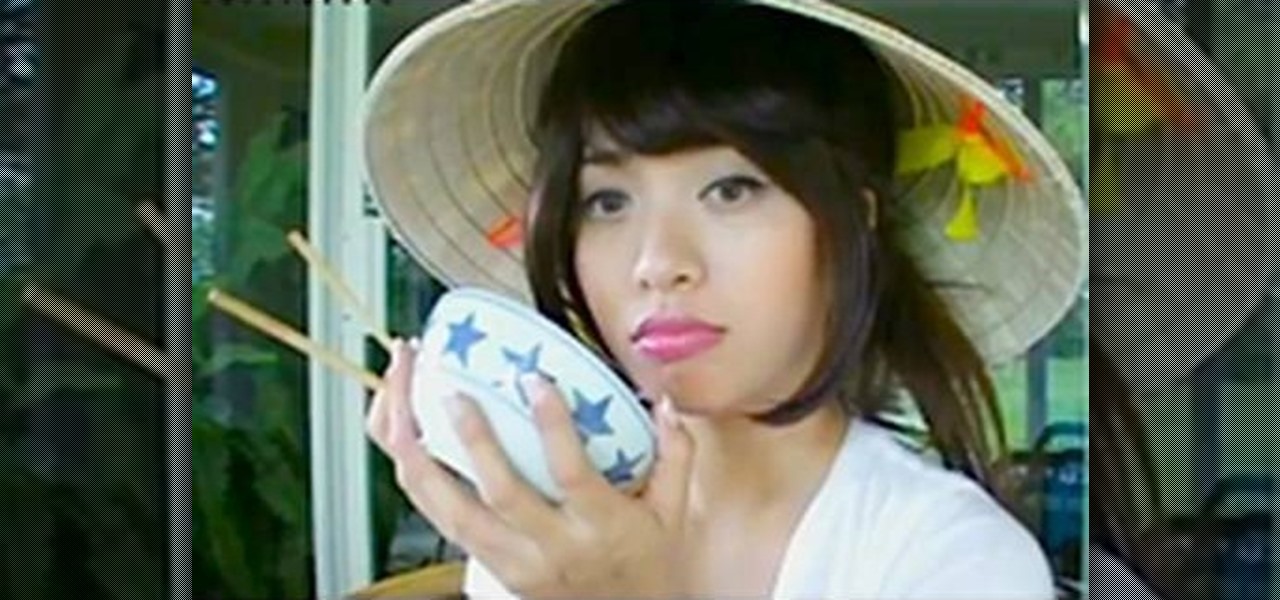
You will be shown how to use rice water to nourish and fortify your skin. You will be using just the rice water.
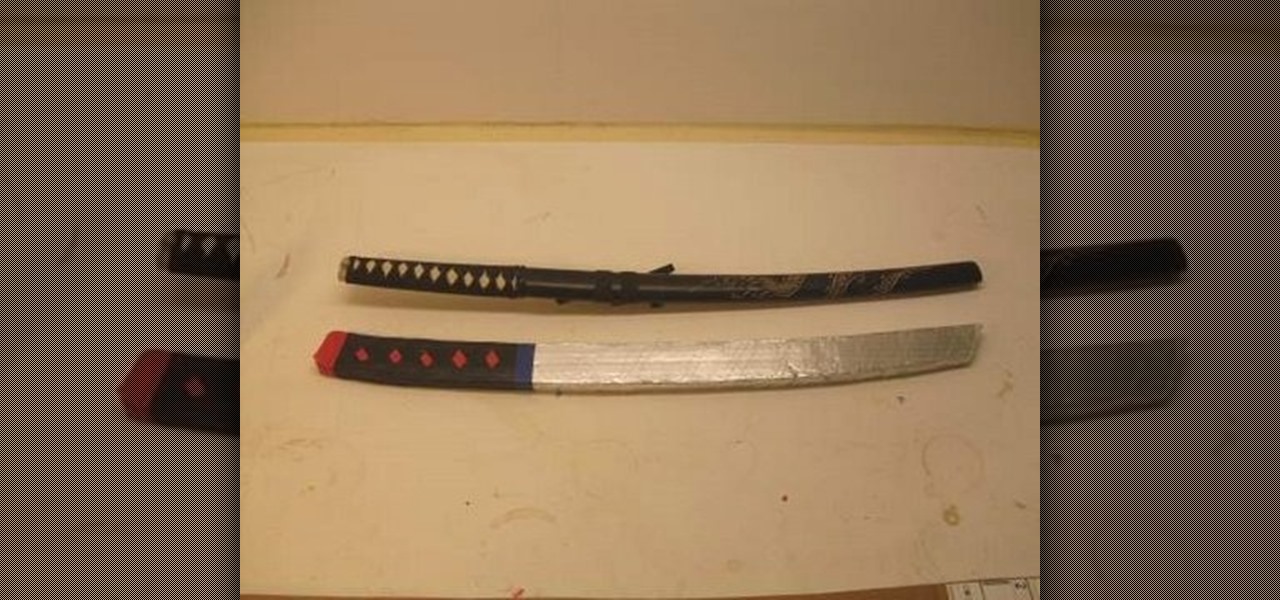
The katana (also known as the samurai sword) originated in Japan's Muromachi period (1392–1573). These curved blades are known worldwide for their elegance and craftsmanship. But if you can't afford your own antique model you can create your own reproduction using junk you've probably already got in your garage.
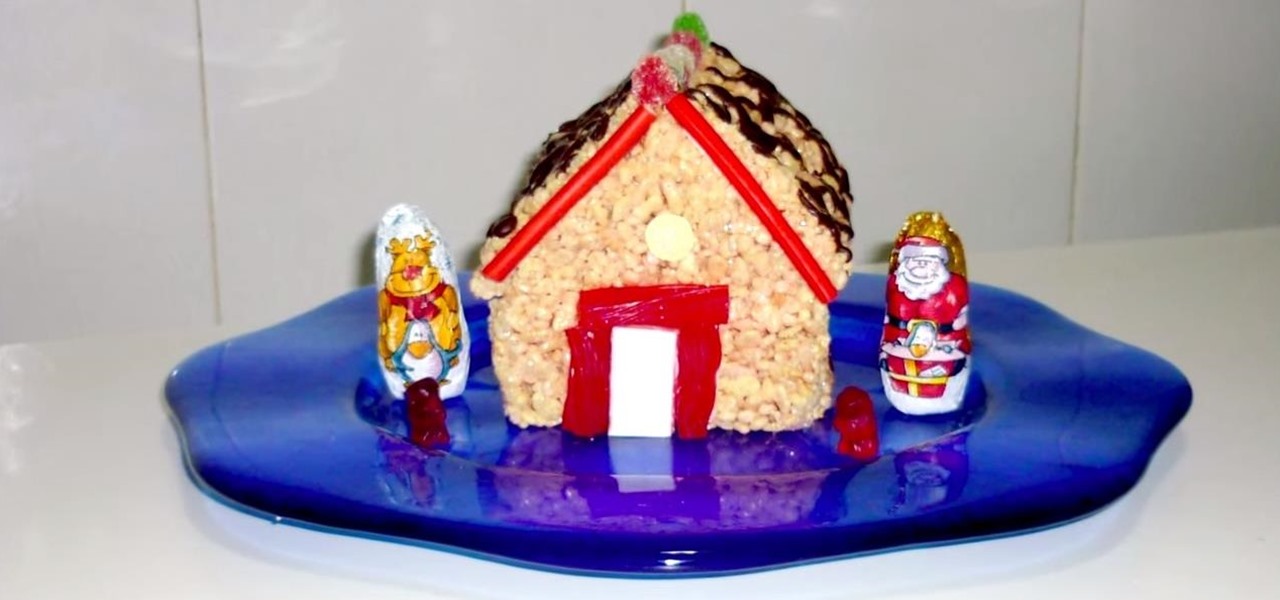
This was my little cooking project for the holidays, I hope you like it! For this recipe you will need:
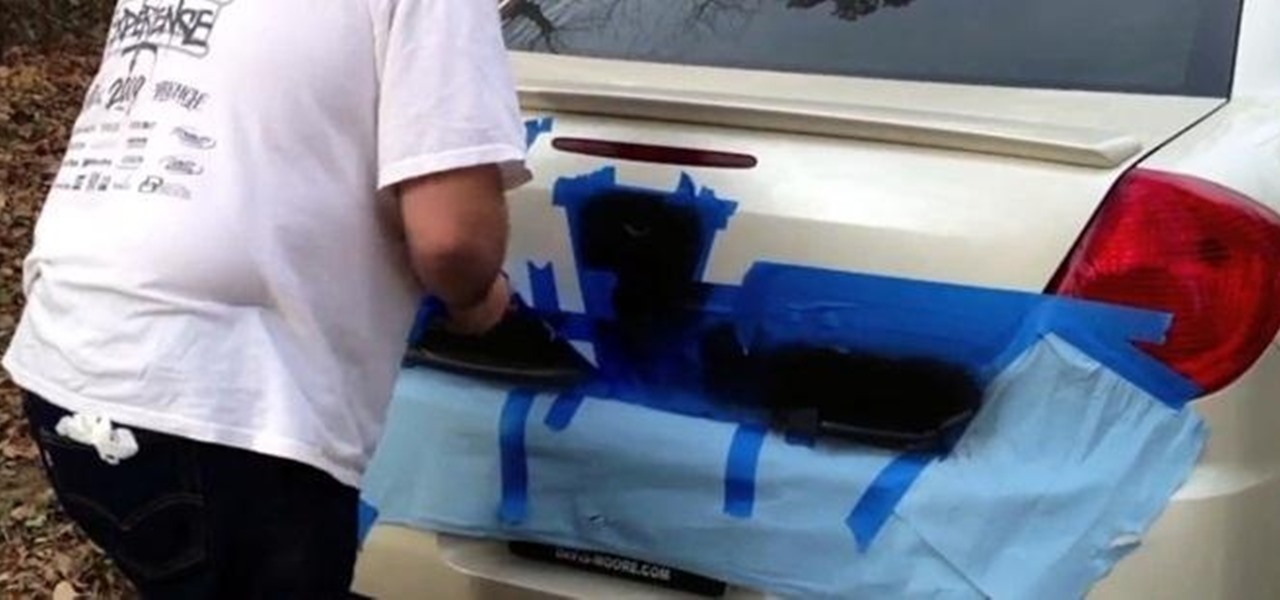
Plasti Dip coating is a rubber like coating that can be dipped or sprayed on. I first remember the coating available as a dip years ago. It was first introduced as a coating used to dip tool handles in to provide a grip. However, since then, the coating has became available in a spray can. It has also became popular on car parts, such as wheels, emblems, and even entire cars.
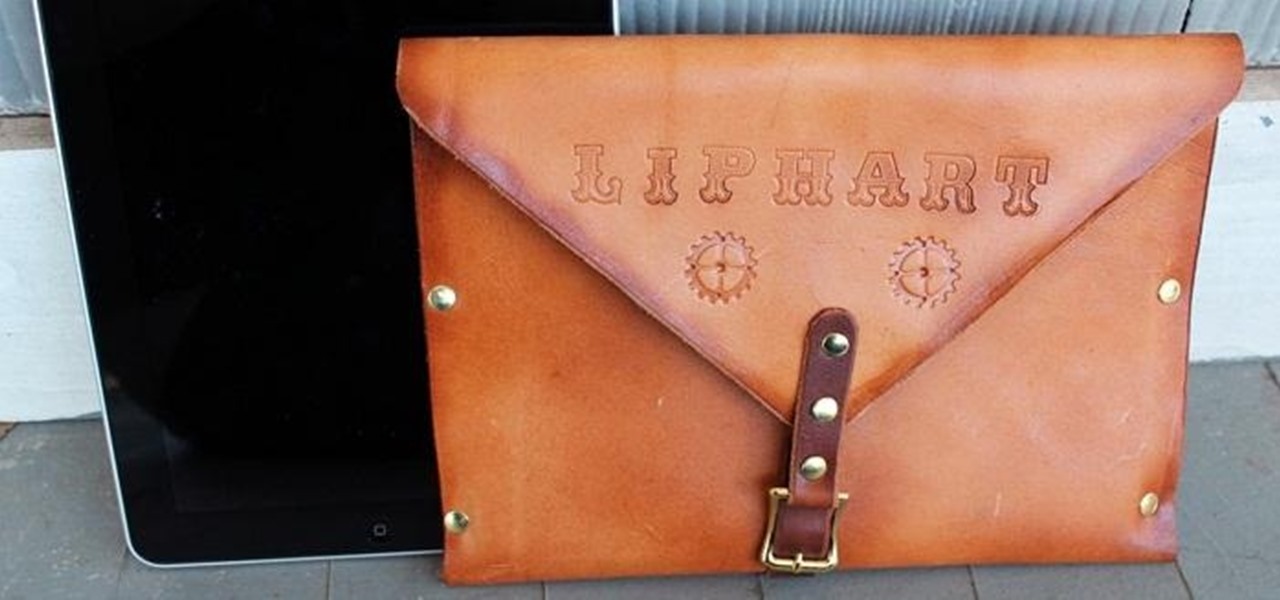
I chose to make this a Steampunk iPad case, but you can change the details and make it look as modern as you'd like. As I said earlier, Steampunks probably shouldn't buy iPhones or iPads, but if you're going to get one, you may as well make it look cool, right? The iPad pictured below was borrowed from a friend of mine, though I should add that this design will easily work with tablet computers of any variety, Apple, Android, or otherwise.
How to properly use an edge sander; get professional tips and advice from an expert carpenter on precision sanding tools in this free woodworking video series.
Olivia shows how to make ‘Woolen Mittens’ in this video, by recycling an old sweater! She begins by washing an old sweater in cold water. After washing, she puts the sweater in a dryer at high heat mode, to shrink it. The washed, dried and shrunk sweater is then placed on a table. The required length of the mitten is decided, taking care that the bottom end of the sweater shall be placed at the point where the mitten ends on the arm. The arm is then placed on the sweater and a mark is made ab...
Circular tablecloths look impossible to fold into neat little squares, but with a little practice you'll be doing this with ease. Learn how to fold a round tablecloth with this how to video.

Hanging a door evenly isn't easy, and if you screw it up, you'll probably have to start over with a brand new door. Master this skill, however, and save a bundle in installation fees.
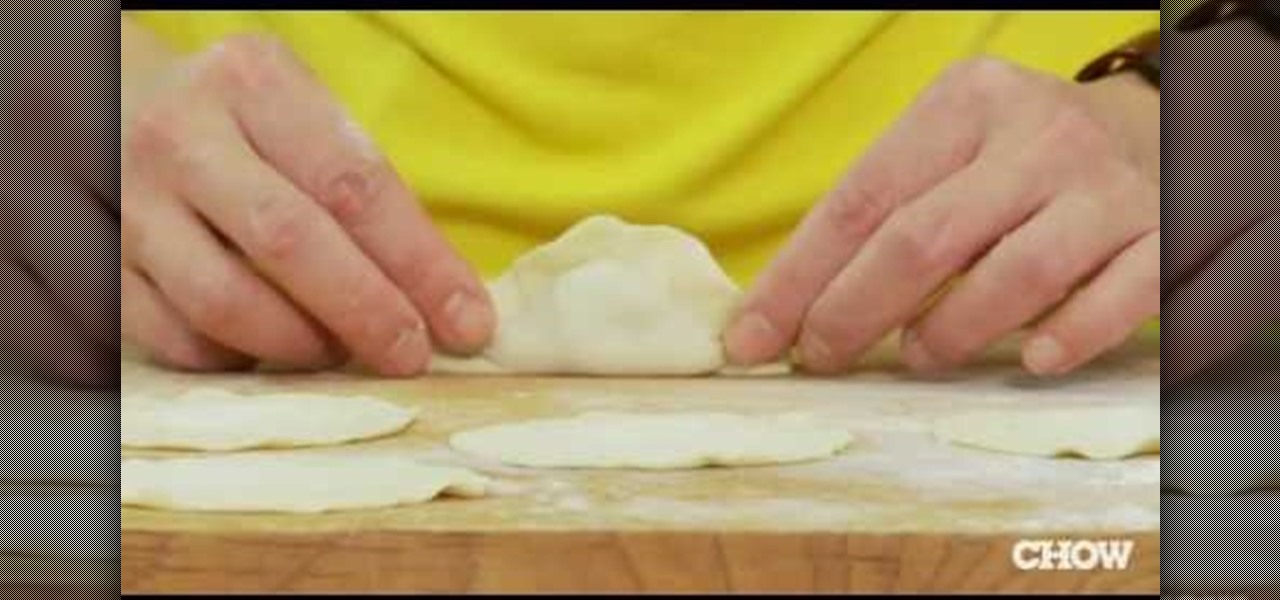
In this tutorial, we learn how to wrap a dumpling with Andrea Nguyen. First, you will need to scoop the filling into the dumpling. Then, fold the edge over it and push your fingers together on the sides to make it wrinkled. Then, you will crunch the edges together and they will be ready to cook! You can also fold the edges over to make them into little pockets that will taste the exact same! Have fun and get creative with these, just make sure they are sealed all the way around so the filling...
Fifty cent coins and quarters made before 1964 were made of 90% silver. This is considered jeweller's quality silver so can easily be made into a ring. Kennedy Half Dollars can be found at coin shops or on ebay for four or five dollars a piece. Begin with an anvil which can clamp onto a table. This will allow you to hammer without damaging the table. If you don't have a anvil, you can use any flat surface that is sturdy and made of metal. Next, take a small hammer, position the coin on its ed...
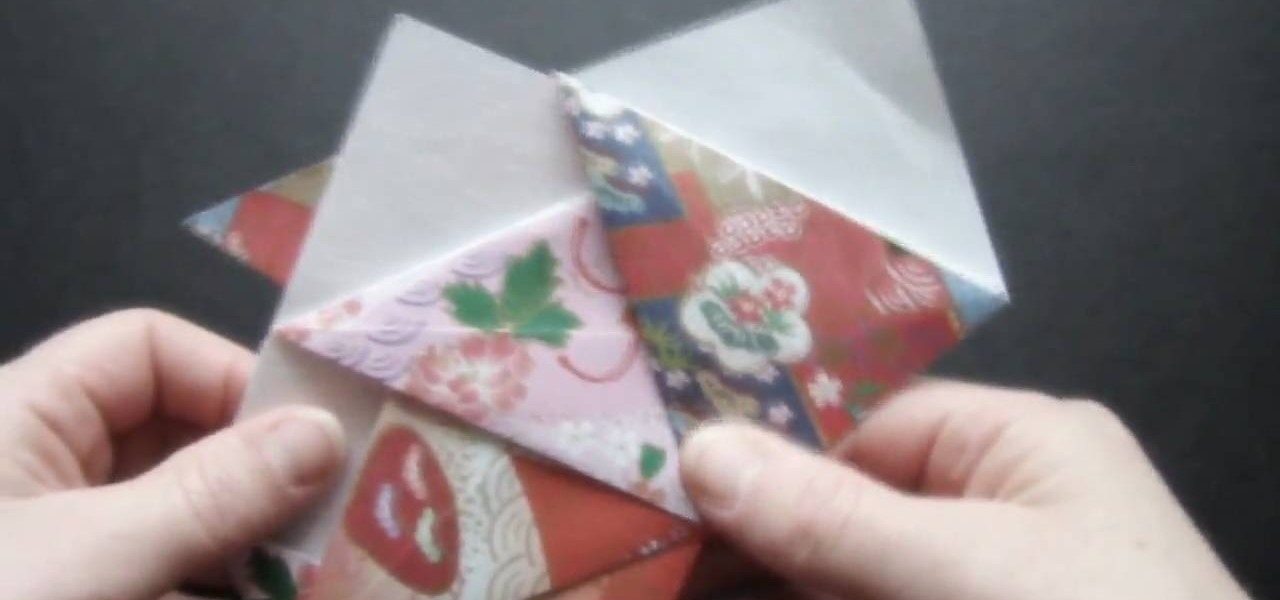
This is an instructional video that demonstrates how to make an origami spinning top. You need seven square pieces of paper, and she uses 6"x6" sheets. First fold the paper diagonally. Fold the short edges to meet the long edge. Unfold it and use that as a guide for the next fold. Fold the top triangles down and tuck on corner into the pocket. Make seven exactly the same. She shows how to slide one folded piece of paper into the next one and fold the edges over each other to hold them togethe...

Shane goes into detail on a specific type of boof in which the paddler comes across the drop with angle and boofs into an eddy.
Aperture 2 includes new vignette and devignette adjustments that allow you to add soft, shadowed edges to your images for an artistic effect or to correct for unwanted darkened edges of images.
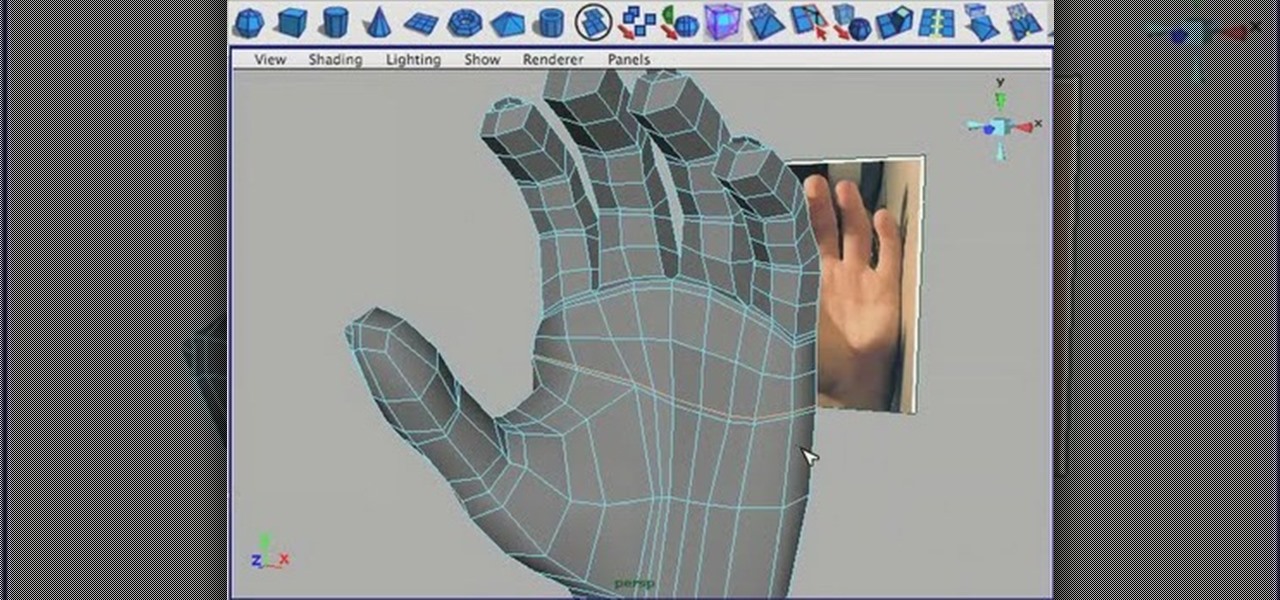
This tutorial shows the best way to model a human hand with perfect edge flow. Made in Maya but should work great in any package. This is an advanced tutorial so you should be familiar with the software and interface.
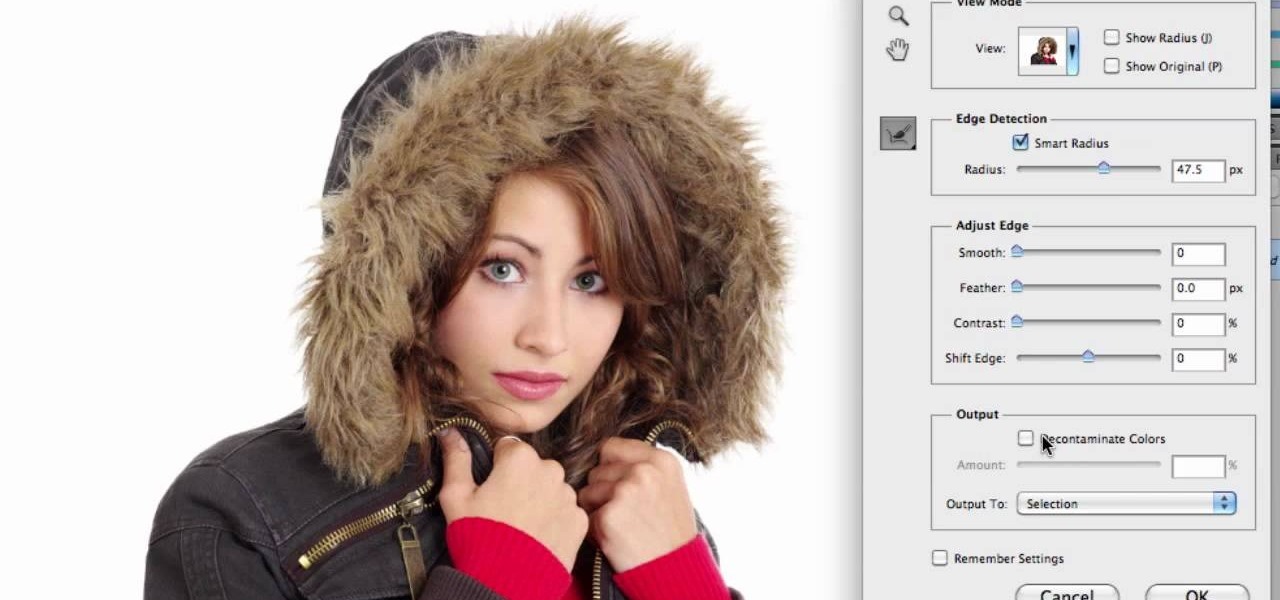
Adobe Photoshop CS5 brings a very welcome change to Refine Edge. Edge Detection will help with much more detailed selections such as hair or fur. Whether you're new to Adobe's popular image editing software or a seasoned graphic design professional just looking to better acquaint yourself with the unique features of Photoshop CS5, you're sure to find something of value in this free video tutorial.
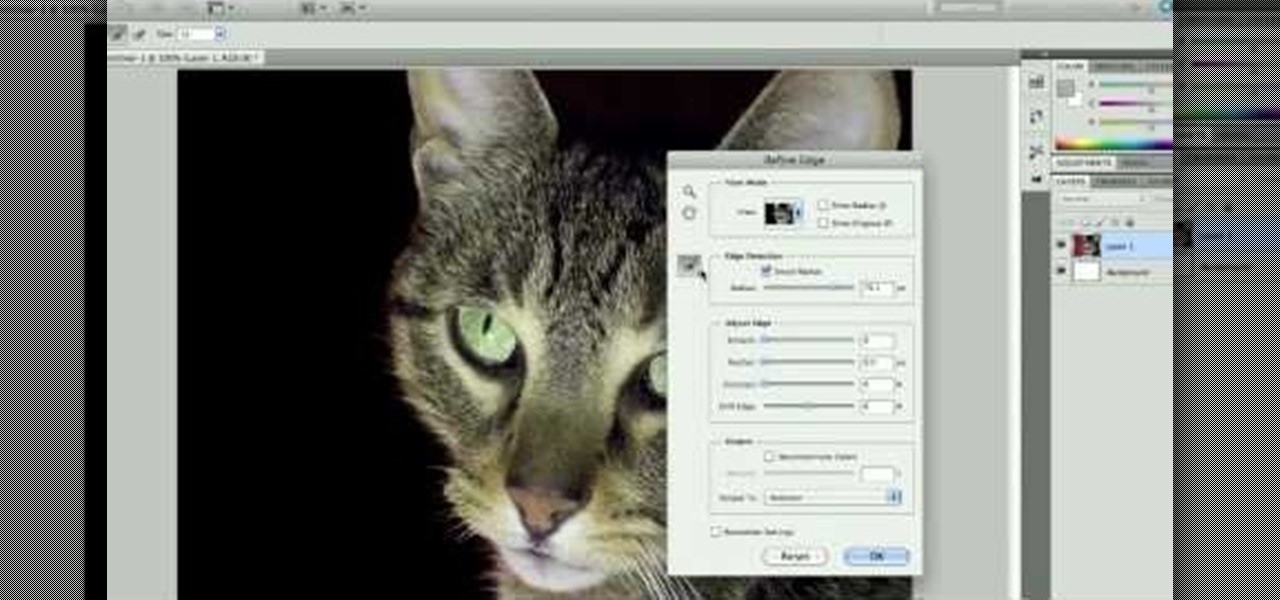
Take a look at some of the awesome new improvements to Refine Edge in Adobe Photoshop CS5. Whether you're new to Adobe's popular image editing software or a seasoned graphic design professional just looking to better acquaint yourself with the unique features of Photoshop CS5, you're sure to find something of value in this video tutorial. For more information, and to get started taking advantage of the new, improved Refine Edge tool, watch this video lesson.
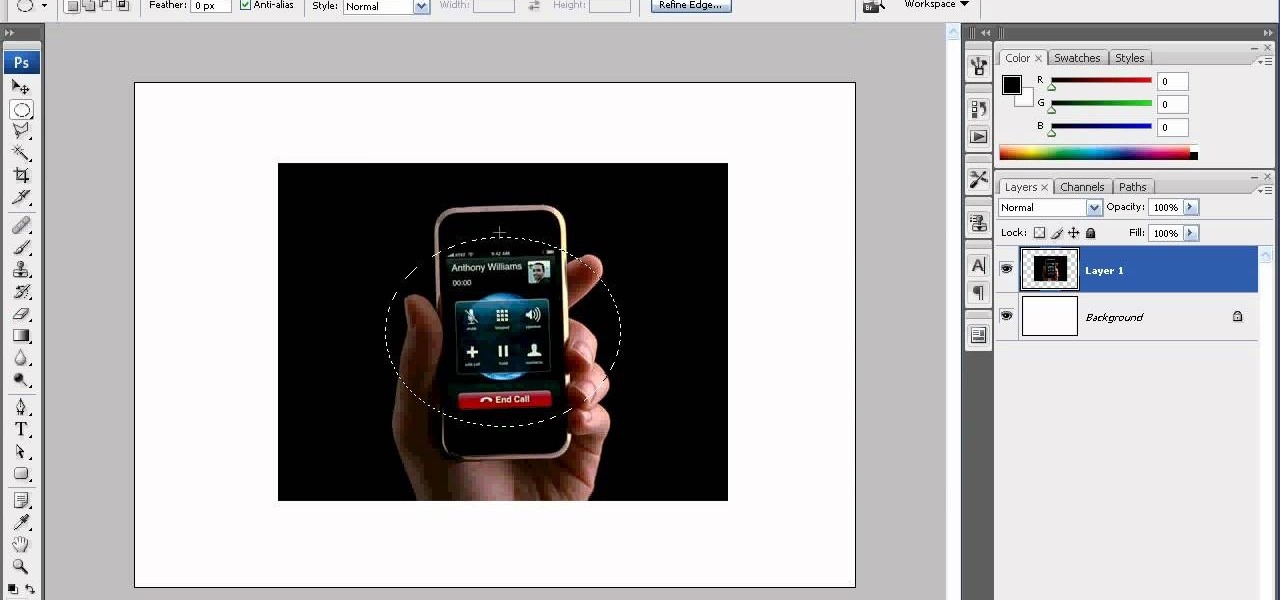
We don't know why exactly, but somehow fading the edges of a photograph makes it look more sentimental. Maybe it's because faded edges remind us of old timey photographs that have yellowed and softened with age, or maybe it's because faded eges endow a sort of dream-like atmosphere to your picture.
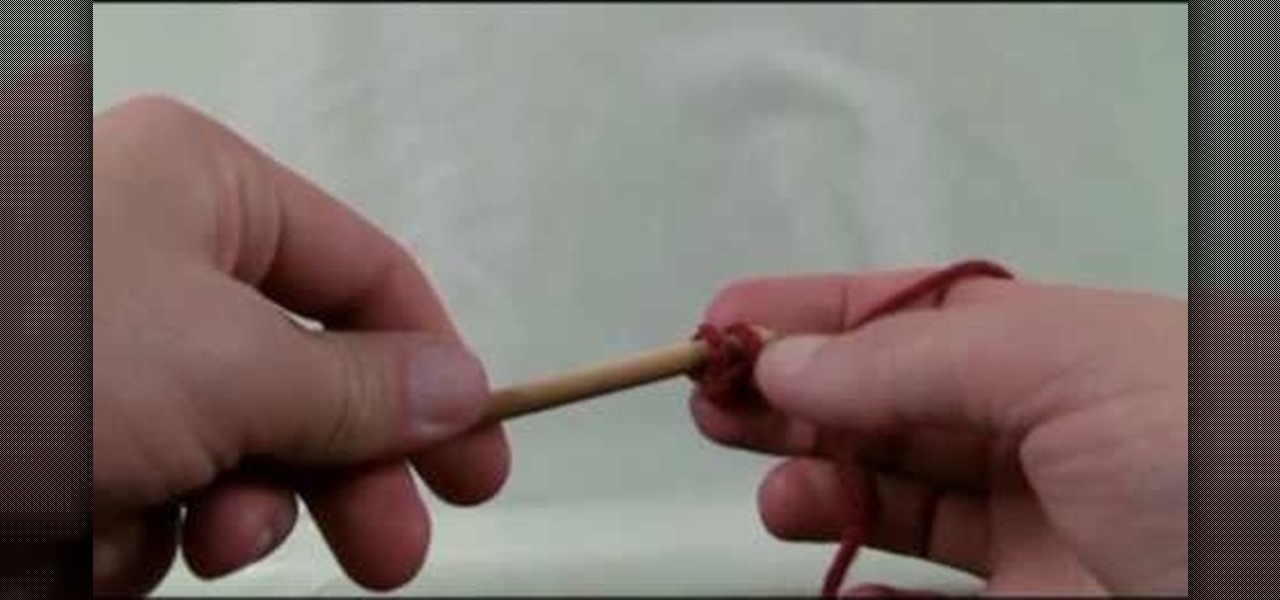
Crochet quilts, potholders, and mittens would just be endless jumbles of webs without the appropriate edges to finish them off and give them polish. There are many different ways you can create edges in crocheting, but the crochet foundation chain is among the more creative.