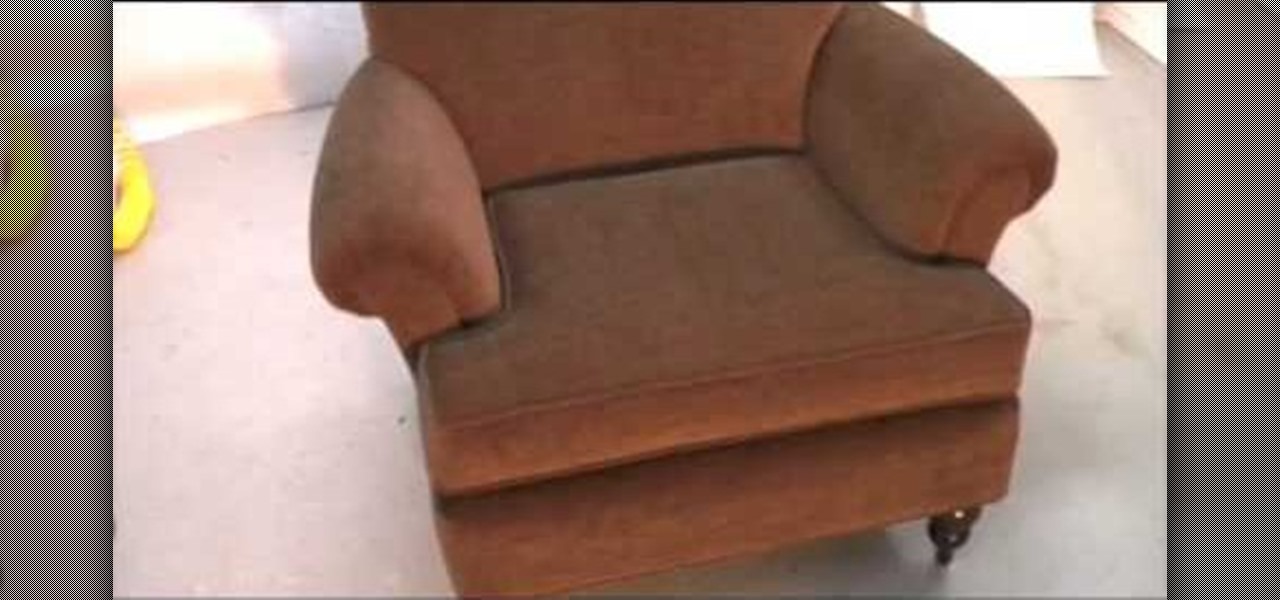
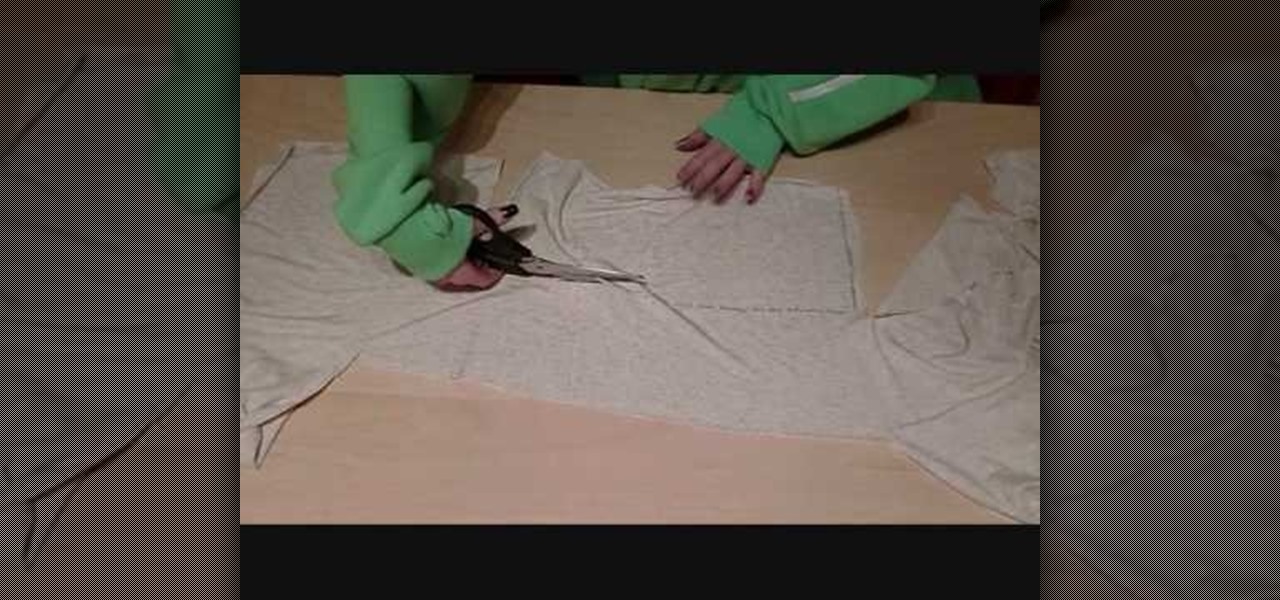
You hunt and you hunt, but you can never find the right pillows to go with you couch. Even your reupholstered chair needs a little pillow love, but it seems impossible to find the right color and design to make a perfect match. That's when you know it's up to you save the day. Why settle for simple decor when you can make your own chic throw pillow to match any room?
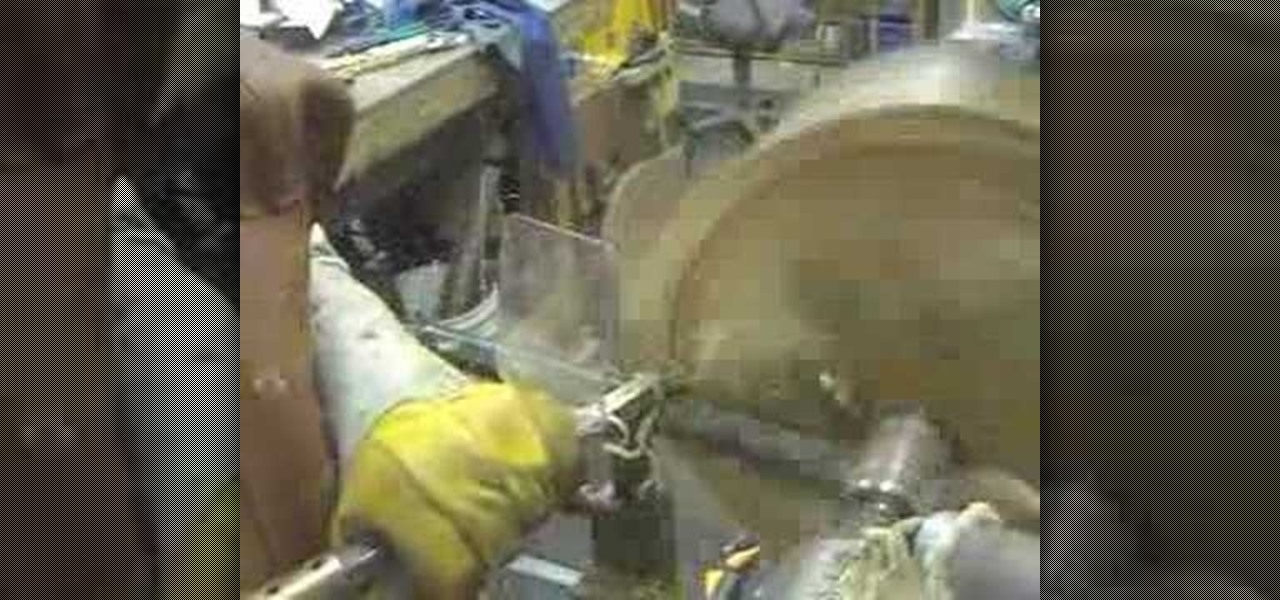
In this tutorial, you'll see how to rough out a natural edge bowl with a Ci1 Easy Rougher (using a suboptimal piece of wood). The wood used in the tutorial is "shinoki," which is a kind of oak, and the lathe is a Nova DVR 3000 wired for 200V. Watch this video to get started roughing out your own natural edge bowl.
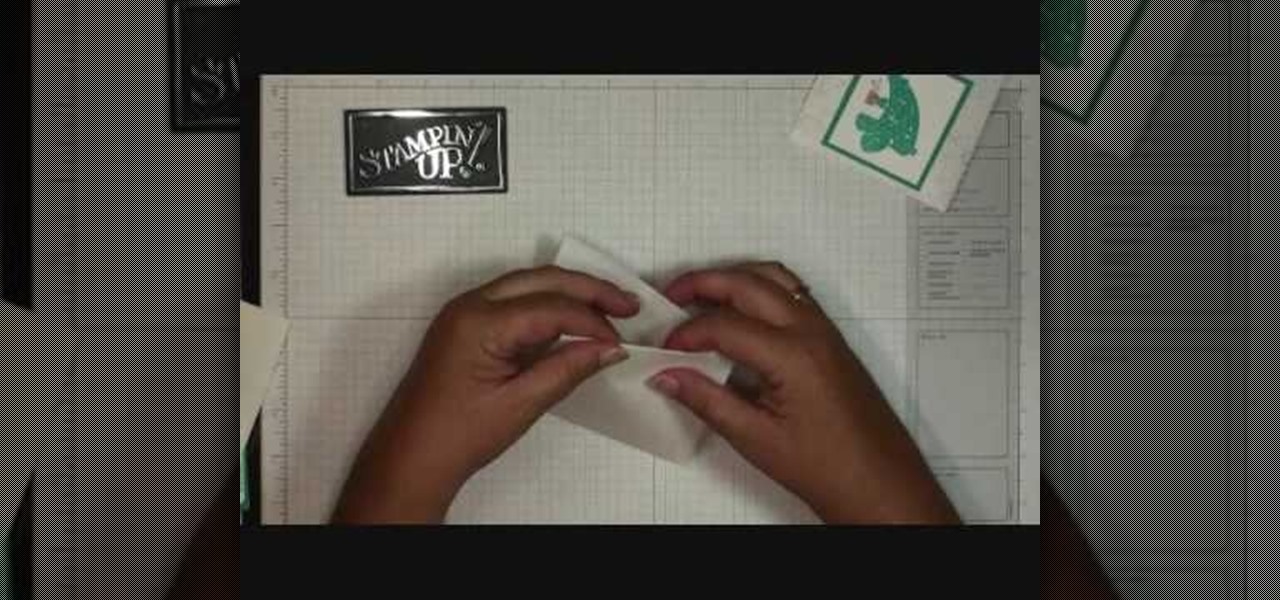
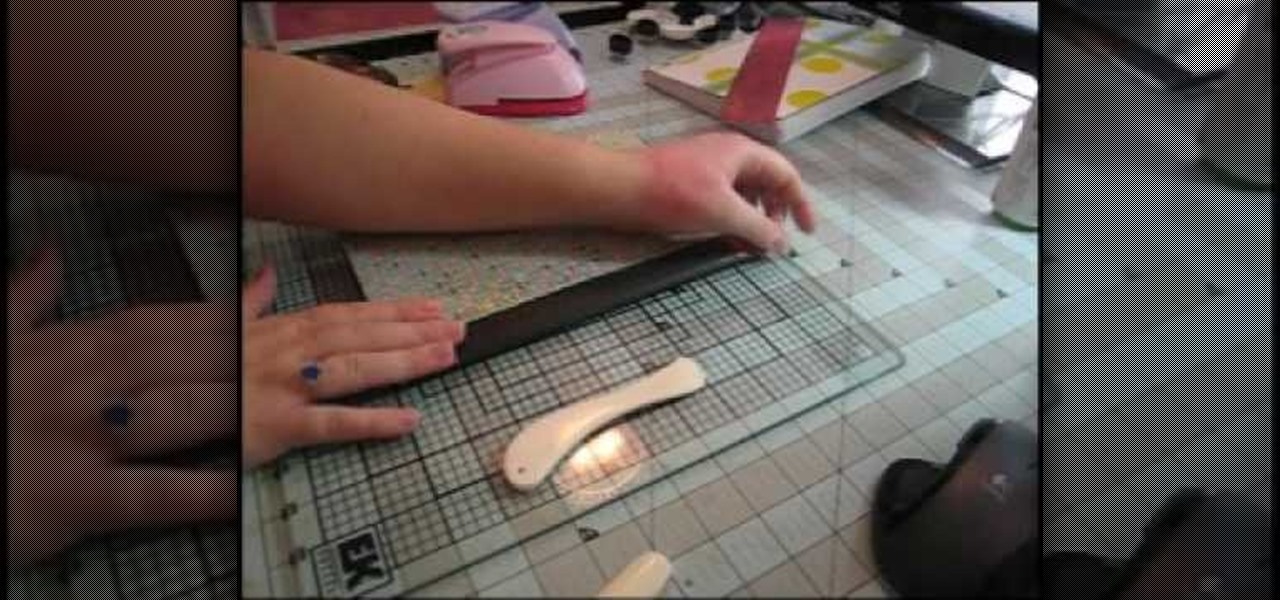
In order to make hot cocoa holders with Stampin' Up, you'll need the following: a whisper white Stampin' Up envelope, scissors, a paper cutter, cocoa, a jumbo wheel, ink pad, adhesive, stamps, ribbon, pen, stapler, glitter, and card stock.

It is simple to make a booklet from one piece of paper. Take one A4 size paper then fold it to equally, then unfold it and you can fold it to right of edge and left of edges both sides are equal. Then unfold you can see like zigzag and cut it to middle point of the paper and fold it to use booklet. It is comfortable and easy to use it.
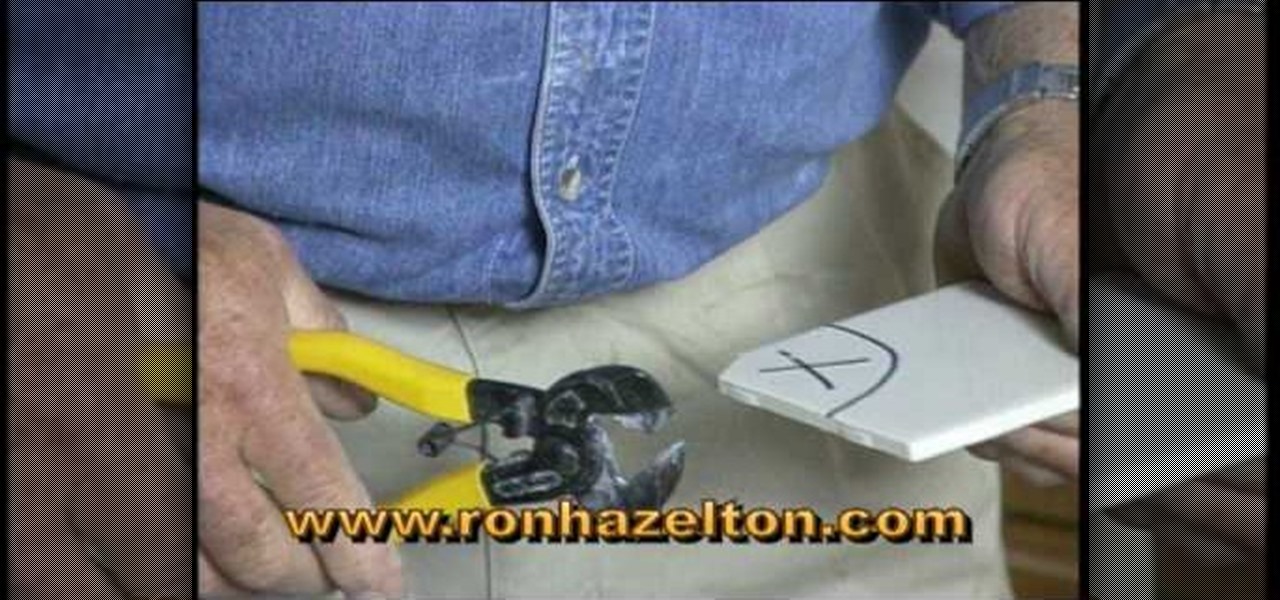
If you lay tile it is rare to do a job and not have to cut a curved piece of tile. If you do have to cut a curved piece there are two ways to do it. First, you have to draw outline of the cut that you need to make on the tile itself and mark the part you are going to remove with an X. The low tech method involves using a pair of tile nippers. You nip away pieces of the tile until you have nipped away the whole area until you have a circular cut out. For a more polished cut you can use a spira...

In this video, we learn how to cut a piece of glass with scissors, water, and a lighter. First, you will need to grab a lighter and place it under the piece of glass that you want to cut to heat it up. Next, you will place your piece of glass into a sink full of water and cut your desired piece. Make sure to cut carefully, as you can get hurt very easily when dealing with sharp edges of glass. Make sure you are keeping the piece of glass you are using completely submerged in the water, along ...

Steps on how to make 3D paper snowflakes for decorating your home. Things you need: 6 pieces of square paper of equal size. scissors. gum. stapler. Steps: 1. Fold one paper to make a triangle. 2. Make three uniform cuts from both directions towards the center leaving a gap along the center. 5. Unfold the paper, let the edges of the inner cuttings meet to make a tube-like appearance and gum the edges together. 6. Turn over the paper and do the same on the second cutting. 7. Turn back again to ...
In this video, we learn how to make a ceramic slab plate. First, roll out the ceramic. After this, place the clay on butcher or newspaper and smooth it out with a plastic card. Repeat this on the other side. Next, use a paper template to help cut your design or use a circular object. Cut slits to help remove the surrounding clay. Use the excess clay to build support pieces then curve the edges of the plate up and place the support pieces underneath. Use a piece of leather to smooth the edges....
-Fold paper where you want it cut -Take a wet piece of string and insert it in the fold, pressing it firmly
In this how to video, you will learn how to make the finishing edges on pieces of ribbons. The hardest part is getting the spikes even on both sides. Fold up the ribbon so the two ends meet. If the spike is just a single angle, tape the edges at the top. If the spike has a center to it, bring the ends together and fold it in half. Take a piece of tape and place it around the ribbon ends. This will hold them in place for when you make the cut. If you want to make an angle cut, take your scisso...
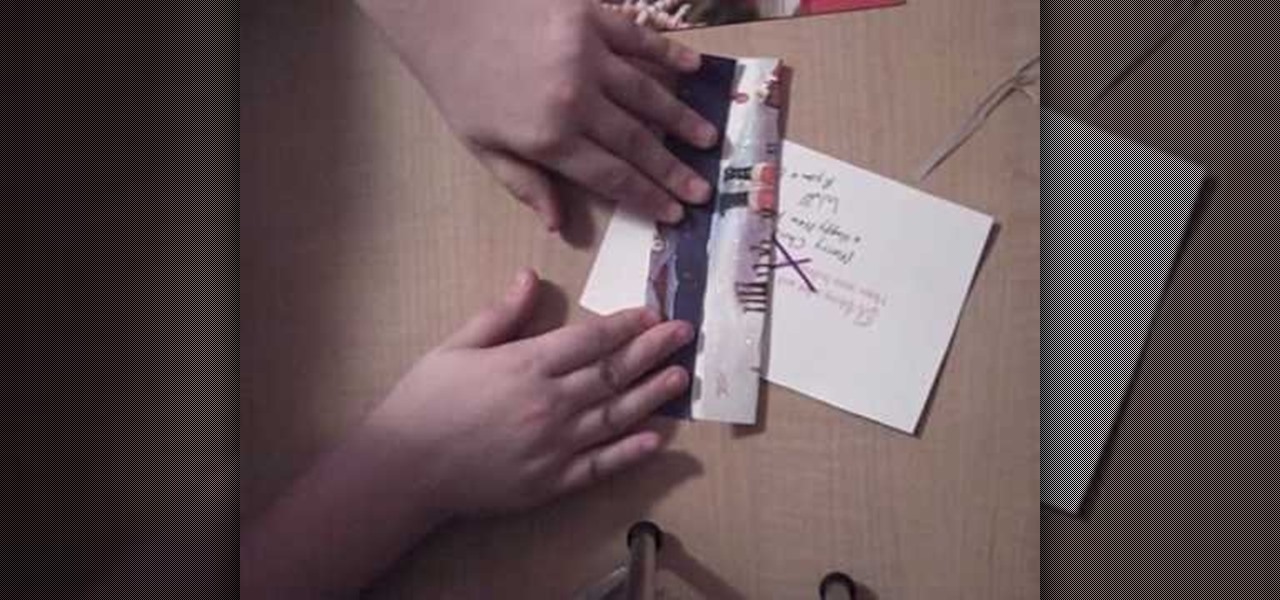
This video shows us how to make a homemade jewellery box out of a Christmas card.For that you need a pair of scissors,a tape,a christmas card,a marker and another card to draw your X with.First take the card and cut it straight down the middle into two pieces.Now take the back side piece of the card and cut off 1/4 of an inch from the left and the bottom portions.This will help to fit the cards together.Next use the extra card and trace an X on both sides of your card piece,in the middle.Take...
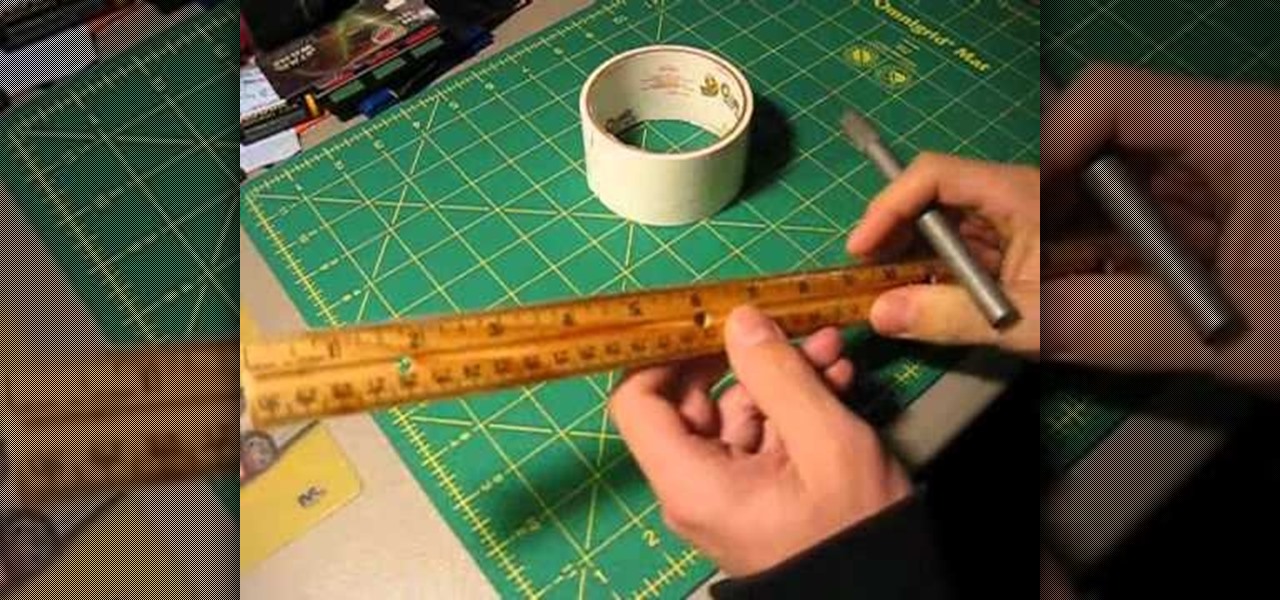
Any duct tape project starts with pieces of duct tape that have been cut with clean, sharp edges. But how you can you get that for yourself? This tutorial shows you how to use craft knives and cutting mats to perfectly cut your duct tape.
In this tutorial, we learn how to make a Lace Cardigan with the Sewing Studio. First, you will need to gather all of your tools and the material. Now, cut out a piece of fabric into a large rectangle. Now, draw and cut out the pattern from the diagram you see in the video. After this, finish up the raw edges with stitching, then line up the two lower edges and sew along the edges. This will be the seam on the center back of the cardigan. Next, attach the triangle to the top of the neckline an...
This is a demonstration of how to upholster full an occasion chair. First the seat upholster is removed carefully. The new cloth is cut accordingly to the shape. The edges are folded and stitched. The cloth is spread over the seat, tucked under the hand rest stretched to the bottom and nailed. For the hand rest a rectangular cloth of required color is cut. A piece of foam is spread over the hand rest and covered with the upholstery cloth and stapled at the sides and bottom. The back rest is r...
Not sure what bottle of wine to get your wine-loving friend for their birthday? Don't sweat it. Get them a wine bag, and save money by making it yourself from old clothes!! Why spend money on wine gift bags when you can craft your own from stuff you already have in your closet?
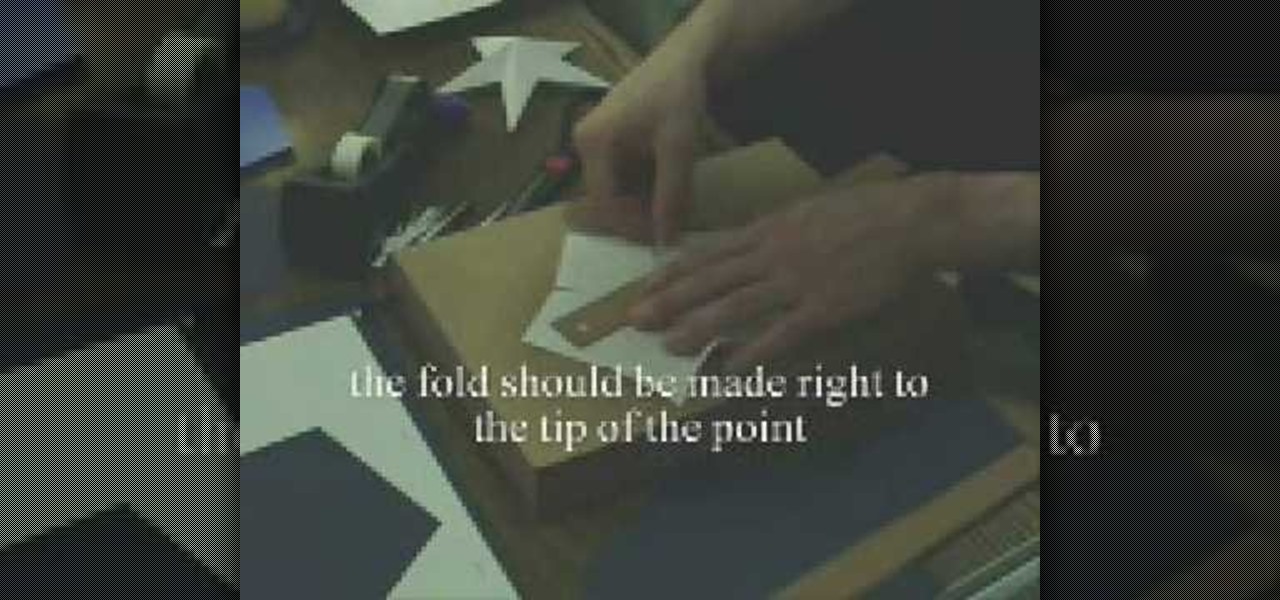
This video shows how to make a 3D five point paper star. First cut a pentagon using a sharp flat blade and a ruler. Folding halfway between each two corners to the opposite corner. These folds are the points of the star. Make a mark half-way between the edge of the paper and the center point created by the folds. Using the ruler and X-acto knife, cut straight along the fold from the mark to the edge. Cut two small triangles off of each side 1/4" up from the middle of the edge, cut a line stra...
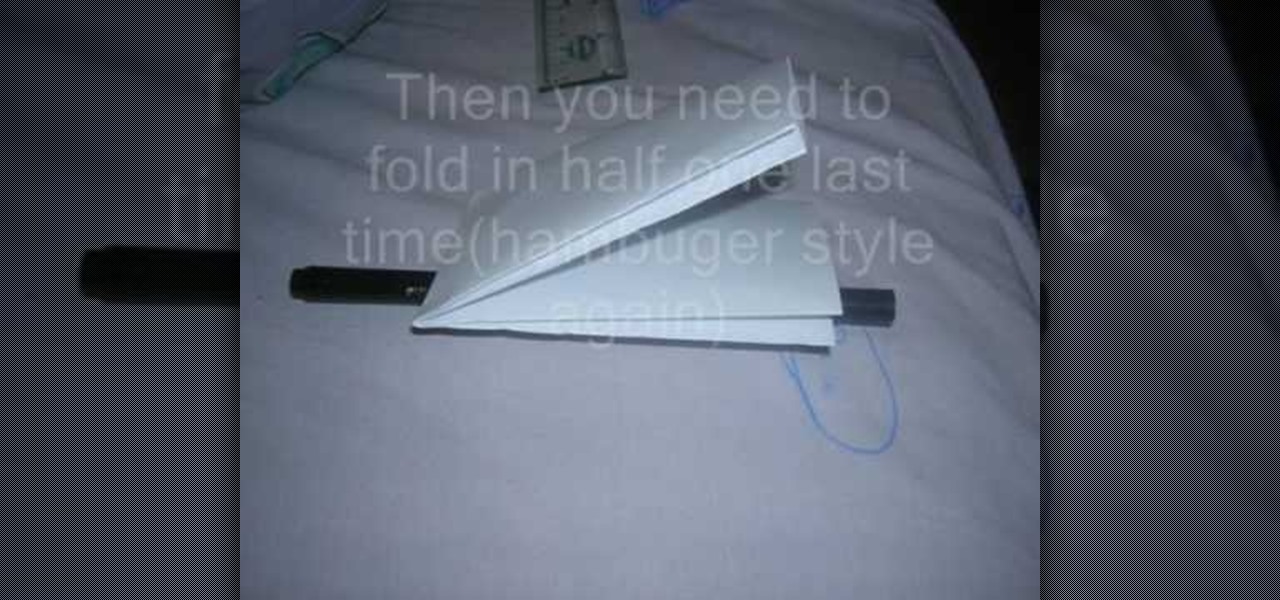
In this video, you will learn how to make a wallet out of paper. First, you will need a piece of paper, a pen, a straight edge, and something to cut the paper. Place the paper on a flat surface. Fold the paper in half, hamburger style and unfold. Fold the bottom half up to the middle crease. Now fold the top half to the middle crease. Fold this in half again and fold it in half one more time in the hamburger style. Now, unfold the paper. Draw lines where you need to cut the paper. Once this i...
This video gives a demonstration of how to make a double bow for scrapbooking. First, cut a short piece of your ribbon off the end. Make this piece about 5 inches long. Next, after leaving a tail of ribbon bend a longer piece of the ribbon over and over, smoothly, until you have 2 loops on each side which creates the double bow. Cut off the end of the ribbon, leaving a tail. Pinch the middle of the double bow. Use the short piece which you cut earlier to tie around the middle of the bow. Adju...
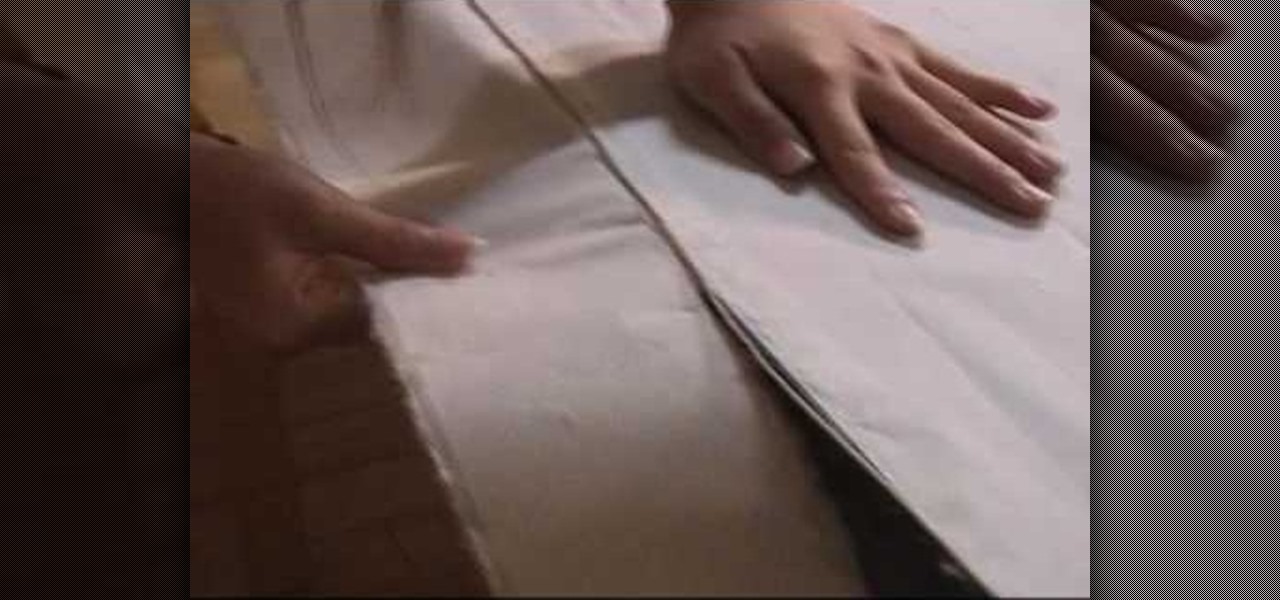
See how to line up the selvedge edges of your fabric so you cut straight strips every time. Complicated quilts require almost every piece of fabric to have precise dimensions to fulfill an exact geometric purpose in the quilt design. Watch this instructional quilting video to hang your fabric as a way of measuring and folding your fabric for cutting.
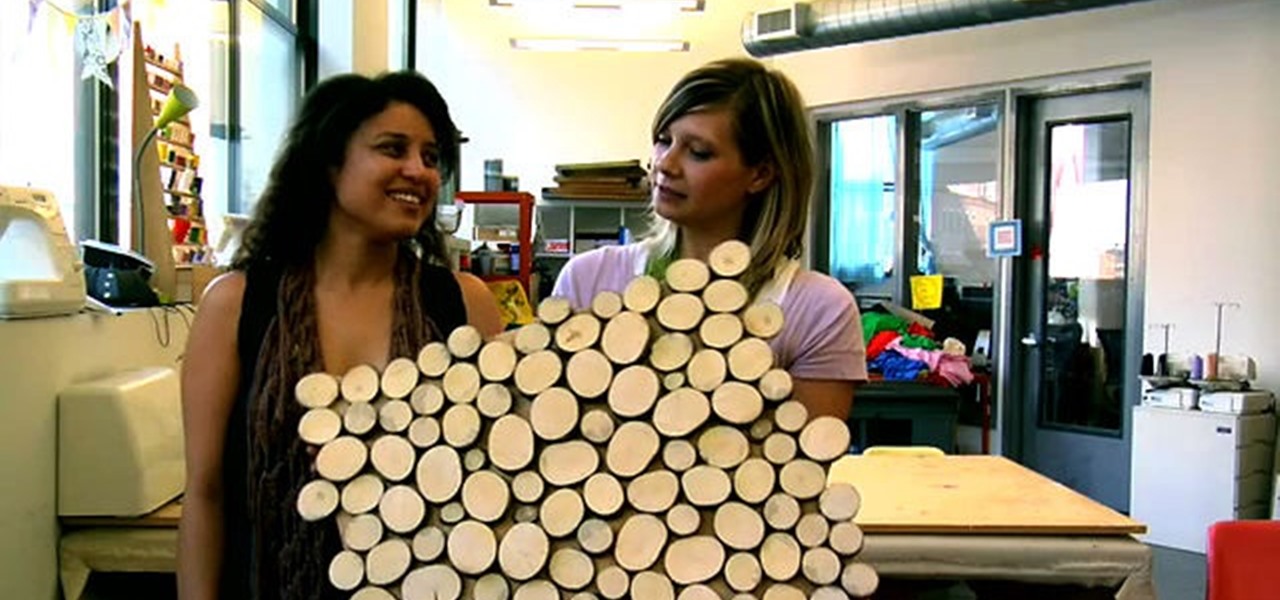
Remember summer camp? Remember the smell of the log cabins? The feel of the treated wood? Well, you can create something for your home that's perfect for a nostalgic summer camp aesthetic. Meg Allen Cole (recently of Threadbanger) was inspired to make this mid-century modern wall hanging piece made from a small wooden log (or branch) when she was at a relaxing, wooded vacation spot in Maine. And she shows you how to make one, too!
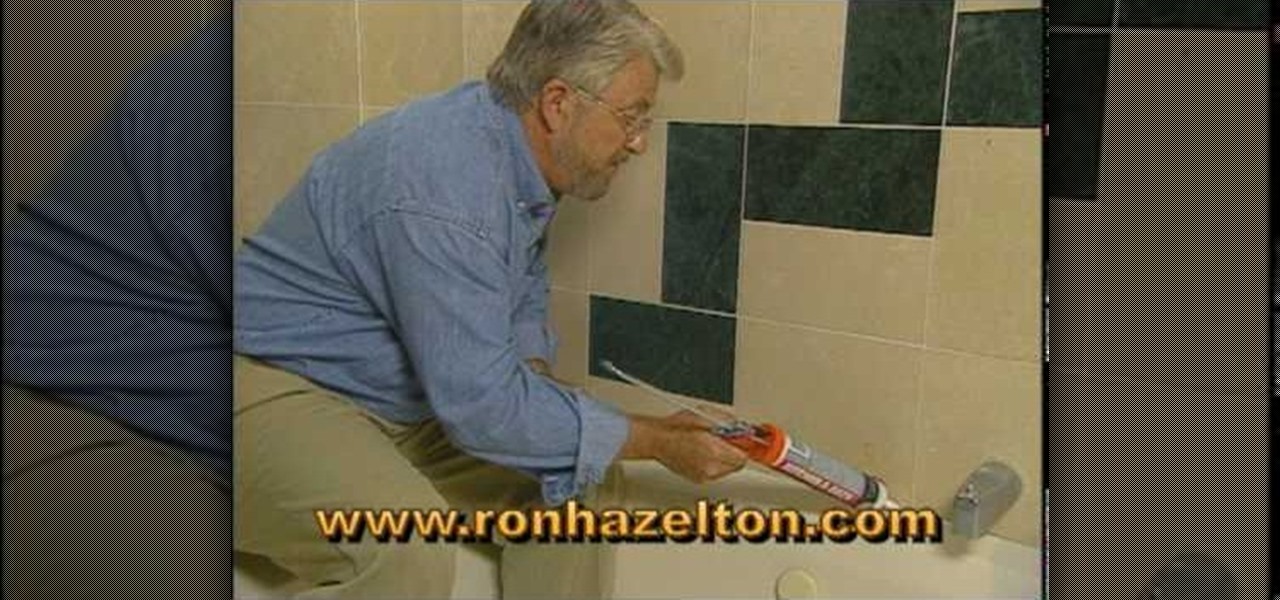
In this video tutorial, viewers learn how to replace caulk on a bathtub. Begin by placing a fresh blade into a utility knife. Then use the knife to cut out the old caulk. You want to make 2 cuts. The first cut with the knife plying flat on the edge of the tub. The second cut with the knife tip up at about a 45 degree angle. This will allow most of the caulk to come out in one piece. For any remaining caulk, take a razor blade and scrape it off. To remove any remaining mildew, apply 6 ounces o...
In this Family video tutorial you will learn how to craft felt frog puppets with your kids. The materials you will need for this are felt (pink, dark and light green), a piece of red lace, 2 large white pompoms, 2 small black pompoms, scissors, glue and marker. Take two layers of dark green felt and draw out the outline of half of the left palm. Fold the felts in half and cut out the outline. Stick the two pieces along the edges to make a glove. Next cut a rectangular piece out of the light g...
In this video Jennie shows us how to make a perfect spiral paper rose. All you need for this is a piece of 6X6 inches of paper, scissors, some glue and, if you really want to be creative, some ink. For starters you're going to need a 6X6 inch piece of card stock. Jennie chose a double-sided card stock because she thinks it will look more interesting but you can also use a plain piece of paper. The first step in creating your rose is making a spiral patterned cut alongside the paper. The ideal...
This instructional video shows us how to make a Japanese flag fan. The materials required are: Foamy (Red and white), four popsicle sticks, glue and scissors. First cut two circular shapes (with one straight edge) from the white foamy, then glue on the popsicle sticks to the straight edge of one of the circles to make the handle. After this, glue down the other white circular piece of foamy to cover the tops of the popsicle sticks. Then cut out two smaller circles from the red foamy and glue ...
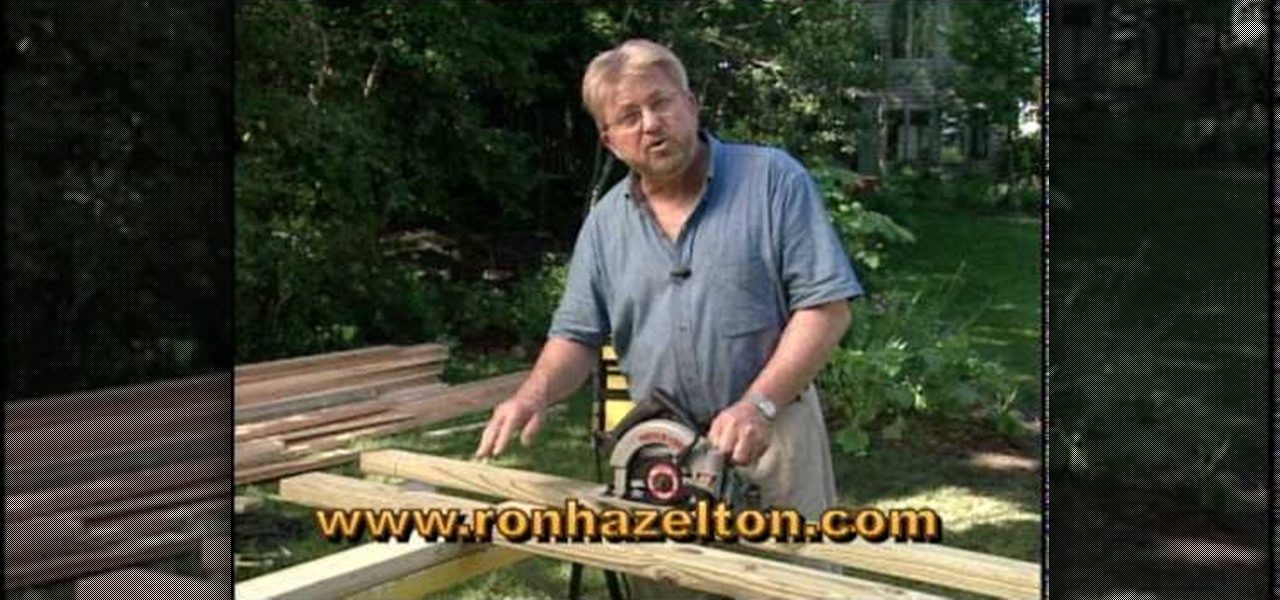
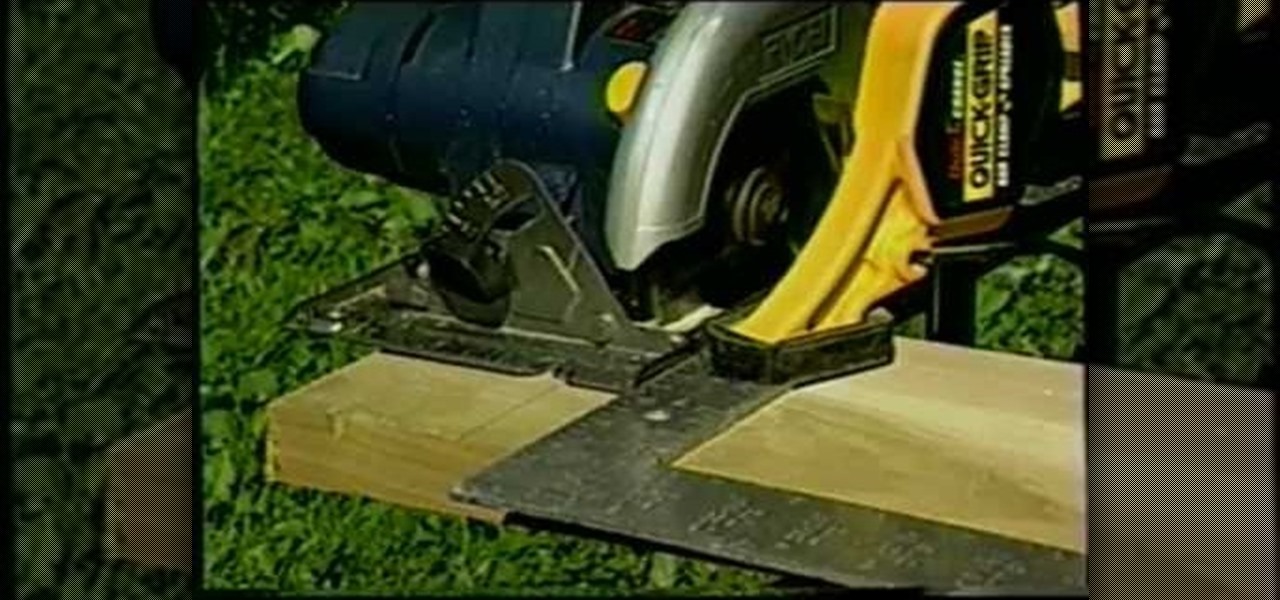
Ron Hazelton shows how to rip cut a very long piece of wood using a circular saw instead of a table saw. First, place sawhorses approximately every 4 feet under the wood. Choose the correct blade for the wood. Affix the circular saw with an edge guide. Set the blade depth so that the blade barely goes past the wood. Put scrap pieces of lumber on the sawhorses under the wood. Then the long rip cut can be a zip.
In this tutorial, we learn how to scribe break an acrylic sheet. You just need a Stanley knife and a straight edge to do this to any acrylic sheet. First, put some gloves on and safety glasses. From here, level out the area you want to cut on your sheet, then clamp the angle while laying down. Next, use your knife to cut along the edge, going over the same spot several times. Press down hard to ensure it's completely cut. To finish, all you have to do is to bend the excess piece down and it s...
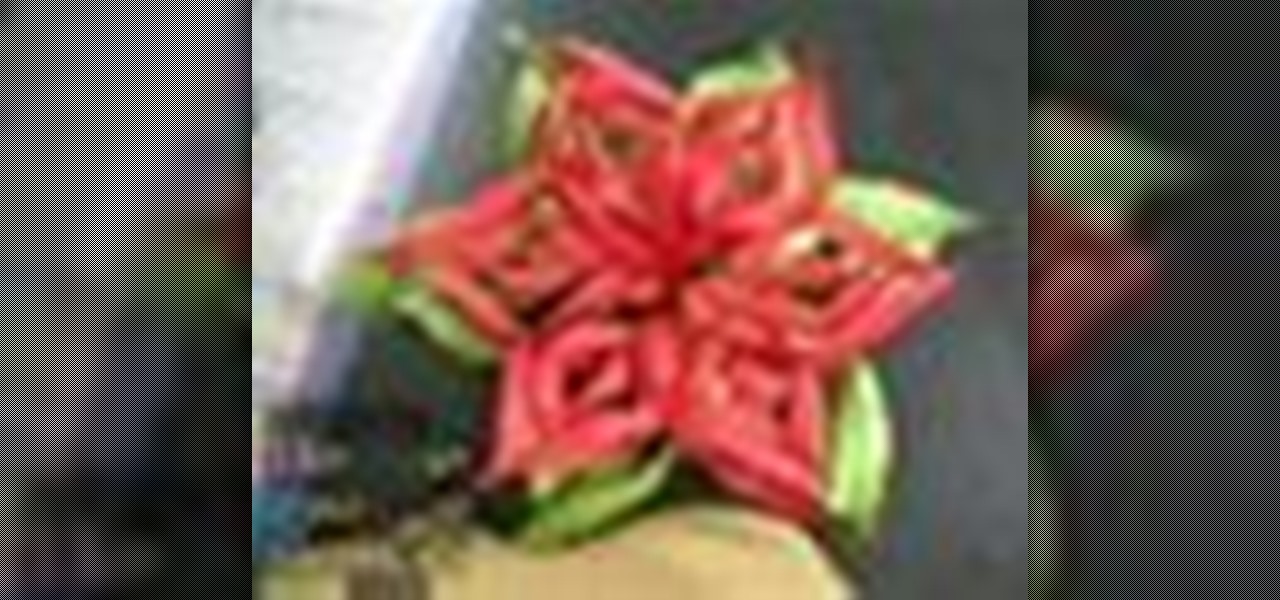
In this video we learn how to make a decorative paper rose. First, take a piece of paper and cut several heart shapes out of it, making them different sizes. Once these are cut out, curl the edge over with a toothpick, pencil, or by hand. Set these aside, then use a grab a green sheet of paper. Roll the edge of the paper up and then cut the rest of the paper from it. Create a leaf in this and then tape it all around. Now, twist this tightly and place the curled ends of the heart shapes away f...
You will use an old work glove to make the string. First cut the seems of the glove to the finger tips with scissors. Cut out the palm part of the clove. Remove the elastic off of the back with a knife. remove the hem with your scissors. Next, start cutting at the edge up around the shape of the glove. Keep going round until it starts turning into one long piece. Go back around the leather and trim up the rough edges and corners. He ends up with about seven foot of string. It's a cheep free w...
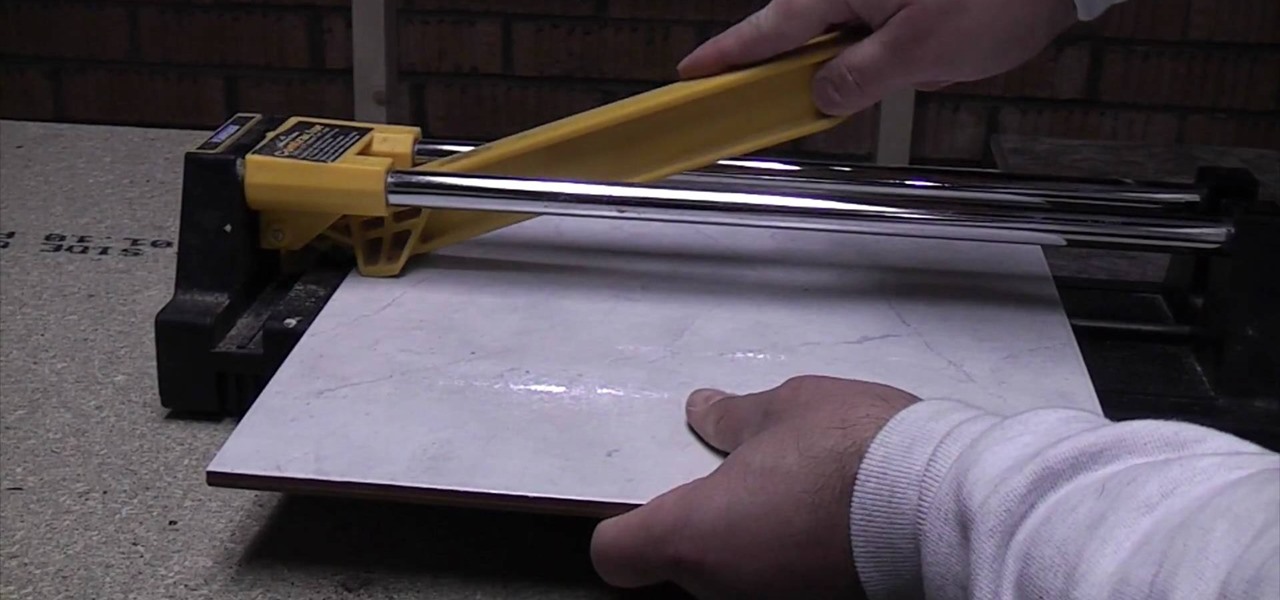
A standard tile cutter will cut ceramic and porcelain tiles but not natural stone tiles. To use the standard tile cutter adjust and lock the guide. Then, slide your tile into position in the tile cutter. Next, position your cutter on the edge of the tile. Push down on the cutter while sliding the cutter across the tile. When the cutter gets to the end of the tile, press down. The tile should then break into two smooth, clean pieces. Run a tile file over the edge of the tile to reduce the shar...
You’ve finally found the perfect fabric for that new dress – don’t let careless cutting ruin your project.
In this video, we learn how to turn a composition book into a decorative notebook. First, measure your composition book, then measure out that same size on a piece of decorative paper. Next, put adhesive on the back of this on all four edges, then diagonally. Now, you will have a solid attachment for the paper to be placed on top of the composition notebook. Use a straight edge to push it down and it's completely flat. Then, use scissors to cut any excess paper off of the edges and corners. Y...
Knowing how to cut a straight line is essential for most projects. AsktheBuilder.com host Tim Carter demonstrates one technique for cutting a straight line. With his tips, you'll have no problem getting perfect cuts every time.
Stampinmama1 shows us how to soften edges of paper with ink sponges. When you sponge, you get a little softer look onto the paper. You're going to want to use a round stamping sponge and you would want to cut it up into six pieces to have more control over them. Rub your sponge directly onto the pad, grind it on pretty hard. Go right along the edge of your paper, ink it up again and keep going. You will get a soft feathery edge instead of a fairly bland edge with no soft look to it.
Video: . Whether you are gardening, cooking, riding a motorcycle or just want to cover up on a bad hair day, doo rags are easy to make and fun to personalize to suit to your style. If you would rather just download the durag pattern click here.
This video shows how to weave paper. This paper can then be used to make crafts such as origami. You may want some supplies: a cutting board, a paper cutter, scotch tape, and square origami paper (6"x6"). Start with two sheets of paper. Cut the paper into thin strips, 1/2" each. Reassemble one of the squares. Carefully align the pieces close together. Place a piece of tape on the top, and tape it to the cutting board. Take a strip of the other color paper, and weave it through every other str...
This is an instructional video that demonstrates how to make an origami spinning top. You need seven square pieces of paper, and she uses 6"x6" sheets. First fold the paper diagonally. Fold the short edges to meet the long edge. Unfold it and use that as a guide for the next fold. Fold the top triangles down and tuck on corner into the pocket. Make seven exactly the same. She shows how to slide one folded piece of paper into the next one and fold the edges over each other to hold them togethe...
In this video, we learn how to make a feminine, long fitted sweater. First, lay out your fabric and use a pen to trace the lines for the sweater, measure it out so it's a good fit. Make sure to cut around the edges so you have room to sew. Now, sew along the edges and then turn the shirt inside out. Then, take extra fabric and cut out rectangular pieces that you will then attach to the bottom of the sweater by sewing them on. Once you are finished with this, try your sweater on to see how it ...
In this tutorial, we learn how to make a lily out of paper and pipe cleaner. First, lay your hand flat on a piece of copy paper. Next, trace your hand with a pen or pencil, then cut it out with scissors. Now use a pencil or pen to curl the ends of the fingers you just cut out. After this, combine two pieces of gold pipe cleaner together and bend in half. Then, place a green pipe cleaner in the middle and make a twist to keep in place. To finish, wrap your paper hand cut out around the gold pi...
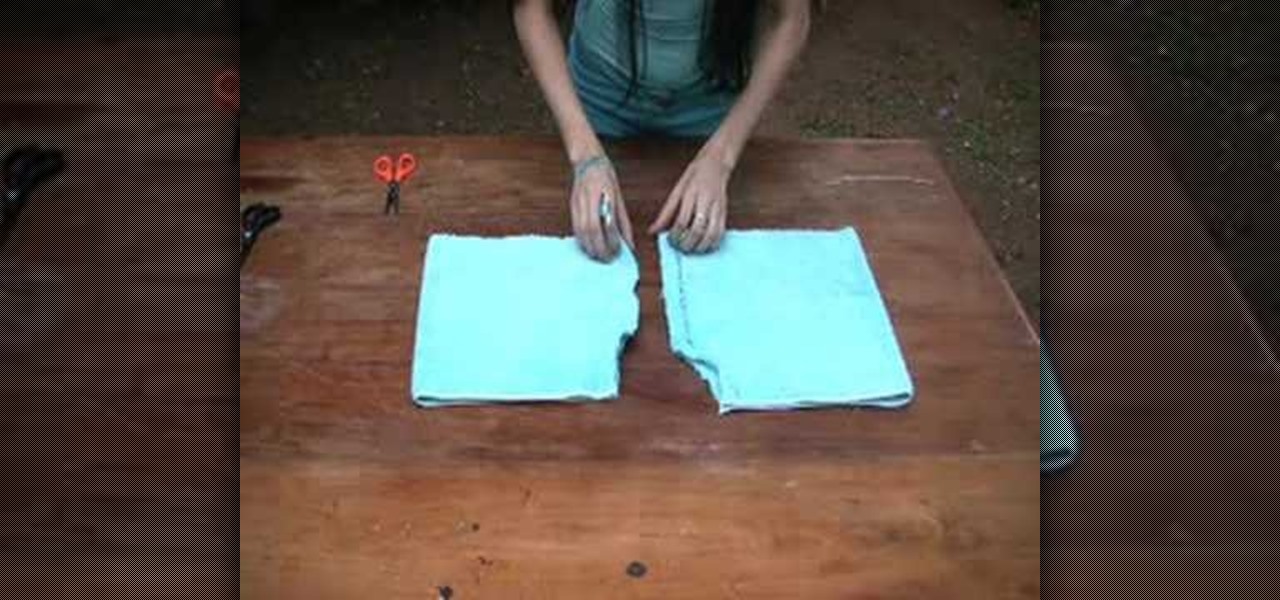
To recycle an old towel into shorts, fold the towel and cut it into a short leg's length worth of fabric. Cut another piece into a short leg's length worth of fabric. Draw a curved seam on one edge. Stack the towels and pin them to hold the fabric in place. Cut out the seam on both of the towels. Separate the towels and sew up the seams on both of the fabric pieces. Do not sew the top seam and front side seam of the shorts. Instead, sew the front and back side seams together. Thread and sew a...
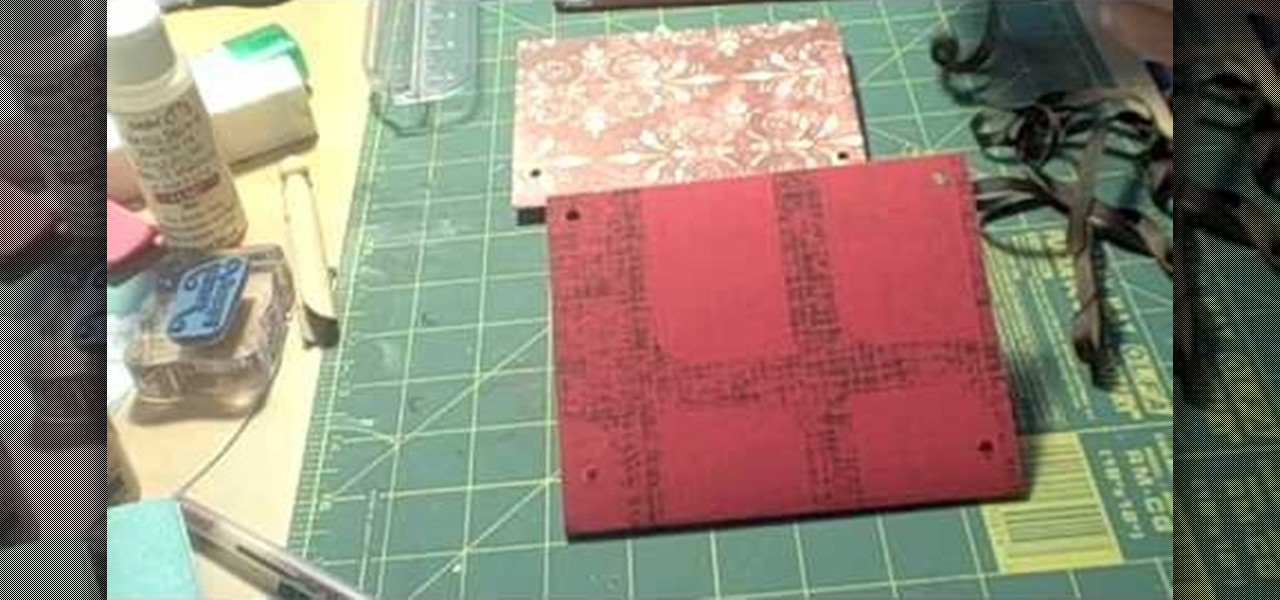
Making this DIY album is easy and fun! This video will show you how to make an 8x10 photo album enclosed in ribbon. After cutting two pieces of cardboard to size, you can take the material you've chosen for the cover and cut a 9x11 piece so that you can fold over the edges. After that, it's as simple as gluing the material to the backs of the cardboard and taking an extra piece of material for the inside cover. Good luck!