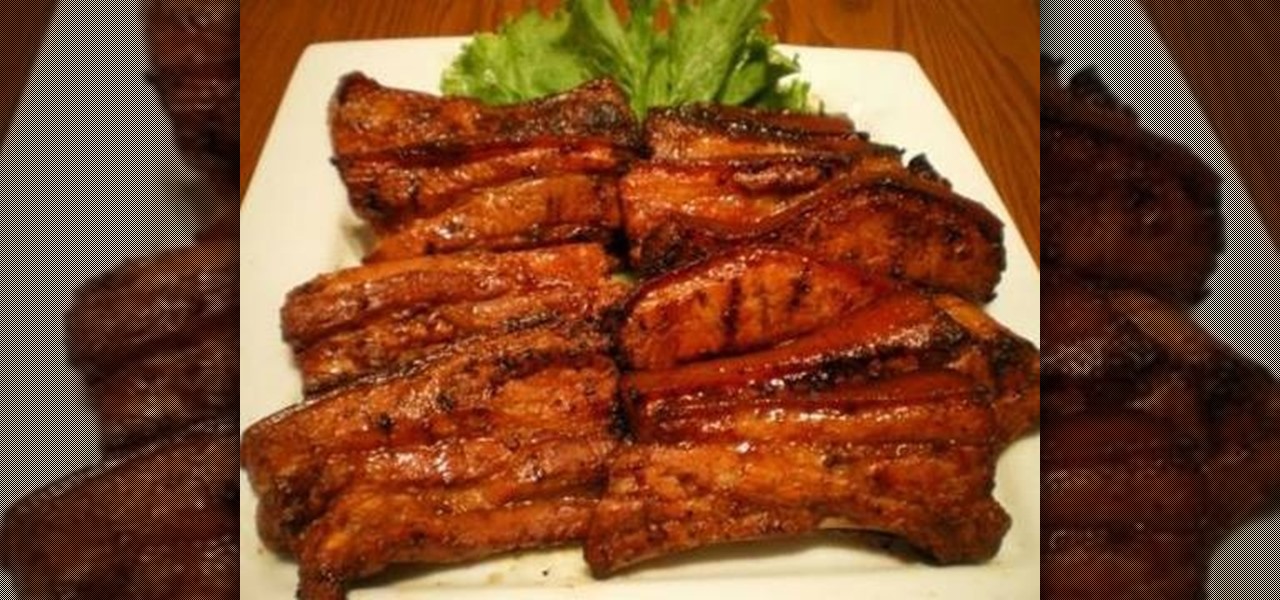
How To: Make inihaw na liempo (grilled pork belly)
Ingredients: 1 kilo or 2.2 lbs pork belly (liempo) with skin on, cut into 1/2-inch thick pieces


Ingredients: 1 kilo or 2.2 lbs pork belly (liempo) with skin on, cut into 1/2-inch thick pieces

This video is about how to make a cool snowflake using a paper. For this you have to take six equal square of any paper. Cut 4 silts on both the sides. Do not join cuts. Take 1 piece of paper and place tap .Flip over one repeat on all . This will be one side of snowflake. Repeat on all the pieces of paper. Staple together ends. Join all 6 in the middle .The 3d cool snowflake is ready to use it.
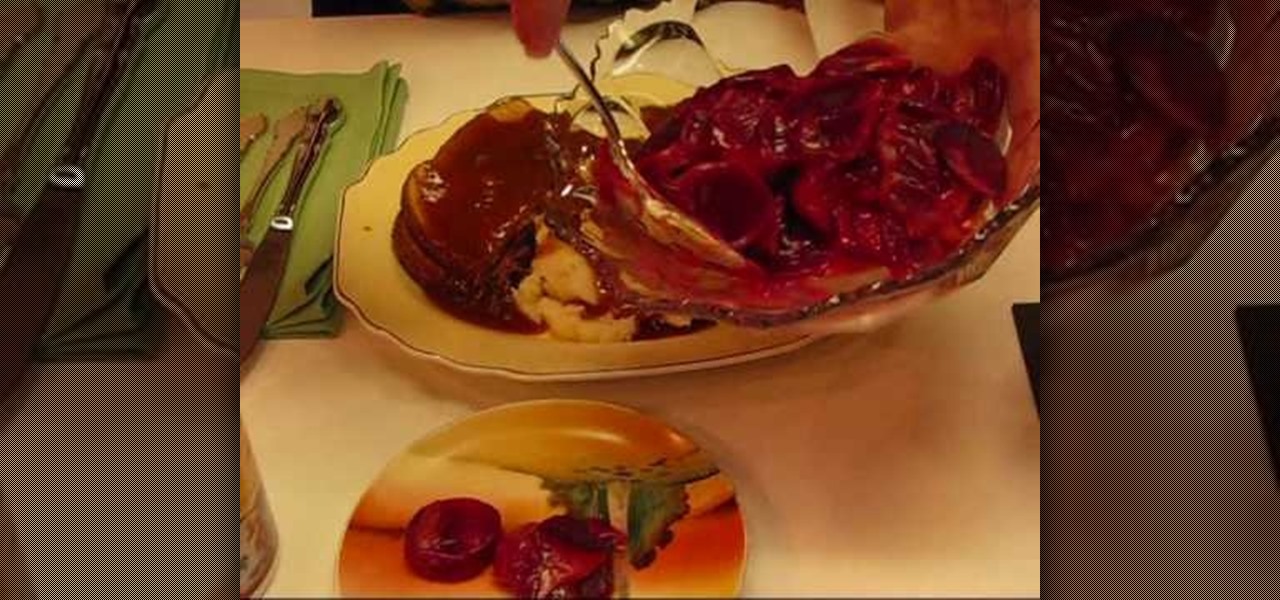
Use top round roast, seasoned with meat tenderizer. Pound the seasoning on both sides of the beef so it is absorbed. Place in crockpot and cook for about 8 hours. Remove the beef and cut into small pieces. Take two slices of bread of toast in the toaster. Place the roast beef on top of the toast. Cut the sandwich in half. Place the two pieces of sandwich on a plate and in the middle of the plate place mashed potatoes. Use the remaining drippings from the crockpot to make gravy. Pour the gravy...
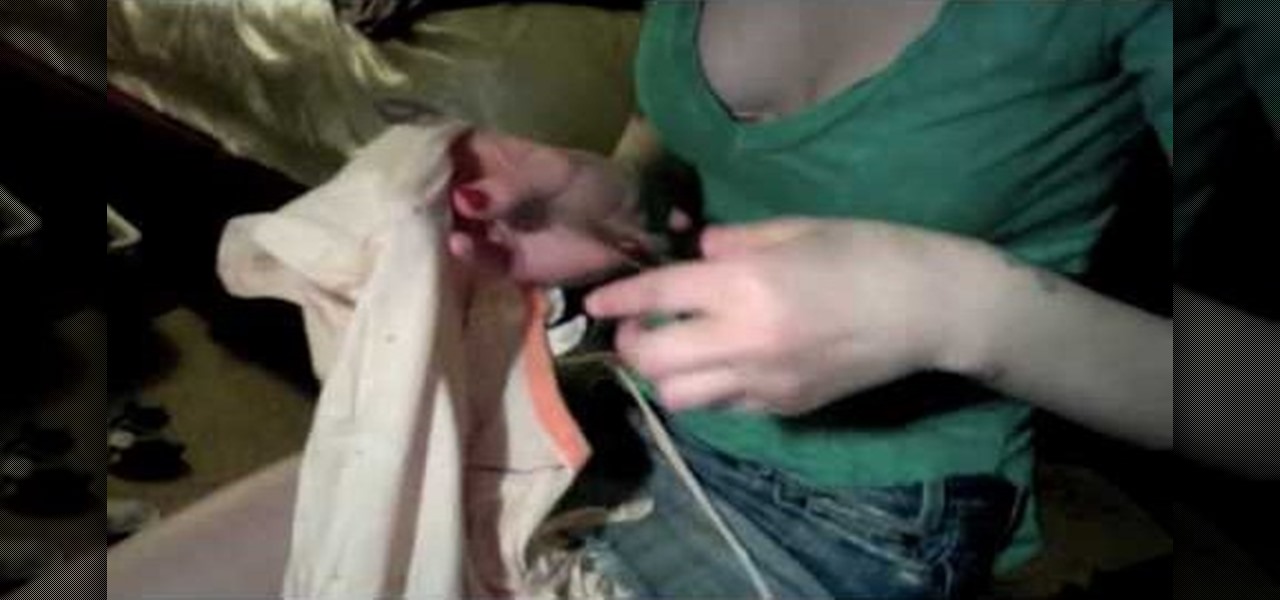
Revamp your old tees with help this four-part tutorial! Take your older tees and reconstruct them to fit your style! In this video, learn different styles and tricks & tips to mold your old oversized tshirts into a new fashion piece!
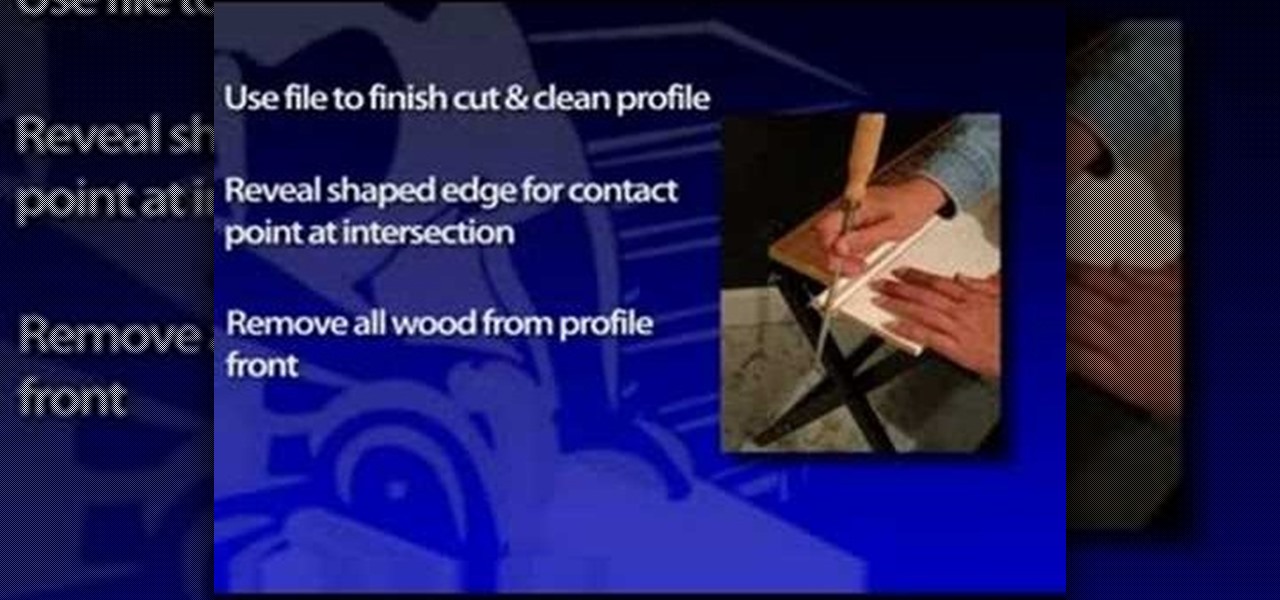
When installing baseboards, crown molding ("moulding") and chair rails, it's tempting to cut 45-degree miters at the corners and hope for a sure fit. The problem is that most walls aren't square. Joining two 45-cut molding pieces may give you a square joint, but a square joint may not work for your crazy corner. In fact, it seems like every wall is just a “hair” out of square. This problem could be due to a framing error or a buildup of drywall compound in the corner. But even a perfect miter...
Aloo gobi masala is a flavorful Indian vegetarian dish made with potatoes, cauliflower and many spices. Watch this how-to video and try this recipe. Enjoy your creation with chappati, paratha or rice and daal. It’s delicious!

Tim Carter shows you how to install the sink with these easy to follow tips. Watch this video for best results. Position the new sink upside down on the countertop and accurately trace the outline of the sink. This provides a guideline for the real mark for the cut-out. The cutout will normally be about 3/16" inside the original mark. This allows for the lip of the sink to overhang the counter top. Check the sink installation directions for the proper measurement. Don't make square corners wh...
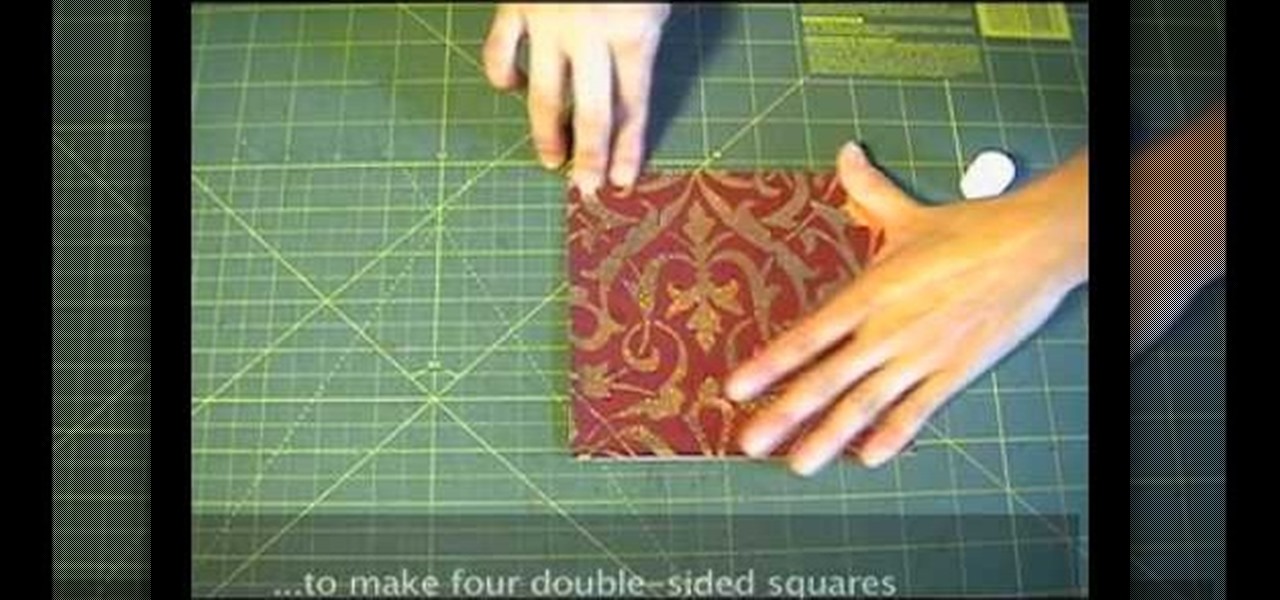
Shiho Masuda Teaches you to make 3-D origami star using recycled materials. The materials required are leftover wrapping paper, ribbons, two 3. 25" cardboard squares, ruler, scissors, glue, double sided tape and an X-acto knife. She cuts out 8 6"x6" squares from paper and glues them back to back to make four double sided squares. The four pieces are folded into 3"x 3" squares and stuck together with double sided tape. The 2 cardboard pieces are covered with paper and 12" ribbons are taped to ...

Learn how to turn a t-shirt into a sexy one piece swimsuit. This swimwear project is cheap and easy. The sexy GiannyL demonstrates this DIY closet hack that's simple and cheap. All you need is a t-shirt, pins and a sewing machine. Cut along the pattern Gianny L has demonstrated and sew. Voila! You have a dead sexy one piece swim suit.

Garden of Imagination describes how to make a miniature candy bar for a doll house. First find a photo of the type of candy bar you want online. Once you find the image you want right click the icon and select "copy". Open a new MS Word document and paste into it. It should be too big so right click the picture and go to hyperlink in the menu that pops up. If the picture has a hyperlink remove it so you can adjust the size. Once the hyperlink is removed click on the picture and boxes should s...
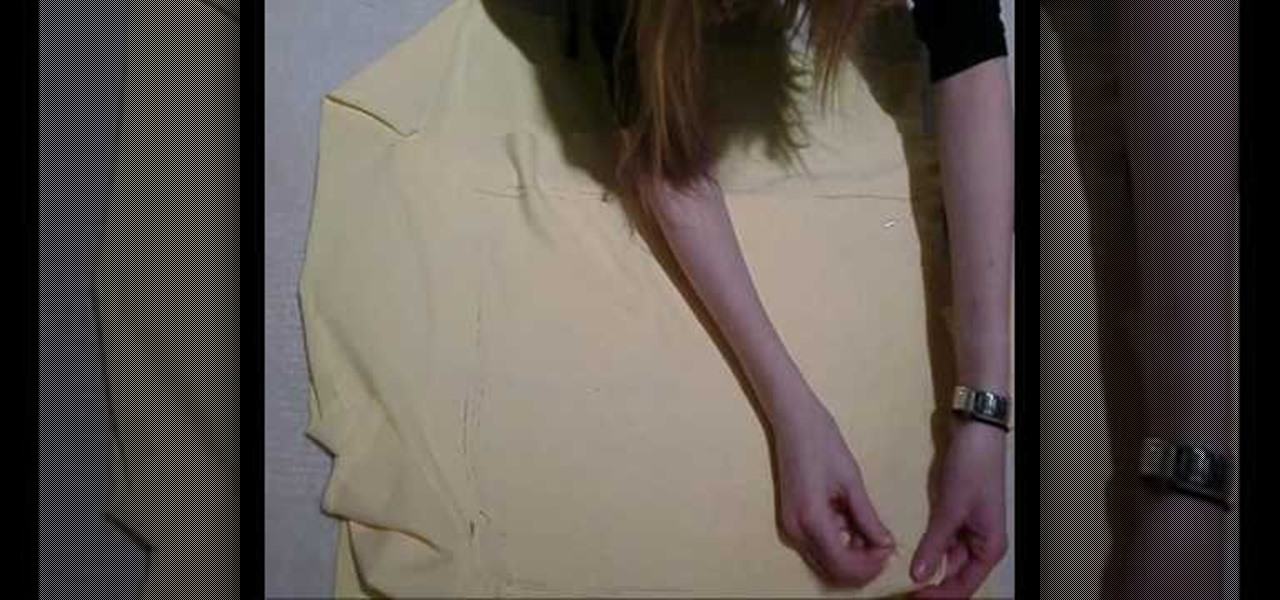
In this video we learn how to make a fun party dress with oversized bow. First, lay the fabric flat down on the ground and cut it in half. After this, measure your bust, waist, and hips and mark it on the fabric. After you have all of the pieces of fabric cut out that you need for the dress, put it all together. Use a sewing machine to sew the different pieces together. Then, grab the extra piece of fabric you have from the scrap pile. Use this to make the large bow and sew it onto the dress ...

In this tutorial, we learn how to make a Kufi cap with Threadbanger. First, grab a thick black jersey material and your added material of choice. Cut the fabric in a circle pattern to make the size of your head. Then, cut the band material for 3 inches longer then your head measurement. Fold the material and create the bands with thick cardboard. Once you do this iron the bands down and then fold the added material down as well. Adhere the piece pieces together while still folded, then sew th...
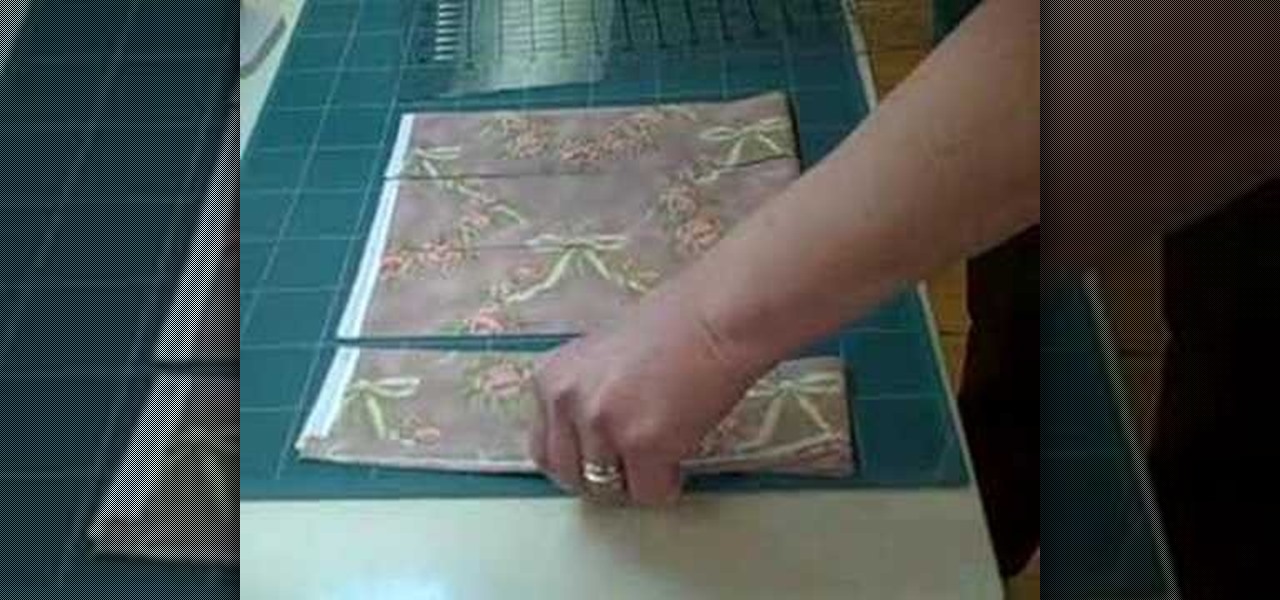
Here is how to make strips and squares using the JT ShapeCut ruler. Follow these instructions to measure and cut a precise design. With the June Tailor Shape Cut ruler, you can lay a piece of fabric on a grid and slice the fabric into geometric squares.

The rib stitch, or ribbing, is often used on the edges of pieces where you need a snug fit, because it's stretchy and doesn't curl. Best of all, since you've already learned the knit stitch and purl stitch, you're practically already done.

Watch this video from This Old House to learn how to put in a storm door. Steps:
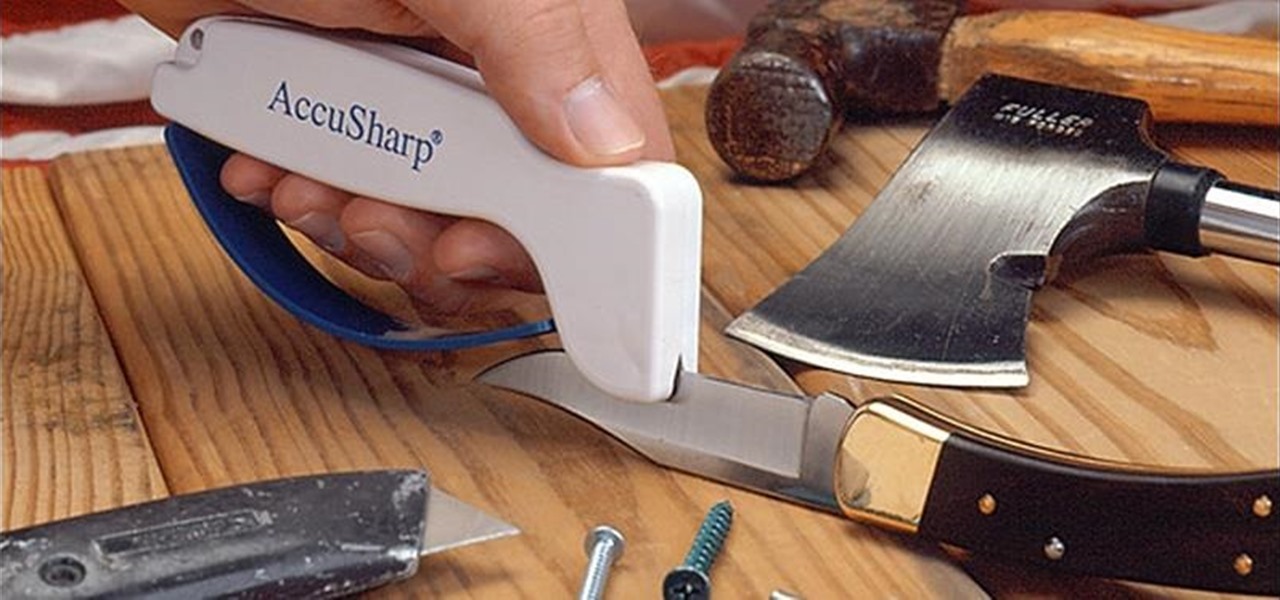
When I finally saved up some cash and got my first good chef's knife, I vowed to do everything by the book: clean it properly, hone it regularly, sharpen it faithfully, stand by it in sickness and in health, blah blah blabbity blah.
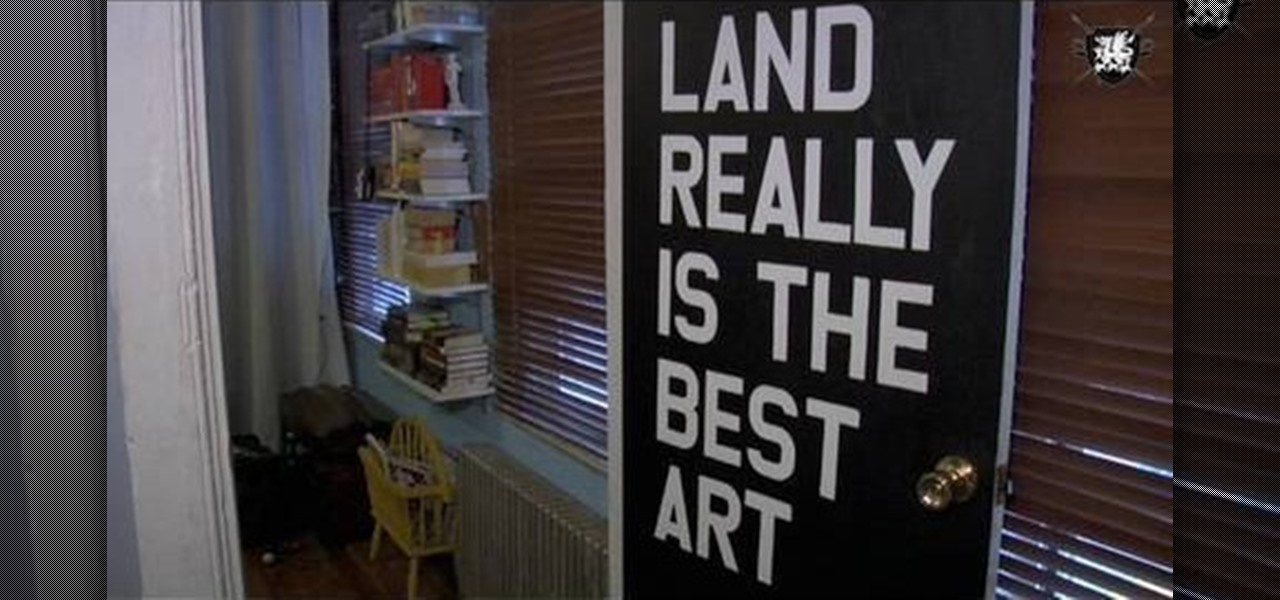
In this video, Meg shows us how to make a piece of graphic wall art with Threadbanger. First, gather stencils in the letters that you want. Then, place them on contact paper and trace them with a permanent marker. After this, cut the letters out and put them on the wall where you want them. Next, mark your wall with a ruler to make sure it's a straight bottom. From here, place your letters onto your canvas. Now, paint over your canvas and allow to dry. Once dried, very carefully remove each l...
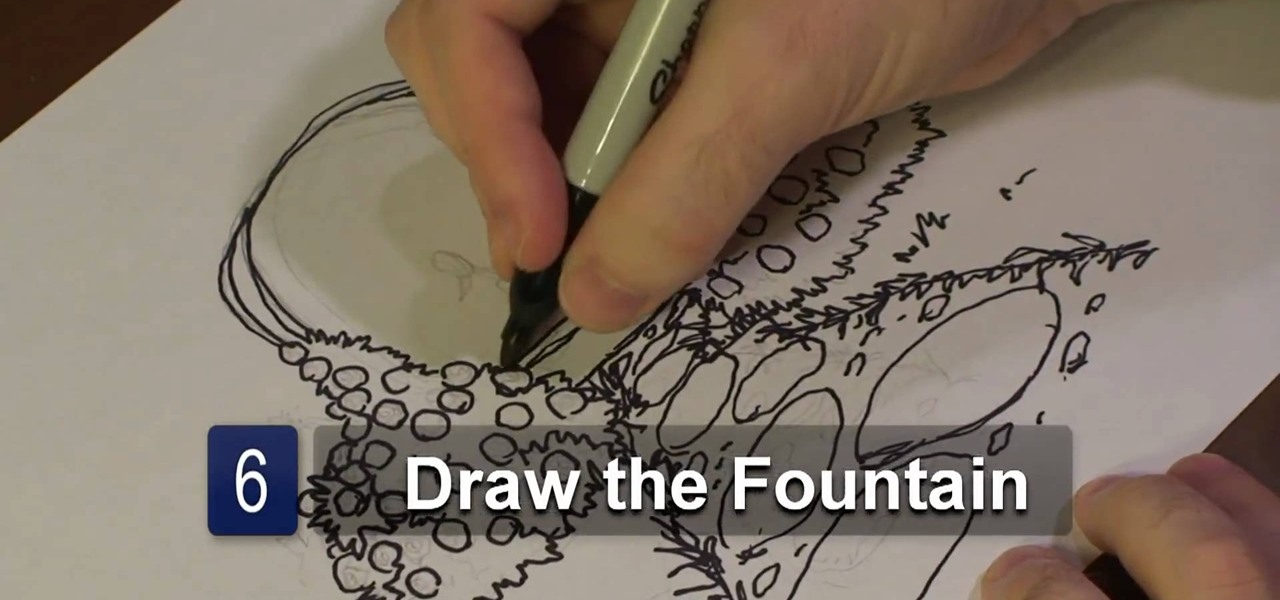
In this video tutorial, viewers learn how to draw a rose garden. Begin by marking the locations of the objects. Then draw the rose bushes around the garden pathway. Draw the lines with some cross hatching. This will give the bushes some form and feel. Add some circular boxes in the bushes to represent the roses. On the pathway, add some grass on the edges and stones on the path. In the center, draw a center piece and draw an arch over it. Finish by adding details to the roses. This video will...
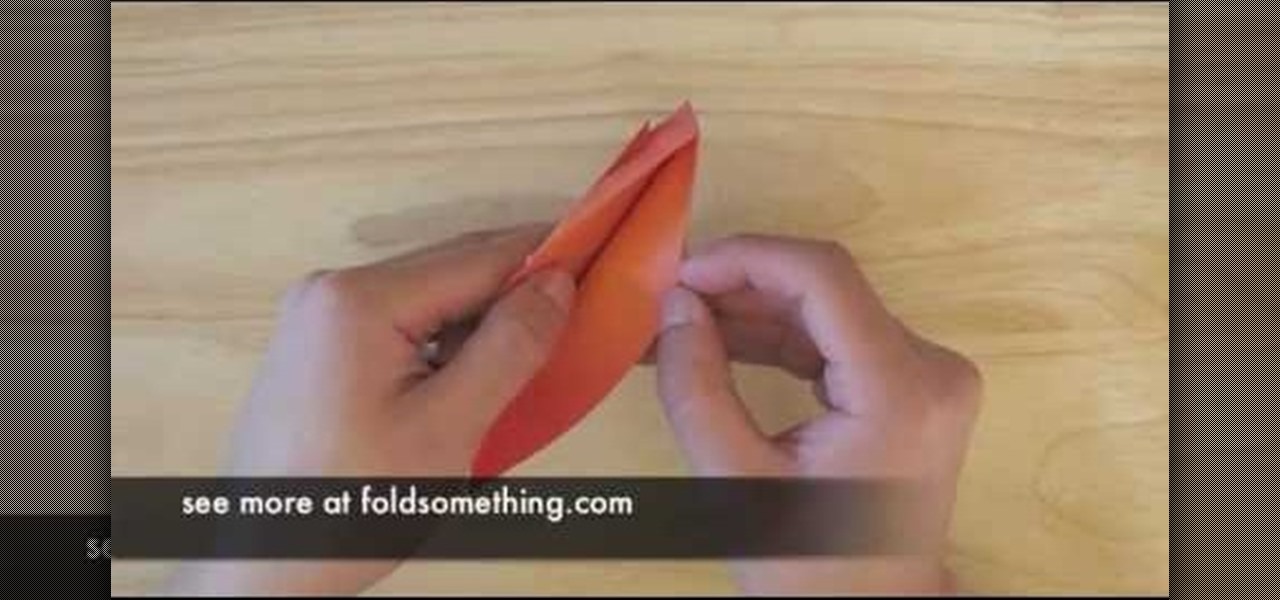
From Fold Something, learn how to fold an origami heart-shaped bookmark! Follow as origami instructor Josiah Hills shows the viewer how to fold a heart shaped bookmark using a square piece of paper. He calls the unique bookmark design "Mark of Love". The project requires two items: a square sheet of paper and a pair of scissors. Josiah Hills takes the viewer through the step by step process to make the required folds, creases, and cuts needed to turn a square piece of paper into a perfect hea...
Here's a quick and simple booklet that can be made out of two sheets of paper. It's great paper craft for a school project or just fun. All you need is paper and scissors. Fold both pieces of paper in half hamburger style. Use scissors to cut knotches into your fold. Fold your other piece of paper hotdog style. Follow the rest of the instructions, assemble and you have a quick and simple paper booklet.
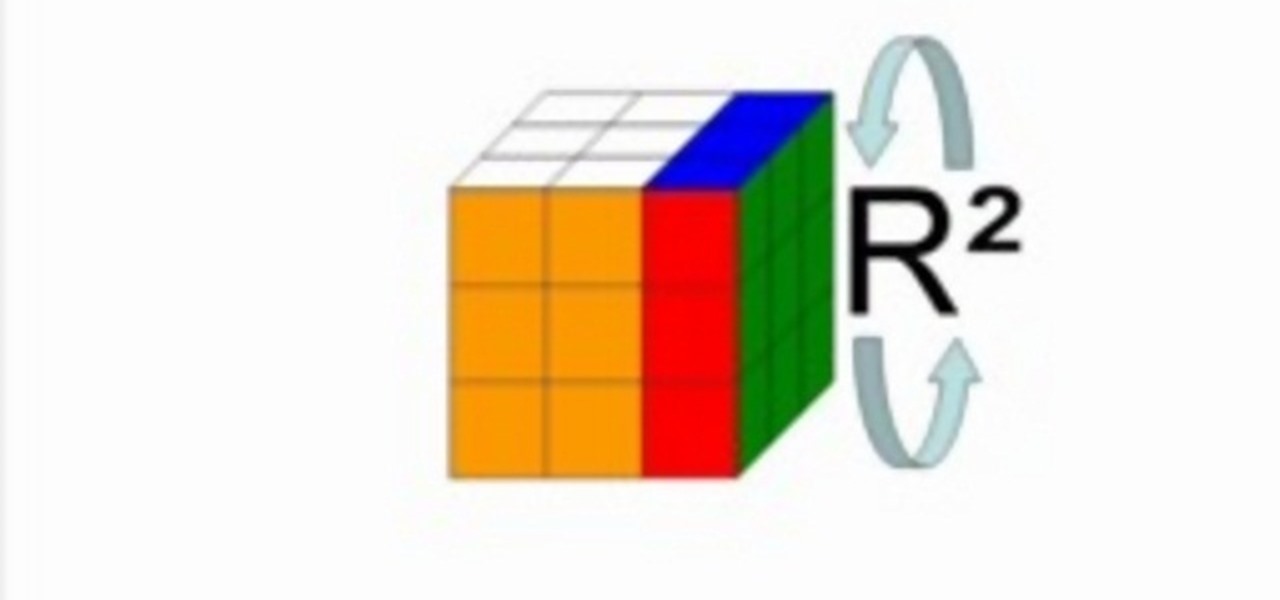
Since its invention in 1974, the Rubik's Cube has become a favorite pastime among geeks, puzzle lovers, and other similarly unique individuals. It is currently available in four basic flavors; Rubik's Mini, Rubik's Cube, Rubiks Revenge, and Professor's Cube. This video tutorial will cover the basic terminology and notation used in solutions for each.
The Rubik's Cube, originally called the "Magic Cube," is a mechanical puzzle invented in 1974 by Hungarian sculptor and professor of architecture, Erno Rubik.

In this tutorial, we learn how to make Splinter Cell prop goggles. You will need: goggles, a saw, pipe, a brush, black paint, duct tape, batteries, chop sticks, glue, a ruler, and a pen. First, mark three cuts on the pipe to 3 cm and 5.5 cm. Now, use the saw to cut these. Then, use sandpaper to smooth all the edges. Next, place these onto the goggles and glue them with a hot glue gun. Next, grab two batteries and wrap them in duct tape. Place these with them and then paint these all black. Af...
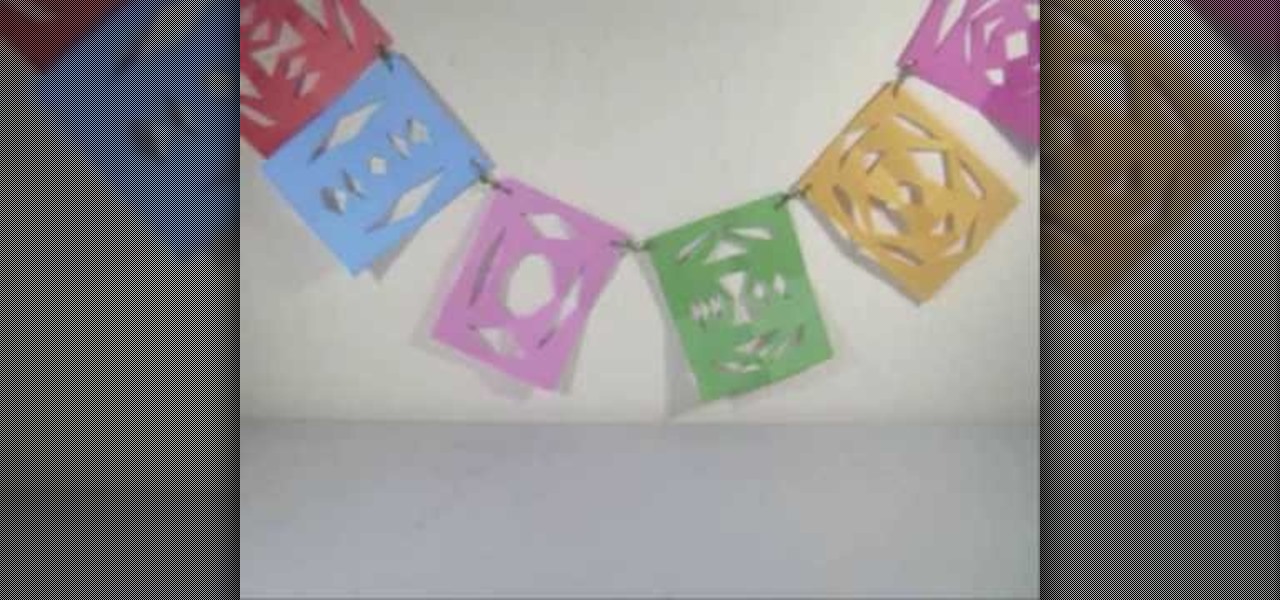
In this video tutorial, viewers learn how to make a colorful paper banner. This task is very easy, fast and simple to do. The materials required for this project are: construction paper, yarn, scissors and a hole puncher. Begin by folding the construction in half. Then fold it in half on again. Now cut pattern on the side edge of the paper and repeat this process for additional paper. Open the paper to reveal the symmetrical cut out pattern. This video will benefit those viewers who are inter...
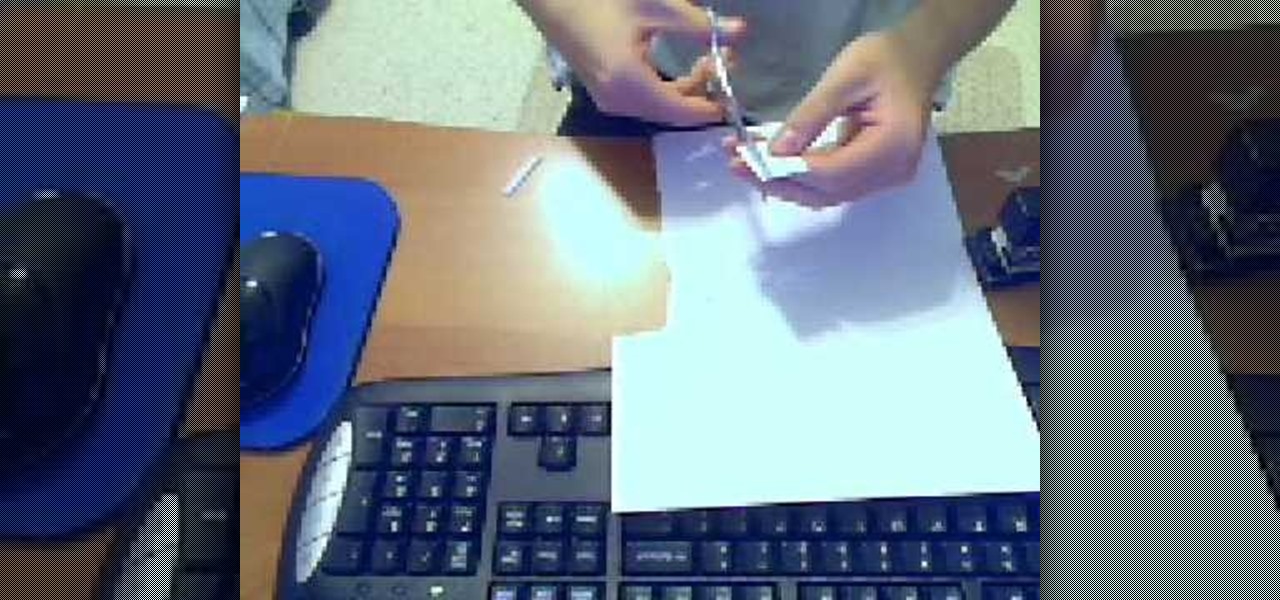
In this tutorial, we learn how to cheat on a test with a small paper. To make this, you will need printer paper, scissors, and a stapler. To start, cut a strip of paper out of the sheet, then fold it up into a small booklet and staple it together at the top. Cut off any edges to make it fit into the palm of your hand. After this, you will have a booklet that pulls apart and you can write inside of. Write answers to tests in this, then to hide it, place it in the palm of your hand between your...
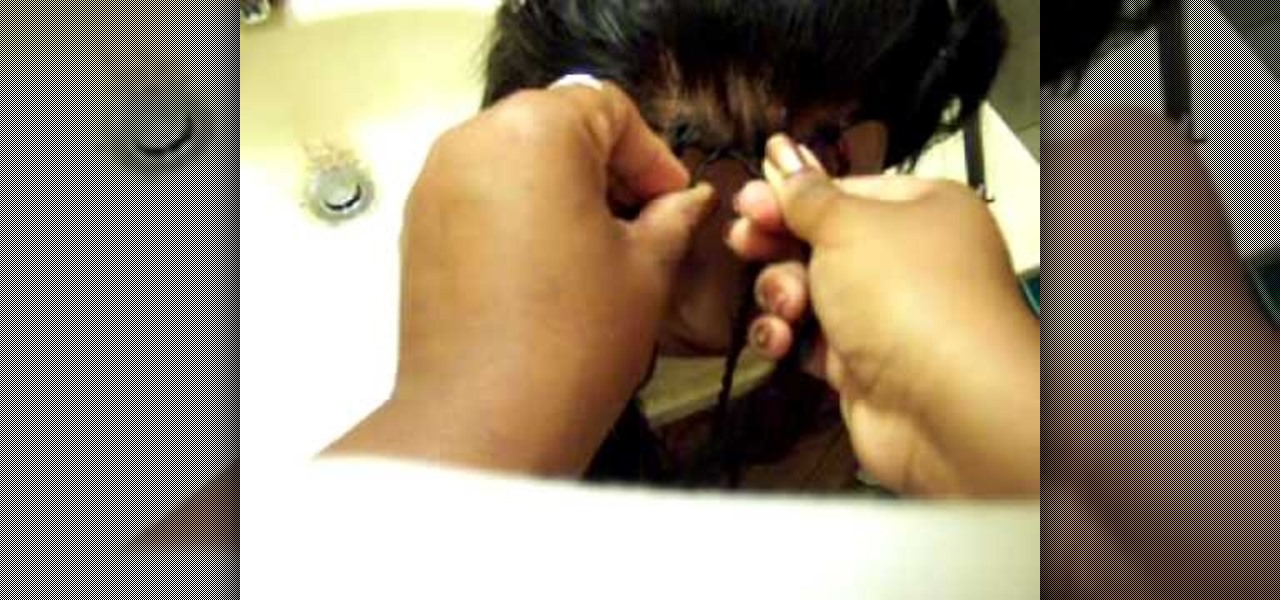
To start a kinky or Senegalese twist, create a one inch square section of hair and split it into two pieces. Drape a piece of weave over the strands. Twist the right piece of weave over the right strand with a clockwise motion. Twist the left piece of weave over the left strand also using a clockwise motion. Then twist the right strand over the left. Continue twisting each strand to the right before twisting the strands together as you go down the section. The twists can continue down to the ...

This tutorial demonstrates how to make Ninja stars out of 2 pieces of lined notebook paper. Lined paper make your star look cooler and help you keep track of your folds. Fold you paper into five equal sections with a small section left over at the top. This is about five and a half lines per section. Next fold over one corner of the edge that is farthest away from you and then fold over the corner of the opposite edge. Set this paper aside. Repeat the process with your second sheet of paper e...

This video is a demonstration of how to make a winged heart design with folded paper. Start with a square piece of paper and fold it in half. Unfold it and fold it in half again, and unfold it. Using the creases as a guide, fold one edge up to the crease. Turn it over and fold the corners of the folded edge down toward the middle crease. Turn it over and fold the large edges inward toward the crease and unfold them. Lift that side up, forming a pocket underneath. Fold the sides inward inside ...
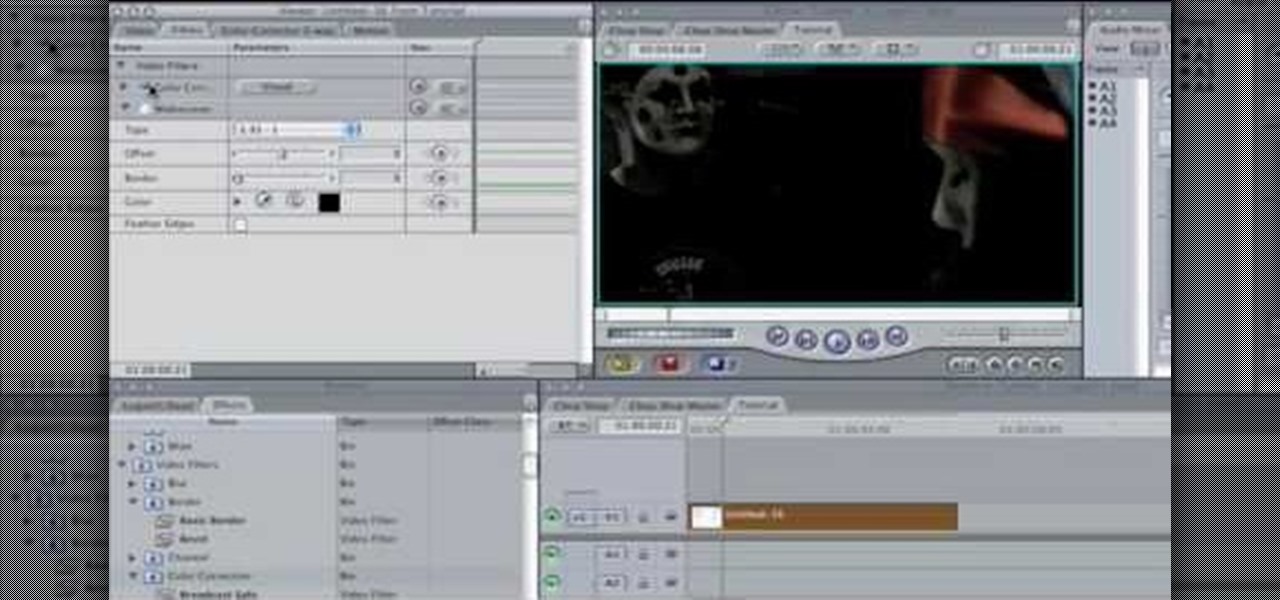
In this Software video tutorial you will learn how to apply the Film Look effect in Final Cut Pro. This is an advanced technique. This essentially takes a video and makes it look like a film. Select the video clip that you want to work with. Then select the ‘color corrector 3 way’ filter. This is under the ‘Effects’ tab. The key to any color correction is to crush the blacks. So, decrease the blacks with the slider. Then increase the whites as films have higher white level. Depending on the s...

The video demonstrates how to make a great RC jump ramp free of cost. Firstly for this you have to note that you must learn to control your RC in the air because wrong landings after high jumps can cause severe damage to your RC.To make a great ramp for jumping first take a box, a small box is taken here. The same can be done on a bigger box. Then opening the box cut the lateral upsides of the box. After that just put it down and put a tape at the place it touches the box. A curve as you desi...
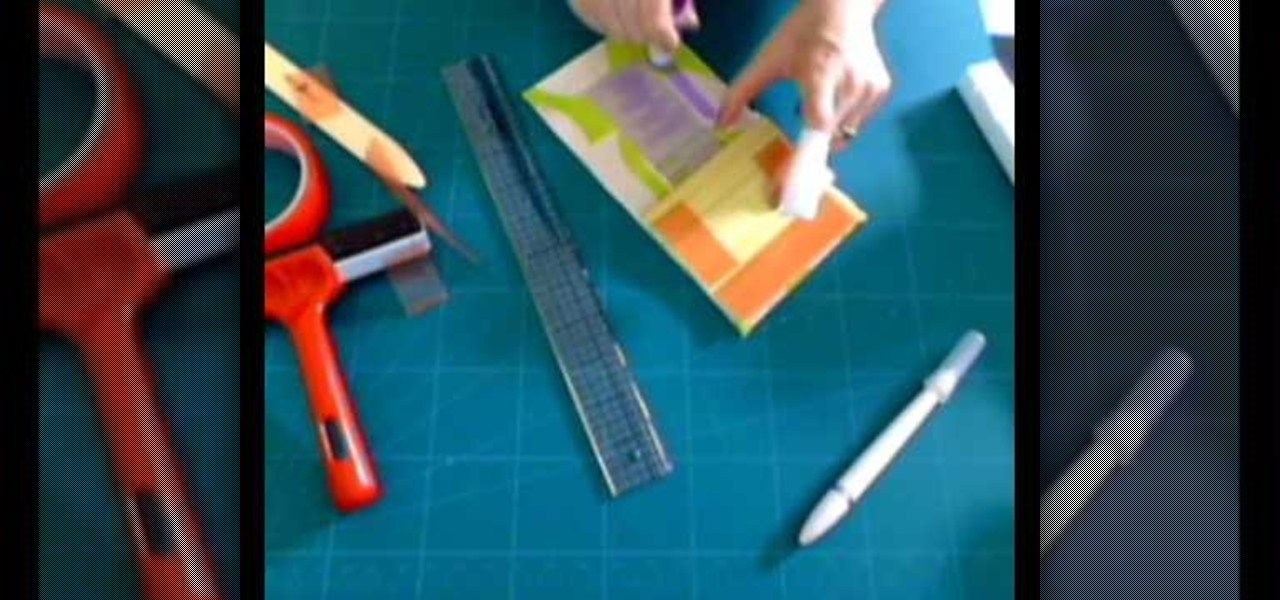
You share your innermost feelings with it on a daily basis. Why, then, settle for something drab, prefab and impersonal? With this handy how-to, you'll learn how make a custom fabric-covered hardbound journal.
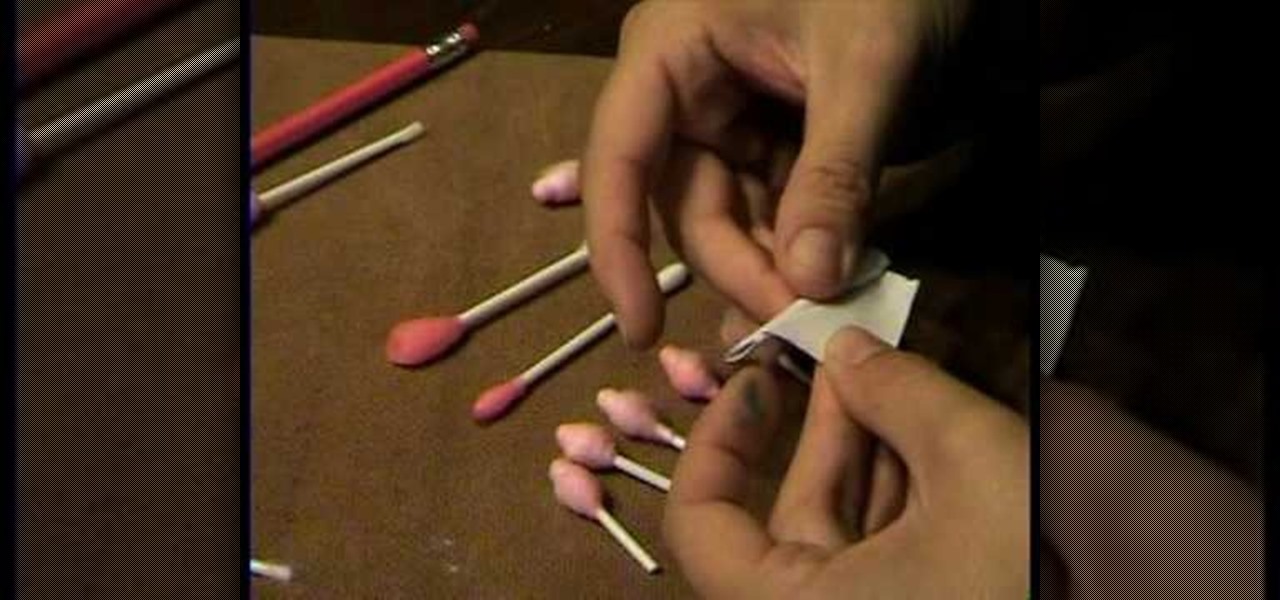
Use a q-tip (ones for little kids will have a larger base, but are not required). Put a few drops of red food coloring in a glass of water and stir it up as necessary. Dip q-tip in red water, get it nice and saturated. Remove q-tip and let sit overnight. Cut q-tip in half, then take a small rectangle of paper, apply glue from glue stick to one side, then make a small fold from a corner and roll (this may take some work). Use scissors to cut down to the correct size. Next rub q-tip's cotton si...
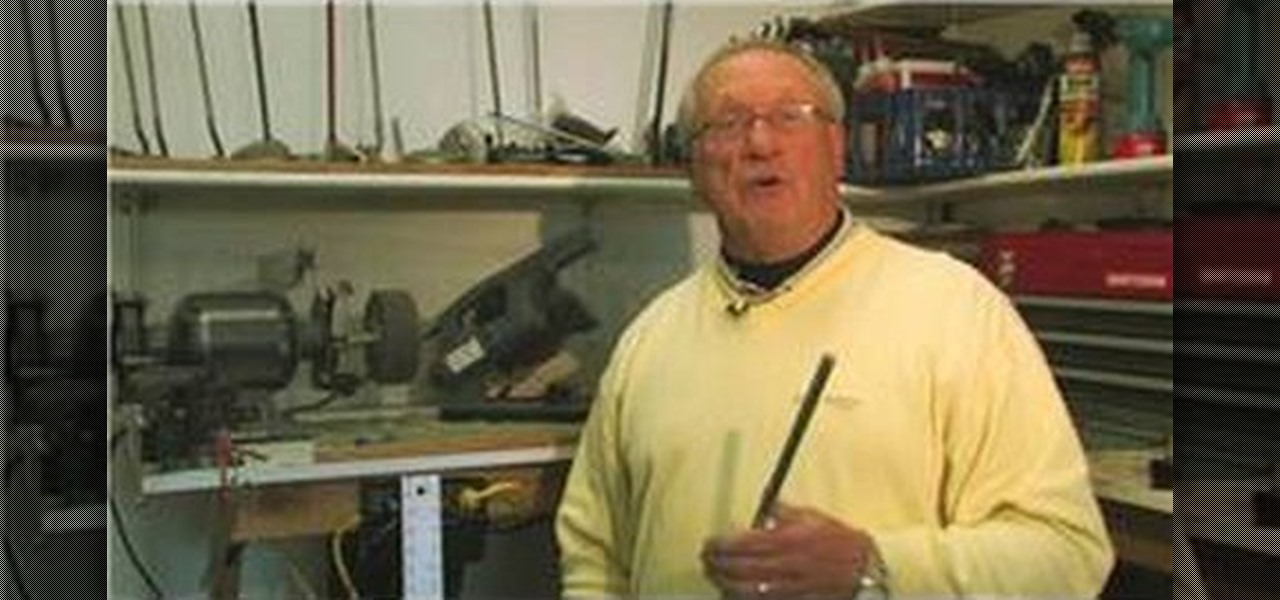
In this video tutorial, viewers learn how to trim golf club shafts. The materials required are: a golf club, yardstick, marker, chop saw and grinder/buffer. Begin by determining how long you want your golf club to be. Measure and mark where you want it to be cut. Now place the shaft in the chop saw holder and tighten it. Make sure that it's lined up with the blade and cut the shaft using the chop saw. Now smooth the rough edge with the grinder/buffer. This video will benefit those viewers who...
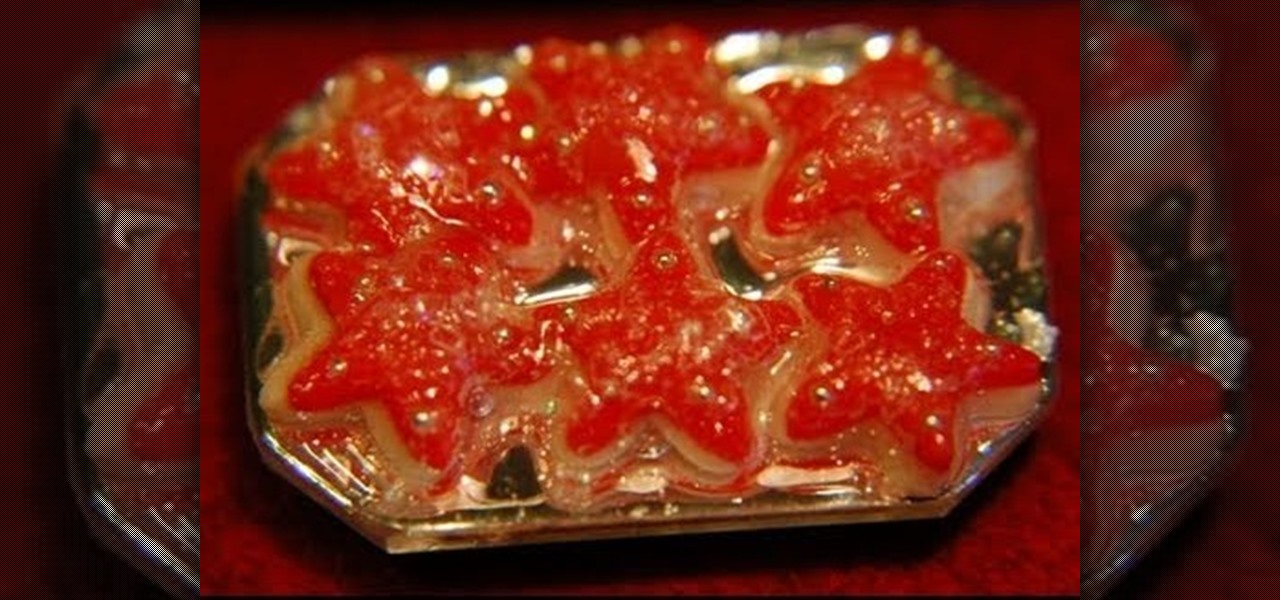
This video shows how to create mini decorated Christmas cookies using polymer clay. They are about the right size for a dollhouse. She shows the process of cutting the clay out in both colors, using a star stencil for the cookie shape and also the frosting. Make sure to have the frosting piece be a little bit smaller than the cookie so that it appears to be sitting on top. She also shows how to place the decorative silver pieces onto the clay. She explains how long to bake these pieces, and a...
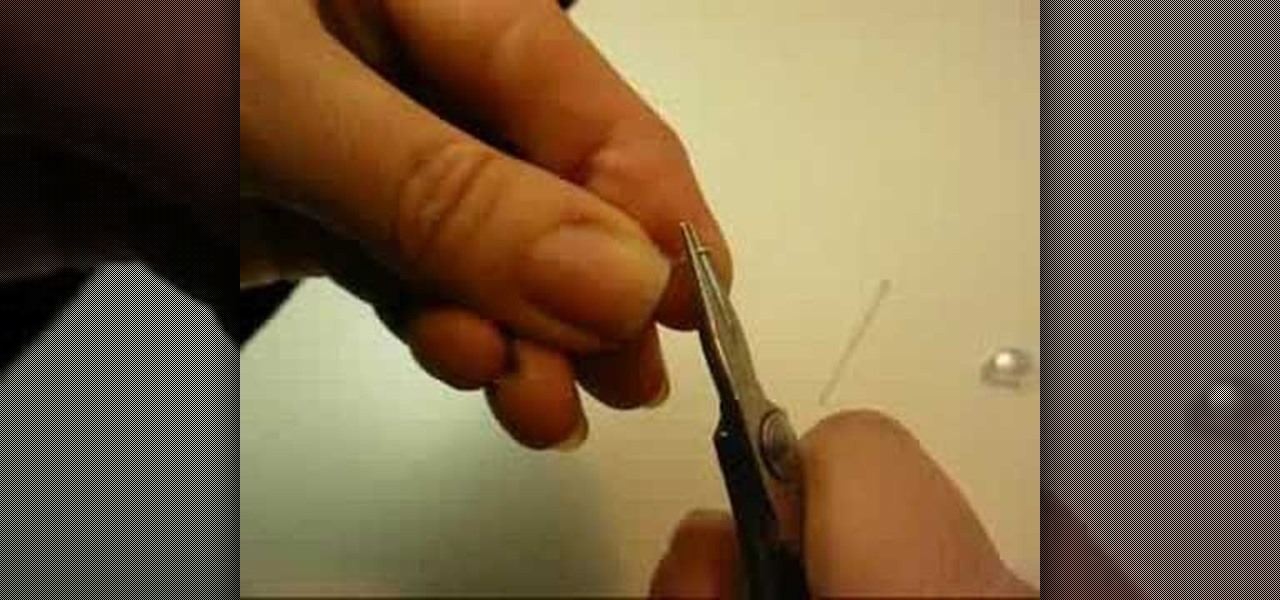
This video explains how to create a pair of Swarovski crystal earrings. You will need a tooth headpin, two pear-shaped crystals, two spacers, two diamond beads, and sterling silver ear hooks. First, slide the pear-shaped crystal onto the head pin. Follow with a spacer, a bead, then use a pair of pliers with a side-cutting edge to cut the wire and bend at a 90 degree angle. Use round-nose pliers to then create a circle at the end of the wire, then 'squash' a bit with the other pliers. Then ope...

Betty's Kitchen offers recipe for Cheese and Onion Stuffed Hamburgers
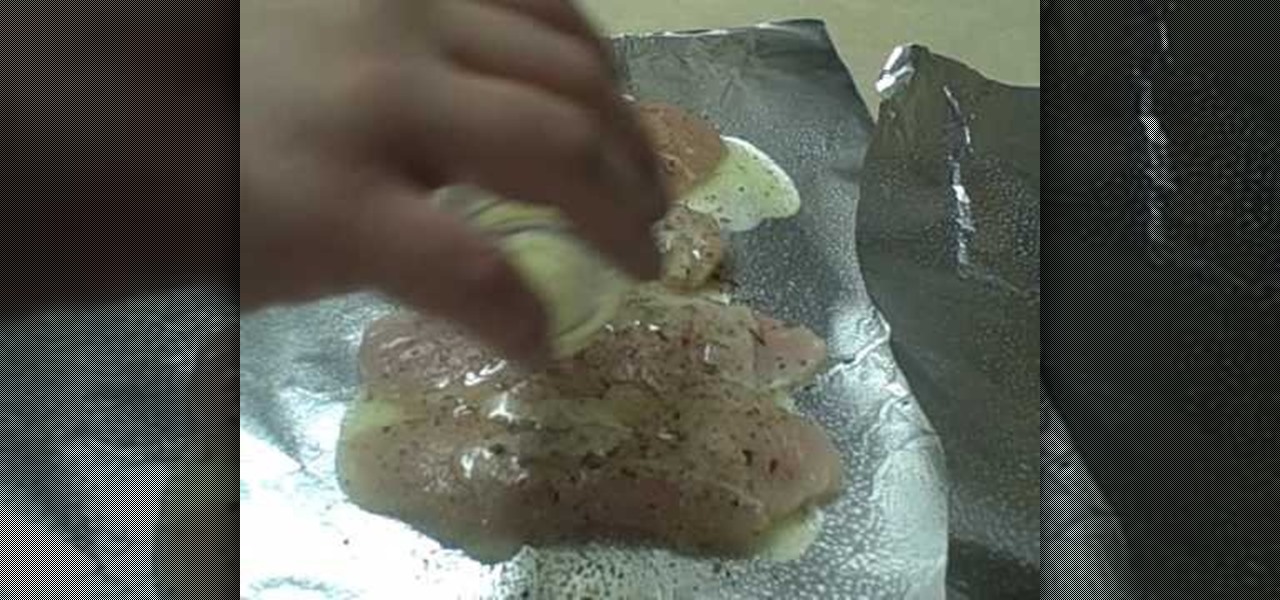
Kitchen Improv #3 shows us how to make some simple and delicious oven roasted chicken breasts. Roasting the chicken breasts wrapped in foil makes clean-up a snap. Just cover two pieces of foil in Pam spray and place chicken on one piece of foil. Put some simple seasonings on the chicken (oregano, parsley, basil and red crushed pepper) and some melted butter. Place the second piece of foil on top and fold over all four sides twice to keep everything inside. Bake at 400 degrees for 20 minutes. ...
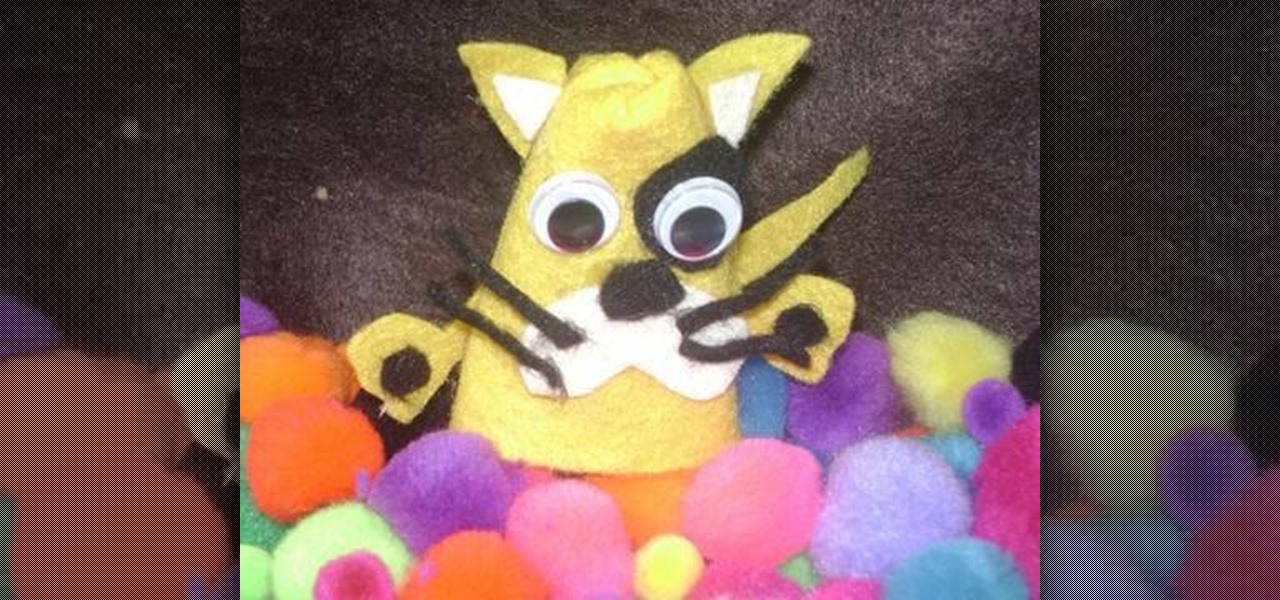
This is step-by-step video tutorial on how to make a basic but adorable cat puppet. The kids will have such a good time cutting and gluing the materials to make their very own puppet. The process is very quick and very easy. The materials you will need are: Felt (black, white and yellow), 2 googly eyes, scissors, and fabric glue. First cut out 2 triangles for the ears. Glue the circular edges of a half circle of felt together and glue the ears to it. Glue the eyes, nose, mouth, whiskers, and ...

This video shows the method to make a good looking paper flower. The basic thing needed for performing this task is a rectangular sheet of paper. The paper is first folded to make a square piece of paper. The rectangular piece left is then cut out. This rectangular piece is folded across its length to make the stick for holding the flower. The square piece of paper is folded across its diagonals and its sides so that various creases are formed on it. Then a series of folds are made on the squ...
This video demonstrates the proper way to sharpen knives with a steel. First, the blade of the knife should be held at about at 22 degree angle to the steel, Second, the knife should be slid along the steel in a sharpening motion. The steel should run along the blade of the knife from one edge to the other. Both sides of the blade should be sharpened in this manner. The steel has a guard to prevent the knife from accidentally cutting your hand, but if you are afraid of being cut, the steel ca...