Photoshopuniverse shows you how to simulate a watercolor painting on Photoshop. With this you can take any photo and make it look like it was a water color painting. Take any photo and then duplicate the layer 3 times including original. Focus on the first layer go to cut out. You want a high edge fidelity, and add the number of levels no more than 5. Add some simplicity and the change mode too luminosity. Go to the second copy layer do a dry brush increase size to maximum. add just a little ...
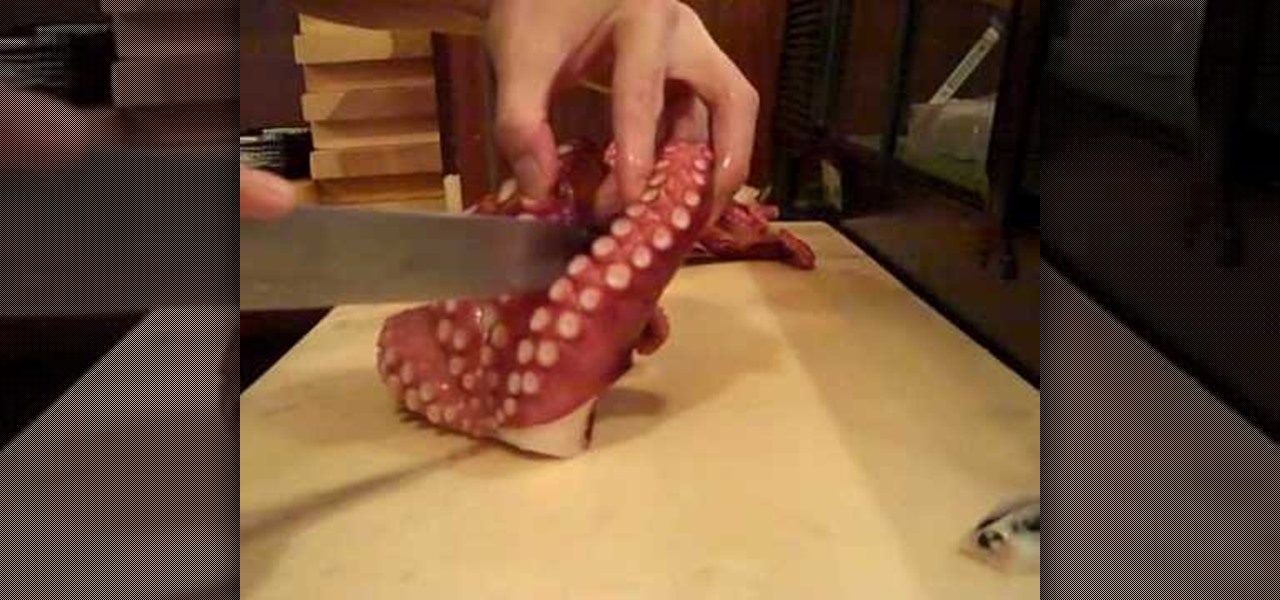
Are you tired of making the same old thing for dinner every night? You could make some very exotic Japanese restaurant inspired Octopus Sushi. A Japanese chef shows viewers how to take a whole octopus and cut it into pieces perfect for adding to your sushi rolls. Octopus in this recipe is served raw and cold but you can cook up your octopus if you would like. Many people eat cooked octopus and it would be quite an exciting Monday night dinner.

Grace Bonney shows us an easy way to create an upholstered headboard for your bed. Using a low-end easy budget, you will be able to create a elegant looking headboard using wood, foam, batting, fabric, scissors, a utility knife, a staple gun, and flush mounts. After cutting out the shape of your headboard or starting with an existing headboard, cut out a piece of foam that is the same size. Pull batting over the foam to even out the surface, and then put the fabric onto the headboard. With th...

Aluminum cans are useful for various DIY projects, but they can be tricky to take apart. In this video you'll learn how to easily disassemble cans.
The T-shirt may be the king of casual wear, but take care of it like your finest dress shirt and you'll be able to stay casual a good long time.
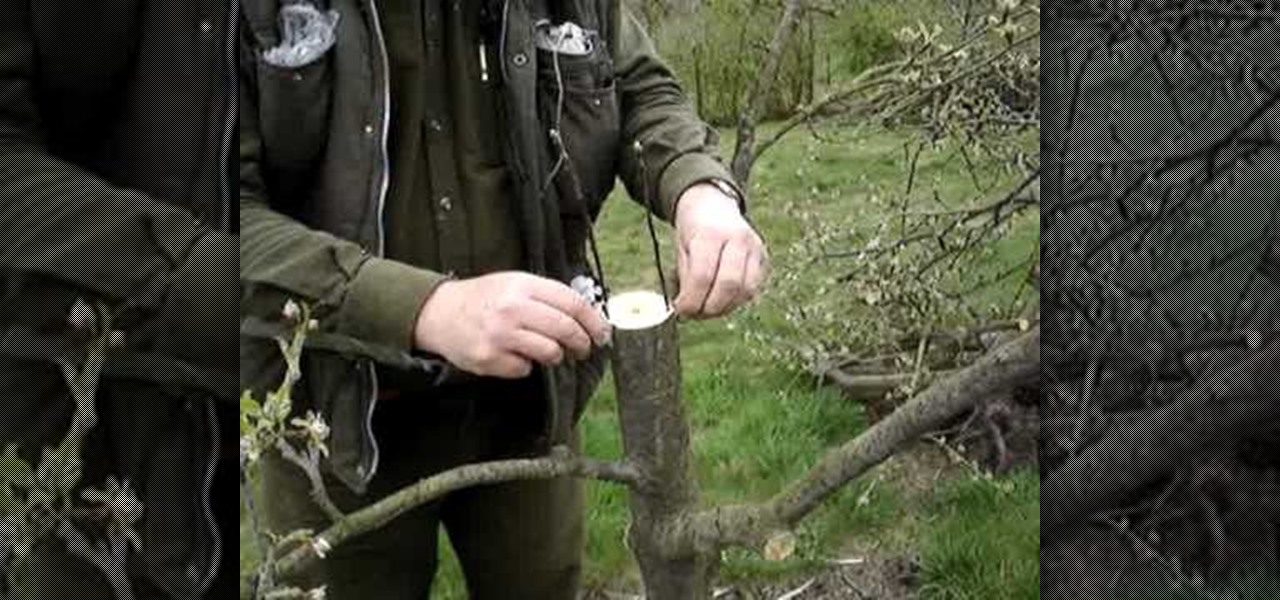
Grafting, also known as "top working," is simple-but-essential technique that enables you to change the variety of fruit a tree bears. In this tutorial, Stephen Hayes of Fruitwise Apples Heritage demonstrates the rind grafting technique, a useful method for grafting over a sound-but-unwanted apple or pear tree.

Discover Kirigami, the art of paper cutting. This beautiful Kirigami captures the moment of the Mantis in prayer. Just download, print, cut and assemble, it's easy. It's better than giving a card, it's giving a piece of art. Best of all, you can make them again and again. Download this pattern for free at http://www.easycutpopup.com.

Materials 1 2-liter bottle or large water bottle

So, basically I was looking around on the internet trying to find out how to make more intricate bows, and found nothing but a whole lot of very confusing instructional posts with no pictures or videos. Here you'll learn how to make cute little bows for your pets, in 6 simple steps! I'm still learning myself, but I'm hoping this could help others!

Ingredients 3 tablespoons unsalted butter, cut in 1/4-inch cubes, divided

It's always a dilemma when you're organizing your closet and deciding whether you want to keep or throw out a meaningful old t-shirt that you don't wear anymore. Many of our t-shirts have been with us through thick and thin, so preserve their memory (and stop creating more waste) by reusing them.

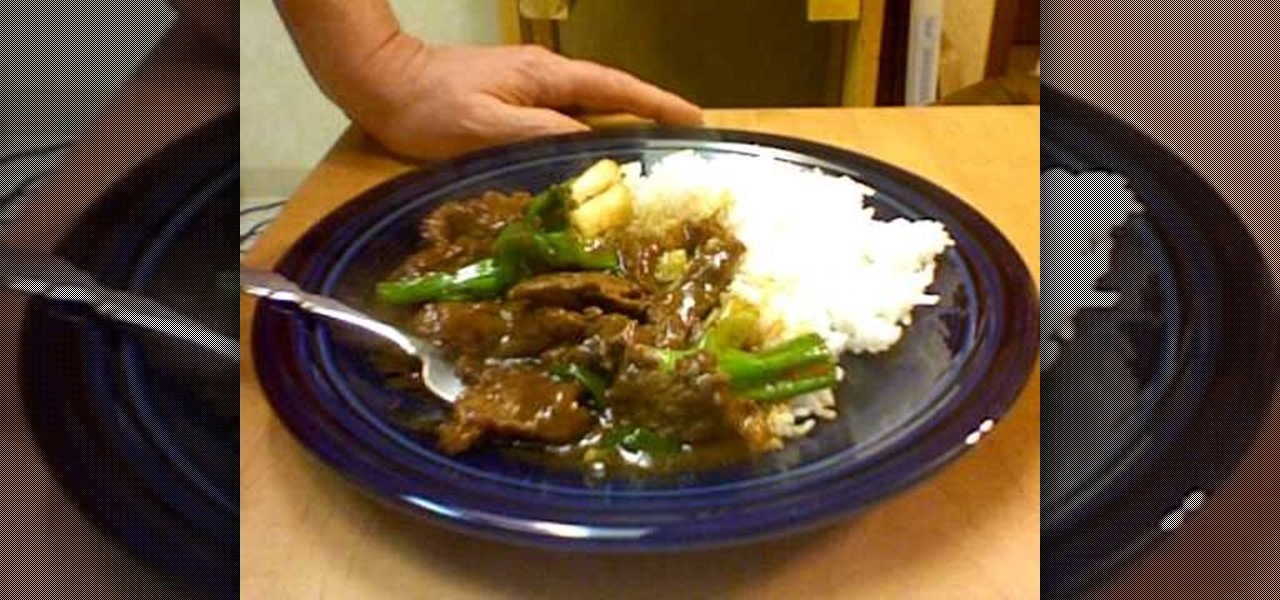
Mongolian flank steak starts by making a marinade from one half teaspoon sugar, one teaspoon corn starch, one tablespoon of vegetable oil, one table spoon of soy sauce, one teaspoon of rice wine, and one teaspoon of sesame oil. Stir up the marinade. Cut a three quarter pound flank steak into pieces about one quarter of an inch thick. Put the meat in the marinade and chill it in a refrigerator for one hour. Cut a bunch of green onions into one and a half to two inch pieces. For the sauce, take...

This video is about how to make a classic American pot roast. You start with a chuck roast. You want to start by generously salting and peppering both sides. Heat about 2 tablespoons of canola oil in a skillet and then brown the roast on both sides. Then remove it from the pan and add an onion that's been cut into 8 wedges, 2 carrots that have been cut and peeled into 2 inch pieces. Add a few pieces of time and rosemary. Once the vegetables have a good color you move them to the side and add ...

The secret to making a good pot roast is to start with a good organic roast. With the meat at room temperature and sprinkle both sides with salt. Next chop a whole clove of garlic, put it in a bowl, and add some oil, black pepper, and cayenne pepper. Cut several slits or holes in the pot roast and poke the pieces of garlic into the holes on the top and bottom and sides. Put some of the vegetables in with the roast at the beginning of the cooking time: a leek, an onion, a carrot and a couple s...

To make Malawi nsima porridge: Build a fire to heat up the water. Use 1 cup of flour, put in pot of hot water. Allow the flour to sit on top for a little bit to keep the heat in. Then one of the ladies will stir the flour into the water. No gentleman will do this due to the culture. After the flour is stirred into the water, it will look like a dough. Scoop out the mixture and mold it into a ball. For the soup, heat up another pot of water, add the salt. In a separate pan, put in the onions t...

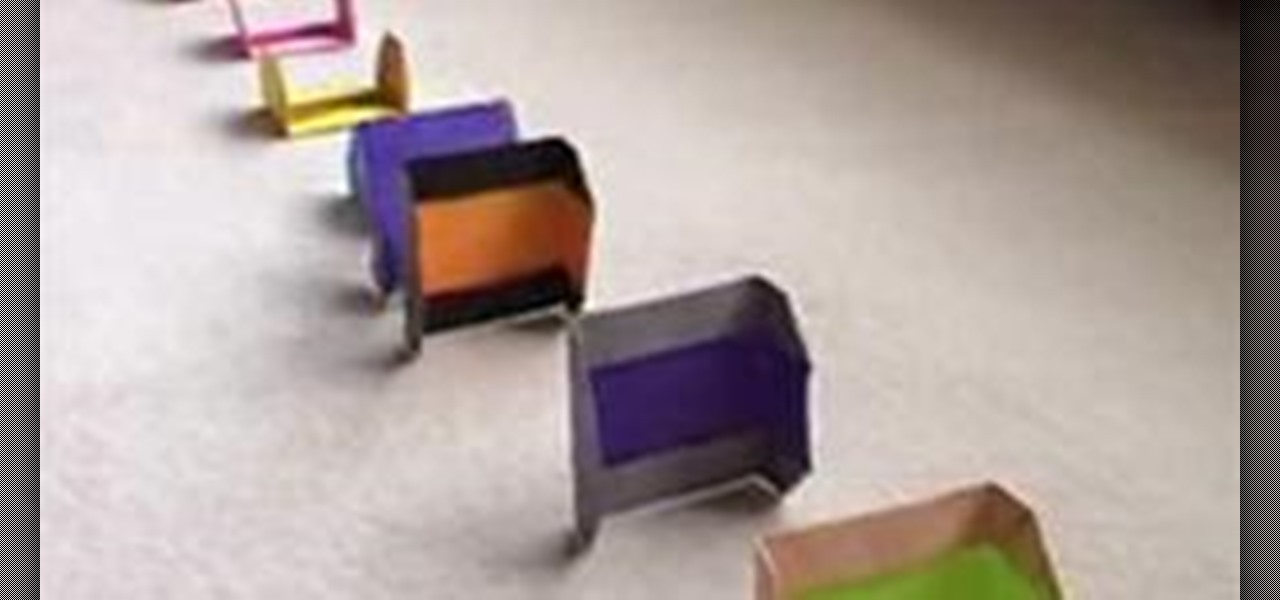
Grand Illusions is a site for the enquiring mind. This how to video demonstrates how to make Japanese origami tumblers. Your wonderful & charming host represents Grand Illusions, an amazing toy, magic & illusion web shop and gallery.

New techniques may improve a swimming pool workout from Masters coach Nancy Kirkpatrick Reno. Before sticking a toe in the water, consider this advice: * Swim in a pool that's at least 20 to 25 yards long; those pools can usually be found at high schools and some gyms. A 50-meter Olympic-size pool is best, but not everyone has access to that. "If you're going to become a lap swimmer," Kirkpatrick-Reno says, "you can't go any shorter or you'll be constantly turning." An outdoor pool is prefera...

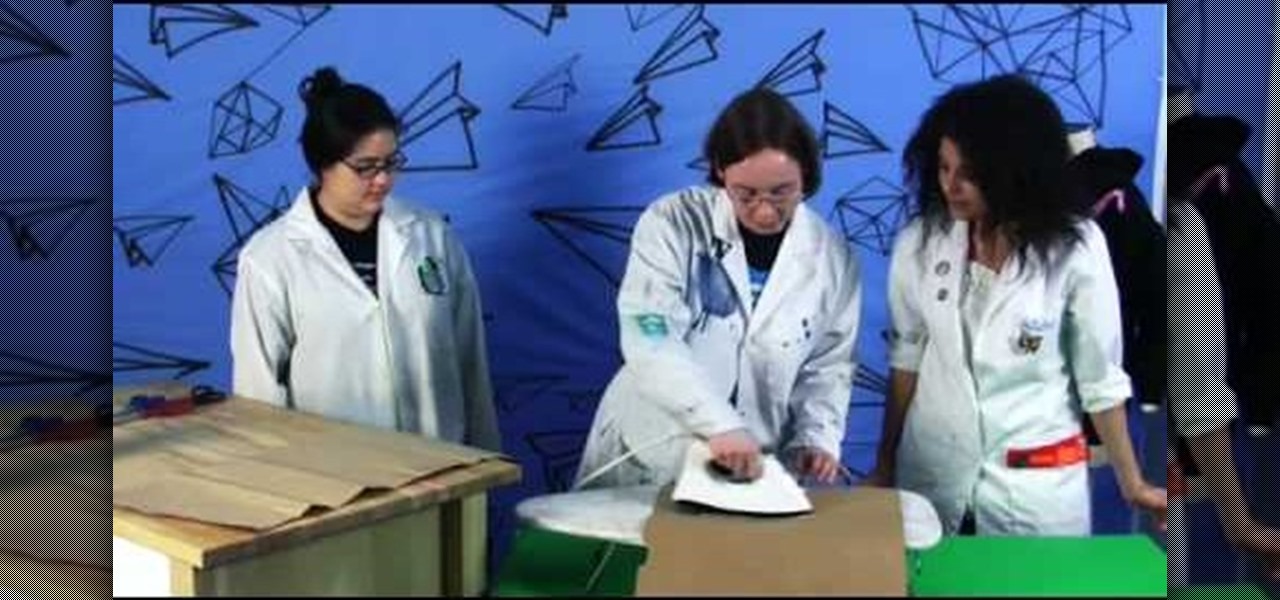
This week, Etsy How-Tuesday presents Kari aka ikyoto and Stella aka lookcloselypress of The {NewNew} York Team. Today we're going to learn how to screenprint our own snowflake gift wrap for the holidays. Kari and Stella remind us that recycling paper bags is a great source for materials for this kind of project.

Snowboarding: Hit the Slopes With Style There was a time when simply riding a snowboard made you the extreme guy on the slopes. But now, with more people strapping on a board instead of skis, the stakes have been raised. Fortunately, we've lined up this video tutorial to keep you on the cutting edge. See how to boardslide a rail on a snowboard.

Snowboarding: Hit the Slopes With Style There was a time when simply riding a snowboard made you the extreme guy on the slopes. But now, with more people strapping on a board instead of skis, the stakes have been raised. Fortunately, we've lined up this video tutorial to keep you on the cutting edge. See how to perform a frontside 720 on a snowboard.

Would you like to create ghost flames or other custom paint effects, but don’t know how? Here is a quick, easy, and inexpensive method. This method does not require a paint gun, airbrush, or even paint. Follow this step-by-step procedure and watch the video tutorial and you’ll be able to do this to your own car. Best of all, if you don’t like it, I’ll even show you a method for removing it. All it takes to do this is 1/8 inch fine line tape, 3/4 masking tape, a piece of 3000 grit sandpaper, a...

Watch this video from This Old House to learn how to lay a flagstone walkway. Steps:

Bias tape can add a professional, classy edge or finish to any project. Working with bias tape on a straight edge certainly isn't hard, but the curves can sometimes be a bit tricky. However, they're not impossible, and you can pick up the technique in just a few minutes! This video shows you how to work with single fold bias tape and sew it evenly and professionally around curved edges.

This is a great project to make a fun and feminine shirt. All you need is one piece of fabric cut in a circle, a few basic notions and a sewing machine. No pattern required, just make sure you have your measurements at hand!

This is an easy and fun craft you can use for just about any gift, and can be made with any fabric and to any size. Just start with two pieces of cut fabric, and follow along with this tutorial to end with a traditional Danish heart basket!

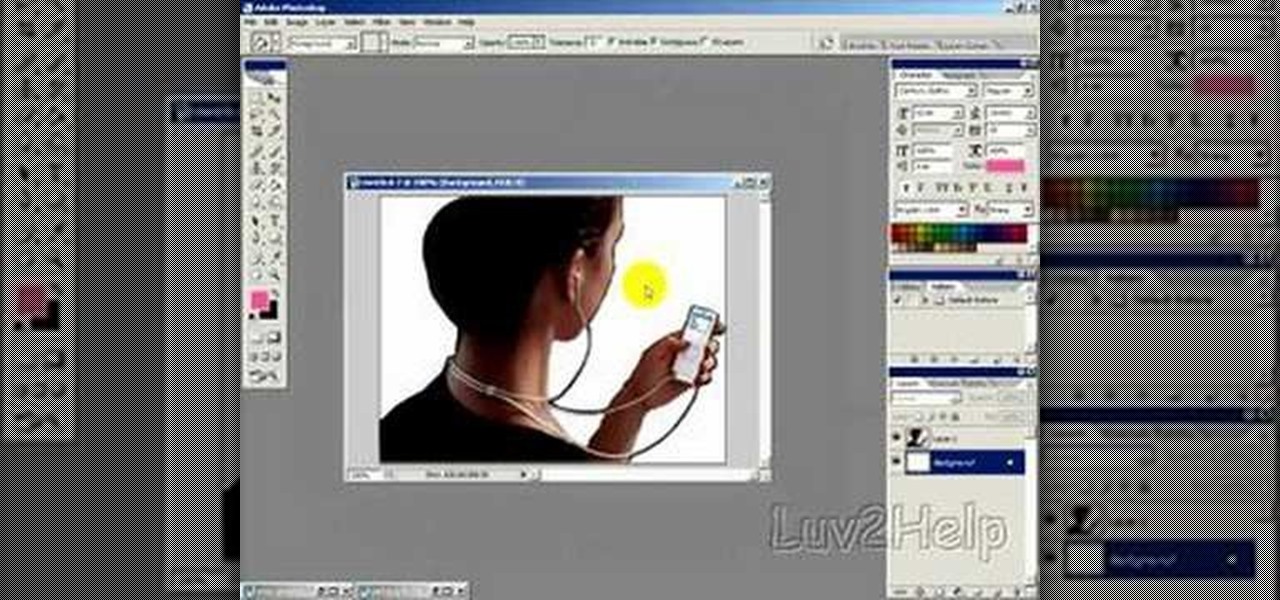
Remember those iPod ads with shadowy, black figures, a bright background, and a clearly delineated white iPod? You can cut yourself a piece of the overstuffed Steve Jobs pie by watching this tutorial on how to create an iPod people effect with Photoshop.

This video tutorial demonstrates how to make an Origami necktie and a shirt card. Begin with a square two sided paper. Fold the paper in half, forming a triangle. Open it back up and use the center fold as a guide. Take one corner and fold it in toward the center fold. Repeat this on the other side. You end up with a kite shape. Turn your paper over. To make the front knot of the tie, fold down the smaller corner toward the center about a third of the way. Fold the point back up toward the to...

There's no doubting that when it comes to style, there are so many different variations and ways to express yourself. Sometimes clothes at local department stores or clothing shops just can't cut it. Maybe the best option is to make your own piece of clothing that you'll be proud of This tutorial will give you the tools needed to help make a simple dress. Enjoy!

How to make cool paper cube

First of all take a small fimo punch. You can also use decorative buttons because the smaller cutters are not easily available. Now you need to take the sheets that have thickness less than one millimeter. You have to check them because the larger size shall not fit. Pop in the inlet just like a paper and try to fit. If not then use a roller to roll them to reduce their thickness. Now lift it with a ruler and then insert it into the inlet. The best way to do is to drop them in. Once it fits e...

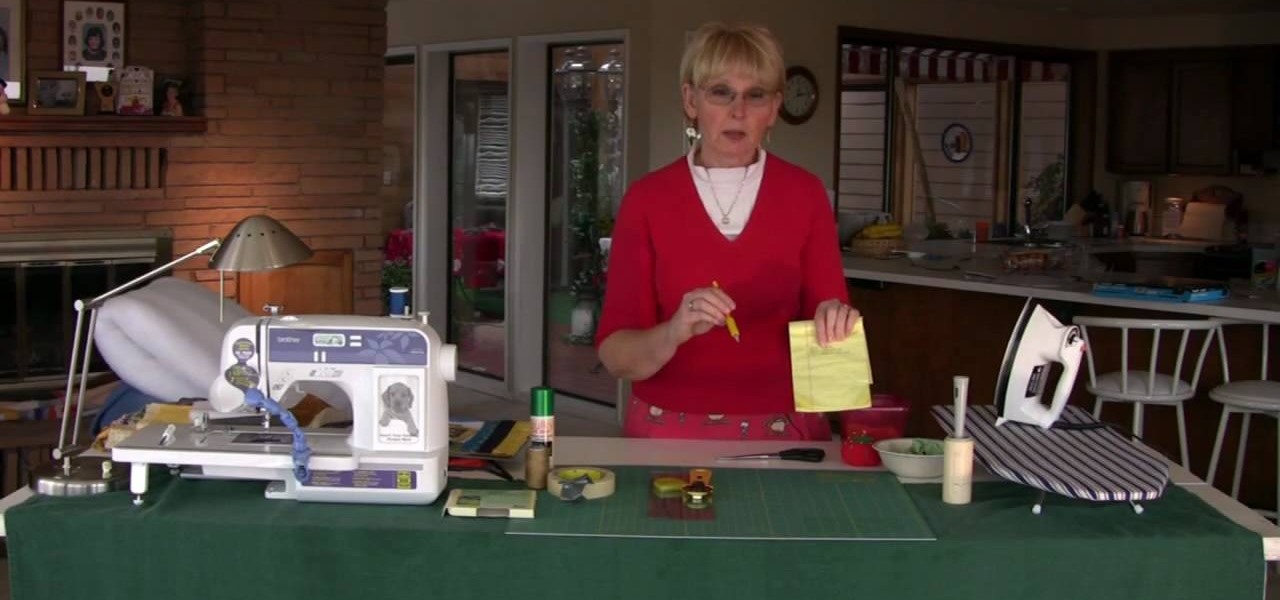
First you must take inventory of all items in order to be able to create your bag. Make sure all labels are in the correct order. Lining should be ready before attempting to begin construction. The stay should be 10in long and 4in wide. Pocket the stays and glue the stays to the outside fabric. Use the notches to line everything up. Take the magnetic snap and attach it to the front and back. Take a knife and cut holes for the magnetic snap. The magnetic snap comes with a washer. Use cardboard...

This video teaches the viewer how to make a memo book with a paper bag. For this craft you will need two paper bags, memo paper, adhesive, ribbon, and scissors. To begin, you'll need to cut off the bottom of the bag and discard it. She explains where to make decorative edges on the bags before sewing them together or using hot glue. Fold and crease the open end down about one third of the way. Open and then fold a little farther down to allow room for the spine of your memo book. Repeat this ...

Ingredients Bun: All purpose flour: 180g, Warm water: 50ml, Sugar: 1 tsp, Dry yeast: 2 tsp, Oil: 2 tsp, Milk: 60ml

>1 Cut a piece of a chain about two inches long. >2 Open a jump ring with pliers and attach it to your charm and then close it with a pair of pliers.

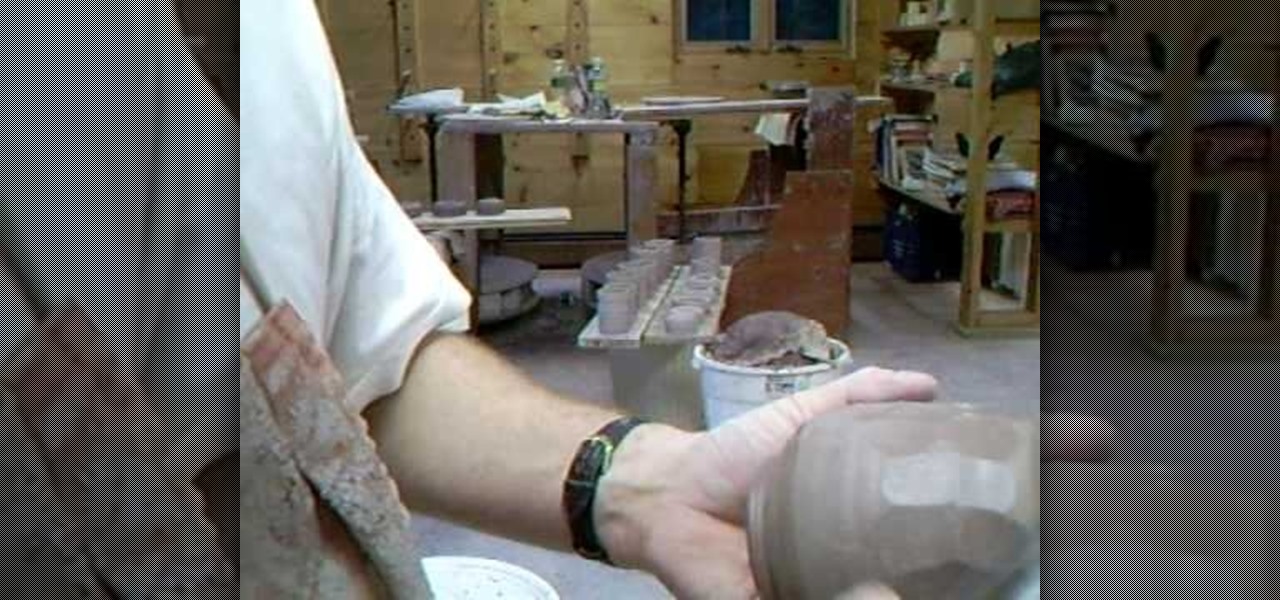
Using a potato peeler on ceramics is fast, simple and gives your piece a unique look. While your pot is still soft, take a potato peeler and "peel" your pot in small sections working around the pot. You don't want to press too light or too firm, it might take some practice. Keep your cuts random to add to the charm.

A tender, flaky crust is what separates a good pie from a great one. Learn how to make a basic pie crust from scratch with this how to video.

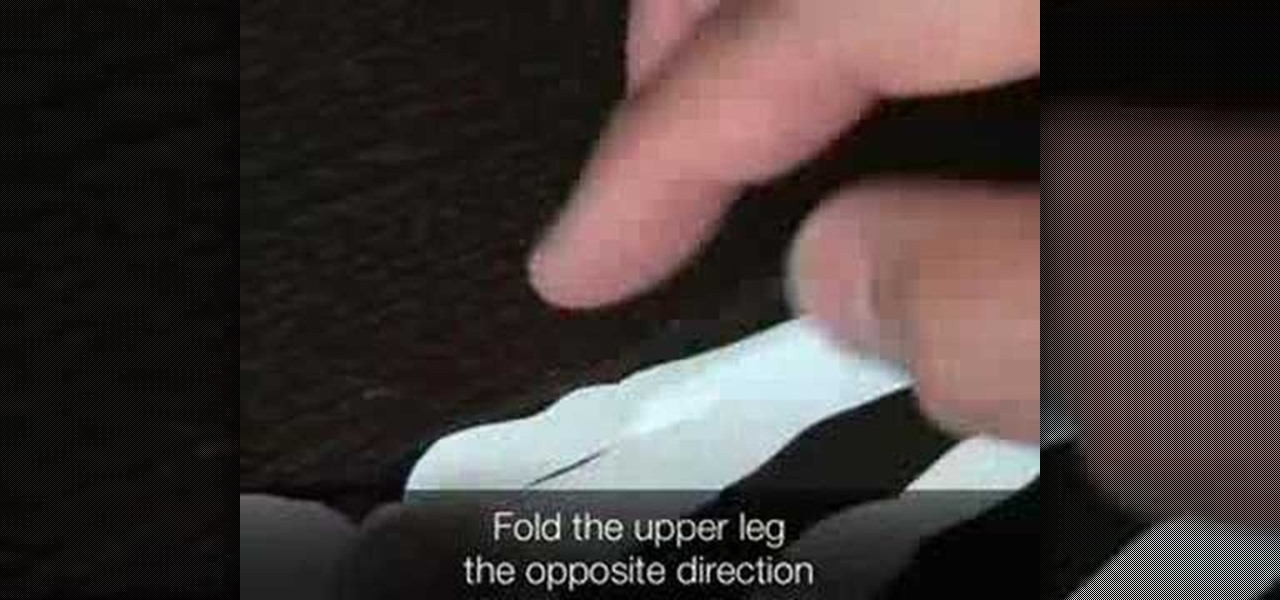
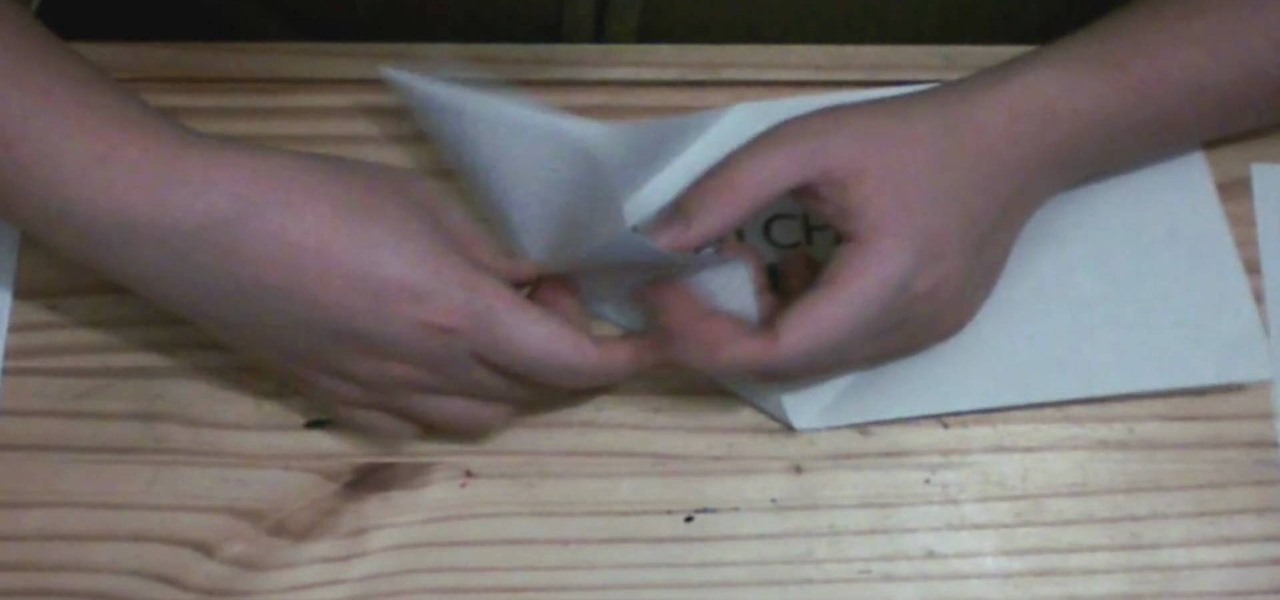
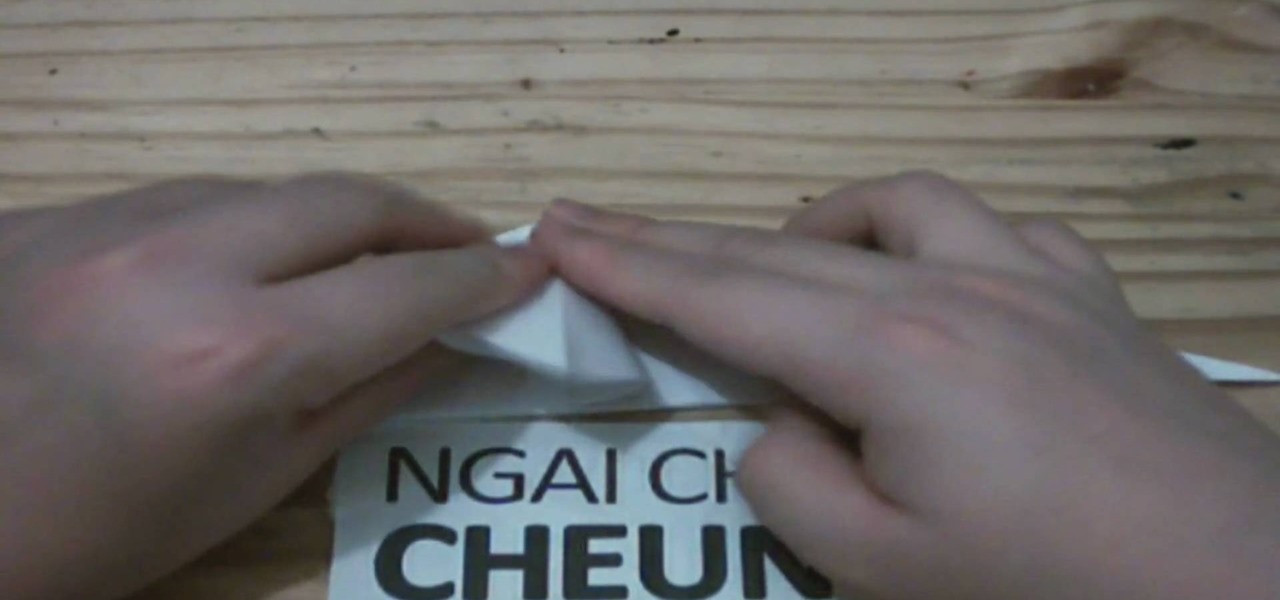
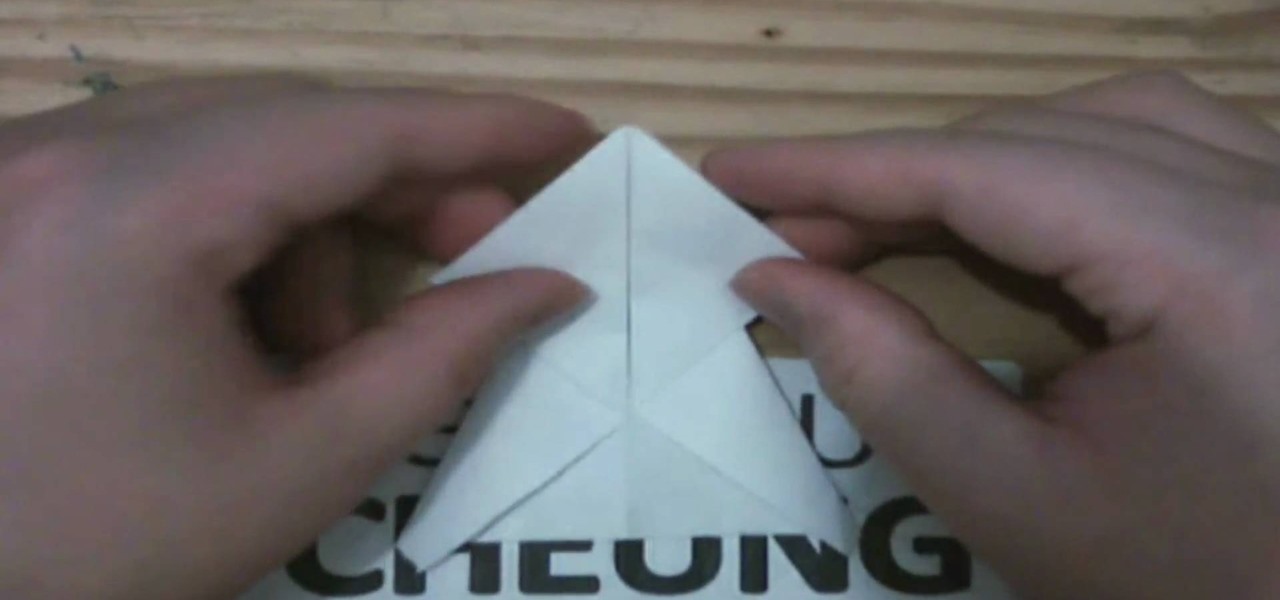
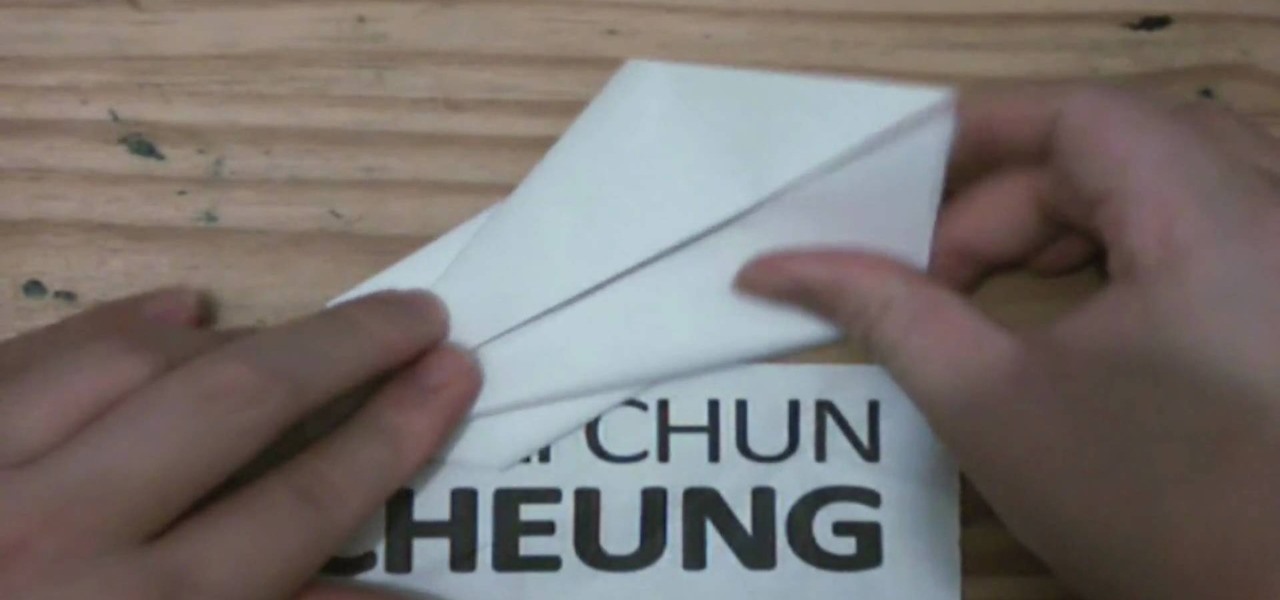
Ngai Chun Cheung demonstrates classic origami models. How to fold an origami jumping frog.

Ngai Chun Cheung demonstrates classic origami models. How to fold an origami seahorse.

Ngai Chun Cheung demonstrates classic origami models. How to fold an origami turtle.

Ngai Chun Cheung demonstrates classic origami models. How to fold an origami bunny.


