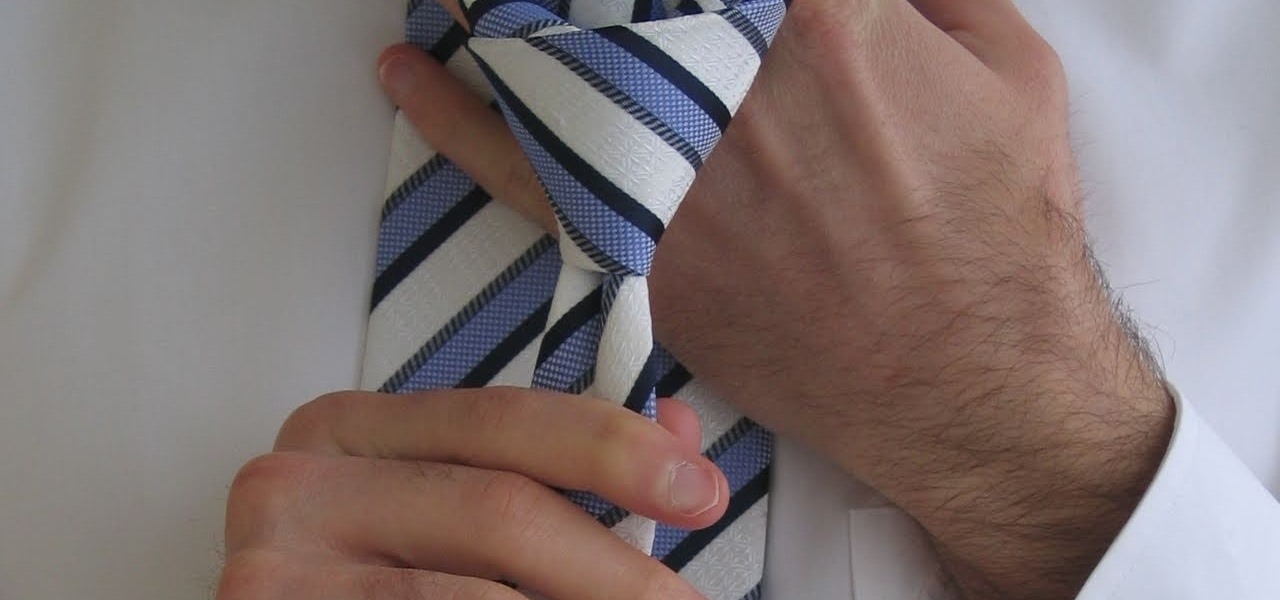
Tying a tie is a very useful skill, in this video, we are shown how to tie a Double Windsor knot, a very popular knot due to its symmetry. After placing the tie around your neck, if you are a right-handed person, make the thicker side the longer side on your right and pass this longer piece over the other one. Place the tie behind the other end and pull it through the hole and down, forming a small knot. Twisting the tie around itself backwards, pull the longer edge through on the other side ...
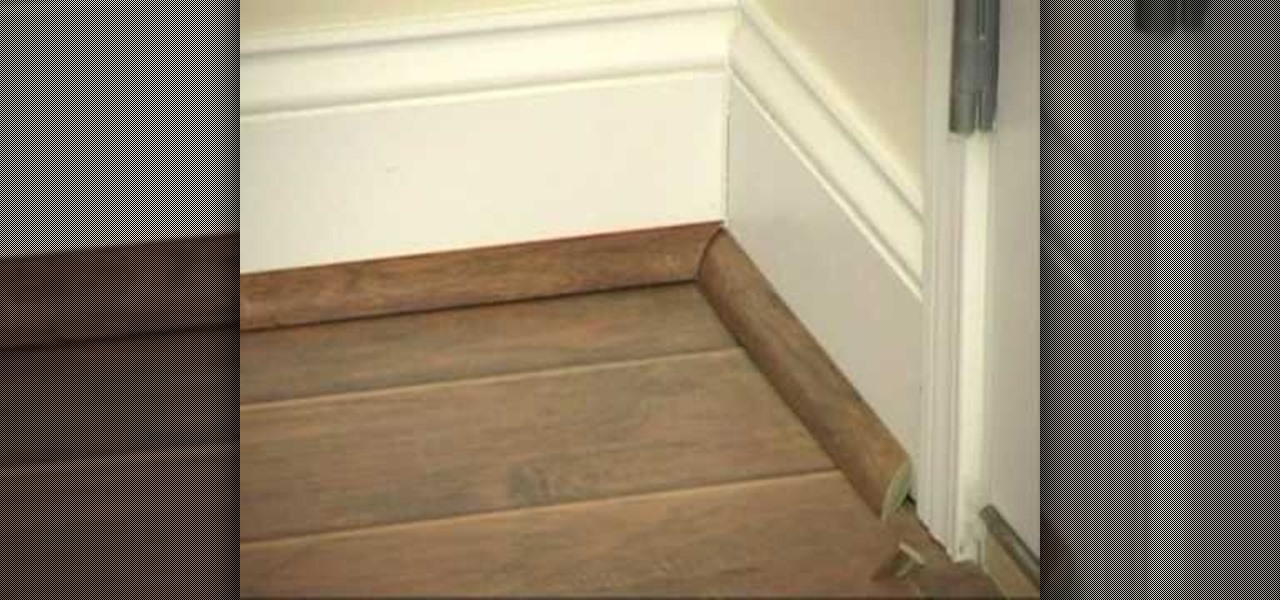
This video will be a very quick, simple, and easy way to install your quarter round. To start you will see that instead of cutting a 45 degree corner, it was left flush. With the other piece you will cut a cove in it and then align it on top of the other piece at the corner of the wall. This method allows the pieces to fit, regardless of the irregularities in the wall (if any). To finish it up take the return and just apply enough glue to attach it to the end of the first piece. There it is -...
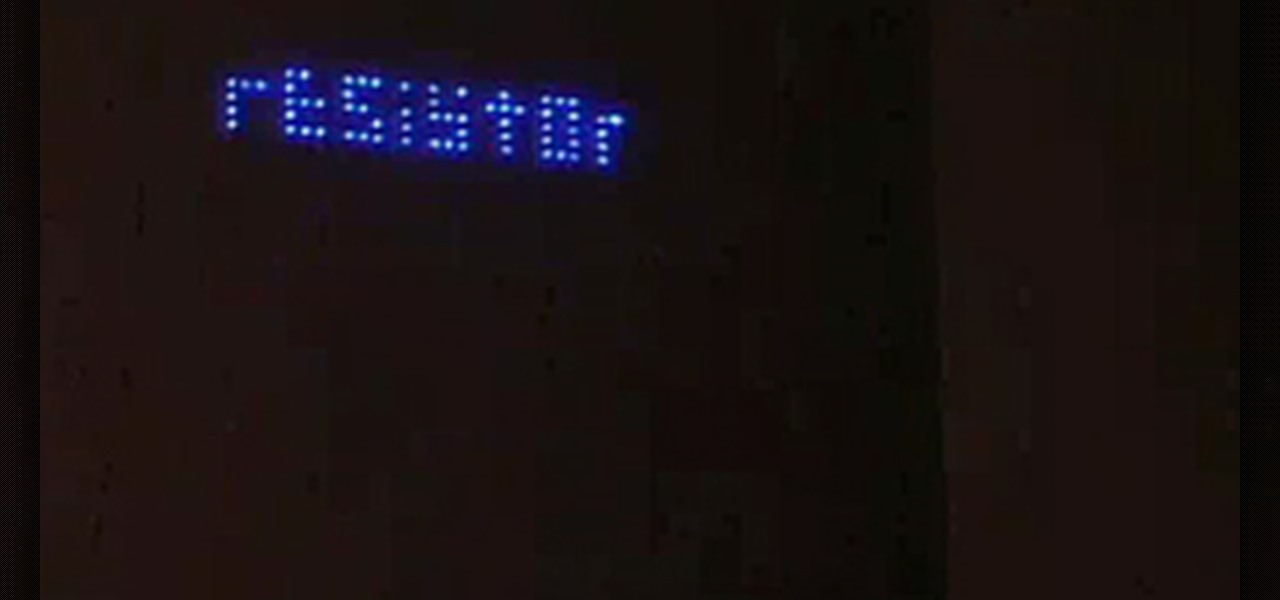
This is a complex process, but the guys at Graffiti Research Lab have armed you with detailed written instructions and this video on how to create a night writer. This is a more complicated version of their LED throwies that allows you to catch a tag in lights. You'll never need an airpline skywriter again!

A great tip to keep your kitchen cutting board from slipping on a smooth surface. Take a piece of paper towel and make it a little damp. Place it under the cutting board and guess what, no more slipping so chopping with those sharp knives won't be as dangerous. Keep a cutting board from slipping.
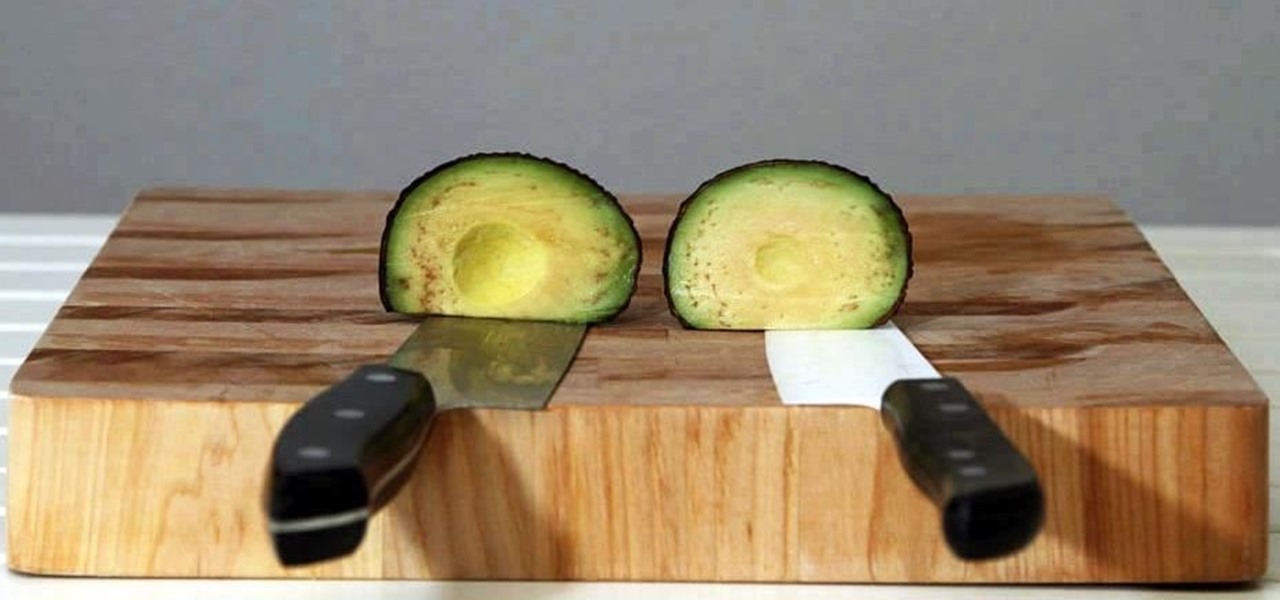
Keeping apples or avocados from browning after being cut is impossible; within minutes of being exposed to air, these fruits (yes, avocado is a fruit) begin to brown. No matter what you try—adding lemon juice, keeping the pits in place, immediately sealing the produce in an airtight bag—brown discoloration always occurs. However, air is not the only reason that foods like apples, avocados, and lettuce brown: it's also due to the knife you're using.
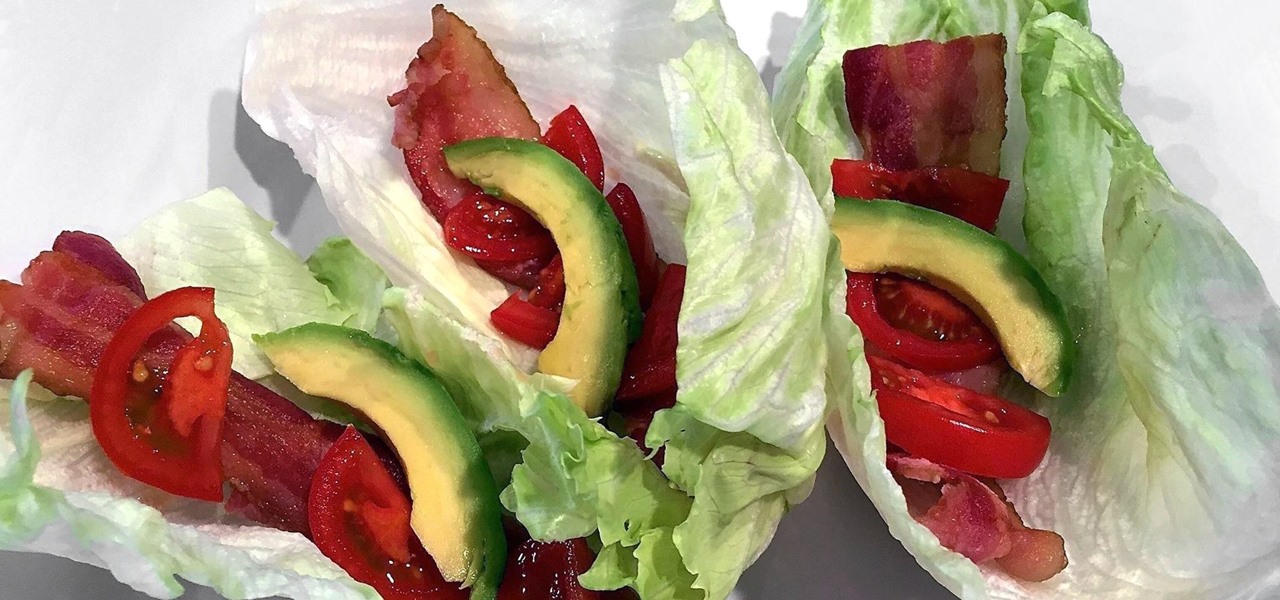
When I get struck by a craving for something SCJ (savory, crunchy, juicy), nothing fits the bill better than a BLT. But why settle for the sandwich form when there are so many other possibilities? Some of my favorite alternative ways to serve up a BLT are 1) as a salad, 2) in tomato cups, 3) in mini bread bowls, 4) as lettuce wraps, 5) as a dip, and 6) in bacon cups.

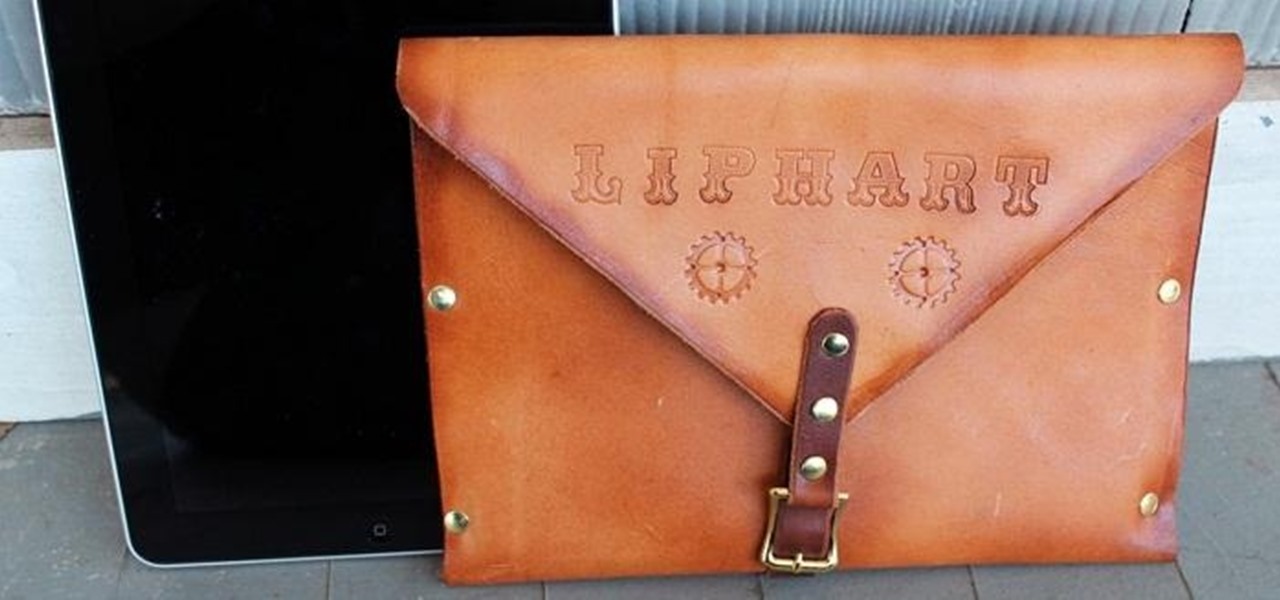
I chose to make this a Steampunk iPad case, but you can change the details and make it look as modern as you'd like. As I said earlier, Steampunks probably shouldn't buy iPhones or iPads, but if you're going to get one, you may as well make it look cool, right? The iPad pictured below was borrowed from a friend of mine, though I should add that this design will easily work with tablet computers of any variety, Apple, Android, or otherwise.

In this tutorial, we learn how to make black pepper chicken. For the sauce, you will need: 1/2 c oyster sauce, 2 tsp thick soy sauce, 2 tsp sherry, 1 tsp white pepper, and 2 tsp black pepper. For the chicken, you will need: 3 boneless chicken breasts, 1/2 tsp garlic salt, 1/2 large red bell pepper, 1/2 large green bell pepper, 2 green onion stalks, and 2 tbsp peanut oil. First, remove the fat from the chicken and cut into pieces. Then, sprinkle with garlic salt and set aside. Now, remove the ...

This tutorial shows the viewer how to make polymer clay look like wood. Begin by using a pasta machine and roll out ecru on a number four and rolling out brown on a number six. Stack the brown on top of the ecru and cut the stack in half. Then sandwich the two stacks so it goes light - dark - light - dark. Repeat the process by Cutting it in half and stacking them again. Roll this stack through the pasta machine on a number one so it squishes them together. Cut in half and stack. Repeat this ...

This video is about how to make a puppet dragon out of household items. First, a piece of card stock paper is cut in half the long way. Next, you must take an empty 18-pack egg carton and cut off a strip of egg slots. Using a stapler, the two pieces of paper are connected long ways, with the egg strip stapled on top of it. This forms the body. To make the head, a small cardboard box is stapled to one end. A smaller cardboard box (about half the size of the one already used) is glued on top. F...

In this how-to video, you will learn how to get toe side leverage with this edging drill. This will teach you how to edge properly toe-side. If you are edging out in a bad position, this will cause you to use a bad position with muscle memory. If you edge out properly, you will reinforce a good habit so that you naturally use the position. First, stay outside of the wake. Remove the lead and grab your board shorts so you're forced to edge with your rear hand on the handle. You will have to ed...

This is a video on how to shape your eyebrows. The tools used are a razor and a shining agent. The purpose of the Shining agent is to ease the pain of this process. The key to success of this process is to keep this lines that you cut straight. If you want them arched, do it straight. If you want them arched you need to make sure that when you do make the cut to not start arching immediately or they will come out looking thin. The consistency of your cut should stay the same until you get to ...

If you enjoy using the Bevel Tool in modo and you have a predilection for edges you will LOVE "Edge Bevel". This sparky little production examines the heartfelt story of edges who strive to be more than a single edge. Follow their story as they expand their horizons thru the use of the Edge Bevel tool in modo 101 and learn how to add details to edges on models and meshes.

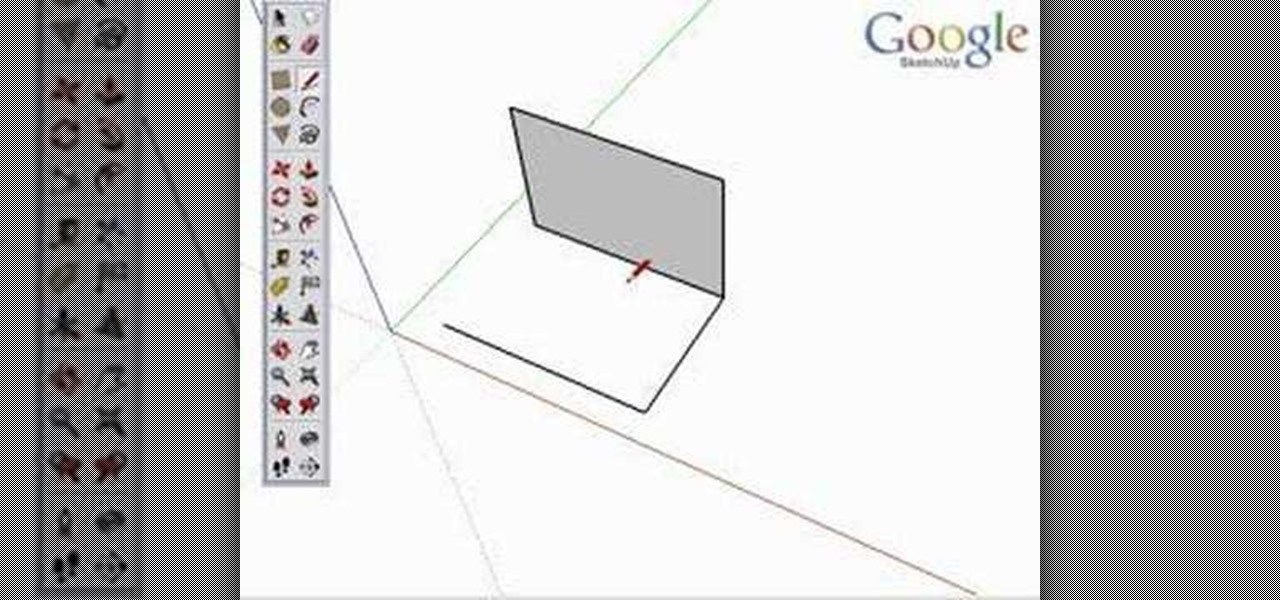
Take a look at this instructional video and learn how to use the line tool in Google SketchUp. There are two ways to draw edges with the line tool. The first method is to simply click your mouse at various points around the screen to draw connected edges in succession. The second way is by clicking and dragging the mouse button to draw an edge, and release the mouse button to create the edge. This tutorial covers the best practices for drawing lines or edges, how to draw accurately, and divid...

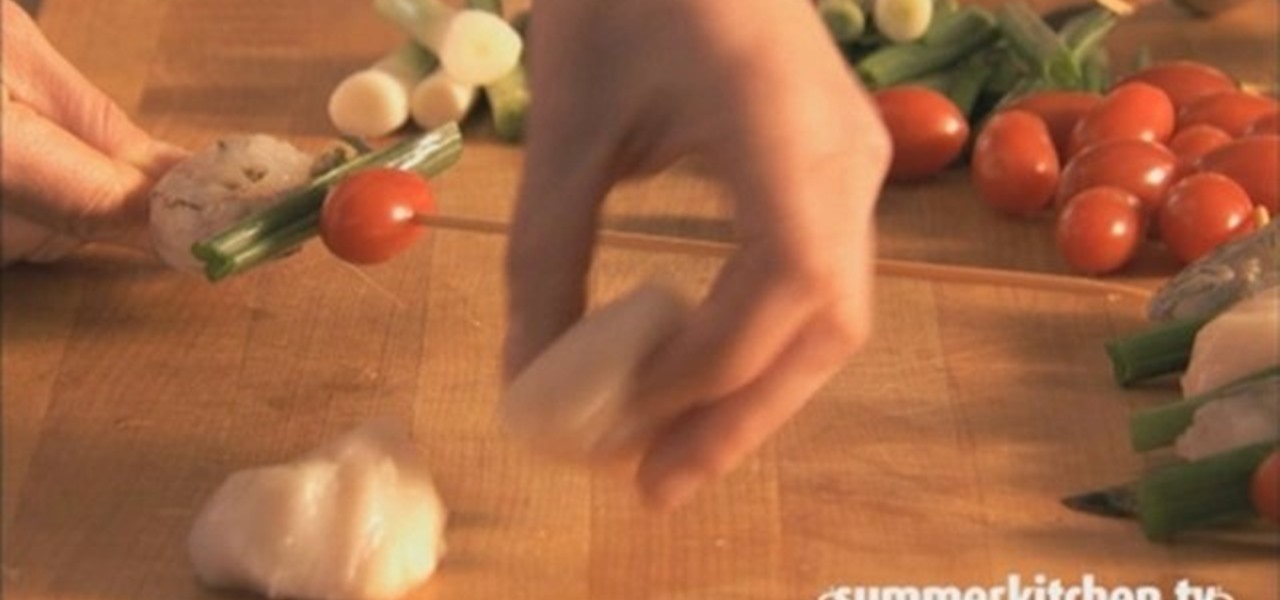
Kabobs are perfect for backyard BBQ. Love seafood such as shrimp and scallops too? Watch this how to video on how to make healthy and delicious shrimp and scallop kabobs.

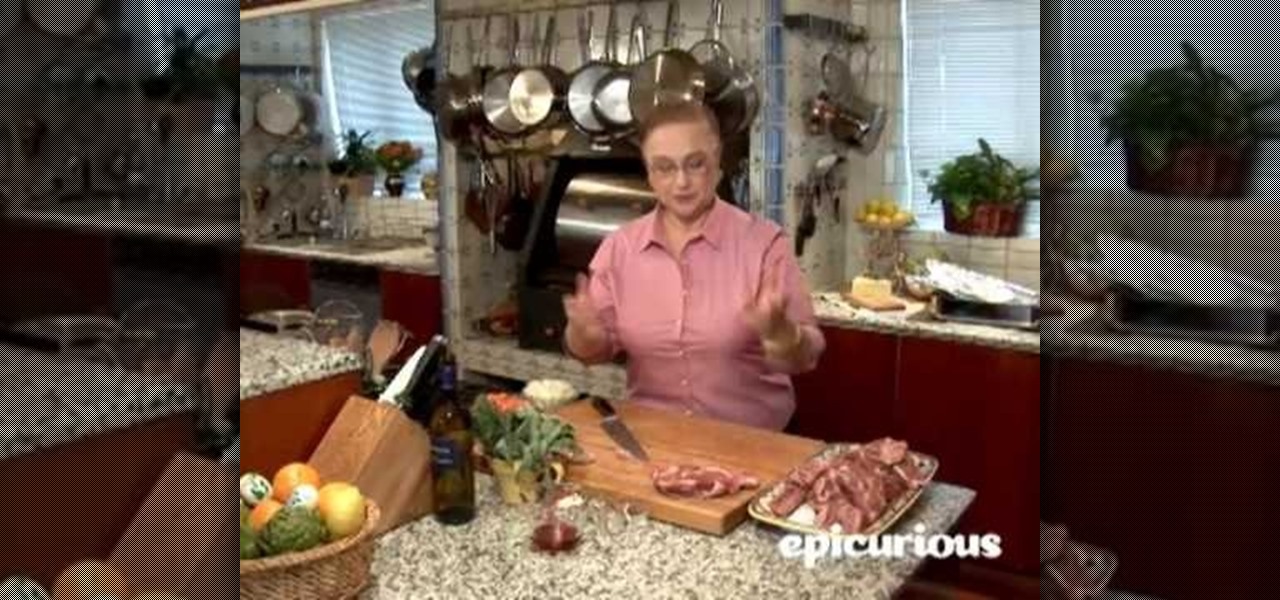
In this video, we learn how to trim a lamb shoulder with Lidia Bastianich. Start off with your raw piece of meat laid out in front of you. You will want to trim the meat around the outside where the most fat lies. Remove the fat that is excessive with a sharp knife. Cut as close to the bone as possible, then trim off the excess fat. Remember, some fat is good to keep on the meat for flavor. Cut the meat into cubes after you have removed the fat from it. Once finished, you will be able to roas...

With a little practice a cushion cover can be made at home easily. The materials/equipments required are as follows: fabric of your choice (having appropriate dimensions) to make the cover, scissors, measuring tape and ruler, needles, threads, sewing machine and an iron.

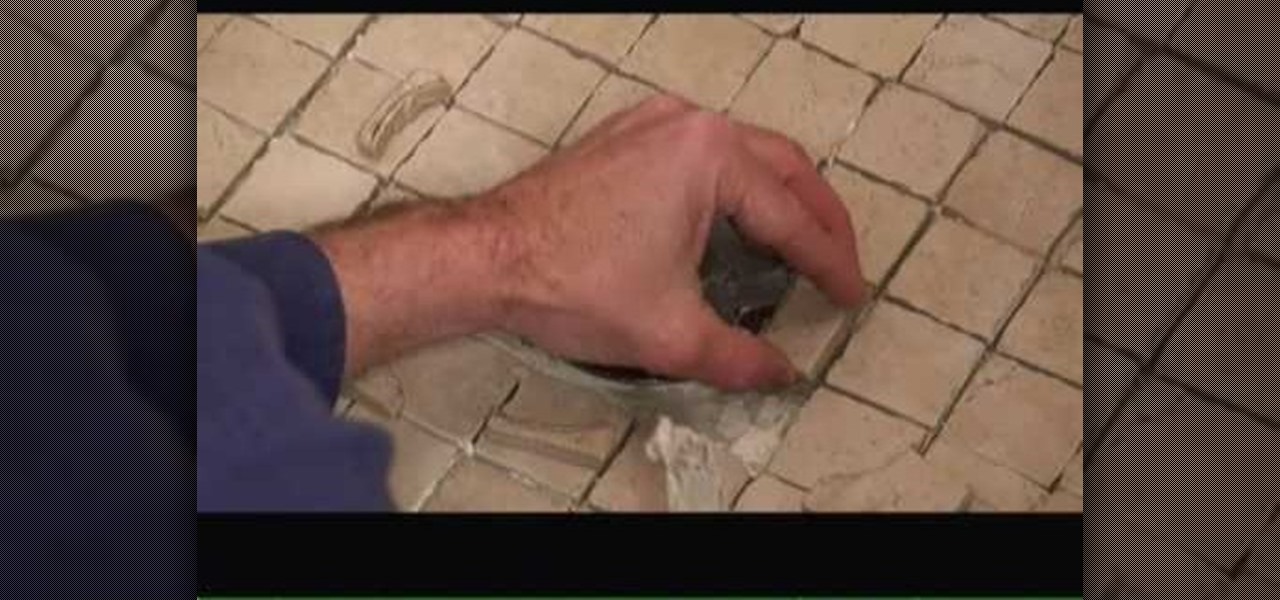
In this tutorial, we learn how to tile a shower floor and curb in your own bathroom. To start, you will need to apply the foundation of your tile with a smoothing tool from corner to corner of each of the corners. After the mortar is lied, grab your tile and press it down firmly onto the mortar. Use your hands to press down on all the corners of the tile, then place another one next to it and continue until you reach the end of the shower. Use a straight edge to cut tiles where the are too lo...

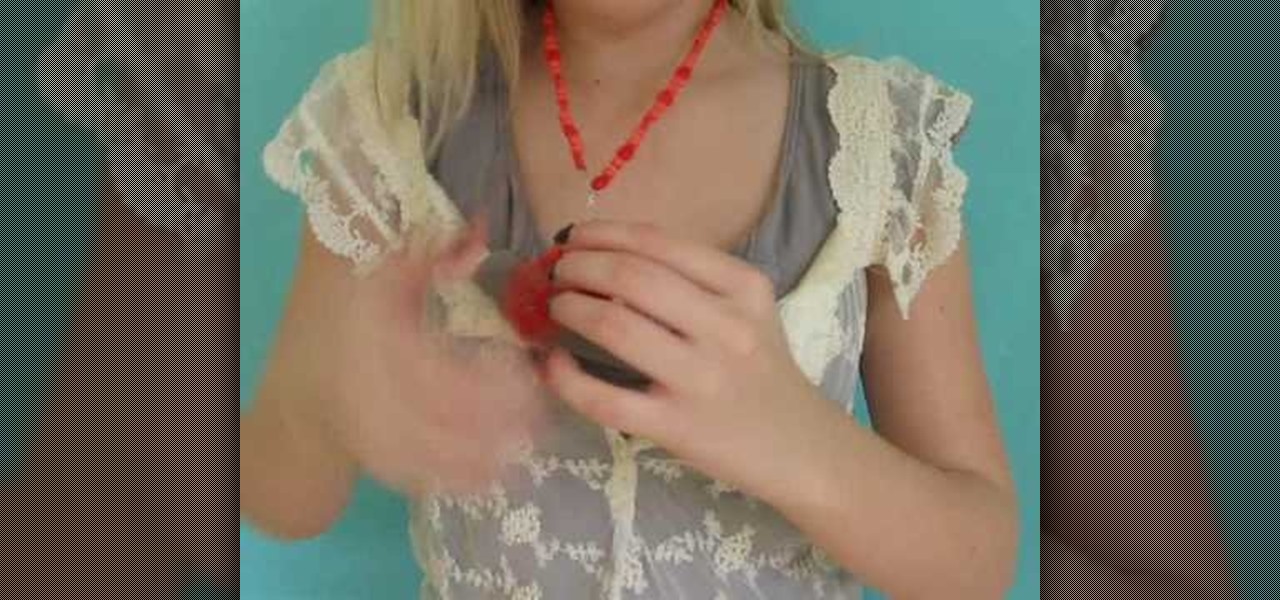
In this video, we learn how to make a lariat necklace. First, cut your wire so it's 20" long. Then, make a loop at one of the ends and attach a small chain to it. After this, put on the crimp bead and make a loop through the bead. Once finished, take your pliers and clamp it down. Now attach your chosen beads to the wire until you reach the end where the chain is. After this, cut out three pieces of wire and attach them together in a slight v shape. After this, apply beads to them, then tie t...

In this video, we learn how to write numbers in calligraphy copperplate. To write the number five, you will simply make the shape of the number, but add in a thick edge to the bump and curved edges to the end. To write the six, use a thick line on the side of the number and a thin line for the circle in the middle. To make the seven, the top should be curved and thick, and the lower line should be very thick with a straight edge. To make the eight, draw the number so that the left edge is thi...

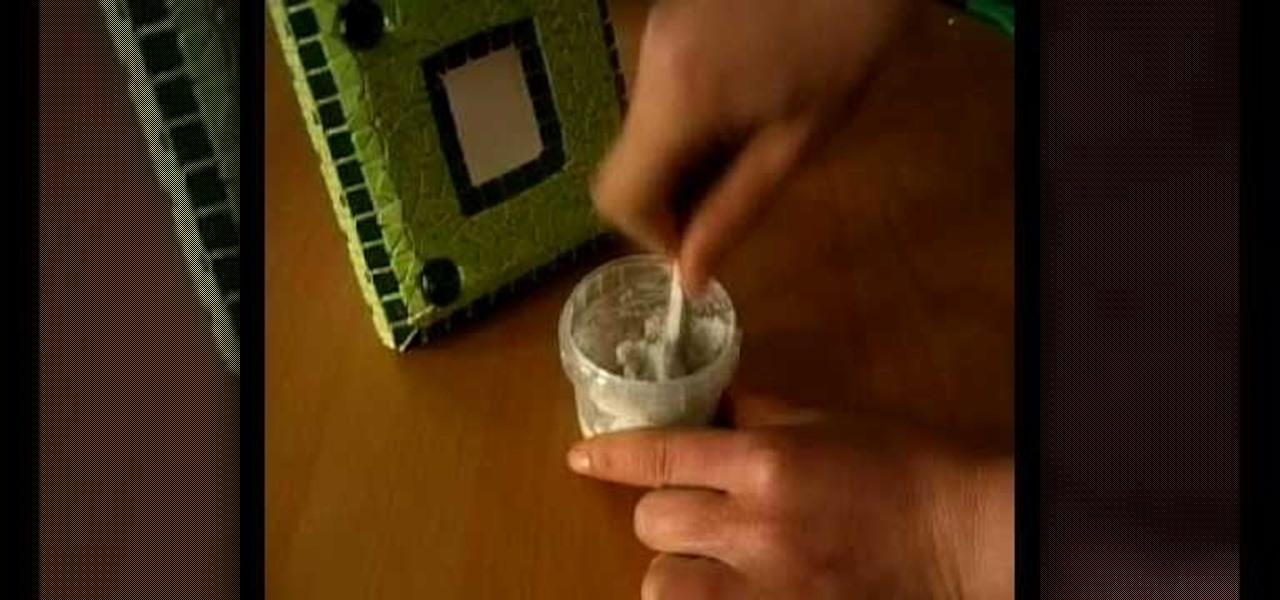
In this video, we learn how to make a mosaic picture frame with ceramic micro tiles. First, glue on the four gemstones. These will go on all four corners of the frame. Next, place the square mosaics onto the base. You will place these around the edges of the frame that are perfectly square. After this, cut the other squares in half and glue them onto the entire frame in the middle of the squares on the frame. Next, let the frame dry for two hours, then mix the powder together with water and r...

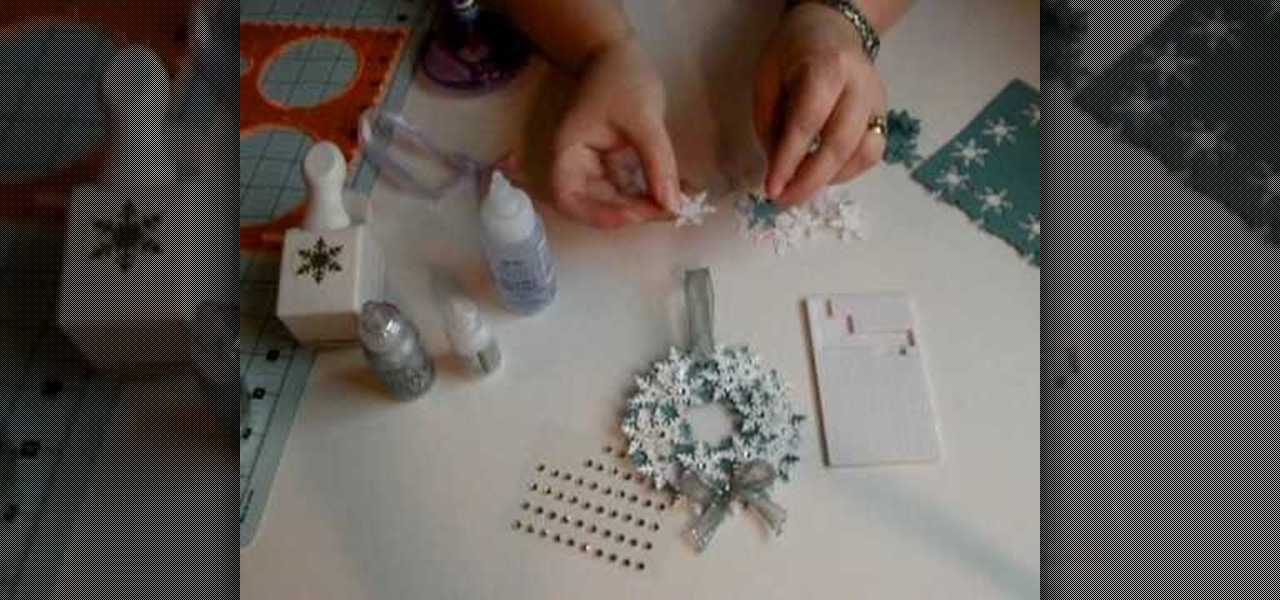
In order to make a snowflake wreath ornament, you will need the following: a snowflake punch, adhesive, foam, rhinestones, card stock, a hole punch, a circle cutter, scraps of paper, and ribbon.

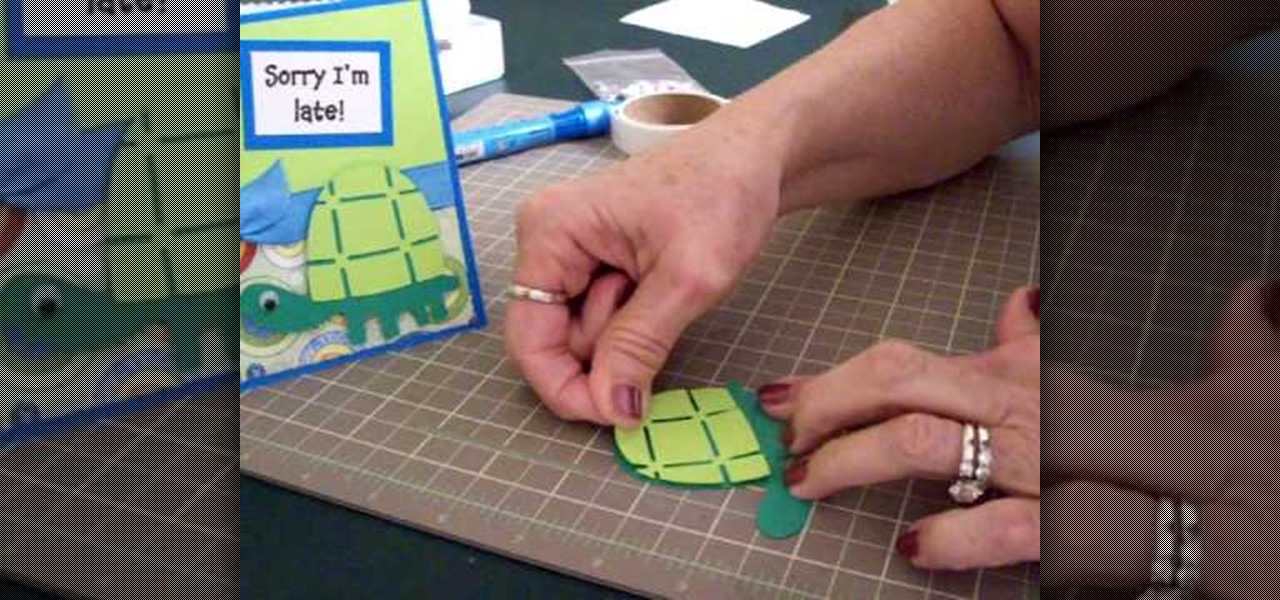
In this tutorial, we learn how to make a Cricut belated birthday card. First, cut the turtle out using the Walk in my Garden cartridge. After you cut this out, add in details to the shell using different colors. After you put the turtle together, place it on a blue card stock that has a pattern over the bottom of it. Next, place a ribbon around the middle of the card. On the top, place a message in a framed piece of card stock that says "Sorry I'm Late!". After you make this, fill out the car...

In this video tutorial, viewers learn how to suture. Begin by lifting up the skin on the far side of the laceration with the tissue forceps and insert the needle with some distance far away from the wounded edge. Then lift up the skin with the near side laceration and mirror the course of the needle. Now move somewhat to the right of the subsection of this stitch, parallel to the incision line. Place the second subsection of the horizontal macro-suture like the first part. But this time from ...

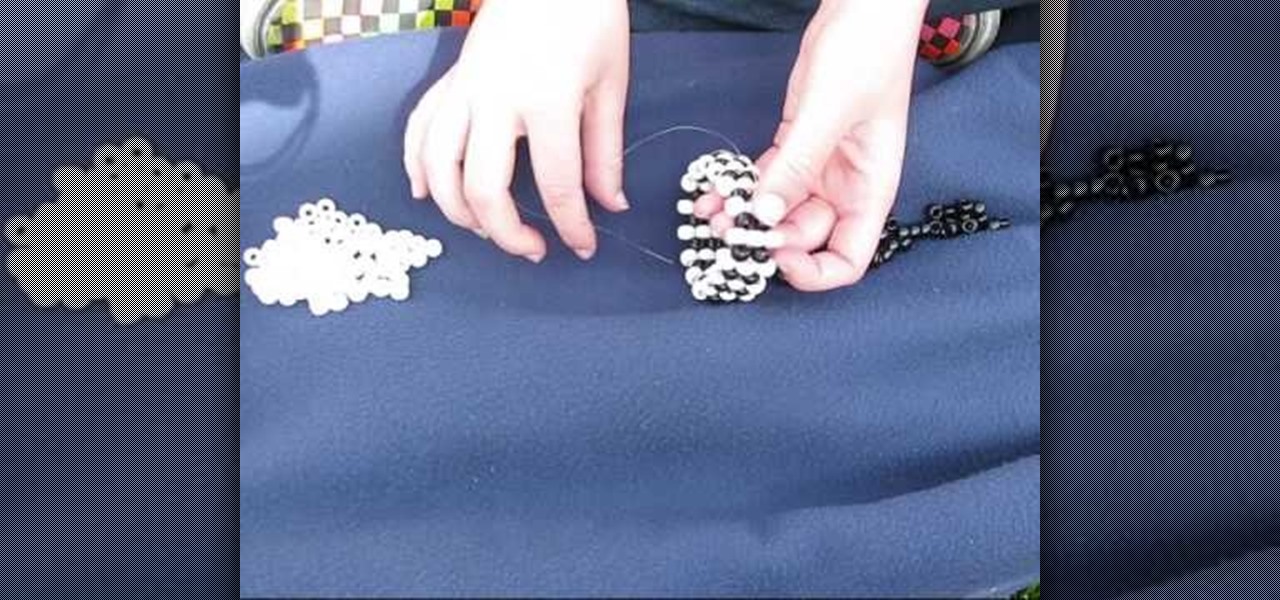
In this video, we learn how to make a vertical striped bracelet cuff out of beads. Start with a long piece of string and string on your beads until you have a length that fits well around your wrist. After this, tie the ends together and cut the tails off the excess string on the short side. now, start to thread through new beads around the entire bracelet. At the end of every few rows, tie it to keep it tight at the end. When you are finished, tie the string and make a knot, then cut off any...

In this tutorial, we learn how to make a small folding box for Easter. First, cut a shimmery white piece of card stock to 6" x 8 1/4". After this, score the paper at 2 and 3/8". Then score again at 2 and 7/8", flip it over and do again on the other side. After this, cut the four corners with score lines off, then fold the score lines that are left. Now, grab an Easter stamp and stamp the inside of the box underneath the top flap. Place a candy inside of the box, then fold it up and place an E...

In this tutorial, we learn how to make a paper Christmas tree. Start out with a square piece of paper, then fold corner to corner and open it, then fold it on the opposite corners and open it. Now, turn it over and fold it side to side on both sides. Now, the paper will automatically fold into it's shape because of the creases you made. Now take each of the four flaps and flatten them out with your finger. After this, cut your trunk out of your tree at the bottom, then cut slits on the side o...

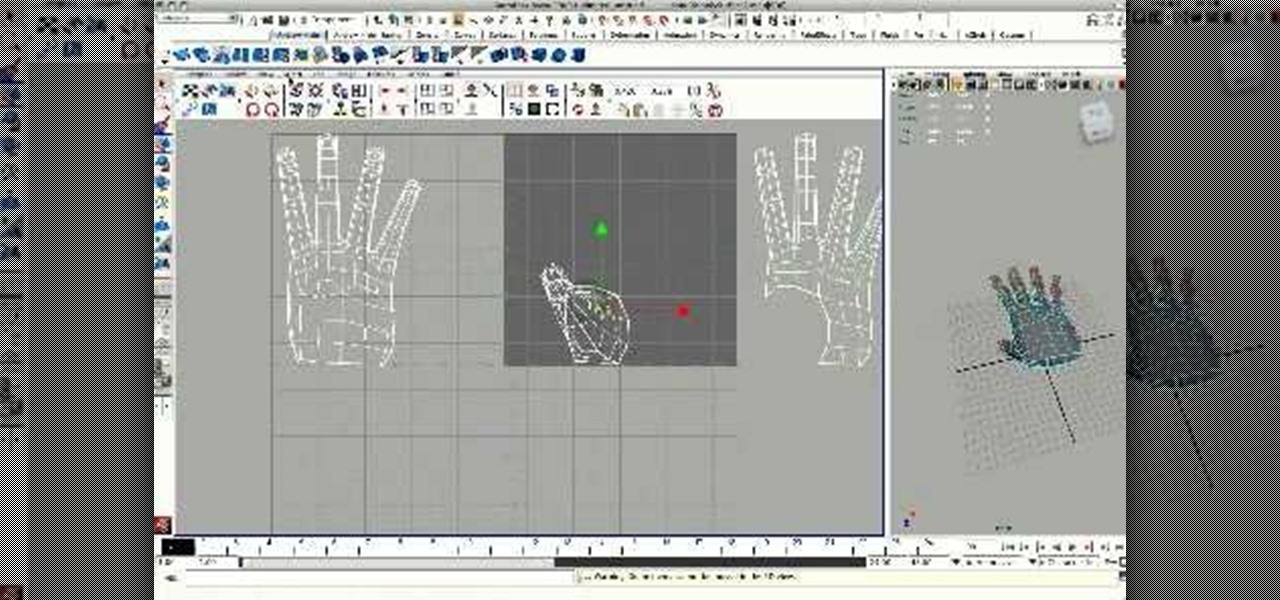
Maya 2009 introduced a lot of cool new UV tools to the already-powerful Maya 3D modeling software. This two-part video will teach you how to use some of these features to cut apart a 3D model of a hand by its UV edges. This technique is perfect for very fast organic UV unwraps, and should improve your skills and speed of modeling dramatically.

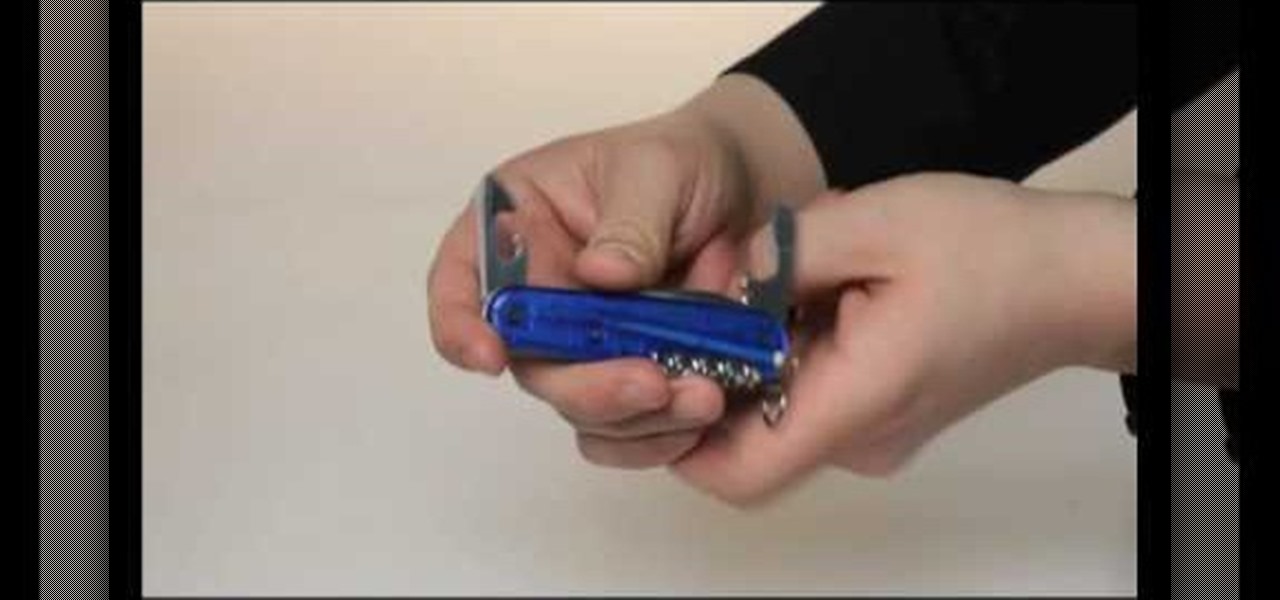
The Swiss army knife has a lifetime warranty and is the brand that MacGuyver used in his series so you know that it's good. The keychain side of the knife contains a bottle opener while the other side contains a can opener with a sharp cutting edge. The bottle opener has a flathead screwdriver on its top. You can use it to open bottles of ale when traveling through Europe by using a leverage technique. The top should then easily come off of your desired bottled beverage.

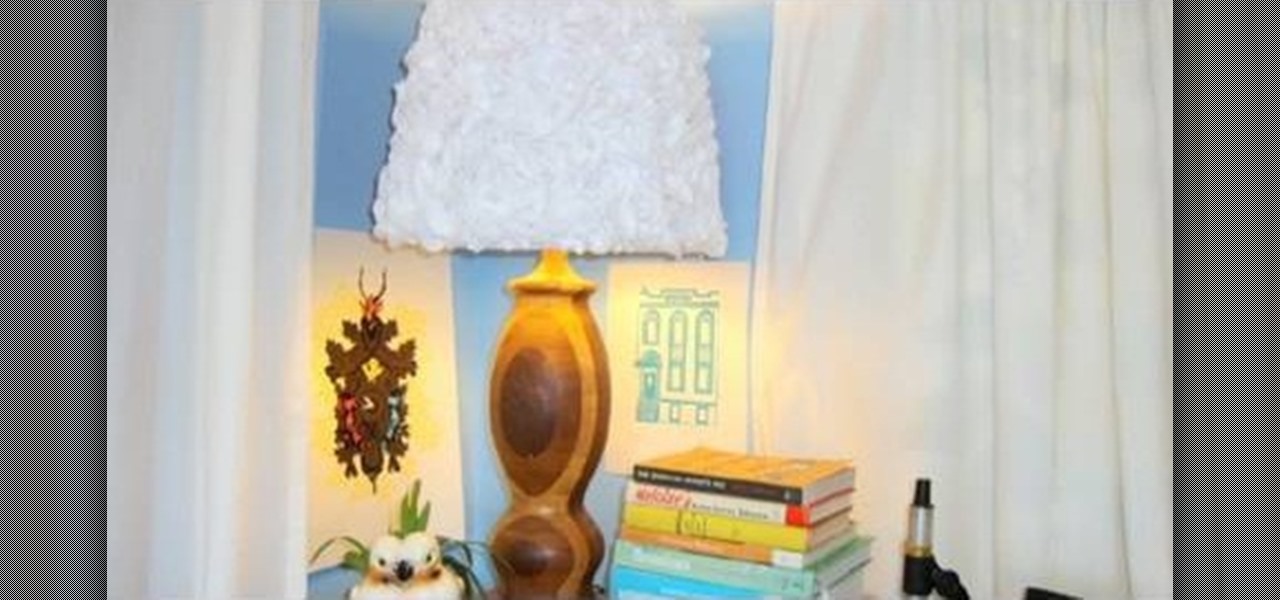
In this video tutorial, viewers learn how to upgrade an old lamp shade into a blossom lamp. The materials required are: 1 1/2 yard of felt, old lamp shade, bias tape, glue gun and scissors. Begin by folding the bias tape in half and iron it down. Then glue the bias tape from the half fold on the top and bottom of the lamp shade. Cut the felt into 3x3" square pieces and then cut them into circles. Fold the felt circle in half and glue it onto the lamp shade. Continue doing this for the rest of...

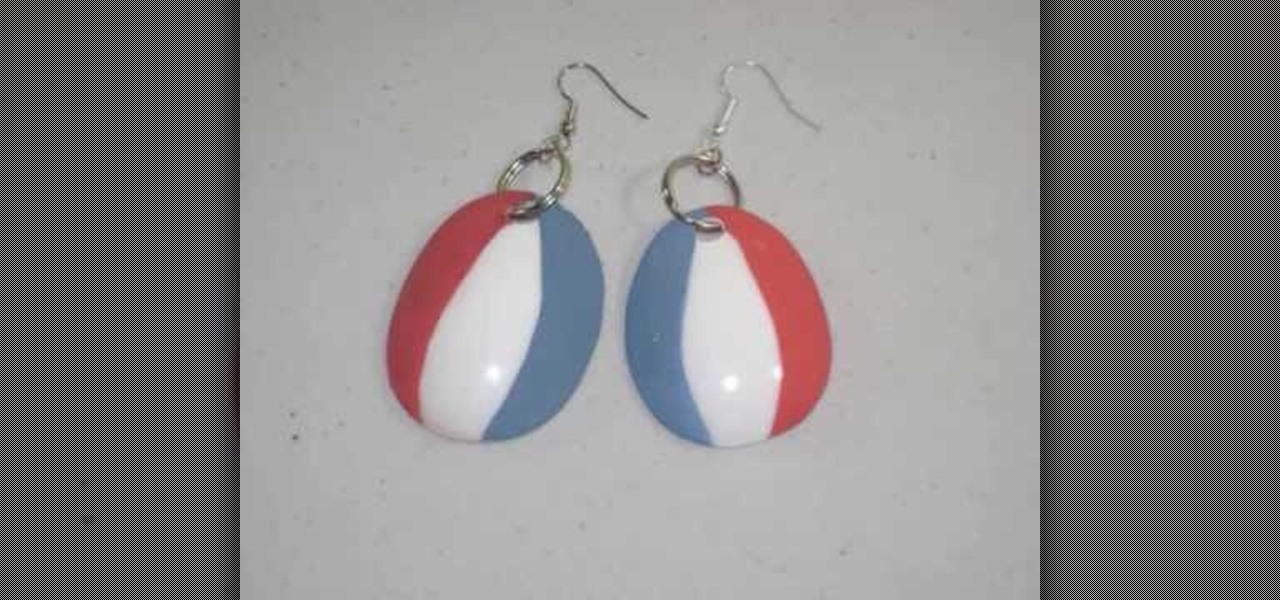
This video is about how to make earring from spoons. So to do this, just follow these simple steps. Things you'll need:

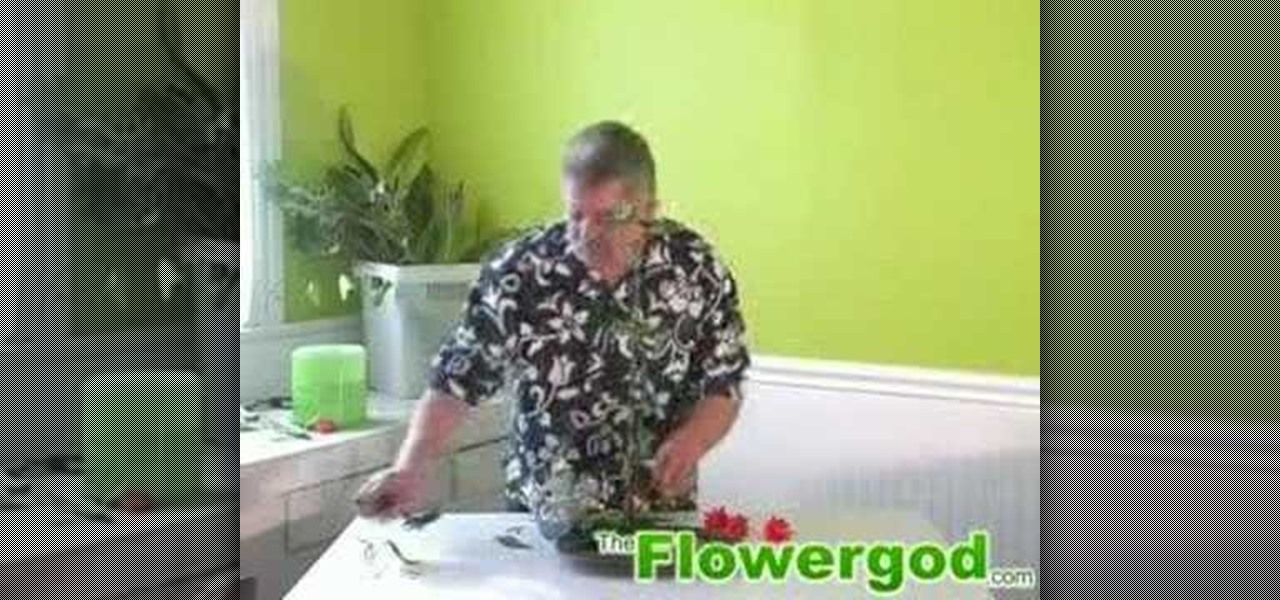
The Flower god gets us all ready for the Chinese New year with a quick and very simple flower arrangement for a table centerpiece. You'll need some good luck bamboo, some ivy, little pieces of ginger and some passion flowers to accent the green. Take some of the ivy leaves and cover the centerpiece base. Cut them short at a sharp angle to cover everything. Next use the good luck bamboo to add height. Cut these at a sharp angle as well so that they will stay secure. The angles help it work as ...

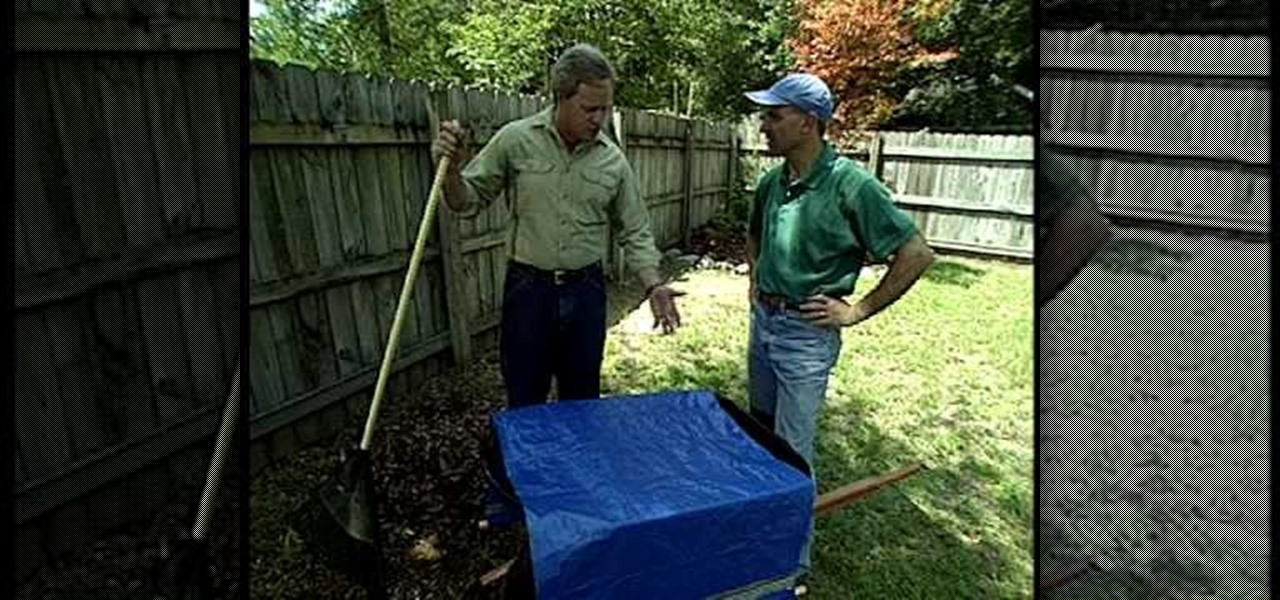
This video from Danny Lipford explains how to make a cover for raked leaves so that the wind won't blow them away. Get a tarp and cut it to the right size. Get two wooden dowel rods and put them along two ends of the tarp. Turn the tarp edge over the dowel rods and tape them down with duct tape. The cover can be used to cover leaves that are in a wheelbarrow or on the ground. You can also lay the tarp on the ground, rake the leaves into the tarp, drag them where you want them and pick up the ...

Ilysa Bierer and Kira Slye with Polymer Clay TV demonstrate how to embellish wall decals with polymer clay. Wall decals come in a variety of styles. You can embellish wall decals in a variety of ways to make them your own. Take transfer paper and use parts of the design to incorporate into your polymer clay figures. Cookie cutters are handy ways to cut out polymer clay shapes. After you cut out your shapes with the cookie cutter, you can use the piece of clay with the negative space and place...

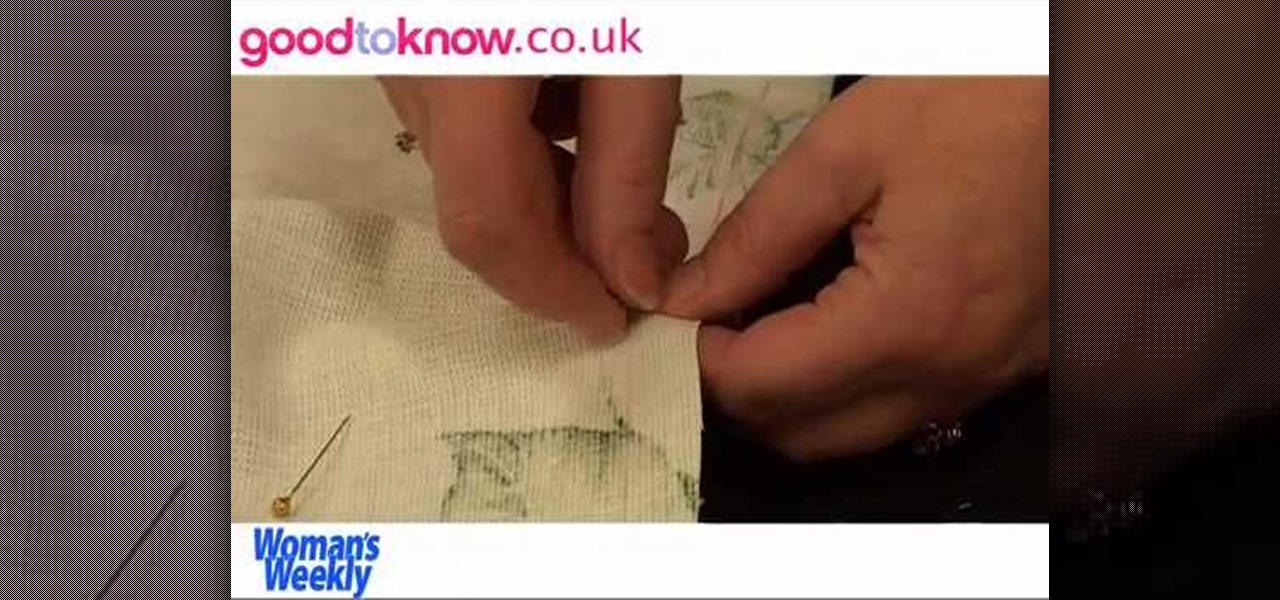
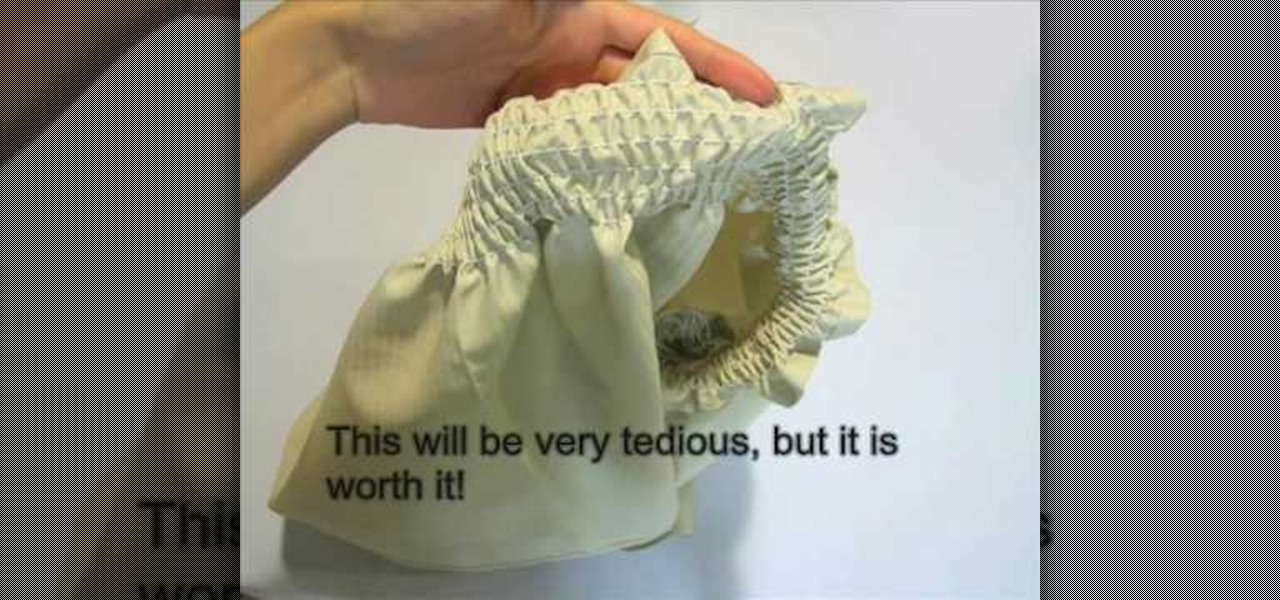
This video demonstrates how to sew a Victorian skirt. First take a cotton cloth and cut a rectangle piece twice the size of your waist. The length would be depending on your choice of height you require. Hem the top and the bottom of the cloth. Then use elastic thread to create 12 rows of shirring. Each row can be 1/4th inch apart. This is for sure a tedious task but it will look beautiful. Then take a chiffon cloth and cut the same size as your skirt. Hem one side of it and on the other side...

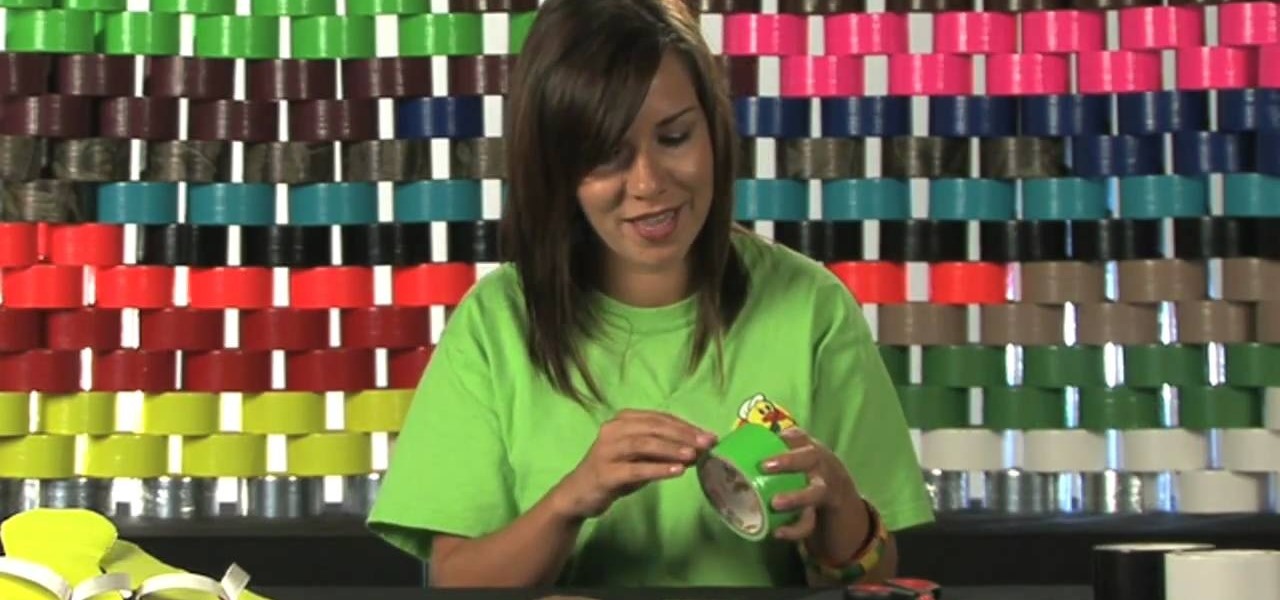
This video is about how to make duct tape flip flops. For this you need cardboard, scissors, and three different colored tapes. Follow a few easy steps: cut two identical slipper shapes out of cardboard. Paste the first colored tape on the cut pieces. Fold second colored tape three times to make it thinner. With the help of the scissors create a hole and pass the second colored tape through it. Paste the tape at the back. With the last tape, strengthen the joints above the hole.

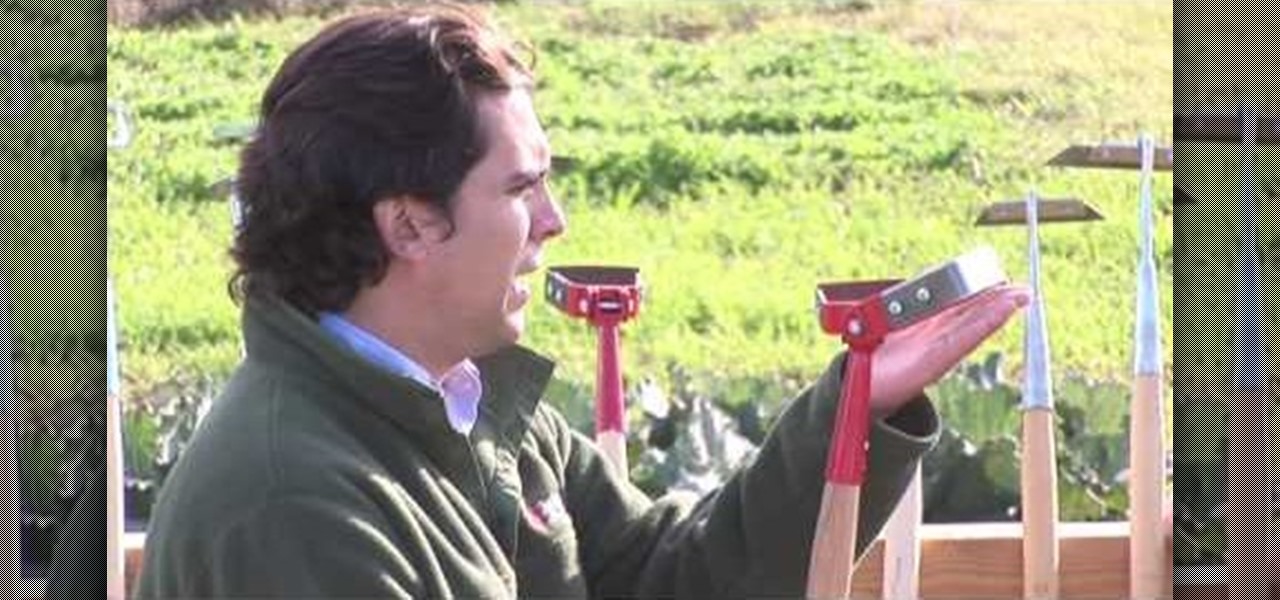
One of the most challenging, arduous parts of gardening is weeding vegetables that are close to the ground. Cabbage, for instance, leafs out near the earth and can be fiendishly tricky to weed. In this Growing Wisdom gardening tutorial, you'll learn about some of the tools that can help you weed those hard-to-reach spots without breaking your back in the process.

Bet you never knew fire can come from a grape... an ordinary edible grape. This video tutorial will show you exactly how to make fire shoot out of a grape, and it's easier than you think, or maybe not.

In this two-part song tutorial, you'll learn how to play Aerosmith's "Livin' on the Edge" on the electric guitar. While this tutorial is best suited for intermediate and advanced guitarists, players of all skill levels can play along. Watch this lesson to get started playing "Livin' on the Edge" on your guitar!

This video demonstrates how to construct a sling shot out of a soccer ball. You will need an old soccer ball or tire tube, a "Y" shaped stick, and a pair of scissors. Slice the soccer ball open to remove the rubber lining. Next, cut two thin strips of the rubber lining. Cut out one hexagon shaped piece of leather from the deflated soccer ball. You can use this for the sling shot pouch. These visual guidelines depict how to use these materials to construct a sturdy slingshot in a matter of min...


