In this video, we learn how to decorate a space shuttle cake. Make sure before you begin you have a chilled yellow cake and the template from www.bettycrocker.com. Once you print out the diagram, cut your cake according to the shapes. Now, frost all the pieces and then arrange pieces to make the space shuttle. Once arranged, decorate the shuttle with different colors of frosting and different candies. You can use a pastry bag to frost lines and outline the tip, wings and back of the shuttle. ...
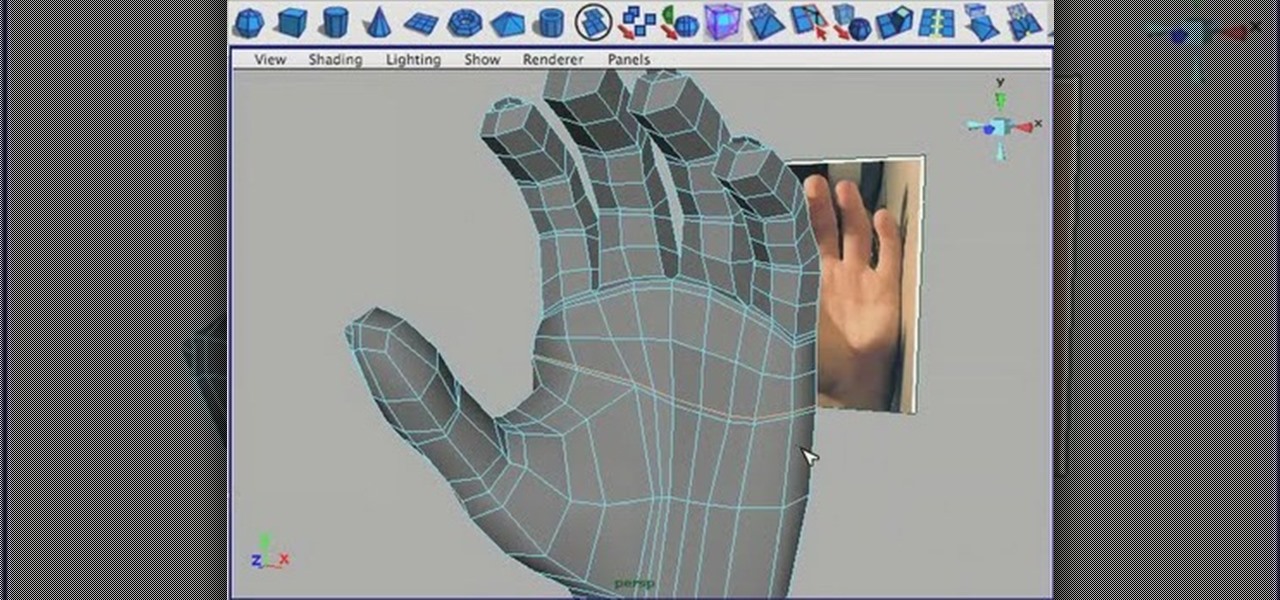
This tutorial shows the best way to model a human hand with perfect edge flow. Made in Maya but should work great in any package. This is an advanced tutorial so you should be familiar with the software and interface.
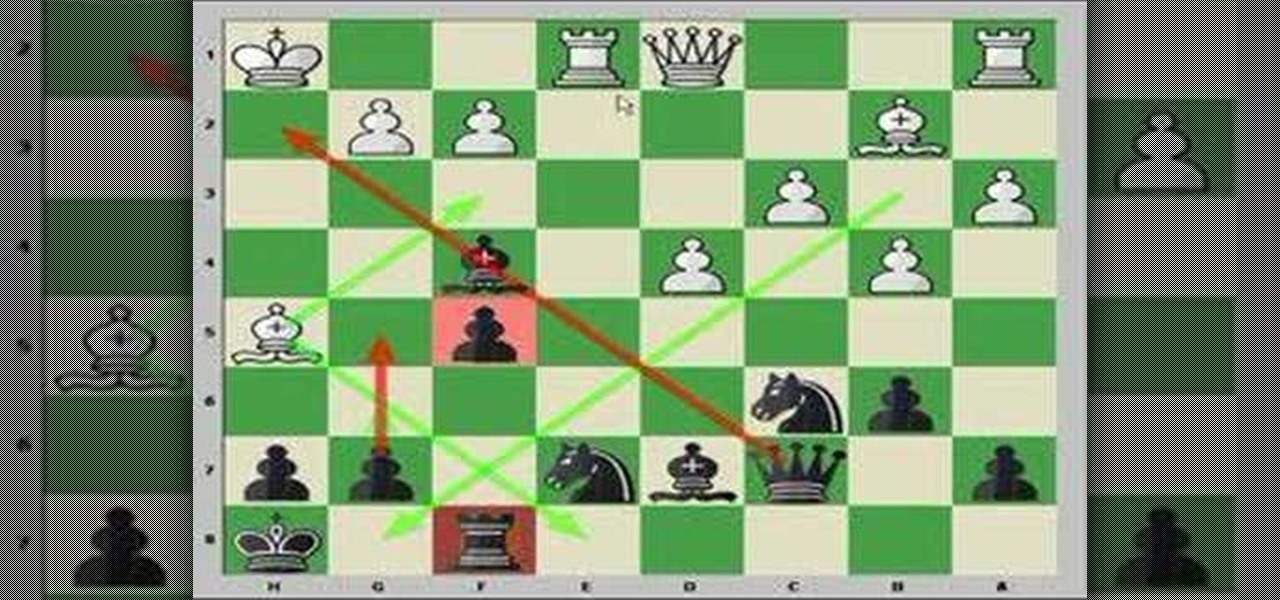
These two videos focus on analyzing chess positions, and generating candidate move orders from the position without moving the pieces or using computer analysis. The goal is to improve the ability to generate lines and variations mentally during a game, and to try to come up with a move that either maintains equality on the board, or paves the way for a slight positional edge.

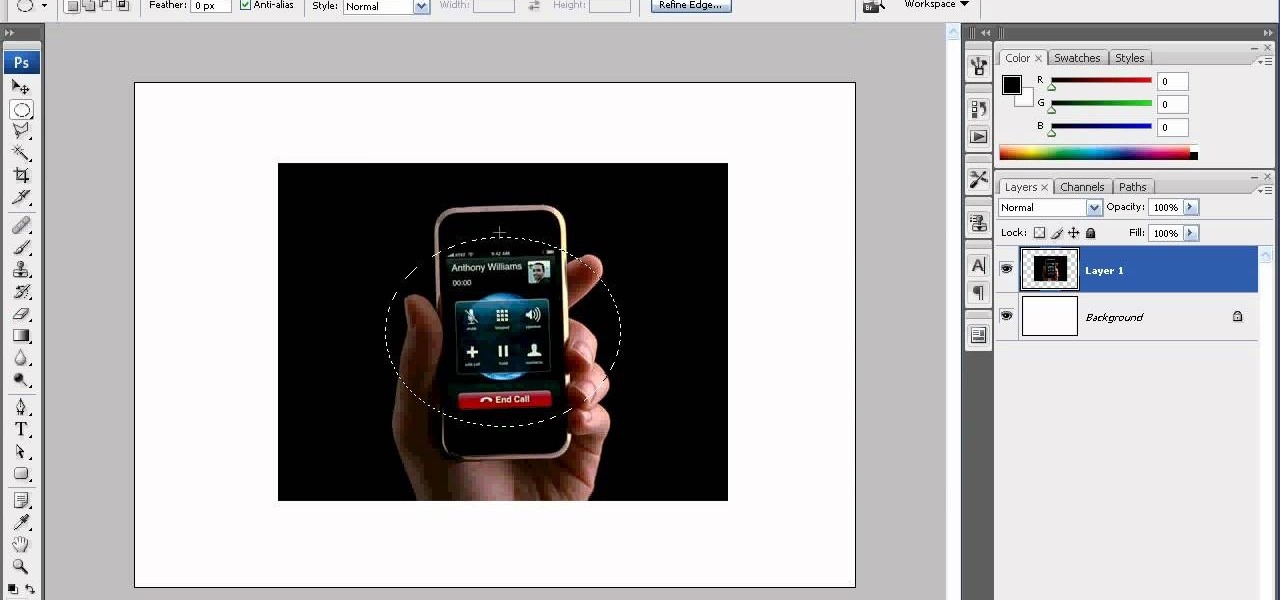
Adobe Photoshop CS5 brings a very welcome change to Refine Edge. Edge Detection will help with much more detailed selections such as hair or fur. Whether you're new to Adobe's popular image editing software or a seasoned graphic design professional just looking to better acquaint yourself with the unique features of Photoshop CS5, you're sure to find something of value in this free video tutorial.
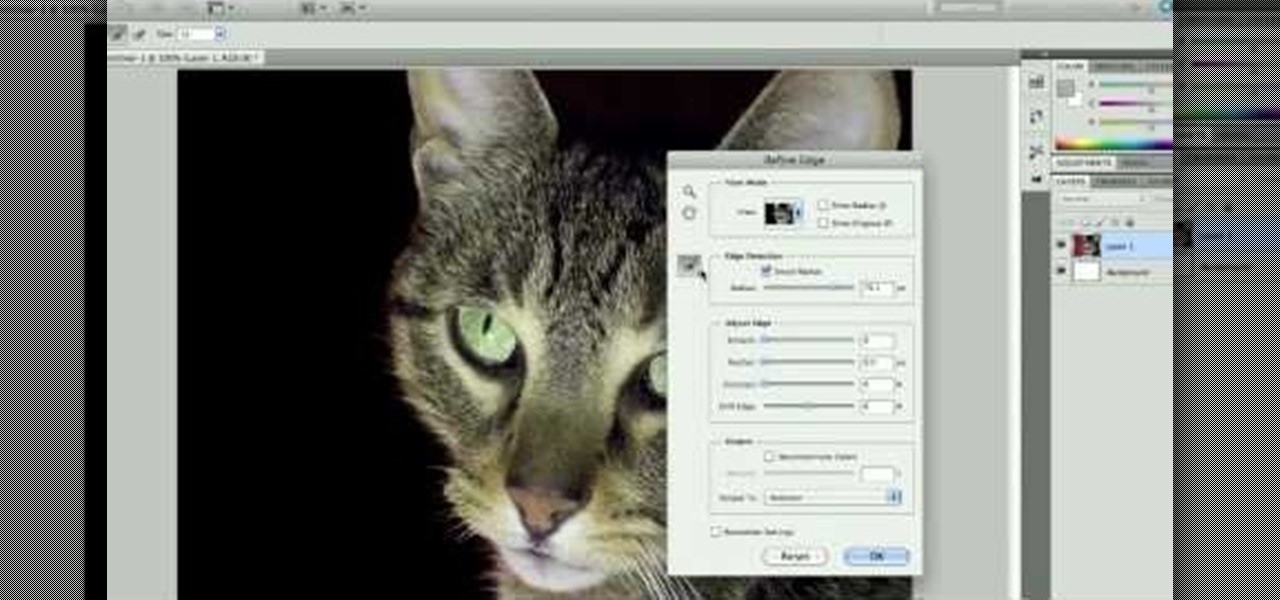
Take a look at some of the awesome new improvements to Refine Edge in Adobe Photoshop CS5. Whether you're new to Adobe's popular image editing software or a seasoned graphic design professional just looking to better acquaint yourself with the unique features of Photoshop CS5, you're sure to find something of value in this video tutorial. For more information, and to get started taking advantage of the new, improved Refine Edge tool, watch this video lesson.

John Campbell instructs the audience on using the hand drill method of starting a friction fires. First, you can use a piece of cottonwood as your fire-board (in his opinion, cottonwood is the best). You need to carve a small round hole about a quarter of an inch away from the edge on the fire-board. Then, you get the spindle going (take a sturdy stick and rub between your hands, scraping the stick across the board). This helps you create a good indention, where you can carve a deep notch int...

Amaze your audience with a trick that just won't quit! Make sure you have a newspaper, glue, scissors, and powder to perform the Cut and Restored Paper trick. You will need one newspaper, scissors, rubber cement and talcum powder. Sometimes we use materials that require adult supervision... like scissors so make sure you have friends and family around whenever you do magic tricks.

We don't know why exactly, but somehow fading the edges of a photograph makes it look more sentimental. Maybe it's because faded edges remind us of old timey photographs that have yellowed and softened with age, or maybe it's because faded eges endow a sort of dream-like atmosphere to your picture.

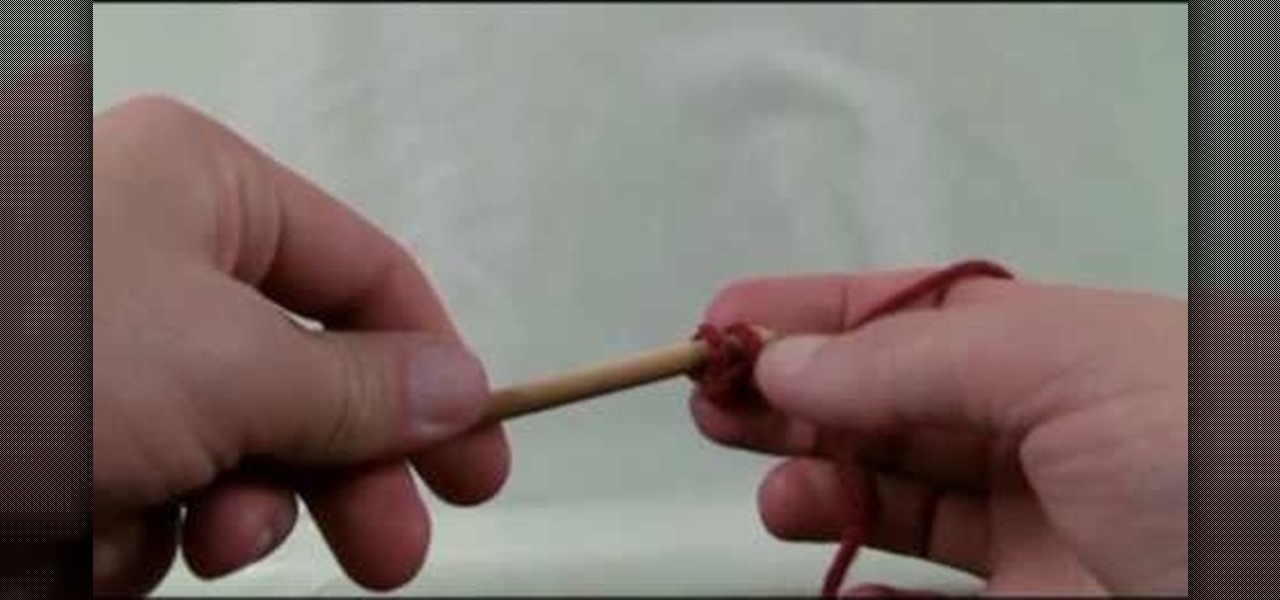
Crochet quilts, potholders, and mittens would just be endless jumbles of webs without the appropriate edges to finish them off and give them polish. There are many different ways you can create edges in crocheting, but the crochet foundation chain is among the more creative.

"I'm Rey." That's what a lot of people will be saying again this Halloween, as Rey costumes are sure to be another favorite of trick-or-treaters and cosplayers. Yes, on Oct. 31 we all have a chance to be the scavenger of Jakku who just so happens to be the "new hope" for a Jedi renaissance.

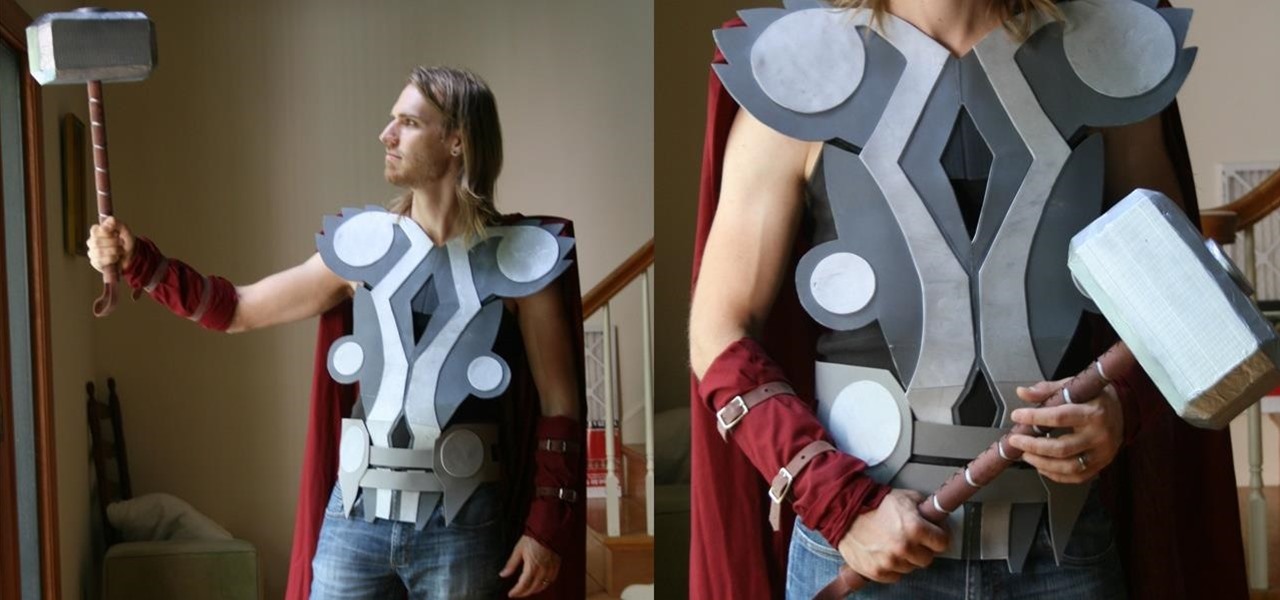
With the explosive popularity of both Thor himself and The Avengers, Thor is an obvious good choice for a Halloween costume. But you don't have to opt for one of the pricey, pre-made costume choices found in every Halloween store in every city. Instead, craft your own in just a few steps, saving yourself money in the process.

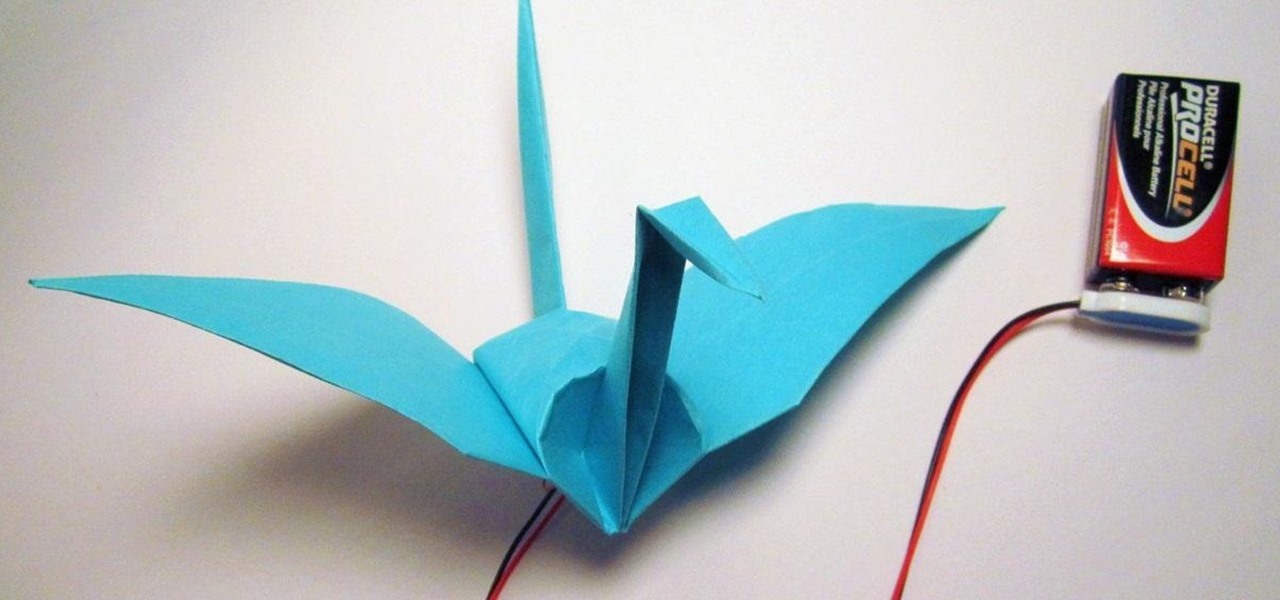
Want to spice up your origami cranes? MIT's High-Low Tech Group made two electronic origami cranes that flap their wings when you squeeze their tails.

This is a refreshing spring update on your classic hamburger slider. Instead of using a ground beef patty, I am using shrimp tempura. This recipe calls for fresh truffles, but fresh truffles are hard to come by so feel free to use truffle oil (it is much more affordable and what I usually like to use). The flavor will be just as good.

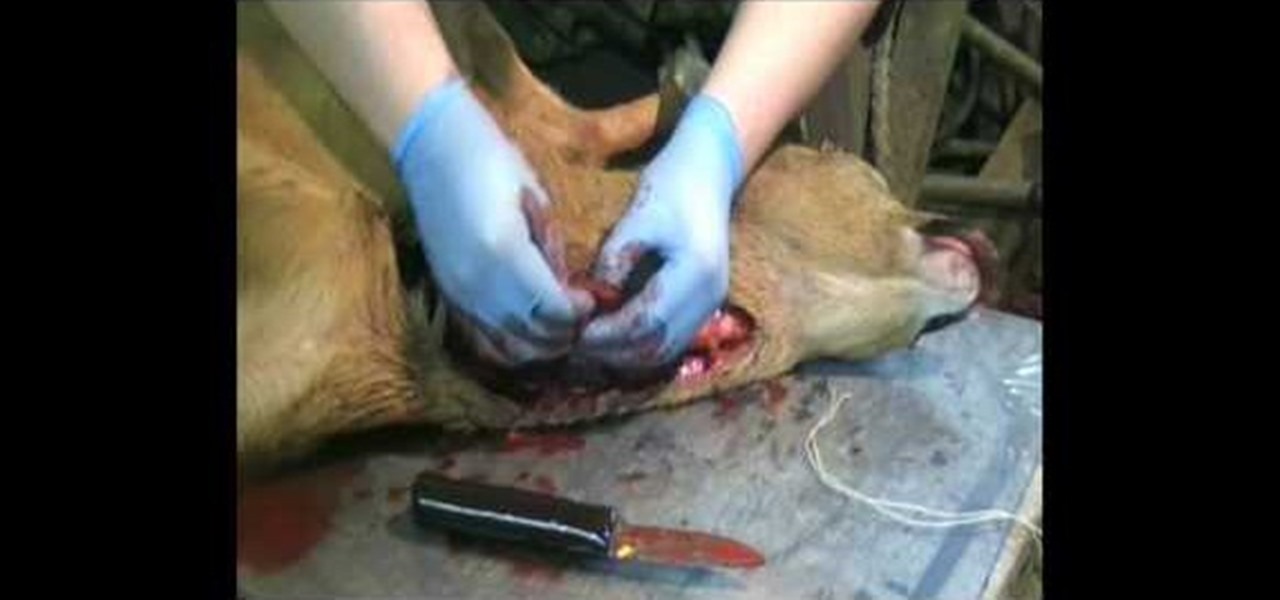
In this tutorial we learn how to field dress a deer. First, put some gloves on and grab a sharp knife. After this, puncture a hole in the lower half of the throat of the deer. Next, start to cut up until you reach the neck. There will be a lot of blood that comes out, just a warning. Then, you will see the inside of the deer start to come out from the fur. Cut the piece of the neck and then tie together at the end. To finish, go to the rear end of the deer and cut from the hole. Tie it with a...

Arslan Ahmed shows viewers how to make crispy fried potato wedges. You will need a fryer or a pan with oil, 5 potatoes, 1 cup of milk, 1 egg, 1 cup flour, 2 tablespoons salt, 1 tablespoon pepper, and 1 tablespoon paprika. To begin, peel potatoes and cut into wedges by cutting potato in half and then cutting the halves into 3 or 4 pieces depending on size. Heat the fryer or the pot with oil while you are mixing the ingredients. In 1 bowl, mix wet ingredients and in another mix the dry. Dip pot...

Learn to make this easy mini paper Uzi gun for gaming with your friends! Supplies: Scissors, Scotch tape (Note: DO NOT USE MASKING TAPE OR DUCT TAPE; IT WILL NOT TURN OUT WELL), lots of paper. 1. Take one piece of paper and roll it up from top to bottom to make a short tube. Tape it. 2. Take another sheet of paper and do the exact same thing that you did to the first one and tape it as well. 3. Take a sheet of paper and roll it up from side to side (long ways). Make the hole in the middle abo...

Show someone you care about them by spending a little extra time on their Christmas card... and in the process, save some money. In this tutorial, learn how to make a pop-up three-dimensional Christmas card for your loved one.

The first step to create a boomerang paper airplane is to take a square piece of paper and measure to make sure it is a perfect square. You must then fold all of the corners of the cut of paper into the middle and then fold in half. The wings must then be folded down on the two chosen side. The final step is to fold the wings up to give the crease and cut of paper it's boomerang like shape. The video ends with examples of the type of flight that can be expected from a boomerang shaped paper a...

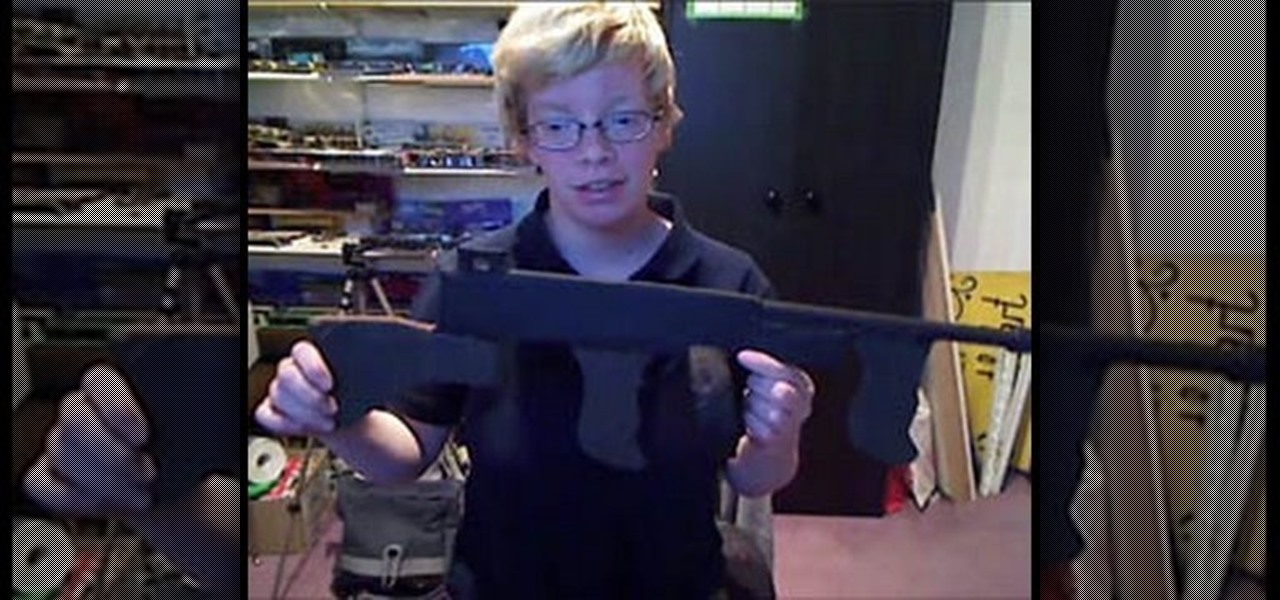
This video begins by showing the necessary tools needed to make a prop tommy gun out of a cardboard base. The first step is to trace a simple handle shape on the cardboard and repeat eight more times until you have eight exact copies of the handle. Then using an image of a tommy gun make an outline on the gun to cut in another piece of cardboard. You must cut and make eight more copies of the entire gun body to have the appropriate thickness for realism. The handle must be glued to the gun bo...

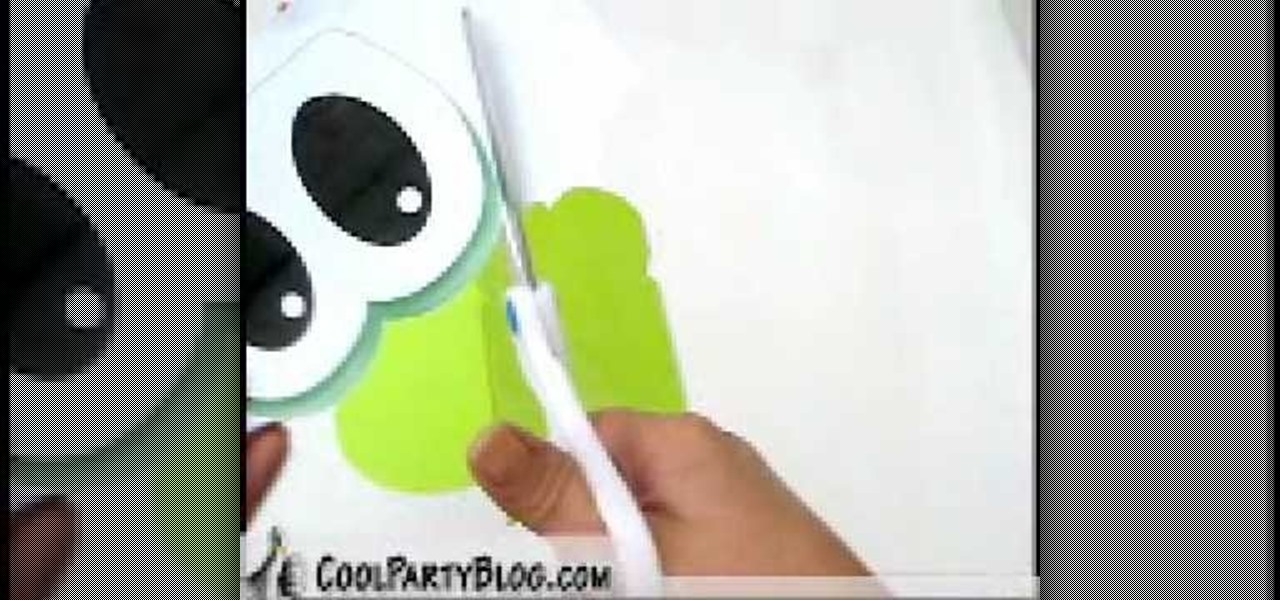
In this video, we learn how to create custom Yoshi loot bags. First, take some lime green paper bags and cut the top of them so they resemble the shape of Yoshi's eyes. After this, print out lots of Yoshi's eyes on a white piece of paper. Cut out the eyes from the paper and then put glue on the back of them. After this, glue the eyes onto the paper where they belong. When finished, let this dry and you will have a cute Yoshi bag to put little treats in! You can follow the template as well if ...

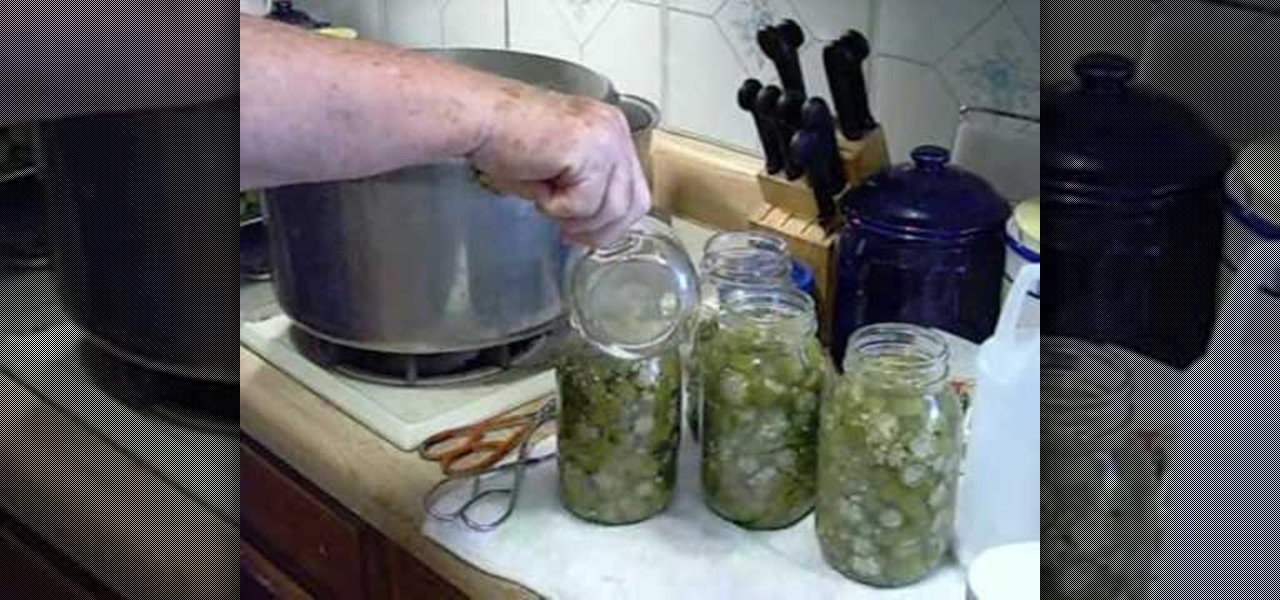
In this video, we learn how to can okra. After picking the okra, wash and clean it. Then, cut the two ends of the okra off to discard. Cut the rest into small pieces to cook and can. After this, prepare the canning jars by putting them in the dishwasher, then add 6 tbsp white vinegar to a gallon of water in a large pot. Boil the okra in this with salt for six minutes. Then, let the water come back to a boil and boil for six more minutes. From here, use the jars from the dishwasher to can the ...

In this tutorial, we learn how to make a Deadpool sword. To do this, you will need: a marker, scissors, hard plastic, cardboard, silver spray paint, duct tape, saw, electrical tape, sandpaper, and hot glue gun. First, cut the plastic into three thin knife shapes. Then, use sandpaper to smooth edges. Then, use the cardboard to create three layers of a rectangle. Make the corners round and then tape around them with duct tape. Put a hole in the middle and then put it into the plastic. Now, glue...

In this tutorial, we learn how to make a Spartan 300 shield. You will need: paper mache, durable cloth, gold spray paint, newspapers, cardboard, nuts and bolts, and the cap to a trash can. After you have these, cut out a large piece of cardboard and place it over the trash can cap in a circle shape. Then, dip newspaper strips into the paper mache mixture and apply it to your shield, taking your time to make it smooth. Let this dry, then cut two strips of cardboard and place it in a 'v' shape ...

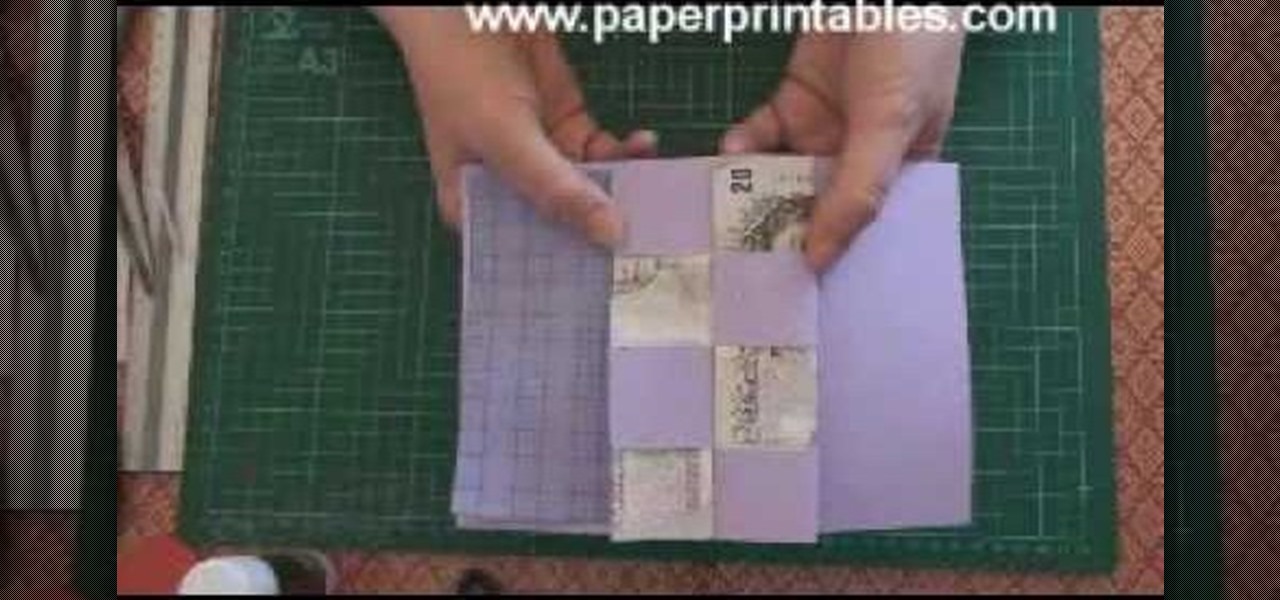
In this video, we learn how to make a pop-up concertina money card. To start, you will first need to take a piece of paper and measure your money on the inside of the paper. Then, cut this out in a strip and cold your money in half lengthwise. After this, measure the depth out from the center using a ruler. Then, fold the paper in half and on the sides where you marked. Then, you will cut three holes in the middle of the paper and these will hold the money in. Stick the bill in the middle of ...

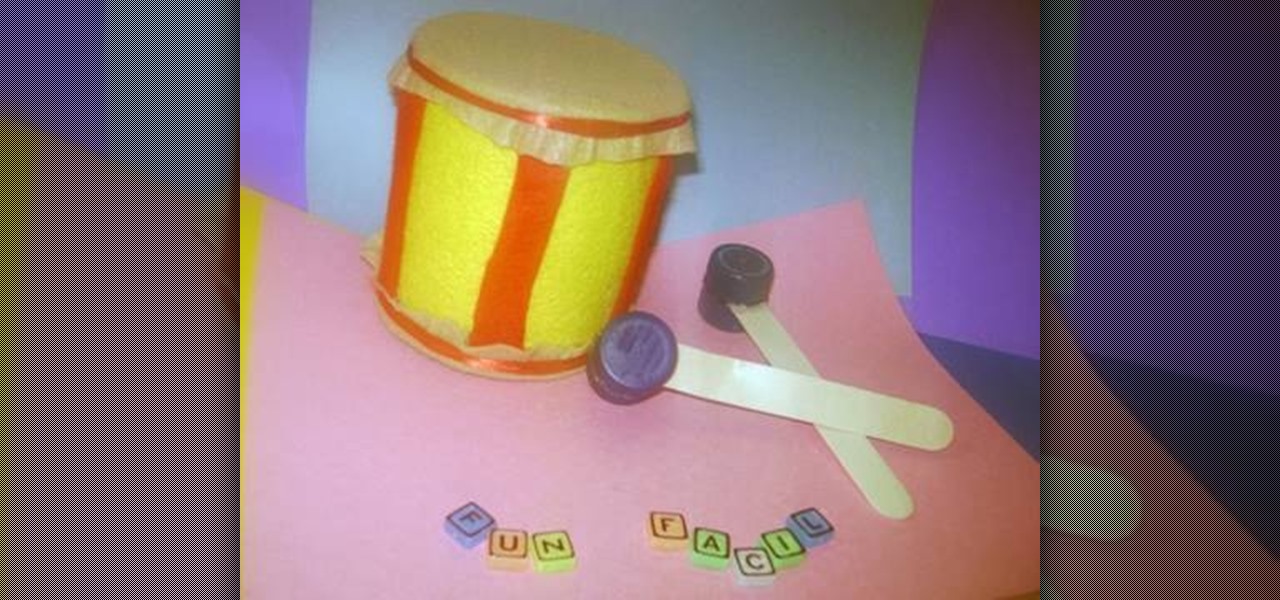
In this tutorial, we learn how to make a toy drum. You will need: felt, recycled tin can, 1 red lace, 4 soda caps, 2 popsicle sticks, glue, and scissors. Cit, cut the felt into a circle and glue it around the tin can. After this, take red felt and cut it into strips, then glue on the side of the tin can so it's striped. When finished, apply glue to the top of the can and then cover with additional pieces of felt. Tie a ribbon around the top and the bottom of the felt on the fan. To make the s...

In this tutorial we learn how to cheat on a test using a Band-Aid. First, go on your computer and type out the answers and information that you need. After this, you will need to shrink down the size of the font until it's really tiny, but you can still read it. After this, you will print it out and cut it out around the edges. From here you can do one of two things. The first option is to roll the paper up and put it inside your pen and then take it out to use on your test. The second way is...

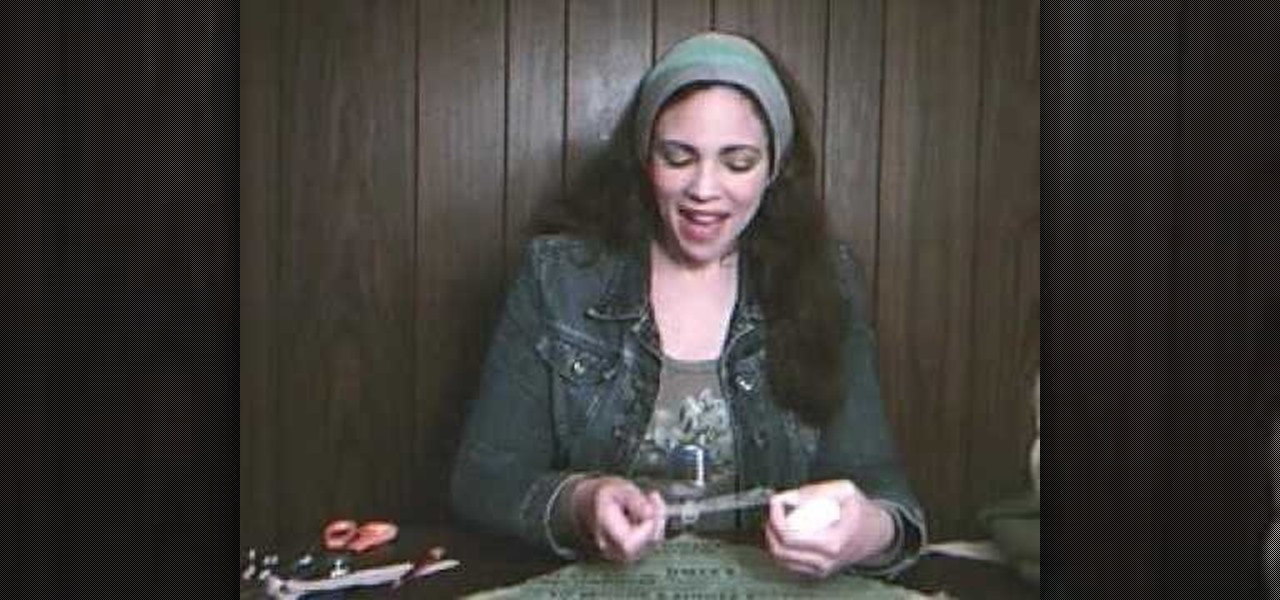
In this tutorial, we learn how to recycle an old t-shirt into a no-sew head scarf. First, lay your shirt out flat on a table and download the paper pattern from the video. From here, measure sixteen inches from side to side on the t-shirt that you are using. After this, follow the paper pattern on the shirt and cut out the pattern with scissors. Once you have finished this, use a fabric bonding agent to make the edges less frayed and fold them into each other. This is great for the environmen...

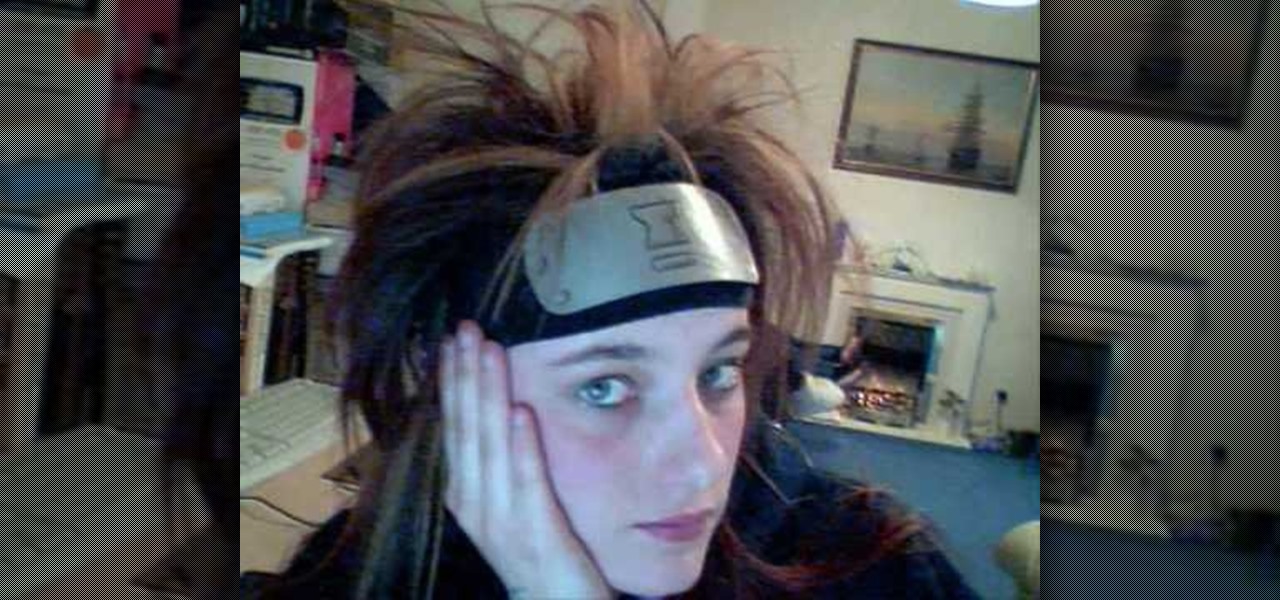
In this video, we learn how to make a decent Naruto headband. First, get a paper plate and figure out how big you want it, draw on the template so you can see it through the paint. Then, apply metallic paint with a paint brush using the template you drew as a guide. Next, you will wait for it to dry and then cut it out. Round the edges like it's a real headband, then draw on the hair band the village insignia. Once finished, glue this to an old sock and wait for it to dry. Then, you can attac...

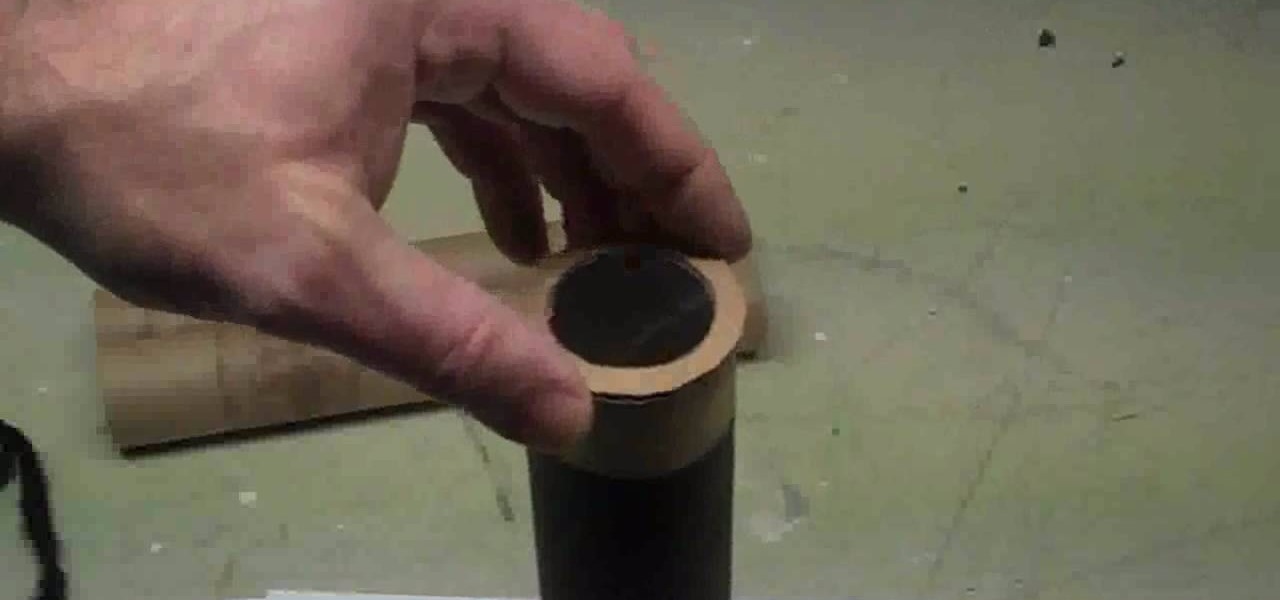
In this tutorial, we learn how to make a small, easy, functional telescope. First, glue a lens in place with glue underneath a piece of cardboard with a circle cut in it. Then, cut this into a circle and tape it to a paper towel holder. Then, you can wrap this in some paper mache around the cardboard. Then, wait for this to dry and spray paint it with gold and black paint. When finished, you will have a functional telescope ready to go and use! This is cheap and a fun project to make with chi...

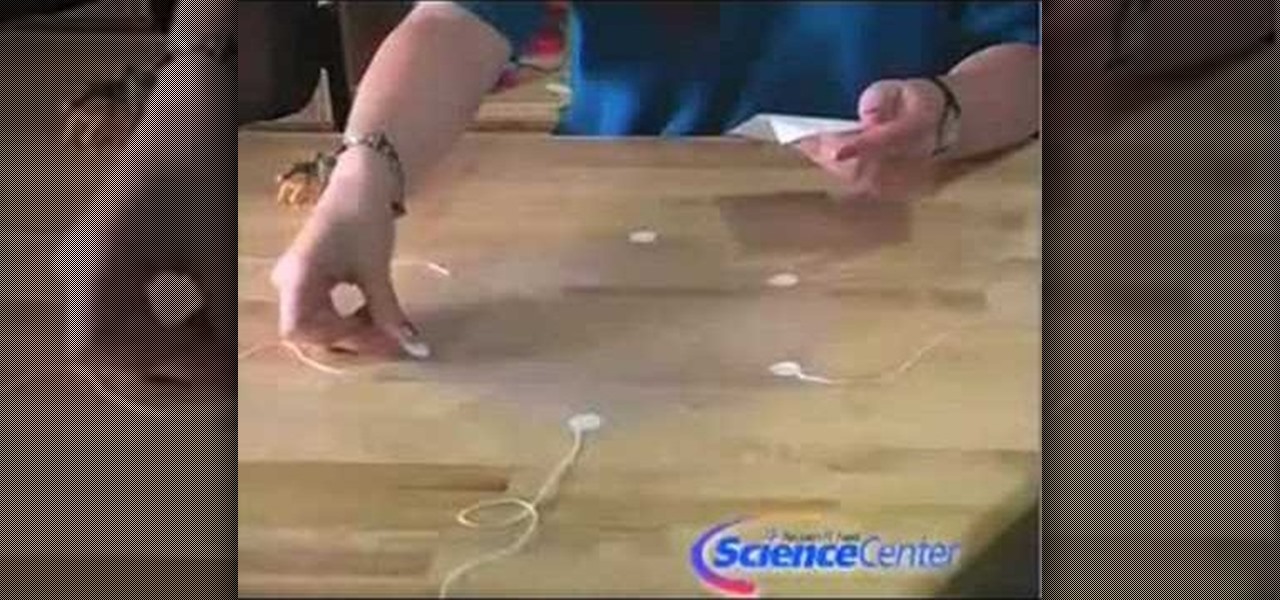
In this video, we learn how to build parachutes with household materials. You will need: a long string, Mylar, mesh, plastic, scissors, tape, and a weight. To get started, you will first cut your plastic or mesh into a circle or octagon shape. Then, take your string and cut it into several pieces. Then, tape the strings onto your material all around. After this, tie your weight to the strings so it's fully secured. Now, go to somewhere high and throw down your item! The parachute will help ke...

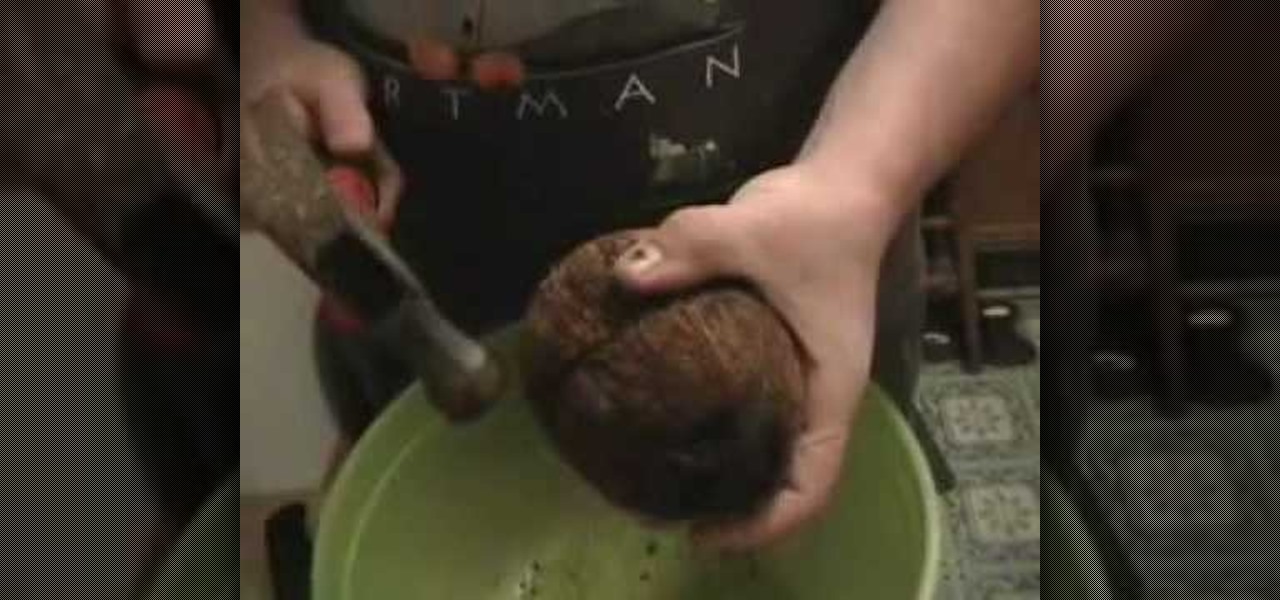
In this tutorial, we learn how to open a coconut to drink the milk. To start, you will need to grab a large bowl and place the coconut over it. Then, use a knife to hit it with the blunt side. Hit all around the coconut until you have cut an even edge around the middle of the fruit. You can also use a coconut to beat the knife into the coconut to open it up. From here, you can pour the milk from the coconut into a large bowl. Then you can drink it or use it in a recipe, enjoy!

In this tutorial, we learn how to use foam to make diorama terrain. Foam will make a realistic diorama because it comes in so many different shapes and sizes. You can buy this from hobby shops and even online. To put these together, you will simply use some wood glue. You can easily cut this with a sharp knife, scissors, and anything else that is sharp! You can use a hot wire cutting tool to mold and sculpt the foam as well. You can also use a hot glue gun to connect the pieces of foam togeth...

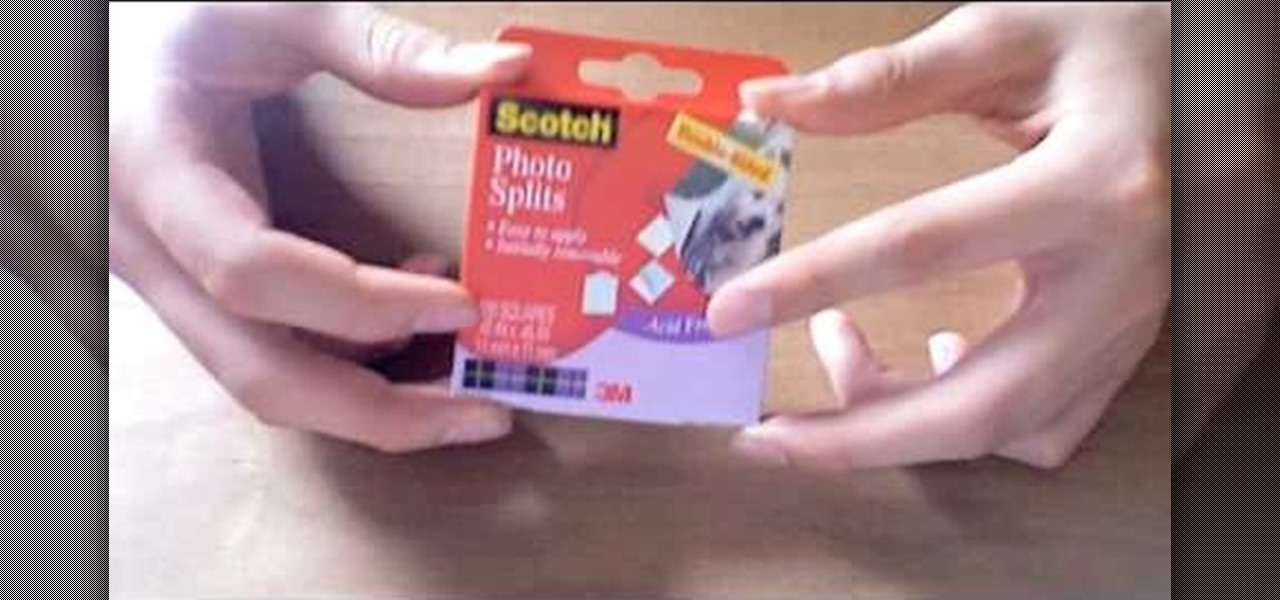
Make your own tiny katana out of paper! All you'll need is some durable printer paper or origami paper, double-sided photo album squares, quick drying craft glue, a small craft knife (like an x-acto knife), a straight edge and a cutting mat.

In this video, we learn how to make a great 3D paper snowflake. First, fold a square blue piece of paper into a triangle. Then, draw lines from the middle to the top going in the triangle shape. Cut these lines on both sides, avoiding the middle and the very top. Make sure you don't cut in the middle either. After this, open up the folder and take the inside. Roll it up and then tape it together so there's a ring on the inside. Flip it over, then make another ring on the top side and tape it....

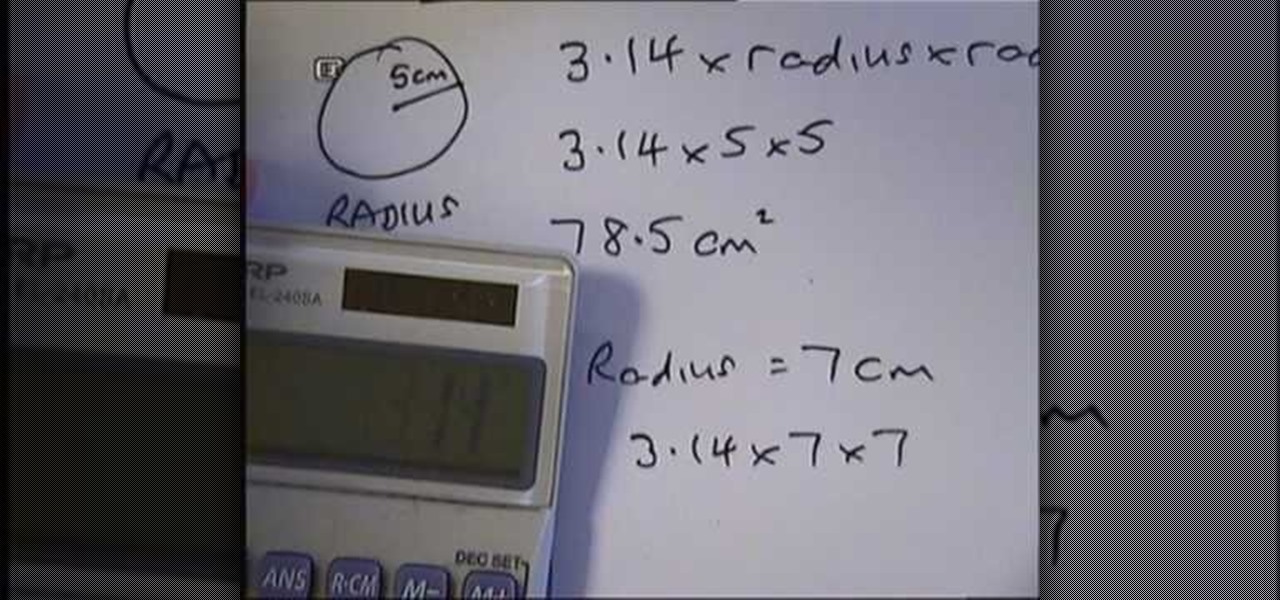
In this tutorial, we learn how to find the area of a circle. The line from the middle to the edge of the circle is called the radius. Find what this is in your equation, then multiply (3.14 X radius x radius). This will always work out the area of a circle for you. So, do this equation with your calculator or by hand, then you will have the correct answer for the area. Make sure to add the units squared after you get the answer. If you are given the diameter (line all the way across), you wou...

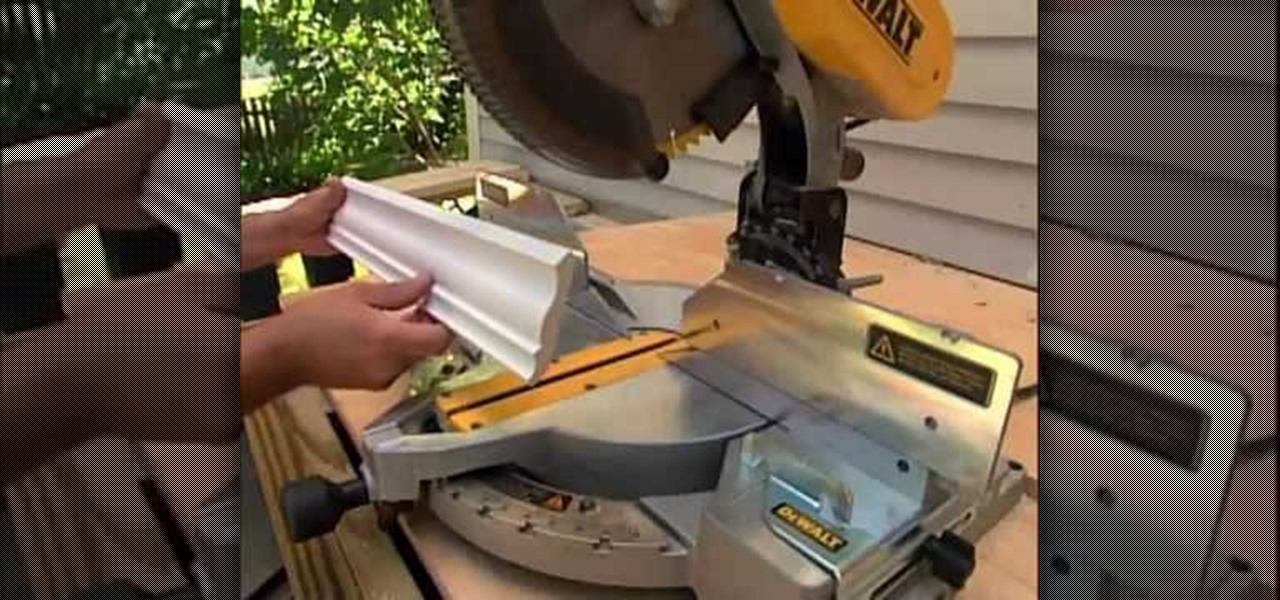
In this tutorial, we learn how to install crown molding to your room. First, choose the right size and style of molding for the room, then measure your room to find out how much you need. After this, you will need to buy a saw to cut the molding when you're ready to install. After you have the pieces cut, you will need to place these against the wall and then nail them in with a nail gun. Secure the molding to the joints in the ceiling and to the studs in the wall. To finish, putty the holes ...

In this tutorial, we learn how to make a Domo plushie. First, cut out the shape of Domo on a piece of brown fabric. Cut this out twice to make the front and the back. After this, sew both of the sides together with a sewing machine. Make sure to place pins in it to keep the fabric in while you are sewing. When finished, turn the plushie over and stick some stuffing inside of it. Now, sew the section where you placed the stuffing in. Then, you can sew on the face of the character and you will ...

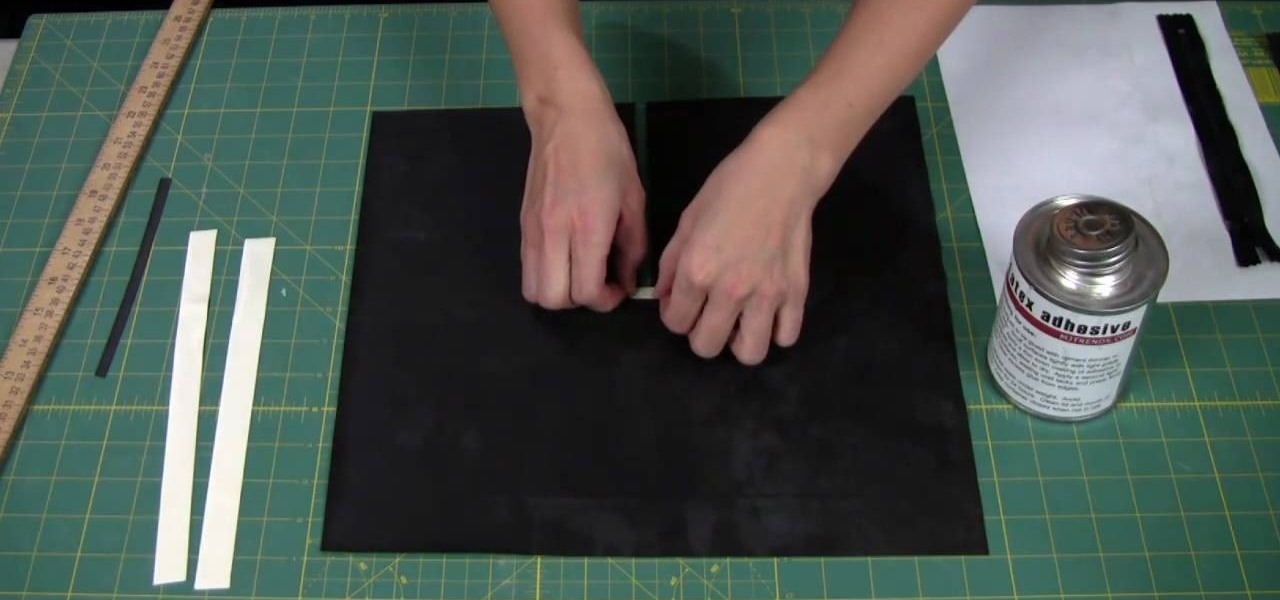
In this video, we learn how to add a zipper to a latex garment. First, apply glue to the zipper, using an ammonia based adhesive in one coat. Next, take a small paint brush from any store and apply a thin layer of adhesive to the zipper. The top will take about 45 minutes to dry, then turn it over and apply another layer of glue to the back. After this, cut two 1/2" strips of latex a little bit longer than the zippers. Also cut a 1/4" wide and 1" long piece of latex as well. Now, apply these ...

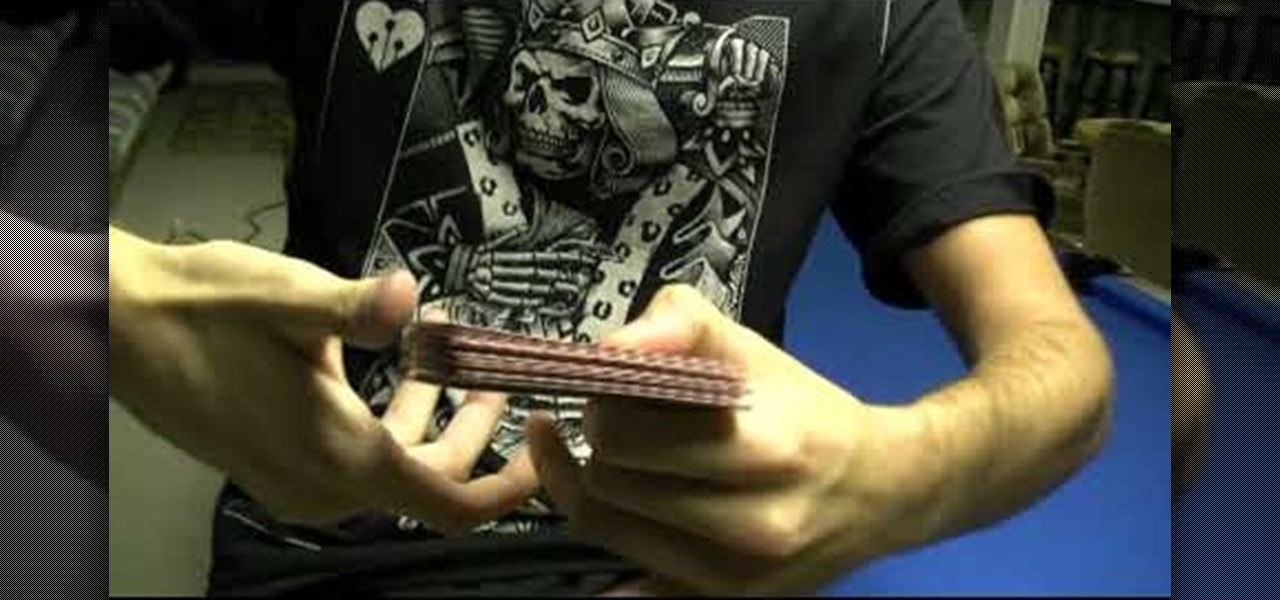
In this video, we learn how to perform a convincing false riffle shuffle. Start off with one deck of cards. After this, riffle the cards off half way and do a standard shuffle. Bend the cards up after this, then use your pinkie and pointer finger to touch each other. When you release, the cards are naturally going to separate from each other. They will push off in opposite directions because of the way you are working the cards. Square it up on the edges, then square on the back and use your ...

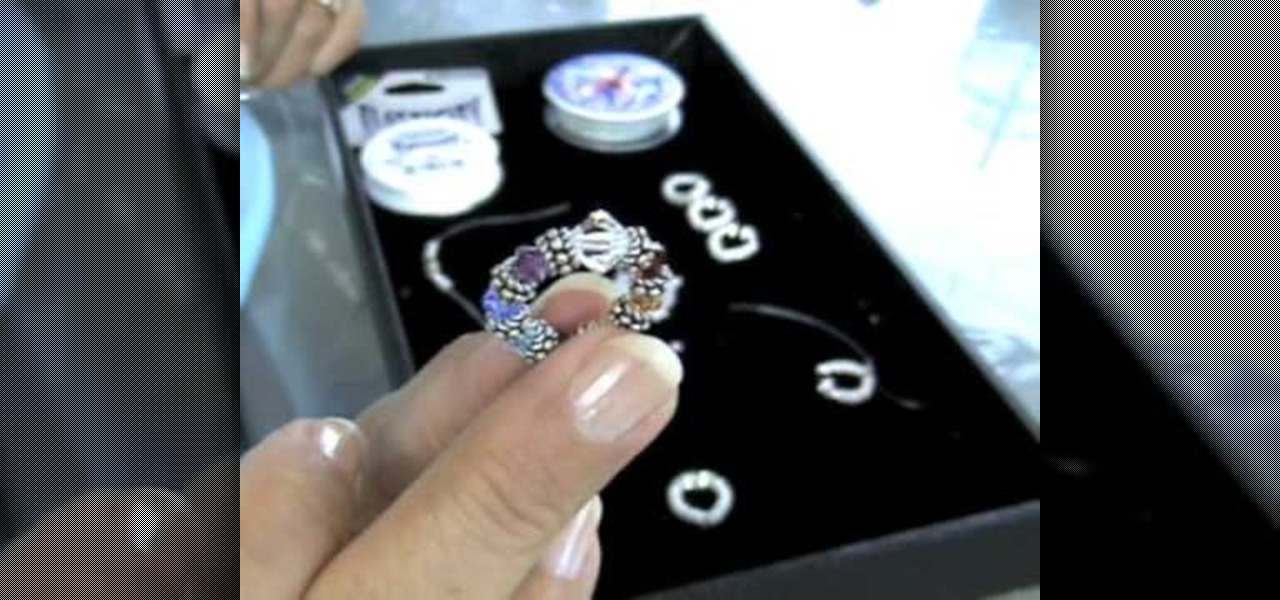
In this tutorial, we learn how to make an elastic Bali bead & crystal ring. First, you need to get all of your supplies together, which include: elastic cord, crystals, glue, beads, and scissors. Start by cutting a 6 inch piece of the elastic cord, then string a bead to the middle of it. Then take a crystal and string it onto one side along with another bead and a silver bead. After this, place more beads around the other side of the middle bead then put it around your finger to see if it's t...


