The video is all about making a cat ear. The lady explained the steps we need to follow while making our own cat ears. For making the cat ears, we need fake fur fabric, which should form a square when we fold it half, a white down feather, a glue gun, scissors and a diadem.
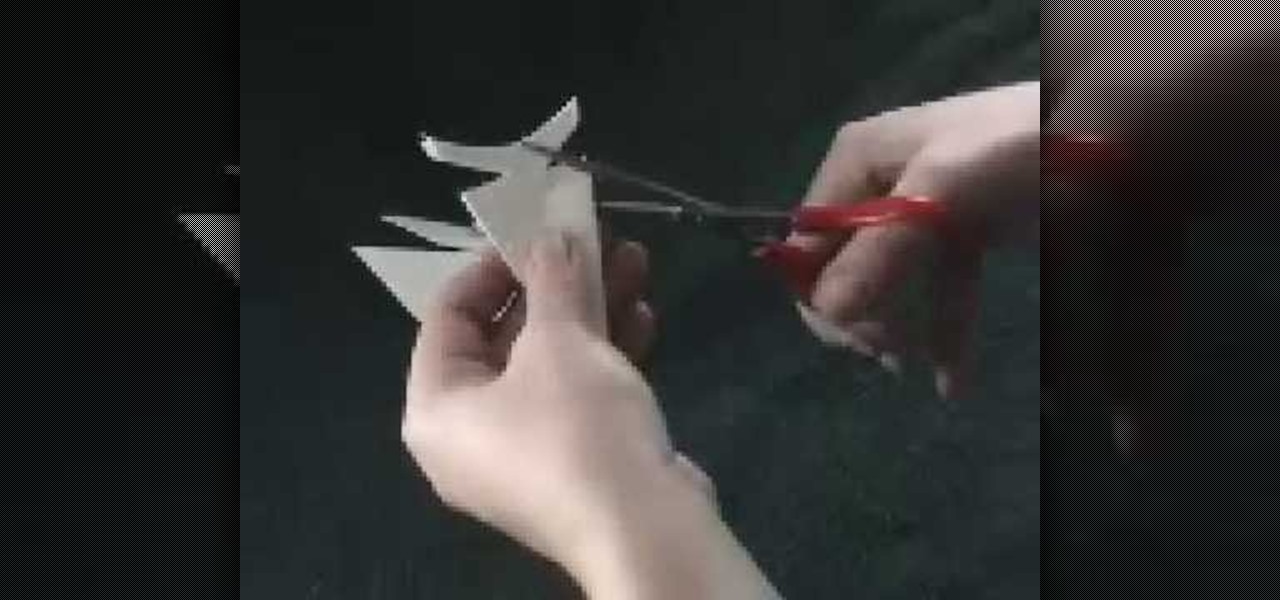
Most paper snowflakes are not representative of the proper 6-sided shape of snowflakes. This tutorial will show you a method which will allow you to make a beautiful and symmetrical realistic six sided paper snowflake. You will need to start with a square piece of paper, which you will then fold over diagonally to make a triangle shape. Taking the inner edge towards yourself, you will then need to fold the paper over into thirds and cut off the excess on an angle. After this, proceed as you w...
You will need: a sharp knife, a steady hand, and patience. First carve 5 equally sized 1/4 spheres out of carrot.

To neatly cut into a pomegranate, you are going to need a paring knife. First, score through the flesh around the top, middle, and bottom. Next, take the edge of your knife and peel the skin upwards and off the fruit. Remove the white pith. Repeat with the bottom. Next, score a line going from the top to the bottom and peel the pomegranate into two halves. Peel from the last score and open. Keep making cuts to open up the pomegranate until you have four pieces. Now enjoy.

Watch this video from This Old House to learn how to cut crown molding. Steps:
In order to make Fabric Paper Rosettes, you will need the following: decorative fabric paper, scissors, glue, and jewel embellishments.

If you have a stack of old t-shirts that sit in your dresser, unworn, why not get some use out of one of them by transforming it into a scarf? Save some money... You'll have scarves for days with this technique!

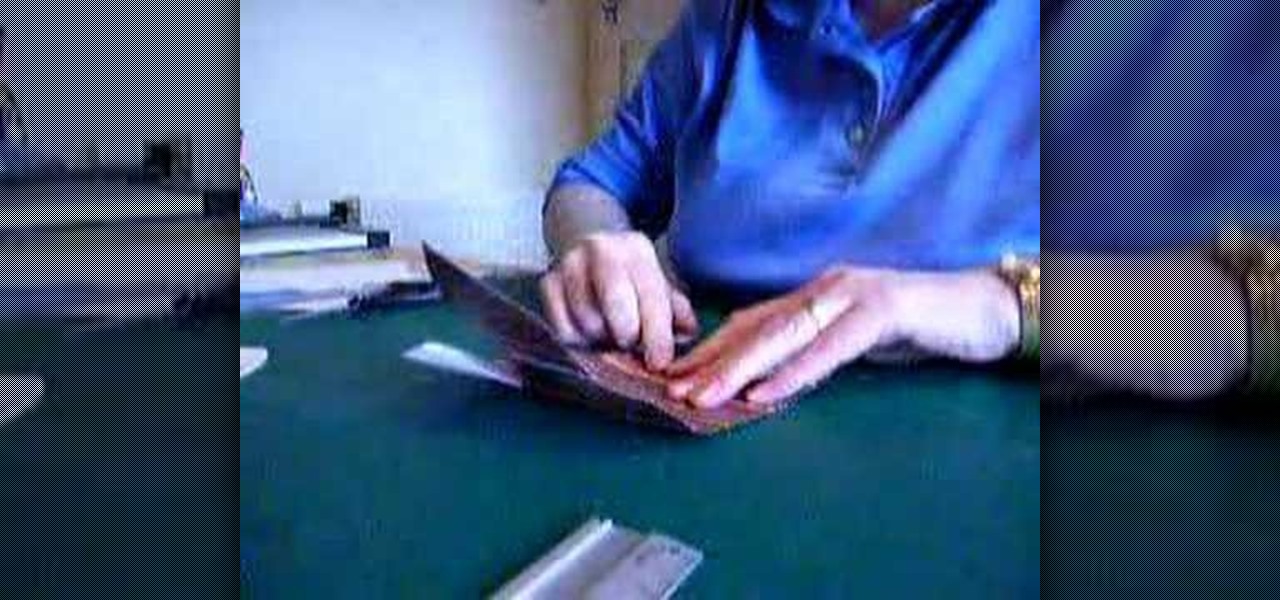
Need a way to keep the kids busy on a rainy day? Making a pop-up card is quick, easy, and will entertain them for hours! Watch this video to learn how to make a pop-up card.

Paper or plastic is a thing of the past; both options are equally terrible for the environment. With this tutorial, learn how to turn your old bed sheets into funky grocery tote bags. You will be the envy of everyone at the store with these adorable, homemade bags.

In this video, we learn how to make a bow out of a Starburst wrapper. Now, place clear tape of the wrapper and fold down the edges. Now, fold the wrapper in half and then in half once more. Make it so you have an accordion design with three different peaks on the wrapper. Now, cut a small strip of tape out of the piece of tape and wrap it around the middle of the bow. After you do this, flare out the edges to make it look more like it has a bow shape. Now, take a bobby pin to the bottom of th...

In this tutorial, we learn how to make mini paper square boxes. First, grab a piece of paper and fold two ends in so they touch in the middle. After this, fold the bottom up so it covers the triangles and they meet at the middle. Crease the edges, then cut down the edges on both sides where the crease is. Next, fold the sides in so you have a shape that looks like a sword. After this, fold the sides up, then fold the other sides in. When finished, push the creases in and you will form a box, ...

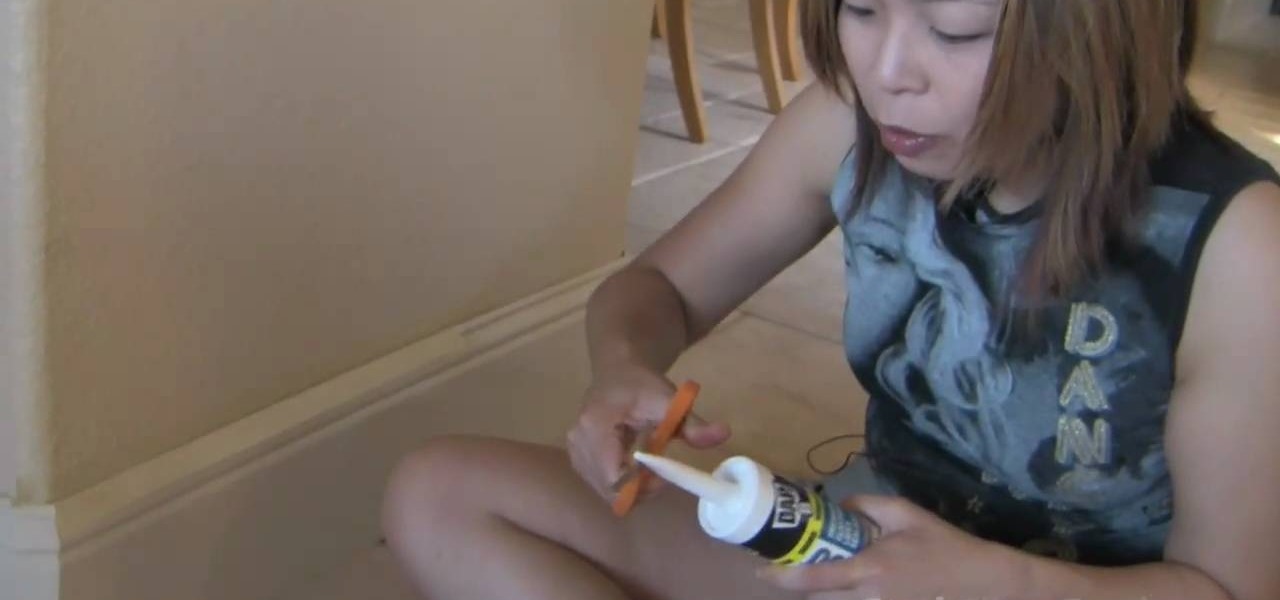
How to caulk the baseboards in your home

This is for an ankle that has been rolled to the outside of the body. Start by cutting a piece of rock tape that is about the length of the distance from the mid arch to right below the kneecap. To tape the ankle sit on a table put your heel on the edge of the table with your toes pointed down. With an ankle sprain this will be very painful so go really slow. Pull an inch of backing off the tape and anchor it about mid arch and then pull the backing off of the rest of the tape. Then with your...

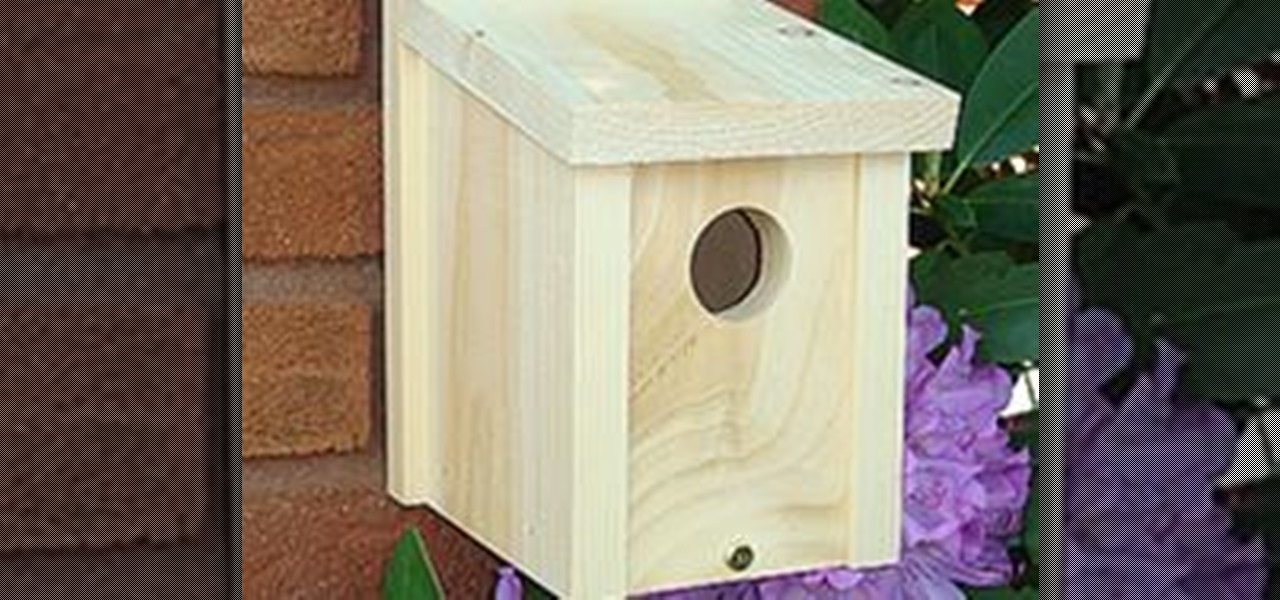
How to Build a Basic BirdhouseMaybe you were outside in your back yard and you noticed that it seemed a little lonely and empty. Our maybe you have young kids that love to experience wild life in their own back yard. Whatever reason you have for searching out this article, you have decided to build your very own basic bird house. I recently built a deck in my back and had alot of scrap 1x6 decking boards left over. Instead of letting all that good material go to waste, I decided to build a co...

This video tutorial is in the Arts & Crafts category which will show you how to make crumpled flowers for scrapbooking. Cut out three circles of 2", 1 1/2" and 1" diameter out of a sheet of paper. Then wet the pieces of paper lightly with water or colored ink and crumple them one by one as shown in the video. Then place the three pieces together and pin them up with a split pin. Now crumple the edges of the paper further to give them the look of a flower. Allow it to dry and your flower is re...

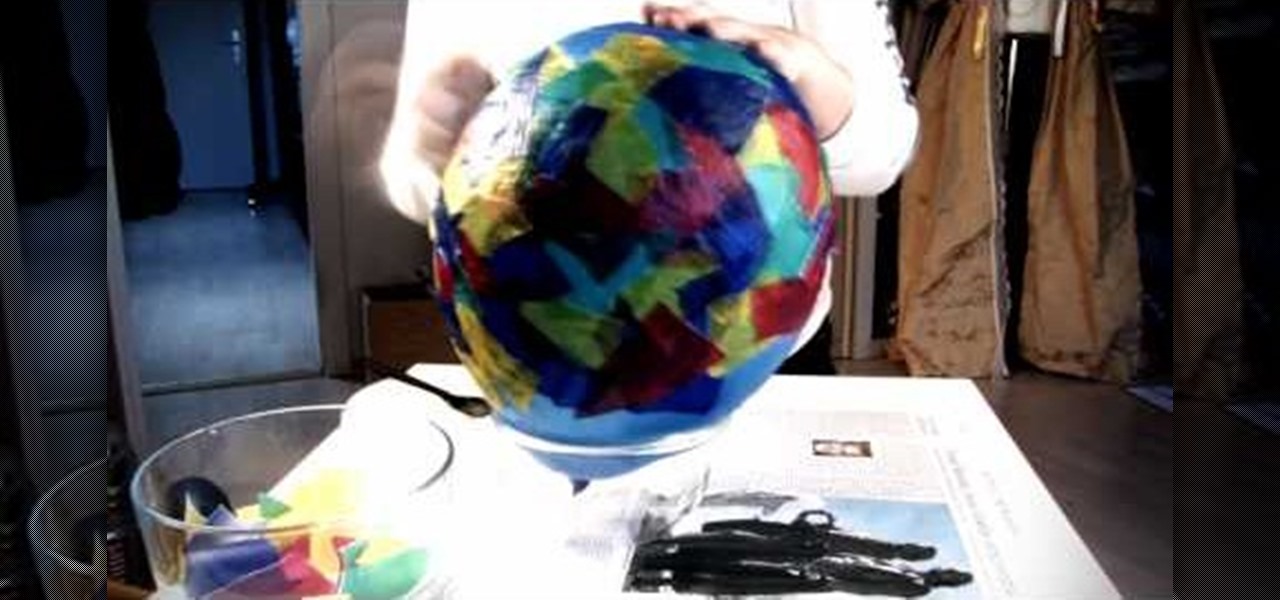
In this video tutorial, viewers learn how to make a balloon lantern. The materials required for this project are: balloons, lantern paper, wallpaper paste, bowl and scissors. Begin by ripping the paper into small pieces and place it into the bowl. Then shake the bowl and blow up a balloon. Now put some paste onto the balloon and layer it with the lantern paper pieces. Then let the paste dry and pop the balloon. Remove the balloon and cut off the lantern edges. Finish by hanging it and add a c...

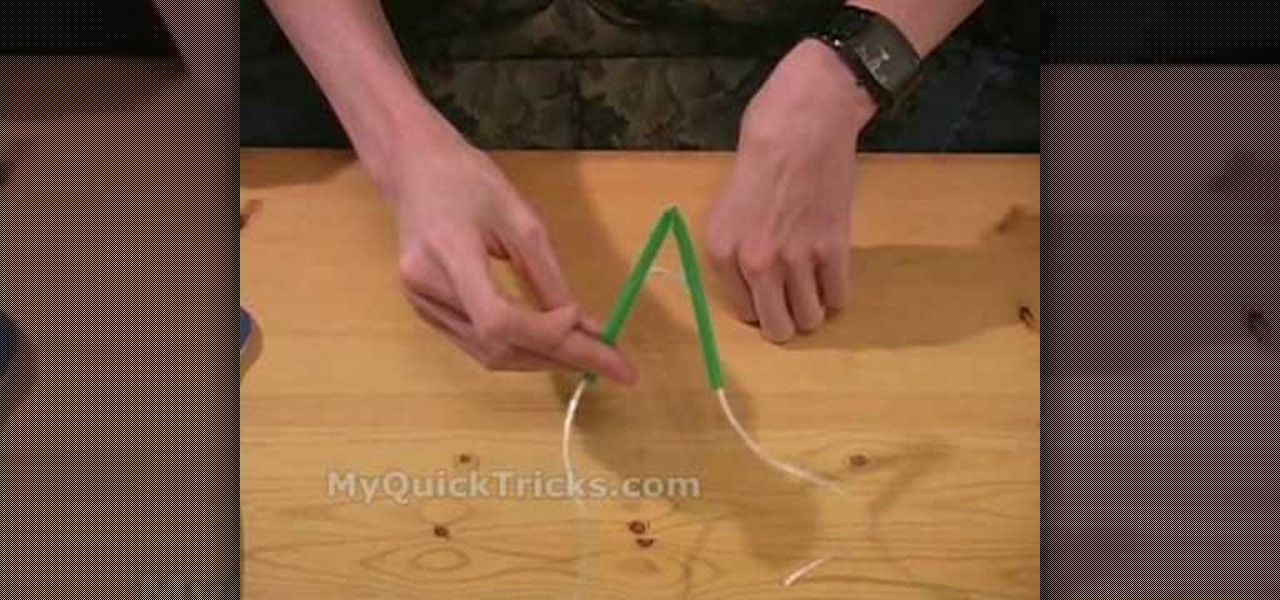
1. This video describes how to perform the cut and restored string trick. For performing this you need One "Scissor", "about 4 inch length of string", "one Straw" which you can get any restaurant or juice shop and "one X-acto Knife". Now actually prepare the straw, and the secret is in the straw in this case.

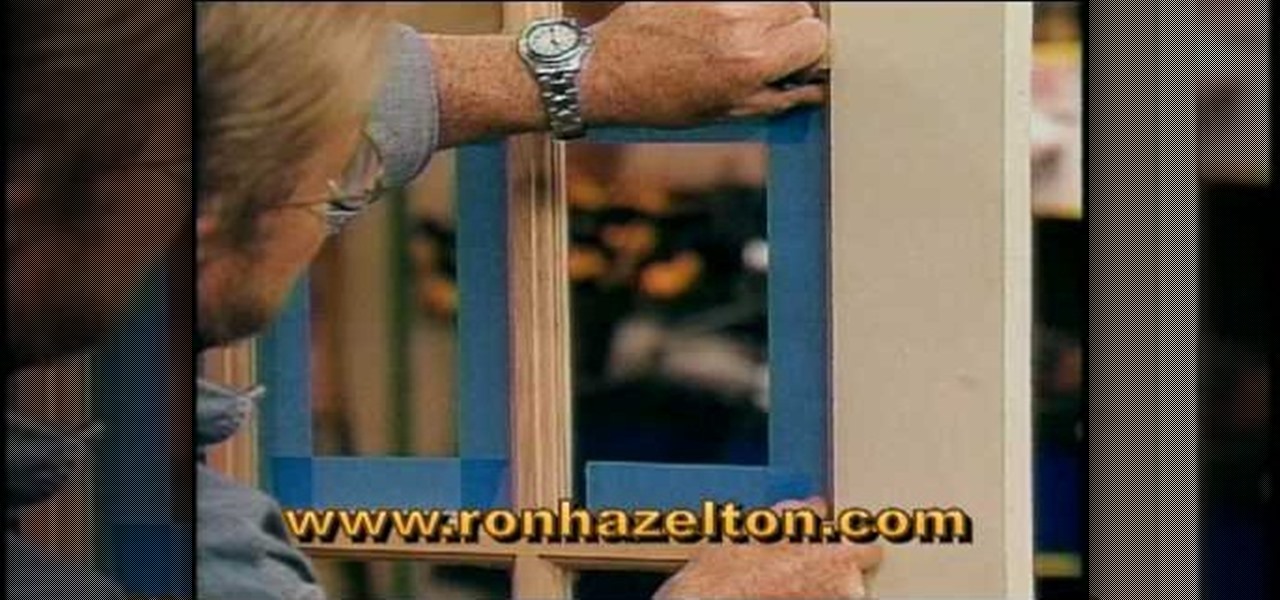
The big question is do you tape or scrape those window frames? If you want to tape. Put two pieces of tape that are longer than the length of each pain. Put them on the top and bottom of the pain. Use your putty knife to hold the tape in place and tear it off a little bit short of the edge. Then put two strips length ways on the pain that is also longer than you need. Take your putty knife and put it in the top corner to hold the tape and tear it off flush to the window frame. Then you paint,...

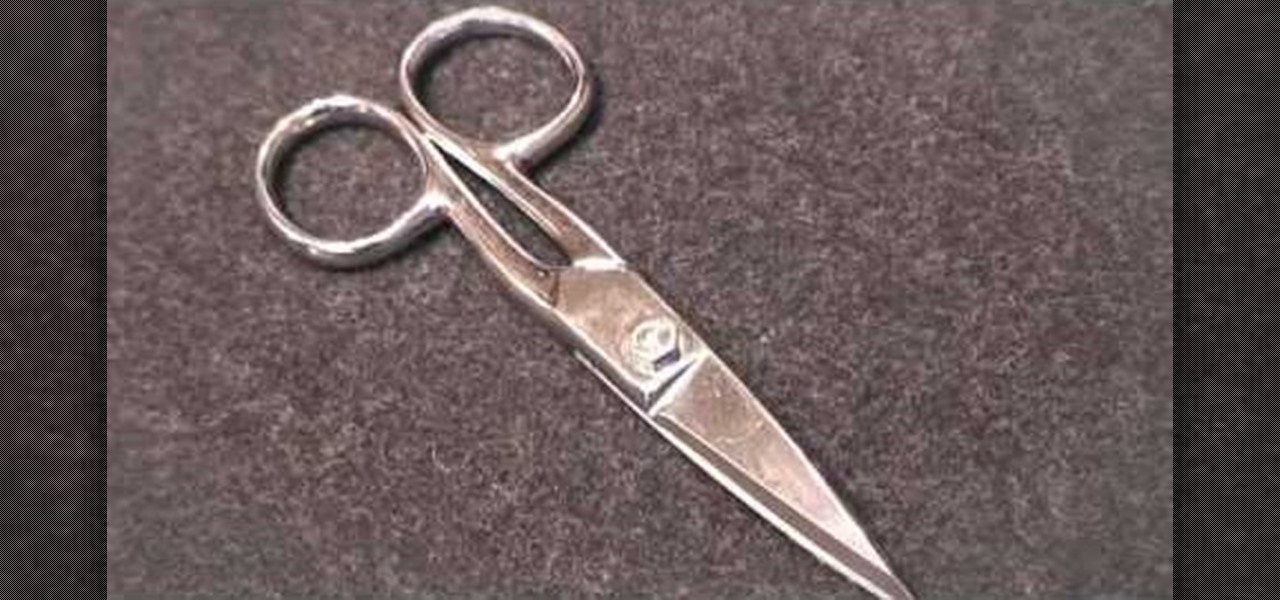
In this video tutorial, viewers learn how to use tailor point scissors. These scissors are short, have a broad spine on the blades and contains both a knife and bevel edge. The knife edge allows the scissors to go through the fabric and the bevel edge allows users to cut in layers without cutting what's underneath. The broad spine prevents the separation of the blade points. The short blades allow better control and easily movable. This video will benefit those viewers who enjoy stitching and...

This video features an image from Squizzlefly. The card is Spring suite 2. Use a regular A2 size card. Cut 8 1/2 x 5 1/2. Score in the middle. Go down another 1/2 inch and score. Take a ruler across the top of the fold. Make a pencil mark at every 1/4 inch. Should be 21 small hash marks. Measure down 1/4 inch on both sides. Go 1/2 inch in and make a dot every 1/2 inch. Go down 1/2 inch from the fold and make a dot every 1/2 inch. Make long-short, long-short cuts with the dots along the whole ...

To make mini cupcake earrings first take a piece of sculpey and make a cylinder. Make vertical indentations around the cylinder, similar to those an the edge of a quarter. this forms the bottom of the cupcake. Next take another small piece of sculpy and role it into a line like a piece of yarn. starting at the edge of the top of your cylinder coil the line of sculpy around the edge and up, similar to a piece of novelty poop. this forms the cupcake. stick a earring finding through the top of t...

This how-to video explains how to use a tile file to remove a sharp edge from a piece of tile. To being you just need to buy a tile file (or a couple if you plan to use it a lot). A tile file would be used if a piece of tile has a sharp edge that you cannot hide in a corner or cover with another piece. To use the tile file simple rub the tile file against the tile like you would a piece of sandpaper on wood. Rub the tile file back and forth until the sharp edge has been smoothed out and then ...

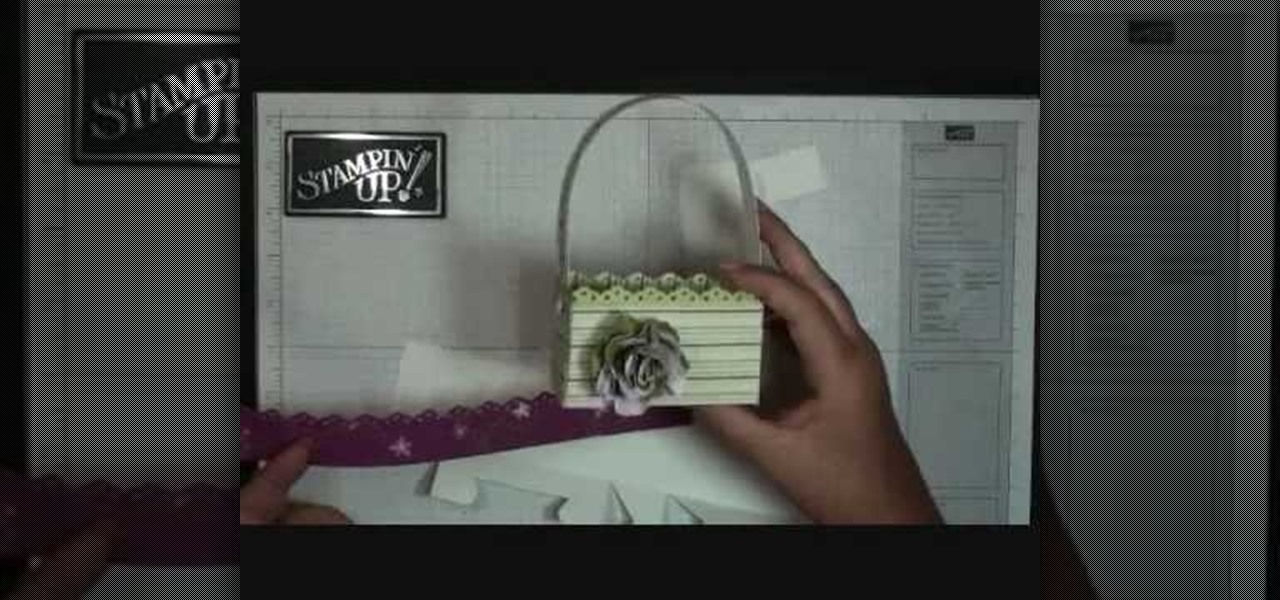
This video tutorial is in the Arts & Crafts category where you will learn how to make a mini Big Shot Box with Stampin' Up! For this you got to use the Bigz Die Box #2. Cut a Whisper white card stock at 6" x 11", place it on the die box and run it through the machine to get the box template. Cut off one edge of the template along the score line with scissors. This will be the top part of the open box. Now fold the bottom part of the box along the score line. Take a strip of cottage wall desig...

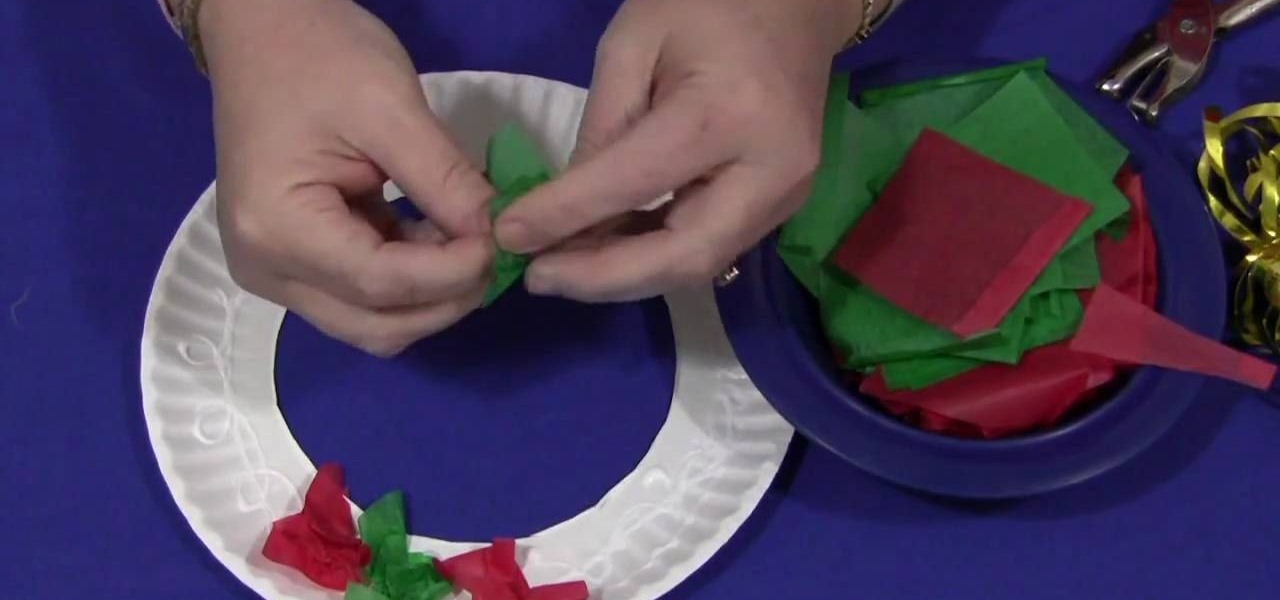
This is a demonstration of making a wreath with tissue paper. For this you will require tissue papers cut into squares, golden colored yarn, golden dust. For tools you require a pair of scissors, a hole punch, glue, paper dish. To start with cut the bottom of the paper dish neatly so that the uniform rim remains. Now apply glue to the rim in the form of spots and streaks. Now take each of the tissue paper pieces crush them and press on the glue. When the whole rim is covered with crushed tiss...

This video tutorial shows you how to wallpaper. 1. Set the mood: To wallpaper a room you need caffeine and music, it's best to get that first. 2. Prepare the space: Basically this step is set to gathering tools, patching holes, cleaning and sanding the walls, moving furniture and removing outlet and switch face plates. The tools are as follows: level, pencil, tape measure, step stool, wallpaper paste, paint tray, paint rollers and brushes, wall paper, squeegee, water bucket, sponge. utility k...

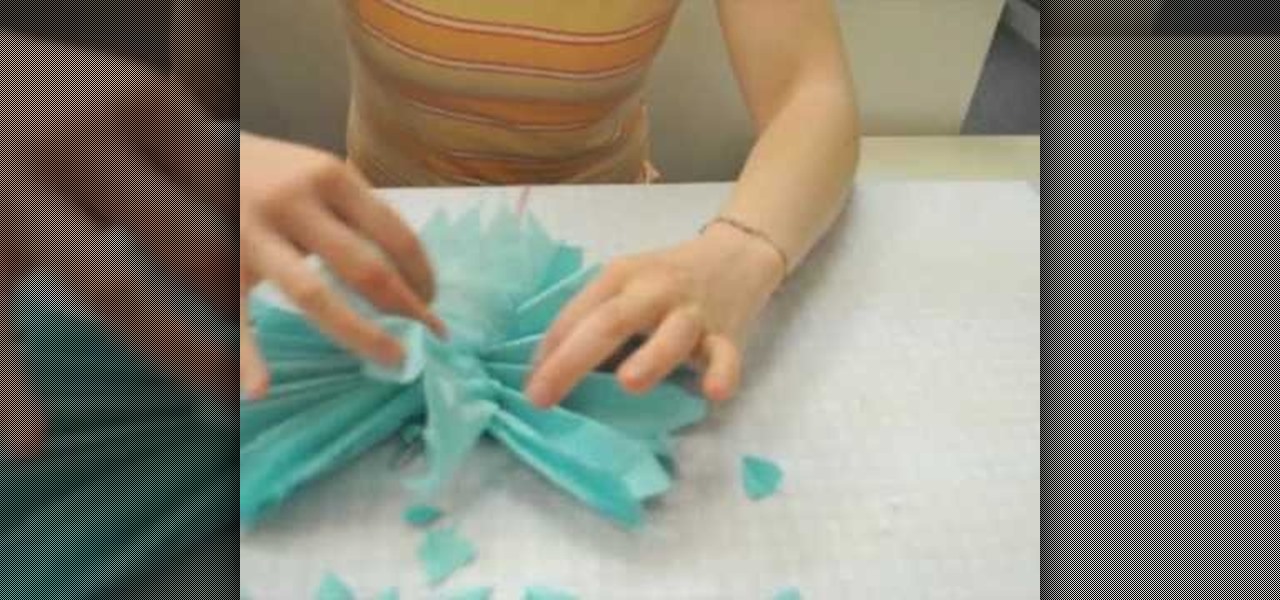
This video shows you how to make a puff flower ball using tissue paper.Spread out a tissue paper,of any colour,on a table.Keep one of the short ends of the paper,facing you and away from you.Then fold it back and forth,from one short to the other side until the whole of the tissue paper is used up.Fold this into half and release.Take a piece of ribbon and tie it on the center.Give the edges a pointed, partyish look by cutting them using a pair of scissors.Now take a single piece of tissue pap...

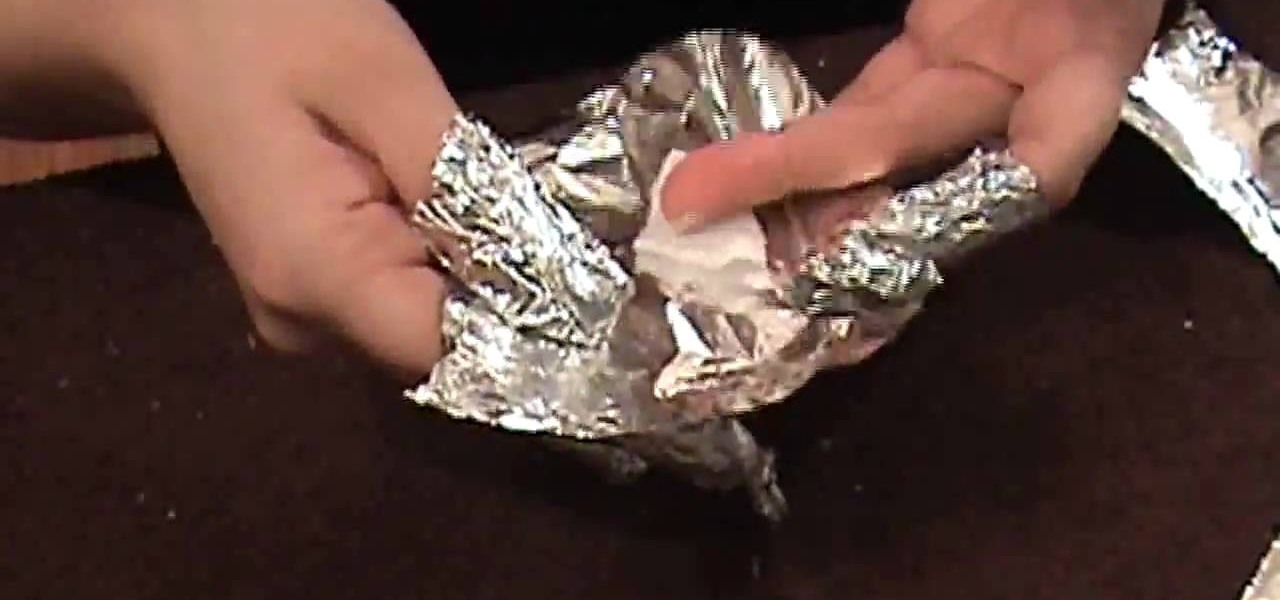
The first step in removing acrylic from nails is to cut nails down with clippers. Next file off gel sealer and seventy percent of acrylic with file or nail dimmer. The demonstrator then cut ten squares of foil, one for each nail. After the foil is completed cut cotton rounds into four pieces. You will only need two and a half cotton rounds. Using one hundred percent acetone saturate each cotton piece that you cut. Place saturated cotton pieces on each finger and then wrap securely with foil. ...

Make simple snowflakes from paper. You can tape these snowflakes to a window for a nice winter decoration or paste them onto a piece of folded construction paper for a great winter card.

Tim Carter of Ask the Builder demonstrates the basics of a framing square. Tim shows how to make the marks for a simple roof rafter.

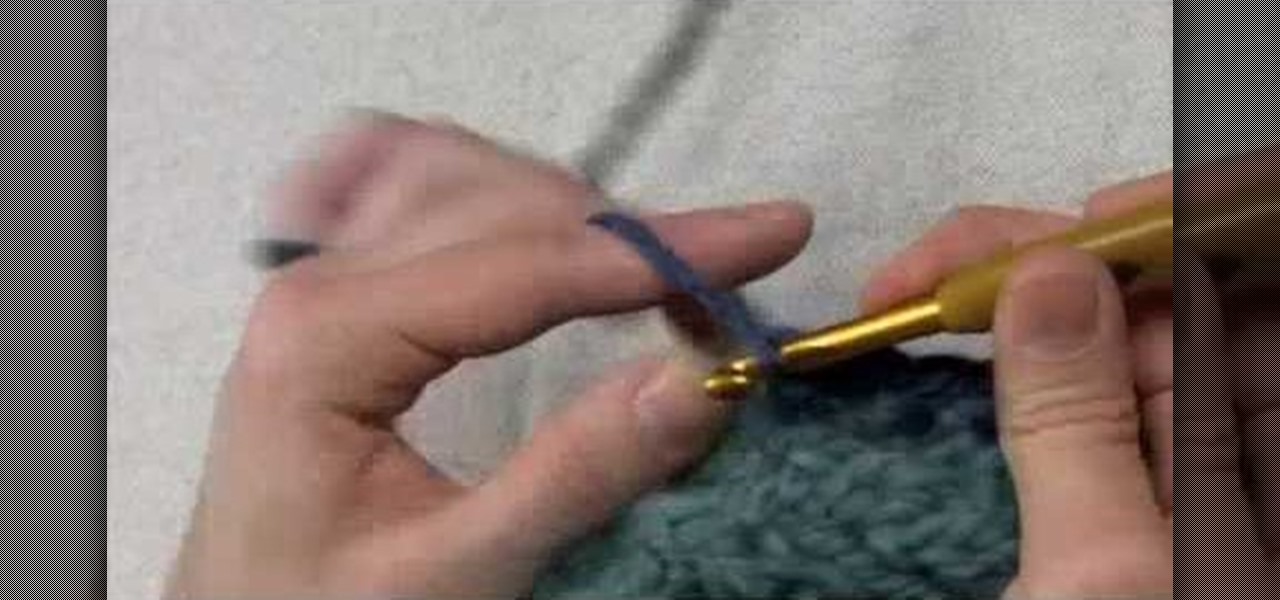
In this tutorial we learn how to edge a knitted piece with a single crochet. Start to attach the yarn to the right side, working in a forward direction. Now, work a slip stitch at the edge. From here, stick the hook in the fabric and pull through one loop. The, yarn over again and pull through both loops with the hook. After you do this, do it over again! You will repeat this process until you reach the end of the row. Once you're finished with the row, you will be finished with the edge and ...

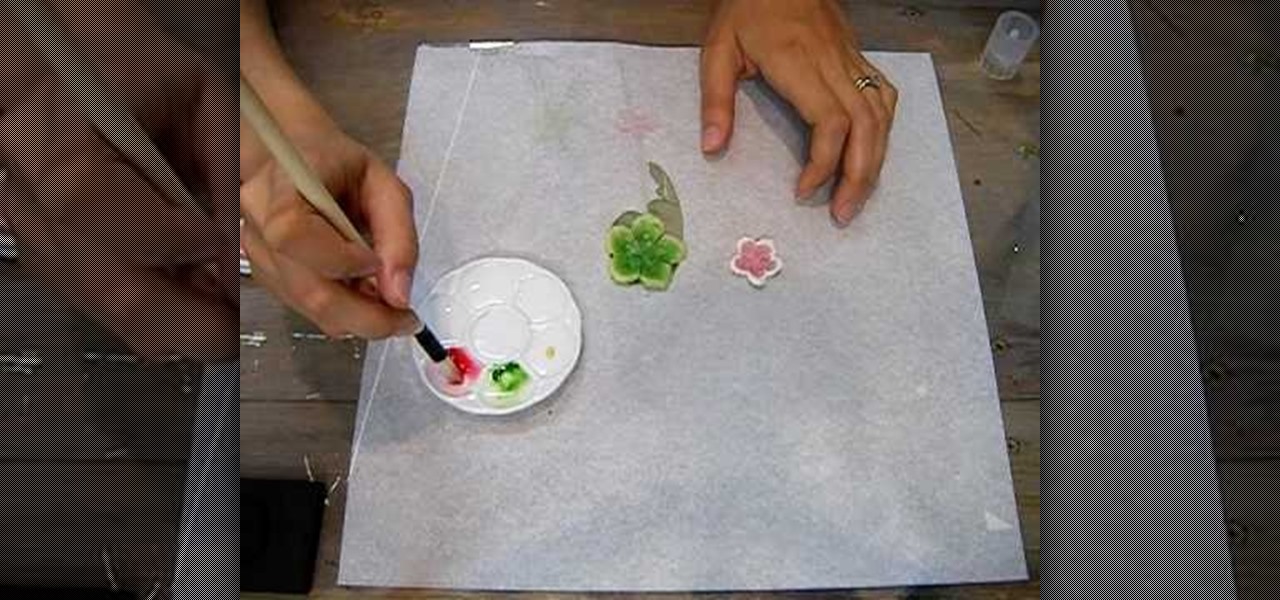
Supplies needed1. flower cut outs (you can buy them from A Piece of Craft)2. Water colors3. paint brushes4. clean water5. heat gun5. Water color pallet

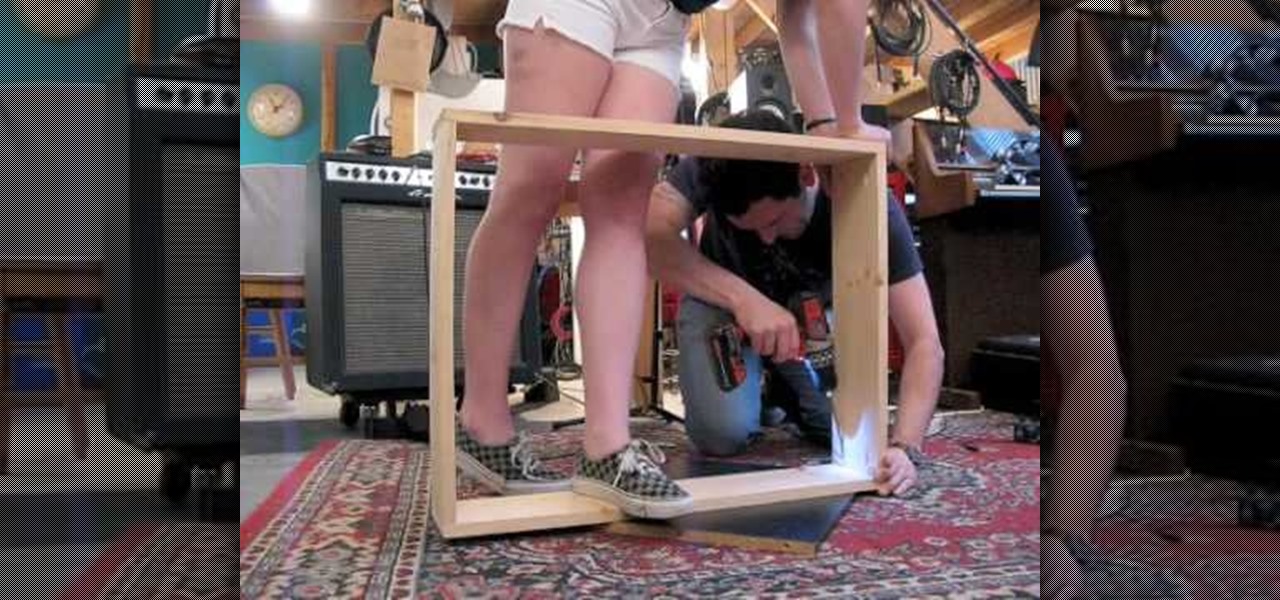
Josh Copp and Madeline Donahue show us how to build a light table from pine wood and plywood utilizing two fluorescent light fixtures as the light source inside the box. The frame of the box is fashioned out of two 1X8 planks cut into four pieces so that two sides are 30 inches and two sides are 22 3/8 inches. The base of the box is made of plywood or OSB and is 30X22 3/8. Once the pieces are cut and assembled using a pocket hole jig and wood screws, the inside of the box is painted with whit...

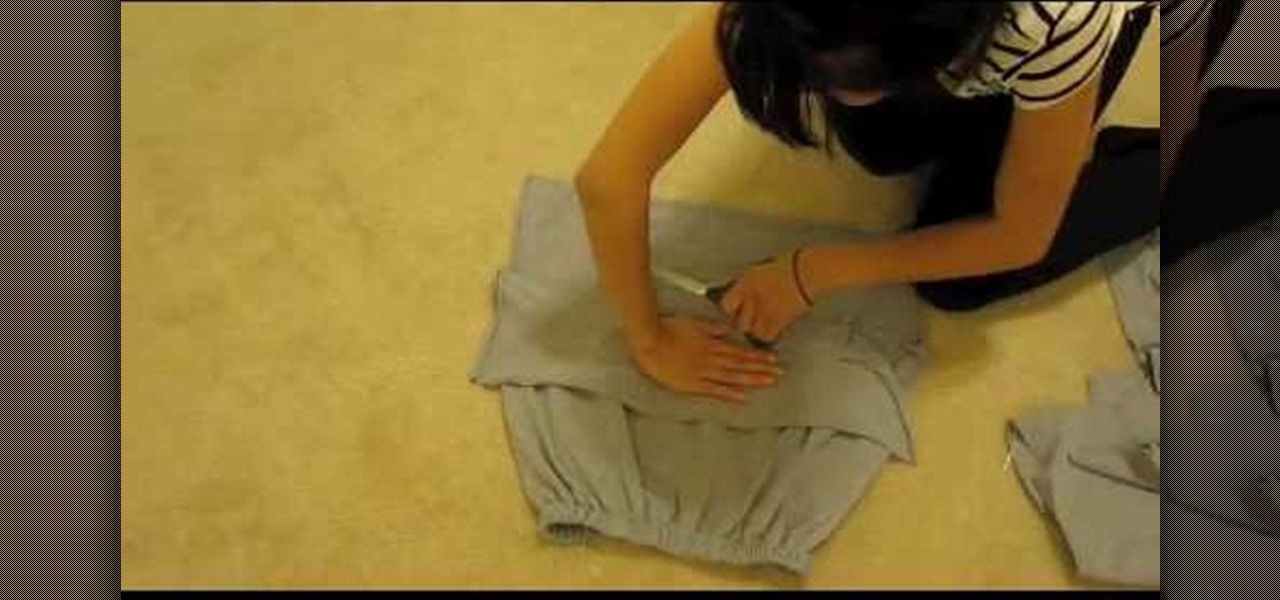
Ladies, it seems to be the trend to wear boyfriend cuts in clothes so here’s a video that will show you how to create a creative super cute and girly top using a guys shirt and tighty-whities. You can wear guy clothing and still look very feminine.

We don't know about you, but making selections around oddly shaped areas of an image is one of the most frustrating single tasks in Photoshop. Odd shapes are really hard to navigate around by hand and often you can't get a perfect cut. Luckily, this Photoshop tutorial will guide you through how to make complex selections easily in Adobe Photoshop CS5.

On this video from Bushcraft Machete, he explains the purpose of a scandi edge and how to use it. He uses the machete as a planer, stripping the bark from a log by holding the machete almost flat against the log and tapping the back of the blade with a stick. He explains that a scandi edge is sharpened all the way down to a point and has a very low angle. This type of edge makes the machete useful for carving off thin strips of wood. He has sharpened his machete with a scandi edge near the ha...

This is a video tutorial in the Arts & Crafts category where you are going to learn how to make mini album pockets. Take a 6 x 6 piece of card stock and cut it at 3 1/2. Now score it at the halfway mark and fold it backwards. Next score it at 1/2 from both longitudinal edges. Then you cut out along the 1/2 score line on one half of the card. Take a 2 1/2 " circle punch and punch a circle out of scrap paper. With this draw a semi-circle on the wider half of the card and watch the video for fur...

This video tells us to measure a 1:12 dollhouse polymer clay plate. You can use a 'MINI MAGLITE FLASHLIGHT' to cut out the clay from some clay that has been rolled out on a platform. Roll the toothpaste cap along the edges of the circular piece of clay. The center of the plate is made by pressing it in the center with a small bottle or the end of a pencil which has a flat base. Cut a smaller circle of clay and put it below the plate to form its base. Press the center of the plate again to sti...

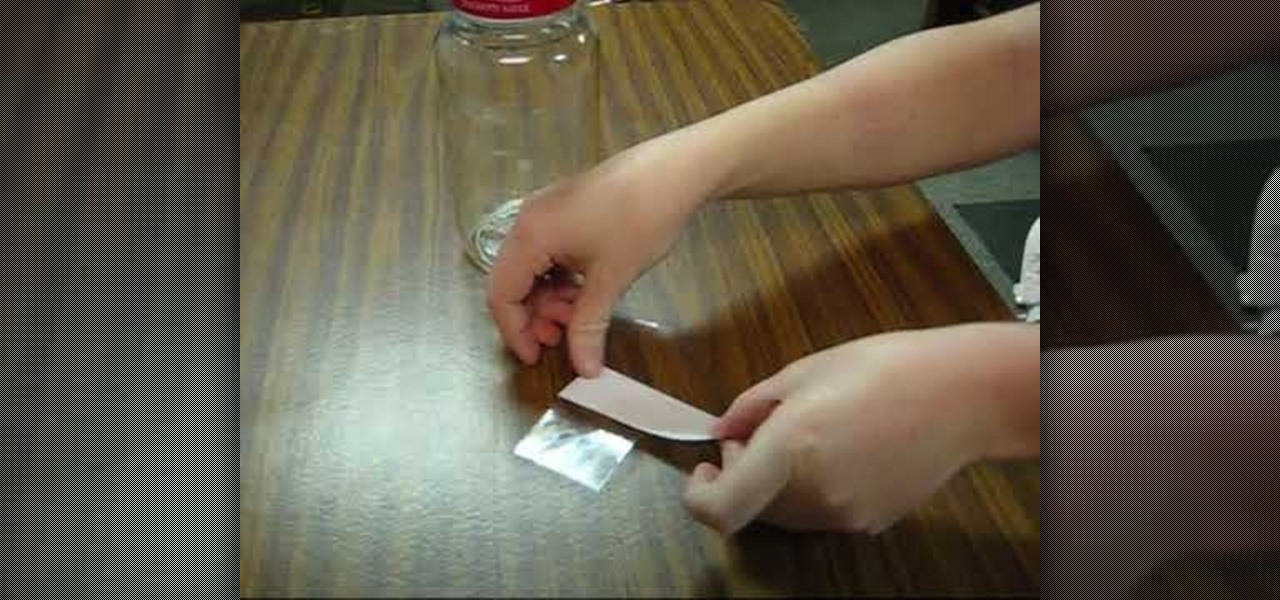
In this how to video, you will learn how to build your very own rain gauge. You will need tape, scissors, rain gauge ruler, and a jar. First, go to the website shown and print and cut out the ruler on the screen. Next, cut the tape strips. You will need them to be about 5 inches in length. Next, attach the rain gauge ruler to the jar. You will do this by placing the ruler on the tape and place the ruler on the jar. Make sure the ruler is aligned with the bottom edge of the jar. Take the secon...

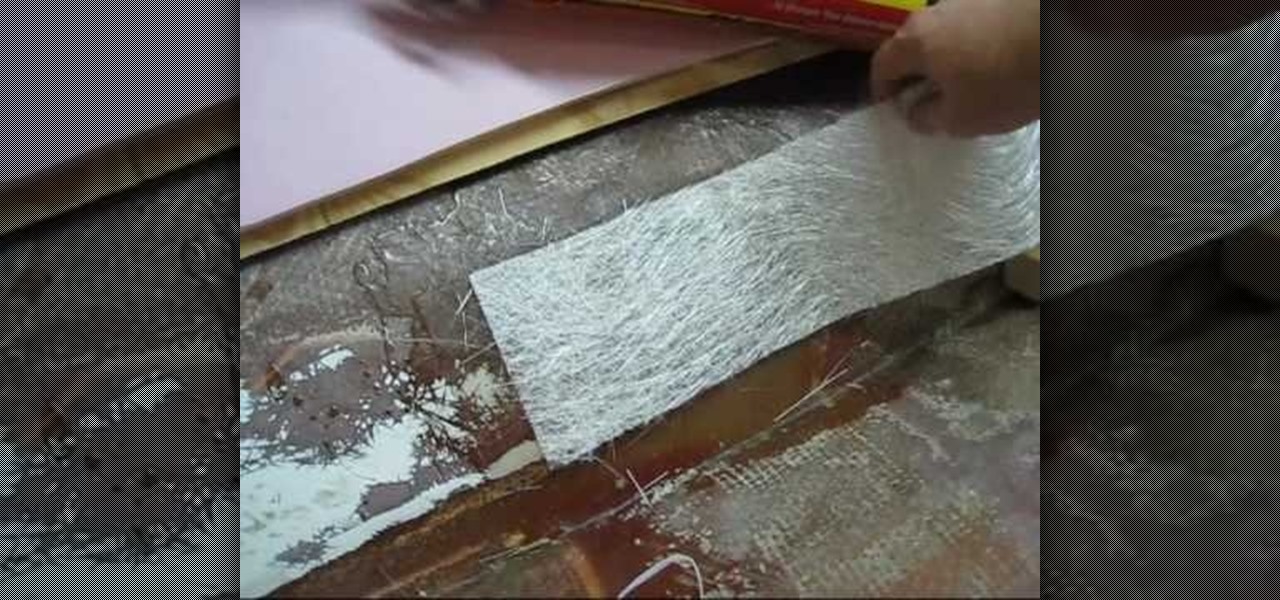
LowkeeLT demonstrates how to patch a hole in a fiberglass boat hull. First, grind around the edge of the hole to make it smooth. Make an angle that goes towards the hull so that the resin won't get caught and create air pockets. Attach kitchen wax paper to the boat as a non-stick material for the poly resin to set against. Then, put down a flexible cutting board by duct taping the two layers on the outside of the hull and pulling it taut. Attach three layers of fiberglass strips with resin to...

Vanessa is teaching you how to make arm and leg warmers for babies or toddlers. She is simply using some socks that she got by going to the dollar store and buying them. They only need one seam. You need to cut off the top of the sock first. Then you cut the heel and toe off the remaining sock piece. You need to fold the bottom part of the sock in half and make it into a loop. Put the loop over the raw end of the top of the sock. This will make it so all of the round edges are together. Stitc...


