A CNC router machine is probably the most useful tool a hobbyist can own, but the price for a CNC machine on the market is way more than the average hobbyist is willing to spend. You can build your own CNC with very basic tools, little knowledge of machinery, mechanics, or electronics, but be warned, these machines are inherently dangerous, so wear the proper protection and use common sense. At the very least, read the instructions and precautions on every tool you use.

A CNC router machine is probably the most useful tool a hobbyist can own, but the price for a CNC machine on the market is way more than the average hobbyist is willing to spend. You can build your own CNC with very basic tools, little knowledge of machinery, mechanics, or electronics, but be warned, these machines are inherently dangerous, so wear the proper protection and use common sense. At the very least, read the instructions and precautions on every tool you use.
This video will show you what you'll need to know to hack a digital electric meter. You'll need 2 magnets, one much bigger than the other, an AC adaptor that you'll cut into pieces, or some speaker wire, distilled water, electrical tape, a knife, some plastic wrap, and a plastic cup. Remember, this is illegal, and shown only for educational purposes.
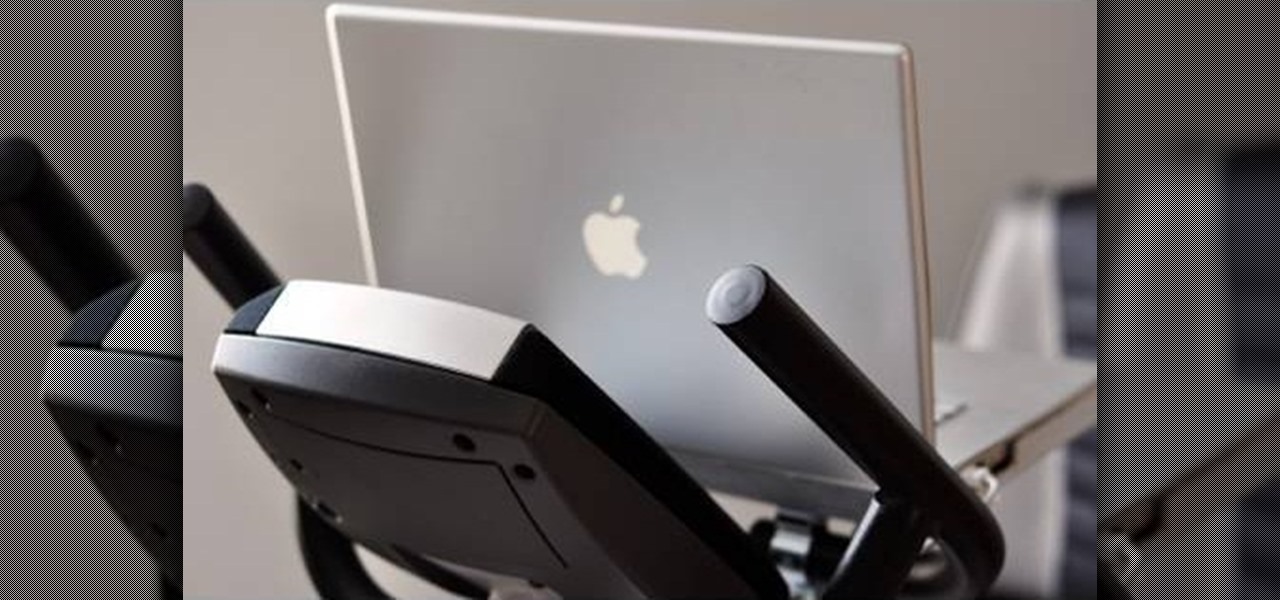
In this tutorial, we learn how to mount your laptop to your exercise equipment with Chris Gardner. This is a great way to stay active and get your work done at the same time. First, grab some measurements of your machine, then grab aluminum bars that are the sizes of the front of the bike. Cut out the pieces so they are the size that you need, then mount onto your machine and place your laptop onto it! You can use screws to remove this, or you can leave it on to use whenever you would like wh...
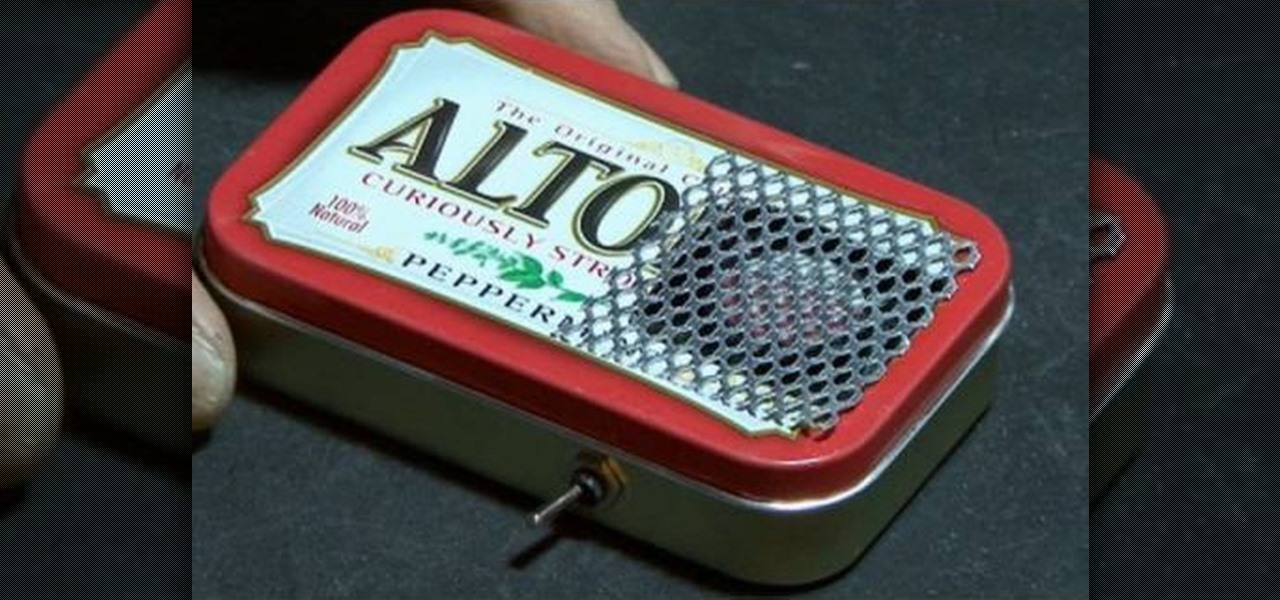
Materials needed: Altoid mint tin, 9 volt batter and connector, switch, 7812 voltage regulator, 12 volt computer fan, carbon filter and 2 pieces of screen. Wire the battery connectors. Solder all of the following: Negative connector to the switch, wire to the switch, ground wire of the voltage regulator to the middle wire, output for the 7812 to the fan, positive lead on the 9 volt connector to the input on the 7812 and the negative from the 7812 to the negative on the fan. Test. Put all the ...
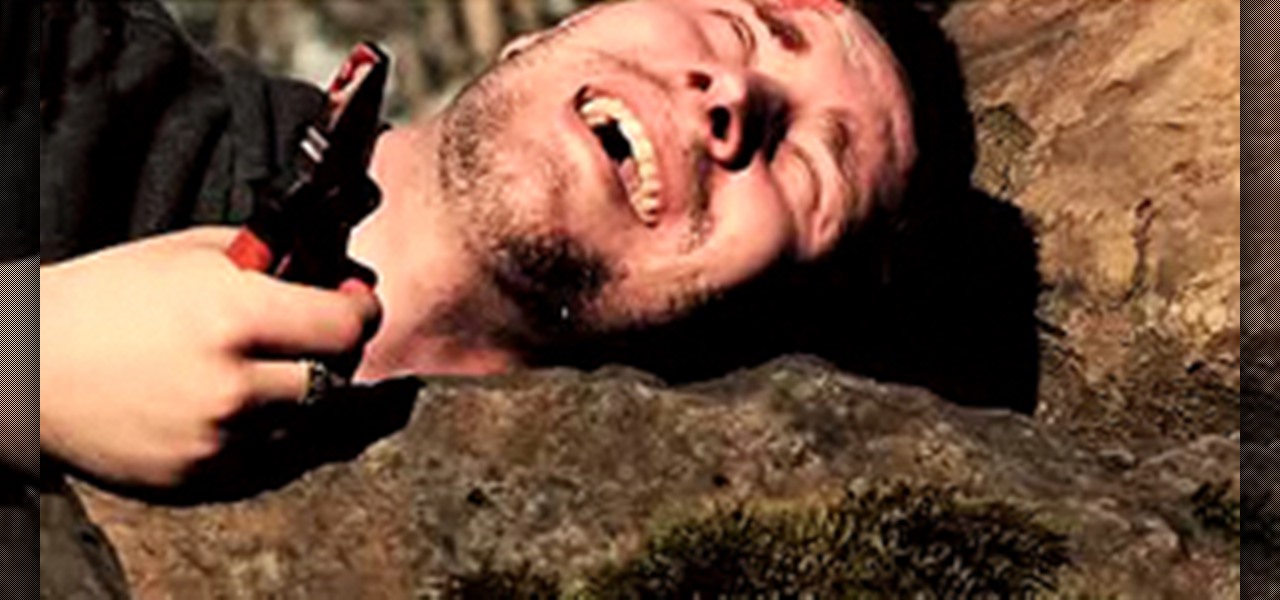
This prank has it all. It's easy to do, requires few materials, won't cause physical harm to anyone or anything (hopefully), and will absolutely terrify your victim while amusing you for days. All you need is a securely passed-out person and a big box (flat piece of plywood optional). You cut out one side of the box so that it will cover the sleeping person like a coffin, then pound on the top to wake them. They will likely think that they have been buried alive and flip out like the guy in t...

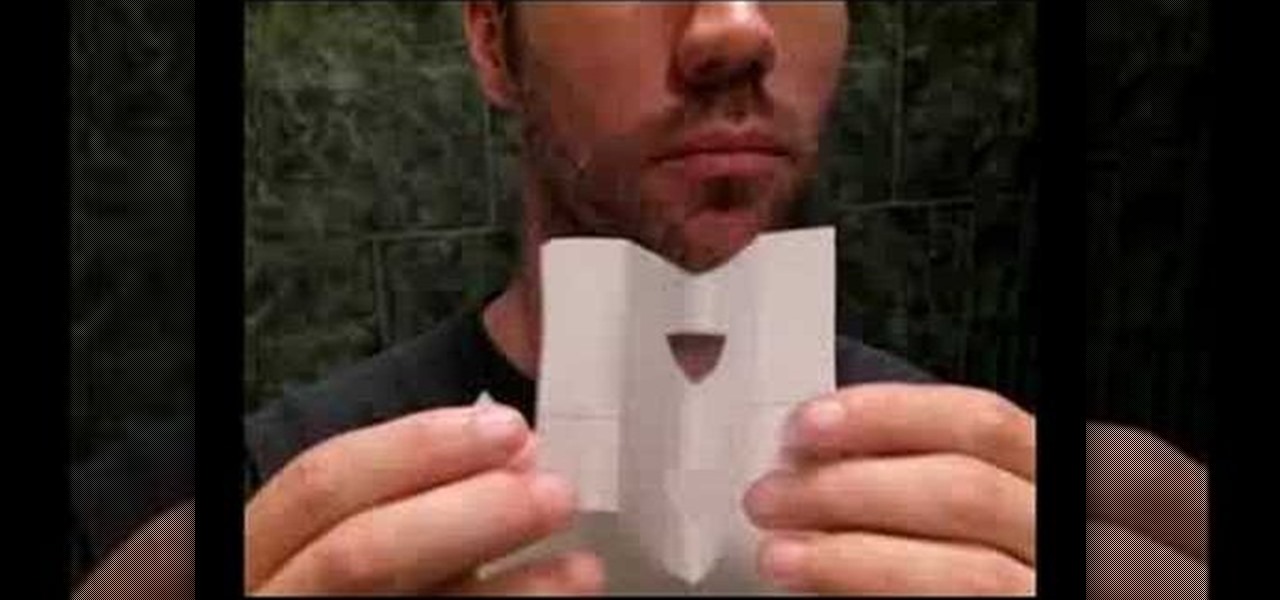
There are a lot of videos, many on our site, that will teach you how to make poppers or other types of noisemakers with paper. This one stand out from the pack though both in terms of loudness and technique. This video will show you how to make a piece of paper into an extremely loud and annoying whistle just by cutting some holes in and folding it. This is sure to aggravate anyone around you cheaply and easily.

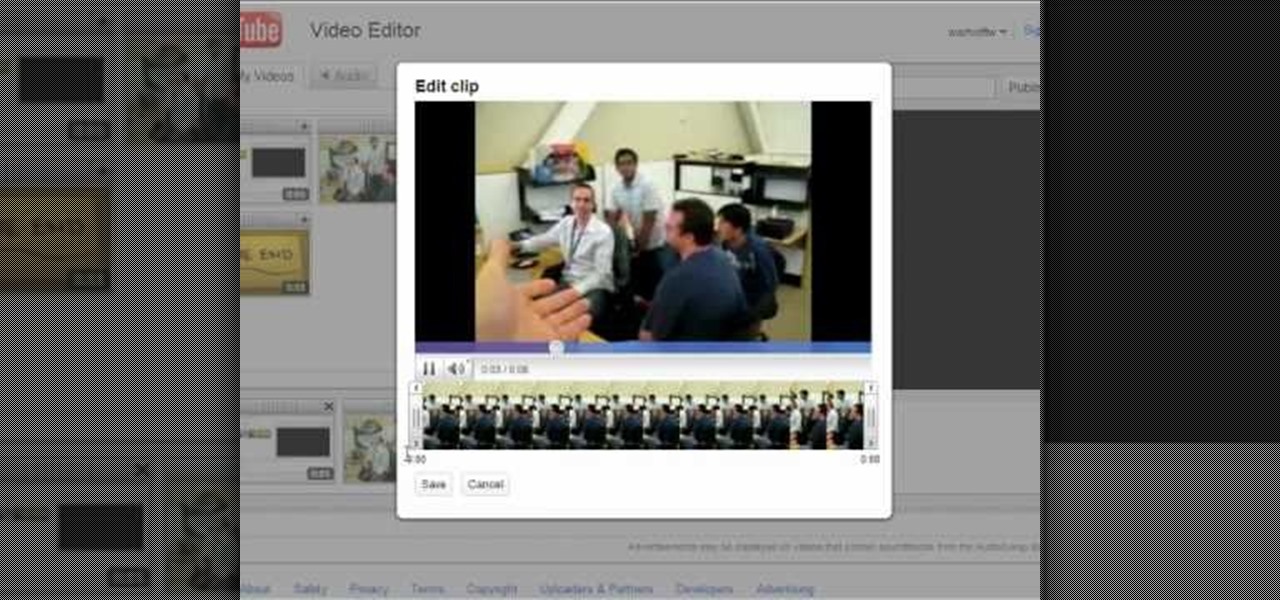
In this tutorial, learn how to use YouTube's new video editor to combine, slice, edit and add effects to your YouTube clips. You can add music, create montages, cut pieces that you don't want and polish your videos right inside the site. This tutorial, from the experts at YouTube will walk you through everything you need to know.

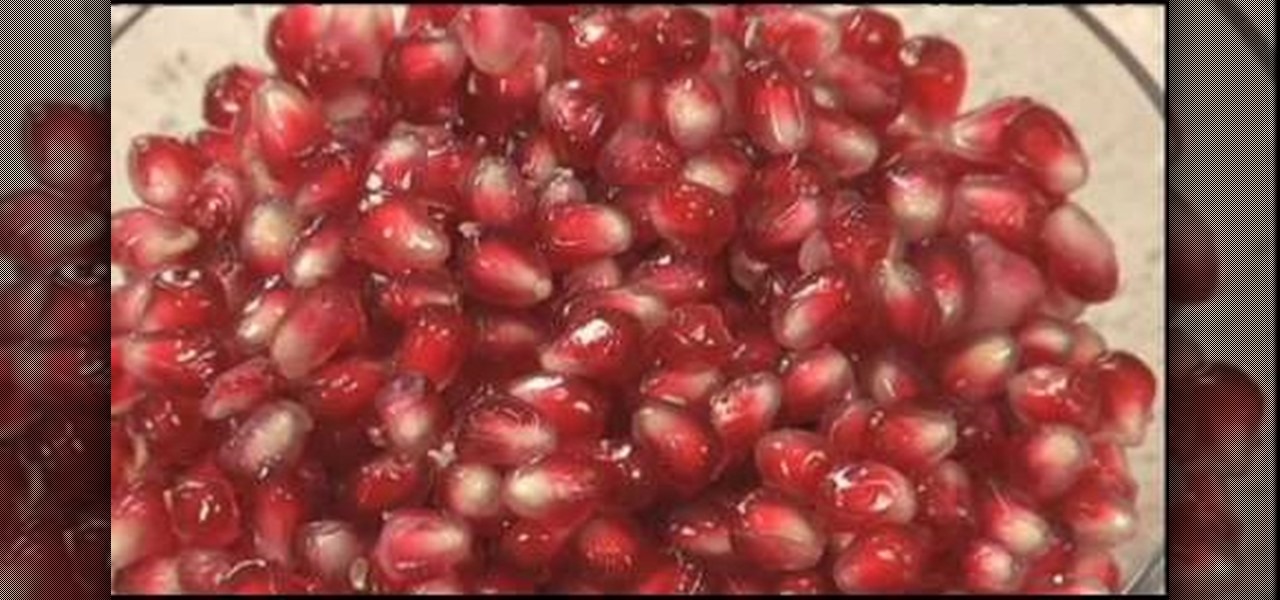
In this video, we learn tips on how to seed a pomegranate easily with Nicki Sizemore. First, cut off the crown of your pomegranate to expose the seeds. Then, score the pomegranate from end to end and a few places around it. Next, soak the fruit in cold water for 5 minutes. While keeping it under water, break the fruit apart into large chunks. Next, just use your fingertips to remove the seeds. Since you are working in the water, your fingertips won't get stained. Remove the large pieces then ...

In this Arts & Crafts video tutorial you will learn how to do a lanyard super cobra stitch. For this you will need two pieces of gimp cord; one piece about 15 times longer than the other. Start the same way as you would with a regular cobra stitch. Make a loop on both the cords and pass the loop on the shorter piece through the loop in the longer piece. Then pass the upper end of the longer cord around the shorter cord and pull it up from under through its own loop. Now pull both ends to make...

The card stock used is a celery card stock that is 2 by 7 and 3/4. You then fold the ends of the card 2 inches into the card on both sides. So now it should look like two 2 inch squares on the ends that are folded and then a rectangle in the middle. The designer paper used measures 3 and a 1/4 by 1 and 7/8 inches. To make the decoration on top you use the paper punch that punches a 1 and 1/4 inch circle in the paper and then you use the scallop punch around the area of that same punched out h...

In this how-to video, you will learn how to make Cobra-style paper airplane. All you need is a regular piece of paper. This style is useful for hitting targets or flying straight. Fold the paper in half vertically and unfold. Take the top corner of the paper and fold it to the edge of the middle crease. Repeat with the other corner. Take the tip of the center and fold it to the horizontal line created by the folded corners. Make sure you make tight folds. Open it up and make a fold horizontal...

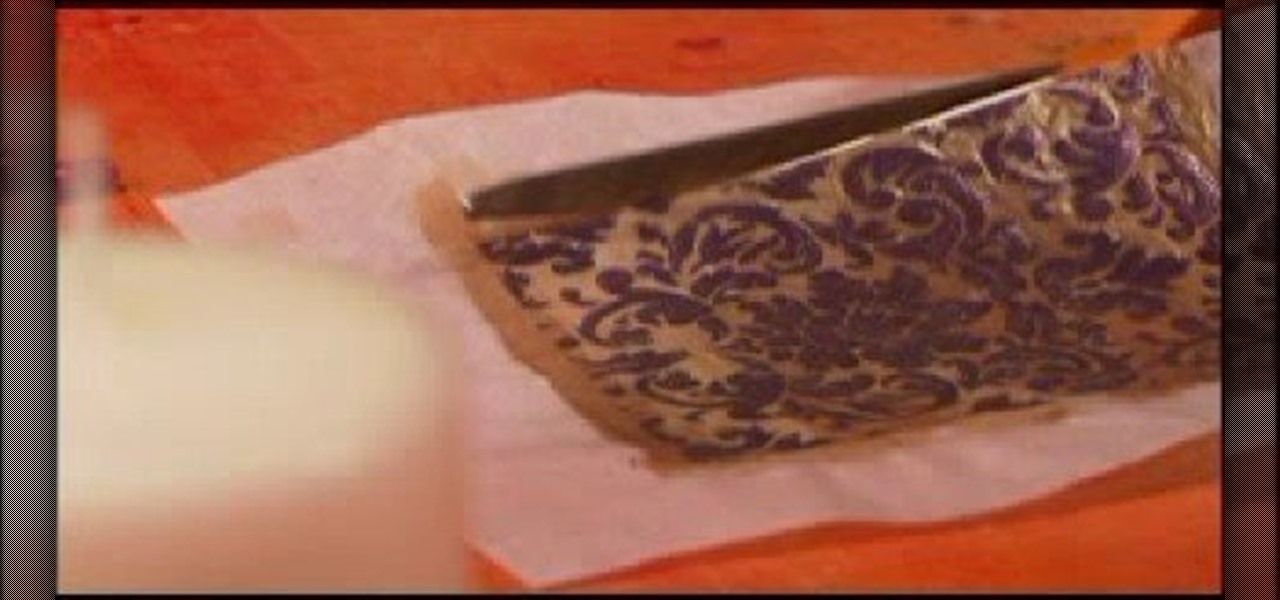
Cathie Filian and Steve Piacenza demonstrate the way of making medieval candles using tissue paper transfer technique. Steve asks you to first take a piece of tissue paper and a square-shaped chunky stamp. Then you should load the stamp with black pigment. Once the loading is completed, you should cut the tissue paper in square shape and place the shining side on the stamp and give a nice light press with your fingers. Then once you get the stamp image on the tissue, gently take it out and pl...

This video, by Garden of Imagination, shows you how to make a polymer clay pizza. To begin with, have a small piece of wood to act as a tray for your pizza. Take off-white clay for the crust and warm it up between your hands. Roll it out on your pasta machine on the number one setting. Using a circle cutter, push down on the clay to create a circle. Use an object that is a bit smaller of a circle to create the inside area of the pizza by pushing down. While doing that, blunt the edges of the ...

To fill a gouge on a table edge you start by using auto body filler. Auto body filler is a two part substance. The catalyst is red and the resin is grey. When they are properly mixed it will be a uniform pink color. To keep the substance from spilling out of the damaged area put a piece of tape on the side of the table. Take some filler and force it down into the cavity formed by the tape along the side of the table. Let it dry for 3-4 minutes. Take the tape off and use a knife to trim off th...

Take bread flour add little sugar salt and baking powder to it. In another bowl take fresh milk add yeast and sugar mix it thoroughly and leave it aside for 10-15 minutes. Mix the dough. to this add egg, melted butter and cooking oil to it and leave it for 10 minutes. To this add the mixture of yeast and milk which was already prepared. Knead the mixture well and by covering the bowl with a cloth leave it aside for an hour. Now on a flat surface put some dry flour and knead it properly. Now m...

Watch this video from This Old House to learn how to install a rain diverter. Steps:

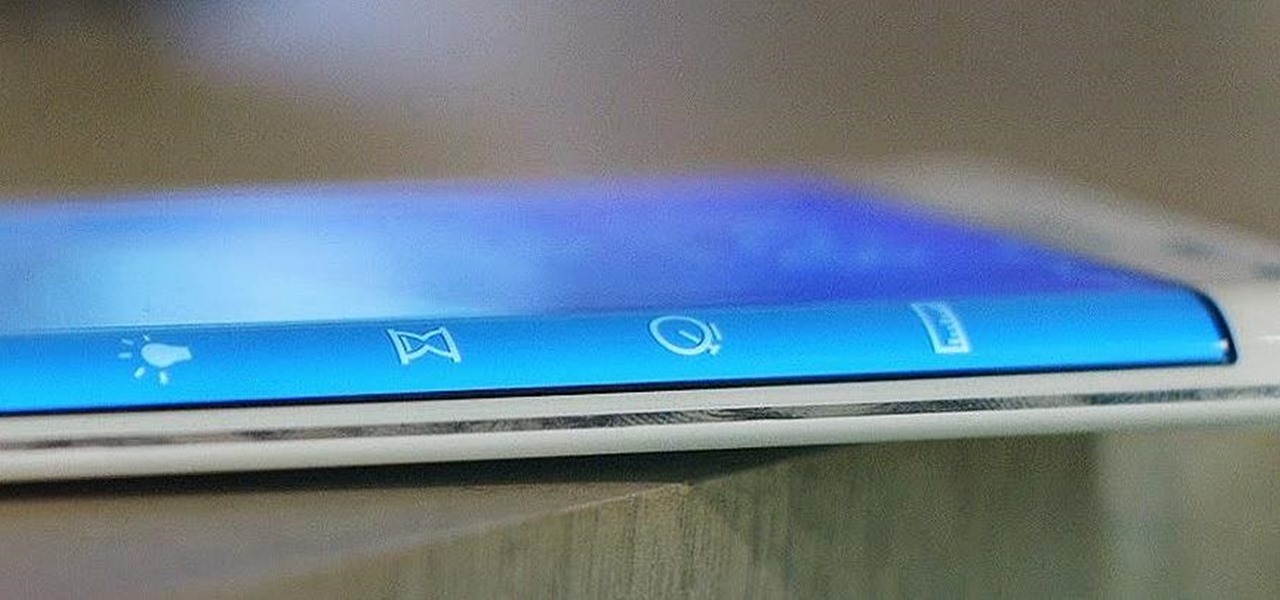
Now that we've had significant time with Samsung's Oreo Beta for the Galaxy S8, many interesting features have come to light. As we continue using the new software, we have uncovered more subtle changes. The home screen already received a few new customization features, it's only fitting that the edge screen get some love, too.

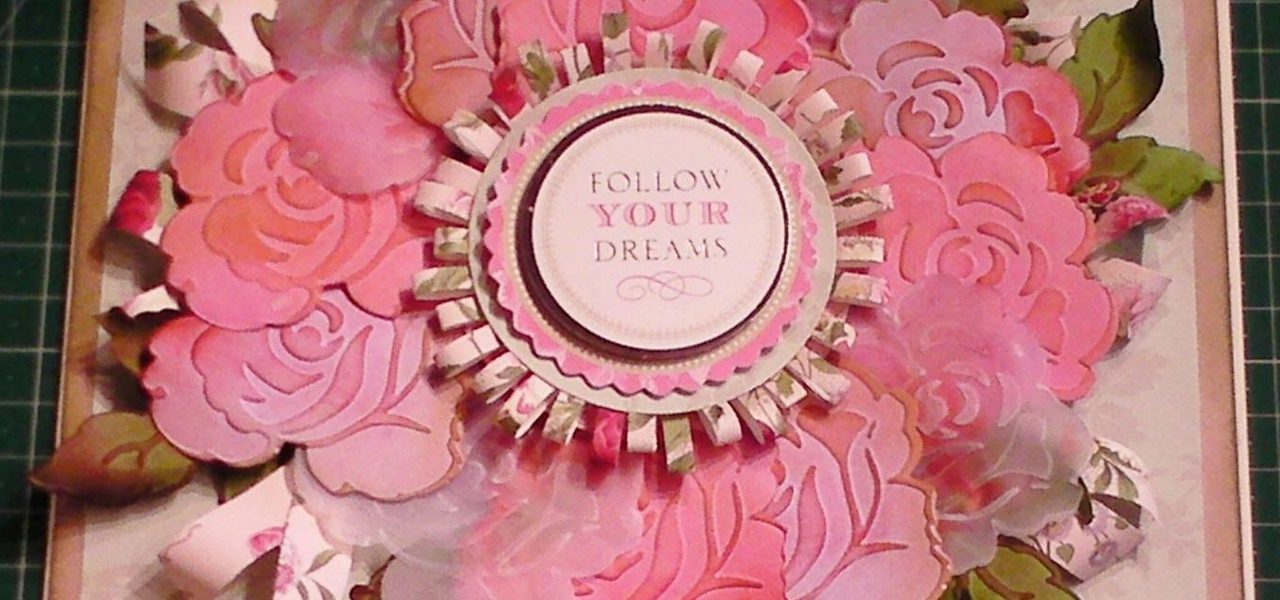
This card is awesome, there is no other words for it! It is pretty, eyecatching and just so gorgeous, using cardstock and vellum to create a wreath made of embossed roses. There are a few different techniques in this tutorial to make the wreath but they are all easy when you see how. Step 1: Items Used

Hello there Nullbyters, Last tutorial we discussed navigating and setting some options.

Few things are as frustrating as grabbing food from the fridge just to discover that your leftovers have gone bad. When it comes to cheese, you may have taken every last precaution to keep it as fresh as possible—sealed plastic containers, saran wrap, parchment paper—but to no avail.

Today was a big day for Samsung at IFA 2014, with announcements of two new devices as successors to the Galaxy Note 3: the Galaxy Note 4 and Note Edge.

Video: . Here there are some DIY gift ideas perfect for the Christmas season. They are really easy to personalize depending on what your likes are.

Paper towels are really cool. I like having them around for quickly cleaning up messes and what not. However, I do not have a stand or something similar for my paper towels, so it can sometimes get a bit taxing to pick up the roll and unravel it every time I need a towel.

During my early elementary school years, origami was my go-to pastime. When it came to learning about it in art class, I ventured out well past the basics that were being taught.

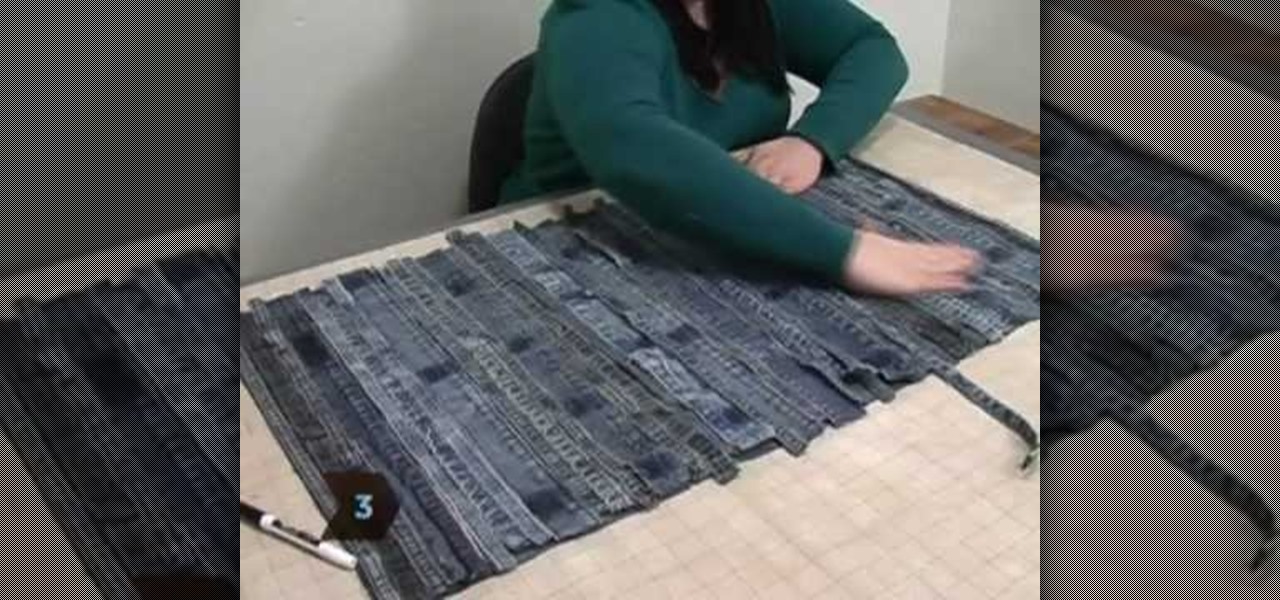
Collect all your old and worn jeans, then cut off the hems, cuffs and seams. Sew them all together onto a piece of backing fabric, and you have your own floor mat or rag rug. A great way to recycle old clothes.

Add an elegant touch to your next crafting project! You can turn scraps of lace fabric, cut into circles, into beautiful little flowers. Fold your circles into small wedges, sew them together at the base and then attach them to a string necklace or your favorite piece of clothing!

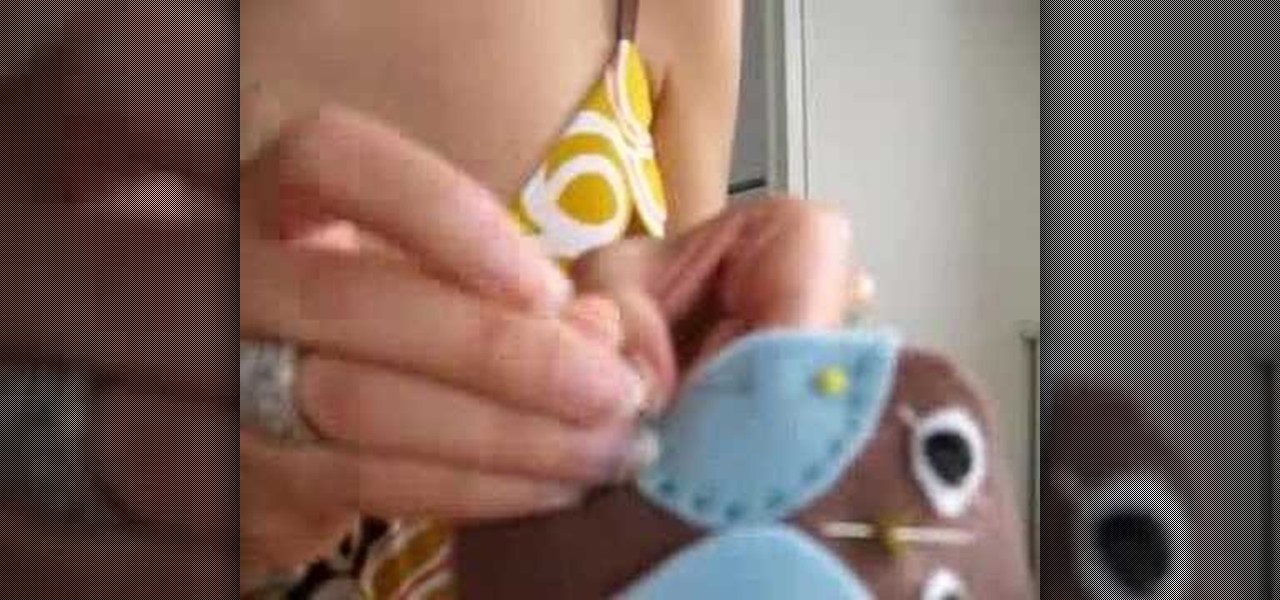
This Arts & Crafts how to video shows you how to put together a soft owl figure out of felt. Learn to make this felt owl or get creative and sew your own felt animals. Cut out the felt pieces, polyester fiber felt, and craft thread to create fun art and craft figures.

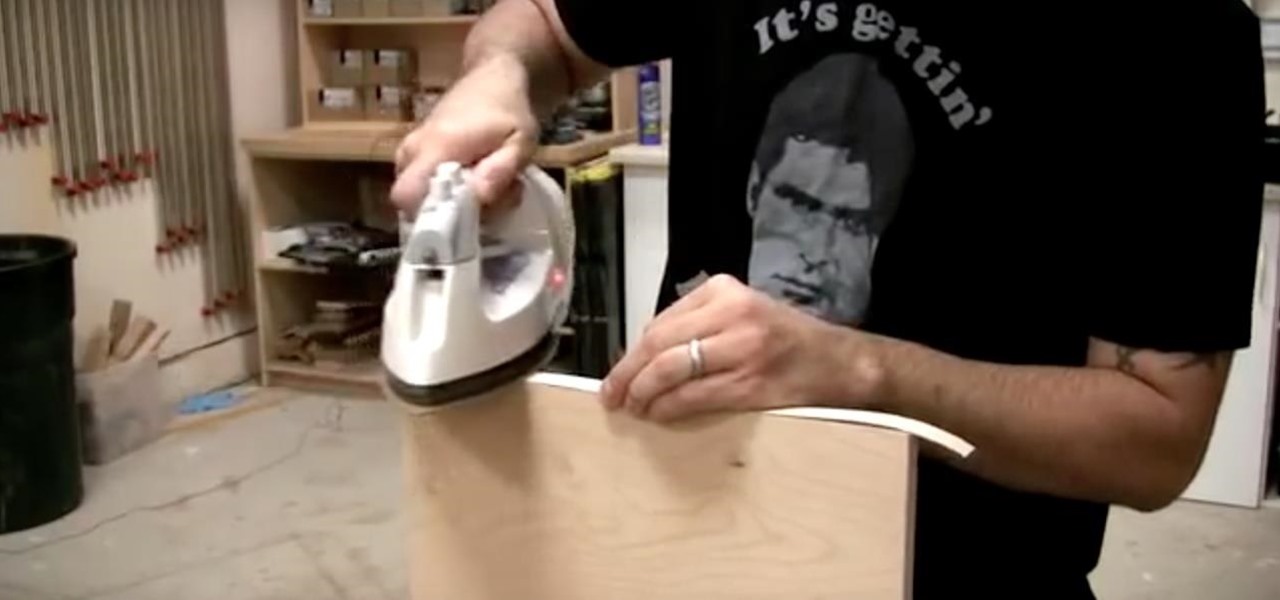
Plywood is flat, stable, and comes in lots of varieties. You can even use your plywood as a base for exotic veneers. But there is a consistent problem with plywood: how to treat the edges. This how-to video teaches you how to apply edge banding so it will hold up to wear and tear. All you need is iron edge banding, roller, sandpaper and an utility knife.

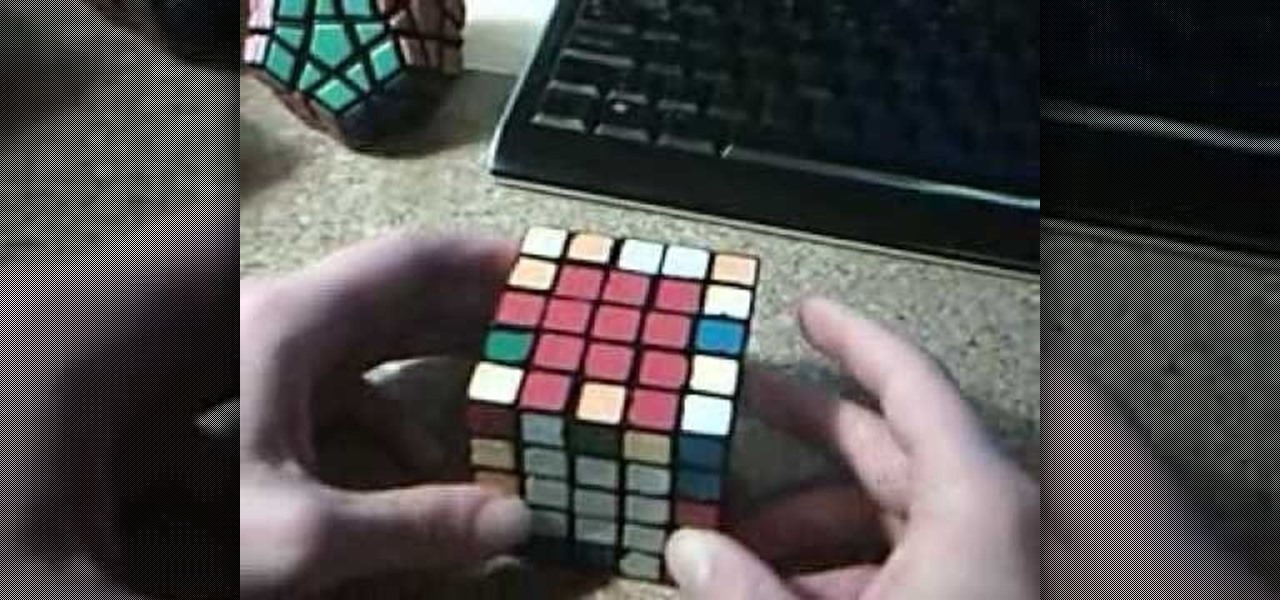
See how to pair the edges of the Olympicube (V-cube), the Rubik's Cube of all Rubik's Cubes! Watch this two-parter to help you on your way to brilliance, because you know you can't get there yourself.

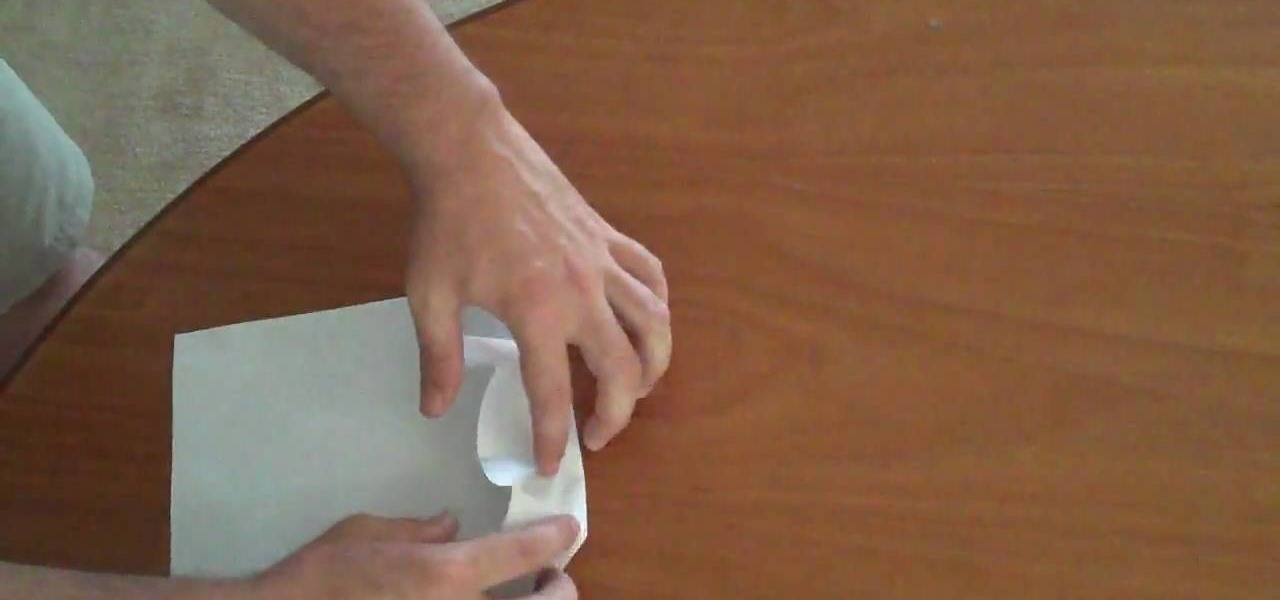
You can learn how to create an impossible shape out of paper. All you need is a piece of paper and scissors. First, you cut along the 2/3 lines of the paper. Then you flip one half of the paper over, and you have created an impossible shape.

How far would you go to save your life? For James Franco, who plays real-life hiker Aron Ralston in Danny Boyle's "127 Hours", staying alive means cutting off your own arm with a dull pocketknife. If you've seen the movie (or even heard about all the people who fainted and threw up after watching it), you know that it presents one of the most grueling self-amputation and bone breaking scenes in movie history.

In this video we learn how to knit a scalloped edge. This forms a shell along one edge! First, attach your needle to the yarn on the right edge. Then, make a slip stitch and yarn over. Then, stick then needle through the fabric and yarn over again so you have three on the hook. Then, yarn over and pull through the first two loops in the hook. Then yarn over and go into the fabric and over again. Pull through a loop and then yarn over through all the loops on the hook. Now, do another one foll...

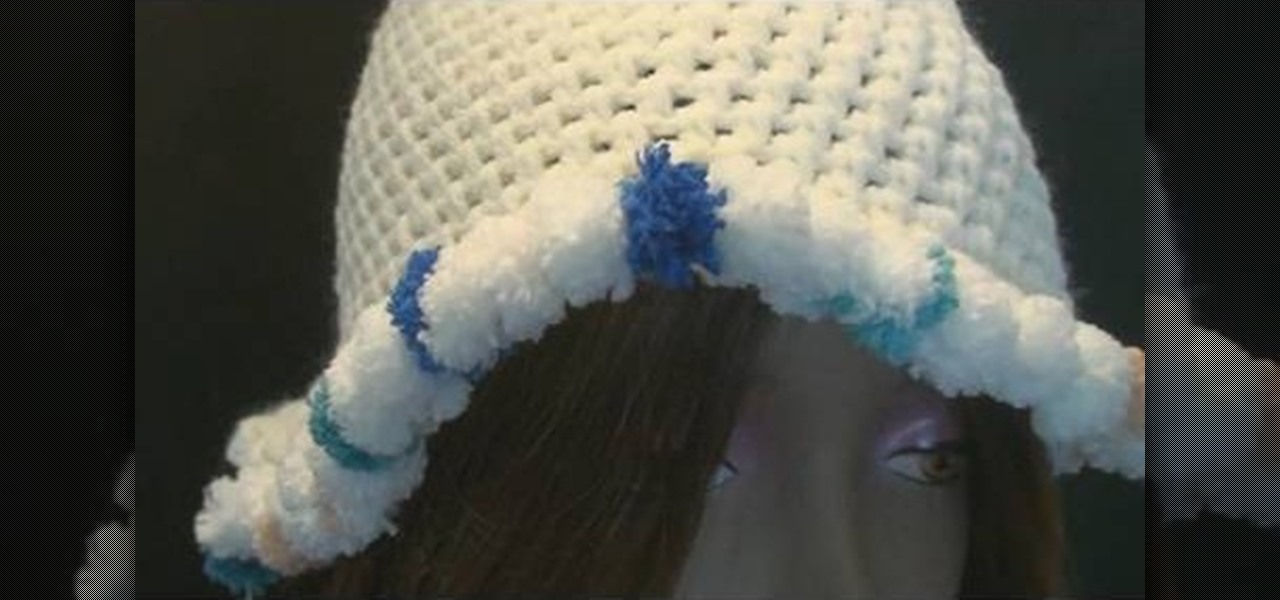
Despite what you may believe, making a crochet cap doesn't end at the last knitting row. In fact, crochet caps can be embellished in a number of different ways, including this Pomp-A-Doodle trim.

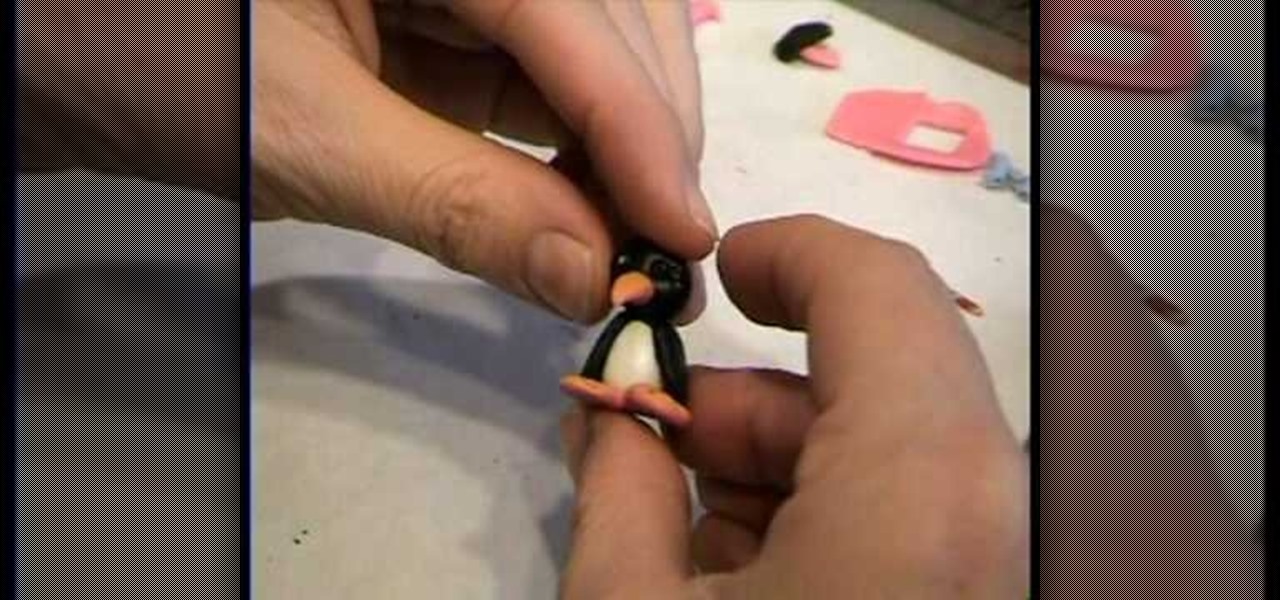
A piece of orange clay is rolled down to diameter of desired width of beak, and rolled down further at 1 end to make a point. Cone shape is cut to length of beak desired. A black ball of polymer clay is made. Base of orange beak is blended onto it. 2 clear seed beads are picked up individually with a pointed stick and pressed into head above beak. Stick is used to make 2 eye creases at right side of right eye and eyebrow over left eye. Repeat on other side. 2 flat oval pieces of orange clay a...

Watch this step by step tutorial to learn how to make a paper bird. Fold your paper in half so that it forms a long rectangle. Ensure you really fold down the crease--run your finger or a pencil along the top of the crease. Unfold the paper, turn it 90 degrees and repeat the fold. Your square should be divided into four squares by the creases. Flip the paper over to the other side and fold it into a triangle. Again, make your creases tight. Turn the paper 90 degree and fold again. You should ...

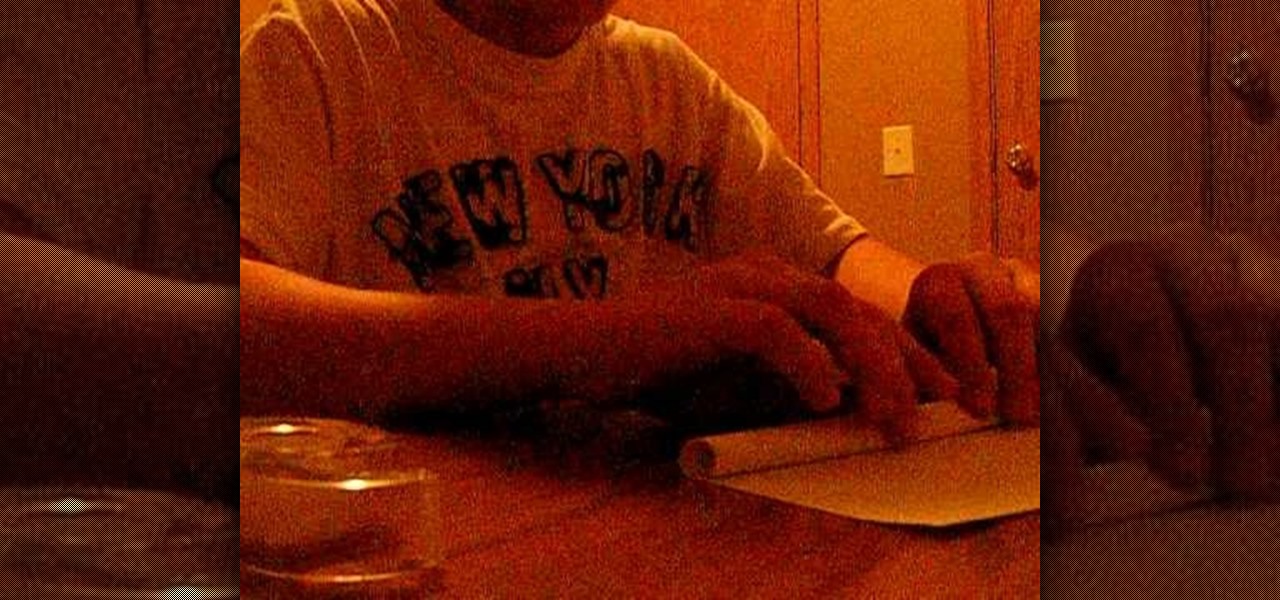
Making an AK-47 gun out of paper is quite easy as shown in this video. You will need: scissors, tape and pieces of paper. ; Make four tubes by rolling each piece of paper and taping them beside each other. ; Take another piece of paper, roll it and tape it including the end sides. ; Attach this tube in the second tube of the four-piece tube you previously made. Tape them very well. You are now done with the shooting tube. ; Take another piece of paper, roll it and tape it. ; Attach this tube ...

When you use your knife, you want it to be sharp. When you first buy your knife it has a factory edge, which is the sharpest it will ever be. To maintain a sharp edge on the knife you are going to need to invest in a sharpening steel. To sharpen the knife, take the sharpening steel in one hand and the knife in the other. Pull the knife toward you on the bottom and the top with gentle strokes. After you have gently pulled it across the steel a few times apply some pressure and speed up a littl...

Watch this video to learn how to make a delicious dinner. This pecan crusted oven broiled chicken breast dish will leave mouths watering and inspire fights over the last piece. What are you waiting for? Get a head start on dinner!

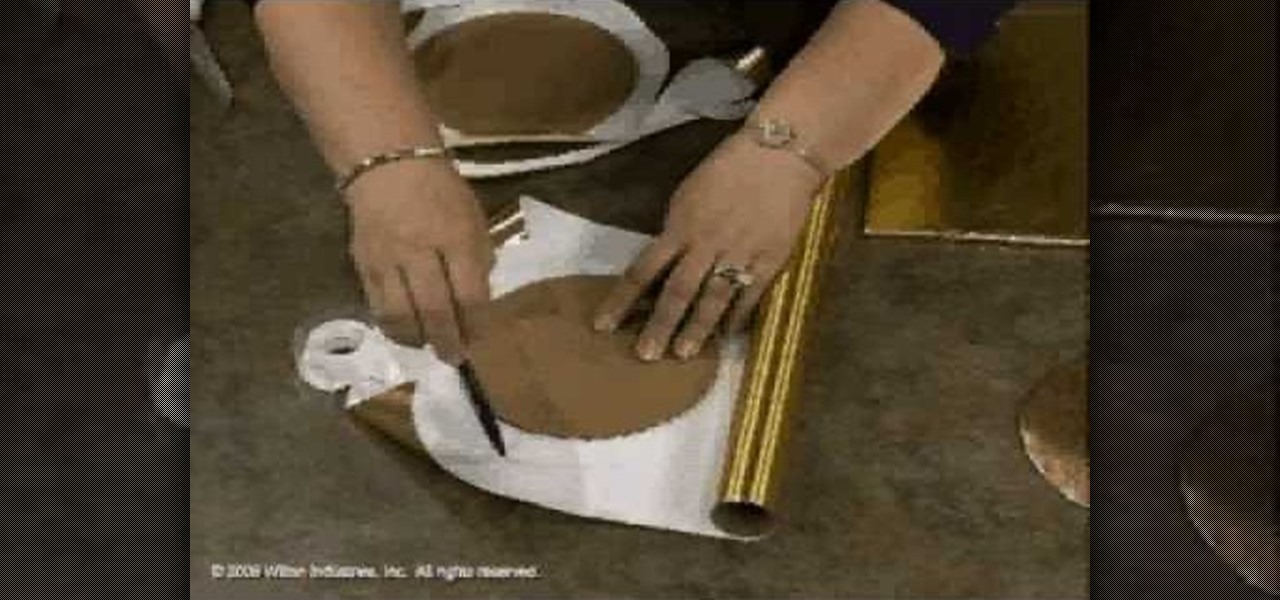
What to put a cake on can be a dilemma. You can decorate a cake board or purchase a cake turntable. This video will show you how to cover a cake board.


