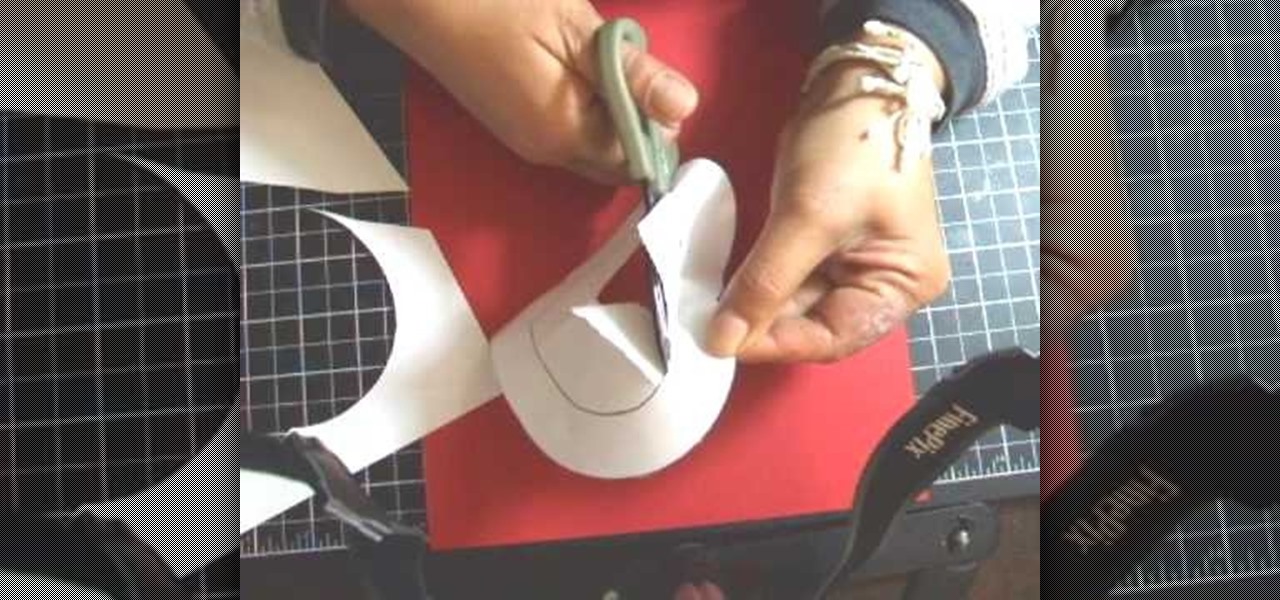
The template for this heart-shaped window card can be found at [www.stampininspirations.blogspot.com stampininspirations.blogspot.com]. You will need the template and cardstock and the other usual materials needed to make a card. You can re-size the template to about 5 1/2 inches across by about 5 1/2 inches high. Cut out the heart and remove the center heart as well. Take an 8 1/2 by 11 inch piece of red card stock and fold it in half, then trace the inside and outside of the heart-shaped te...

This video tutorial shows how to make a cool beer glass out of a beer bottle. This is also a great trick for cutting the bottle; forget the glass cutter or tricks with string and acetone. Just pour oil up to the level where you want the bottle cut off and place a red-hot piece of metal into it. Because of the great heat conductivity of oil and at the poor heat conductivity of glass, it will expand at the edge of the oil surface, cracking in a nice even line. Watch this instructional video and...
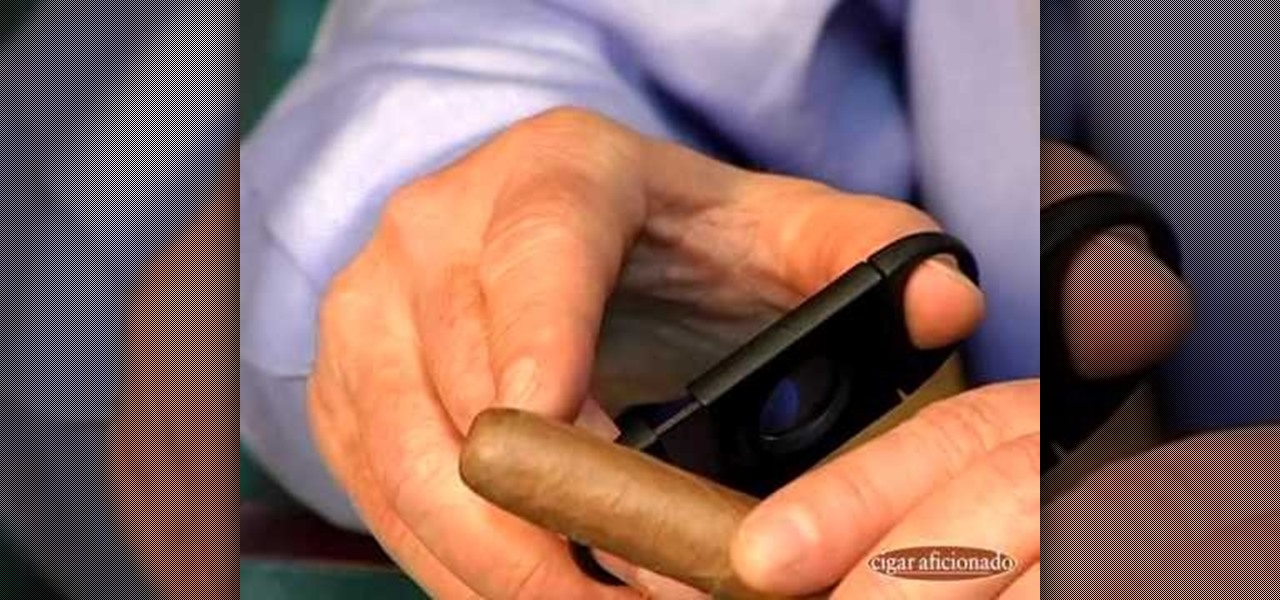
Many people ruin a good cigar by a badly placed cut. YouTube user Cigaraficionadovideo is here to help. First in order to understand the cutting mistakes you must first know how a cigar is put together. A hand made cigar is held together a the tip by, what is called, a cap. When cutting this cap you want to do it above the shoulder. Be carful here because a bad cut a little lower could result in the wrapper falling it apart can lead to a mouth full of tobacco which will pretty much ruin your ...
Turn old watch faces into appealing bracelets by using an eco-friendly recycling technique. You Will Need
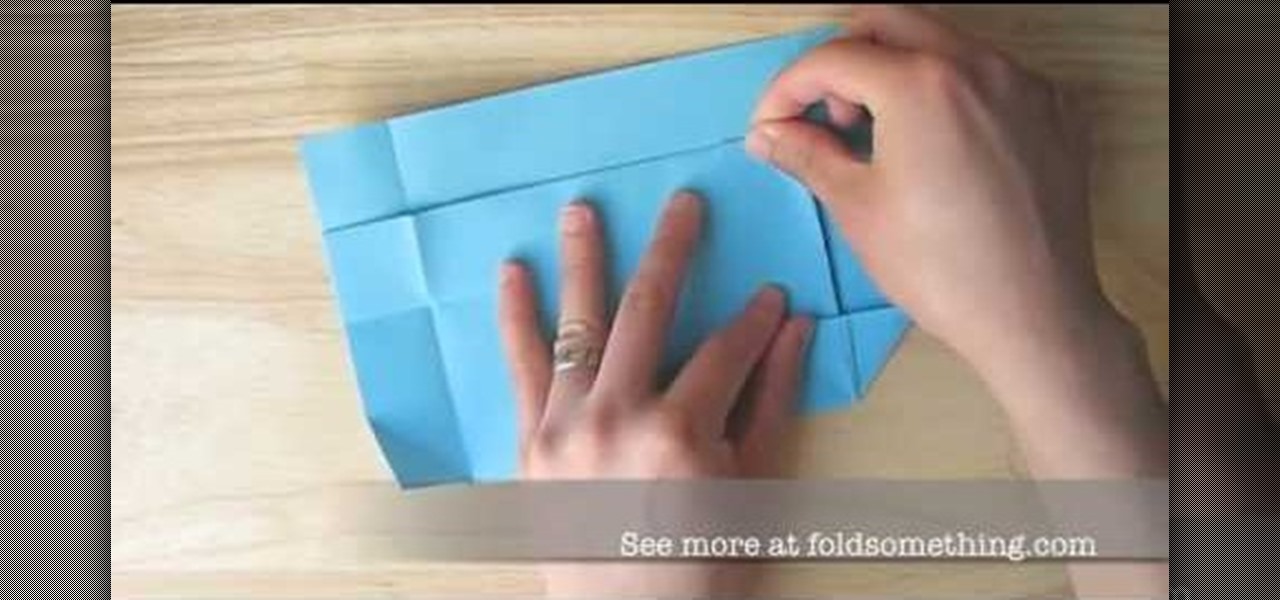
In this Arts & Crafts video tutorial you will learn how to Origami a paper envelope without glue or tape. Take a piece of paper and fold it in half hamburger style. Fold the open edge of the top sheet of paper back on itself so it reaches the closed edge. Repeat this step again. Give it a good crease, open it up and fold the open edge back to the middle crease and fold it back along the middle crease. This becomes the bar of the bar envelope. Now fold the other open edge of the paper so that ...
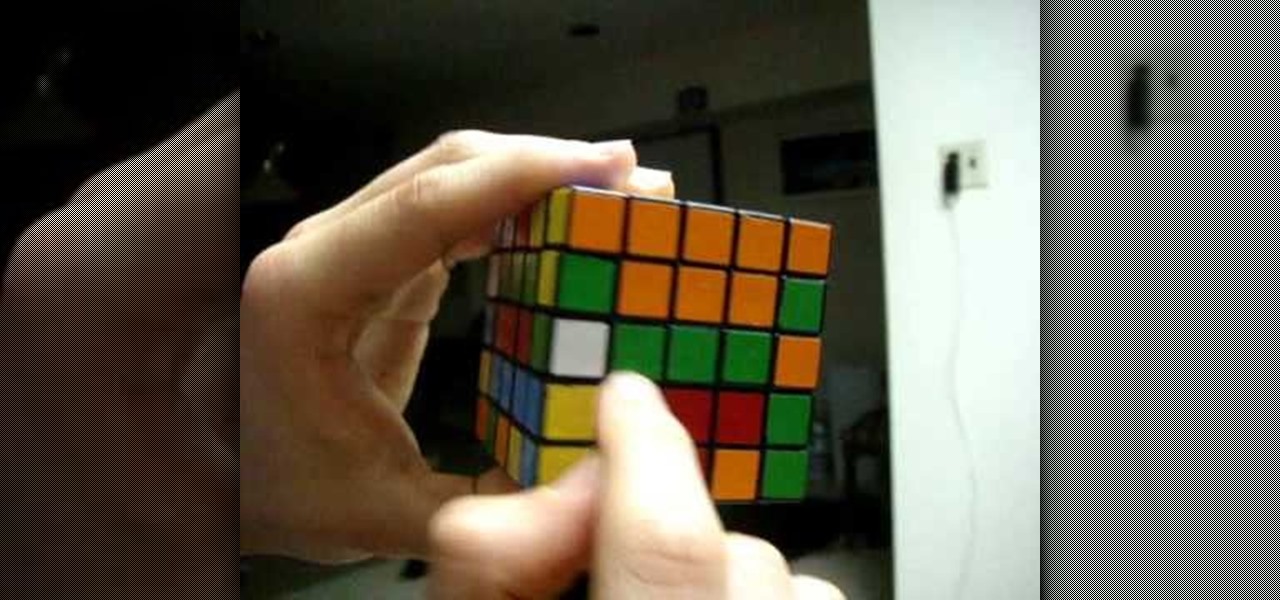
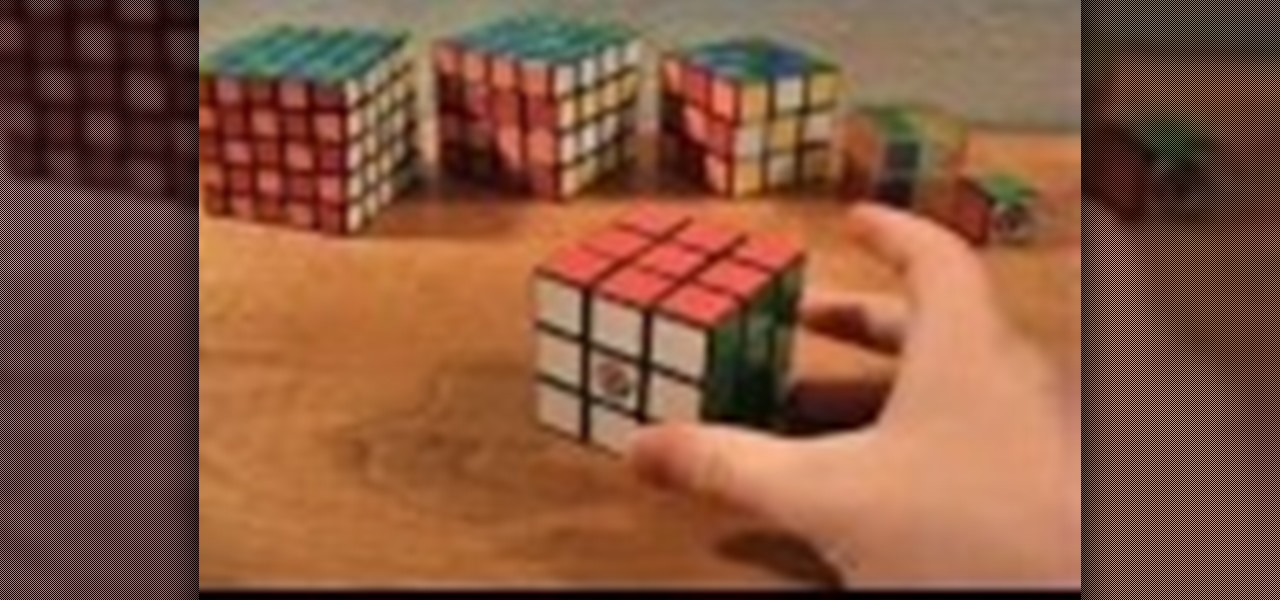
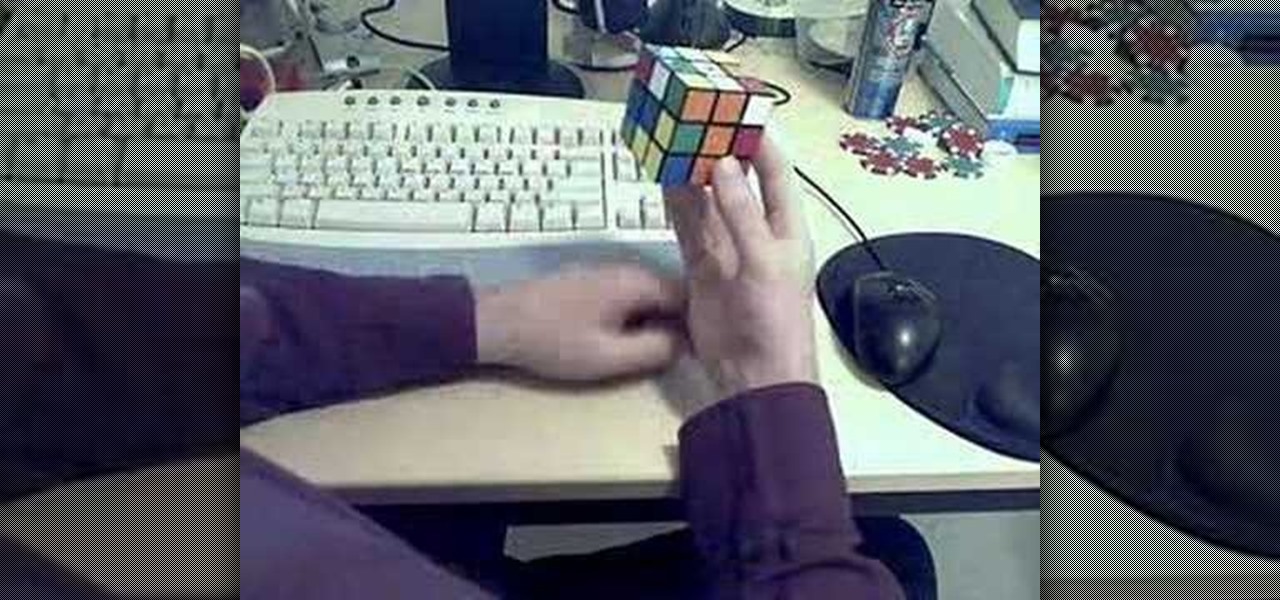
This video shows an explanation for an Advanced Edge Pairing method for the 5x5x5 Cube. The method used is as follows. First, you should match up edges on the middle layers (in the build ring) to form complete "tredges," or triple edge pieces. Then replace and store these tredges on the Up and Down faces of the cube. This method CAN be applied to any size big cube!

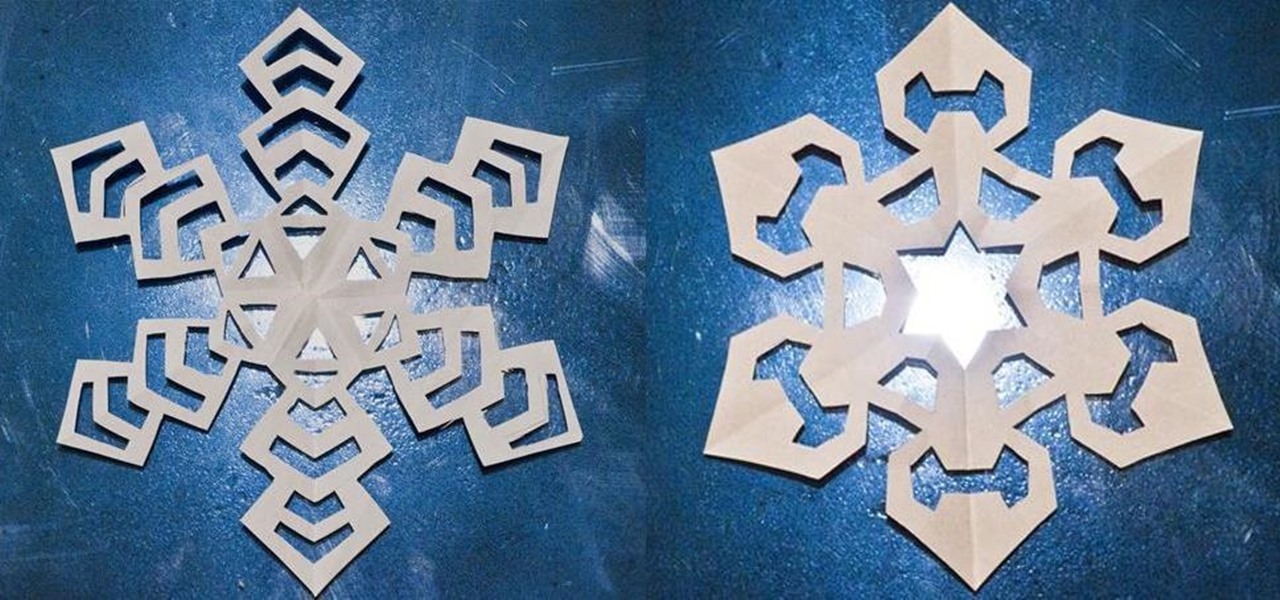
We've all made them. I remember making hundreds of paper snowflakes when I was in elementary school. You take a piece of paper and fold it in half, then fold it in half again. You now have a piece that is one fourth the size of the original. Now you fold it in half diagonally. You then cut slices out of the edges of the paper, and unfold to find that you have created a snowflake. The resulting snowflake has four lines of symmetry and looks something like this: If you fold it in half diagonall...

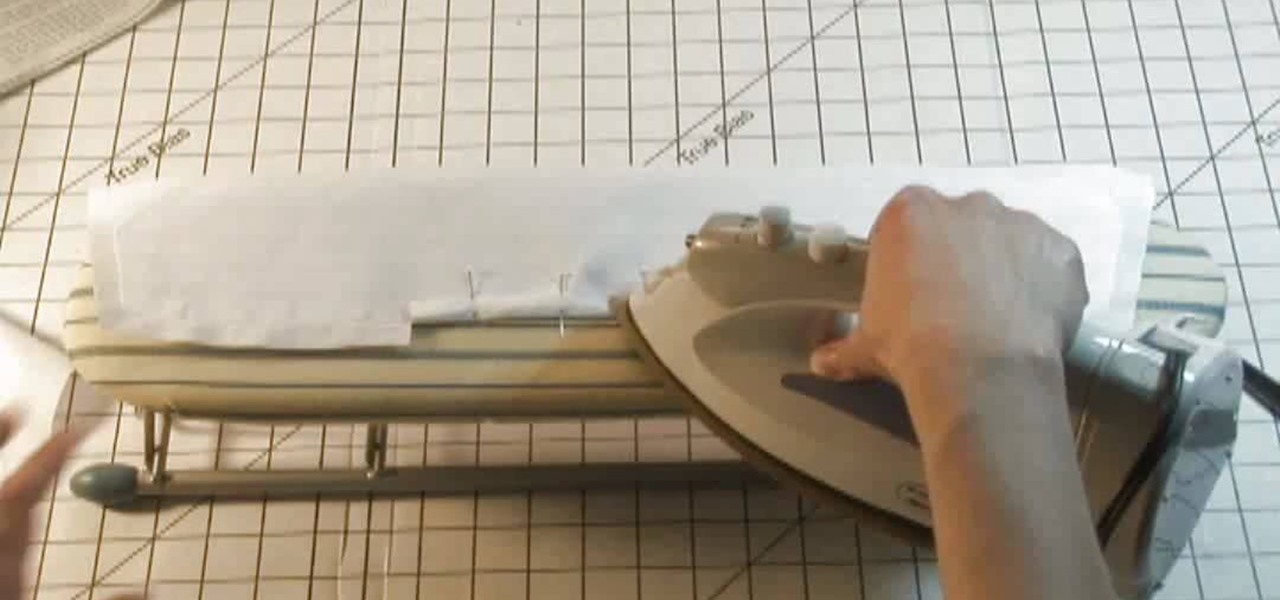
By using sewing pattern Simplicity 4670, the author of this tutorial video takes you through the steps needed to produce a great shirt collar. First you should attach interfacing to one piece of the shirt collar. Here you will be using fusible interfacing and taking the facing to the shirt collar iron the interfacing to the wrong side of the fabric. Sew a guide line that is 5/8ths of an inch wide along the notched edge of the shirt collar's facing piece. At the dot markings of the collar clip...

In this tutorial, we learn how to make an array of paper roses. Use any colors of paper you want with this to add a special touch to them! Now, you will take the pattern or color of your choice and fold it up into a square. after this, fold it into a triangle and then cut the edges of this off. After this, cut the bottom off and open it up, it should be a flower shape with a hole in the center. After this, repeat with several other papers and then cut the flowers up into halves. From here, yo...

In this video, we learn how to build a bionicle switchblade. Start with the piece of the blade that has holes inside of it. Then, start to connect the edges and the other pieces that go inside of it. Grab the piece for the blade, then lock it into place by attaching the elbow pieces that connect around it. Once you have connected these together, you will have one entire piece with the blade on the very edge of it. The end of it should be bendy, so grab a rubber band that is thick and wrap it ...

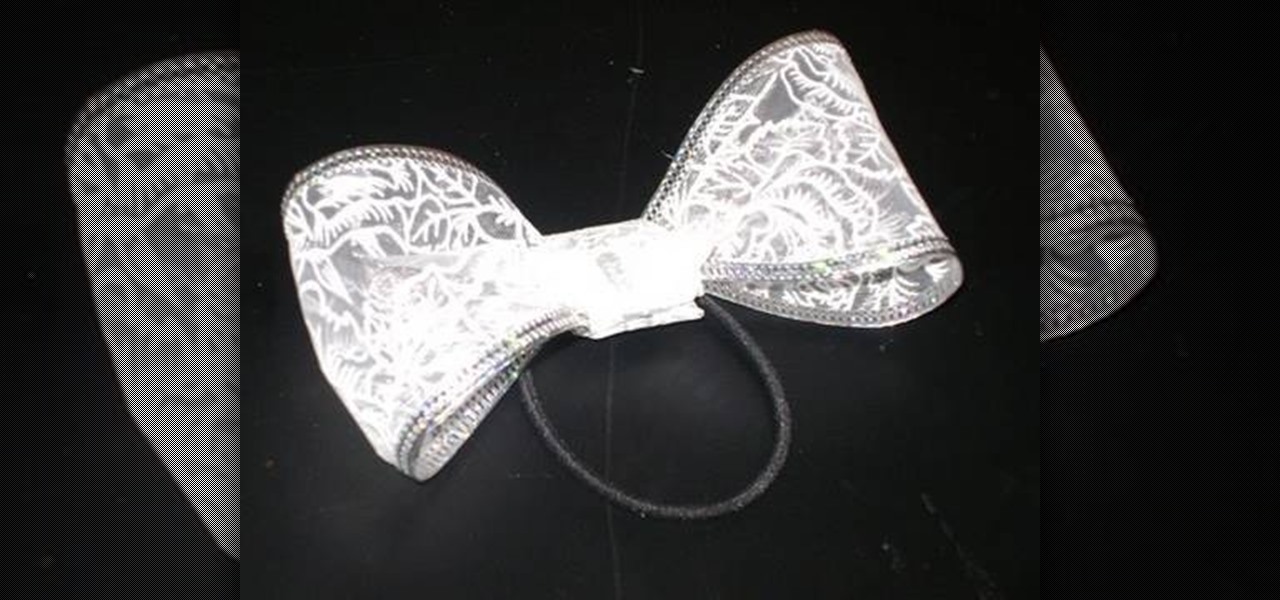
Materials required are lace, hair band, scissors and glue. Start by cutting off a piece of lace around ten inches length using a scissors. Now apply glue at the edges of one end of the lace. And then join the other end of the lace together to form a circle. Now hold this lace at the middle and then push in the middle. Press in at the centre so that it is divided into a Bow as shown. Spread the edges a little to make it appear fine. Now cut off a piece of lace around four inches using a scisso...

Place the paper colored-side down on the table. Fold the piece of paper in half to form a triangle. Match the upper right corner to the bottom left corner. Run your fingers along the edge of the triangle to complete the fold. Shrink the triangles size again and fold it in half once more. Match corner to corner. This fold forms a smaller triangle. Ensure the corners match up evenly. Run your fingers along the edge of the smaller triangle to complete the fold. Open up half of the triangle. Pres...

This video shows you how easy it is to cut and make holes in cement backer board. The first thing you want to have is safety glasses to protect your eyes. To make a punch out hole you have to draw an outline of the hole with a pencil or pen. Use a drill to make several holes inside your outline. A jigsaw will cut out your punch hole. Push the punch hole out. Make a straight cut by marking the front of the board with a pen and a straight edge and use the scoring knife along the straight edge t...

As the best-selling toy of all time, the odds of you once playing with a Rubik's Cube are pretty high. And if you're like me, or even the cube's inventor Erno Rubik, your first attempts likely ended in futility. Every twist, every turn, the cube just gets more and more mixed up. Is there really a solution?

You don't need to be an expert designer to make your own clothes, only the patience to work step by step. This video will show you how to follow a sewing pattern.

In this video, we learn how to edge a knitted piece with a crab stitch. First, attach your yarn to the left edge of your work. After this, work one chain stitch, then go backwards with the hook. Insert it into the fabric and grab the yarn and pull it through the loop. Go around the yarn again and pull it through again. Keep going backwards and grabbing more yarn as you go in reverse. You are working with one loop on the needle while going into the fabric. Make sure you're consistent with the ...

In order to make a pair of baby shoes from gum paste, you will need the following: a pattern/template from Cake Central, gum paste, a paint brush, a knife, foam, mini flower cutter, rolling tool, a cutting tool, a quilting tool, dust brushes, snowflake luster dust, and edible glue.

Make a Christmas Gift Card Holder Materials

This was my little cooking project for the holidays, I hope you like it! For this recipe you will need:

You may know how to cut and sand plywood, but bending it is a totally different skill set you need to master, but this woodworking how-to will show you the right moves in seven easy steps. In the video, a bend is being applied to plywood for a curved chair leg, but this method could be used for any kind of plywood bends.

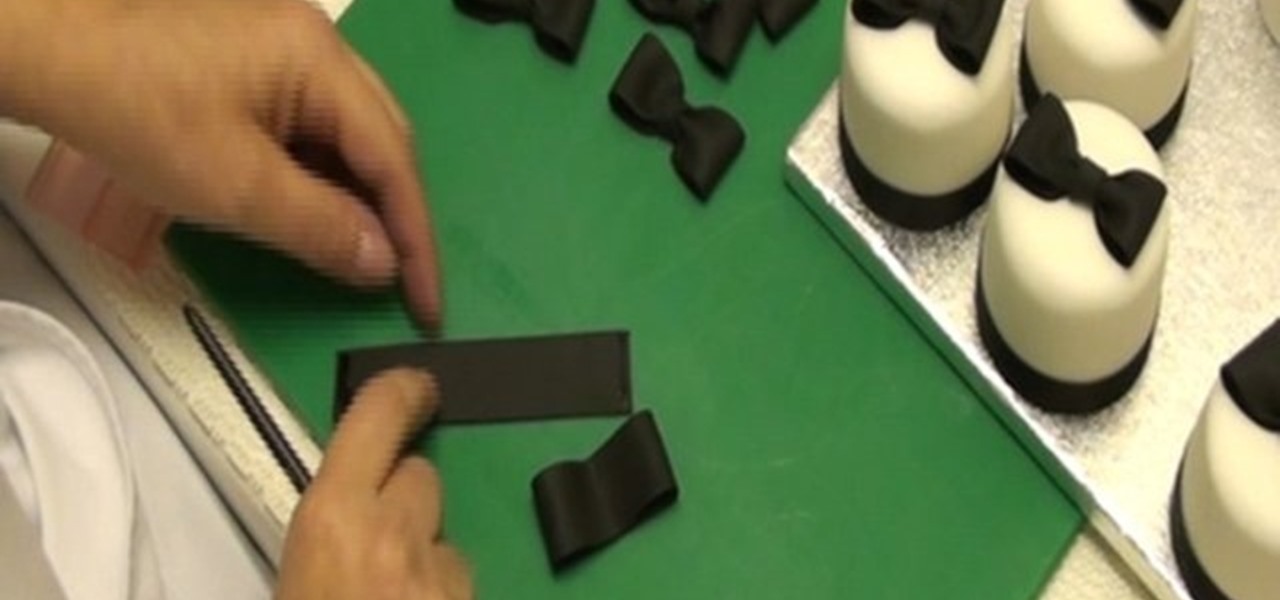
In order to make Decorative Black Bows for cakes, you will need the following: sugar floral paste, a small rolling pin, a strip cutter, ruler, sugar glue, a paint brush,

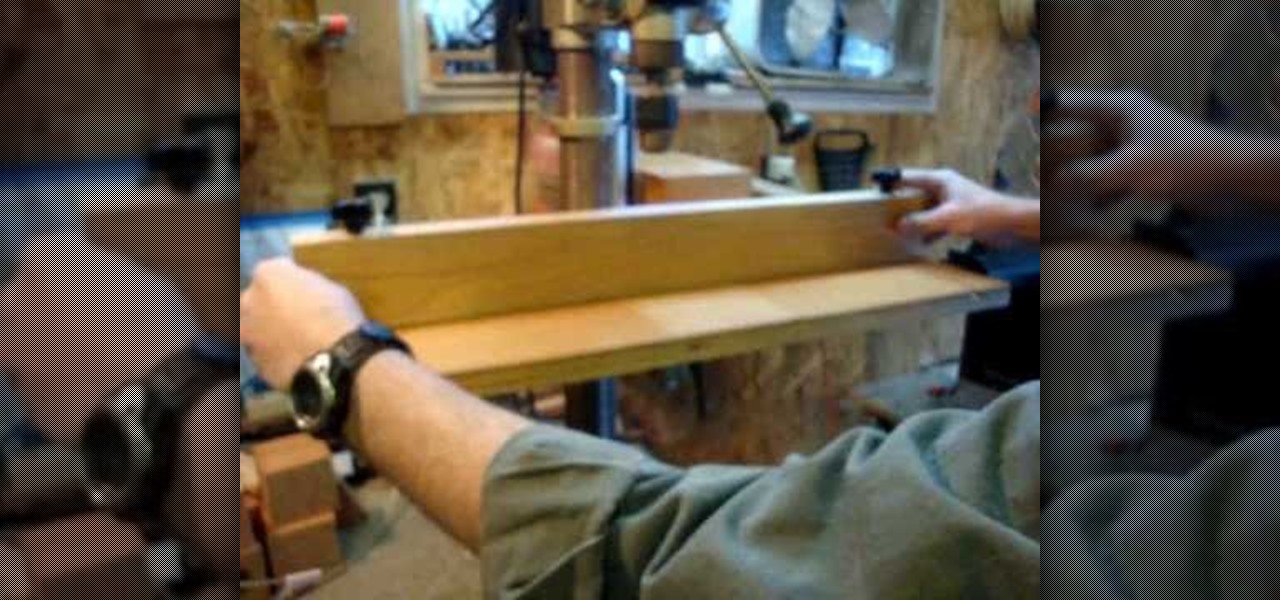
It is not that hard to make your own drill press table. Start with a 3/4-inch piece of plywood. Cut a 3/4-inch dado cut on both ends of the 3/4-inch board about two inches from the end. Top the 3/4-inch plywood with a 1/4-inch piece of oak cut into three pieces. When you cut the board into three pieces cut the center piece out with a 10-degree angle so that when you glue the two end pieces down the center piece will slide in and out but be held in place by the angle. This allows you to change...

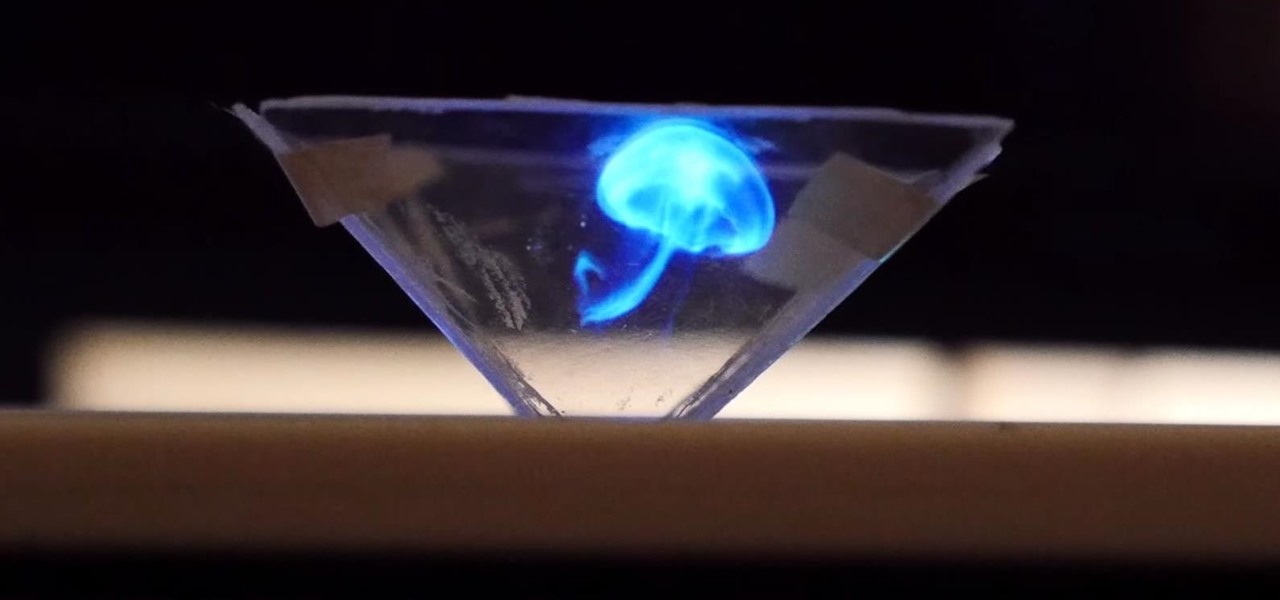
Holographic technology has made a push towards becoming a reality for everyday consumers, most recently with the introduction of the Microsoft's HoloLens, which combines real-world and virtual elements in one awesome device.

Turn that dusty old tome into something you will actually use – a sneaky stash for your best stuff. You Will Need

This tutorial shows you how to use the Cut it Out tool in the Essentials 2 plug-in for Photoshop Elements. Learn how use the magic pen tool in Cut it Out to quickly cut out hard edged subjects or objects. The Essentials 2 interface makes cutting out with hard edges a snap in Photoshop Elements. Cut out hard edges in the Essentials Elements plugin.

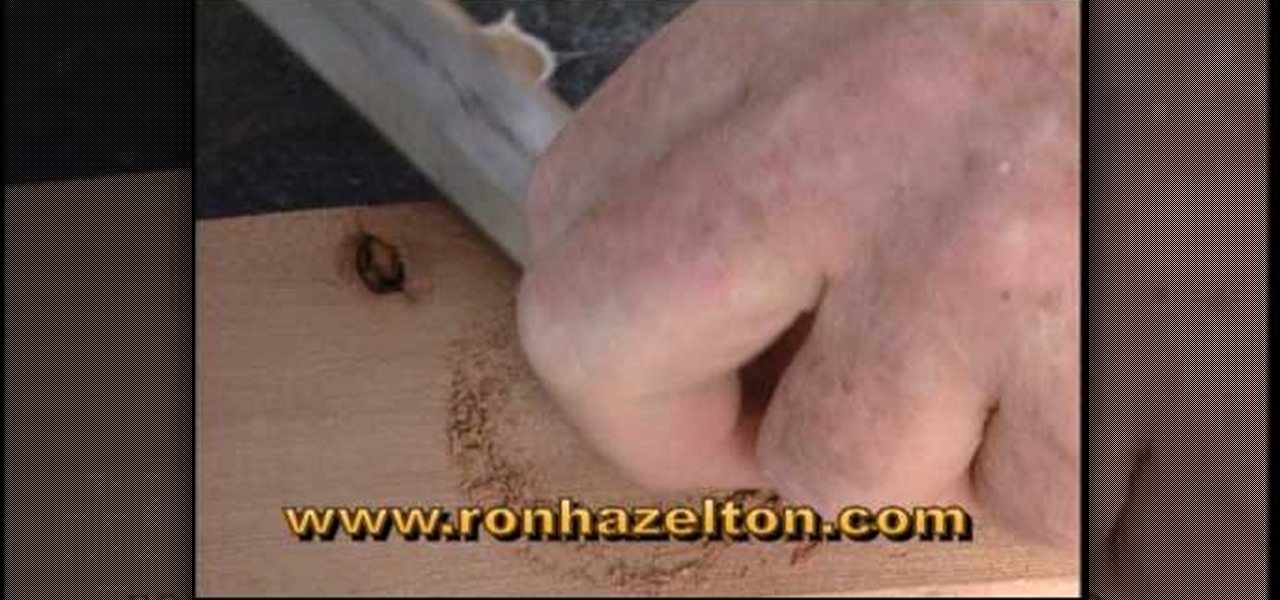
There are a number of ways to deal with screw holes that are visible. You can buy some wood buttons and put them in the holes. You put a little wood glue in the hole and then tap the wood buttons into the holes using a hammer. This is a decorative solution to cover up screw holes. If you want to completely cover up the holes completely put a plug cutter on your drill and cut a plug out of a piece of wood that matches the wood that the hole is in. Take the plug put a little glue on it and tap ...

This video knitting tutorial shows how to attach an I-Cord onto another knitted piece. Start by picking up stitches along the edge to which the I-cord is to be attached. Break the yarn, and cast 3 stitches onto a double-point needle. Slip these stitches onto the front end of the needle that is holding the edge stitches, such that the working yarn is 3 stitches in, next to the first edge stitch. Begin by knitting 2 stitches, pulling the working yarn across the back, as for regular I-cord. The ...

In this tutorial, we learn how to make a paper snowflake. First, take a copy paper and fold a quarter of it over to the other edge. Next, cut off the excess paper so you have a triangle shape. Now, fold a corner to the next corner, and repeat so you have another triangle. You can now cut corners off so they are even and you have a rounded snowflake. Then, cut a triangle starting from your edge points that you just created. Now cut slits a quarter inch apart into the middle of the paper all th...

By watching this video, you will learn how to create your own art journal. Begin by cutting pieces of heavy weight cardstock 5" by 8". After you have cut all your sheets, fold them in half. If you want a defined crease, you can use a bone folder. Next, poke small holes in the crease of each sheet. Start at the center and then poke one every inch above and below the center hole. Then using a regular running stitch, sew through each hole of a single sheet. Once you reach the bottom hole, bring ...

Save some money on your energy bills by making an attic stairway box. For less than twenty five dollars, all you need is caulk, UL181 masking tape, insulated sheathing, and rubber foam sticky tape. Measure the width, the length, and the depth of the attic stairway opening. Lay the insulated sheathing down on the floor and get a straight edge. Take those measurements and create a rectangular box. Mark out six pieces to create the parts of the box – two large top pieces, and four shorter side p...

This video shows how to make a hair pin with small items. This sure looks easy to make. You would need:

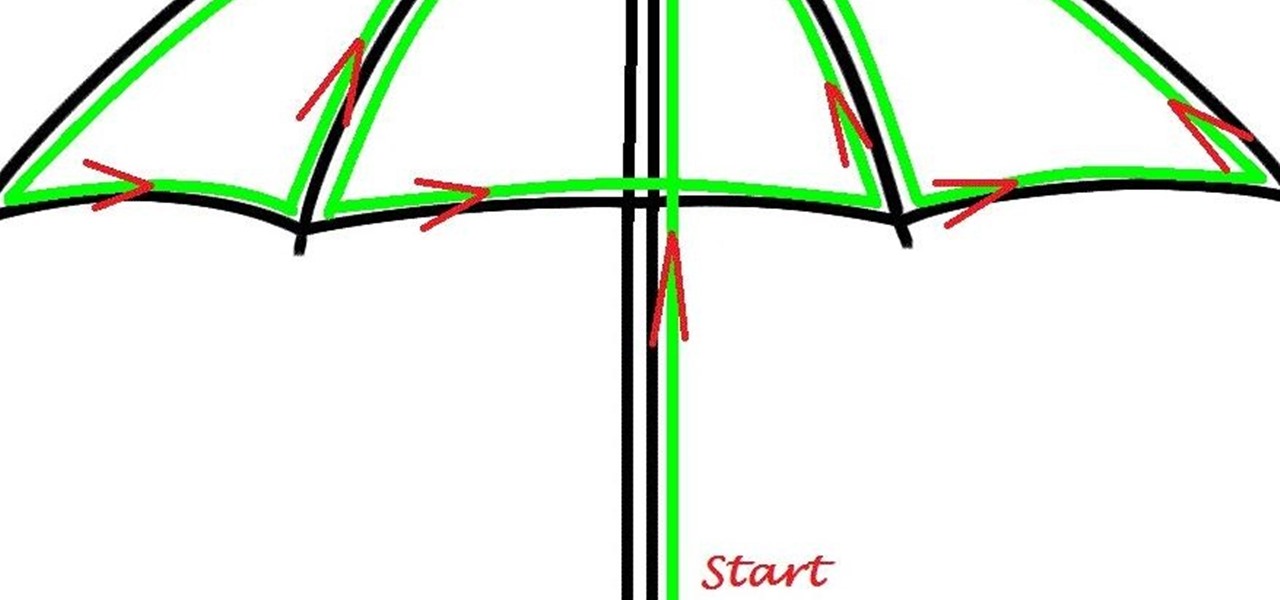
Here's a children's umbrella lined with neon green EL wire. It's definitely an easy and fun project for kids to do with their parents, and more importantly, it keeps the little mischiefs safer if they're out and about on rainy days.

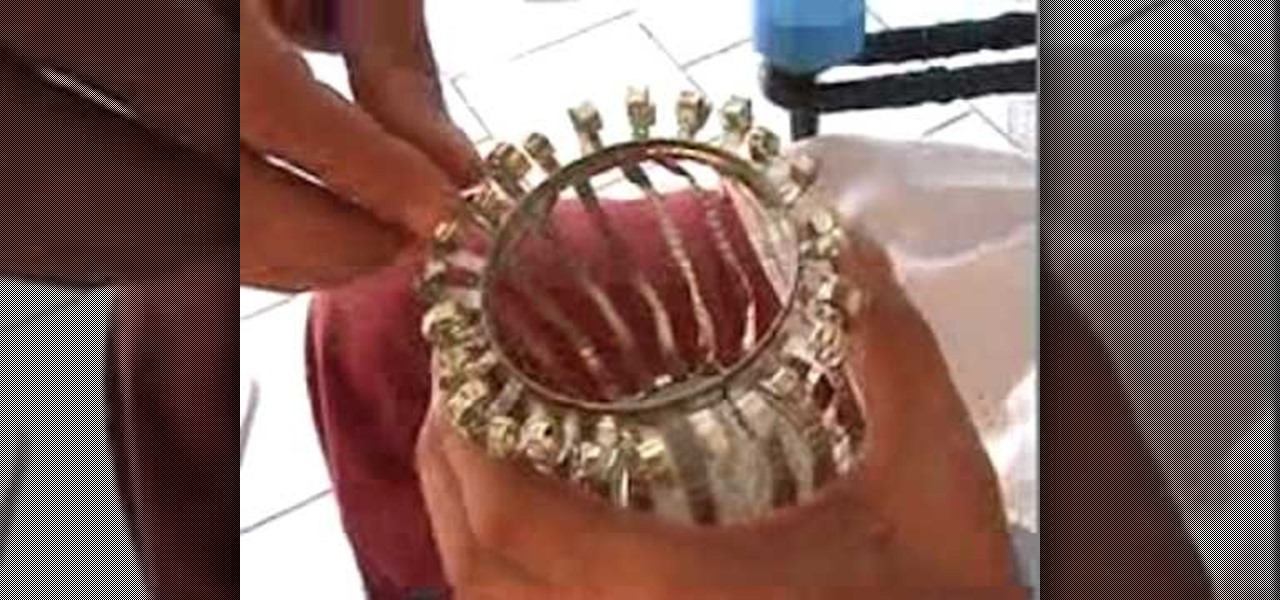
In this video, we learn how to recycle cans and make decorative candle votives. First, you will use a straight edge to remove any paper from the top of the can. Then, use the straight edge to cut parallel holes in the bottom of the can. Grab sharp scissors and continue to cut the holes from the bottom all the way up to the top of the can. After this, use scissors to help pry the folds up and into the air for a cute design. Make sure not to use your hands to pry these up, as the edges will be ...

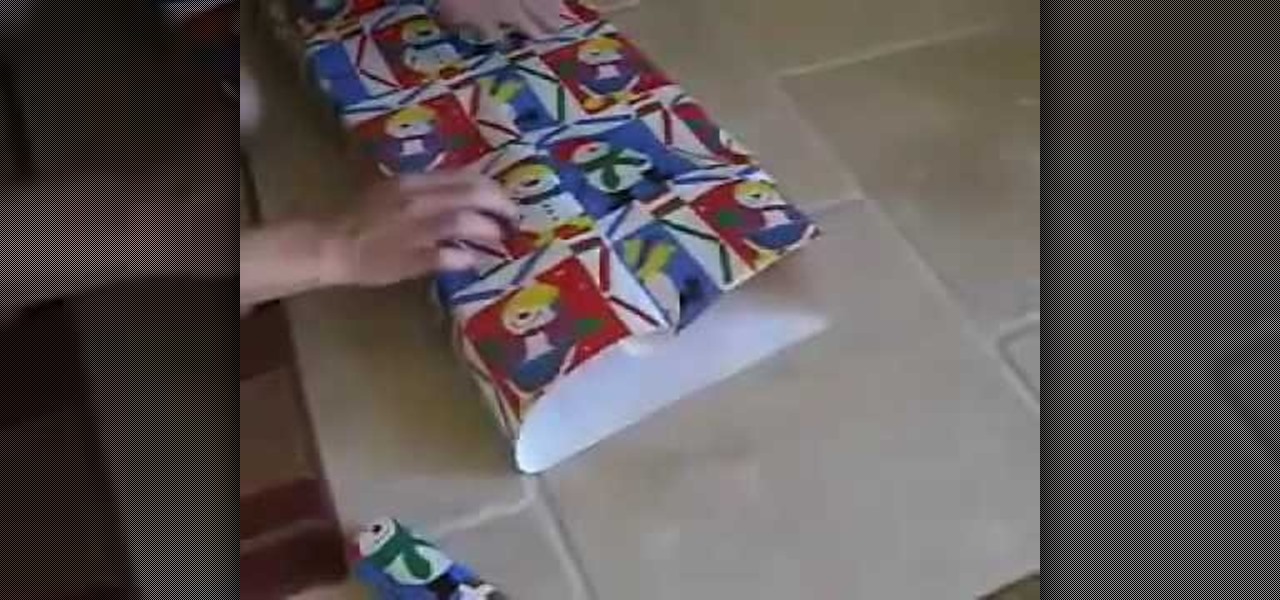
In this video, we learn how to wrap a gift. You will need: scissors, your gift, tape, and wrapping paper. First, place your gift down on the rolled out wrapping paper upside down. Measure out the paper so you have enough, then cut the paper from the roll. Next, you will fold the edges of the paper down, then center the gift on the paper. Bring the sides of the wrapping paper into the middle, then tape it. If you have too much paper on the edges, cut it carefully with the scissors. Now, push d...

Sure, there's six steps, by why are there eight videos? Well, why don't you just keep reading, or watching?

If you have a beautiful Annual flower bed or a formal bed with lawn on one side you'll want a clean edge between the two. It not only looks nice but keeps weeds from encroaching into the bed helping reduce maintenance. There are several ways to create a nice edge to your beds. You can use a shovel, digging a line bit by bit but that gets hard on the back. Available materials for edging include, plastic edging and metal strips and wooden edging pieces. The wooden edges can be linked together b...

In this video, we learn how to create a realistic looking cut using cinema makeup. Start out by using silicone putty on the face to help make the cut on the face look more real than ever. Use brushes and a spatula to help mix colors together and apply to your face flawlessly. Also make sure you have fake blood with you so you can apply to the face to make look more realistic. After you have let the silicone dry, start to apply the red, dark red, and black colors onto it and blend to create a ...

In this video we learn to make fondant flip flops to decorate cakes. Grab your fondant and mix in your various colors. You can have as many colors as you want but should have at least two. Roll out your first color to your desired thickness. Use a butterfly cookie cutter to cut out a butterfly. Use a sharp knife and cut out the center of the butterfly so you have the seperate wings. Curve the edges so they are nice and smooth. These are the bottoms of your flip flops. Then take a small piece ...

This week on Etsy How-Tuesday Kristen Couse aka cakehouse shows us how to make a decorative holiday trivet for the dining table. You can spice up your home decor, whether you're hosting Christmas or a potluck with friends!

In this video, we learn how to make a Necronomicon prop from the "Evil Dead" series. First, gather all of your materials together so you can make this prop. After this, cut up piece of cardboard into the desired shape, then tape them and make sure it's able to open and close. Next, you will use tape to make it look like creases in the skin and create the face by rolling it together. Use masking tape to connect these and make it look like it's all part of the same skin. Next, mix red, yellow, ...


