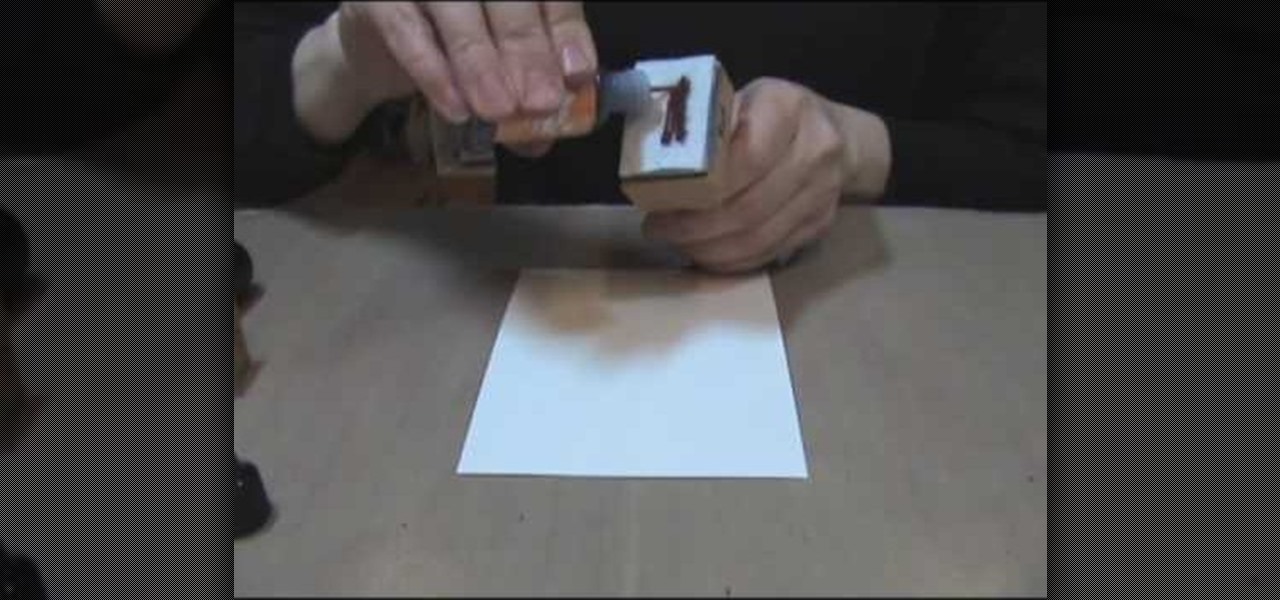
In this video, we learn how to make zebra and tiger prints with Ranger's alcohol inks. First, you will need some alcohol ink in black, gloss paper, a stamp, and felt. Now, take your felt and cut it into small strips. Make lines like a zebra or tiger would have. Next, push these strips onto the stamp bottom, arranging them to look like a zebra. After these are stuck on securely, trim off any edges and make some pointed. After this, you will squirt the black ink onto the bottom of the stamp on ...
This video tutorial belongs to the Film & Theater category which is going to show you how to build a light diffuser to improve your film lighting. Joe Richardson explains how to do this. You will need four pieces of pine wood 1" x 2" x 8 feet long, framing nails, duct tape and light cloth material. Cut the wood at the edges at a 45 degree angle and lay them out on ground to make the frame and hammer in the framing nails. Now spread the cloth over the frame and start stapling it. Pull the clot...
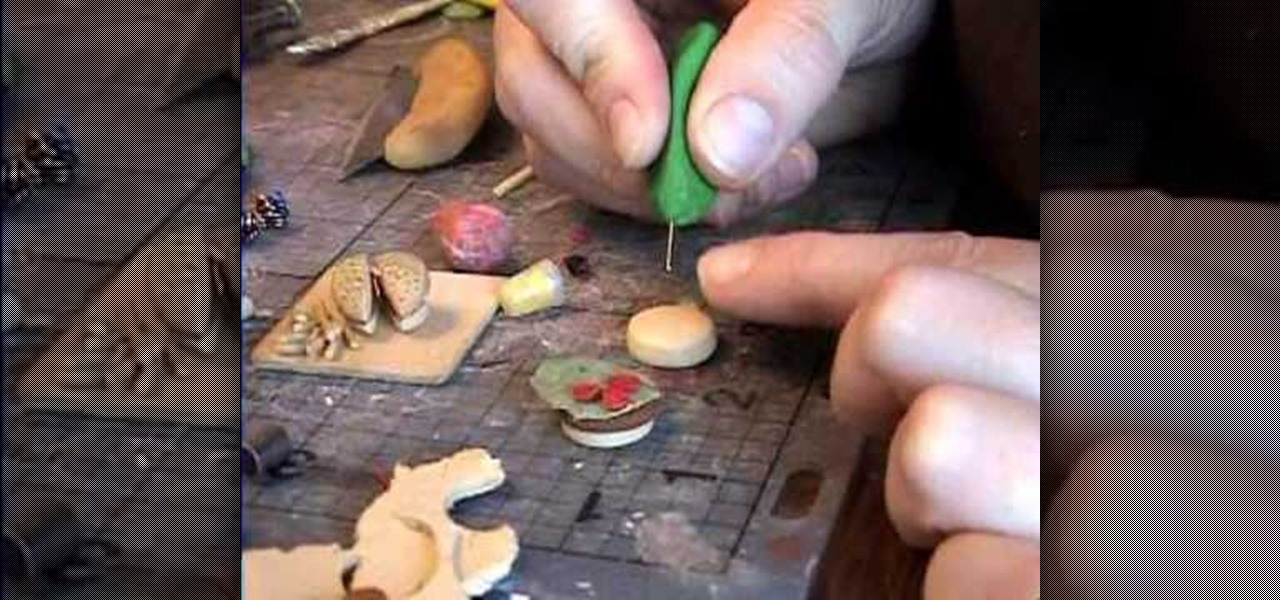
Using multiple layers of clay, garden of imagination shows how to make a hamburger and fries out of polymer clay. This decorative item would then be placed into a miniature dollhouse being displayed as a food item. She rolls a peppercorn on brown clay to give it the texture of meat. She mixes together green and whit clay for lettuce, and uses another piece of clay to ruffle the edges of the lettuce. She uses small round cuts of clay for tomatoes. Using an embroidery needle with a clay handle ...
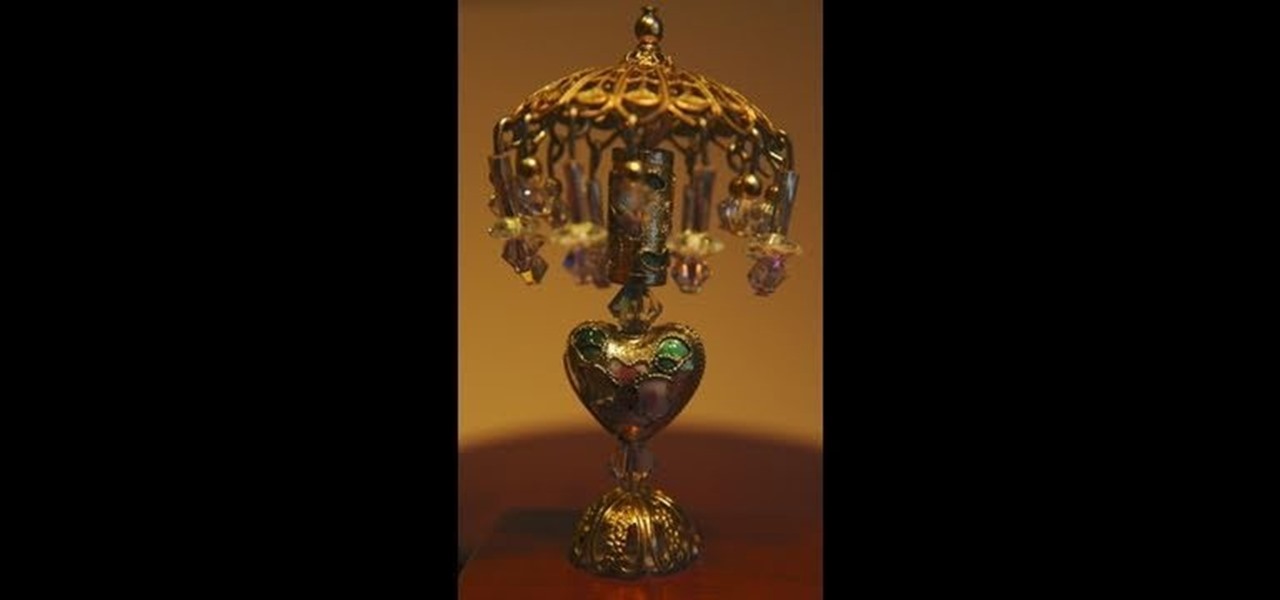
Start with an eye pin. Place a gold bead and end cap on it. Now put on a piece called a stamp, or stamping. You want to find one that is curved like a lamp. Next put on a large crystal (8mm). In this video she uses a Swarovski crystal. Find some beads you like and place them on the pin. At the end, place on a large plastic back of an earring to secure the beads and hold the "lamp" upright. Now to make the little beaded fringe at the edge of the lamp, you take another eye pin and thread on som...
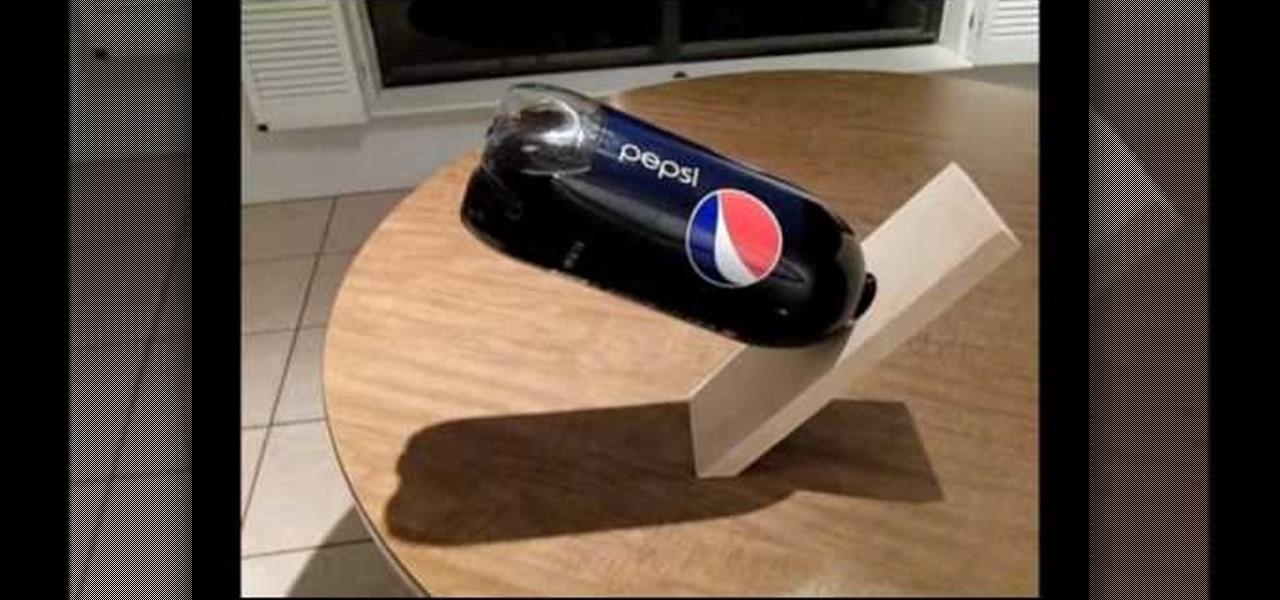
In this video, we learn how to make a wooden soda holder that defies gravity. First, cut a hole into a piece of wood that is large enough to fit the cap of a 2 liter bottle of soda. Now, with the bottle still full, place the bottle into the hole and raise the piece of wood up so it's sitting on the edge of a table. Now, the wood should stay there without you having to hold it. This will look like it's defying gravity, but it is just the soda and wood being positioned perfectly so it doesn't f...
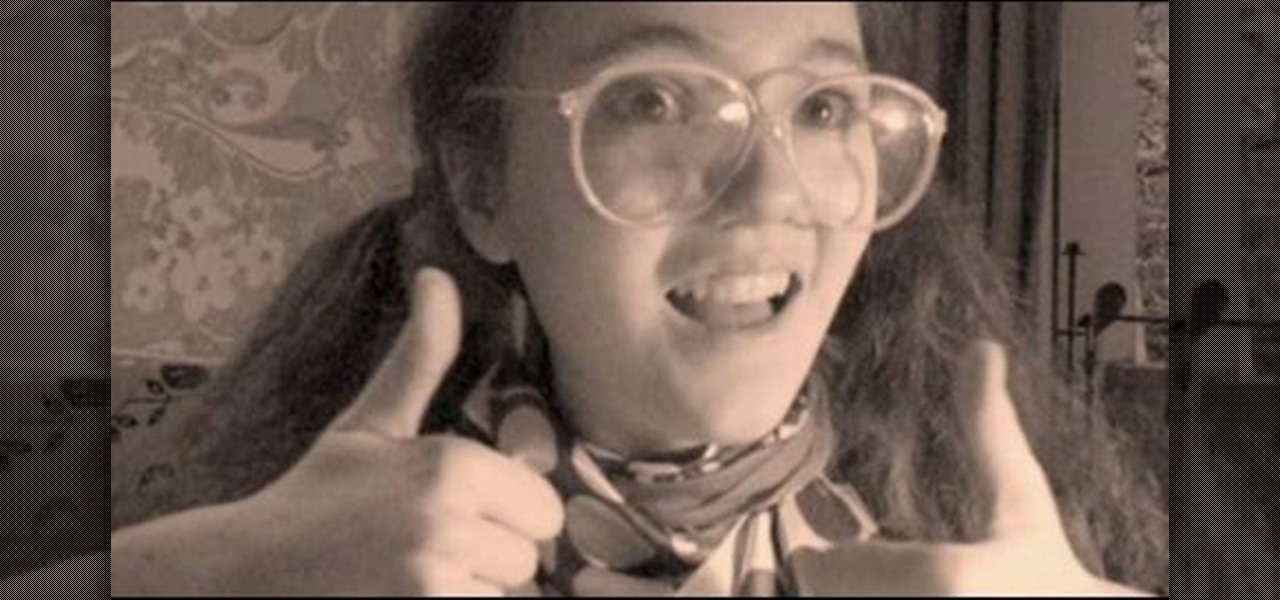
In this tutorial, we learn how to make a vintage inspired vest. First, measure yourself around the bust waist and hips. After this, write down what your measurements are, then mark them on a piece of fabric you want to use as your vest. Cut out the shape and then fold in the edges and sew the sides to hem them and reduce and frays. After this, add in any scrap pieces of fabric you have laying around and sew them to the vest to make your desired look. After this, sew on buttons to the front of...

You know Moana's a rock-solid pick for Halloween this year. The question is, how far will you go to become Moana? Are you going to just slap on a cream skirt and a red bandeau? Or do you want to go all out and end up with the finished product like YouTuber Gladzy Kei did?

Are you into Gaara? If so, why not make one of his gourds? Materials you will need:

In this tutorial, we learn how to make a Saw 2 death mask. Start off by grabbing an old helmet and covering it with plastic wrap. Then, make paper mache over it. From here, cut a piece of rubber into small strips. Then, draw and cut three stripes on a piece of cardboard. Then, use two strips for the shoulders and one for around your waist. Then, make the front chest piece with cardboard. From here, make a square with Styrofoam and cut out a piece of an egg carton. Now, draw the eyes and mouth...

In this video, we learn how to quickly make an origami kusudama. This only requires six pieces of paper to make. First, fold one piece of paper into a triangle, then open it up and fold it in a triangle on the opposite side. Open this back up then flip over. Bend in the edges to make a new triangle, then press down the creases on the side. Bend the middle of the triangle up to the point on both sides. Bend these back down, then fold over the side and make a crease. Open up the bottoms where y...

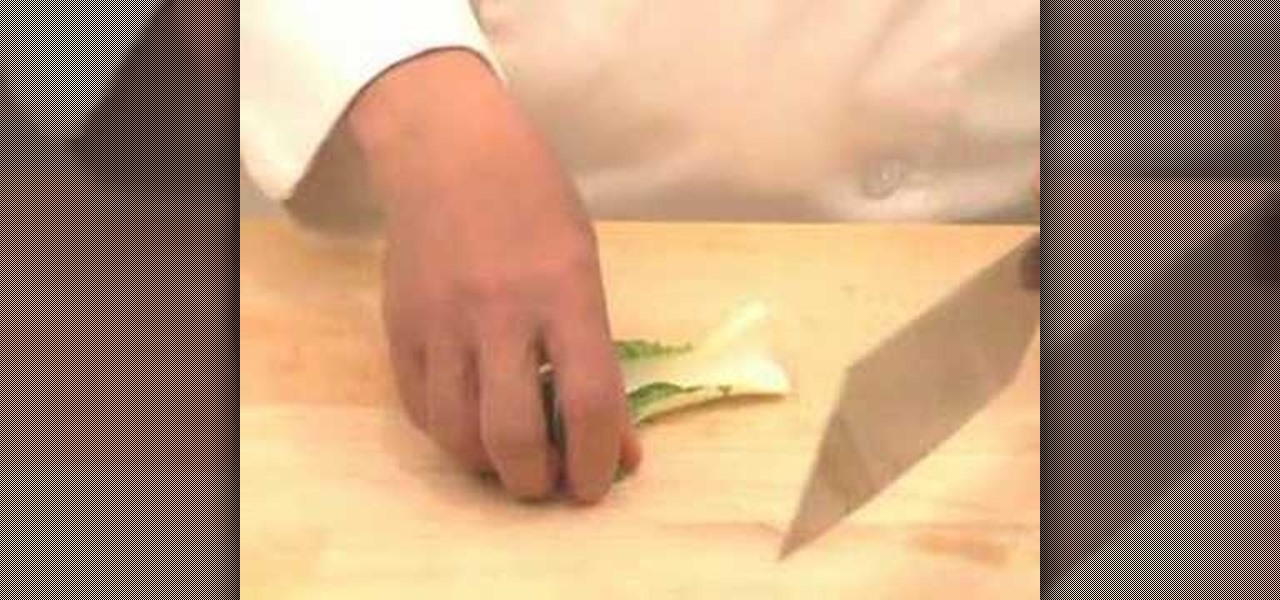
How to prepare bok choy for Chinese food

This origami box looks rather simple to make. You take a piece of paper and fold it into a triangle. Be sure to make the fold visible to see. Take the extra piece from the triangle and fold it up so as to form another crease. This extra piece will be removed in order to create the box. After you remove the extra piece refold the paper along existing fold to reform the triangle. Then fold the triangle in half, making sure that the edges meet perfectly. Then unfold the paper and take the corner...

Check out this video cooking tip from The Chef's Toolbox in Australia. Watch this tutorial to learn how to trim chicken pieces like a chef. Trimming chicken is easy with a little know-how, see how to do it right here.

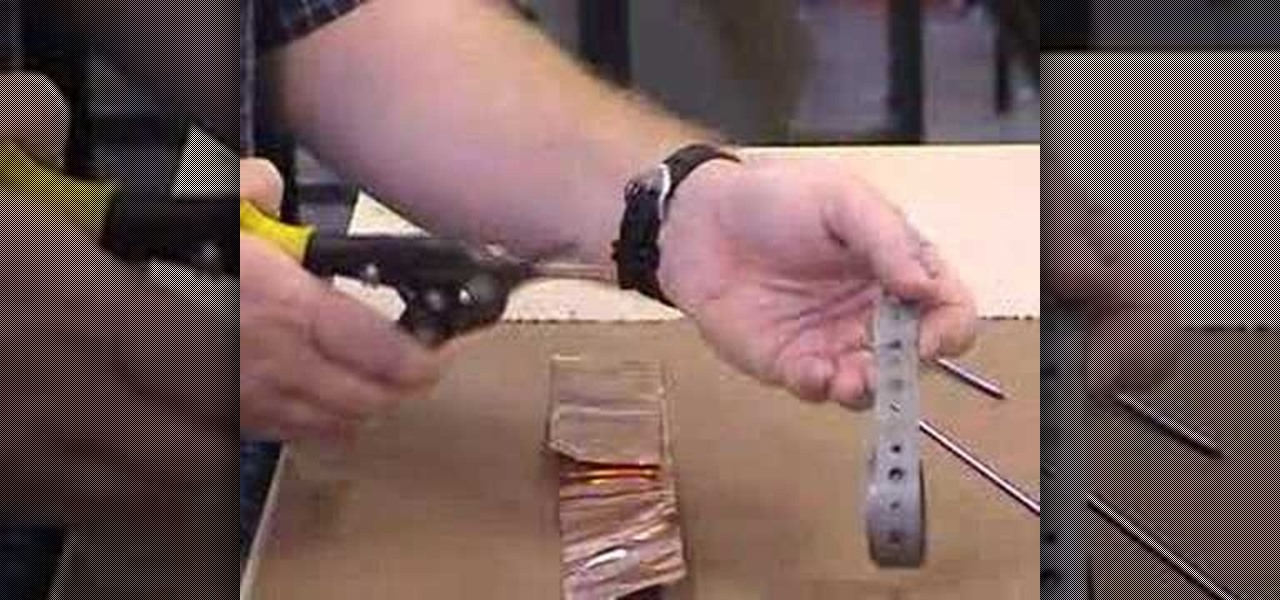
This is an instructional video featuring Doug Prime, founder of the Future Engineers Center at the University of Massachusetts Lowell. Aviation snips cut small metal like aluminum, but not big pieces like nails. Nails and large pieces of metal should be cut with bolt cutters. Use eye protection during all cutting of metal. This video shows the cutting of pipe straps.

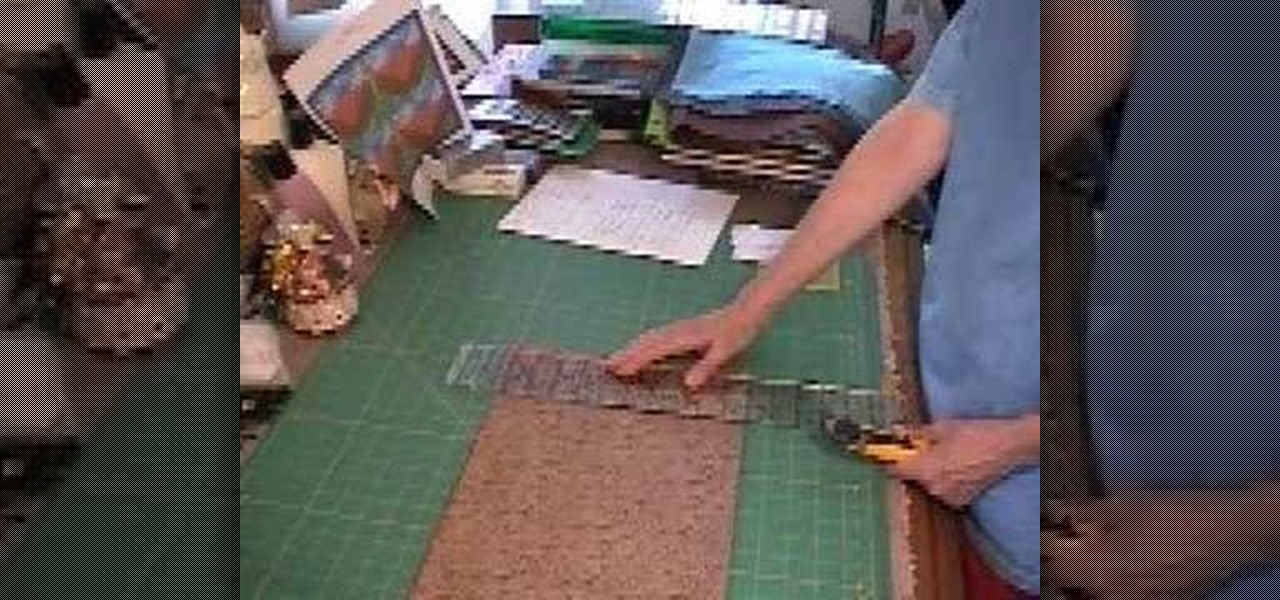
Watch an experienced quilter glide through four layers of fabric to make a clean cut with a rotary cutter. This instructional quilting video shows how a right handed person would cut fabric. You will also need a straight edge and a cutting mat in addition to a rotary cutter in order to make straight cut in quilting fabric.

Cutting a chicken into eight or nine pieces is relatively easy. In this how to video Chef Paul demonstrates how to cut chicken. Watch and learn how to hold your chicken while you cut it. This method of cutting chicken is great for deep frying.

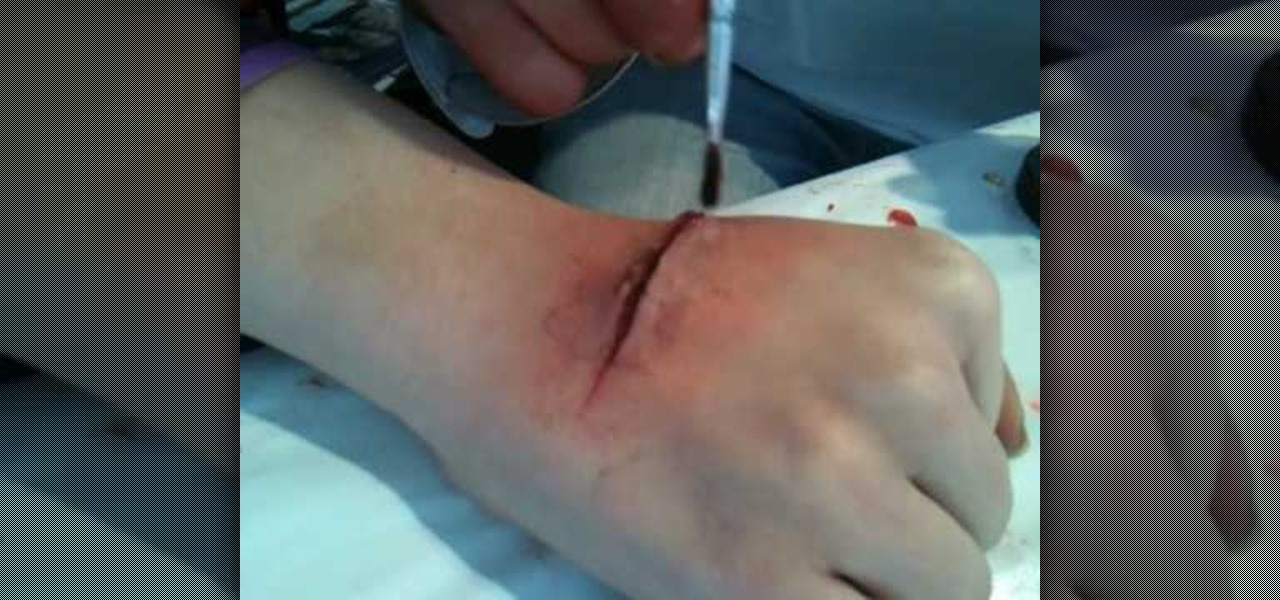
Finally, the professionals are weighing in on how to create fake wounds! This video features a makeup artist from the BBC demonstrating how to make a really realistic fake cut on the hand of an actor using theatrical makeup. The plastic pieces from a CD jewel case that resemble broken glass really set this cut apart from the other fake cuts on the site, along with the professionalism of the presenter.

Making your own Mondrian-inspired cushion cover is demonstrated in this clear and concise crafting video. Materials required are a plain cushion cover( preferably in a tight weave such as canvas or cotton; water; medium size, firm, flat edge paint brushes; scissors; one inch wide masking tape; a sturdy piece of cardboard , saran wrap and 4 jars of textile paint - one color should be black or graphite. You may choose plain or glitter paints. Cut the cardboard about one inch smaller than the si...

This video in the Fine Art category will show you how to use the refine edge in Photoshop. This video tutorial is from Yanik Photo School. This feature is available in Photoshop CS3. If you are shooting objects in isolated background and you want to cut that object out and put it on a different background, the object will have jagged edges. Refine edge will help in smoothing those jagged edges. First select your object, then go to ‘select’ and click on ‘inverse’ and you have selected your obj...

This video shows a demonstration of how to make crepe paper rosettes. The materials used are four strips of paper, two small paper circles, and double sided tape. First put double sided tape on one of the circles and trim the edges. Put a corner of one strip of paper onto the sticky edge of the circle. Fold and crease the paper as you go around paper circle, forming fan-like folds in the crepe paper. Put a tiny piece of double sided tape to hold the end. Trim the edges with scissor to make a ...

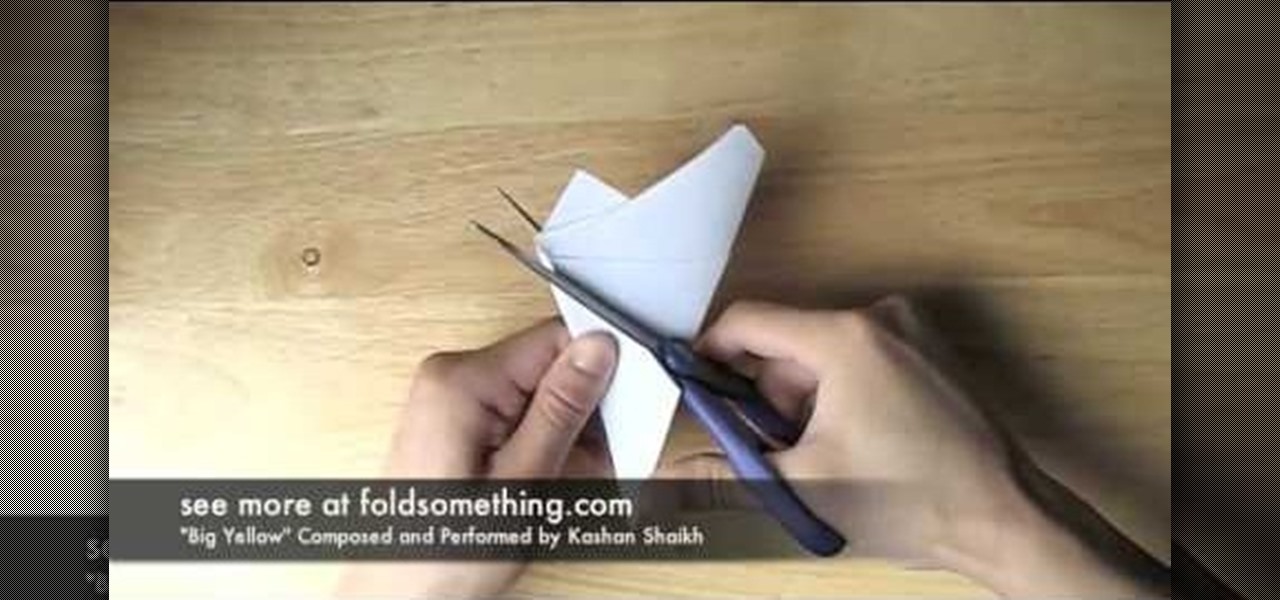
This is a video tutorial in the Arts & Crafts category where you are going to learn how to fold a five-point paper barn star. You will need a square sheet of paper. Fold it in half to make a rectangle. Take the right folded corner and fold it up to the left edge of the rectangle. Place the corner about 1/3 from the top edge and fold the sheet. Next take the left corner and fold it over the edge you just folded. Finally take the flap on the right and fold it over to the opposite side. Now cut ...

Missa shows how to ‘Distress Jeans’ in this video. She lays a pair of jeans to be distressed on a table. Next, the creases near the top, which are formed by bending the leg portion of the jean, are marked with a white pencil or chalk. A hard rock is then placed inside the jean, near the knee area. That portion of the jean is graded using sand paper to make holes. The pocket areas are graded next, using a nail file. A pair of scissors is scraped along the edges of the pockets to make cuts. (Al...

Don't throw away that old keyboard! You can make a sweet wallet with the circuit sheets inside! Inspired by this Instructables project. Hack together your own cool wallet with this mod video.

You will need the following materials: a Green Galore #101768, cut at 4 1/4" by 11' scored at 5 1/2", a piece of Whisper White #100730 cut at 2 1/2" by 1/4", Real Red #102482 cut at 2 3/4" by 1/2", a piece of Whisper White for the door to release the treats from the card, cut at 2" by 2/12", a strip of Real Red cut at 1" by 5 1/2" and a circle of Green Galore with a 1 3/8" circle punch #104401. First use the larger piece of white and the stamp set #120780. Use the clear block #118485 and Gree...

By using LEDs that only put out a little light the eyes can be lit in dim room light but still appear white, the moment the eyes are in shadow they glow bright red. Watch this video tutorial to see how to make glowing LED creature costume eyes for your film or costume project.

In this tutorial, we learn how to make a paper cup cake/muffin basket. First, take a piece of paper and fold it in half. After this, curl the edges up from each of the corners until you end up with a small square in the middle of the paper. Use scissors to create slits where you will make the tabs to construct the box. After all the tabs are cut, push them together so you have a small basket with a neat line. To finish this up, add a handle to the top and push into the sides. Then, draw on an...

In this video, we learn how to cheat on any test using an eraser. First, take your eraser, it should be wide and thick, not one that comes on the top of a pencil. After this, you will cut a hole out of the middle of the eraser. You can do this easily using a straight edge blade. Once finished, you will take a small piece of paper and write down the answers or information you need on it. After this, you will fold the paper up into a tiny square and then place it into the hole in the eraser. Ta...

In this tutorial, we learn how to make a shadow box frame. First, grab a regular picture frame and remove everything from the frame. Next, remove the metal pegs that are around the sides. From here, grab a piece of card stock and draw the outline of the glass onto it with a pencil. Then, extend the edges of the box out on the paper. From here, you will cut it out and then bend it into a box. From here, add the picture and anything else you want inside of the box. Stick double sided tape insid...

In this tutorial, we learn how to make a birthday cake in the shape of a purse. First, bake two round cakes and place them in the fridge. After this, cut off the edge of both the cakes that are the same size. Then, take some frosting and spread it onto the cake to adhere both together. Now, push the cakes together and have them stand up straight. Use the other pieces to make a mini cake and frost both cakes all over. Then, smooth out the frosting all over the surface. Now you can start to dec...

In this video, we learn how to make an easy paper rose. First, punch out three flowers with a paper punch from your favorite color of paper. Then, add contact ink to the edges of the flowers along the petals. Next, you will cut out two of the petals from the flowers and then glue half of the leftover scraps. Make this into a cone and then do this on the other pieces of flowers. Bend out the petals and curl them, then glue all of the petals together. Once finished, add on a green stem and then...

Add a little extra touch of realism to your project or image in Adobe Photoshop CS5. If you're building a digital scrapbook or photo album, you can Photoshop in a few pieces of tape at the edges, and this short tutorial demonstrates a few separate techniques to achieve this effect.

This is a video tutorial describing how to make a doll outfit that includes a half top and a skirt. The first step is to gather what you will need. You will need 2 pieces of fabric, some elastic band, and then something for closure such as a hook and eye, a button, or a snap. Then to make the top you need to cut a 12.5 cm by 6 cm rectangle, then fold the fabric and sew the length and the width, leaving 0.5 cm edges, then turn the rectangle inside out and sew up the opening. Next sew the elast...

When measuring for borders on your quilt, begin by spreading your quilt out on your work surface making sure that it is laying flat but not pulled tight. With a tape measure, measure from one edge to the opposite edge across the length of the quilt. You should measure along two or three different seam lines and cut the border material to correspond with your longest measurement.If you would like a two-inch wide finished border then you should cut your border material two-and-a-half inches wid...

To make a pop-up card follow the instructions below. First fold two pieces of the same size heavy card stock or construction paper in half. Use the first one for your outer card, and the other for your inner cutout card. Cut a 1-1/2 inch strip in the inner card's center and make two slits down from the fold to make the strip. Then, fold the strip inward so that the fold is inside the card and the card has a rectangular hole in the middle of the fold when closed. This will be the base to use w...

In this video tutorial from StudioMallory, learn how to take Mapei premixed adhesive and grout and turn it into a six-point star. Begin by cutting out the star shape in a piece of cardboard. You can use a stencil to make sure the shape is accurate. With your fingers, spread the grout onto the shape. After you are done shaping the grout, spray a little bit of water on the grout to help you smooth out any rough edges on your star. Set the star on a flat surface and allow it to dry overnight. Th...

We need a plaster roll, some vaseline,and a hair band. Put some vaseline under the eyes. Plaster the strips to 1/3 of an inch, dip it in the water and place it across the nose. Then take another strip, dip it in the water and place it across the earlier one. Take a larger strip, dip it in the water and put it on the forehead, and two more on the cheeks. Now take a pair of scissors and cut pieces accordingly and place it all on your face after dipping it in water. You need to cover the face, l...

Emerald City Elegance Paper Crafting with Joann is really very interesting to watch. It takes us through the process of making a beautiful paper cup mini album. It explains us to properly cut the edges of the paper cup, to stick first the color page in the folded paper cup, making ready the plain album pages and punching it altogether. Finally embellishments are also done to add beauty to the mini album. Now the album is ready. After watching this video, any viewer develops the art of creativ...

In this video, Marion shows you how make your own custom buttons. She first picks-out a piece of scratch paper, a clear button, and glue (glassy accents). You then apply some of the glue onto the button and lay the button onto the paper and let it dry. Next you would cut the paper around the button as close as you can with precision scissors. You would now use a file to sand the edges of the paper down. That is how Marion shows you, how to make a customized button.

If your decking boards need to be replaced it is really not that difficult. Start by removing the facia or edge boards that hold the decking boards in place using a crowbar. Remove the decking boards from the joists. Check the joists for dry rot while you have the decking boards off by poking them with a screwdriver. If the wood is soft and the screwdriver sinks right into the joist then you may need to replace that joint because it is dry rotted. When replacing the decking boards it is best ...

The video guide shows us how to make our very own willow whistle. -Find a willow branch with green bark, cut a small wedge into the bark and in the wood.


