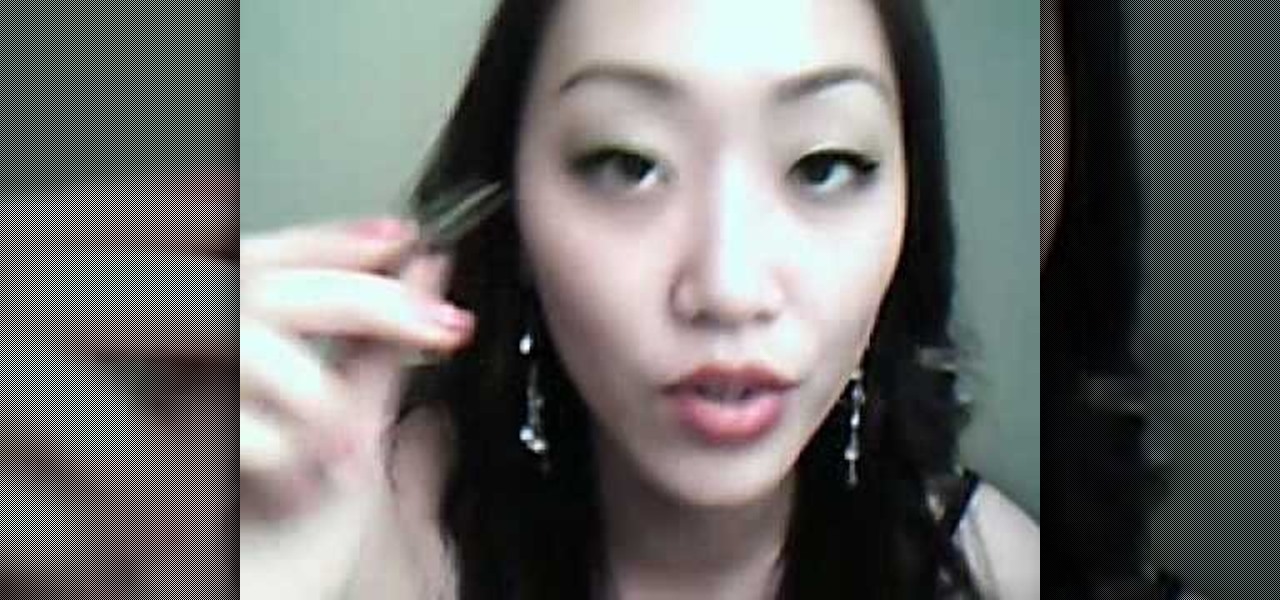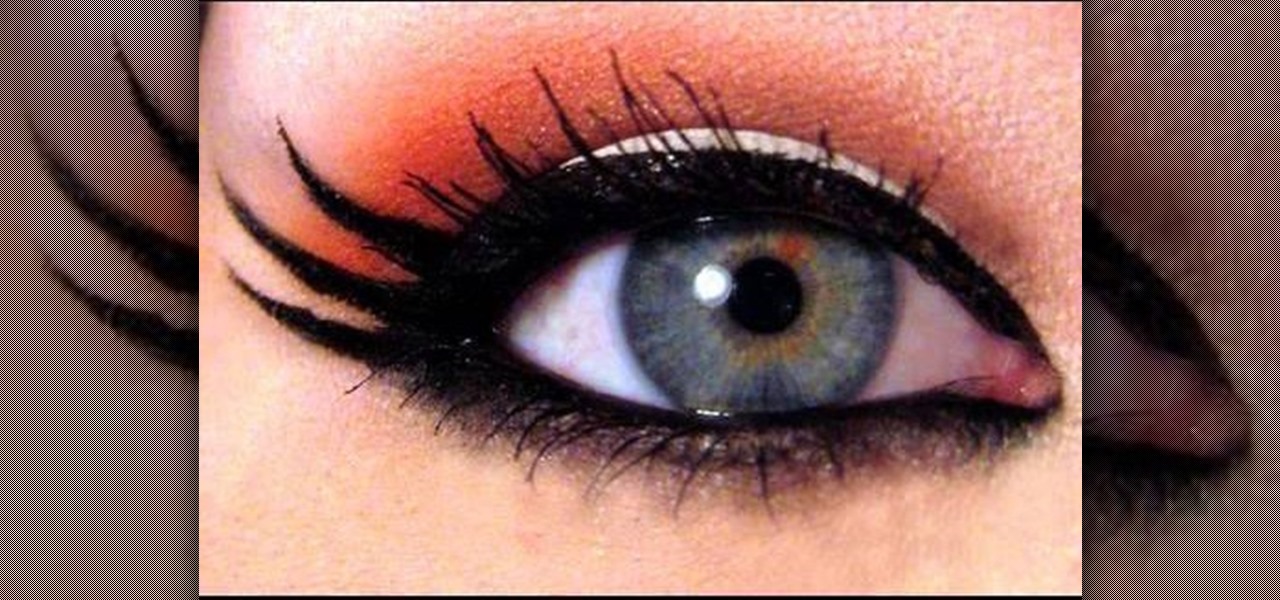
In this tutorial, we learn how to mix purple & silver for a dramatic makeup look. First, apply primer to your entire eye lid. After this, use purple paint and brush it onto the outer edge of the eye and the crease on top. Next, paint the purple under the brow bone, and then paint a darker purple underneath the first purple. Use light blue on the inner edge of the eye, then paint purple underneath and add eyeliner to both the top and bottom of the eyes. Use a small black brush to outline where...

This video tutorial is in the Home & Garden category where you will learn how to install an interior door set on a pre-bored door. For this you will need a tube latch, straight plates, door plates, two knobs, two sets of ring guides and a spindle. You will also need a tape measure, ruler, screwdrivers, a drill and safety glasses. A pre-bored door has a face and an edge bore. First install the tube latch through the edge bore ensuring that the angle side of the tube face is towards the door ja...
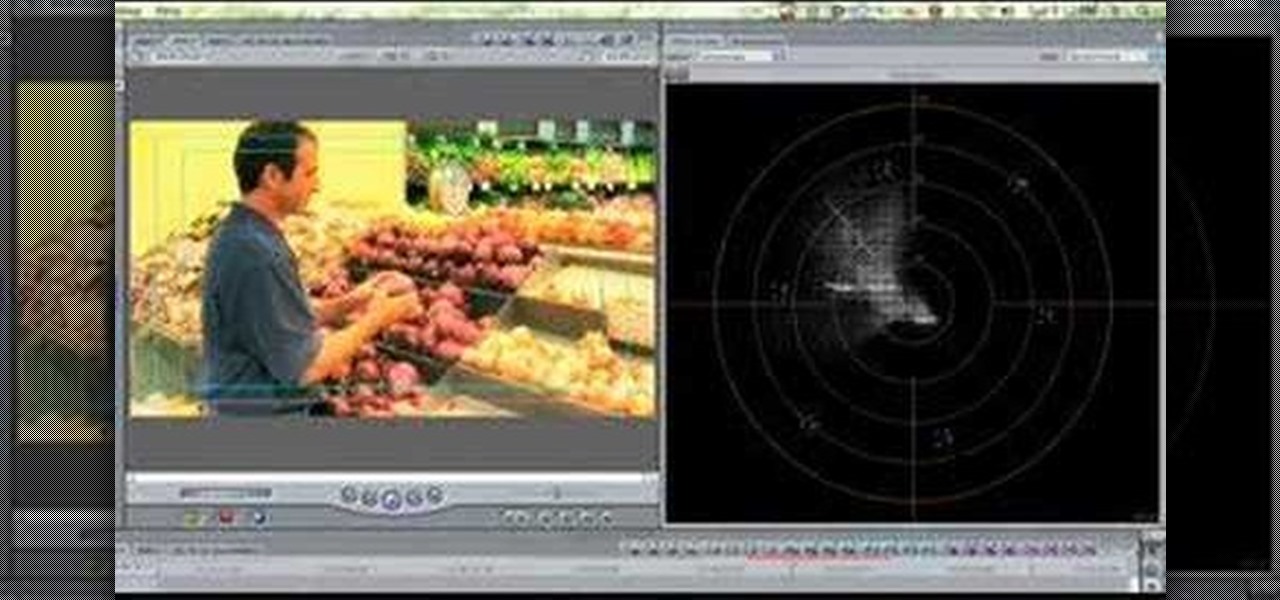
In this clip, you'll learn some Final Cut Pro tips regarding multicam editing, HDV format, staying organized, and more. Whether you're new to Apple's Final Cut Pro non-linear video editor or just want to better acquaint yourself with the Final Cut Pro 7 workflow, you're sure to benefit from this free video tutorial. For specifics, watch this Final Cut Pro lesson.
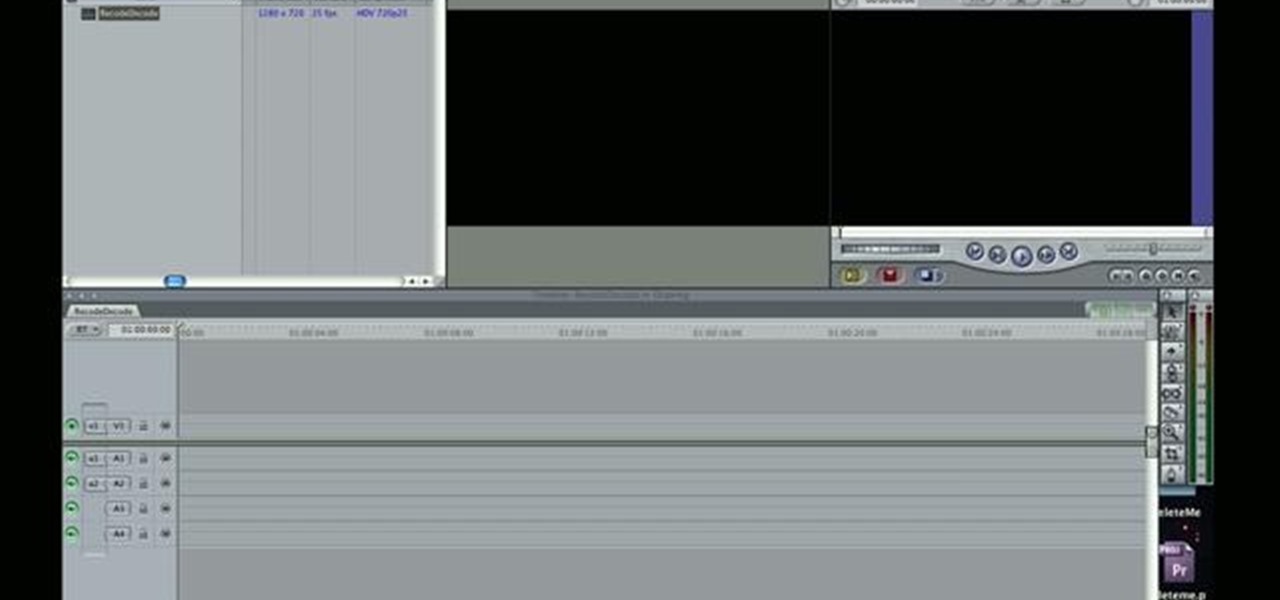
In this video tutorial, you'll learn how to import an HD720 image sequence into Final Cut and then how to select a fixed period of time from the sequence. Whether you're new to Apple's Final Cut Pro non-linear video editor or just want to better acquaint yourself with the Final Cut Pro workflow, you're sure to benefit from this free video tutorial. For specifics, watch this Final Cut Pro lesson.
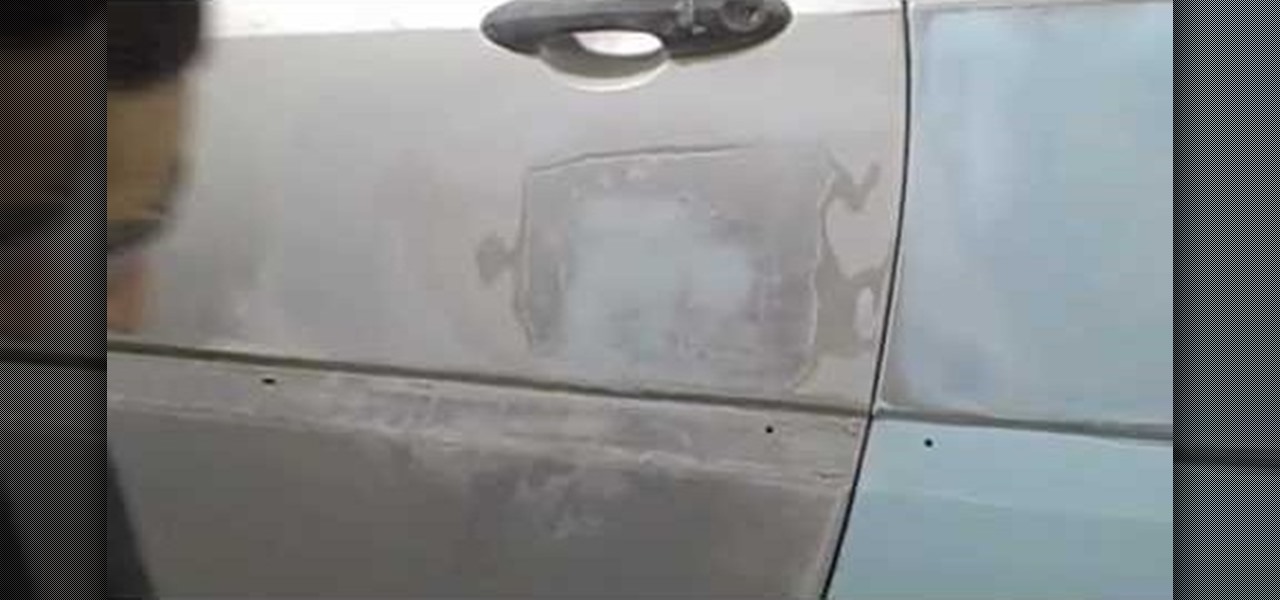
To apply glaze putty to your car, after it has been damaged, you will need the following: 80 grit sandpaper, goggles, respiration mask, putty
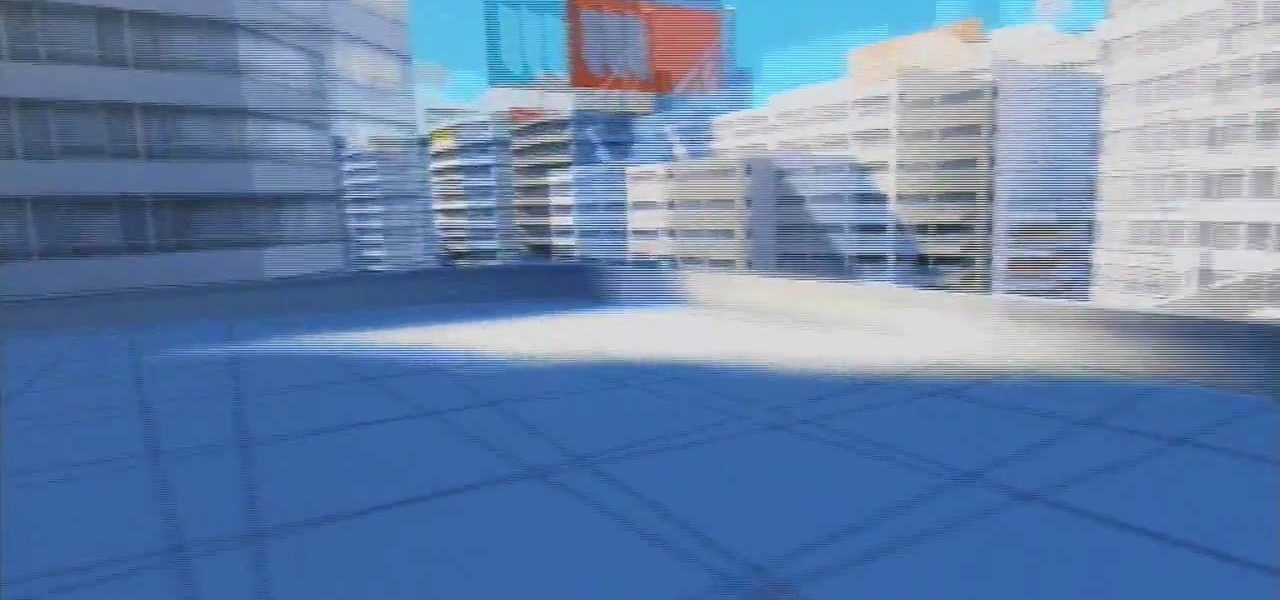
Mirror's Edge was an okay game, but the demo was one of the best ever made. It would have made a worthwhile budget game purchase by itself! If you, like many, got the demo but not the full game, this video will show you how to extend the life of said demo by teaching you how to escape the confines of the map using a glitch. A lot of the fun of this game is exploration, and now you can do more of it!

Need some help figuring out how to integrate Final Cut Pro and Motion? This clip will teach you how to do just that. Whether you're new to Apple's Final Cut Pro non-linear video editor or just want to better acquaint yourself with the Final Cut Pro 6 workflow, you're sure to benefit from this video tutorial. For specifics, including a step-by-step overview of the integration process, watch this Final Cut Pro lesson.

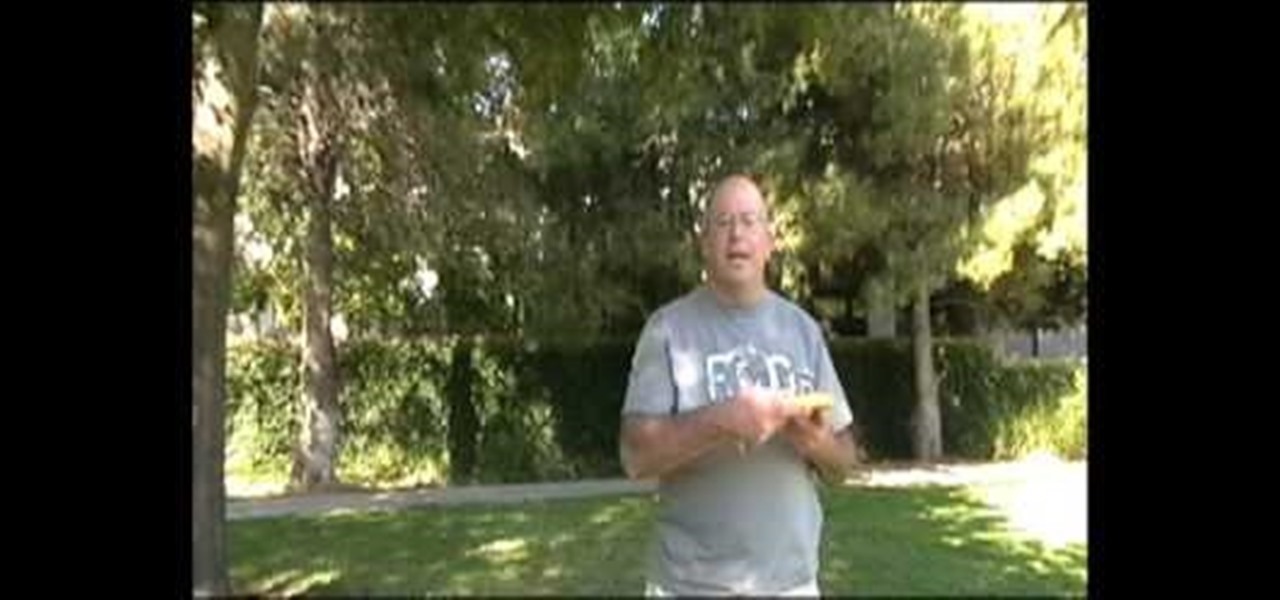
This is a demonstration of how to throw the frisbee the correct way.The idea of frisbee developed in a college campus in 1920 where students use to throw empty pie tins after eating the pie made by Frisbee Pie Company.Frisbees are available in the retail market for about $3.00.The convex side of the frisbee has ribs and edge is rounded.The frisbee is held in the palm with the thumb on top,over the ribbed portion,the index finger is kept along the edge and rest three fingers below into the con...

This video shows how to style your hair based on the Final Fantasy video game character Yuna. First you will need to spray your hair with a root gel spray, which is a spray that gives your hair texture. Then blow-dry your hair upside down.

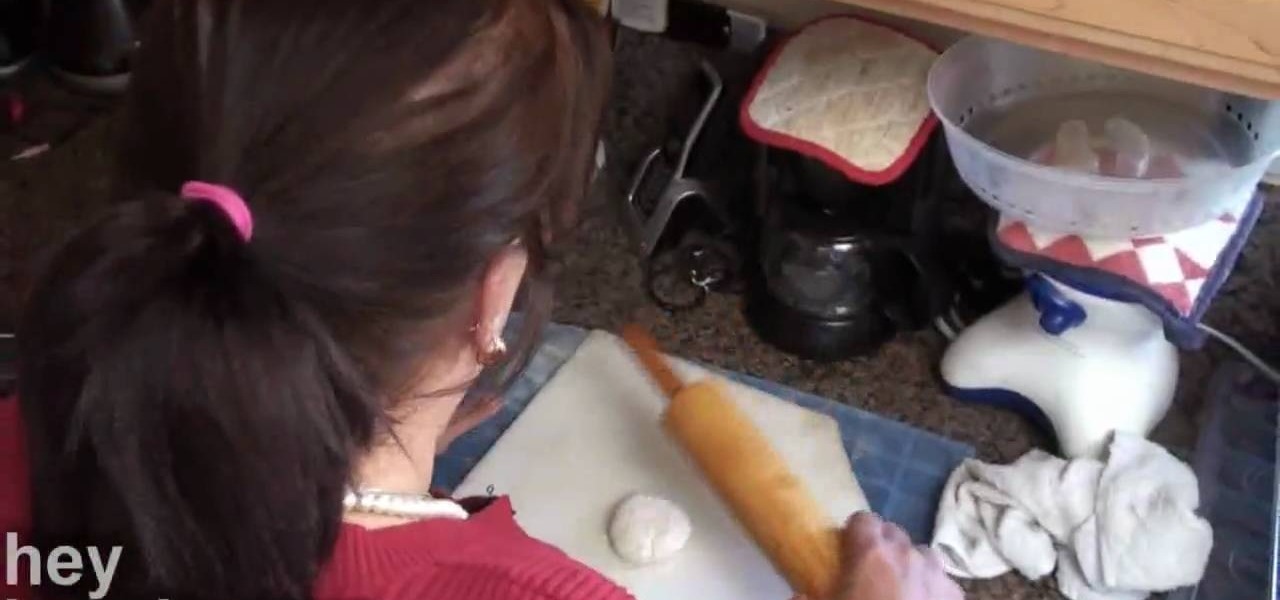
In this video Chef Sapna shows you how to make a homemade chapati. Take one cup of flour, one large spoon of oil and one tiny spoon of salt. Make sure your hands are clean and mix the ingredients together. Add some warm water to the ingredients. The dough should not be too tough and the dough should not stick to the pot. Put the skillet on the heat. Take half a cup of atta flour. Roll the dough into a sausage shape and cut seven pieces. Make the pieces into balls, and roll out each ball into ...

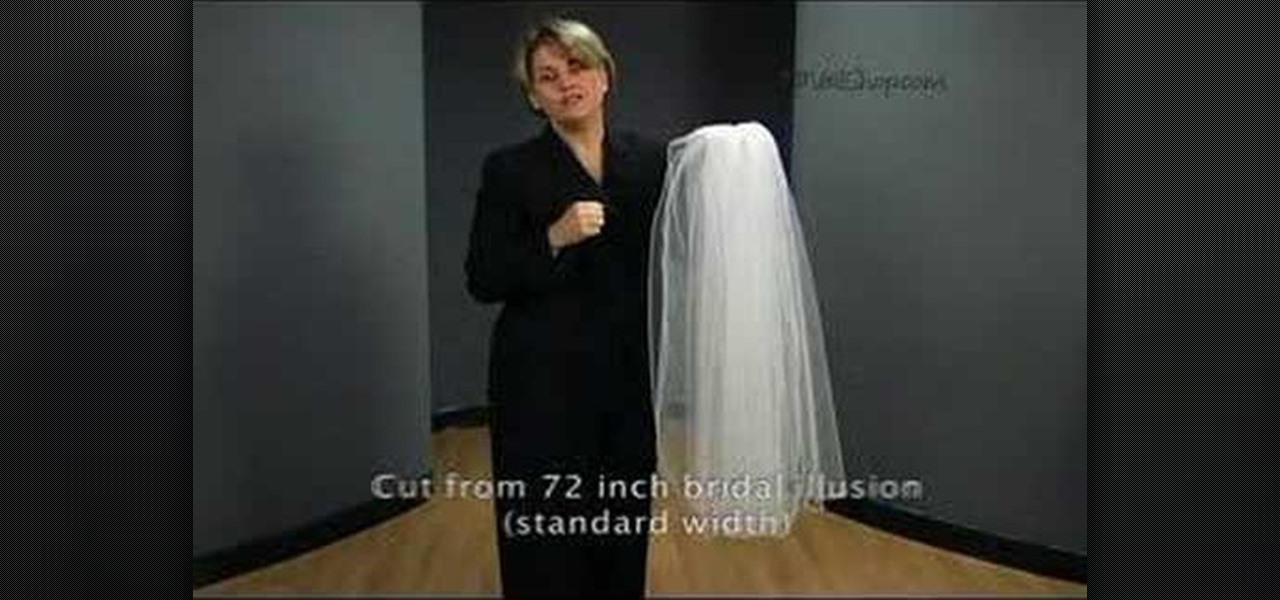
In this video tutorial, viewers learn how to cut an oval style wedding veil. The oval cut veils are exactly like the standard cut, except the sides are straight and the corners are curved. Only begin cutting 72 inches from the bridal illusion. Do not cut the veil any less than that. The standard width is 72 inches. The oval cut veil creates a more angular/squared off look. The oval cut style is only available in 2 layer styles. This video will benefit those female viewers who are getting marr...

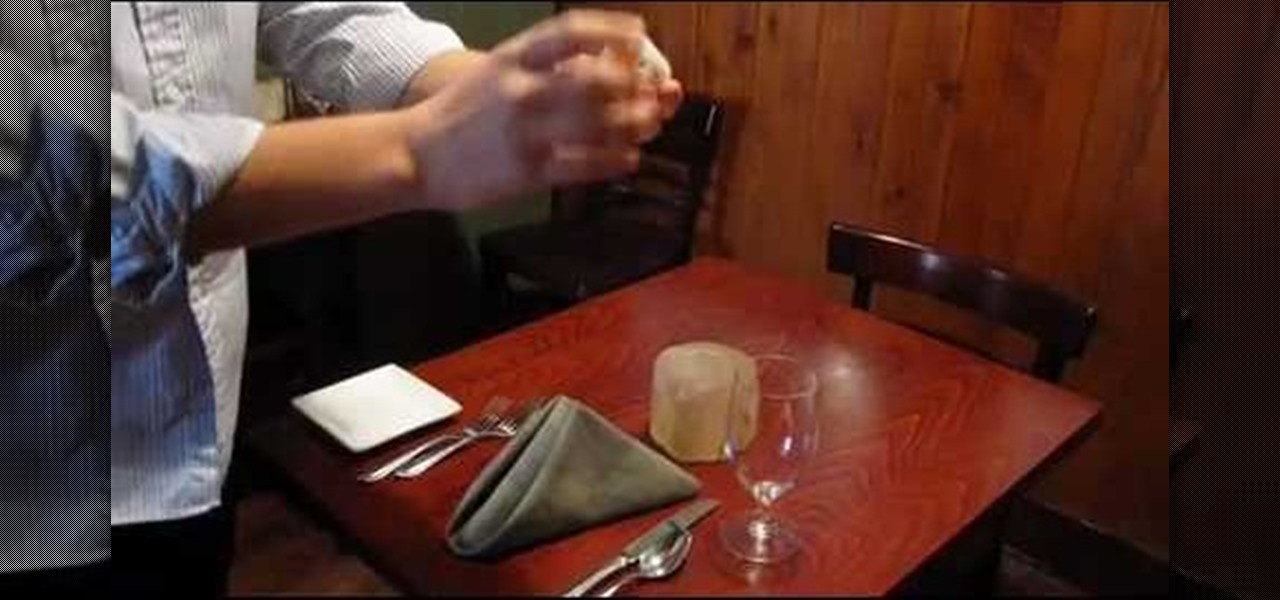
This video is a tutorial on how to set a table in a restaurant. The table should first be wiped thoroughly with a product called Thieves, a mixture of organic oils that contains no chemicals. Be sure it is dry before people are seated.

Tut Teacher shows that if you're going to edit alot of pictures, learning to change your eye color in Photoshop is helpful.Go to Photoshop and open "human eye", zoom in and it gives more room to work with. First, go to your lasso tool, hold down and click. You can click and drag or click along the outside edge. Set to 6 pixels, more or less depending on the image. Make sure you don't click on scanner..it'll make the image go crazy. Keep clicking along the edge there'll be a symbol on the circ...

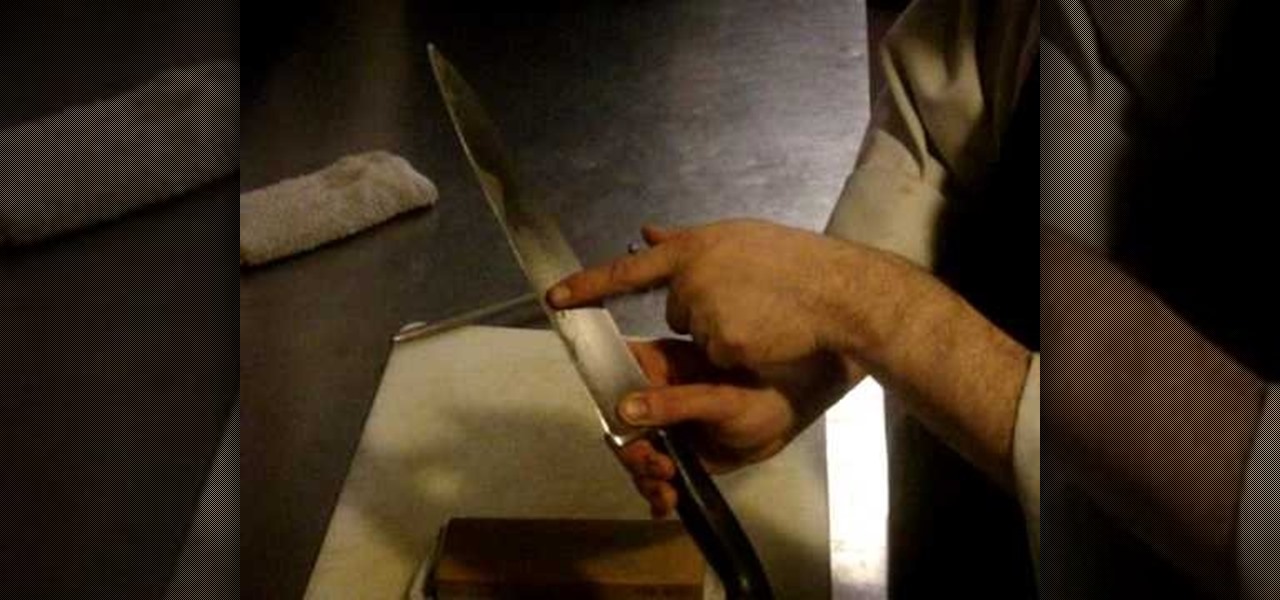
In this instructional video, the host will give you detailed instructions on how to sharpen your blades primarily using coarse, medium, and fine Arkansas sharpening stones. How to oil your stones, how many strokes on either side, and the different angles that can be used are just some of the helpful hints included in this short tutorial. The instructor also includes information on how to sharpen your knives in a pinch using any leather belt, how to align your blade's edge using a steel, and h...

In this video Pro Rider Matt Crowhurst talks about the wake jumps and what needs to be done to execute them. At the beginning of the video Matt says that in order to execute them one has to mater the perfect riding position, being in ease with moving left and right, inside and hillside edge, crossing and execute smooth turns. For executing wake jumps one has to concentrate on three major areas-1. Starting out wide, cruising along and a flat board.2.A progressive edge3.Holding that edge and po...

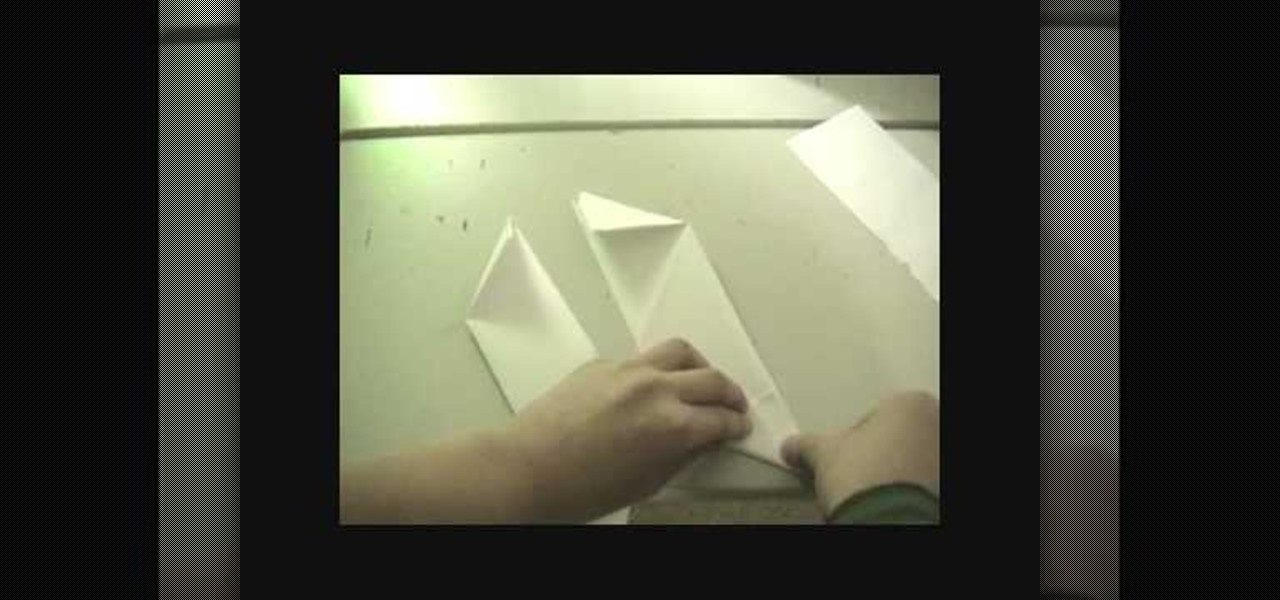
In this Weapons video tutorial you will learn how to fold a ninja star (shuriken) out of paper. Take a square piece of paper and fold it in half and tear it off to get two pieces of rectangular paper. Fold each piece of paper in half lengthwise. Then fold one end of each paper like a triangle. Fold the other end in the opposite way. Now fold both the ends to get a bigger triangles and the final shape of the paper should be like ‘Z’. Put both the pieces over each other in the form of a cross. ...

This is a USA fire and Rescue's favorite recipes segment. To make this quiche you begin by preheating the oven to 350 degrees Fahrenheit. After that you combine cheese, and flour (the thickener) in a mixing bowl and toss them until the cheese is lightly coated. Next, add beaten egg, and pepper. Mix again. Now you need to add cooked and drained broccoli, and drained mushrooms. Mix again. Pour into a pie shell and cook for about an hour, or until it sets. A good tip is to cover the edges with t...

This learning how to make a raffia angel. Once completed they can be used for gifts or a decoration on a Christmas tree. Supplies needed are: pipe cleaner, glue sticks/glue gun, scissors, wire cutters, pliers and embellishments. Wrap raffia around twice. Tie off, and leave some string to hang the angel. Cut a small part of the bottom until the ends are even. Gather a few strands on either side and braid them to make the arms. Tie these off with a piece of raffia. Put a dot of hot glue in the ...

1.First take 1 cup of All purpose flour in a plate and 2 cups of same flour in another plate. And then take a stuffer can be anything like sweet coconut, chocolate flavor to put inside the puff.2.First add one tablespoon of vegetable oil to each plate and slowly make it out by hand and add some water and make flour mix. Now separate the 2 cups flour mix into 4 to 5 big pieces and separate the 1 cup flour mix into 4 to 5 small pieces.3.cover the small pieces with big pieces of each. Now just r...

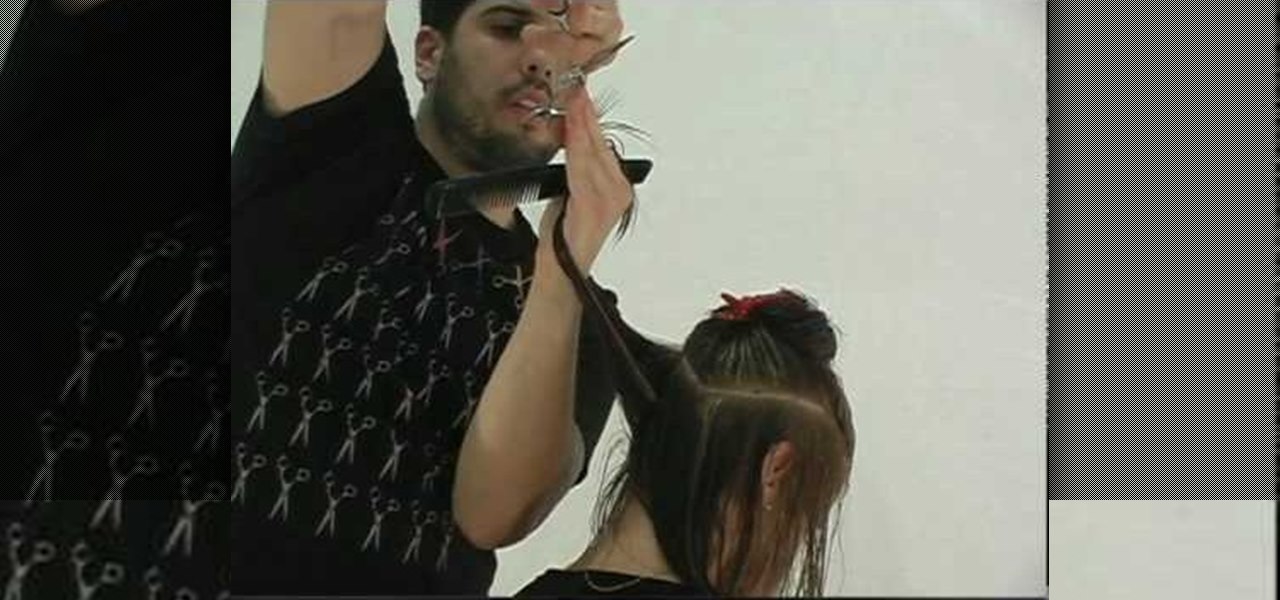
This video illustrate how to do long layered hair cut step by step. Here are the following steps:Step 1: First of all clean your hair and then take all your hair and hold them through a clip.Step 2: Now release a inch of your hair from the lower bottom and cut it.step 3: Now release the upper inch layer and cut it slightly above the lower most layer.Step 4: Similarly take the next layers and cut them so that each layer has sharp cutting and is differentiated easily.Step 5: Release hair on the...

This tutorial will focus on how to use the fit image function within Adobe Photoshop. You will utilize this function when you want the pixel width to match between different sized photos in portrait and landscape. First you will select all the photos (you must create a batch action in Photoshop). Next select the fit image option in the file menu under automate. You will need to put the same number into length and width to constrain the proportions of your landscape and portrait photos have th...

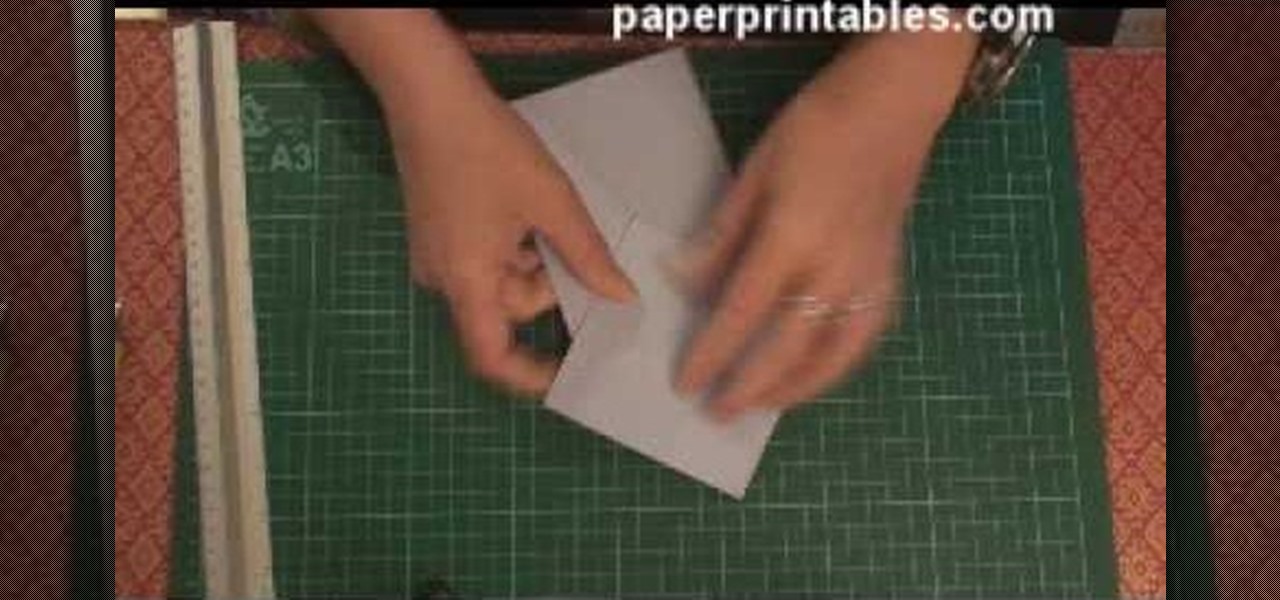
Watch this video to learn how to make a stunning diamond topped 3d card from a single sheet of A4 paper! 1. You'll need one A4 sheet of paper and some printed papers to decorate. 2. Score at 10. 5cm across length and 10. 5cm from one end. 3. Crease both scores in the same direction (mountain folds). 4. Turn card over mark 13cm from top on centre line an 17. 5cm from top on both edges. 5. Score from central 13cm mark to 17. 5cm mark on each edge. All printed papers used in this tutorial are av...

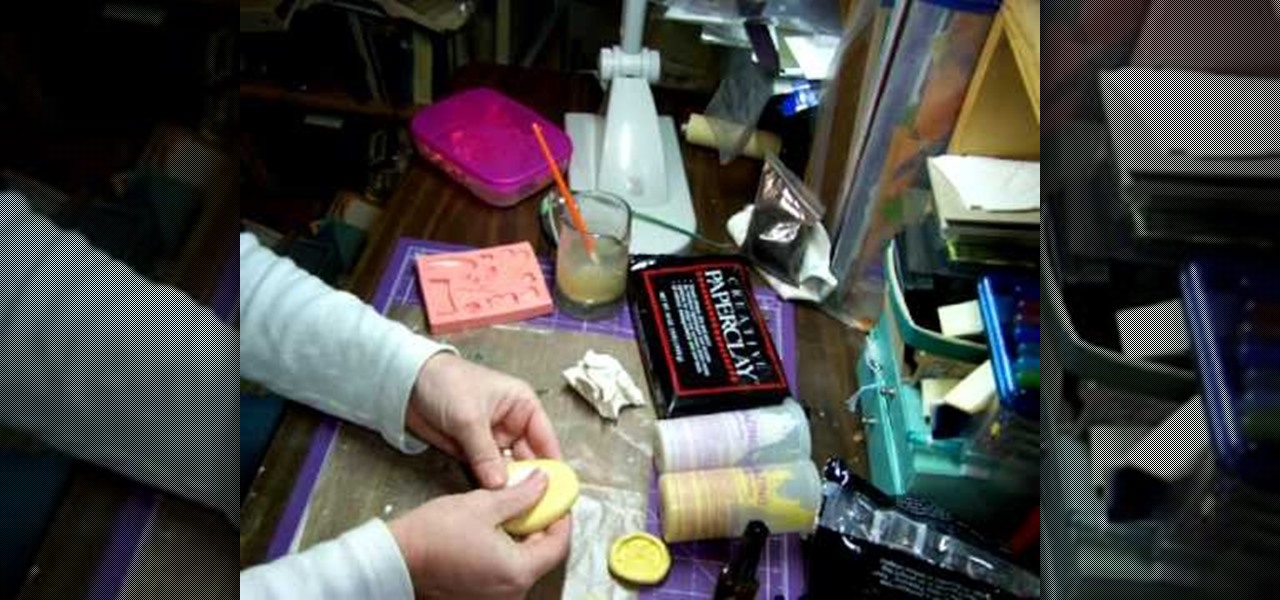
Terri Sproul shows you how to Work with Paperclay and Molds. Make a ball of paperclay and push it firmly into the center of the home-made or ready-made Mold. Make the surface of the Paperclay level with the surface of the Mold, adding more Paperclay if necessary, and removing any excess with your fingers. The molding putty that the Mold is made from is flexible, so hold the edges of the mold with your fingers and gently push the center of the Mold with your thumbs, this will push the molded P...

For a complete look, eyebrows can really add to your face. Learn how to properly shape and fill your eyebrows for a complete look that frames your face and presents a done look regardless of whether you are wearing makeup or not. To figure out how you want to shape your brows, line up the inner corner of your brow and the outer edge of your nose. Use a pen or anything straight to create this alignment. Where the tip of this tool ends is where your brow will start (from the inner corner). The ...

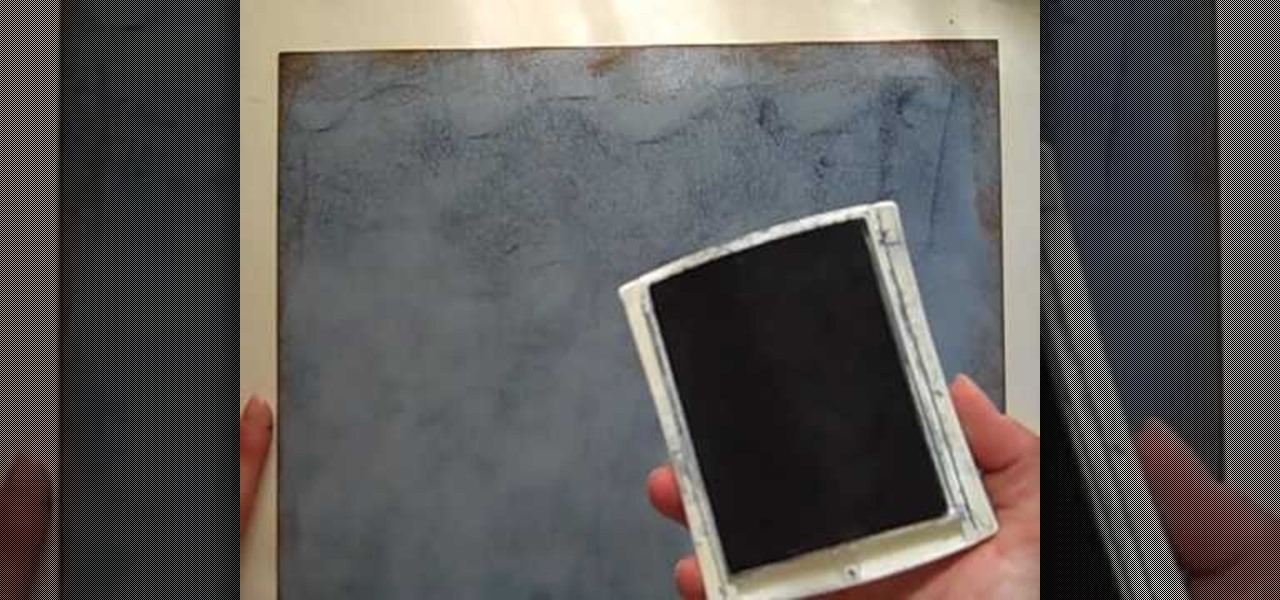
StampinMama1 demonstrates how to add ink texture effects to your scrapbook projects. When creating backgrounds for your scrapbook pages, you can use ink to both create texture and create interesting effects on the layout. Press the ink on the paper to use a direct to paper ink application technique. You can create cool effects like waves using this technique. Don't swipe the pad around or smudge it onto the paper. Instead, drag the ink pad in a motion of waves across the page. Start at one ed...

MsKreant teaches viewers how to create cute radish earrings with polymer clay! Use Sculpey baked clay in red, white, and two different greens for the leaves. Roll each color into tiny balls. First, take the red ball of clay and put the white ball of clay next to it. Put them together and pull together. Make the white part pointy. Next, make and indent at the top for the leaves with a bamboo skewer. Next roll your two colors of green into long spaghetti strips. Put the two together and flatten...

In this how-to video, you will learn how to make and decorate cookie pops and bright bouquet cookies. First, you must have your cookie already baked and ready for decoration. Take a star tip and decorate the cookie in a zig zag formation with the icing. Go around the edge until it is entirely complete. You can do a straight star if you want instead. Once that is done, fill in the inside for the center with another color. Fill in the empty area with the icing used for the edges in spots. Conti...

Goldiestarling teaches you how to apply a modern gothic Valentine pin-up makeup look. Start with a milky white pencil that you apply on the eyelid. Use a small haired brush with red powder and apply on the edges of the eye. Use a liquid eyeliner to do the outer eye part. Also use the eyeliner to make a contour around the red edges of the eye. Use a black pencil for the inside of the eye and also add mascara for the eyelashes. Finally, use a pink lip liner and a bright red lipstick to finish t...

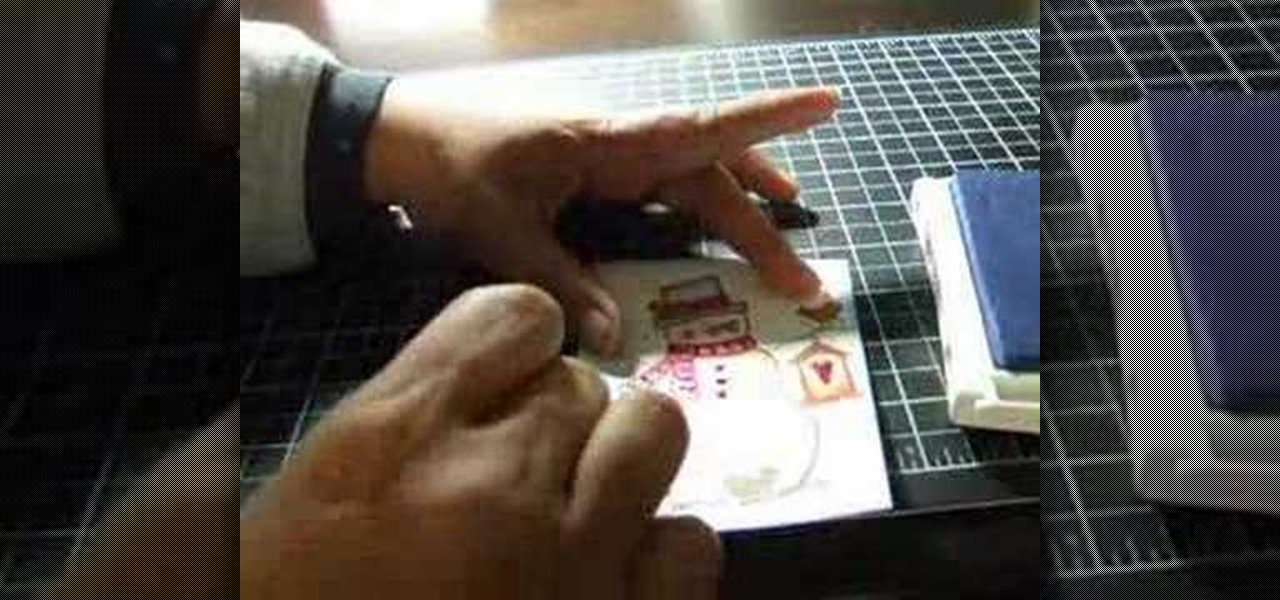
In this video tutorial, viewers learn how to shade and color the background of an image. This video explains all the materials required to shade and color the background of an image. The materials required are: a stamped image, a spoon dauber and an ink pad. Start by inking the sponge dauber and rub the edge of the cardstock. Continue to color the edge. Add more ink if you want the color to be darker. Color the background with the sponge dauber. Add link to the sponge dauber. Dab and rub the ...

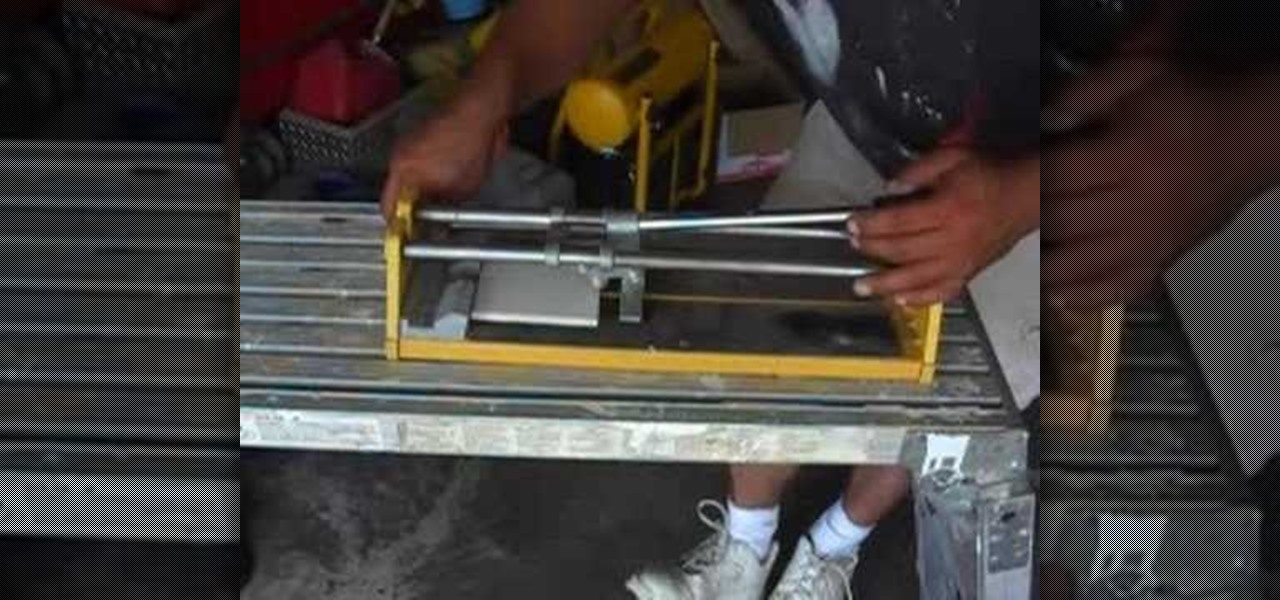
In this video tutorial, viewers learn how to cut ceramic tiles with a tile cutter. Ceramic tile cutters are used to cut tiles to a required size or shape. The tile cutter does not require too much pressure when cutting. The tile cutter used in this video is for simple and basic tile cuts. As users cut the tile, they should hear a screeching sound. This tile cutter allows users to cut both wet and dry ceramic tiles. This video will benefit those viewers who want to learn how to cut tiles. This...

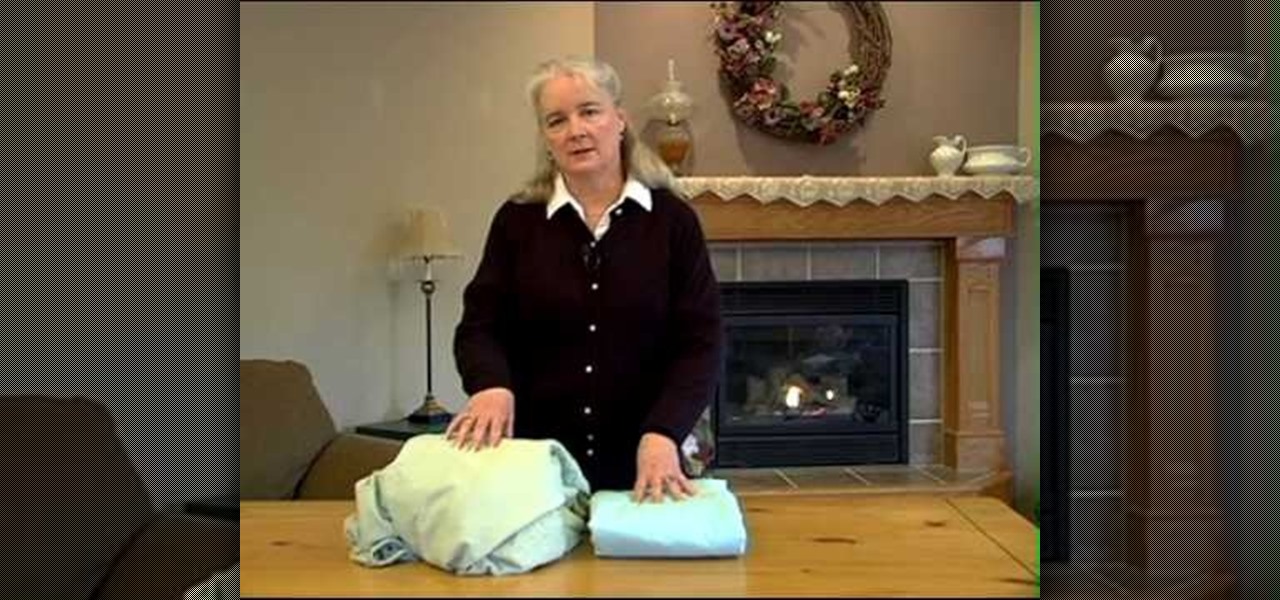
This video shows the way to fold a fitted sheet for maximum storage. Folding a sheet can save a lot of storage space. The time taken for folding the sheet is less than the time taken for searching through unfolded sheets to find the right match. Start by holding the sheet lengthwise with the right side towards your body. Fold corner number one over corner number two. Slide down the edges and tuck corner number three and four in. Straighten the edges and place it on the table. Fold the sheet i...

Betty shows you how to make a simple pork roast with tasty gravy. She does a great job of detailing how to tenderize the meat and make it that much more delicious!

Follow this video to learn how to make your own paper airplane that can really fly. Acquire a sheet of A4 paper and fold it in half. Afterwards fold two of the edges towards the center line set out when folding. These should be folded in the form of two triangles. After doing so fold them downwards, towards the center line lower down. Fold another two triangles towards the center, one from each side. At this point a small edge will be formed at the tip of the two folds. Simply fold it upwards...

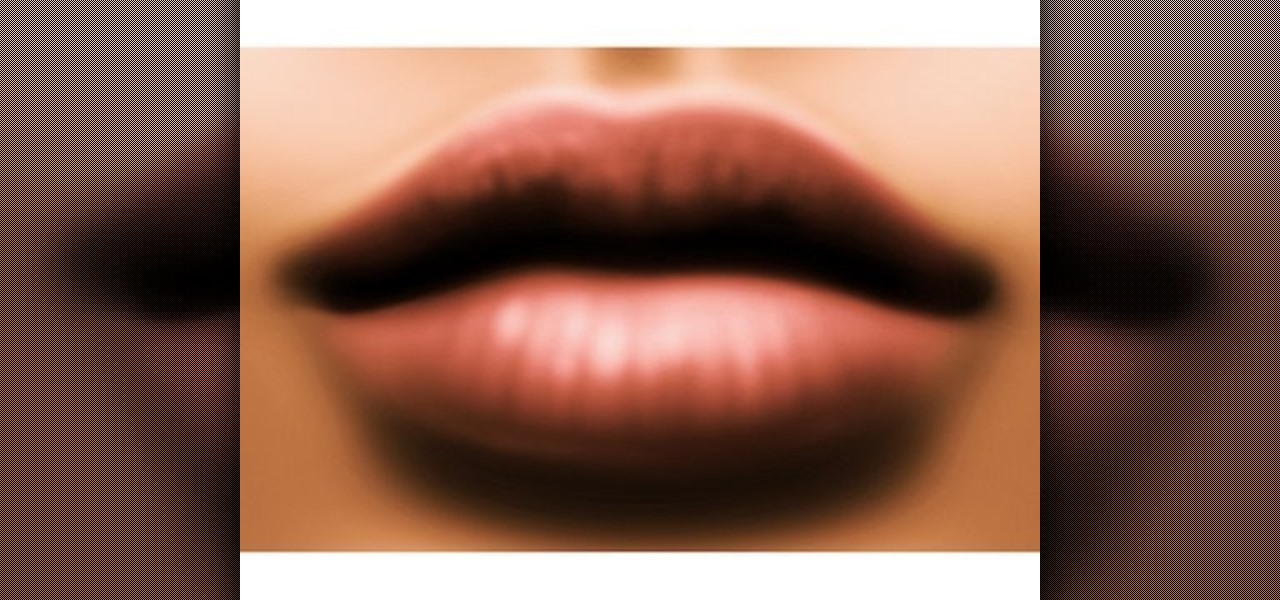
Are you interested painting in 3D mode? Let's try the human mouth first. First, get the basic shade of the lips with a single color. Then, fade out the top side of the upper lip part and give it a less sharp edge. Then paint the depth area above the lips. Edge out the top lip and add more shades on the bottom one. Then add those small vertical lines with low opacity. Add a gradient map over it and another pink layer(color burn).The lips are ready and it will help you in your painting skills.

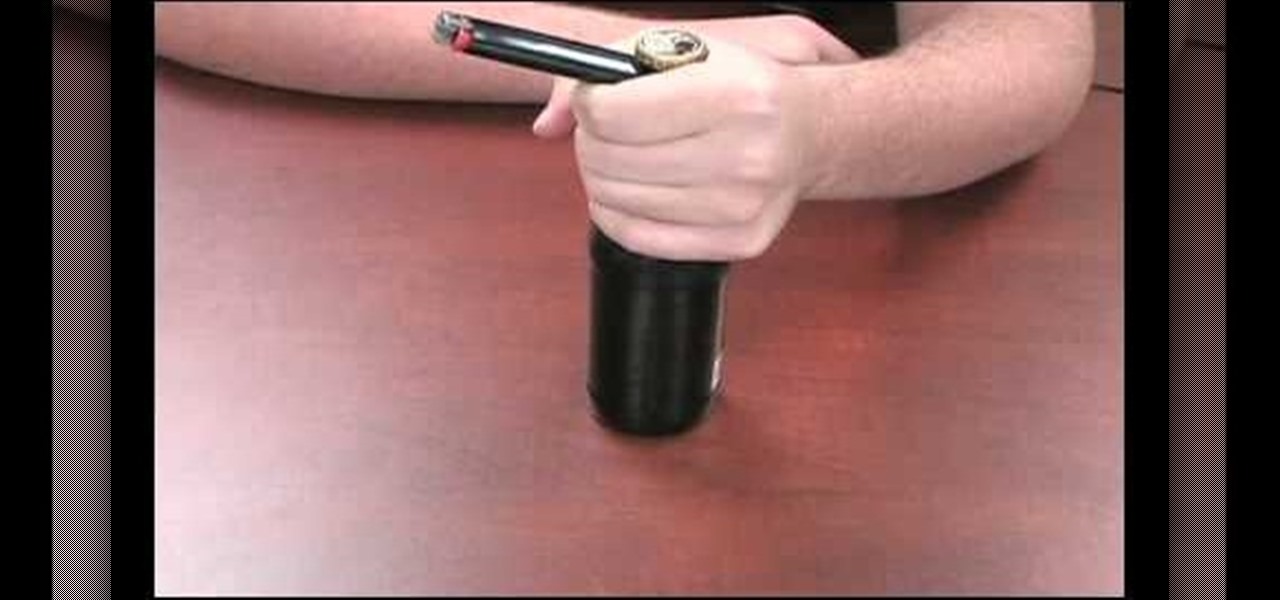
This video shows us how to open a glass bottle with your lighter. To open a bottle using a lighter: Hold around the top of the bottle using your left hand. The key is that the index finger must be around the top of the bottle. Hold the lighter with your right hand and place the blunt end of the lighter solidly between your lowest knuckle and the edge of the bottle cap. Hold the lighter perpendicular to the bottle. Tuck the lighter so that the edge is under the teeth of the bottle cap. Squeeze...

In this arts and crafts video tutorial learn how to make a paper piercing using a paper piercing template with June Campbell. The template comes with pre-made holes in varying designs that you will poke through. You will also need a paper piercing tool to create your holes as well as a craft knife to cut out larger holes. In addition, you will also need a piece of paper. Use a hard surface, such as a plastic tray to protect your table and then place a styrofoam sheet on top of that for furthe...

Street artist wackojacko54321 teaches you how to draw "wild style" graffiti. There is no definite technique or way of drawing wild style. Wackojacko54321's interpretation involves starting with a simple piece with connecting letters (of which he provides an example) and possibly arrows. Add more basic arrows and connections to unify the piece more. Connection points of the arrows are important. Attach them to the ends/corners of letters or other letters/connections. Spice it up with more adva...

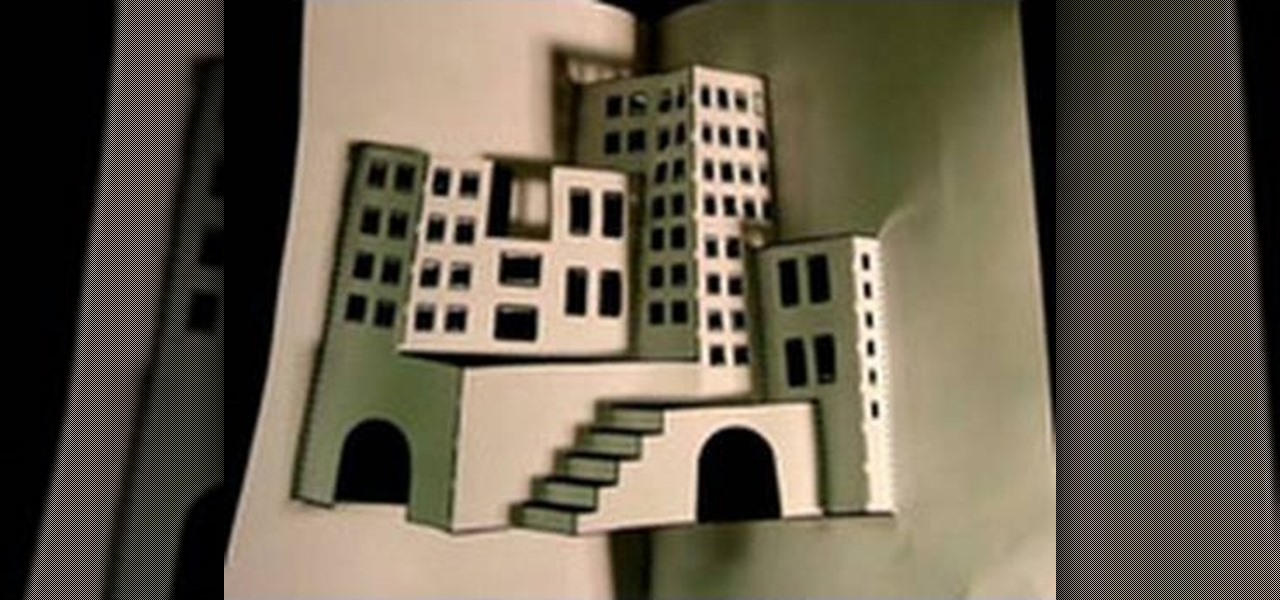
Learn how to make a three dimensional city from a sheet of paper. Start with a flat drawing of a city scape and a sharp X-acto knife. Cut along each vertical line of each window. Cut along each horizontal line of each window. Be very precise and do not cut past the end of the line. Cut out arches of doorways. Make incisions along horizontal lines of buildings. Cut along horizontal lines of stairs. Do not cut along any dotted lines. Once done cutting, begin folding. Fold along dotted lines. Cr...

Simon Leach teaches the secret to glazing the inside of a bowl. You will need: brush, glaze, sponge, water, stick or whisk. Using a brush, dust the inside of the bowl to be glazed. Remove any clay that remains stuck on the bowl by using a blade or knife. Stir the glaze from the bottom using a stick or whisk Add water to the glaze if it appears too thick and stir again from the bottom. Pour the glaze into the bowl, careful not to get any over the edge. If any glaze goes over the edge of the bo...

Sharpening a knife can bring a dull edge back to life. This video tutorial shows how to sharpen a knife using a whetstone. Soak the whetstone in cold water for about 5-10 minutes and set it on a clean towel. Starting with the coarser side, push the knife against the stone while applying downward pressure. Apply more pressure on the forward stroke than on the back. Wipe down the knife and flip the stone over to the fine side. This will smooth out the knife and make a sharper, finer edge.


