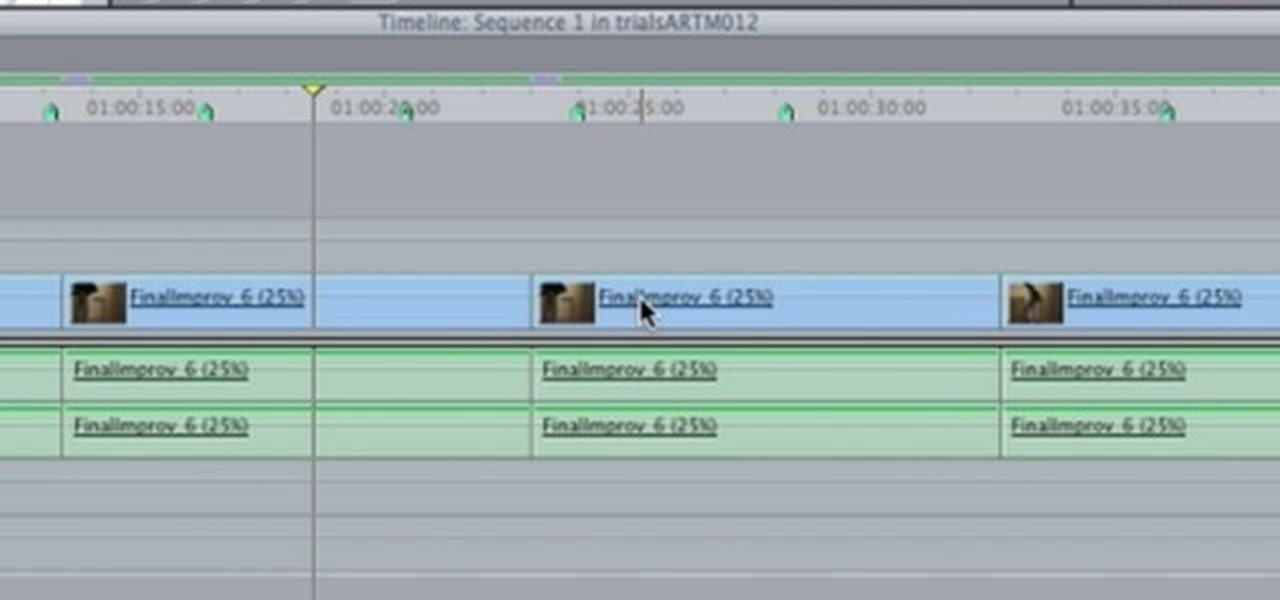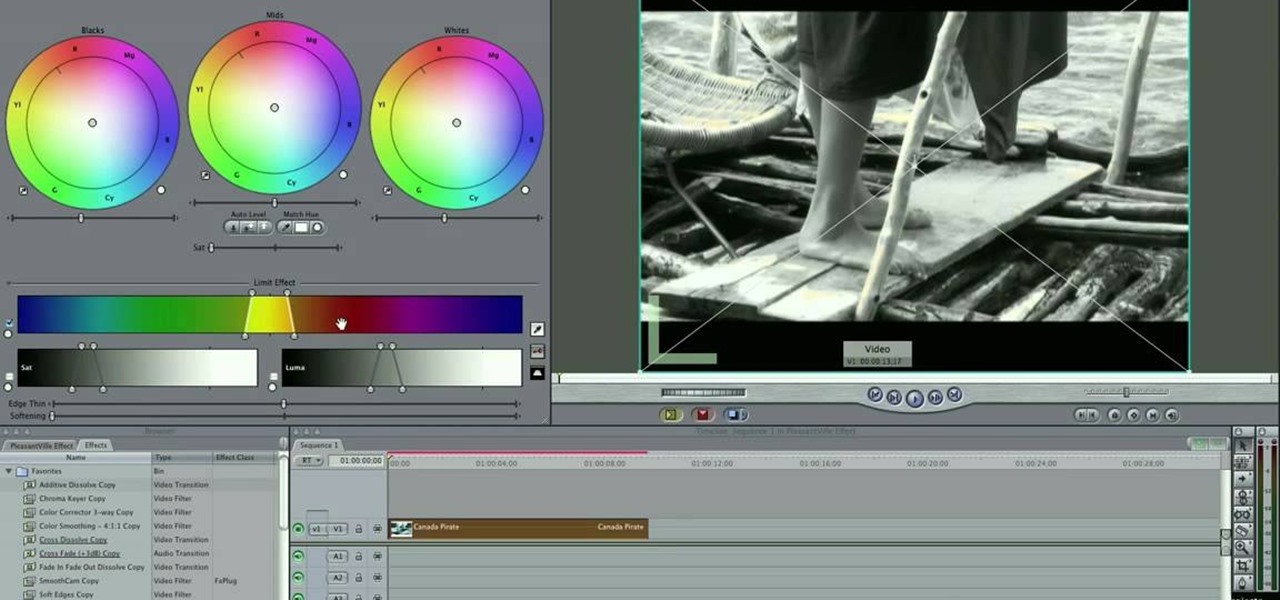
For this Final Cut Studio video tutorial, Zach King will teach you how to create the Pleasantville effect in Final Cut Pro. To create the Pleasantville color effect, you'll need to pick one very distinct color and use the Color Corrector 3-Way video filter. Let the Final Cut King show you how!
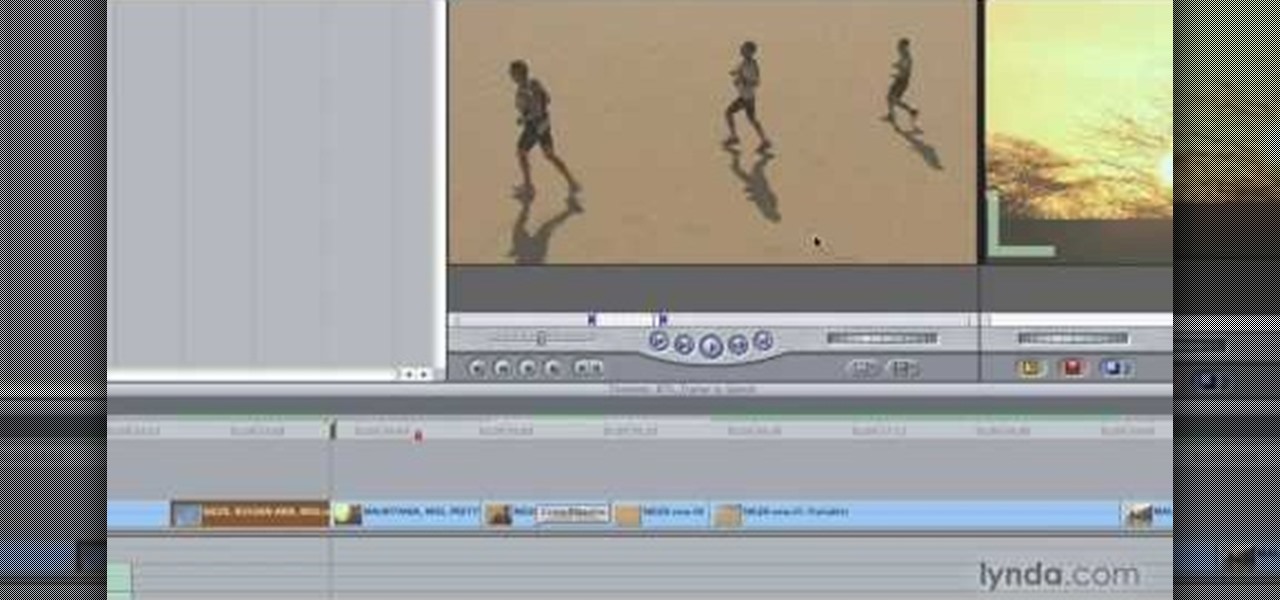
In this video tutorial, you'll learn how to retime when working within FCP 7. Whether you're new to Apple's Final Cut Pro non-linear video editor or just want to better acquaint yourself with the Final Cut Pro 6 workflow, you're sure to benefit from this free video tutorial. For specifics, watch this Final Cut Pro lesson.
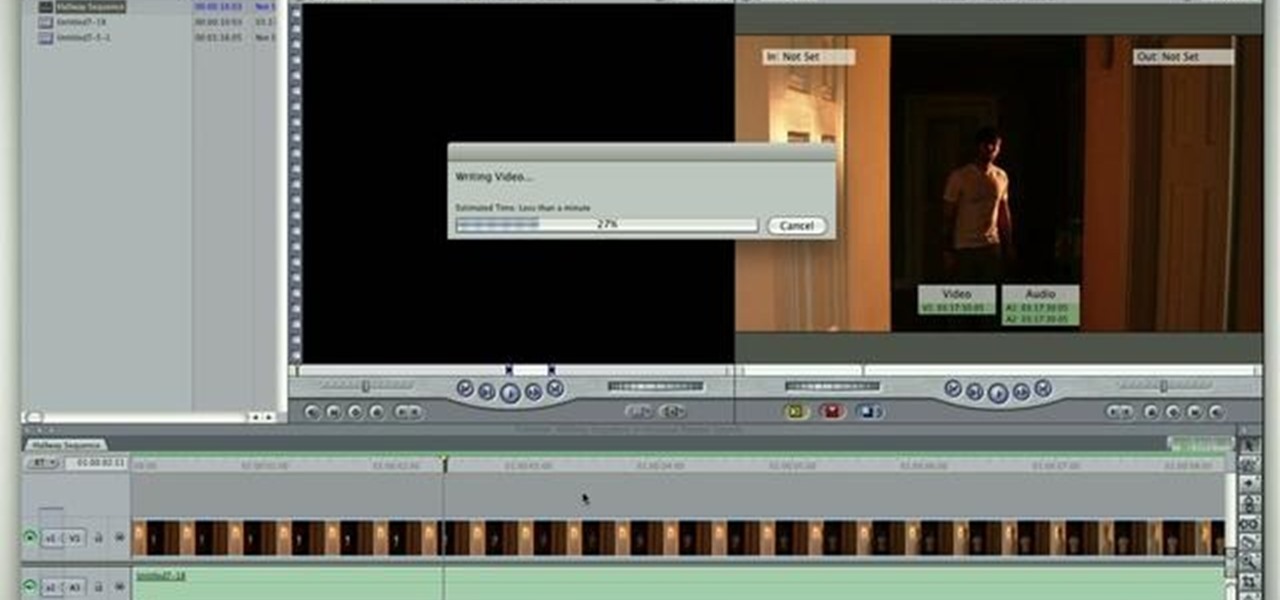
Looking for an easy way to improve your Final Cut Pro render speed? This clip provides just that. Whether you're new to Apple's Final Cut Pro non-linear video editor or just looking to pick up a few new tips and tricks, you're sure to benefit from this free video tutorial. For specifics, including detailed instructions, watch this Final Cut Pro lesson.
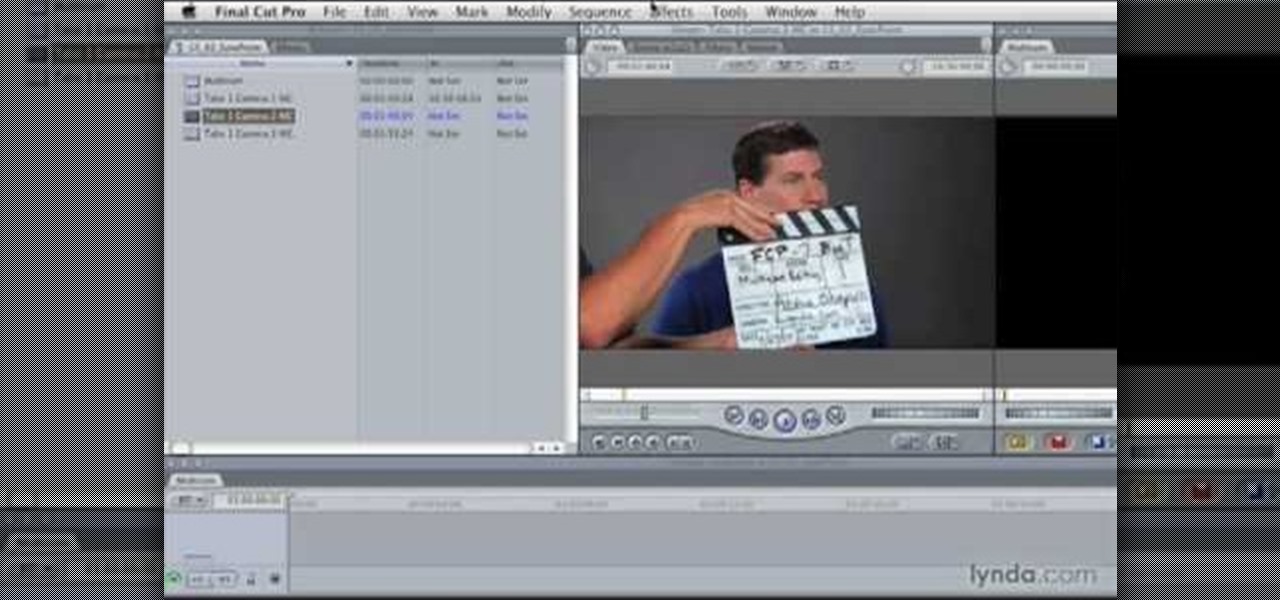
Looking for an easy way to work with footage from a two-camera setup within Final Cut Pro? Whether you're new to Apple's Final Cut Pro non-linear video editor or just want to learn how to take advantage of Final Cut Pro 7's new features, you're sure to benefit from this free video tutorial from the folks at Lynda. Specifically, this software tutorial provides a complete overview of how to sync multi-cam footage.
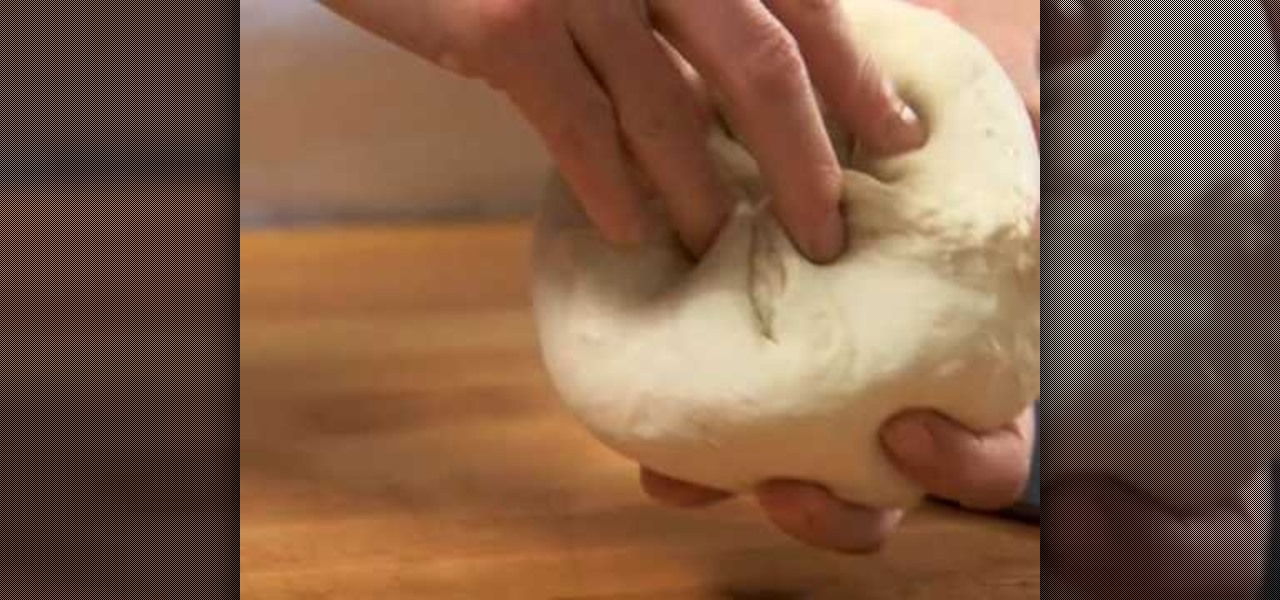
First of all you have to be very patient while kneading dough. You need a lightly floured surface to press the dough. Use the heel of your hand to knead the roll down and away in a rolling motion. Give the dough a quarter turn then fold it over and then push it down.
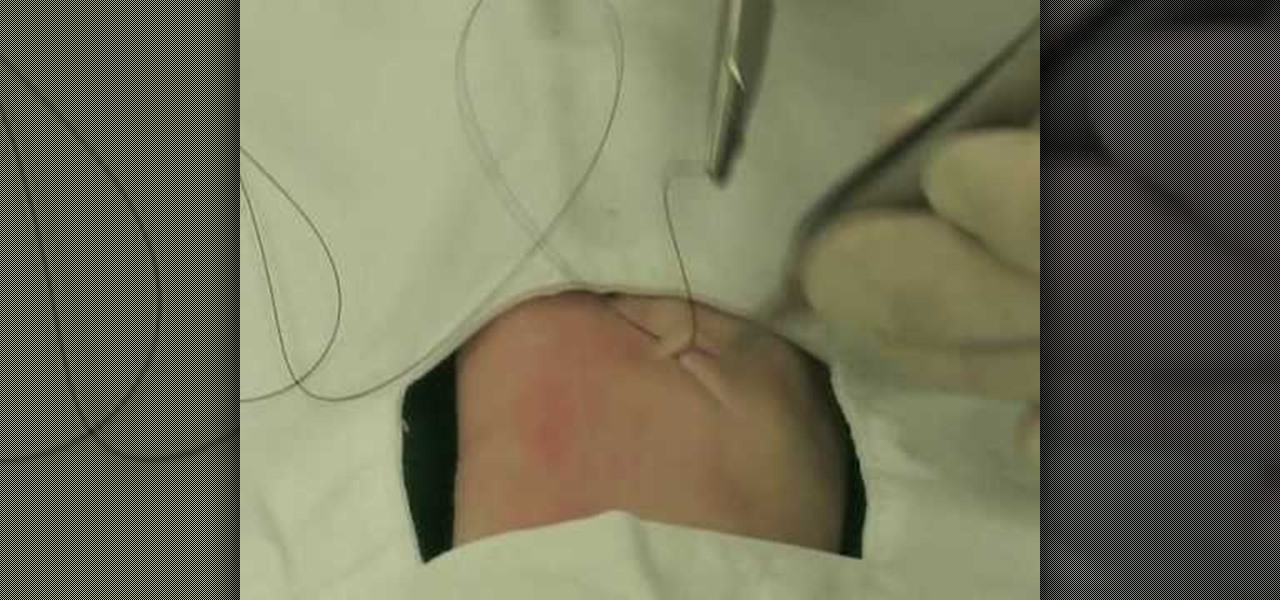
Lee T. Dresang, MD of the University of Wisconsin School of Medicine and Public Health from the Deaprtment of Family Medicine give a discussion and demonstration of suturing techniques. Before beginning a procedure, you will need consent. One should irrigate lesion before beginning. A simple interrupted suture is easy to learn and fast, but unable to withstand stress. Vertical mattress sutures provide a good eversion of skin edges, closure of dead space, and strength, but also lead to scarrin...

Whether it be for a school project or just a funky looking journal or letter, making your paper look antique is very easy. Antique paper is great for invitations, props, unique stationary..lots of things! This tutorial will teach you how to age your brand new paper instantly for a neat, old fashioned look.

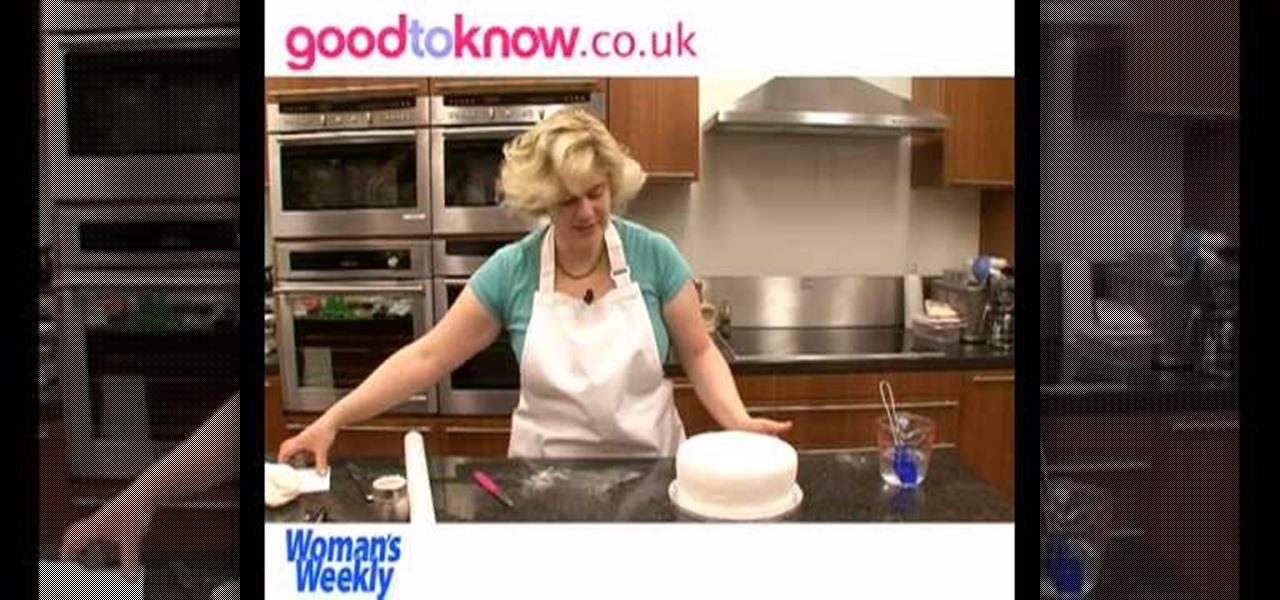
Sue McMahon, Cookery Editor of Womens Weekly, shows how to decorate your Christmas cake, in this video. She begins by turning over a rich plum cake to have a smooth surface for the decoration. Next, she pours some brandy over the cake to moisten it. She uses apricot glaze and spreads it evenly over the surface and sides of the cake. She kneads ready-made marzipan to make it smooth. Next, she dusts some icing sugar on the work top and rolls over the marzipan into a circle, large enough to cove...

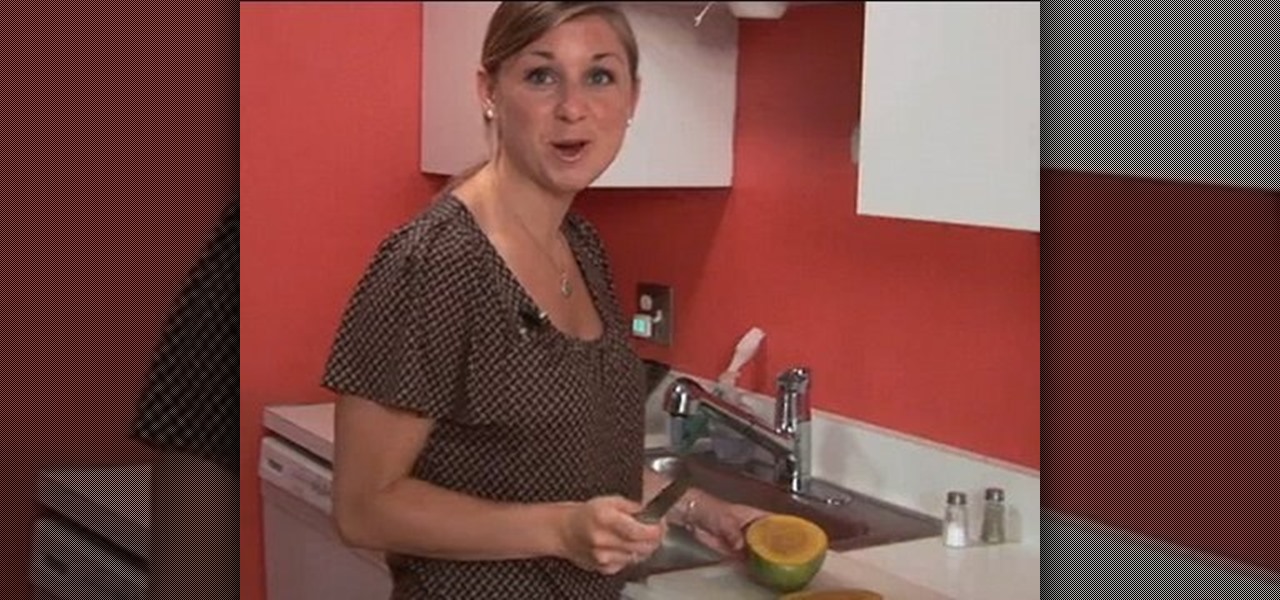
Sarah Dussault gives us instructions on how to appropriately cut her favorite fruit, the mango. -There is a huge seed where the pit is, so first you want to cut off the sides. -Take one side and cut into a grid pattern. -Now you can simply pop the cubes of mango off and eat them. -Be careful, the skin of mangoes contain similar oils to those found in poison ivy. -Take the other side of the mango and cut into slices and then peel the skin off. This is another technique for cutting mangoes. Jus...

What's a national holiday without a sheet cake featuring Old Glory? Luckily, it's simple to make….And delicious too!

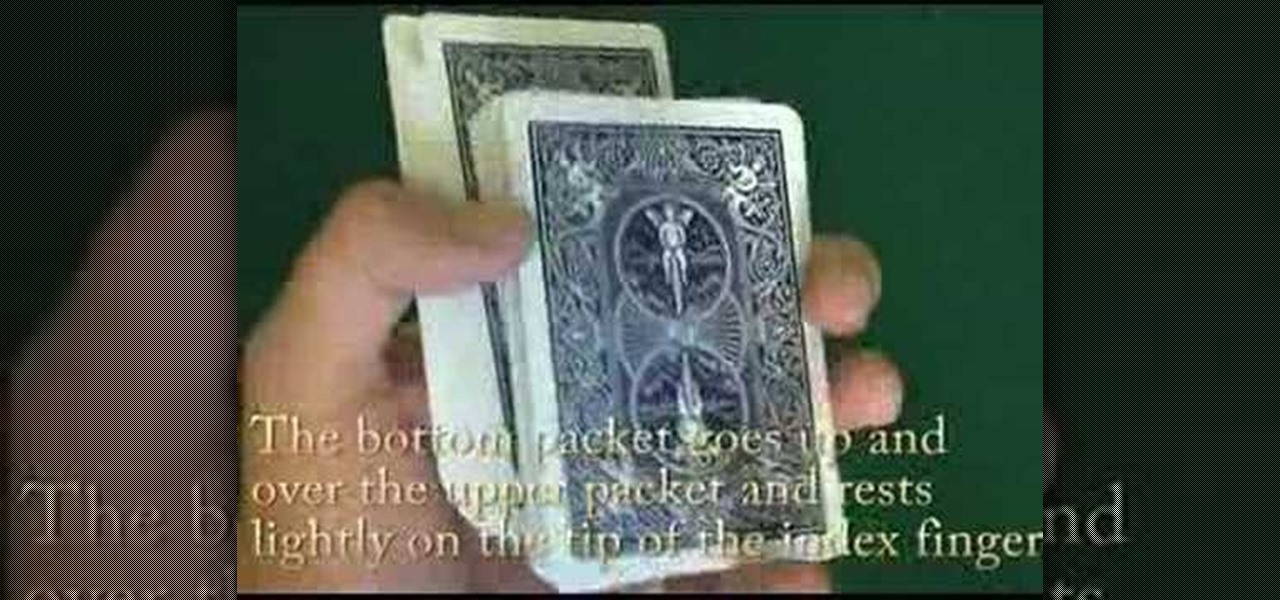
Practice the Hot Shot cut card flourish in magic. This is an extensive tutorial in card magic that shows you how to do the specific move: Hot Shot cut. The Hot Shot cut is an intermediate move in card flourish or card trick magic.

This video editing software tutorial covers using timeline and clip-based markers in the Final Cut Pro timeline. This is a very useful tutorial for Final Cut Pro newbies. Watch and learn how to use markers as a way to organize and manage navigation within Final Cut Pro.

Do you have hundreds of assets in your Final Cut Pro project, but you are only using a percentage of them in your sequences? Want to find out how to get rid of the unused assets in your Final Cut Pro project quickly? Watch this Digital Media Dude podcast and learn how to search for unused assets in Final Cut Pro.

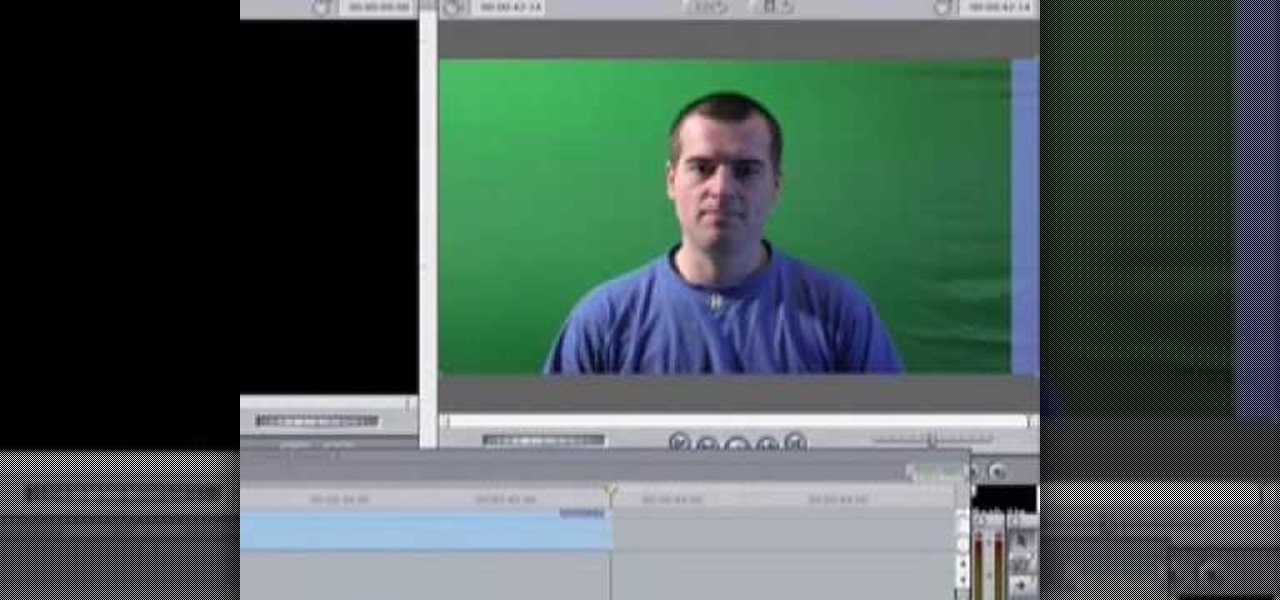
This Final Cut Studio software tutorial teaches you how to key out a green screen using Final Cut Express. This is also known as Chroma Keying. Once you have keyed out your green screen, you will be able to add effects and filters to your footage and create great movies in Final Cut Express.

The following is a how to piece about writing a treatment and the skills involved. As a noobie writer, I find these things very helpful, but at the same time I am careful not to take everything said as cut and dry. That is a tactic used by modern day intellectuals (not a god thing to be in most people's eyes). Read some of this and decide for yourself if it is or is not useful to you.

Watch this video to learn how to julienne vegetables. To julienne means to cut into matchstick pieces approximately 2-3 inches in length and 1/8-1/16 inch in width. Julienne vegetables properly.

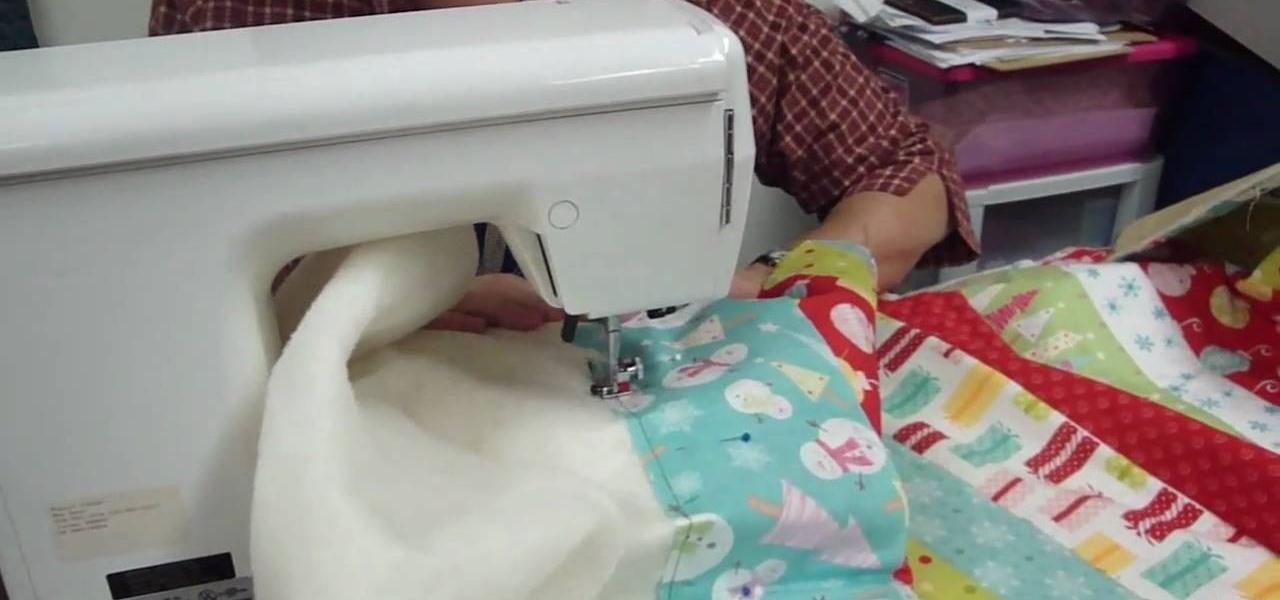
Looking for a new way to do your quilting? Why not try the 'quilt as you go' method! With this method you don't finish the whole piece at one time, but instead take various pieces of fabric and use them one by one. This is a great method if you happen to have a big bag of fabric odds and ends you didn't know what to do with. You'll need a piece of backing, thread, pins and of course a sewing machine. Watch and learn how to quilt as you go!

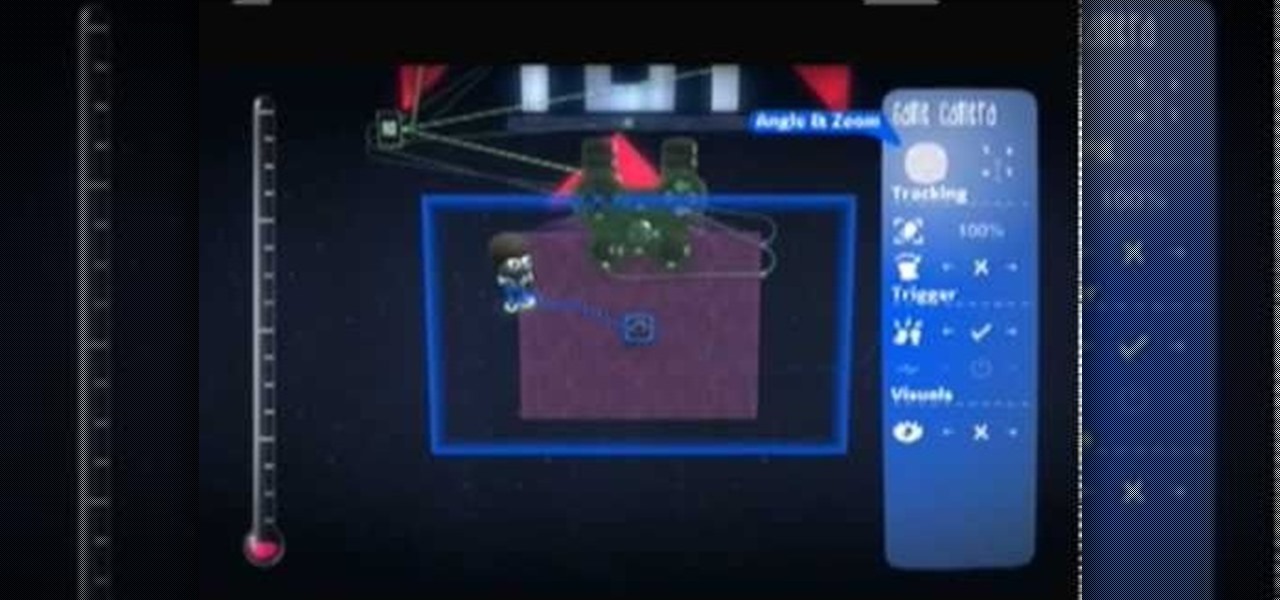
The first thing someone sees when they start a video game (after the studio cards and legal info, technically) is the start menu. Having an intuitive, attractive one is a great way to affect people's first impressions of you game, in LittleBigPlanet 2 and elsewhere. This video will teach you how to make an awesome two-piece selection menu for your custom game and guide players exactly where they want to go.

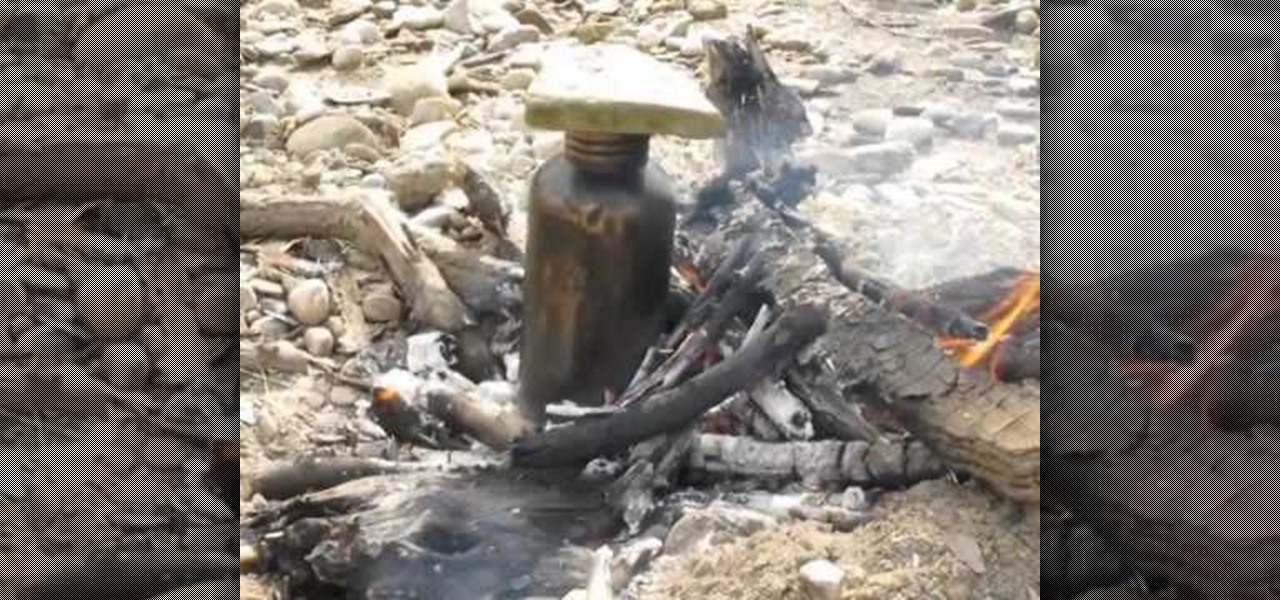
Lighting a fire in the wilderness can be tricky, but having a piece of charcloth can make the task easier. Charcloth is carbonized cotton fiber, which lights easily when exposed to a spark, making your task of lighting a fire in the wild, much, much easier. You'll need a fire, a metal container with a lid and a piece of cotton fabric. Voila, charcloth!

In this tutorial, Simon Leach teaches us how to double dip or glaze ceramic. This trick will save you a lot of time, just make sure you practice a lot. First, mix your glaze up in a large bucket and grab your pot that you want to glaze. Now, place your piece into the glaze and then flick the wrist to lift the piece up quickly. Don't let the glaze go over the base of the piece or it will become too messy. Now, dip the piece back in, getting some glaze on the inside and swishing the liquid arou...

It's time for chapter 2 of Monkey Island 2! Four map pieces! It's off to Booty Island! If you're going around in as much circles as Captain Threepwood then this video is going to be the best map on the high seas! In this video you will get a full walkthrough of this entire chapter along with all the item locations and orders that you will need to get them in.

This video tutorial is in the Arts & Crafts category where you will learn how to make Mexican papel picado paper cuts using chisels. This is a traditional craft of Mexico. There are various forms and sizes of chisels used for this purpose. The designs you can cut on paper are only limited by your imagination. First you got to make a design on paper. Then you got to stack up 40 to 50 sheets of paper and staple them together. Now you can start cutting the paper stack using a chisel and a hammer...

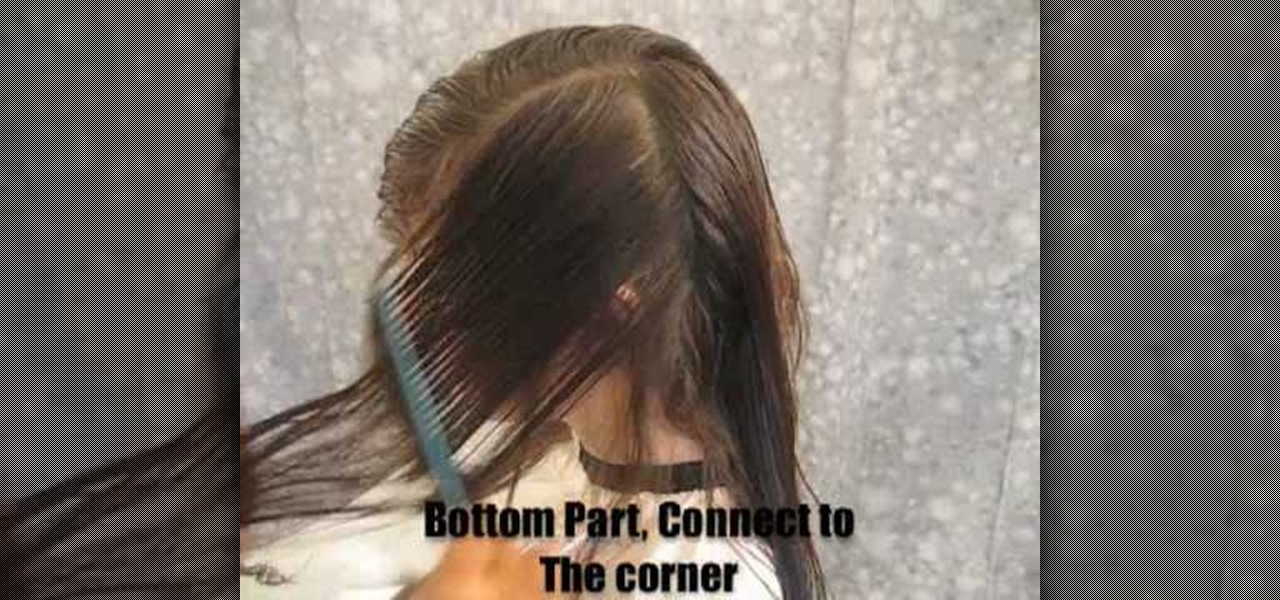
In order to cut a long layer haircut, you will need a good pair of scissors. You must stay in the exact same standing position the entire time. Bring all of the hair together on each side, in order to cut it.

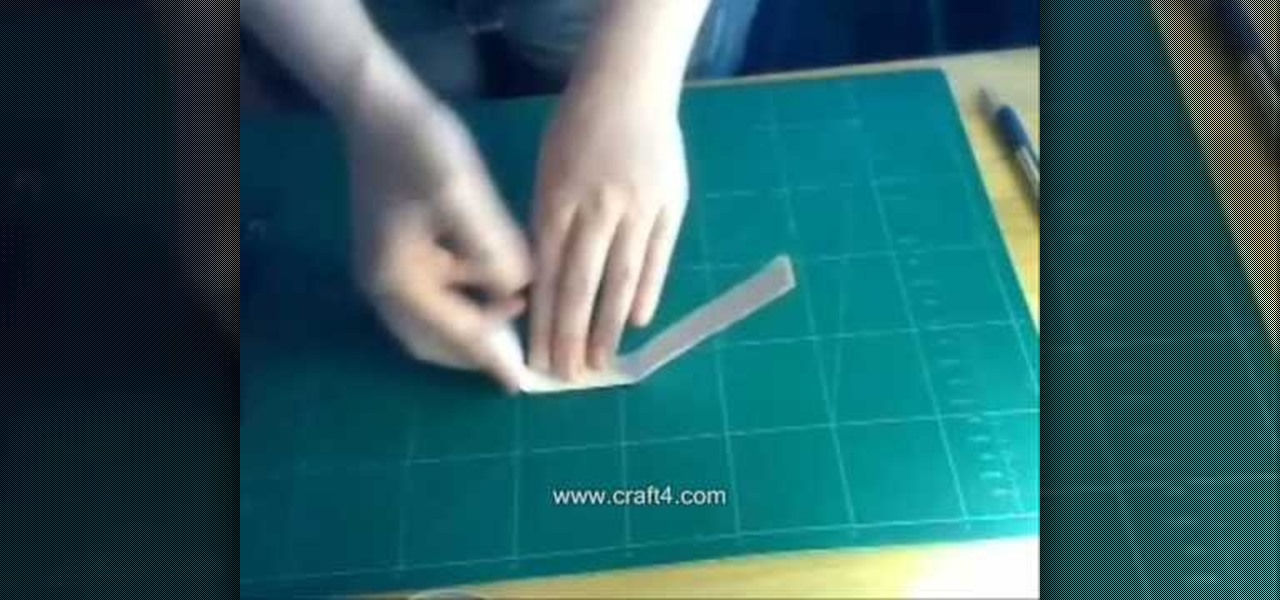
In order to make a birthday card with a pop-out cover cake, you will need the following: card stock, a craft knife, ribbon, double sided tape, decorative sheet, a ruler, stickers, and a pen or a pencil.

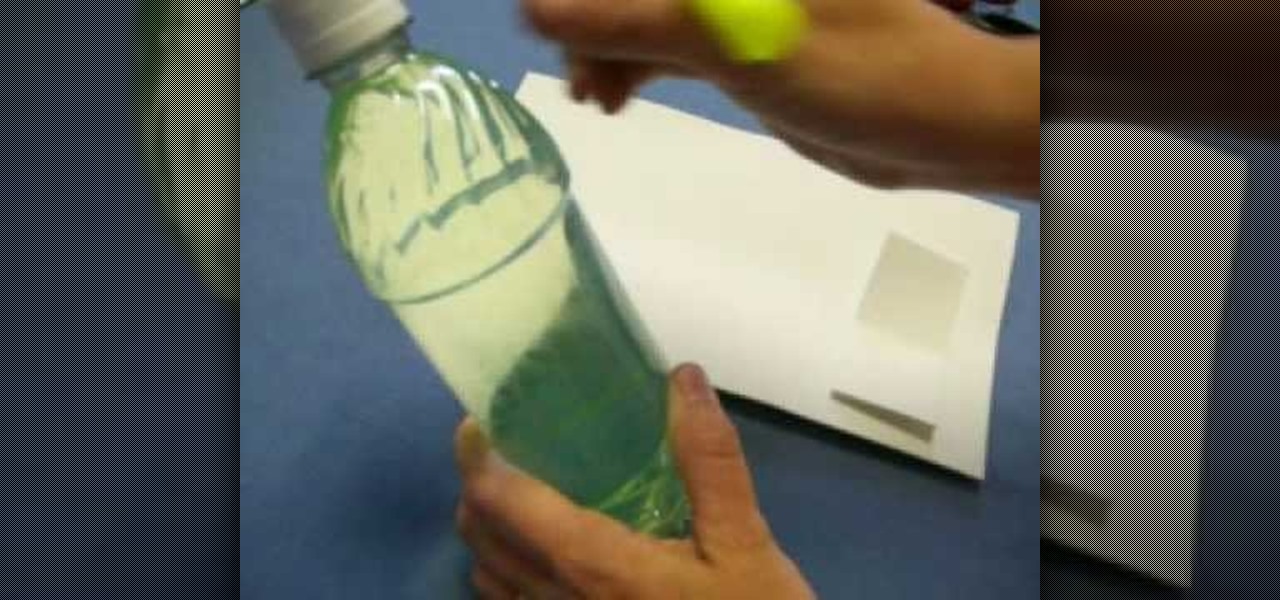
In order to make a glowing lightning bug sculpture, you will need the following: an empty pop bottle, a yellow marker, a pipe cleaner, construction paper or card stock, and glue.

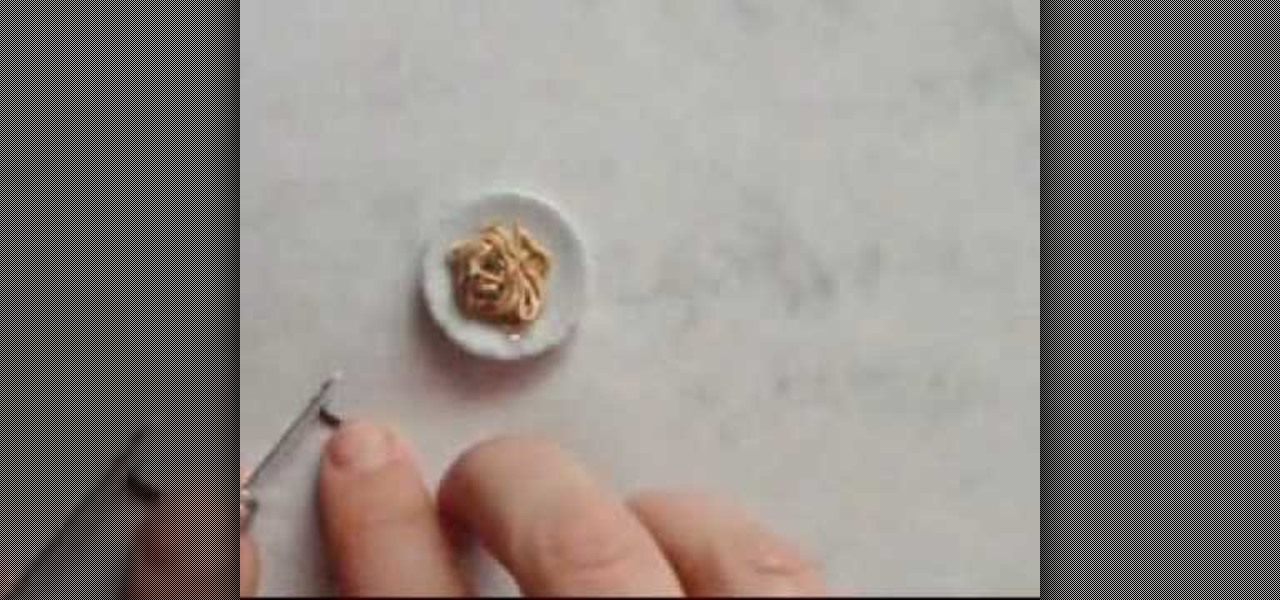
1. Collect all the materials need to create the ramen noodles clay. These are the polymer clay (color light yellow for noodles and green for green onion) ,FIMO Deko Gel, the mini plate, mini metal stick or needle, cutter, scissor, and toothpick.

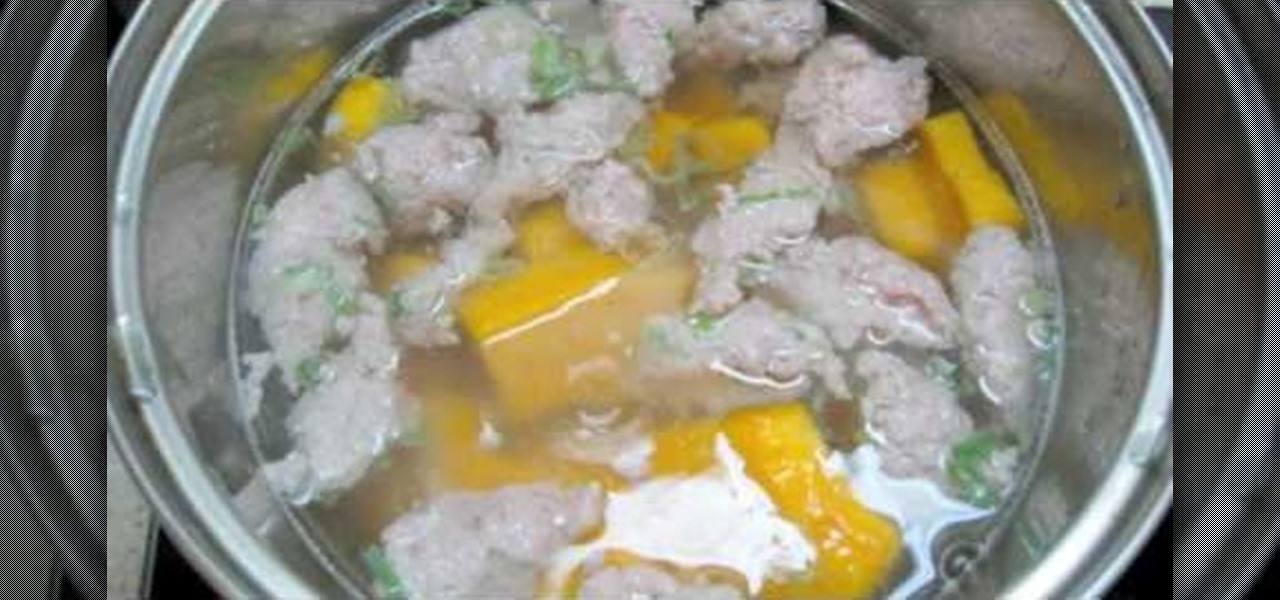
This video is a demonstration of how to make pumpkin soup the Vietnamese way. The ingredients are 1/2 pound of ground pork, scallions, fresh pumpkin, salt, pepper, sugar and fish sauce. Prepare the meat: mix the pork with 2 teaspoons of sugar, half a teaspoon of salt, some pepper and chopped up scallions (reserve some), and two tablespoons of fish sauce. Cut up the remaining scallions. Cut up the pumpkin and remove the skin. Boil four cups of water and a little salt. Drop chunks of pork into ...

In this video tutorial, viewers learn how to import music from i-Tunes into a Adobe Final Cut Pro project. Begin by right-clicking the song and select Show in Finder. Then drag the song from the Finder into the Final Cut Pro program. Users will not be able to drag songs directly from i-Tunes to Final Cut Pro. If the song is not compatible with Final Cut Pro, right-click and select Show in Finder. Then right0click the song and select Open with Quick time player. Now click on File and select Ex...

How to decorate cupcakes with some helpful tips

This video shows us the method to reconstruct your t-shirt with a fringe design. You will need a long fitted t-shirt, scissors and a sewing machine which is optional. Cut off both sleeves of the t-shirt. Now cut the middle of the shirt on only one side. Cut off the collar. Hem both sides of the cut so that you have a clean finish. Now take the scissors and start cutting the fringes. Open the t-shirt so that all the fringes are even. Mark the length of the strips and start cutting. Once you ha...

In this how-to video, you will learn how to design and create four of your own Lego light sabers. All you need is six different pieces as seen in the video for the first design. Now connect them vertically, one at a time. All you need is six different pieces as seen in the video for the second design. Now connect them vertically, one at a time. All you need is seven different pieces as seen in the video for the third design. Now connect them vertically, one at a time. For the last design, you...

John Campbell shows us how to use pitch wood to create a fire. This is a good method to use when you have dead pine trees available. Pitch wood can be found in the first three to six inches of a branch of the dead pine tree. This area is covered with pine resin. You want to pick a branch on the dead tree, then cut this branch off from the main trunk. The area closest to the trunk should be soaked with the resin. Next, split the branch in half. Using one half, scrape off a bit of the tinder us...

Victory Chinese Cell of Tulsa learned how to make this Thai Curry Chicken in their Homemade Chinese Cooking Class. Start by cutting one green bell pepper into pieces around one square inch in size. Fish sauce, seasoning sauce, white sugar, and salt are also needed, in addition to fresh raw chicken. Preheat a large, deep sauce pan on the stove top with a vegetable oil coating. Then make sure the coconut milk and panang curry paste are open. Add about half the can of curry paste to the oil in t...

In this short video tutorial you'll be shown how to build or create a LEGO fire extinguisher/spray paint can. The process only requires two LEGO pieces to complete the item. The first piece required is a 1x1 studded can LEGO brick. The second piece is a 1x1 nozzle LEGO brick. Each piece is clearly shown and described in the video to make the process easier. Simply attach the two LEGO pieces together, forming an item which resembles either a fire extinguisher or a spray paint can. The last ste...

Our instructor will choose set 2, 6 and 8 to show you what the company offers. On the wrappers are pictures of the types of beads possible with each set. She will create from set 2 today, which makes oval beads. Inside of the packages, such as this package which holds set 2 are several items. First is the thin metal pins or rods that can go into the baking oven with the polymer clay molded around them. Next, two pieces for the mold, a bottom and top that fit together with grooves. There are a...

This instructional video will show you how to peel and cut a pineapple. Follow these steps to peel and cut a pineapple: Cut off the top and bottom. Start cutting the skin off the pineapple, by sliding your knife in behind the seeds, and cutting down. Repeat this step until the pineapple is peeled. Now you need to get rid of the core. Make four cuts directly against the core. Slice the remaining pineapple chinks as preferred.

Sunny Anderson shows you how to make chicken stuffed potato puffs. Start by cutting down a store bought rotisserie chicken into the small chunks. Cut some red and green bell peppers into small pieces next. Put the peppers and the chicken into the bowl. Add some Mexican oregano, pepper, and some salt. Use a spoon to toss the ingredients in the bowl. Bake some potatoes in the oven at 375 degrees for 15 minutes and then peel them. Put the potatoes in a bowl and add one egg, some milk, a table sp...

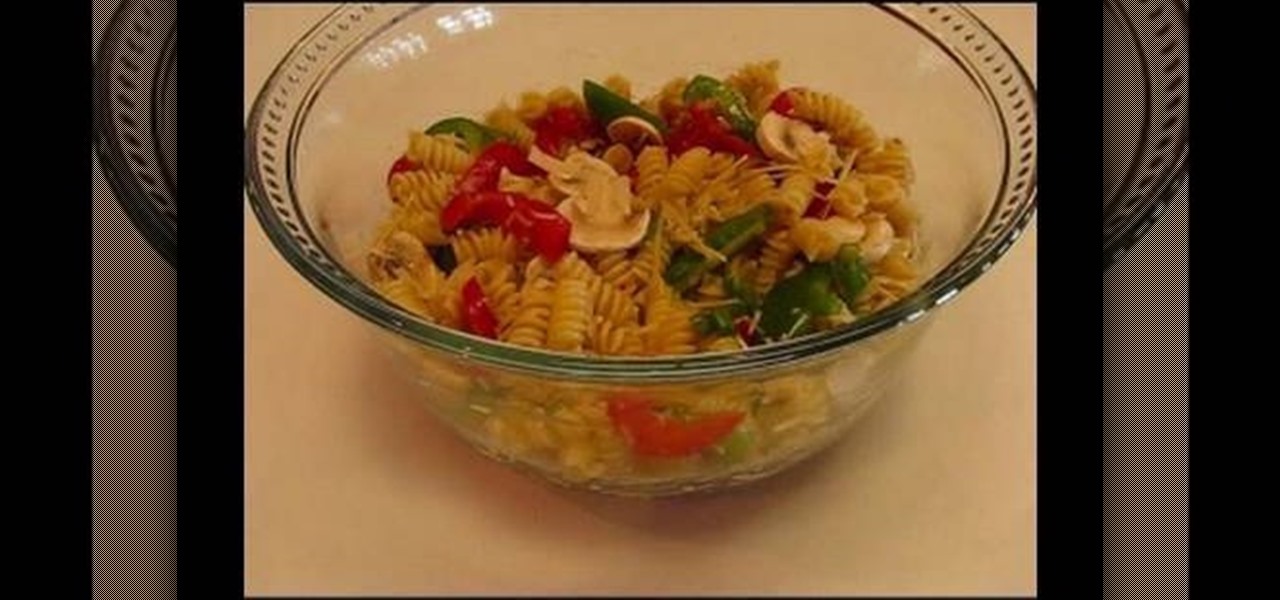
Most pasta salad is very "American" and full of fatty things like mayonnaise. By adjusting a few ingredients and adding some yummy veggies, you can transform your salad and have a healthy addition to your outdoor summer party menu!

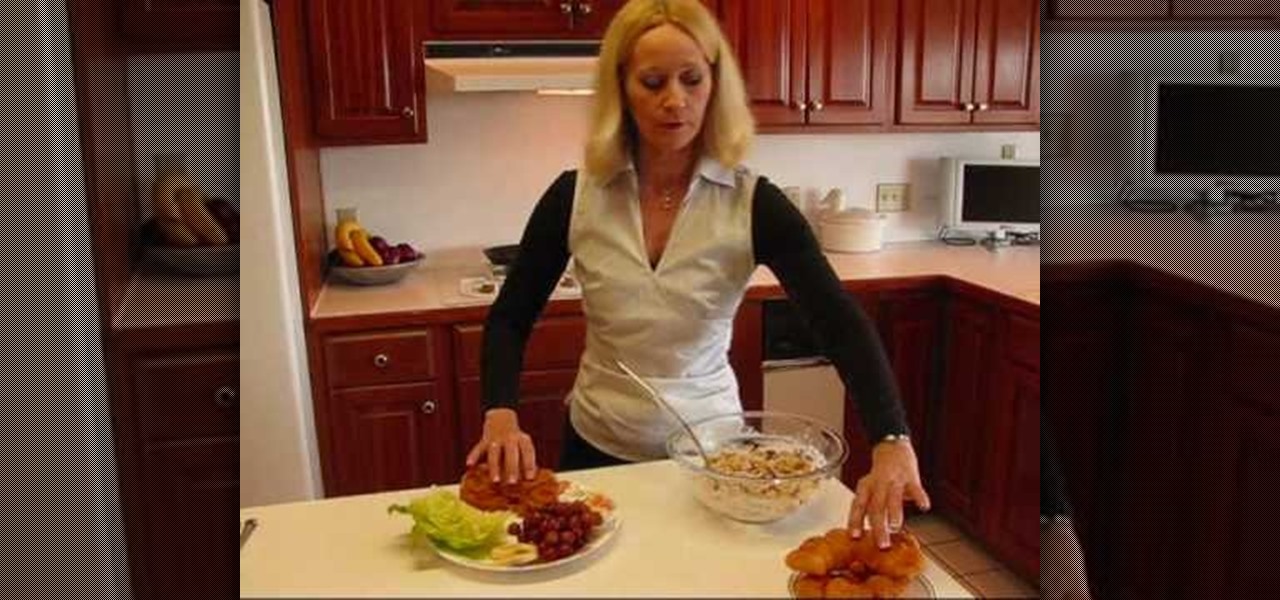
Betty shows you a simple, tasty chicken salad sandwich recipe. Straight out of Kentucky, and always cooking!

Learn to make basic mashed potatoes with this video tutorial. Start by peeling and cutting 3 pounds of all purpose potatoes. Cut the potatoes into one inch chunks. Boil the potatoes in a 3 quart sauce pan over high heat in enough water to cover the potato chunks. After bringing the potatoes to a boil reduce the heat to low and cover the pan and let the potatoes simmer for 15 minutes. Make sure that the potatoes are fork tender. Drain the pan using a strainer and then return the potatoes to th...


