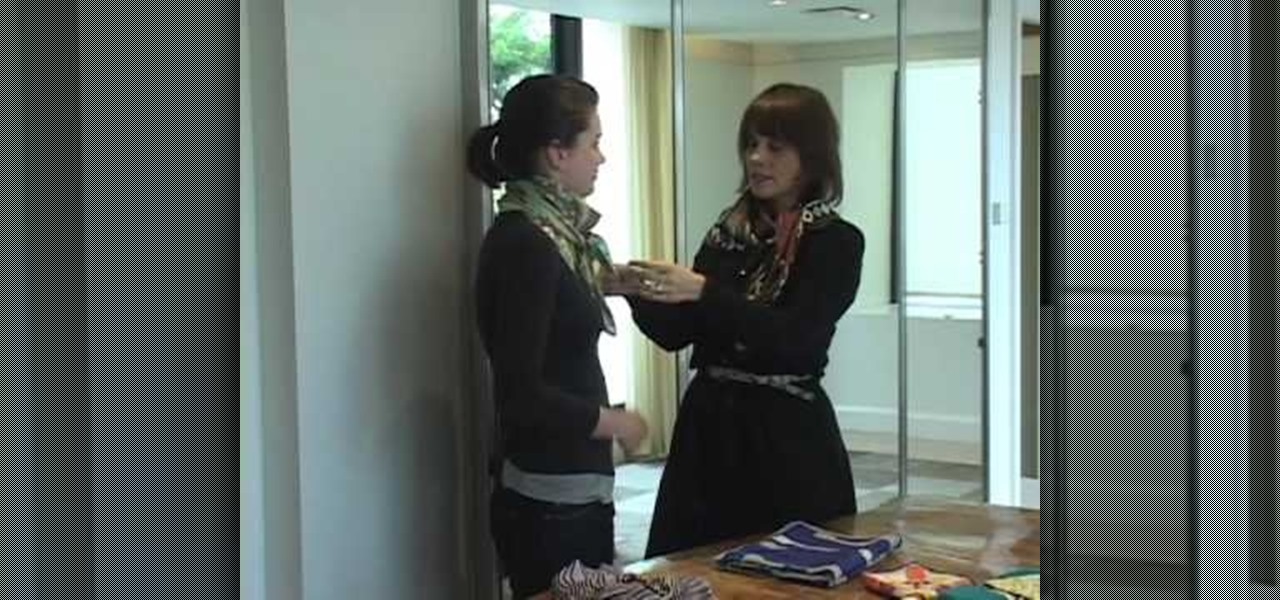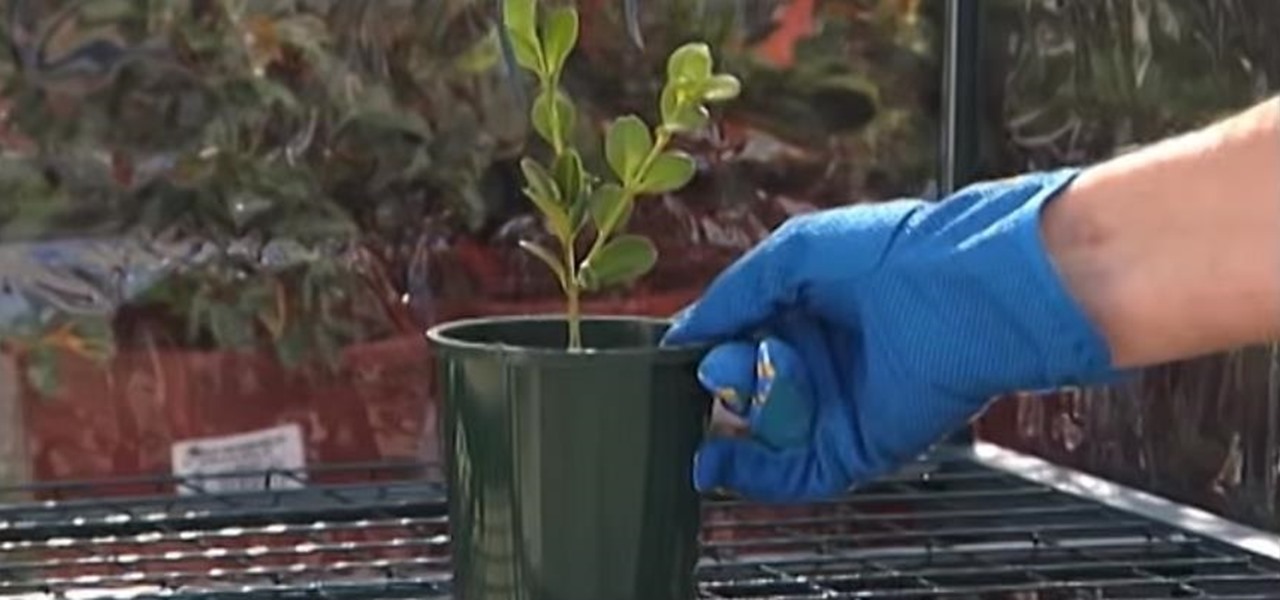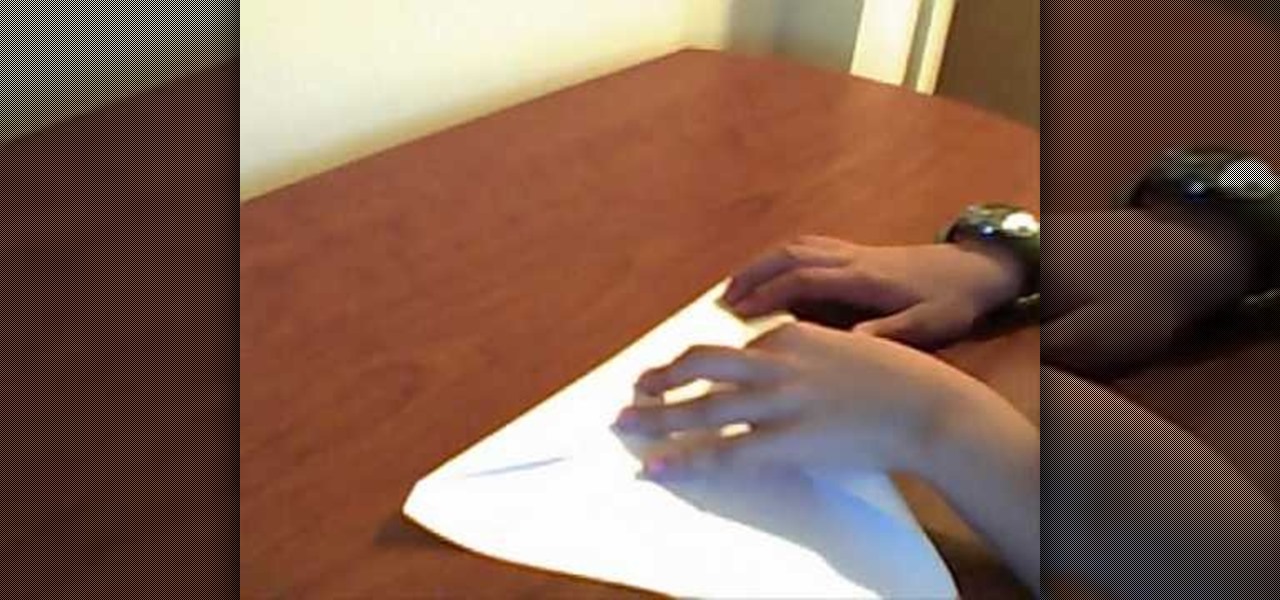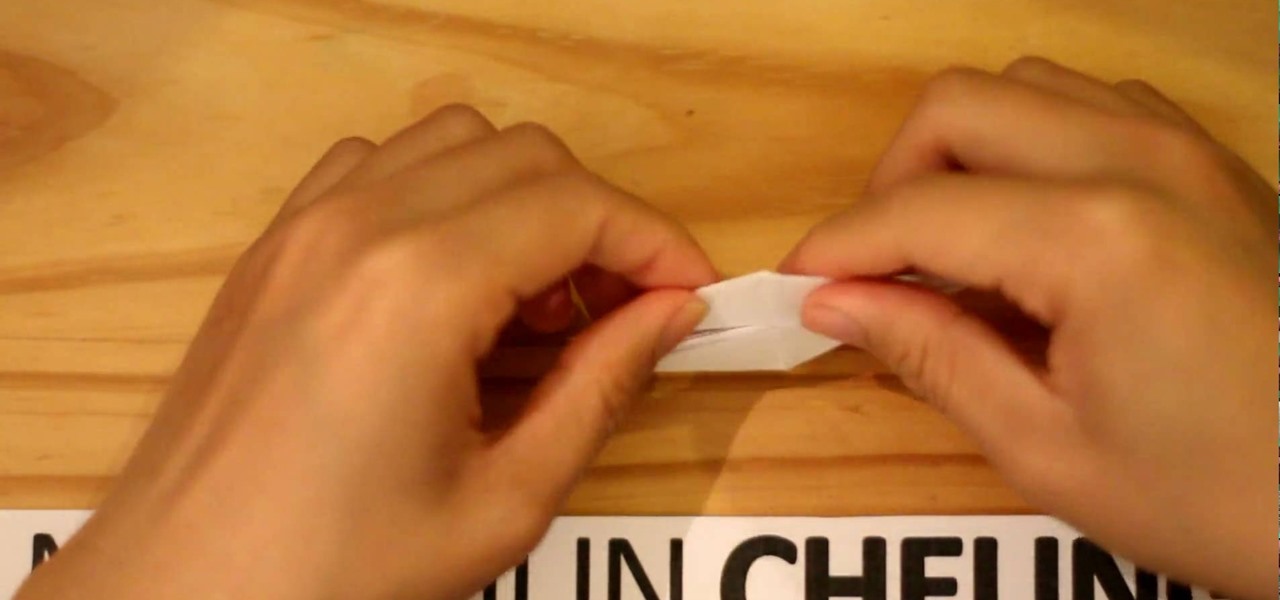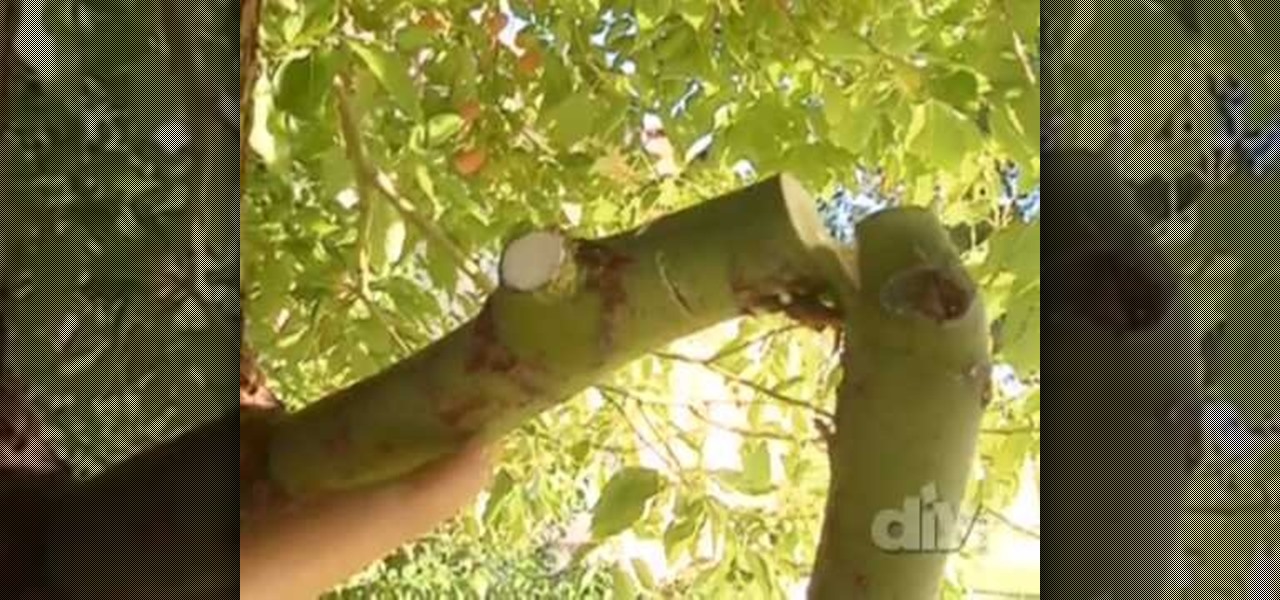
In this how-to video, you will learn how to prune a tree yourself. You start by using the four D's. The four d's include removing things that are dead, damaged, deformed, and dysfunctional. If the branch is brown and crispy, you can remove it. Remove any stubs as this will affect the tree over time. Get close to the branch collar when cutting. Do not cut it near the base if the branch is bigger than an inch in diameter, as this may damage the tree. Do this instead by cutting an under cut and ...
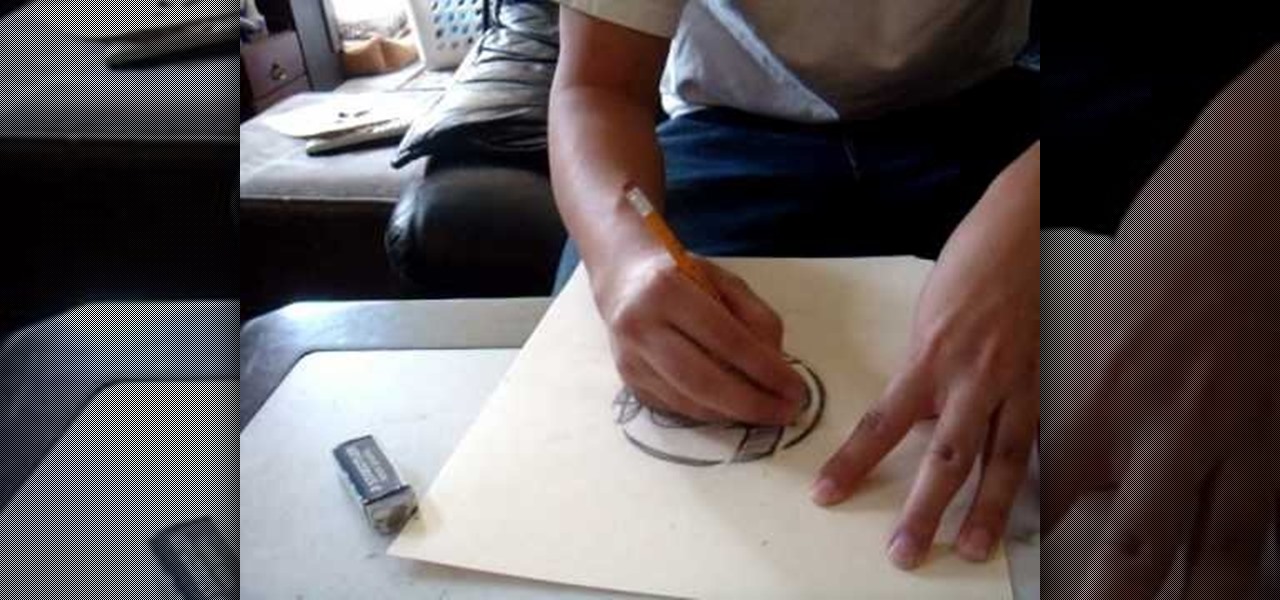
This video gives instructions on how to make a stencil from a manila folder and a number of additional supplies. Supplies required aside from the manila folder include an X-acto knife, a pencil, an eraser, and a cutting board, the cutting board and manila folder are recommended. First step to producing the stencil is to draw an image to serve as the stencil pattern. After making the design, cuts must be placed in the design known as 'Bridges', bridges are links in the design which holds the p...
In this video we are shown how to make a match rocket. You will need a lighter, a paper clip, a pair of scissors, tinfoil and some matches. Start with two matches and with the scissors cut the heads off. Using the stick of the match measure a square of tinfoil. Place the stick on one edge of tinfoil and roll a little lip around it. Remove the stick and place the heads in the lip that you just rolled. Place the stick in the lip behind the heads so that it is halfway off of your tinfoil. Now be...
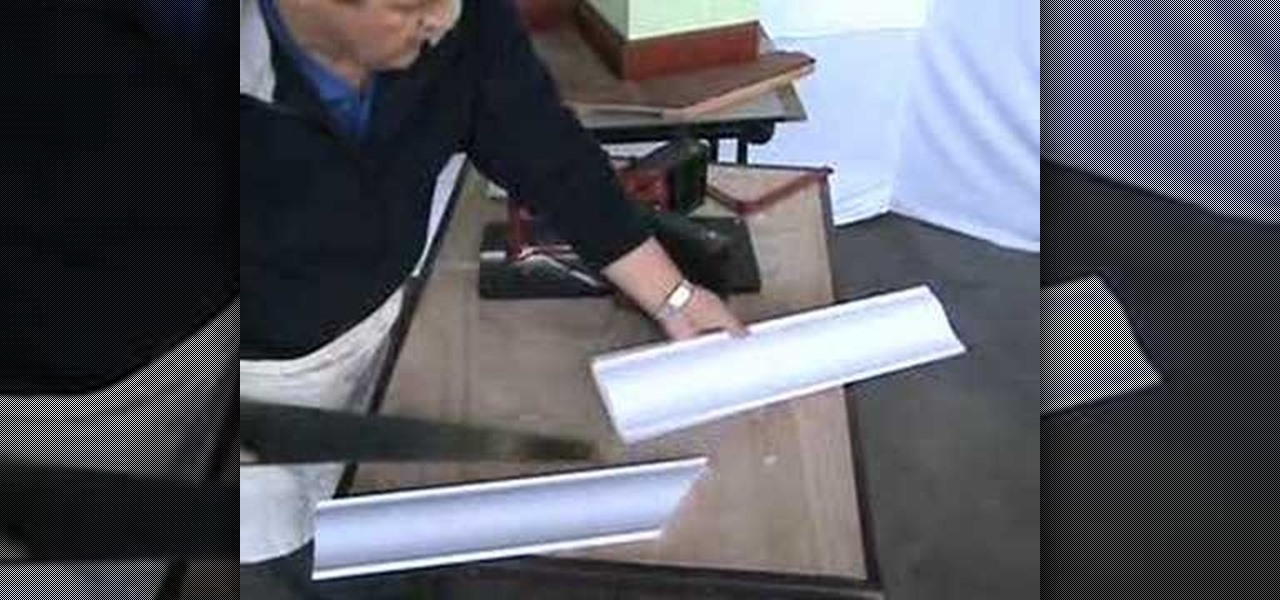
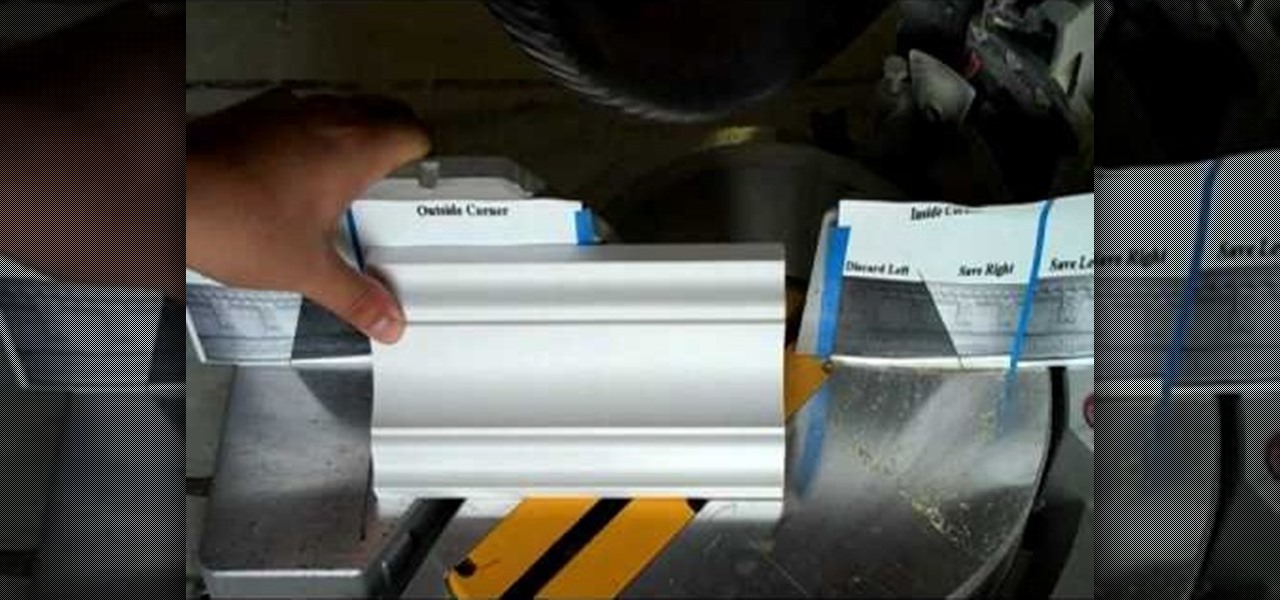
In this video tutorial, viewers learn how to cut a scarf joint in crown molding and coving. Scarf joint is simply two flat planes meeting on an angle relative to the axis of the stock being joined. Users will need a magic miter. The magic miter is a miter box for cutting miter joints at any angle in crown molding, baseboard, chair rails and more. Adjust the machine to a 45 degree angle and lock it. Put in the mold and cut it. Repeat the same step for the other side. This video will benefit th...

This video tells us the procedure of making strawberries and cream croissants. Take two refrigerated crescent rolls and separate them into triangles. Put the triangles at the edge of your pan with the longer end inside the pan and the tip outside the pan. Overlap the adjacent triangles and flatten them with your hand. Lift the longer ends a little bit above the pan. Spread 8 oz of strawberry cream cheese above the triangles. Spread 16 oz of frozen strawberries over the cheese. Fold the triang...

HelpVids user mel_bone teaches you how to cut, copy and paste to the clipboard in Microsoft Word 2007. Select the first paragraph by either triple clicking on it or selecting it with your mouse. Click "Copy" in the top ribbon or press "ctrl + c". Then use "Paste" or "ctrl + v". To cut a paragraph, select it and click "Cut" or press "ctrl + x". Using the paste options, you can only paste the text, without its formatting. By clicking the small icon next to the Clipboard tab, you will open the p...

This video, from Superior Building Supplies, demonstrates the proper technique for cutting the inside corners of crown molding. The presenter suggests downloading several diagrams from the Superior Building Supplies website. These diagrams show the correct position of the miter for several different cuts. When using a miter saw think of the fence as the ceiling and the table as the wall. Cuts for inside corners will always be made using 45 degree angles on your miter saw. Using these techniqu...

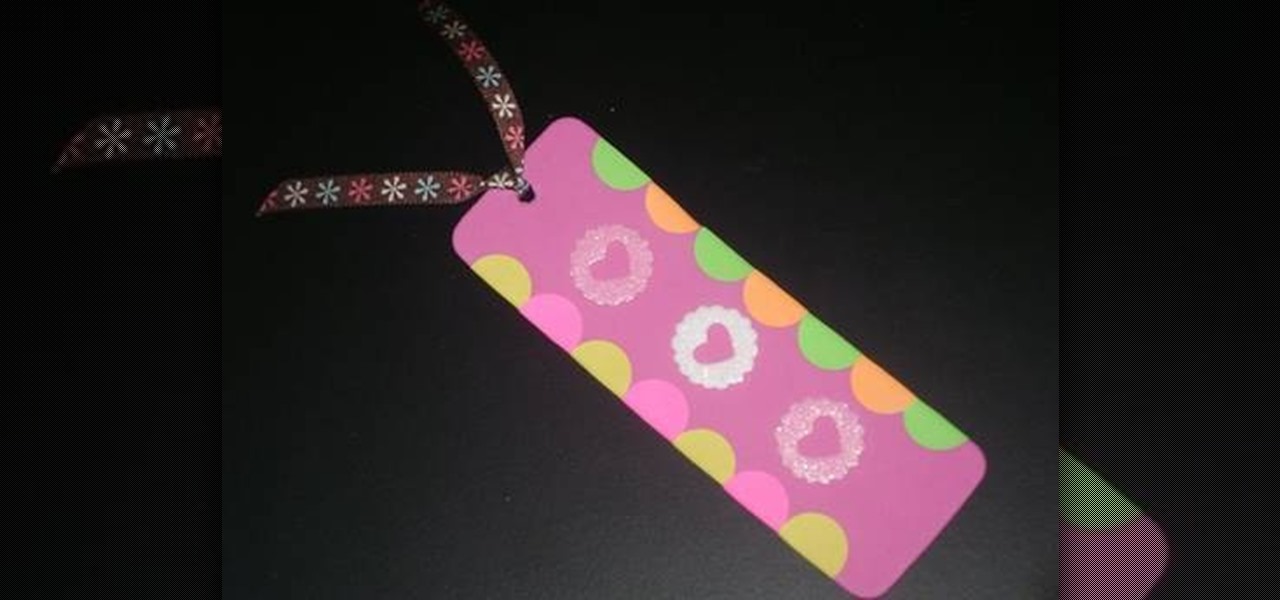
Take a colored foam and cut it to a bookmark shape. Mostly the bookmarks are tall rectangles. Decorate the foam bookmark using markers. Now design it for looking more beautiful. Use stickers to add additional decoration. Collect stickers from a craft store that offers a large variety of scrapbooking stickers. Cut the foam sheet and be sure to get along with the theme of the bookmark. For example, if a child drew horses on his bookmark, cut out horseshoe. Decorate the cut-out if necessary. Add...

Do you want a unique way to display your vacation photos or present your holiday newsletter? Try making an instant book. This video, you will guide through the simple process. The presenter starts by referencing Esther K. Smiths book: How to Make Books. You do not need a lot of materials, just scissors, paper, and some pictures. After showing examples of different types of paper you can use, she demonstrates the step-by-step process of folding and cutting the paper. She even shows a slow moti...

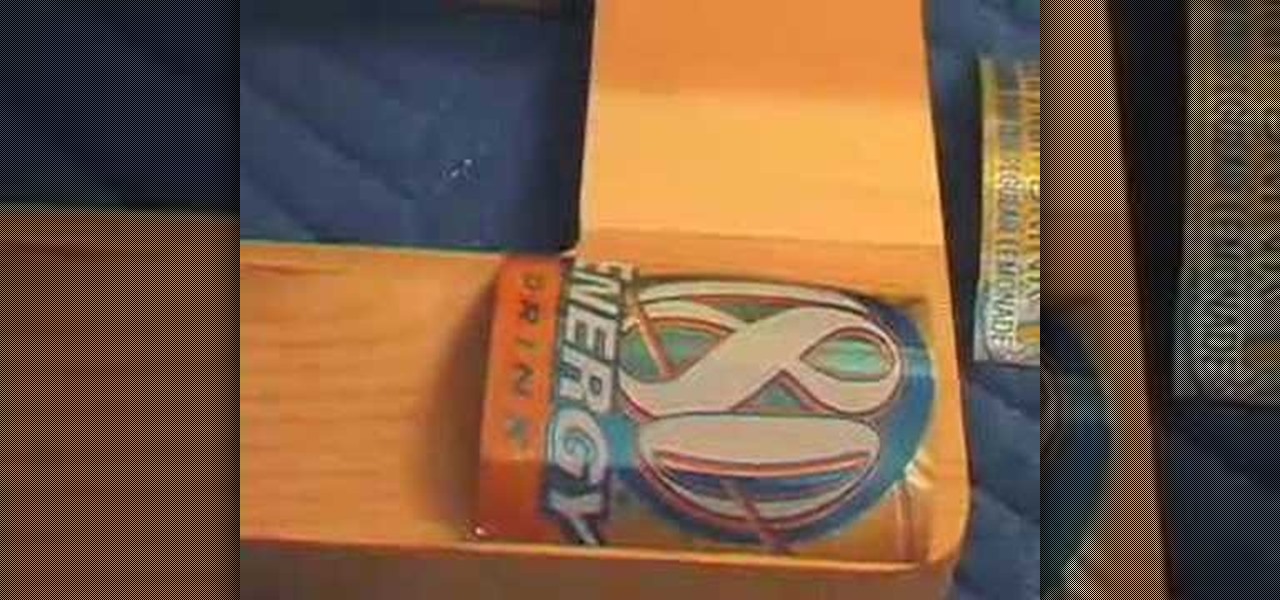
How to Make a Tin Frame with Soda Cans You don't have to throw out your old soda cans anymore. Laura and Claiborne show how to recycle old cans into a craft project that creates a frame. You will need a wooden frame, soda cans, 5/8 of an inch nails, tin snipers, and a glue gun. While cutting the cans, make sure to be careful to avoid cutting your hands. Smaller square scissors tend to be more effective at cutting the cans. When cutting, try to cut the can in a rectangular shape. Try to avoid ...

In this 60-second solutions video you will learn how to cut 100 calories form your diet. If you are able to cut calories 3 times a day, you will be cutting more than 2,000 calories every week. Here are some tips to cut 300 calories a day: Flavor your coffee with cinnamon and nutmeg instead of sugar. When you snack on nuts, have one less handful. At dinnertime, leave 3 to 4 bites of your entree.

In this video from C4Bimbos we learn how to cut a cantaloupe. This also works for a watermelon, she says. Slightly cut off each side - top and bottom - so that you can stand it up. Now you want to shave each side down. Using a sharp knife is the best way to go! Get all of the green part off. Now, turn it over to get the rest of the outside off. Now, cut it right in half. With a large spoon, scoop out all of the seeds and put them in a bowl. Cut the cantaloupe in perfect slices and you are rea...

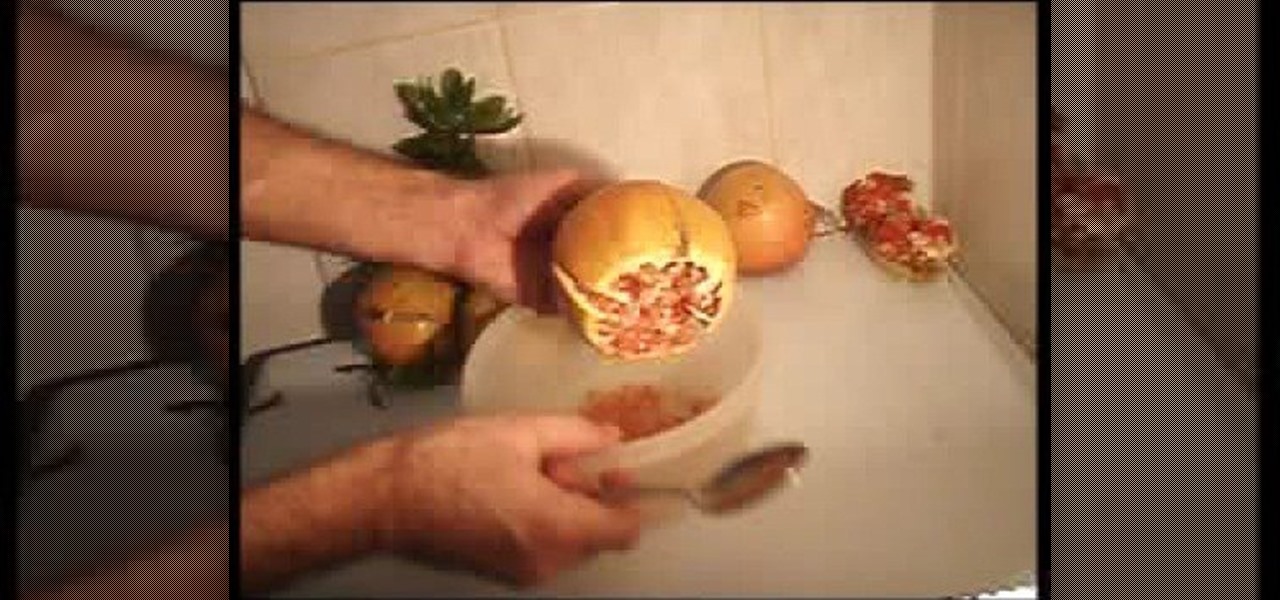
Hate the sticky mess of slicing into a pomegranate? Of course you do, but it doesn't have to be like that. By cutting off the top and making a few precision incisions down the outside, you can crack that sucker open and knock out all of those little arils into a bowl (or, just eat them straight out of the fruit).

Prepare your eating area if you're eating crab at home. Lay newspaper or butcher paper on the table to collect juices. Decide if you're going to eat the crab as you crack it or collect all of the meat on a plate before you eat it.

Kelly provides a great video on how other ladies can cut their own hair at home. Benefits of doing this is you will save money, don't need to deal with moody hairdressers, and you can cut your hair the way you want it. She provides great tips and steps through the process while Kelly is cutting her own hair. Following the steps in this video and practicing will ensure you can cut your own hair with confidence and not have to pay for an expensive haircut again!

This video explains how to cook a Spanish tortilla. Peel the potatoes and cut into thin round slices. Slice peppers, onion and parsley. Heat frying pan under High-Medium and fry potatoes. Do not allow potatoes to become crisp. Mix eggs in bowl, add cooked potatoes, onions, peppers, parsley, black pepper and salt.

Don't have the money in your budget to go out to the salon? With this video you will be given tips to cut your own hair. Before you start, you will need elastic hair ties, a comb, and hair cutting scissors. This video will take you through a step-by-step demonstration from start to finish on how to do a hair cut at home. She'll show you how to section off your hair and start cutting away. As she says, the hardest part is knowing when to stop.

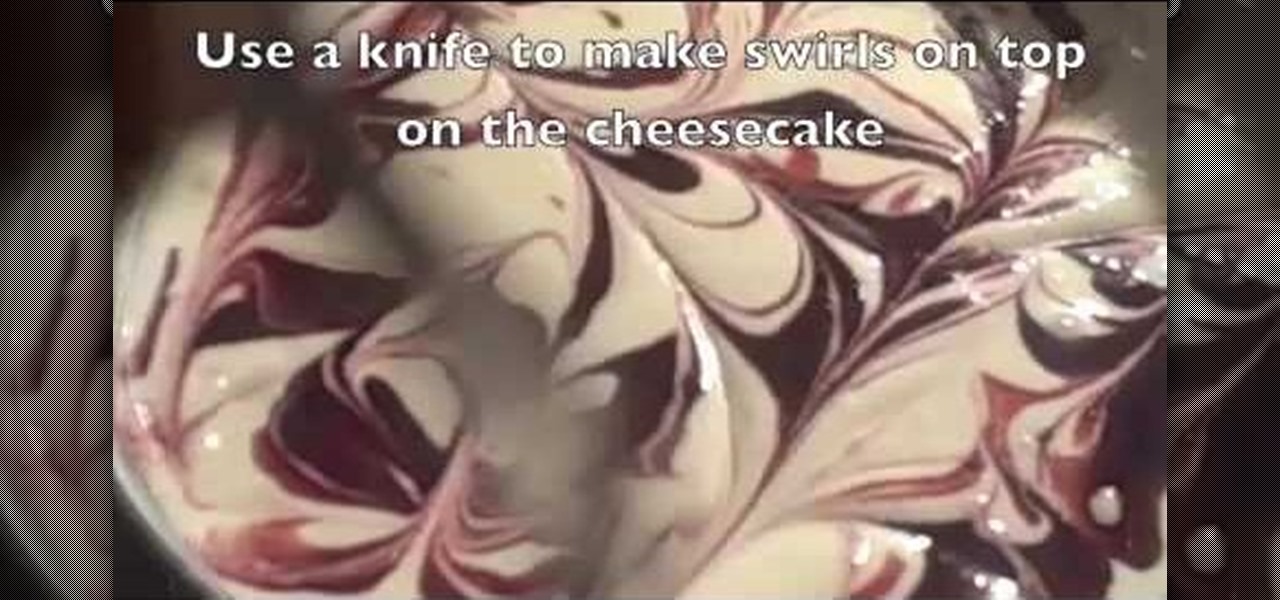
The recipe can be found on www.yesdivascancook.com. An eBook containing this and other cheesecake recipes is also offered.

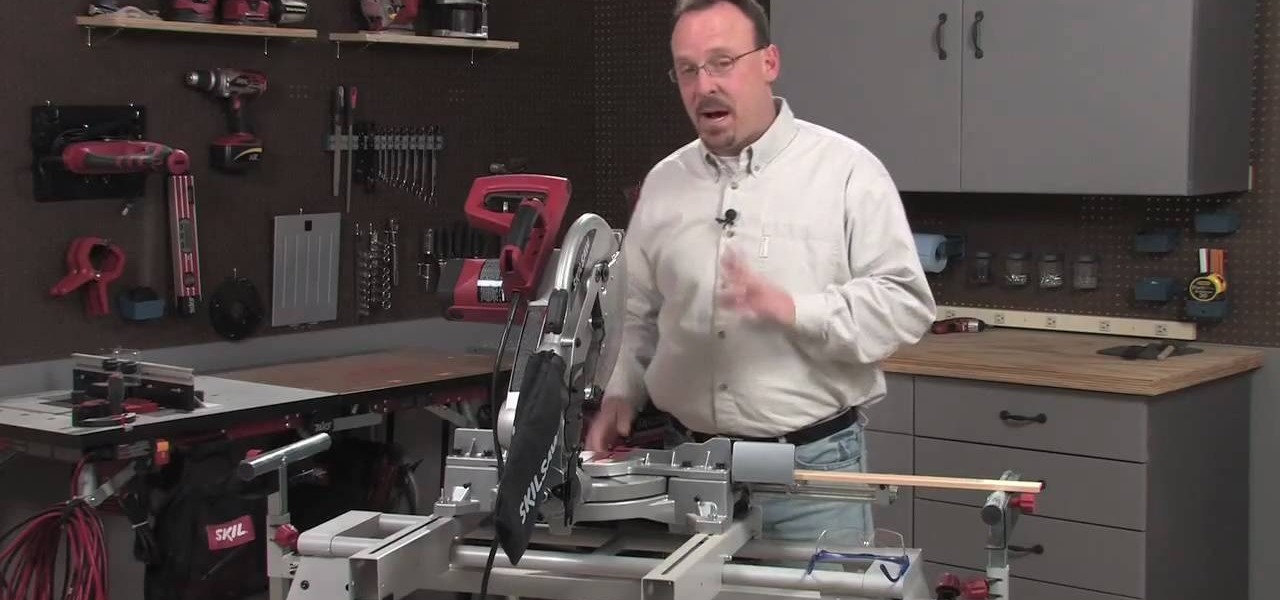
This informational and instructional video is brought to us by Lowe's, a leader in the `do-it-yourself' retail business. In this video, Bill shows you how to properly set and use a Skill miter saw. There are four basic cuts you can do with a miter saw: the cross cut, miter cut, bevel cut, and the compound cut. Experienced and beginner home project do-it-yourself enthusiasts will appreciate the techniques and teachings that Bill provides you within this easy to understand and follow how-to video.

This video tutorial shows you how to join two pieces of wood. What you'll need:

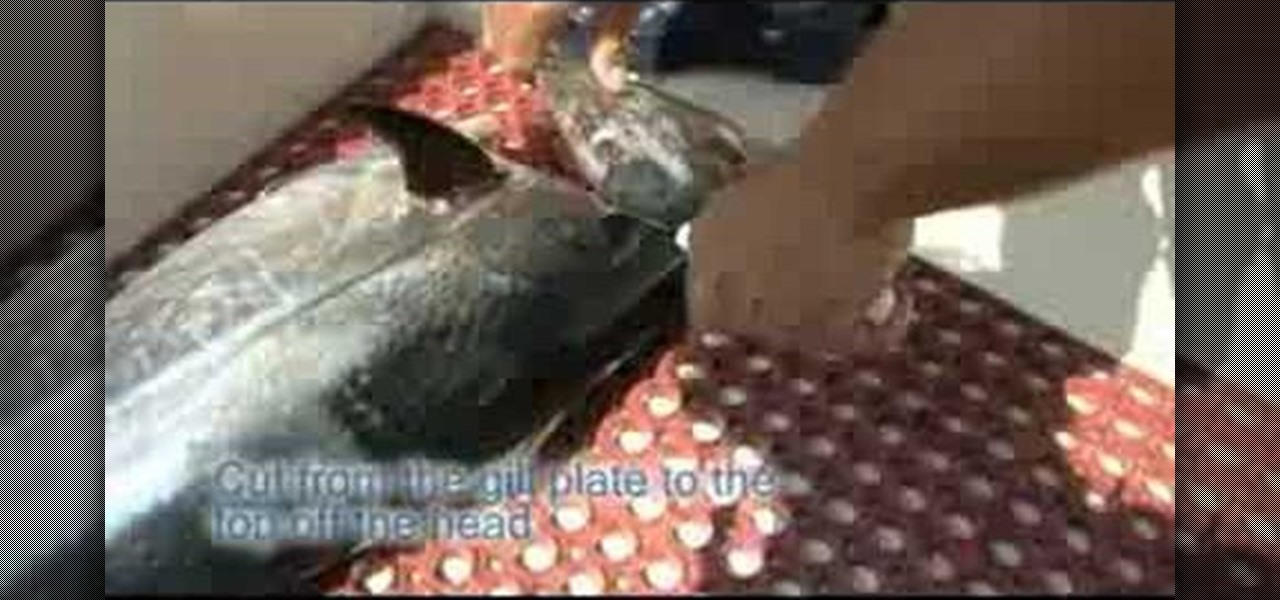
To prepare the tuna, start by cutting the jugular to bleed the tuna out. Cut right at the top of the gill plate and cut up toward the eyes. Do this on both sides of the tuna. Then, cut a circle around the anus to free up the guts. Go back to the gill plate and cut the membrane in the gut cavity on both sides and, with one swift pull, the head and guts come out of the tuna. Then, you will pack the core very tightly with ice to keep the core cool. It is now ready to go on the table for sushi.

Meg Allan Cole from Decor It Yourself shows you an easy way to make your kitchen look amazing by just adding a creative, do it yourself backsplash.

You have many great memories to share. Why not collect them all in one book? Learn the fun and meaningful craft of scrapbooking. In this video how-to, learn how to get started on your scrapbooking adventure.

Worried about your baby or toddler either wrecking or wrecking themselves in your home? Baby proofing time! Make sure your house is safe and secure for your child when they start exploring their turf.

Elegant fashion is easier to come by than many assume. This tutorial shows you how to sew your own simple V-neck women's tunic with added flutter sleeves. You don't even need a pattern, just a few torso measurements for your wearer!

How many of us think of a simple business suit as something rather humdrum? But that needn't be the case as a well-cut suit is one of the most versatile additions to your wardrobe and truly something worth investing in.

If shaky home videos are making your audience seasick, it's time to steady your hand. Watch this video to learn how to make a camcorder stabilizer.

Haircuts can cut a chunk out of any family’s budget. Learning to cut your man’s hair will save you hundreds! Check out this Howcast video tutorial on how to cut your man's hair.

Cutting floor and wall tile with a tile cutter should not be a difficult job. For any successful tile cutting job, the steps are roughly as follows:

If you want to propagate plants from cuttings, this horticultural how-to will show you how. Make certain you prepare your pot with a propagating mix and make a small hole with your finger. Take the cuttings and strip your leaves. Next, dip your cutting into a hormone gel or powder before putting your cutting into your pot. For more, including complete step-by-step instructions on the propagation process, take a look.

If you want to learn how to play Sum 41 on the guitar then this how to video is the place to start. With this tutorial you can learn how to play "Pieces" by Sum 41 on the acoustic guitar. "Pieces" uses the chords D5, Bb5 (=A#5), F5, and C5. This lesson is geared towards intermediate guitarists because it assumes prior knowledge of guitar playing. Watch this how to video and you will be able to sing and play guitar to "Pieces" by Sum 41.

Get a little use out of those empty tin cans you are going to throw away. Recycle them into a cutting disc. So, check out this video tutorial to see how to make a cutting disc for a Dremel rotary tool. These Dremel cutting disks are pretty easy to make. Just get a can opener, take off the lid of one of your junk aluminum cans, and begin to disc away. You'll need a Dremel sanding disc for a stencil reference. These are less dangerous than normal sharp cutting disks, not to mention cheap.

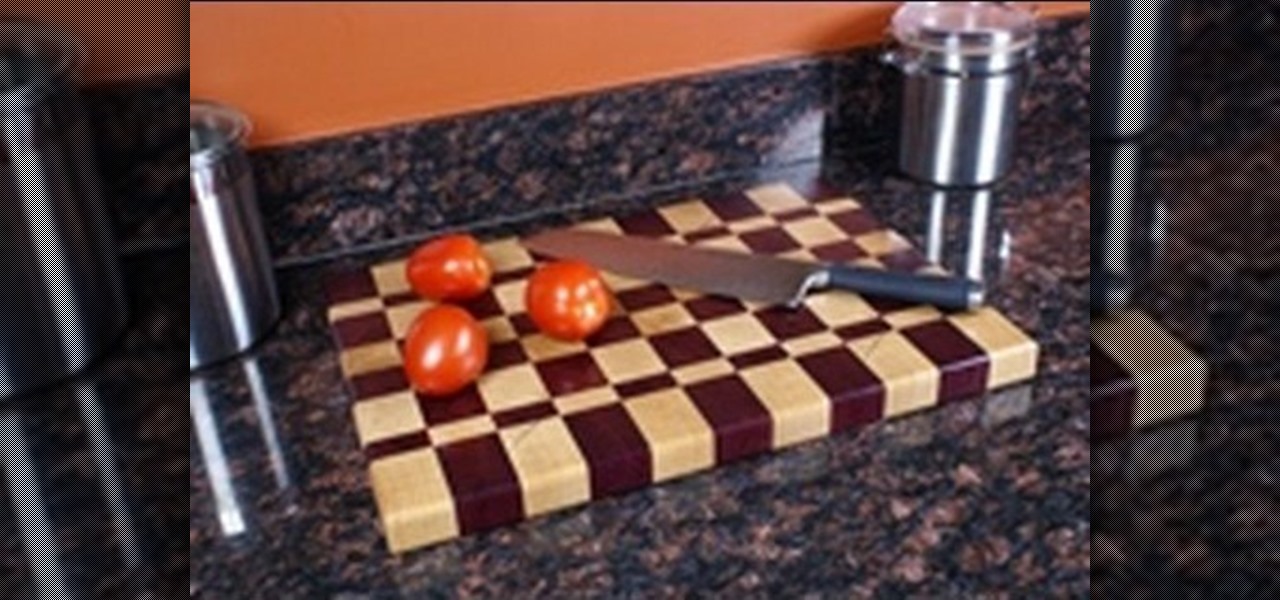
Make your own butcher block end-grain cutting board with this two part video series. Enjoy the "back to basics" simplicity of this useful project. A custom cutting board makes a great gift and many woodworkers make them in batches every holiday season. And if you are relatively new to woodworking, this is a great project to hone your milling, glue-up and tablesaw skills.

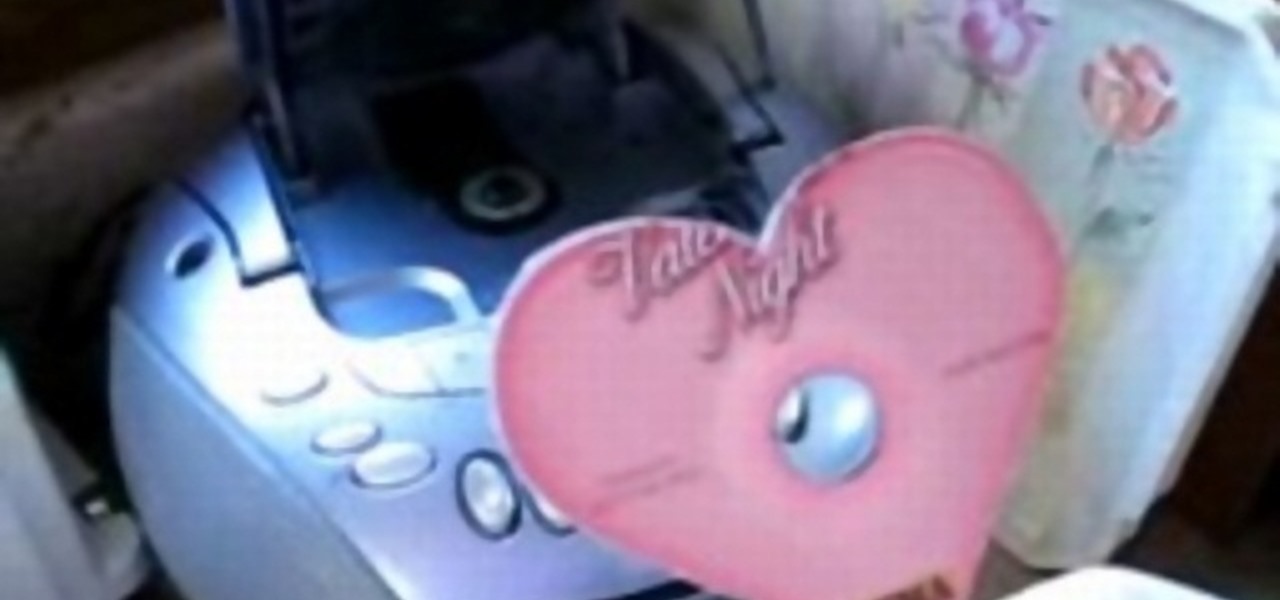
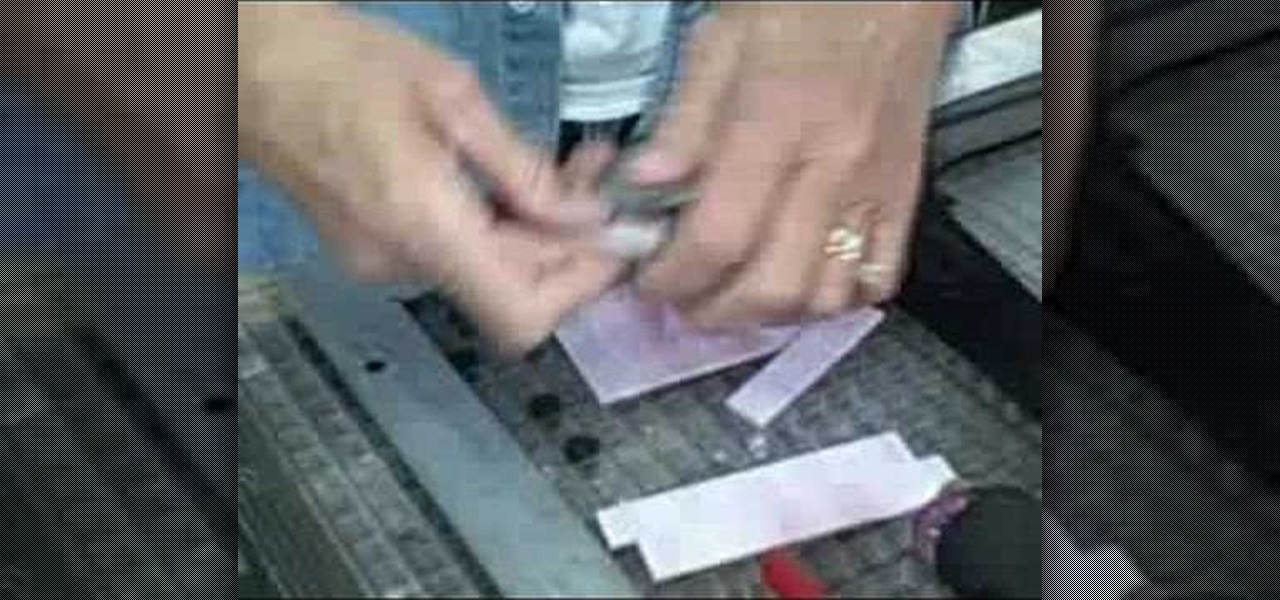
This instructable aims to show you how to cut any type of disk to a desired shape. It is particularly useful in cutting down cheap 12cm DVD-+R 's into more expensive (can be up to 10 times more) 8cm DVD-+R disks. The technique shown here works with all disk types. The video below shows us cutting a music CD into a heart shape, and also illustrates the basics of cutting 12cm disks into 8cm ones. The actual cutting of a disk (and the guide) can be seen here:

While making a large-scale glass mosaic project, it might be necessary to follow a pattern, cutting out the individual pieces of the desired finished project. This video glass-work tutorial demonstrates the process of cutting out a piece of stained glass for a mosaic picture. Watch this instructional video and learn how to cut pieces of

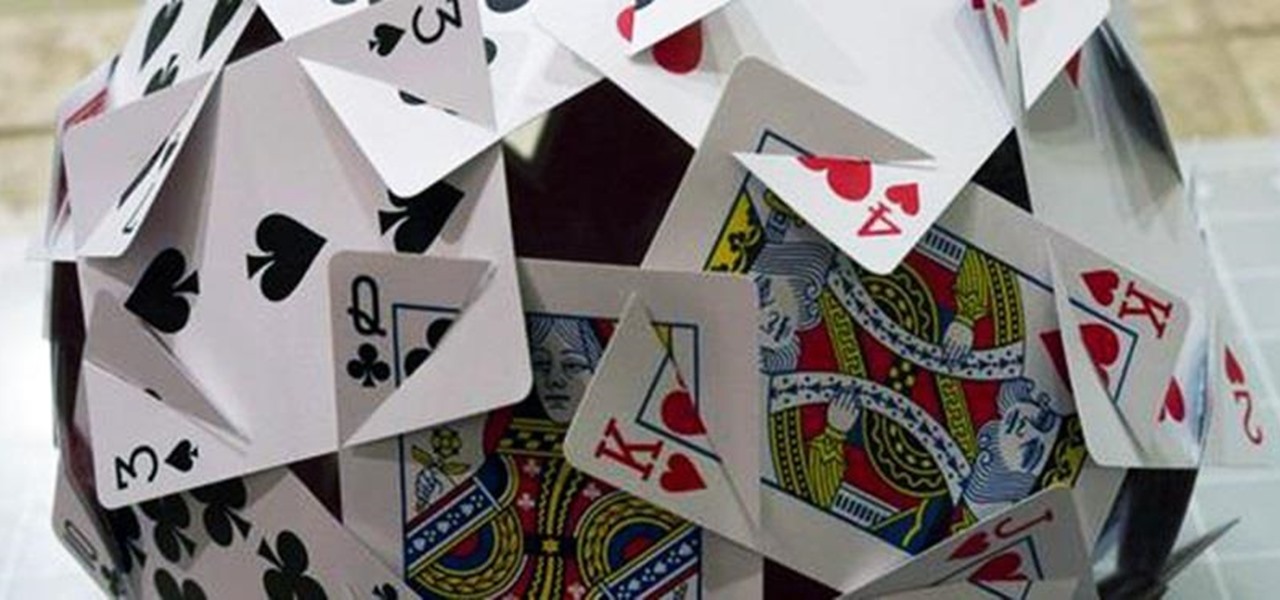
Computer Science Professor Francesco De Comité has a fantastic gallery of mathematical images on Flickr. As part of this collection, he has a few hundred images of real or rendered polyhedra made out of paper or playing cards which he calls "slide togethers." These are constructed by making cuts and then sliding one component into the other, creating a shape without using any glue. He constructed the entire set of the platonic solids—the cards form their edges—which can be seen in the image b...

In this tutorial, we learn how to make a tight paper airplane. First, fold the paper in half horizontally then open it back up. Then, grab the top of the paper and fold each edge into the middle to create a triangle. After this, open it back up and fold triangles down on each of the sides. Continue to fold in the triangle shape in the middle of the paper until you have a large triangle shape. Fold in half again and then push the edges down so you can hold onto the bottom. From here, you can t...

In this video, we learn how to make your green eyes pop. First, prime your eyes, then take a hot pink eyeshadow and brush it all over the eyelid. After this, use a deep pink on the outer edge of the eye. Now take a light pink shimmer and brush it all over the lid. Next, take a light white color and brush it under the brow bone, blending in with the pink. Next, take a plum color and brush it on the outer edge of the eye, then blend. Apply purple eyeliner on the top and bottom of the eye next, ...

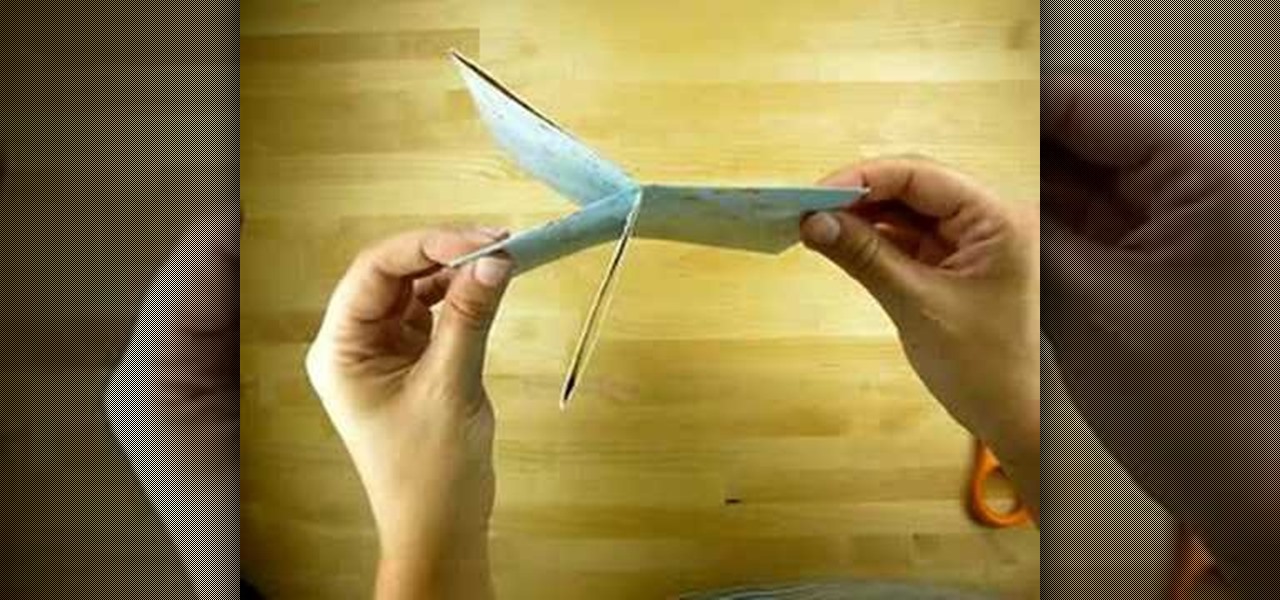
In this tutorial, we learn how to create an origami bird. Start with a rectangle, then fold a triangle into the end of it. After this, fold a crease down the middle of the triangle and tear it off. Next, fold this triangle in half, then in half on the other side. Push down in the middle crease to make a diamond shape on both of the sides as well, then fold down to reach the bottom of the diamond. Fold the top up and the bottom up, then bring the edges into each other to create a pocket. After...

Simon Leach teaches us how to do spiral fluting in this video. Start on the side of the bowl with a sharp edge. Then, push the edge down from the top until you reach the bottom half of the bowl. Create line next to line very close to each other, not overlapping them. Continue to do this slowly until you have reached all the way around the bowl. Make sure your lines are all equal to each other, they don't have to be perfect though. After you have made lines all the way around, your bowl will b...


