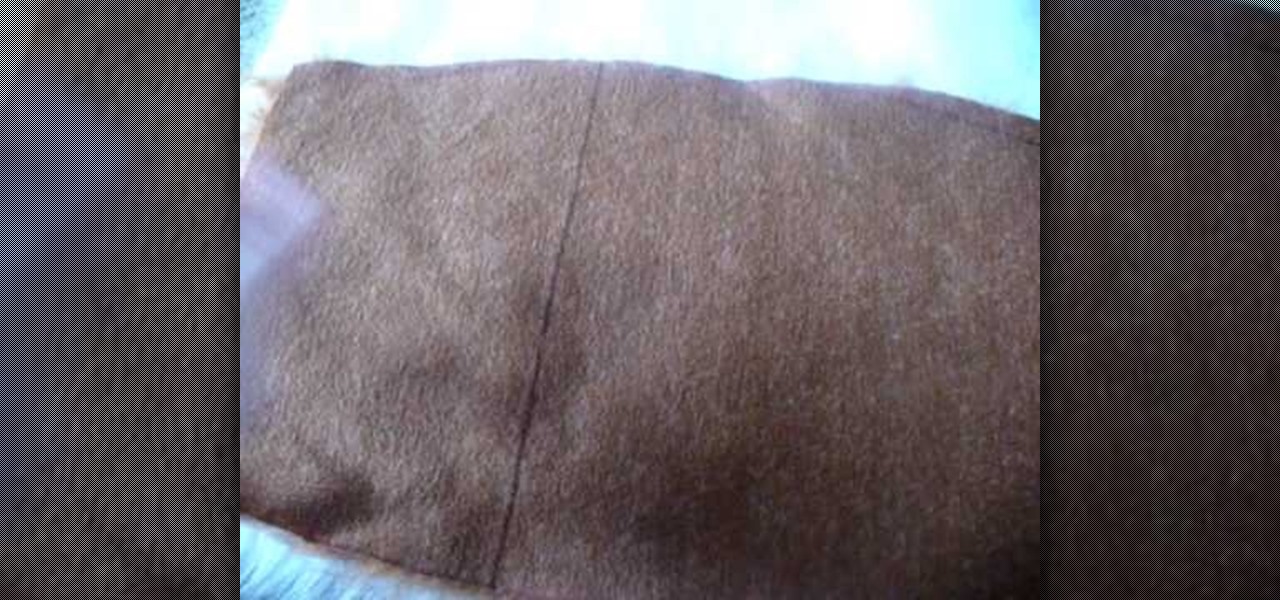
How To: Make a curved fox tail for a fursuit using darts
This video will teach you how to make a curvy fox tail for a fursuit! From the Creator:


This video will teach you how to make a curvy fox tail for a fursuit! From the Creator:
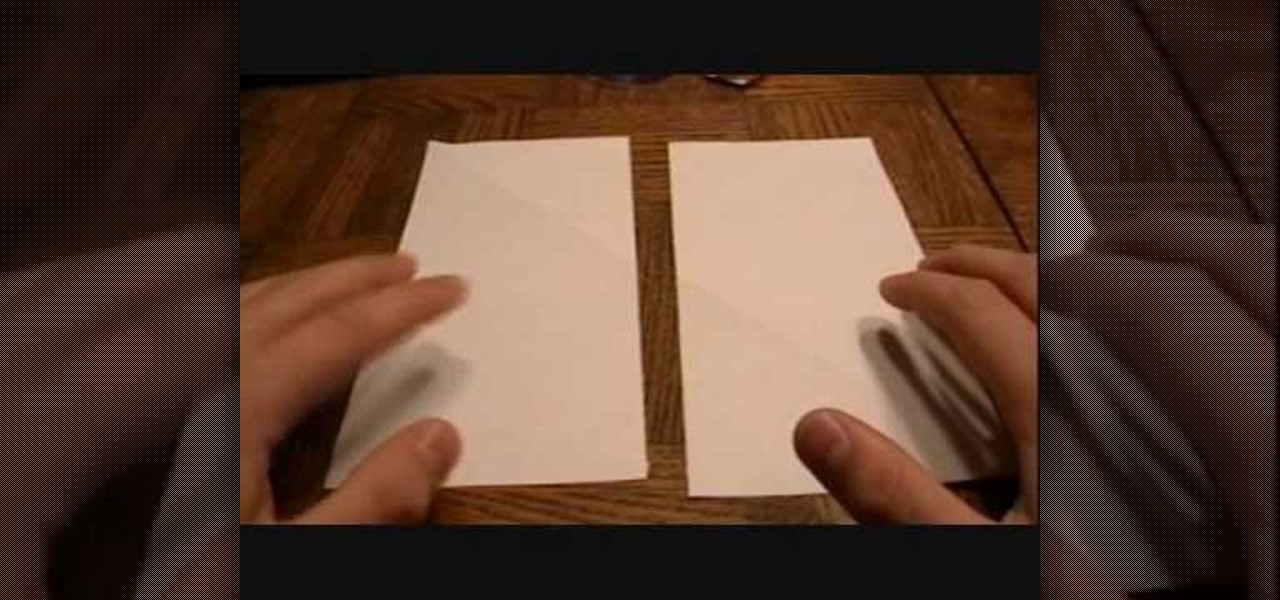
In this Arts & Crafts video tutorial you are going to learn how to fold an origami ninja star. Take a normal paper. Fold it diagonally from one corner and cut off the extra portion to make a square. Fold it in half and cut into 2 rectangles. Fold each piece in half along the length. Fold both ends of each piece in opposite directions to make a triangle. Now fold the ends again to make a bigger triangle at both ends of each piece of paper. Each sheet will form a 'Z' shape. Now place one sheet ...
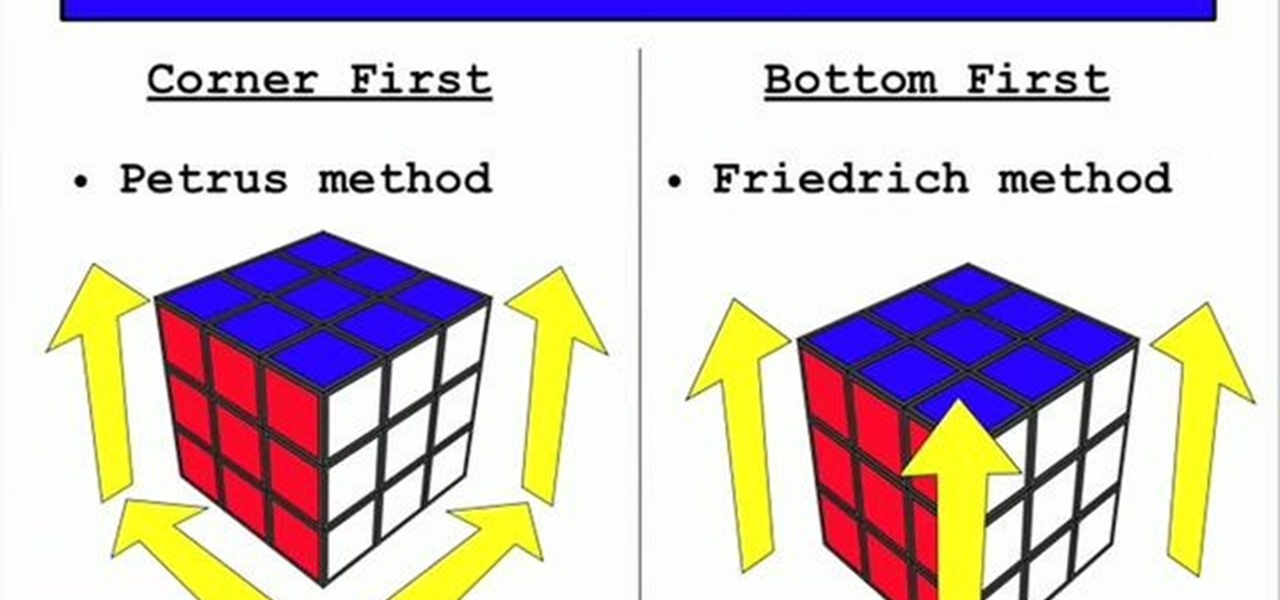
Learn how to solve a Rubik's cube in ninety seconds in this video. You'll learn that there are couple of common methods used to solve the cube. The Petrus method which starts with the corner and the Friedrich method which starts at the bottom and moves up. The presenter shows how he uses several methods and algorithms to create seven steps to a solved cube. The first step is to make a cross on the bottom layer. The second step is to correctly place the bottom corner pieces. The third step is ...

This video illustrate us how to make roast beef stew. Here are the following steps:Step 1: First of all take the beef and wash it properly.Step 2: Take onion, tomato, coriander and red chilies and cut them in small pieces.Step 3: Now take the beef pieces and apply curd, ginger paste, garlic paste and salt on these pieces and leave it to marinate.step 4: Now arrange these pieces on a microwave safe grill rod and arrange the cut onion tomato and coriander on the pieces.Step 4: Now set the micro...
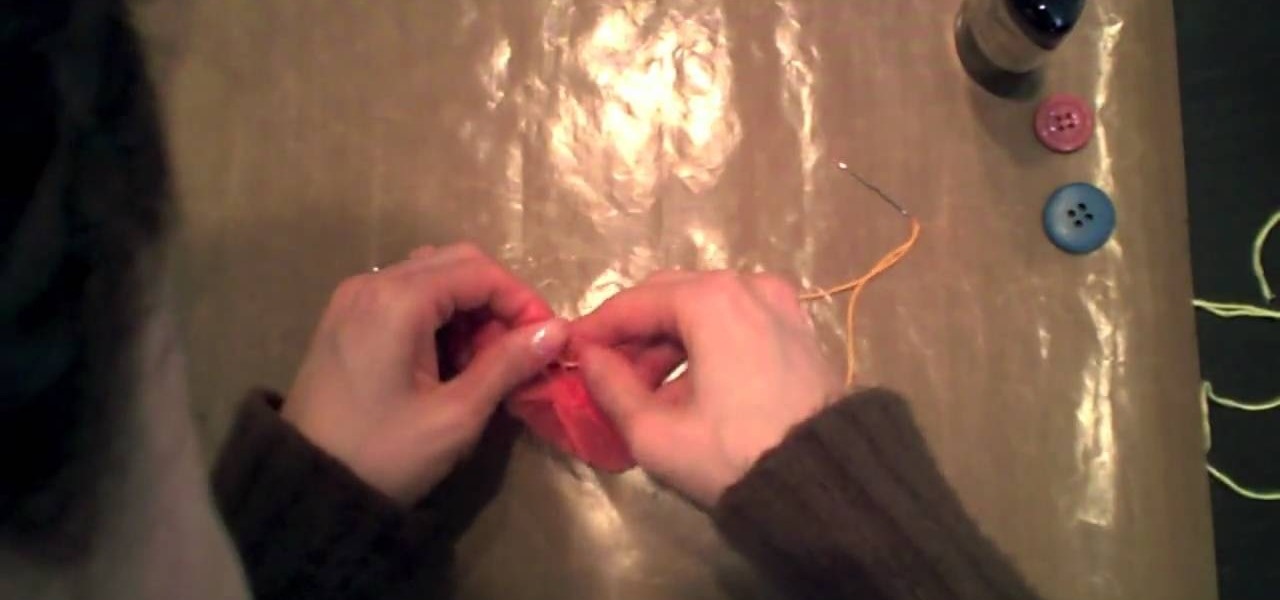
This video is about how to make flowers from recycled dryer sheets. Since the dryer sheets have already passed through the dryer it will be wrinkled but it does not matter. Cut the dryer sheets into strips 1 inch wide approximately and need not be uniform. Take a button and place the edges of the3 strips in such a way that it takes the shape of the flower and the other edge collects at the button holes. You may color the dryer sheets with dye like Ranger perfect pal mixed with water and spray...

Learn Wake demonstrates how to properly take-off for a tantrum wake board move. The tantrum is one of the easiest inverts to land but it has a more complicated edge than a wake jump or a back roll. It requires an edge change at the wake. Approach the wake on your heels so that the board is flattened before the wake and then switch to your toe side edge to pop the trick. First, practice the edge change and pop with no wake. Cut away from the wake, edge out towards the flats, flatten the board ...

This video shows how to crave a whole chicken. You will need a sharp chefs knife. Cut off the legs of the chicken. Slice them where the thigh meets the chicken breast. As you look at the chicken breast you should notice that there is a large breastbone that travels the length of the bird. Place your knife on one side of that bone and slice it down and out. We now have the breast with the wing still attached. Repeat on the other side. Now that we have four main pieces we need to slice them int...
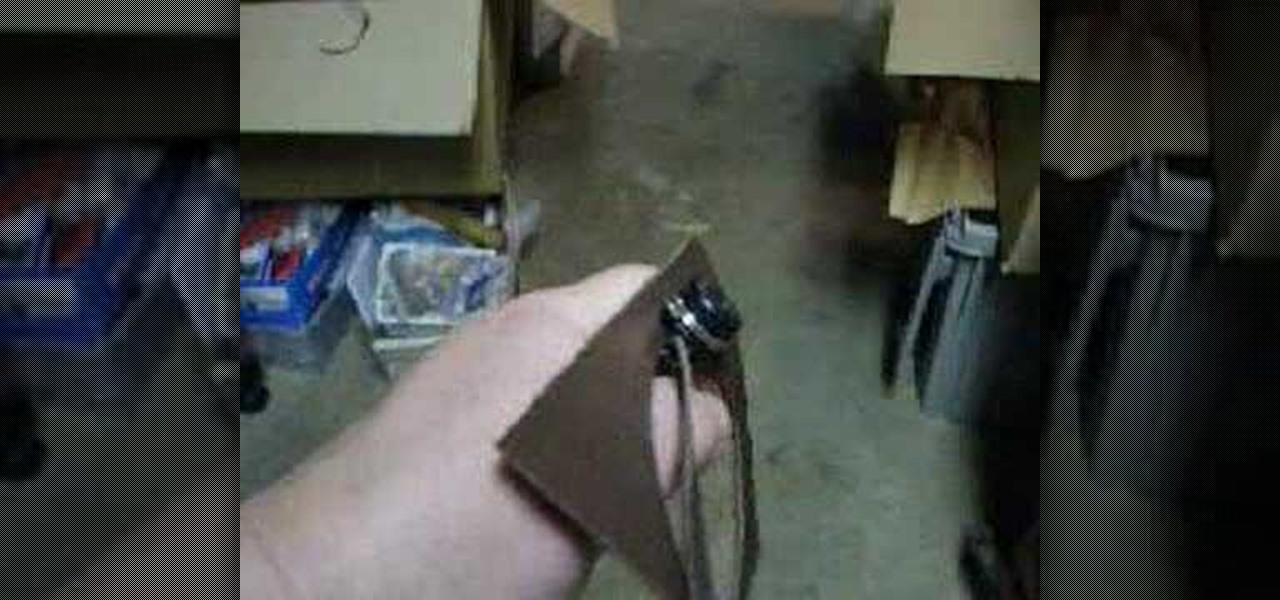
Watch and see how to make long continuous laces from a square piece of leather with a lacemaker. Cut a starting hole in the center of the piece first. A 4 inch square can yield 8 feet of lacing.

I assume at this point you have already completed your control panel using Part 1 of this How To guide. Now, if you are anything like me, you couldn't fight the urge to play, and you have your panel sitting on saw horses in the living room.

Fashion a bikini absolutely no one else at the beach this summer will have by watching this sewing tutorial by GiannyL. Using only an old T-shirt, you'll learn how to cut the T-shirt into pieces and refashion it into a two-piece bikini.
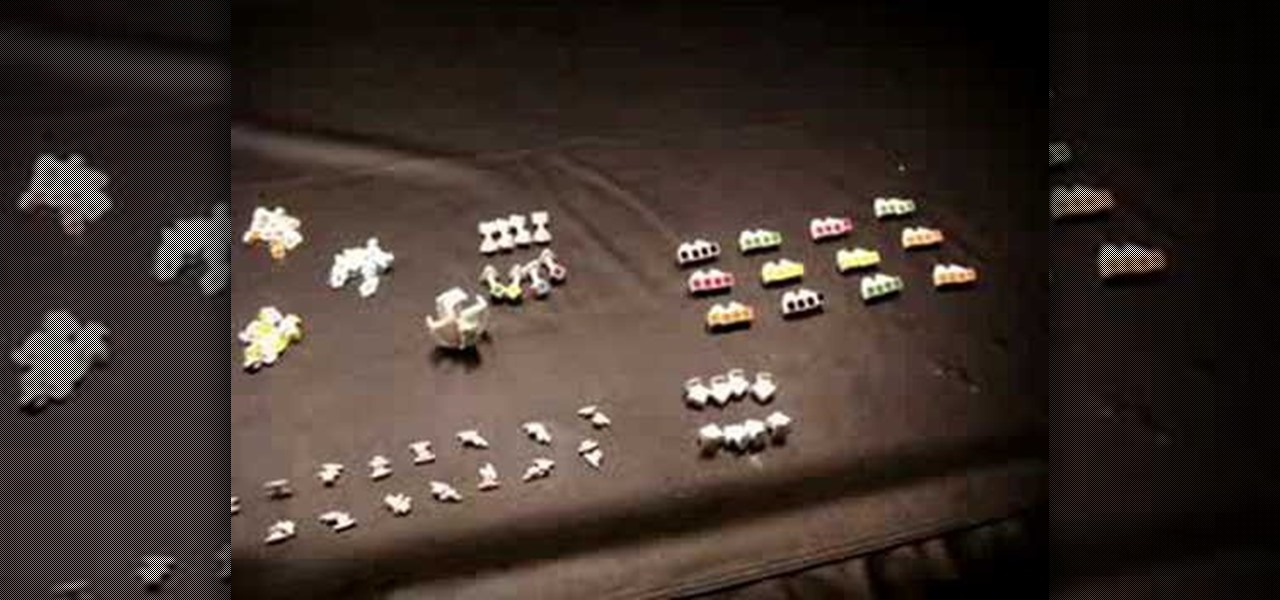
The V-Cube 6 puzzle is a uniquely designed and constructed skill game. V-Cube 6 is a multi-colored, multiple-layered cube, rotating smoothly on based axes. The player is required to discover a strategy to achieve uniform color sides on her or his V-Cube, but in this process, the Rubik's Cube-like puzzle may break, especially if you're in the process of speedsolving.
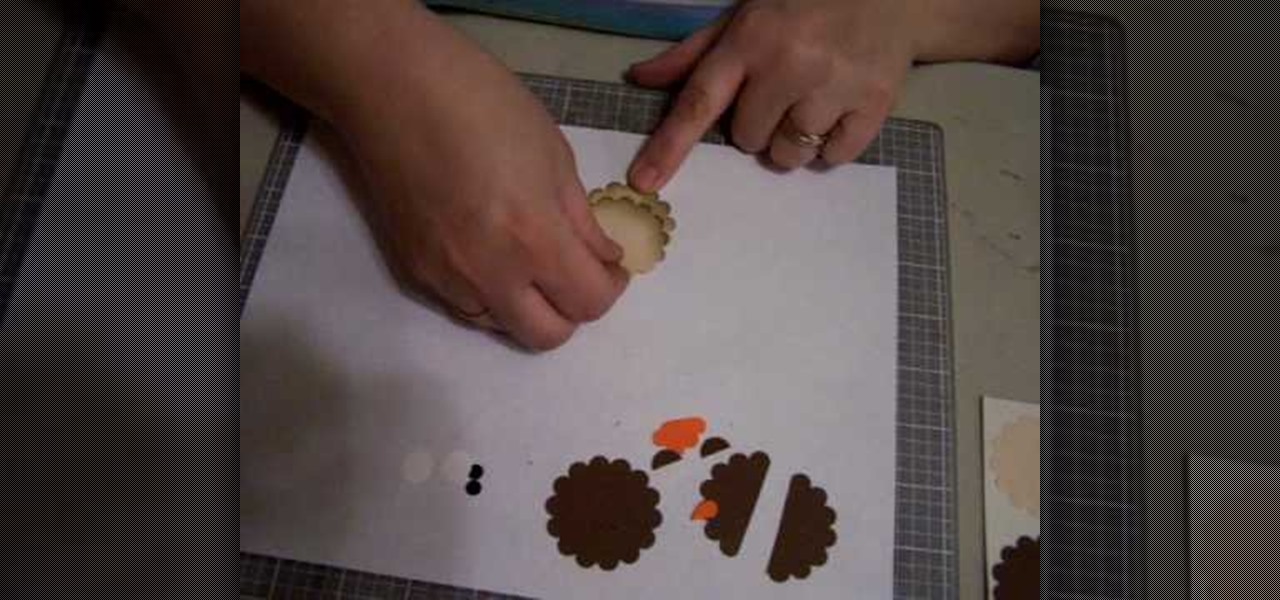
In this video, we learn how to make an owl with Stampin' Up punches. First, cut out two dark brown scallop circles, then two light brown scallop circles. After this, cut out two orange flowers, two black small circles, three white circles, and an orange heart. To put these together, cut one of the dark brown punches in half so you have two pieces. Then, cut off half the flower on both of the flower shapes. Next, put all the pieces together, using the dark brown for the face along with white a...
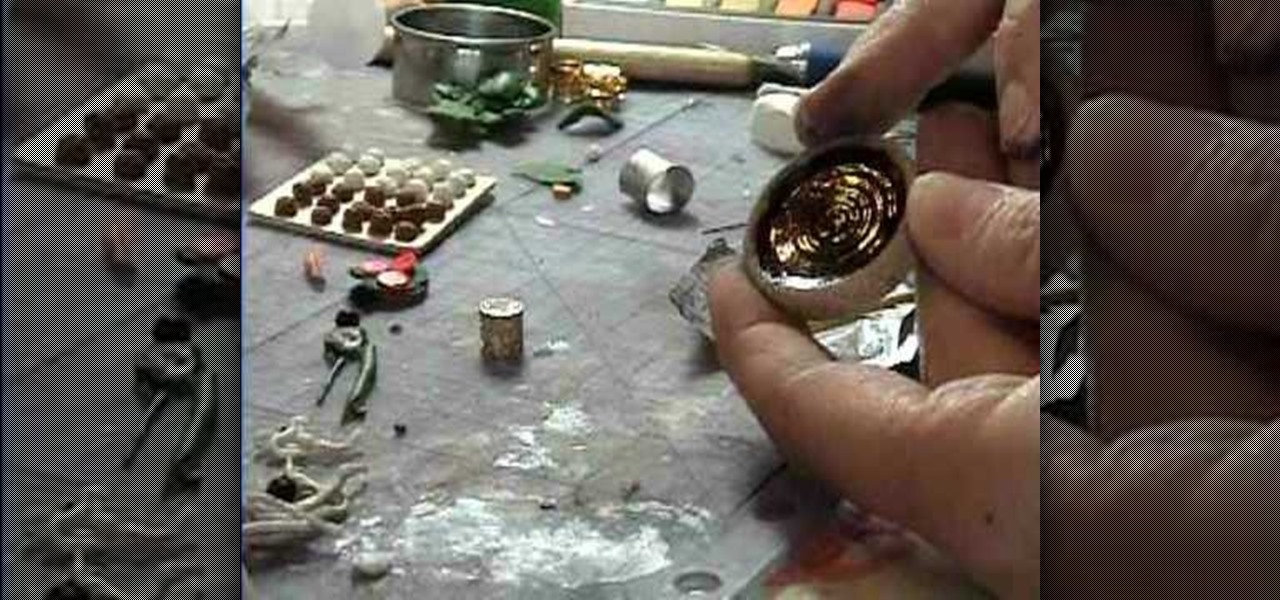
Garden of Imagination teaches viewers how to make various drinks, such as beer, milk, lemonade, and coffee, for their miniature dollhouse. First, you need to go to the crafts store and get a pack of 5 piece filigree tubes (you can pick whatever color you'd like). Take a tiny piece of clay and stick it into the filigree tube. Smooth out the clay inside with a paintbrush to make a tiny cup. First, to make a mug of coffee you need triple thick clear glaze black chalk. Mix the two together and ta...

In this video, we learn how to make a pretty ribbon bow. First, take two pieces of ribbon that are the same size. After this, take one of them and fold it into the ribbon for breast cancer awareness. Then, fold the top down and hold it with your fingers. Then, bring the other ribbon in and fold it down where your fingers were holding the ribbon in place. Once you do this, you will end up with a cute ribbon that only takes a couple of minutes to make! You can pull down the edges on it and then...
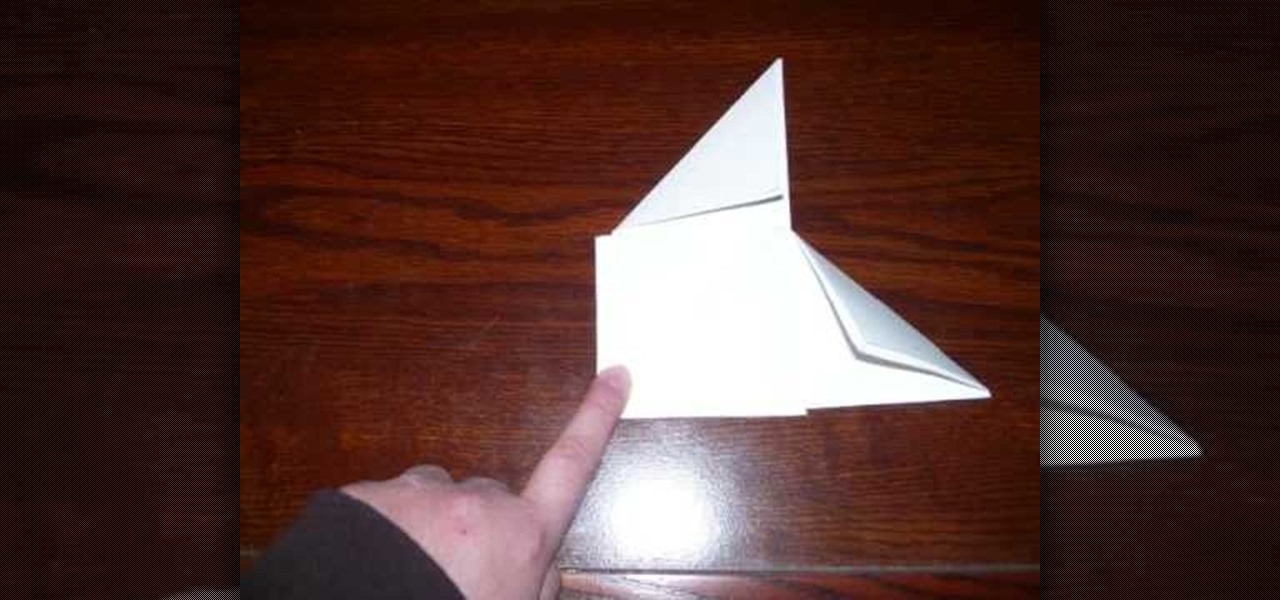
This video shows how to make a spinner out of a piece of paper. Fist take out a normal sheet of paper. Then fold it in half. Cut at the crease for it to make two equal pieces. Fold both pieces in half. Then fold the two edges of the paper to make a triangle. Then do the same to the other piece. Now put one piece on top of the other. Fold in the flaps one by one but leave the final flap alone. Instead of folding the final flap tuck it under the black pocket. Fold the paper in to a triangle and...

This video shows you how to wallpaper a switch plate. You should take a piece of paper and match it. You will need wallpaper, scissors, a razor knife and spray glue. Shake the glue and spray the backside of the paper and the front of the switch plate. Match the pattern to the wallpaper on the wall. Turn the switch plate over and trim off the excess on the corners. Fold the ends in. The switch plate is covered. Next you need to cut it out. Take the razor knife and run it along the edge of the ...
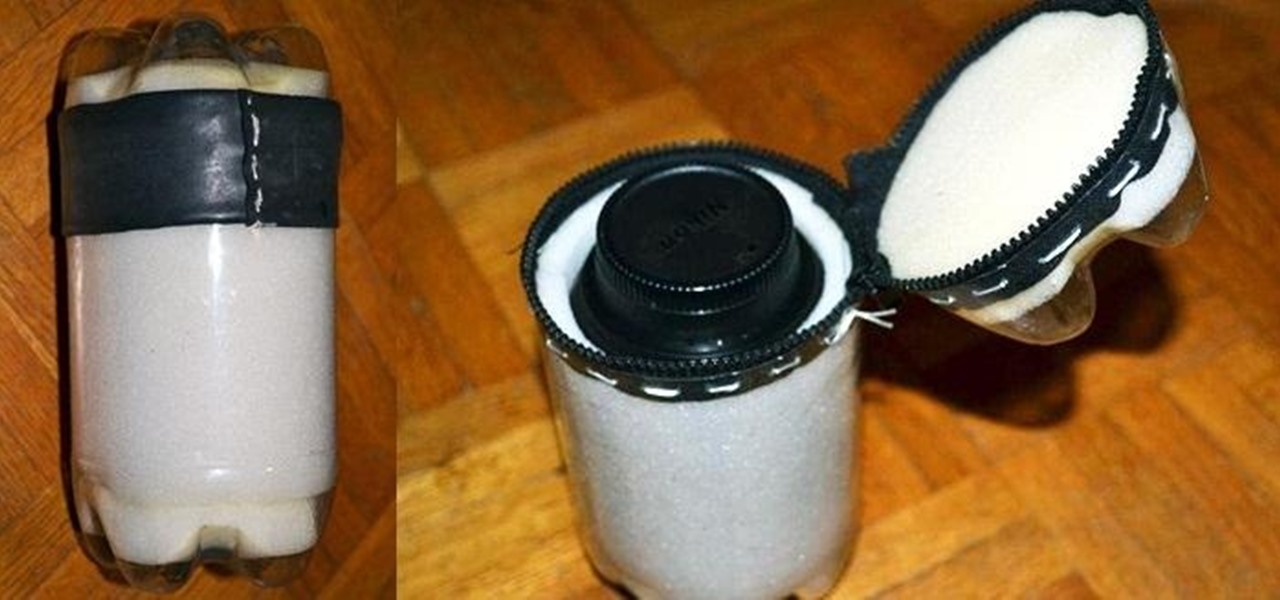
When you have a lot of equipment, dragging it everywhere with you can be a pain, especially when the weather's bad. Sure, you can put it in a camera bag, but a lot of them don't protect your stuff from water, and waterproof cases can get expensive.

Love chess, but hate having to stop in the middle of a game when you don't have time to finish? This DIY vertical chess set made by Redditor pigthunder will ensure you never have to abandon a game again. It hangs on the wall, so you can pick up where you left off anytime. Here's how to make your own.
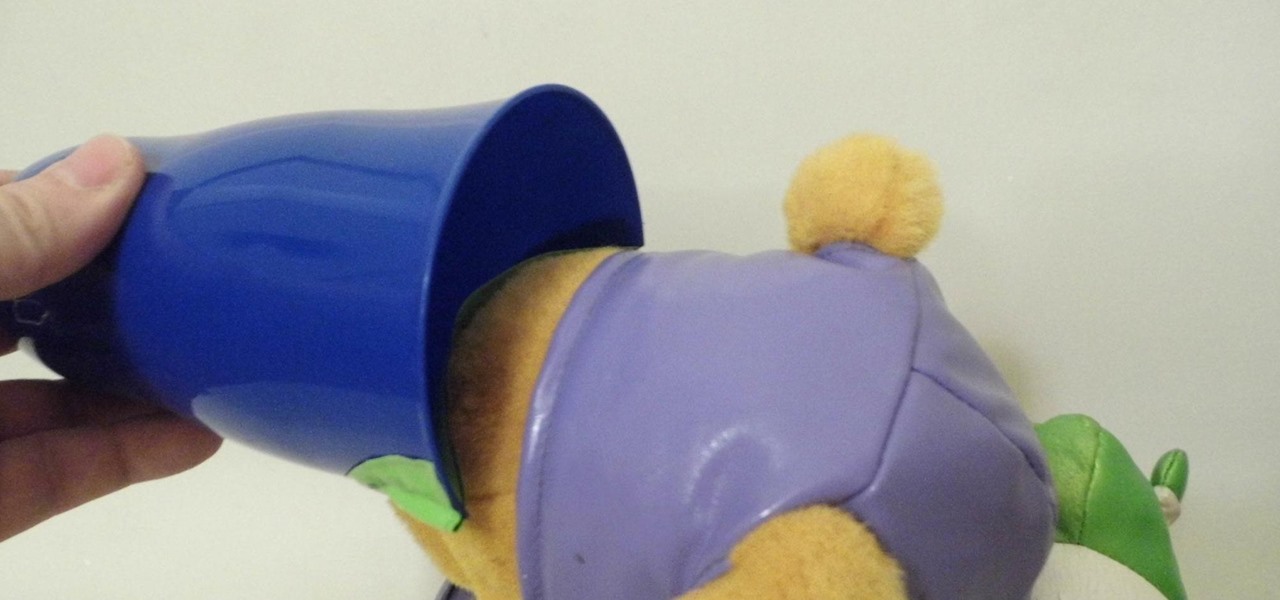
For those of us with small children, bath time can be very fun. Kids usually love splashing about and playing with their toys in the water! One thing they don't love however, is getting water in their eyes or on their face.
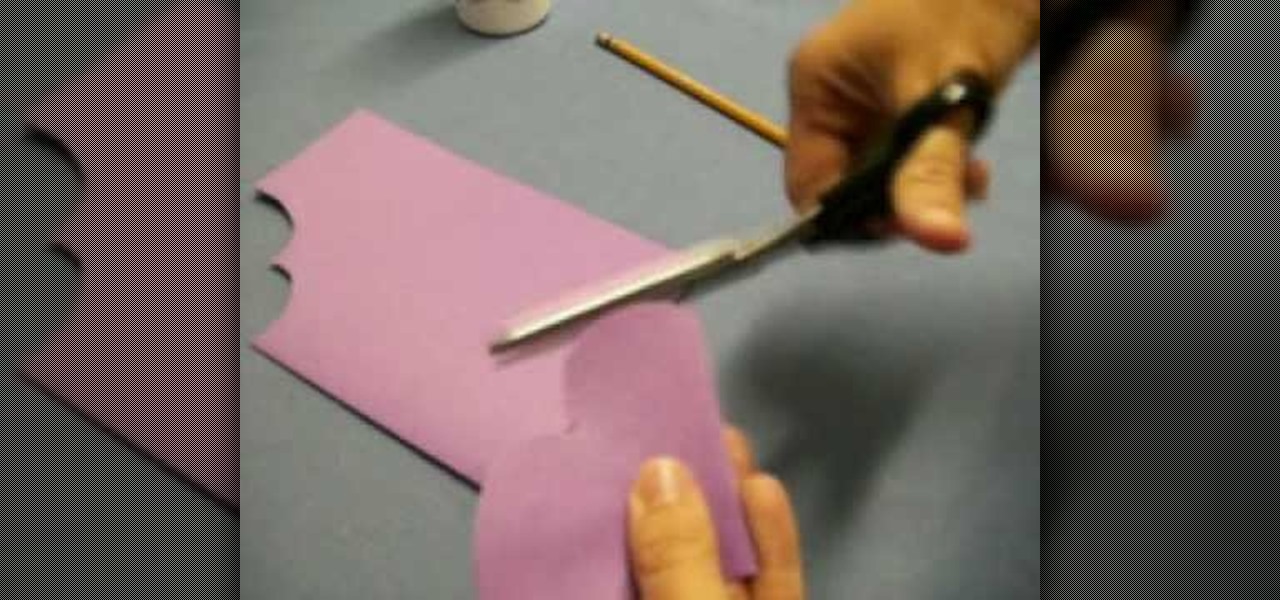
In this tutorial, we learn how to make a heart bookmark. First, take a sheet of paper and fold it in half, folding the crease. Now, take a pencil and draw two heart humps from one edge to the next. After this, cut them out, leaving the fold together. Trim any edges that aren't round, then add glue to the edge of the heart, and fold it over and let it dry. You can now decorate this will markers and ribbons. To use as a bookmark place your page in the center of the heart. This is a great craft ...

This video shows how a piece of glass can be cut using a pair of scissors into the shape that you want. First, use a permanent marker to draw the outline of the shape you want on the glass. Next, submerge the part of the glass that you want to cut into a basin of water. Using a pair of scissors, start cutting the general outline of the shape on the glass. After you are done with the general outline, you can then trim the glass with it still submerged in the basin of water. Remember to be care...
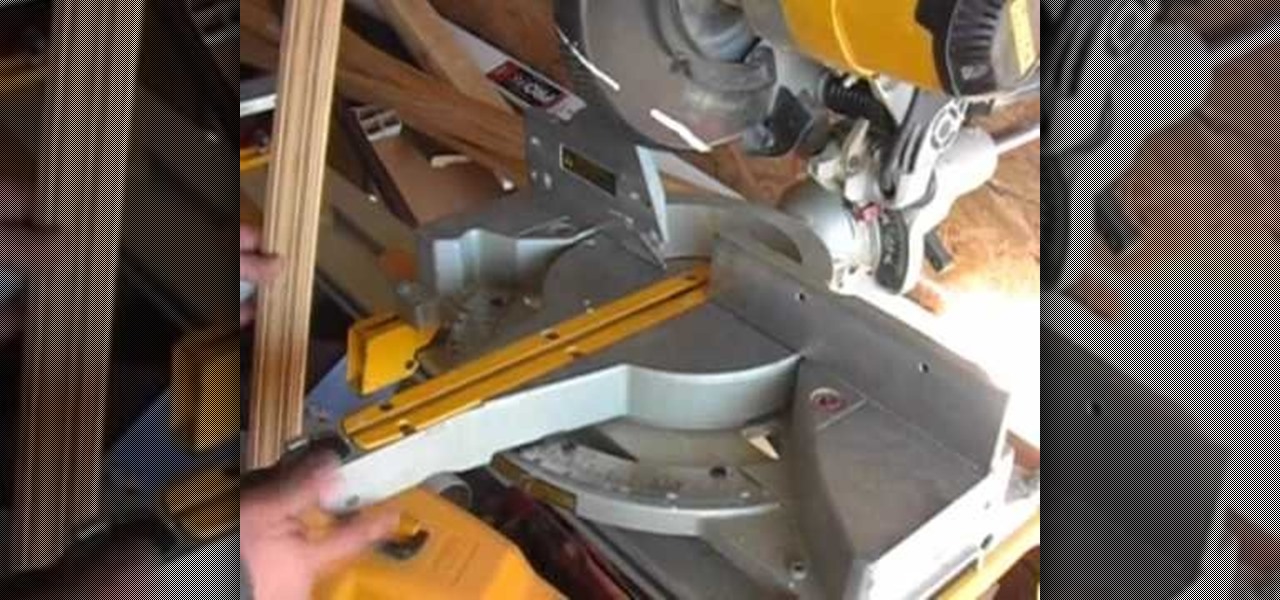
In this video tutorial, viewers will learn how to use a chop saw. A chop saw is a power tool which is typically used to cut hard materials. This saw can cut pieces at different angles. When cutting any material, make sure it is pushed tight against the fence. Hold the material tight in this position and make sure it is correctly leveled. When using this machine, be sure to wear safety glasses or a face guard. Avoid cutting small pieces of material and go at a slow pace. This video tutorial wi...
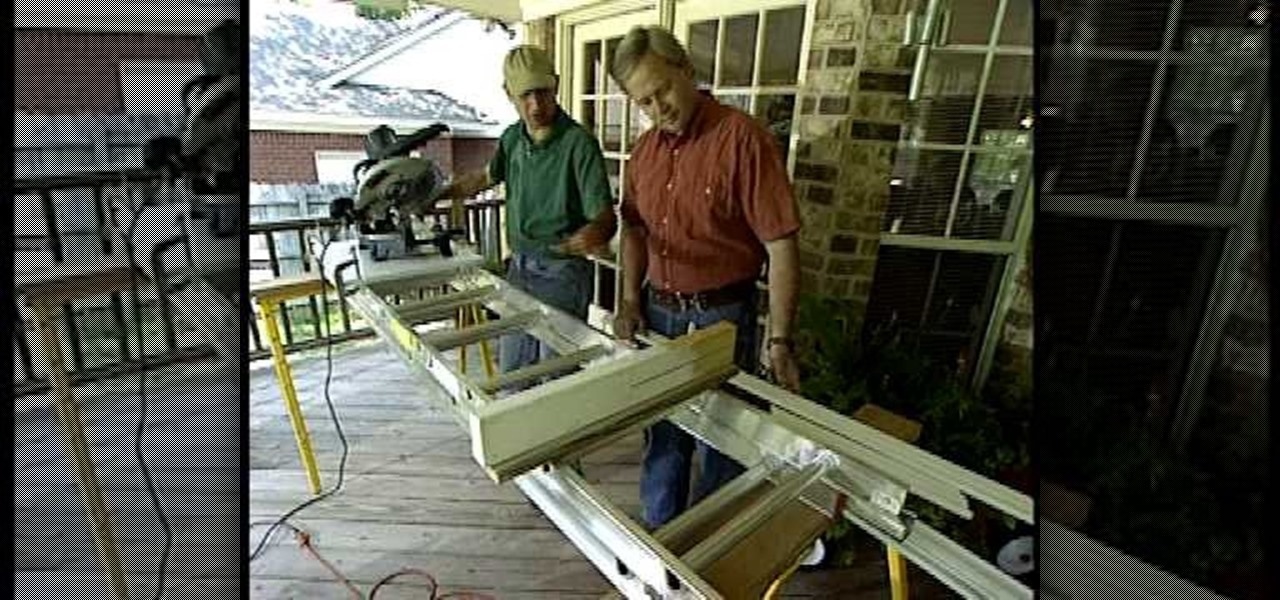
This is a how to video that explains how to do the difficult task of cutting crown molding and how to do it with tools you have laying around, a ladder and a saw horse as a support, and a miter saw. The author of this video explains that if the molding sags then it will not cut straight and your seams will not line up properly. The author is using an extension ladder and explains that you can cut very long pieces using this process. He also explains that you will need more than one brace to s...
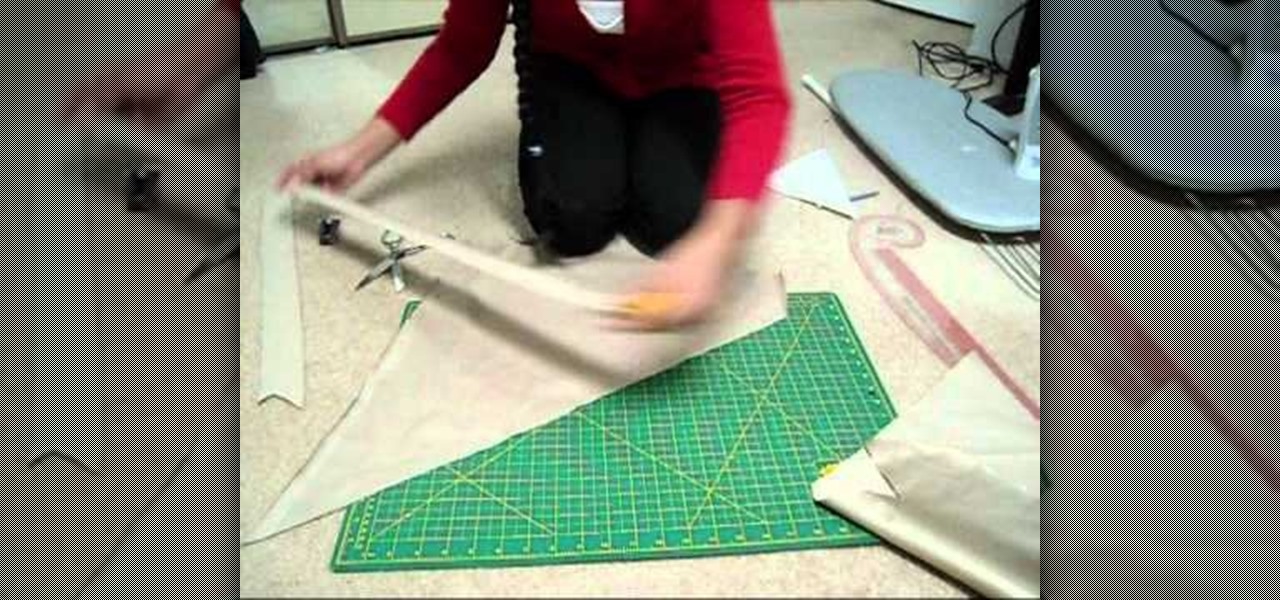
The bias cut is when you cut a piece of fabric at a forty five degree angle from the direction it was woven on a loom. Bias tape, a strip of fabric cut on the bias, can be used to give any garment a professional looking finish, and here is how you can make your own.
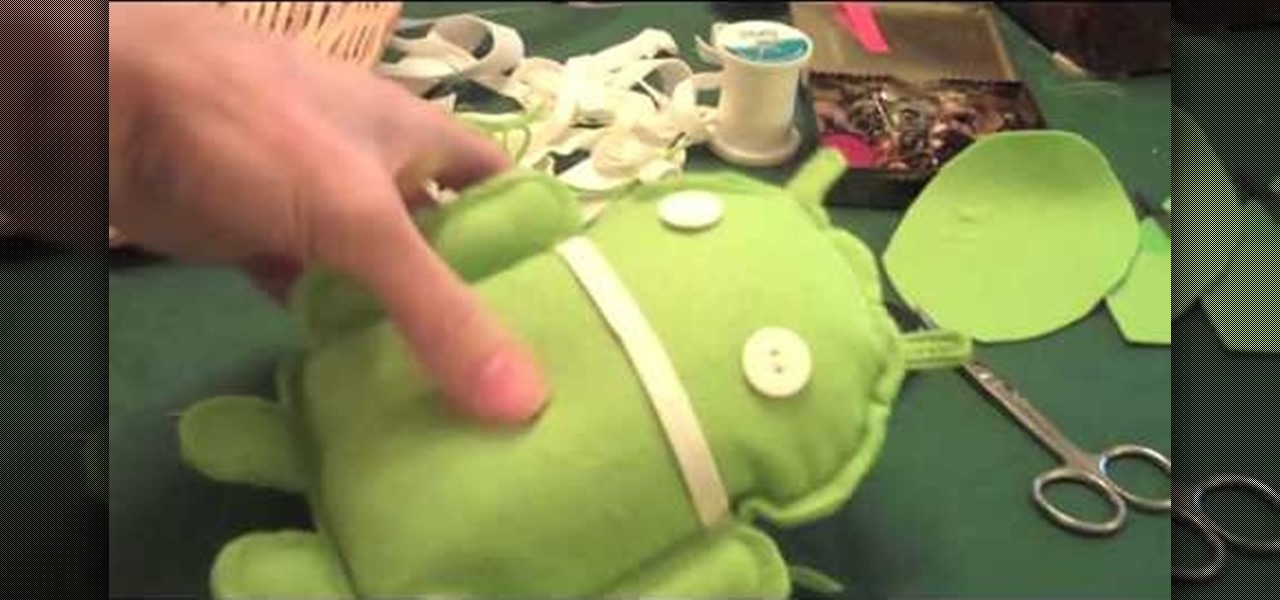
In this tutorial, we learn how to make an Android doll at home. First, print out the Android logo from the internet, making it large enough to make a doll. Now, cut out the print out with scissors cutting out the different sections individually. Next, place the cut outs onto a piece of green felt, then pin it down so it doesn't shift around. Now, cut around the paper so you get the same pattern. After this, cut out all the other parts, making two of the shapes so you have a top and a bottom. ...

In this video, we learn how to make a Tyler Oakley inspired rag doll. You will need: an old t-shirt, a needle, felt, googly eyes, pen/pencil, paper, yarn, thread, and scissors. Start out by drawing the body of the doll out on the piece of paper, then cut it out. Now, trace the body shape onto the t-shirt and cut out two of these shapes. Now, take a needle and thread, and sew the two pieces of fabric together, leaving a small opening. Next, fill up the doll and then sew it back together. Now, ...

If you are in the wild and have nothing to do, just to play around with your knife , then you should surely watch this video. First, you have to find a knife. After that you must find a good branch or piece of wood that's the same size as a spear. After that you must take the branch or piece of wood and sharpen one of the ends. Then , you must put the sharpened end in the fire so it begins to turn black. After that cut it again and this time cut it so it will be sharp enough to cut. It can se...
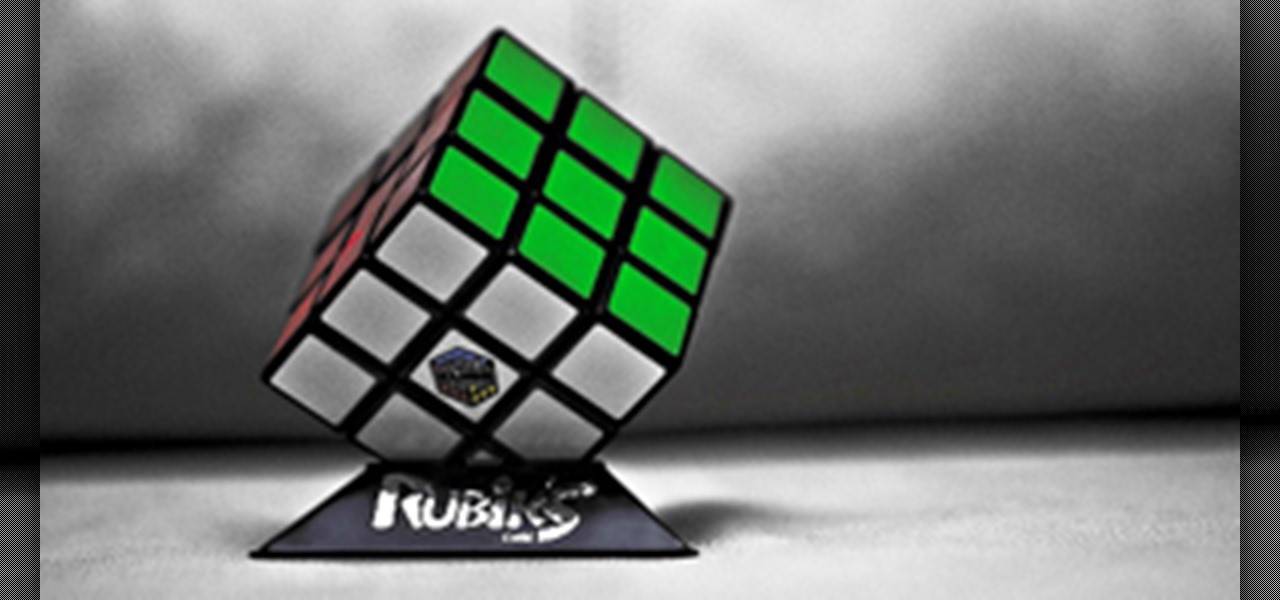
Tyson Mao is a renowned world competitor in solving the Rubik's Cube. Not only did this Californian become a world class solver, but he also formed the Rubik's Cube Association with fellow speed solver Ron van Bruchem, which holds competitive events for the Rubik's Cube. If you want to learn how to solve the colorful and mighty puzzle, then who better than to learn from then Tyson Mao?

You can learn how to cut a paper to form the Star of David by using origami. All you need is a piece of paper and scissors. When the paper is in the form of a triangle, you need to use your scissors to cut.
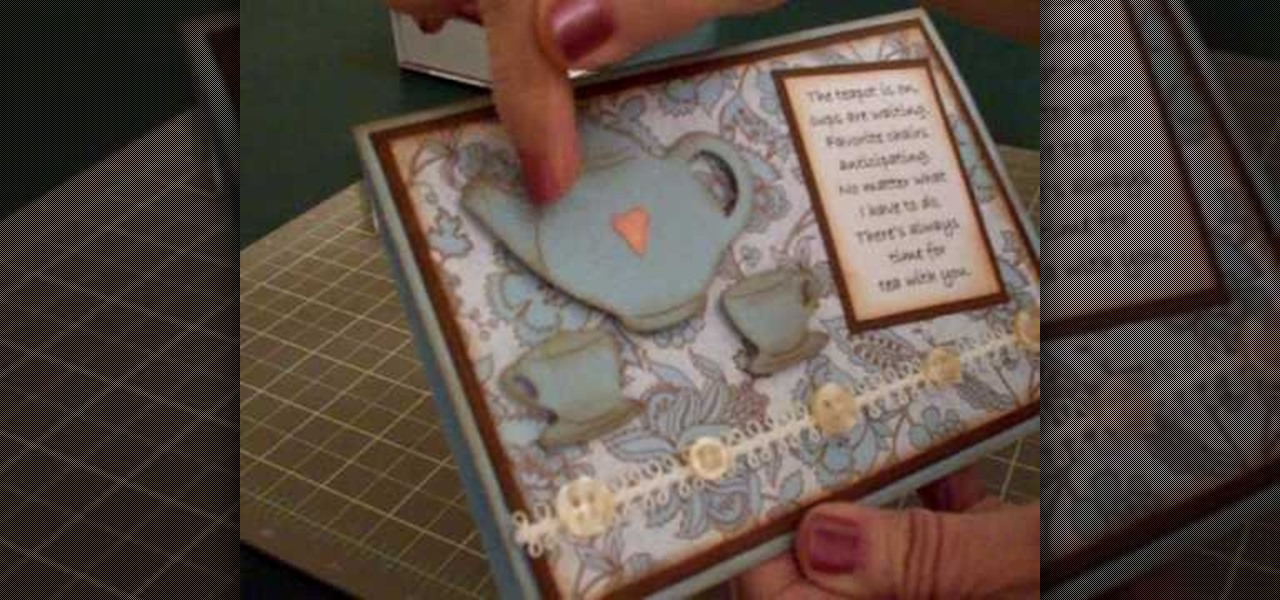
In this video, Mary shows us how to make a teapot card using Cricut everyday paper dolls. First, print out a sentiment that has to do with teapots and fade the edges of the paper. After this, cut out a teapot and cup from the everyday paper dolls on page 43. Cut the teapot and cut twice, then chop them so you can see the details of them. Place this on a paisley or flower background for the card, along with old buttons on the bottom of the paper. Make the card the size you would like, using yo...
Did you lose your key or forget the combination to you lock? This tutorial is here to help you with tips on how to pick just about any combination or padlock without breaking them. All you need is a few household items and a bit of patience and you will be on your way!
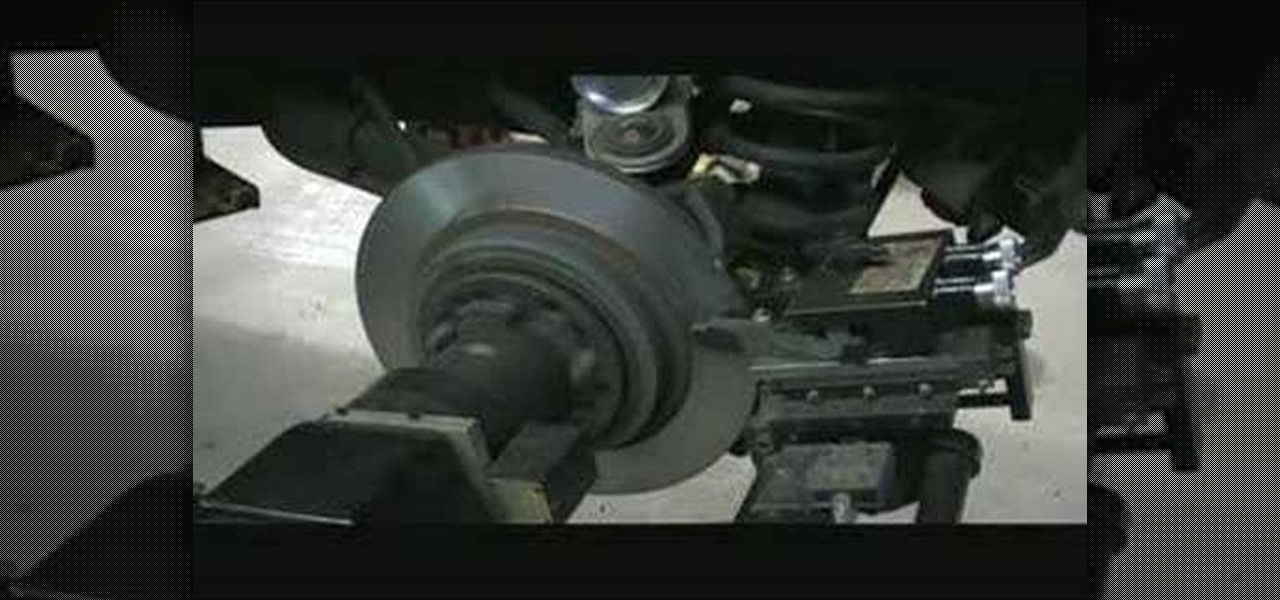
Before cutting the rotors select a centering cone that fits about halfway through the center hole of hub-less rotor or bearing spacer to center the rotor to the spindle. After select two identical clamps that fit the rotor without interfering with the machined surfaces of the rotor. Slide one clamp onto lathe shaft, open end out Slide spring, followed by centering cone. Slide on the rotor and outer clamp followed by the bushing, spacer, and nut. Tighten nut and Install damping strap. Adjust t...
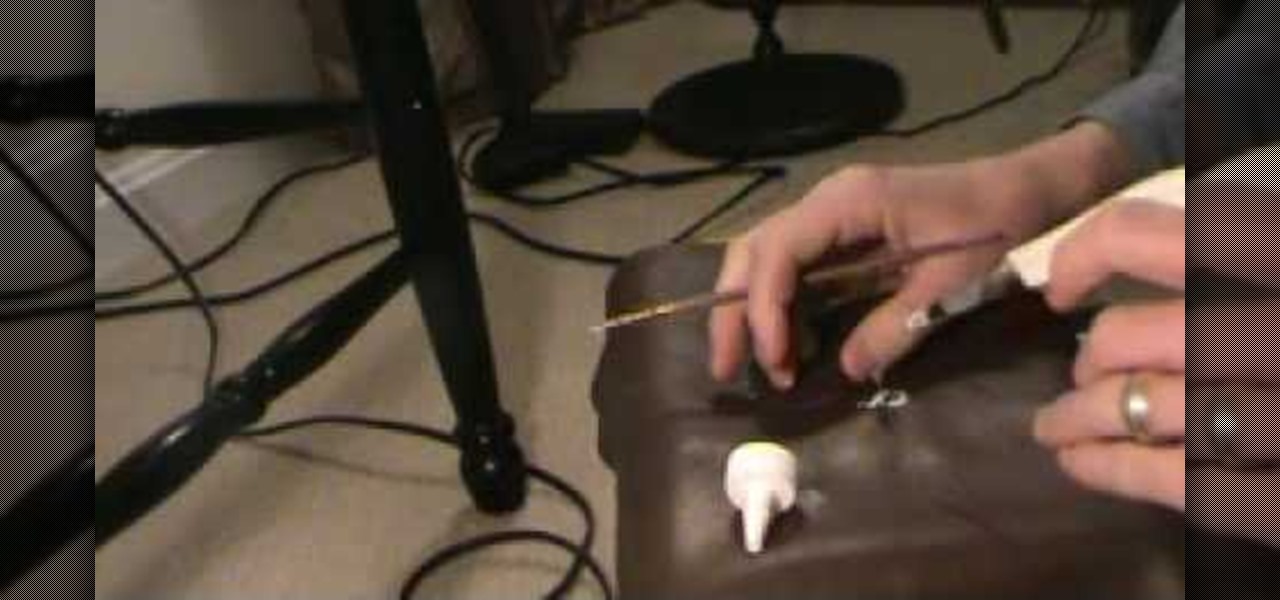
In this how-to video, you will learn how to make a repair in cut leather. This is useful if you have damaged leather you would like to repair yourself. Make a knife cut in the leather, and then cut and place a sew patch into the leather. Push it underneath the leather. Now, glue the sew patch in place with inexpensive craft glue. Rub it around the leather and edges of the cut. Wipe off excess glue with a damp cloth and wait until it dries. Place something heavy on it for a good amount of time...
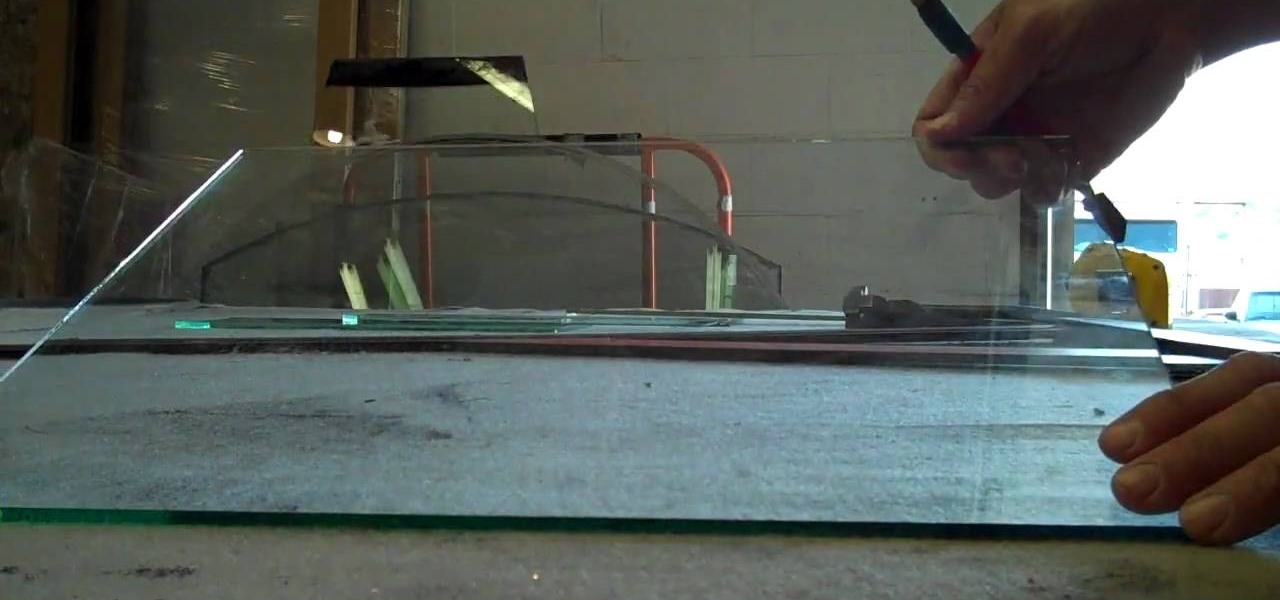
This is a Fine Art video tutorial where you will learn how to cut plate glass. Measure the plate glass and make sure the measurements are correct. Then place the guide along the line of the cut, take your glass cutter and score along the edge of the guide. If the plate is small in size, take the base of the cutter and place it underneath the score mark and apply equal pressure with your hands on both sides of the score. The plate will snap with a nice clean cut. Another way to snap the glass ...
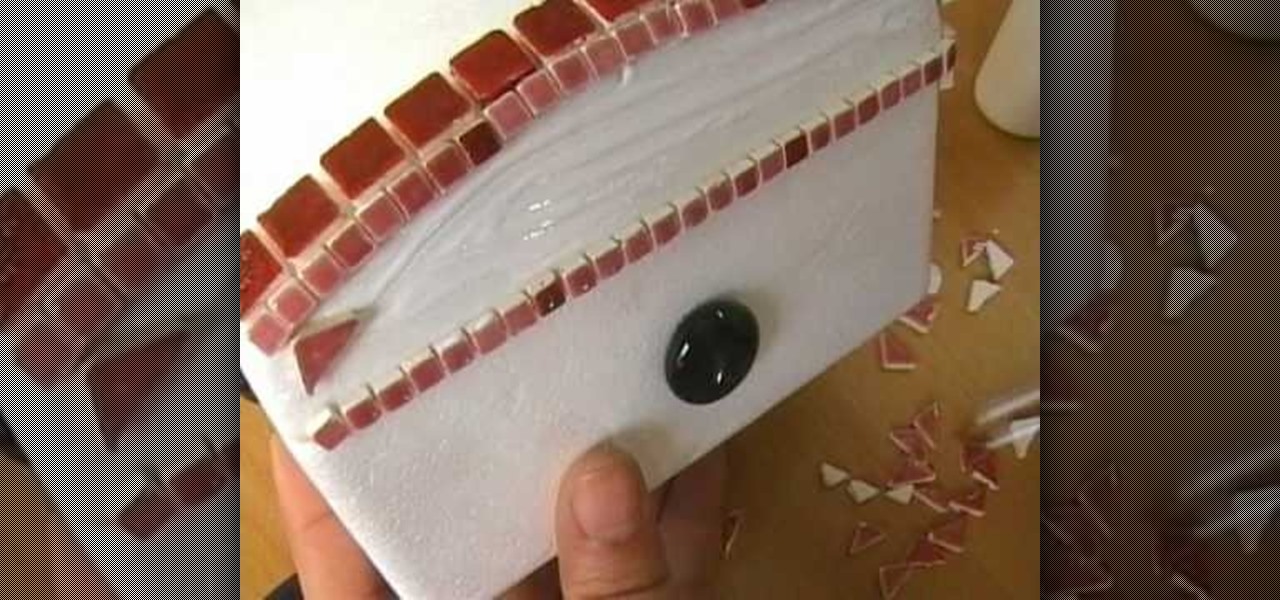
This video demonstrates making a mosaic jewelry box. A plain jewelry box is decorated using different shaped pieces of glass. First, round flat glass pieces are glued in the center of the top and sides. Then a ring of glue is put around the circle and rectangular pieces are glued around that. Square tiles are used around the top edge, and odd shaped pieces are used to fill in the rest of the surface area of the box. After it has dried for two hours, a glaze is applied to the entire box. This ...
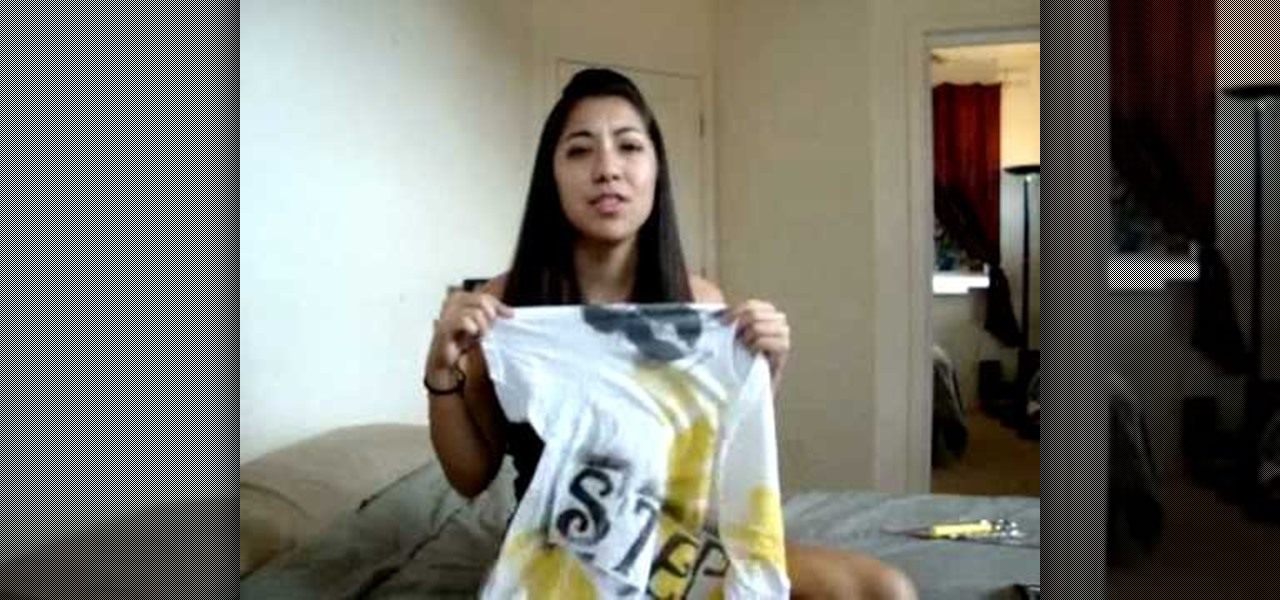
Reconstruct your T-shirts into more stylish attire with this video! The materials you'll need are a T-shirt, scissors, a ruler, and a pen or pencil. First cut off part of the sleeves (this part is optional.) The next thing is to cut the neck all the away around the front and back, cutting off the border. Now it's time to cut the bottom of the shirt right under the hem, underneath the stitching. Keep what you've cut to use for the ties for the shirt. (You can also use string or ribbon.) Measur...
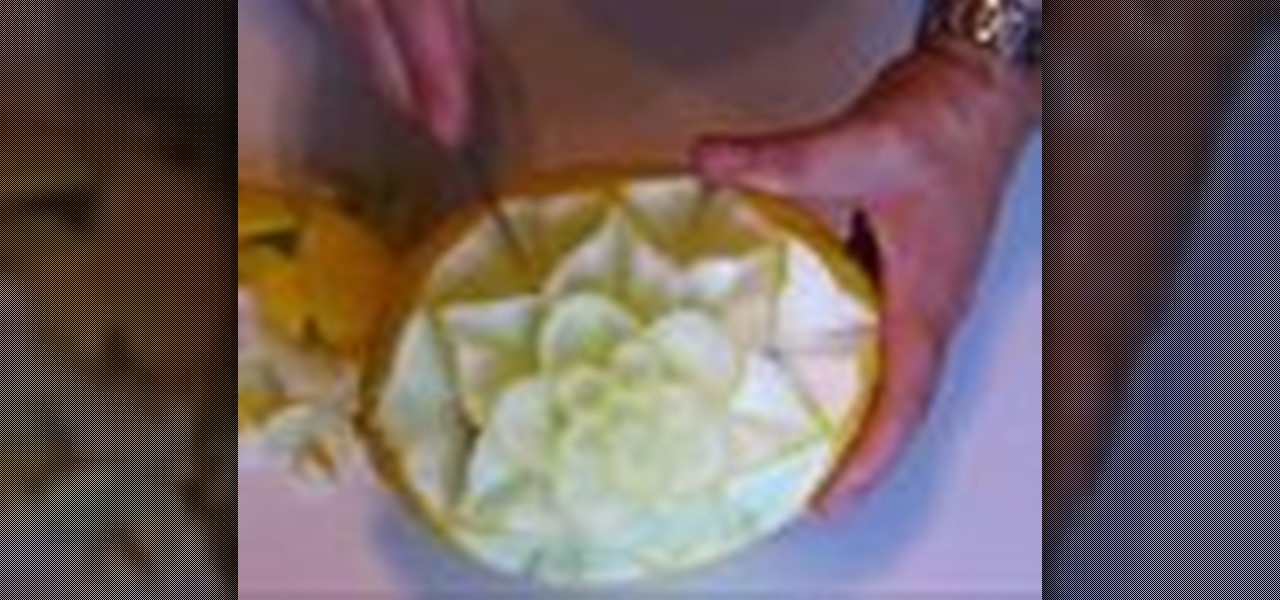
1) First mark your intended cut lines - in this case follow a circular/spiral pattern. All cutting should be done with something like a pumpkin carver.
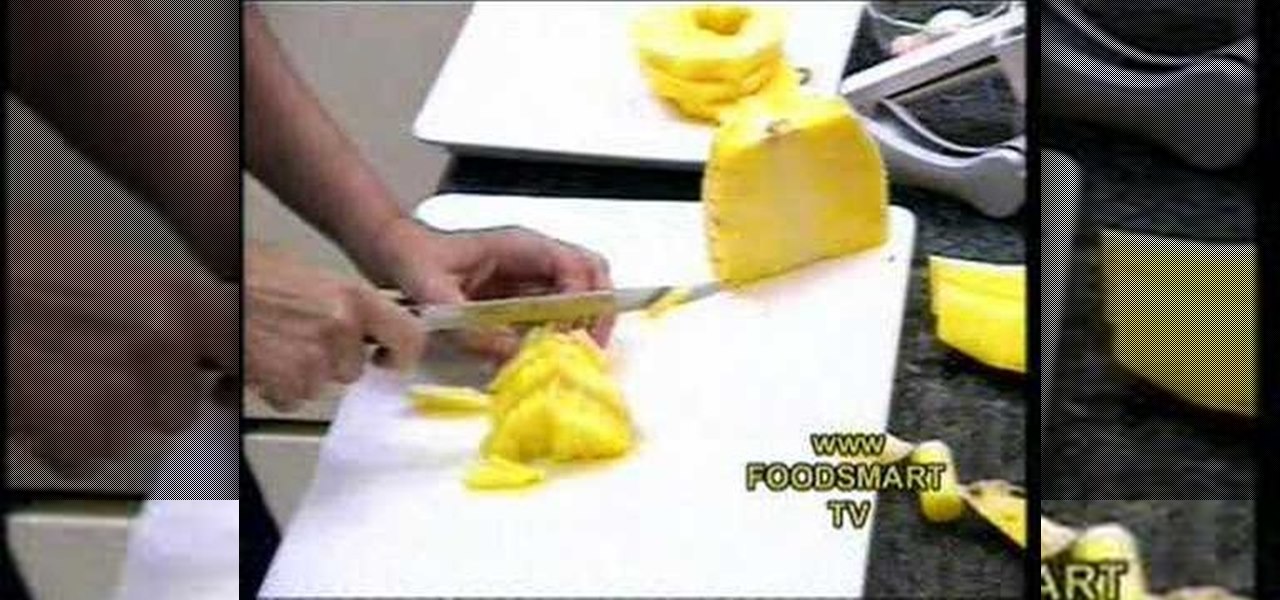
This is a video that demonstrates how to cut up a pineapple for a healthy snack. She places the pineapple on it's side and then cuts one end off and then the other. She then stands the pineapple up and cuts around until all the outer part of the pineapple is gone. She slices down the side of the pineapple in strips, turning it after each strip is removed. She then cuts the pineapple in half. She then cuts it again and removes the core, doing that to both of the larger pieces of pineapple. She...
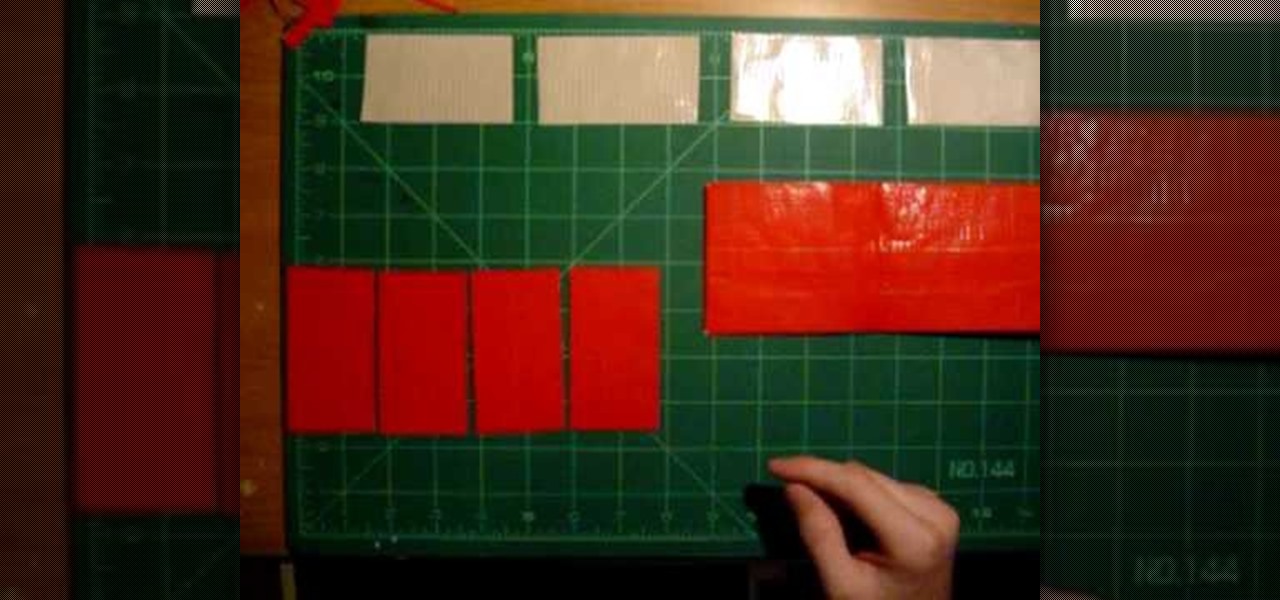
In this video we learn how to craft a bi-fold duct tape wallet. First, cut four pieces of duct tape 7.5 inches long and another slightly shorter. For the first two pieces, connect them so they are overlapping each other, then place the other two on top of them. After this, take the other piece and tape it on the top so it's a flap. Then, make one more of these the exact same way. Once you have both sides, you will place one on top of the other and line them up. After this, grab a piece of tap...
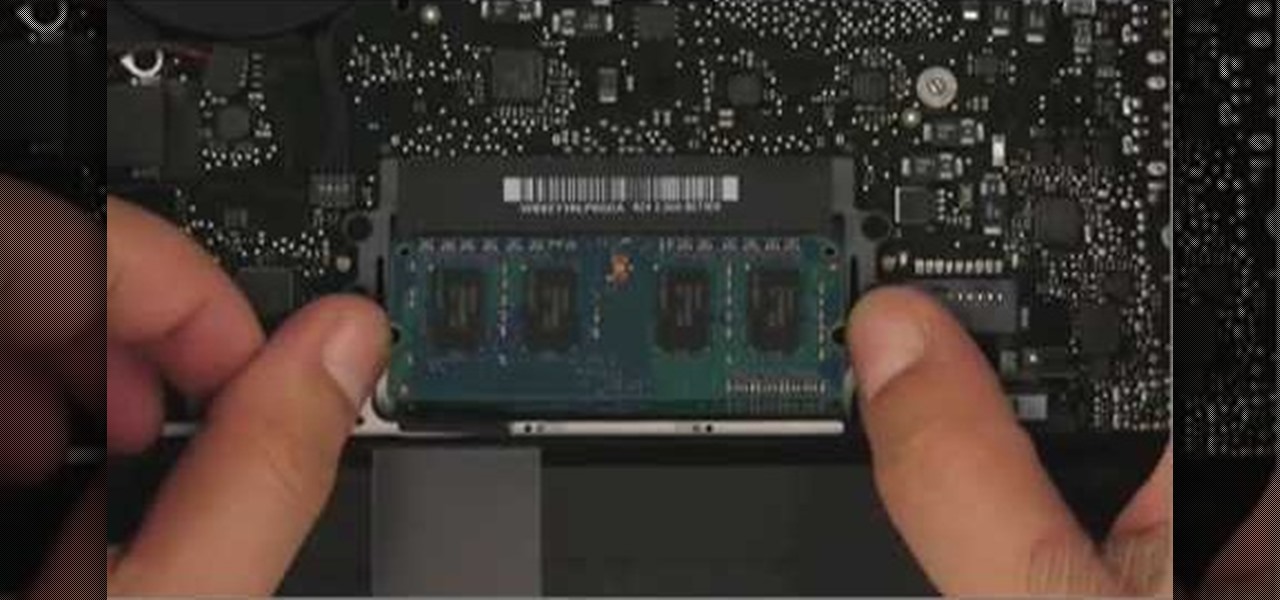
This video demonstrates the installation of memory in a 13” Macbook Pro (mid 2009 model). It’s easy to perform and takes about 10min time. You’ll require a #00 Philips screwdriver (available in the Newer Technology 11- piece tool kit). Take care to work in an anti-static work space. Close the Macbook Pro and flip it over with the hinge side up. You can note 10 screws along the border. Start unscrewing the 3 screws on the right on the top edge, these are longer than the rest. Now unscrew the r...