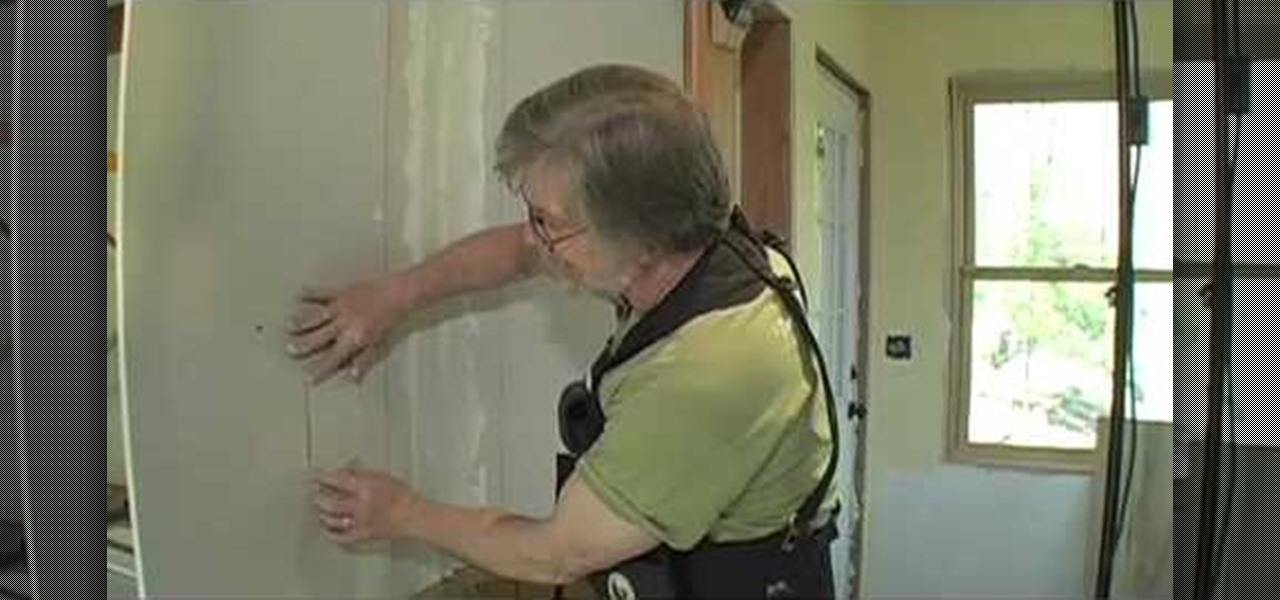
How To: Patch drywall on your own
Chuck Miller gives us a great tip for patching a small hole in drywall, such as a hole from an outlet box.


Chuck Miller gives us a great tip for patching a small hole in drywall, such as a hole from an outlet box.

Mix cinnamon brown chalk powder and clear polymer clay and roll it out flat. Paint some more powder on the flat clay. You need quite a lot of powder to create brown rings later. Roll up the flat clay into a sausage shape. Cut slices of the long sausage and lay them on a wooden tray. Blunt the edges with your finger. Put some white chalk into a blob of thick varnish to make icing. Drizzle the icing on the top of the cinnamon rolls. You can add yellow chalk to make it look dark and cooked befor...
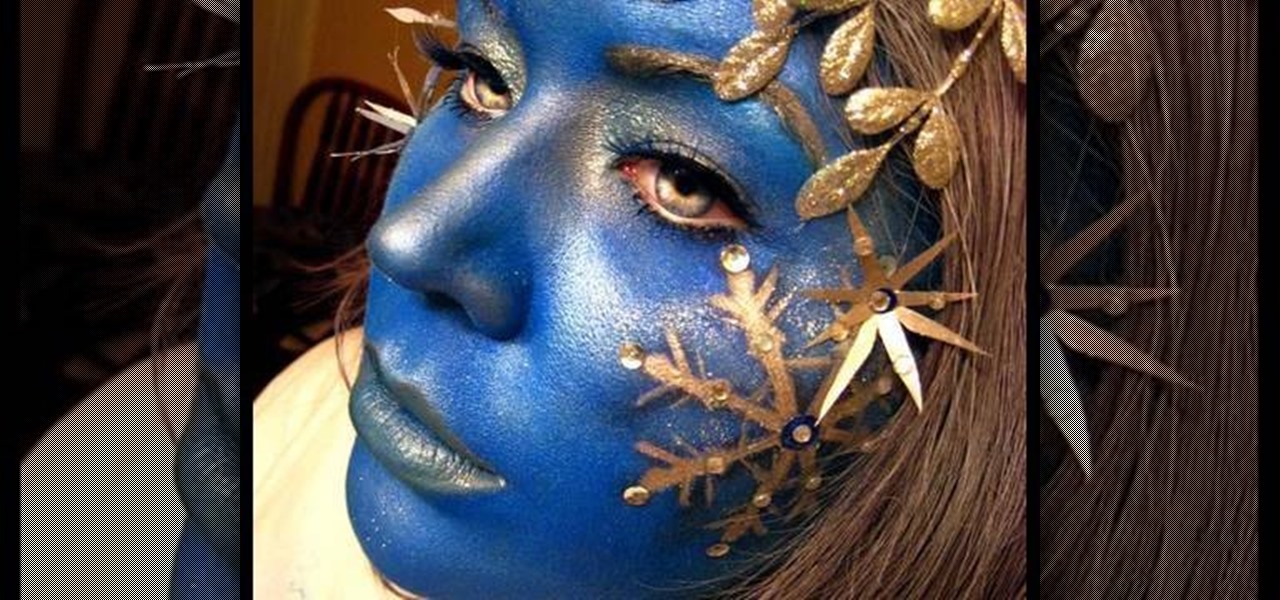
Goldiestarling teaches you how to apply a snowflake fairy makeup look. You first need to draw the snowflakes on some card stock and then cut them out. Apply those to the face using eyelash adhesive. Use a moisturizer and then a blue powder using a short haired brush. Apply a frosty white metallic color around the eyelids. Also add a darker blue around the snowflake edges. You can also add small rhinestones and glitter to the snowflakes. Use a light brown lipstick for the lips and blend it wit...
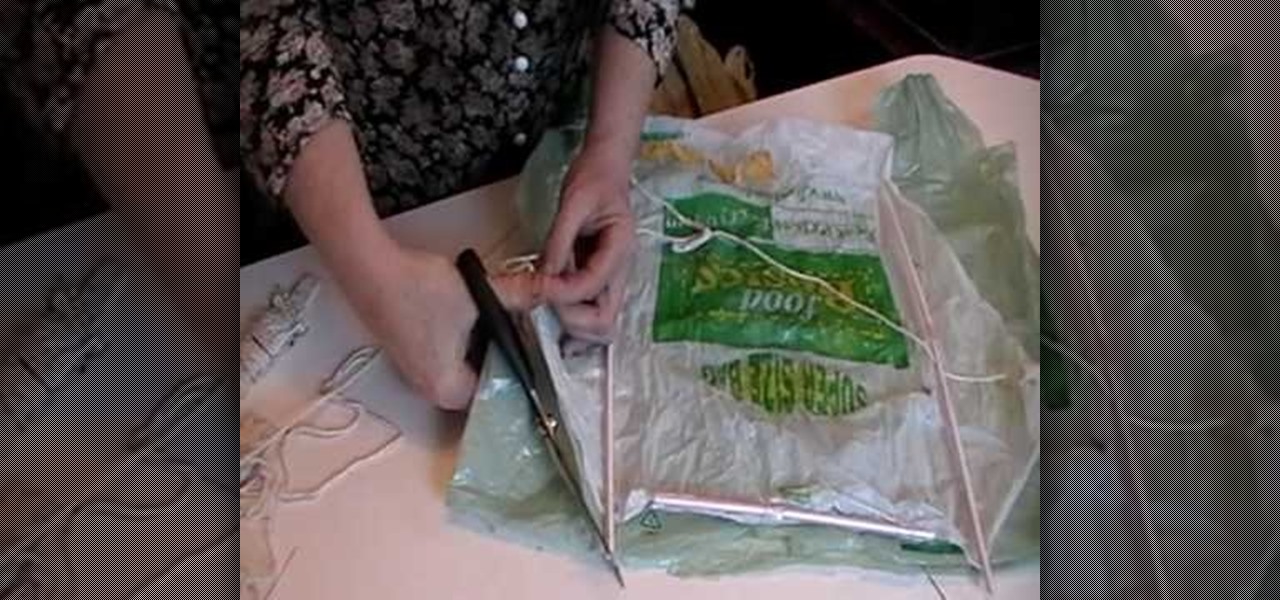
Learn how to make a homemade kite with this video. To do this you will need a regular plastic bag, some plastic straws, string and scissors. Begin by using the scissors to cut the bag in half, around the edges. Once you have this, make a rhombus shape out of it. You will need five straws and tape. Use one straw for the top and two straws on each side. Make sure that these two sides are the same side. Add clear or regular tape to stick the straws to the plastic bag. Lastly, tie the string at t...

This video teaches the secrets to sharpen a convex wood carving knife in simple steps. First find out how dull your knife is by cutting a paper or shaving hair on you hands. Now take a sand paper attached to a pad and start sharpening the ends by applying less pressure. Now try the sharpness of the knife, it will be better. Now take a double sided strop with sharpening compound and start rubbing the knife edge. After sharpening try the knife again, it should be good enough.

Learn how to make a simple paper box with this short video. You will need some strong paper like construction paper or light cardboard, a pair of scissors, and tape. For a neater box you will also need a ruler. First you will draw the shape of the box, which looks like a plus sign. Use a ruler for straighter edges. Then you will need to cut out the shape and fold along the lines. Add decorations to your box if desired. Last, you will be taping it to form a box shape.
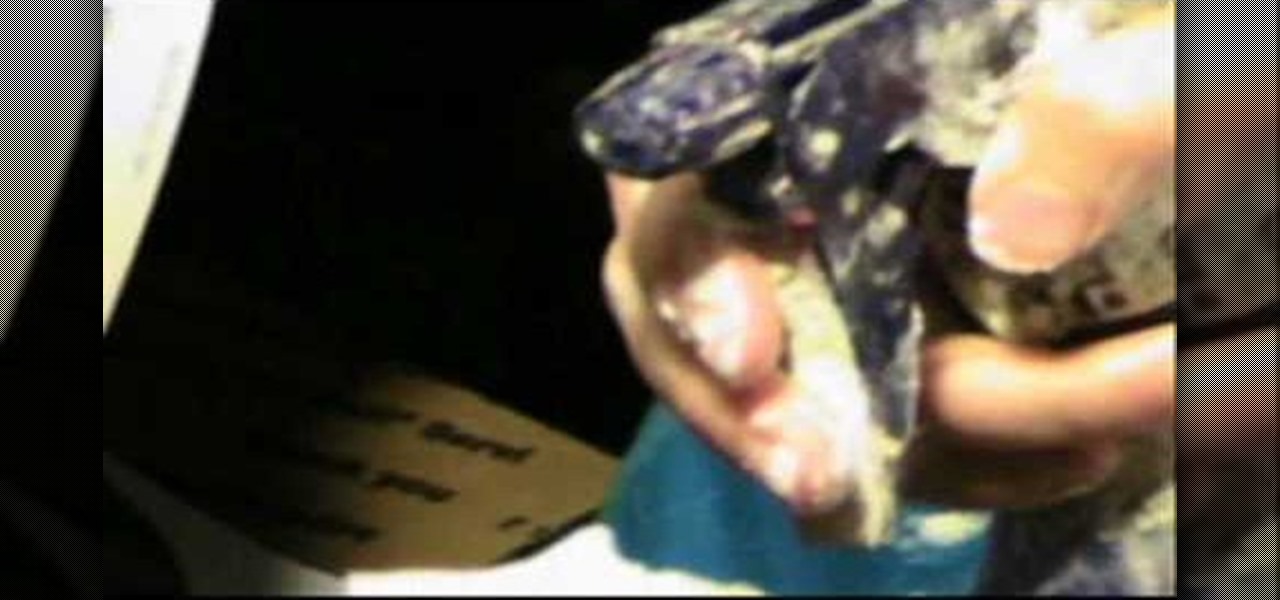
In this video tutorial from StudioMallory, learn how to take Mapei premixed adhesive and grout and turn it into a six-point star. Begin by cutting out the star shape in a piece of cardboard. You can use a stencil to make sure the shape is accurate. With your fingers, spread the grout onto the shape. After you are done shaping the grout, spray a little bit of water on the grout to help you smooth out any rough edges on your star. Set the star on a flat surface and allow it to dry overnight. Th...

Emerald City Elegance Paper Crafting with Joann is really very interesting to watch. It takes us through the process of making a beautiful paper cup mini album. It explains us to properly cut the edges of the paper cup, to stick first the color page in the folded paper cup, making ready the plain album pages and punching it altogether. Finally embellishments are also done to add beauty to the mini album. Now the album is ready. After watching this video, any viewer develops the art of creativ...

This video is about how to make a paper snowflake. These are just amazing shapes made out of sheets of paper. They are used for decoration. We can make a paper snowflake in just 2 minutes. First take a plain paper sheet and fold the sheet to make a triangle out of it. Now just make 3 more triangles in similar fashion and after that make a half triangle and cut the extra edge from it. And now it is up to us how we to want design our snowflake. Open and see the nice and beautiful flake.
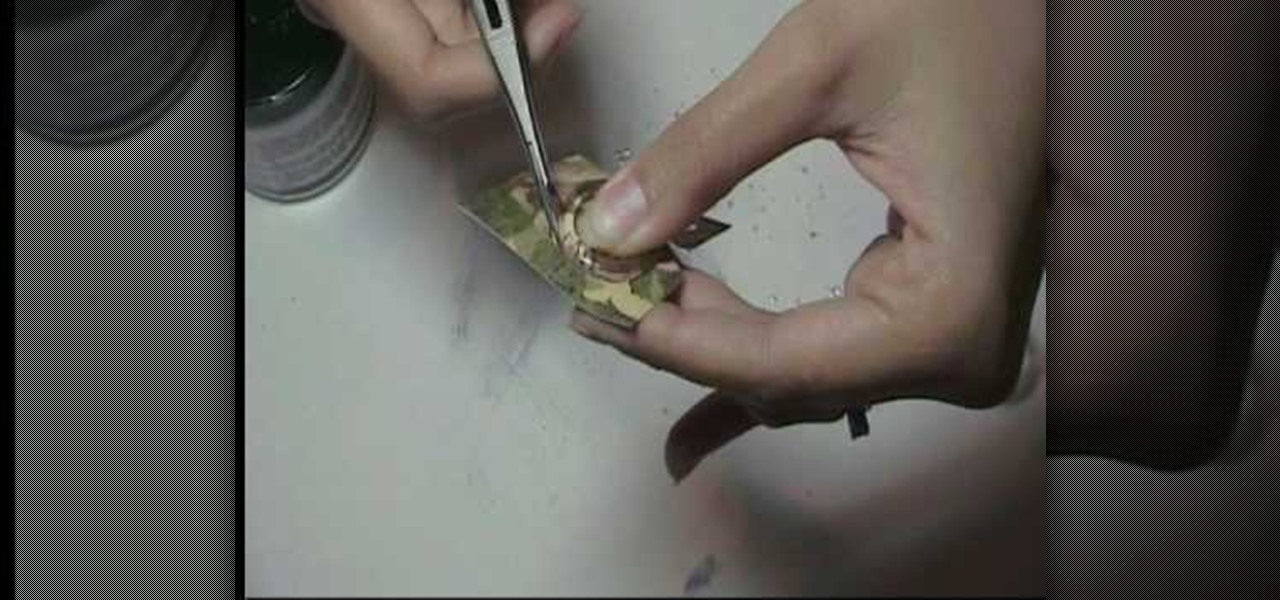
In this video, Marion shows you how make your own custom buttons. She first picks-out a piece of scratch paper, a clear button, and glue (glassy accents). You then apply some of the glue onto the button and lay the button onto the paper and let it dry. Next you would cut the paper around the button as close as you can with precision scissors. You would now use a file to sand the edges of the paper down. That is how Marion shows you, how to make a customized button.
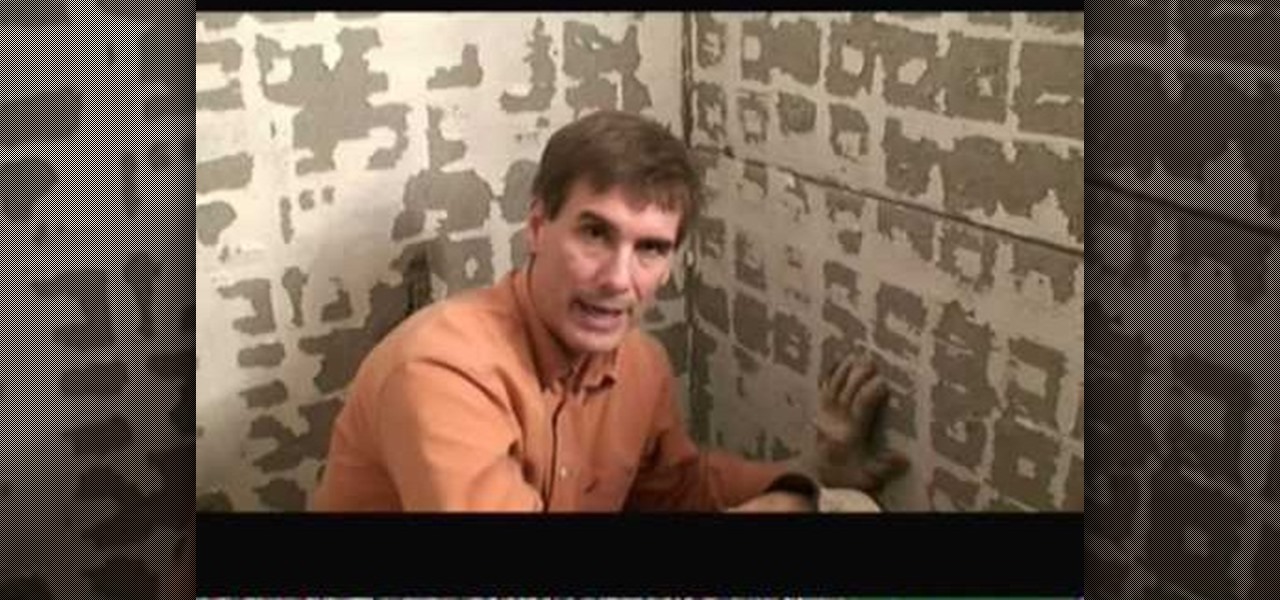
In this video, Mark Donovan of Home Addition Plus shows you to remove ceramic tiles from a shower. Before you begin, remove the shower head and shower handle, leaving the walls bare. A lot of dust and debris will be produced so you should wear safety glasses and to protect the shower pan from damage, you should cover it up. Card board should suffice. Starting from the bottom, place the chisel on the edge of the tiles and tap it with a hammer. For the tiles in the middle, you can use a flat ba...
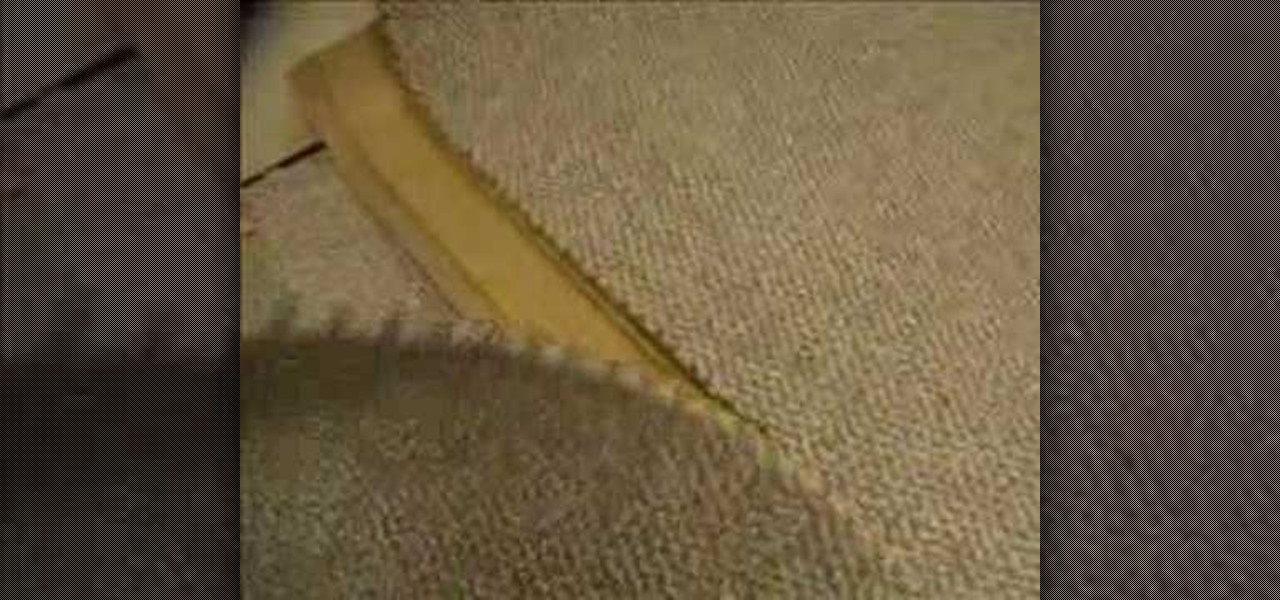
This video shows you how to seam together two carpets. The tools required are carpets, seaming knife, blade, iron for pressing, and seaming tape.
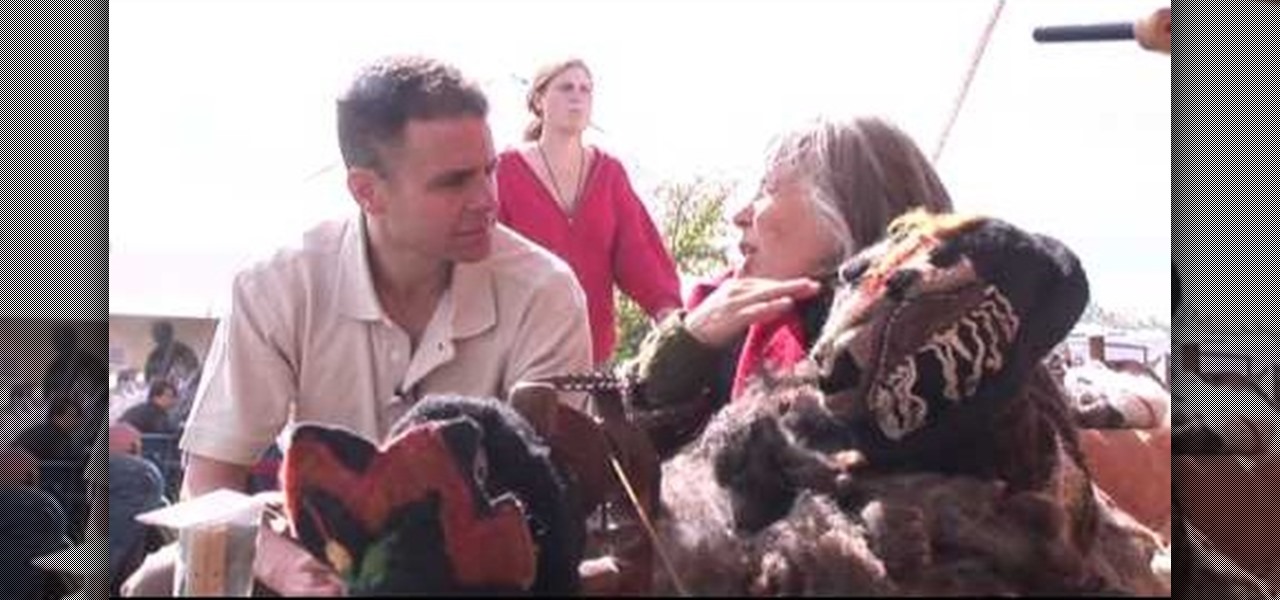
In this episode of Growing Wisdom, Dave Epstein and fiber sculptor Susan Barrett Merrill discuss how to spin wool. Barrett Merrill demonstrates the spinning wheel and explains how wool is transformed into yarn. She also shows some of her own work and explains her artistic process.
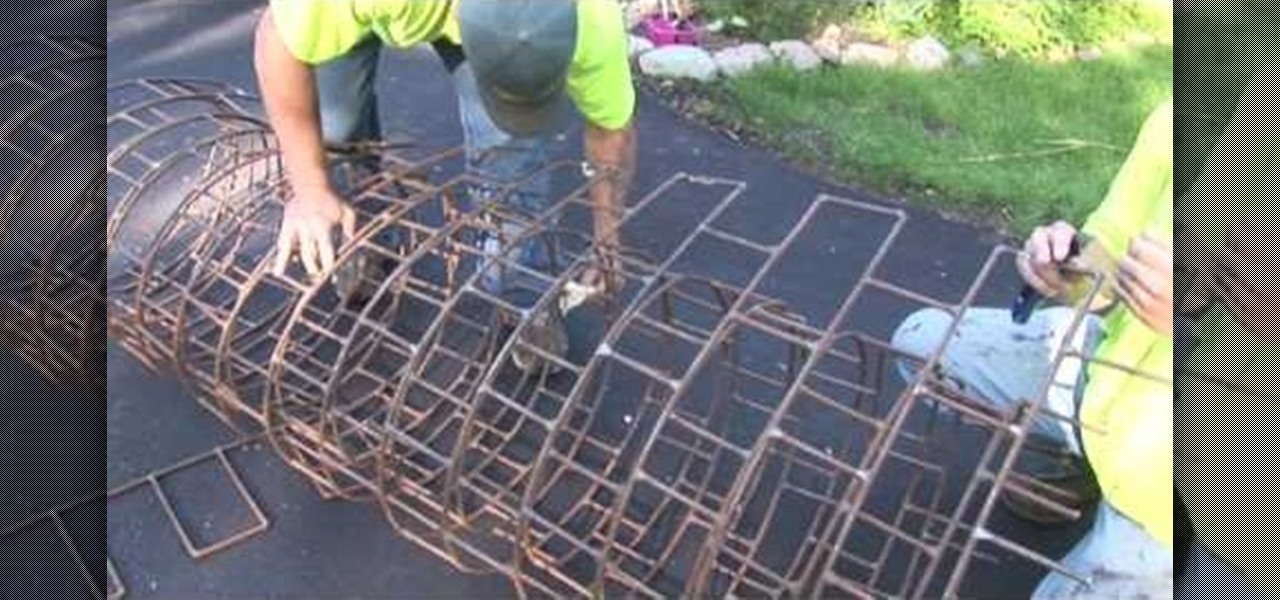
Your driveway can make a big difference in the appearance of your house. As nice as it would be to have a brick, slate or cobblestone driveway, those are expensive options that not everybody can afford. In this episode of Growing Wisdom, you'll learn how to use a comparatively inexpensive process called street printing to really class up your driveway by creating the illusion of brick and other textures.
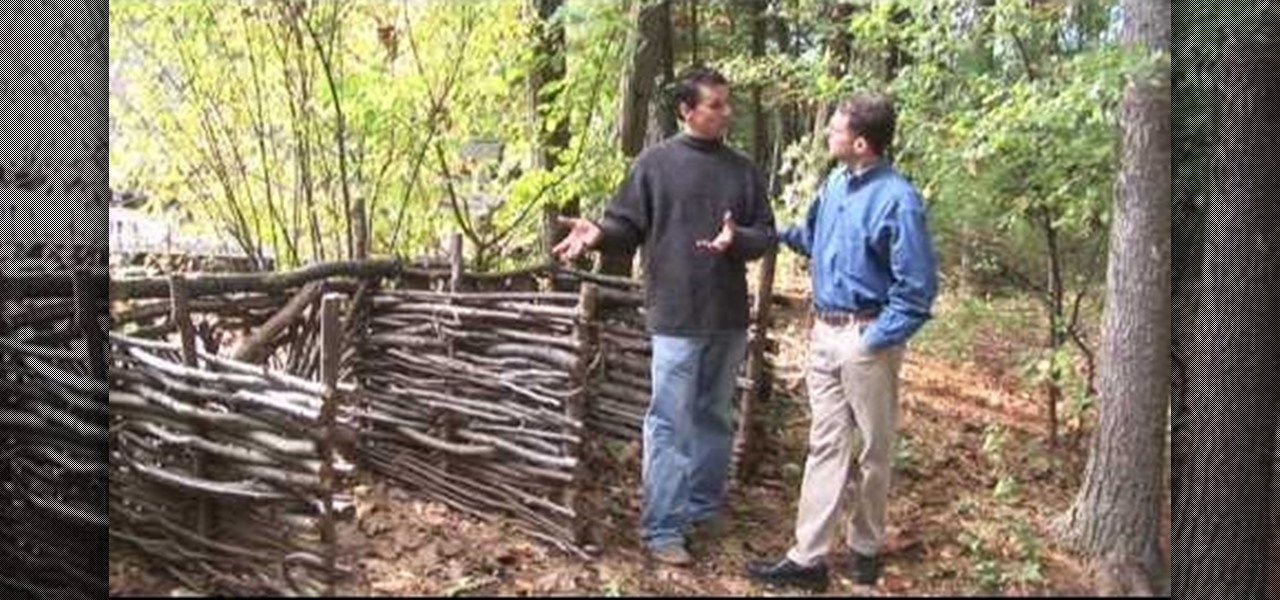
Every day, the average American throws away about four pounds of trash. But a lot of your daily trash could actually be very useful in the garden, as composting. In this episode of Growing Wisdom, Dave Epstein shows you how to use a three-bin composting system.

If you've grown tomatoes from seed, perhaps you've wondered how the seed company extracts those seeds. In this episode of Growing Wisdom, Dave Epstein walks you through a process known as sluicing. Using sluicing, you can extract vegetable seeds yourself.
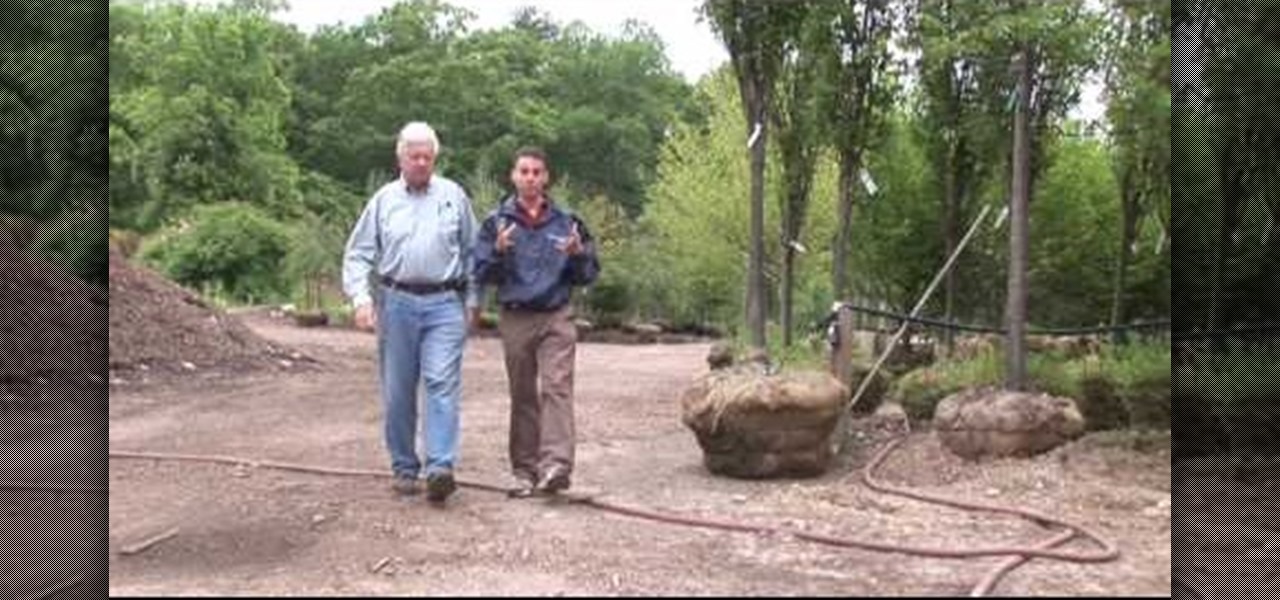
When you head to your neighborhood gardening center to find a shade tree for your garden, the variety of choices can be pretty overwhelming. There are so many kinds of trees, and each of those trees has its own varieties. In this clip, Dave Epstein from Growing Wisdom will help find the best shade tree for you.
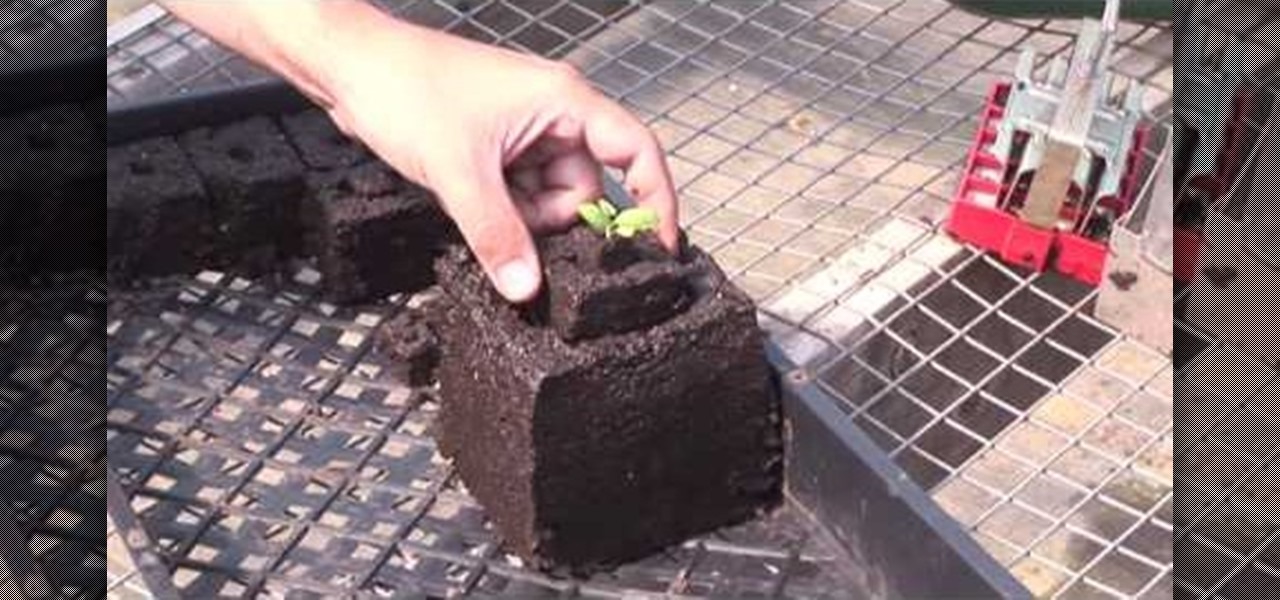
A soil block maker is a cool device for starting your seeds. All you do is fill a container with soil and use the block maker like a cookie cutter. Then you'll have little blocks of soil to plant your seeds in, and you can easily transfer the block to your garden. Now stand back and watch your plants grow!

The vinca, or periwinkle, is a hearty flower that adds a lot to any garden. It comes in a variety of colors, and grows in the sun as well as the shade. But they're so hearty that you have to watch them, or they'll start springing up where they're not supposed to. In this video, Dave Epstein from Growing Wisdom walks you through using periwinkles in your garden.
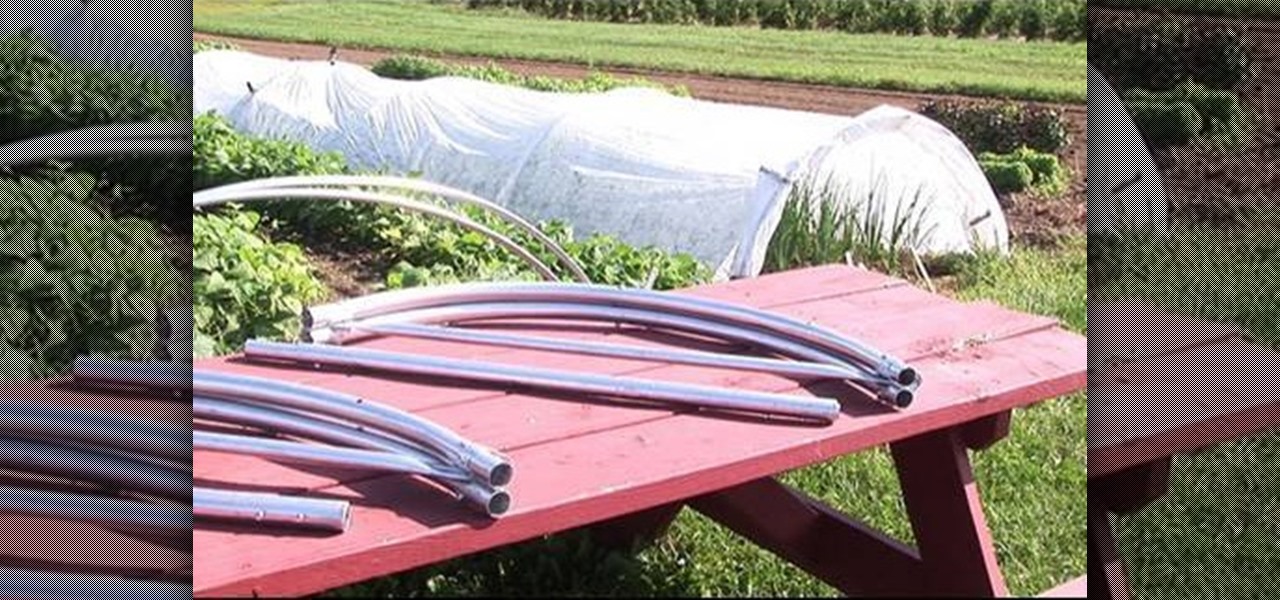
With low garden tunnels you can protect your plants from frost and insects, and you can overwinter your crops. In this episode of Growing Wisdom, host Dave Epstein will look at how to build a garden low tunnel. He'll focus on using the Quick Hoops Bender for the project.

Take a look at this instructional video and learn how to use the eraser tool in Google SketchUp. Keep in mind that the eraser tool only works for edges in SketchUp, and you won't be able to erase surfaces with the eraser tool. This tutorial covers how to erase single or multiple edges easily and how to soften or hide edges with the eraser.

Take a look at this instructional video and learn how to use the freehand tool in Google SketchUp. This tutorial covers how to use freehand to draw free form edges. To do this, simply click and hold the mouse button to draw with the freehand tool. Like other drawing tools, be careful not to cross over edges while drawing, and draw to and from existing edges to properly break surfaces.
This is a short Blender tutorial that illustrates how to move a vertex along an arbitrary edge of an object no matter how the edge is rotated in 3D space. This 3D tutorial is from Stage6 so check it out and learn how to control the vertices on your Blender models.
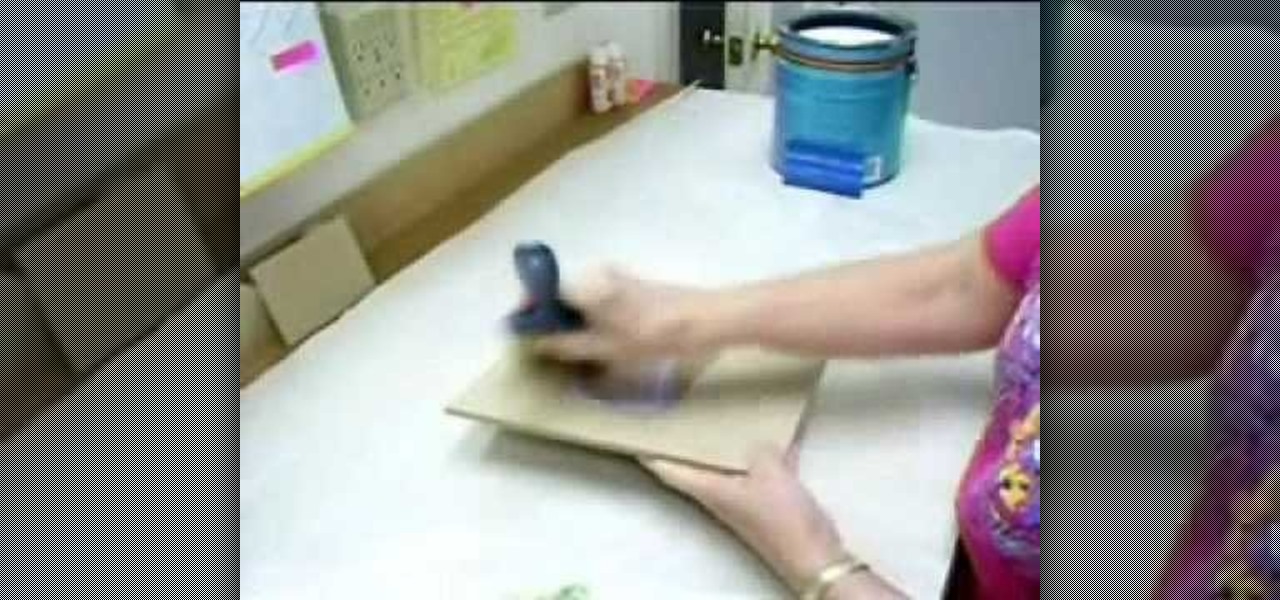
Craftsperson Ceal Pedersen, from Heirloom Puzzles, shows you how to make wooden jigsaw puzzles with her own creative touches, geared towards kids.
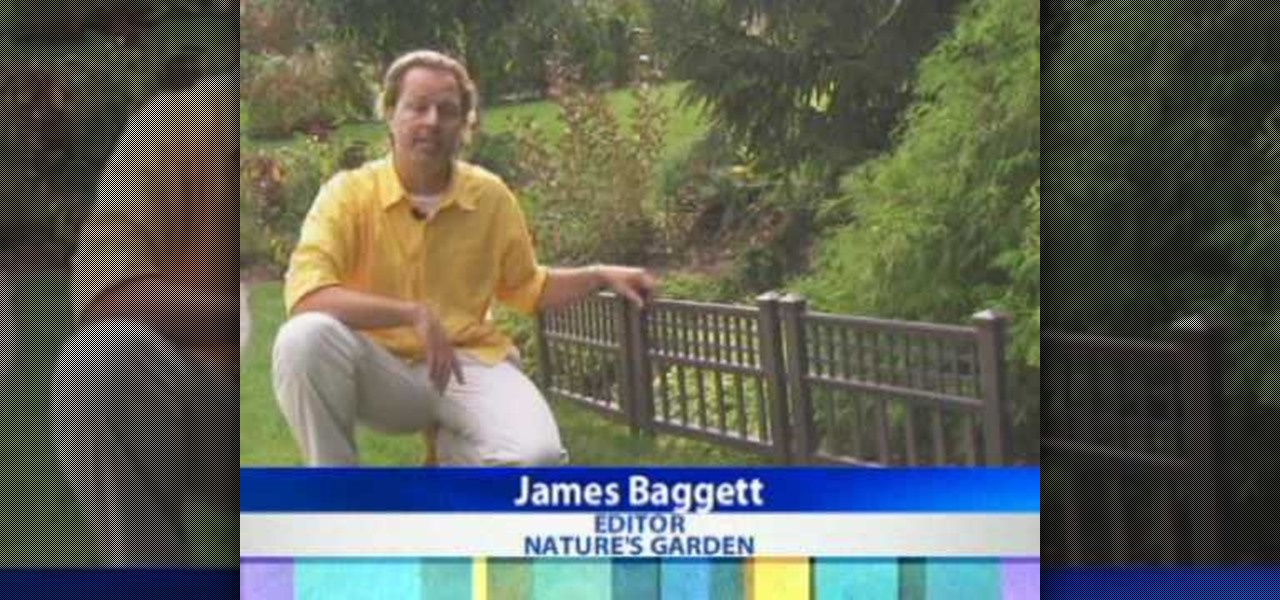
Add some pizzazz to your yard with some decorative edging. Watch this video tutorial to learn about the various garden fencing/edging options from Nature's Garden Magazine's editor James Baggett.
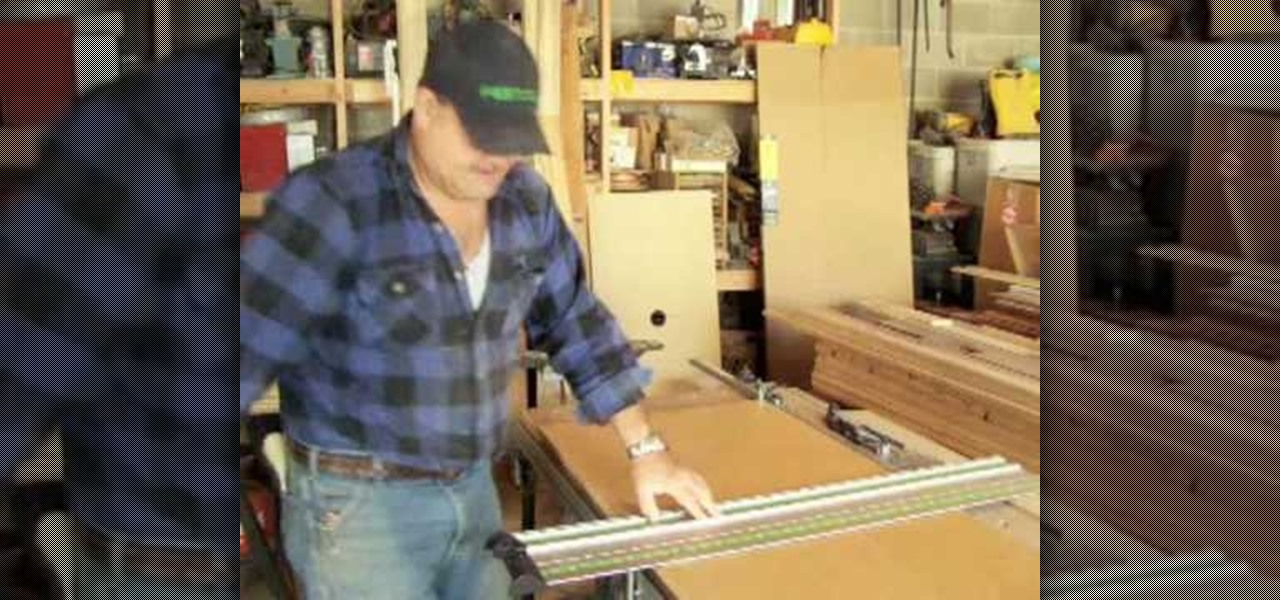
Do you want to learn how to build cabinets? Watch this five-part video tutorial for the basics of cabinet making using wood. Part one demonstrates the basics of making cabinet boxes from sheet goods while part two goes over how to cut the deck and stretchers for European-style frame less cabinets. Part three shows all the tools and some of the techniques you can use to apply edge banding. Finally, parts four and five demonstrates how to assemble to the cabinet carcass.

Improve you crocheting skills by learning different edging techniques. This how to video is a tutorial that will show you how to crochet a single crochet edging. Watch, learn and create your own decorative crochet edgings.
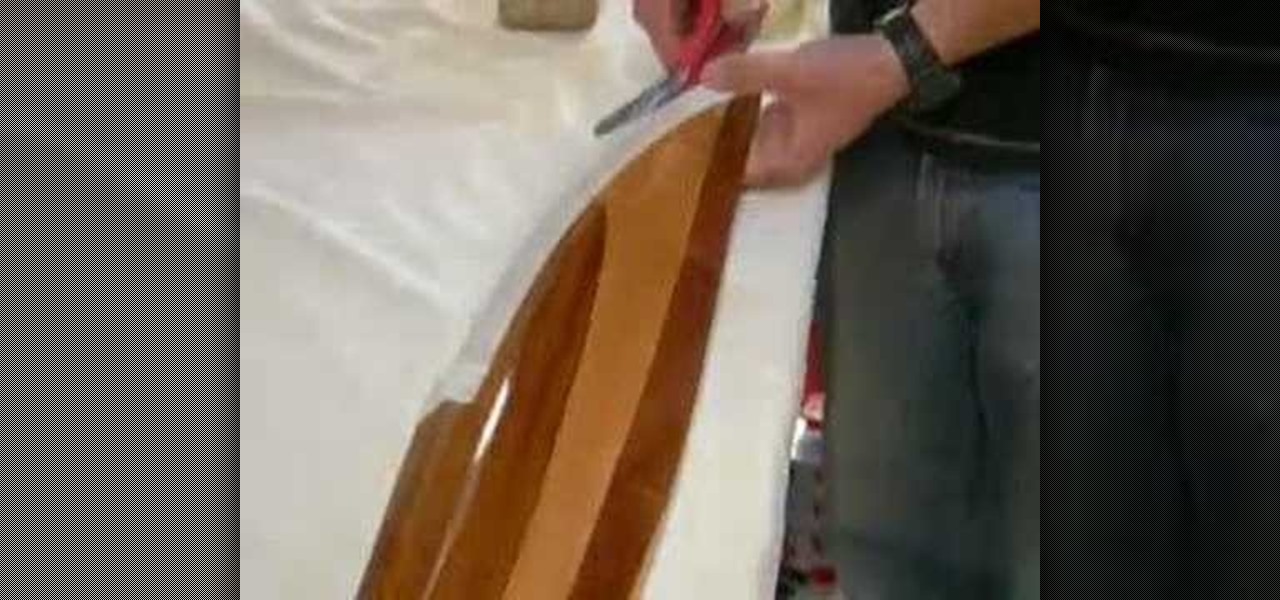
This video will show you two different methods of repairing the leading edge of a wooden aircraft propeller. Learn how to properly apply epoxy, clean the area of the repair, and make the edge look like it was never damaged!
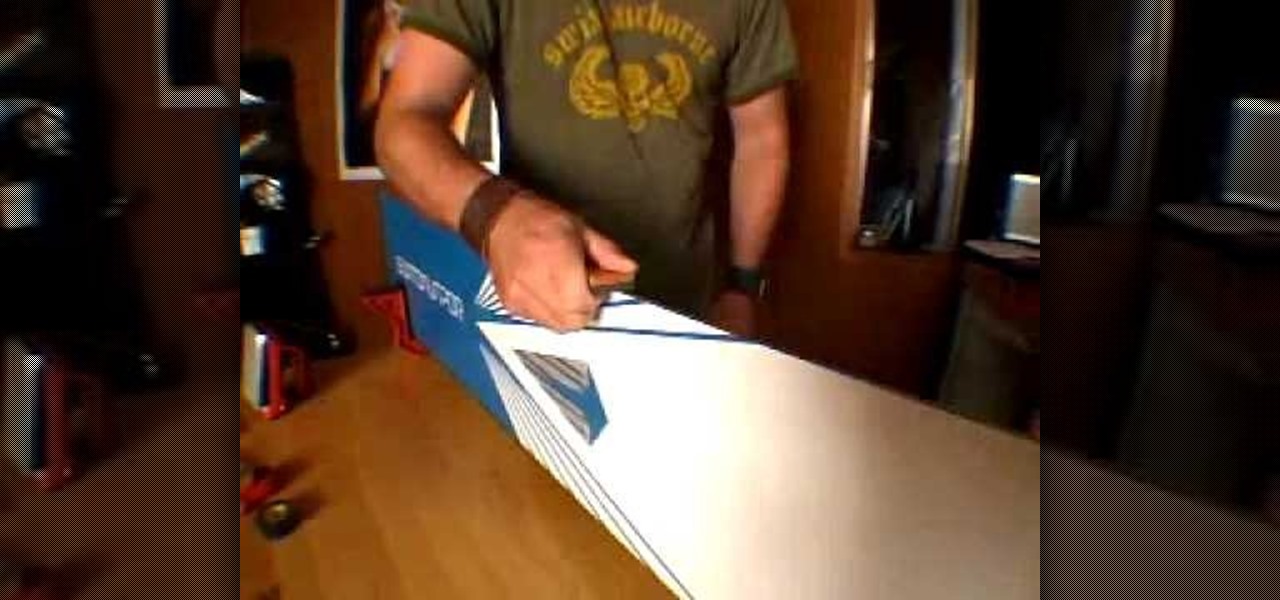
Frank Crow talks about keeping the edges of your snowboard in shape. Edge maintenance is crucial to preserving your ride.
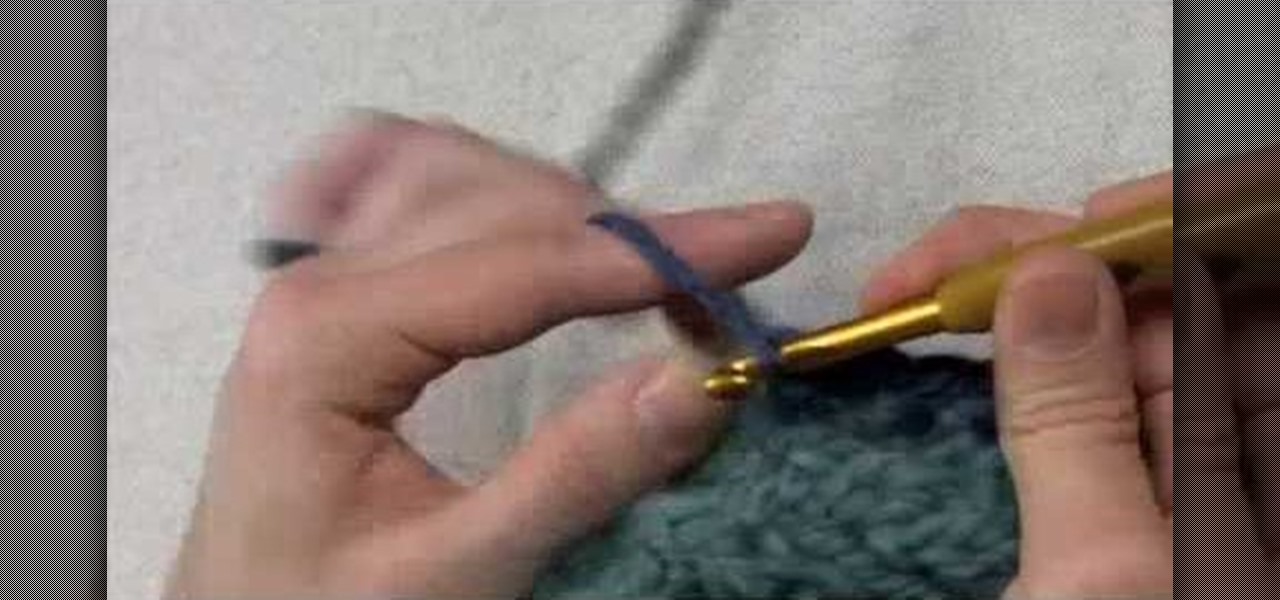
In this tutorial we learn how to edge a knitted piece with a single crochet. Start to attach the yarn to the right side, working in a forward direction. Now, work a slip stitch at the edge. From here, stick the hook in the fabric and pull through one loop. The, yarn over again and pull through both loops with the hook. After you do this, do it over again! You will repeat this process until you reach the end of the row. Once you're finished with the row, you will be finished with the edge and ...
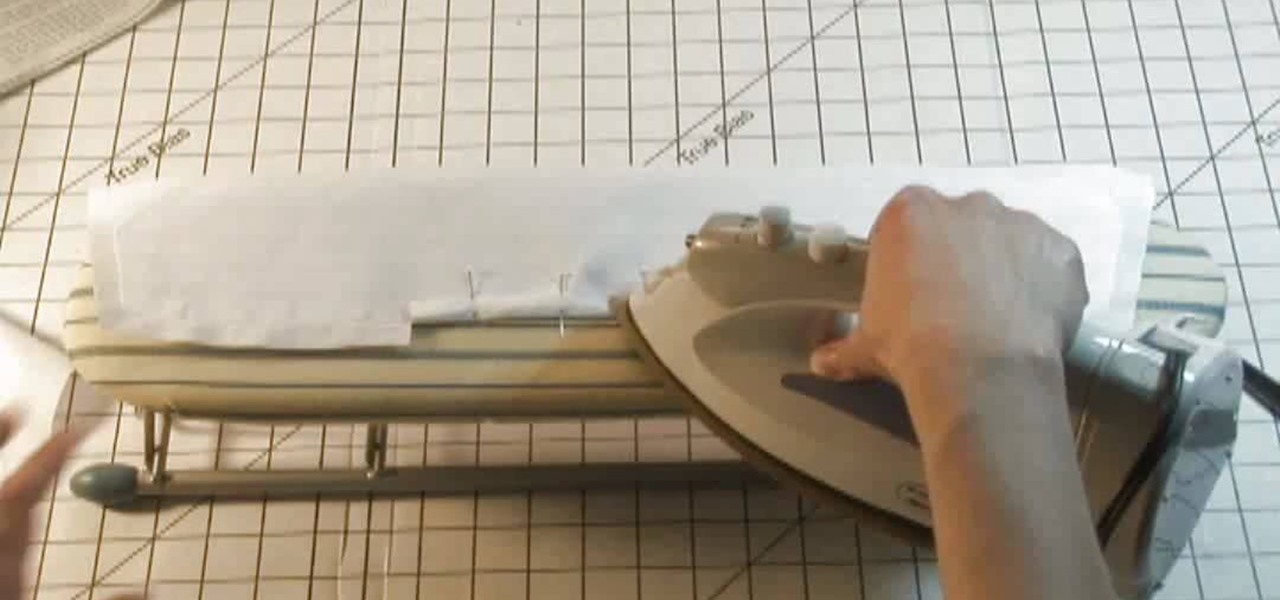
By using sewing pattern Simplicity 4670, the author of this tutorial video takes you through the steps needed to produce a great shirt collar. First you should attach interfacing to one piece of the shirt collar. Here you will be using fusible interfacing and taking the facing to the shirt collar iron the interfacing to the wrong side of the fabric. Sew a guide line that is 5/8ths of an inch wide along the notched edge of the shirt collar's facing piece. At the dot markings of the collar clip...

If you thought the last post on Two Circle Wobblers was wild, then wait until you see what happens when you build wobblers out of two half circles or two ellipses. In both of these cases, the center of gravity still remains constant in the vertical direction, allowing them to roll down the slightest of inclines or even travel a significant distance on a level surface if given a push or even when blown on.
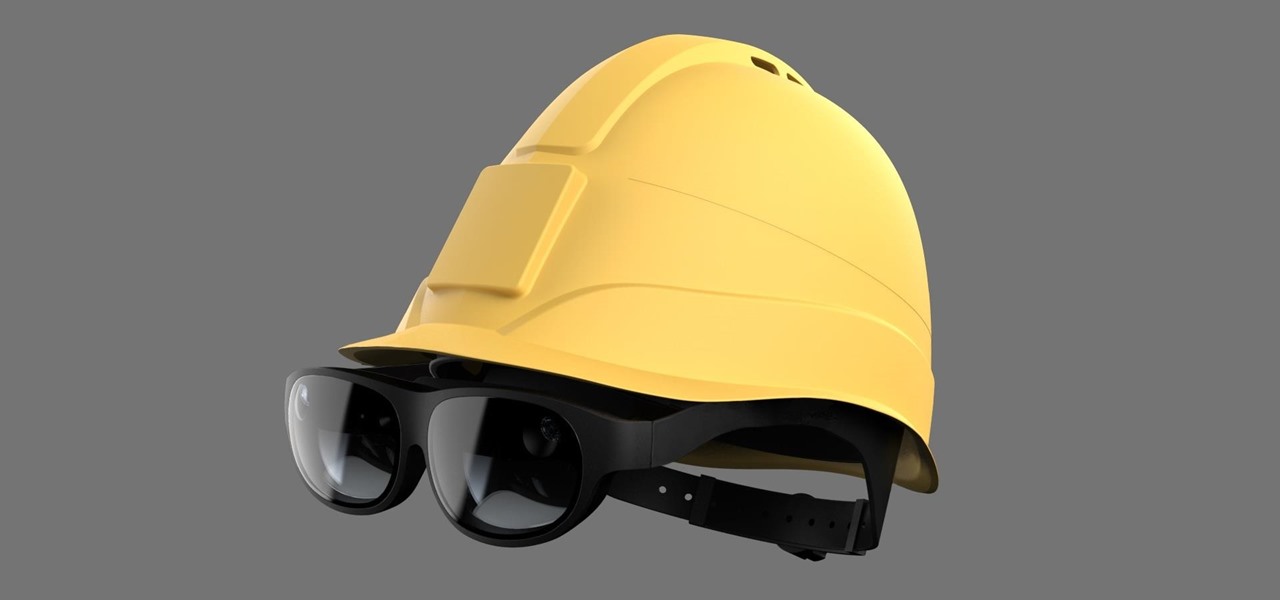
As a frequent collaborator with Qualcomm, it would be kind of weird if Nreal didn't have something new to unveil at this week's Snapdragon Summit.
Less than a month after launching its augmented reality Swim Goggles, wearables startup Form is preparing to add a major new feature for aquatic athletes.
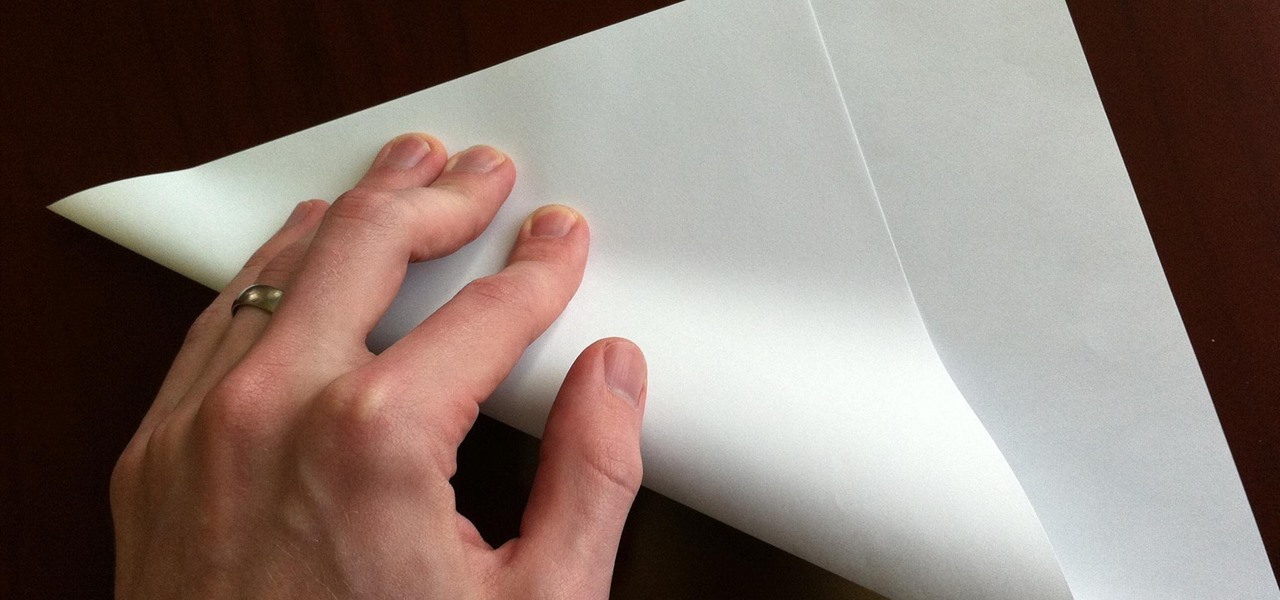
During my early elementary school years, origami was my go-to pastime. When it came to learning about it in art class, I ventured out well past the basics that were being taught.
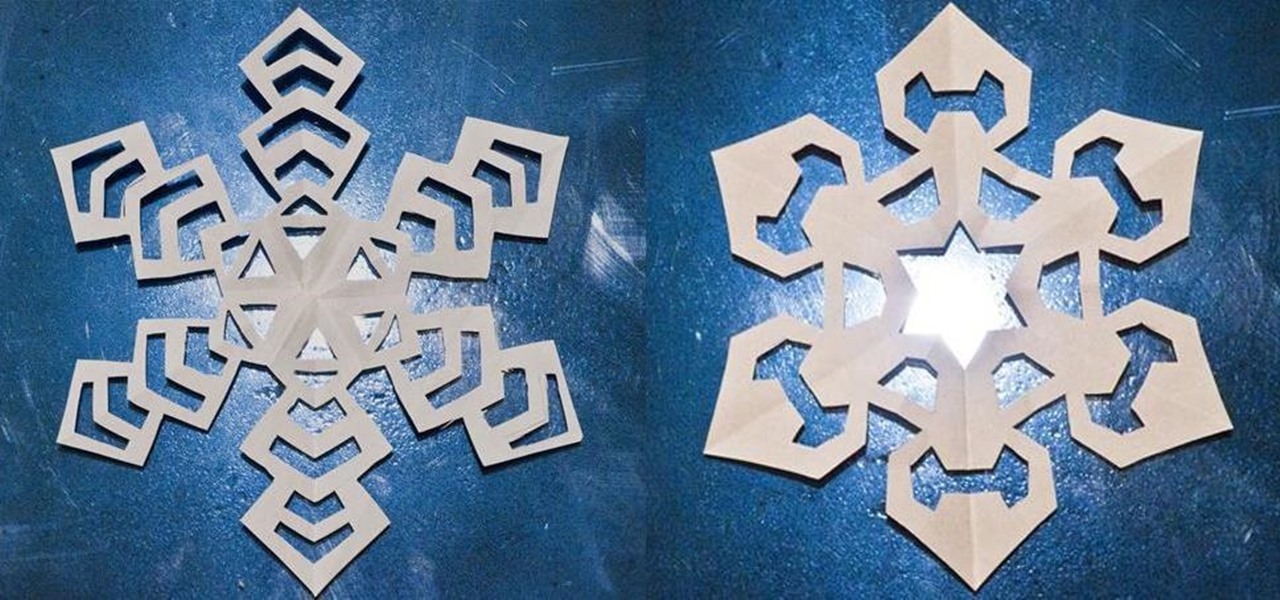
We've all made them. I remember making hundreds of paper snowflakes when I was in elementary school. You take a piece of paper and fold it in half, then fold it in half again. You now have a piece that is one fourth the size of the original. Now you fold it in half diagonally. You then cut slices out of the edges of the paper, and unfold to find that you have created a snowflake. The resulting snowflake has four lines of symmetry and looks something like this: If you fold it in half diagonall...

This is a video about how to make the photo display board. You just need foam display board, fabric to cover the board, batting paper, pins, and some ribbons. First you have to cut the fabric about one half inch extra of the board to cover the board. Next you have to cut the ribbons upto 6 to approximately 21 inches long and cut one ribbon to hang the photo board. Next laying out the fabric on the table first. Next place the batting on the top of the fabric. Next take the foam board and place...
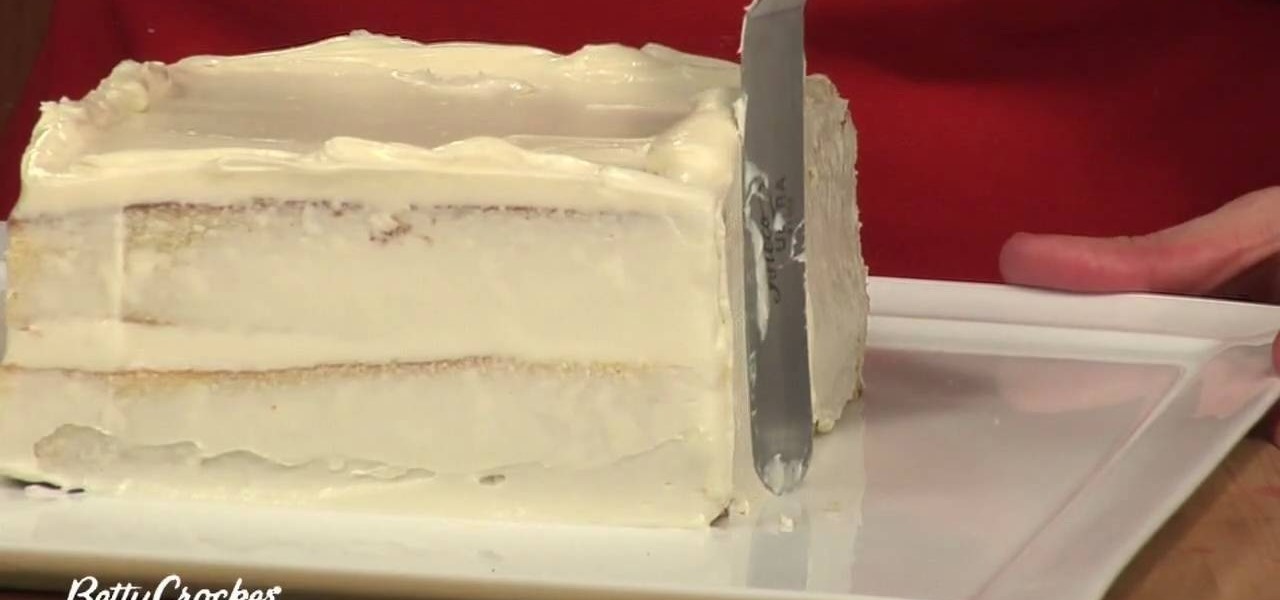
Leif Hanson for the Betty Crocker Kitchens shows how to crumb coat a cake. This is when you put a thin layer of frosting on the cake to hold the crumbs in. She starts with a square cake with exposed edges. First, you take a big scoop of frosting and put it on top of the cake. Next, you spread it around with a spatula. As you spread it evenly you want it to go over each edge and corner, but don't let the corners sag. Next, she loads the spatula, fills it from the top edge to the bottom edge, w...
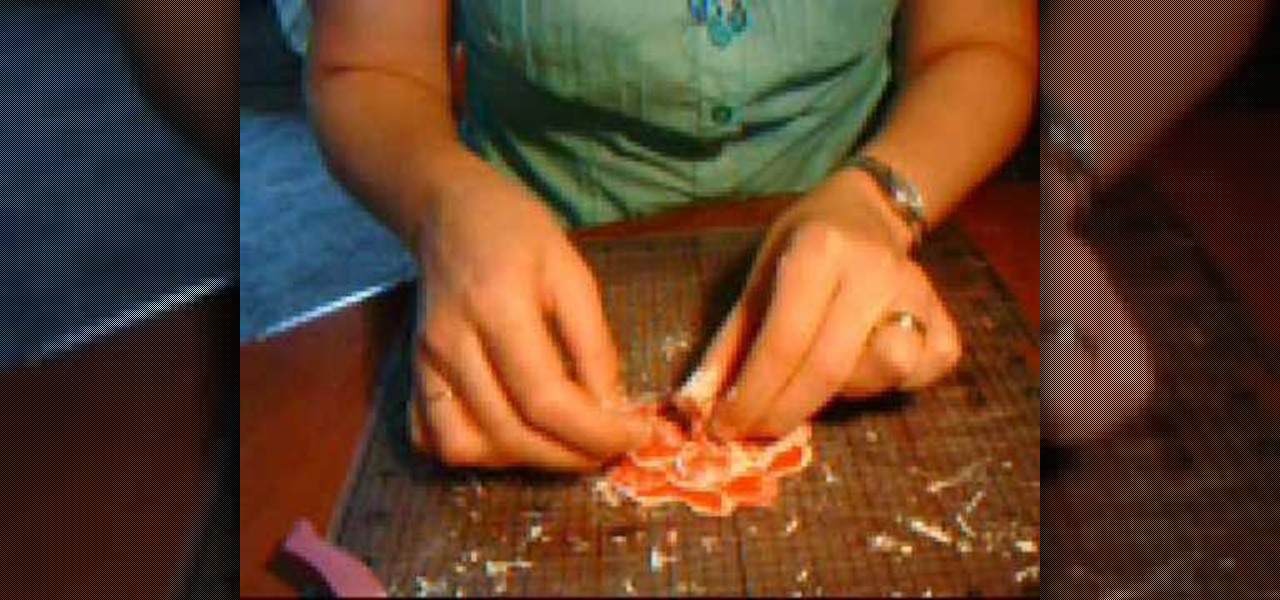
In order to make Cardstock roses, you will need the following: cardstock, stencils, scissors or cutting utensil, a cutting mat, color glimmer, a hole puncher, and acrylic paint.
In order to make a Silicone Ring Mold you should first get a small plastic container. This will be your mold box. First, you should cut the bottom out of the container. Next, use double sided tape to stick the ring down to the base of this. Next, secure the mold walls to the base. Now, mix the silicone mix in a separate mixing cup. Make sure you mix this thoroughly until the color is uniform. Now pour the silicone into the mold in a fine stream on the side of the ring, this will help prevent ...