I was shooting last Friday and for a particular shot I wanted a special on a product; I wanted it focused, but soft. Unfortunately we had run out of flags to cut it so my Key Grip came up with a great DIY solution: cut a hole in black wrap, put it on a stand a few feet away from the light (Dedo 400W HMI) and cover that hole with a light diffusion (Opal). The distance from the light guaranteed a defined shape while the diffusion softened up the light itself.
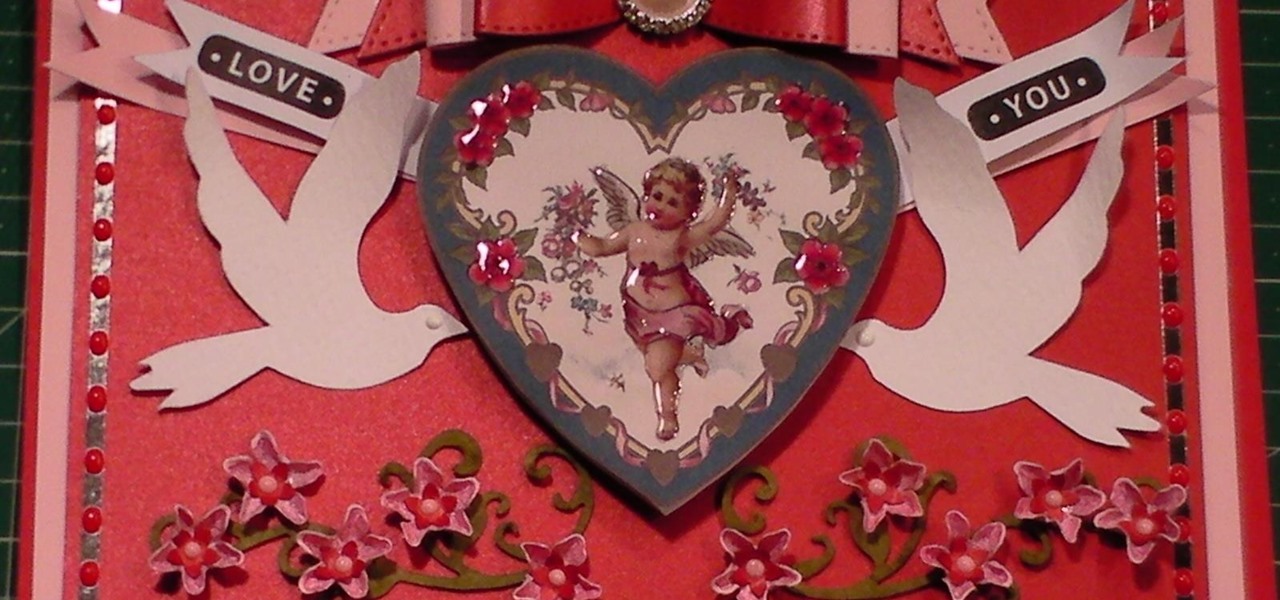
I have made this Valentines Day card in a classic vintage Victorian style and I think it looks amazing with so much detail that all co-ordinates together. Once you see how I have made it you will see how easy it was and quick.. Step 1: Items Used
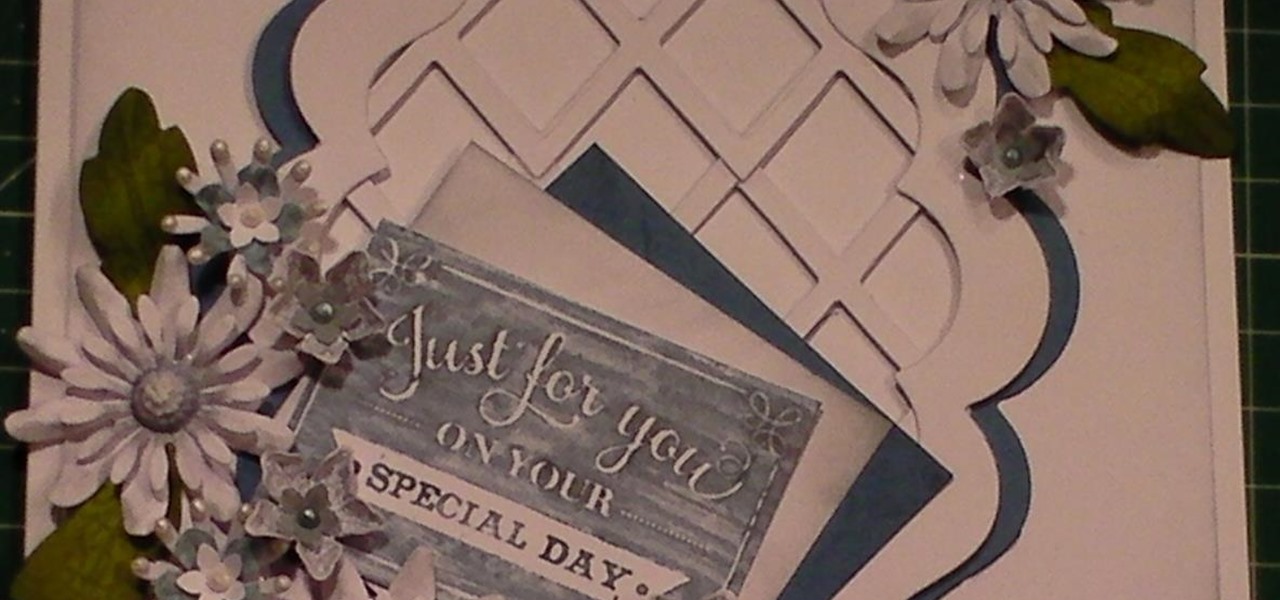
This card tutorial shows you how to make a floral lattice card that is based on a previous lattice card that was made with Poinsettias. This demonstration shows you how to use lattice die cuts with frames and making it a gorgeous floral delight. Step 1: Items Used
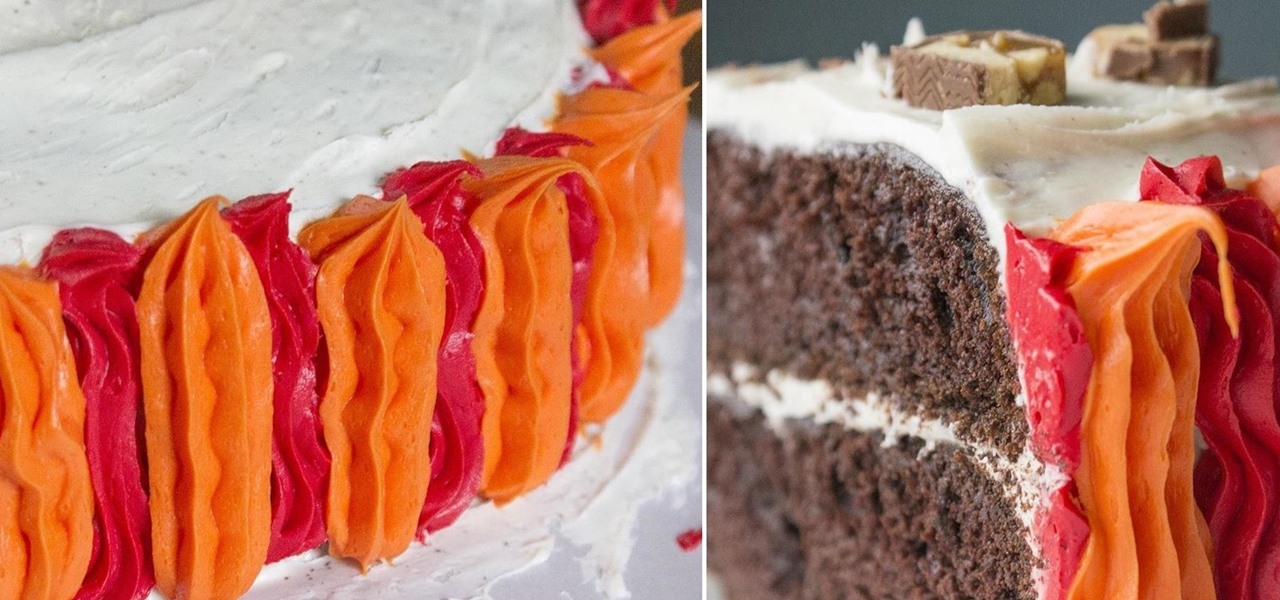
Cake decorating is one of those activities that used to leave my hands sticky and my spirits dampened. No matter what I seemed to do, the final result always ended up looking like a preschool art project.

Samsung's got a pair of beautiful new flagship devices coming out this spring that will surely top the sales charts. The Galaxy S5's successor is truly worthy of that title, but a second variant with a curved display turned heads at Mobile World Congress this weekend.
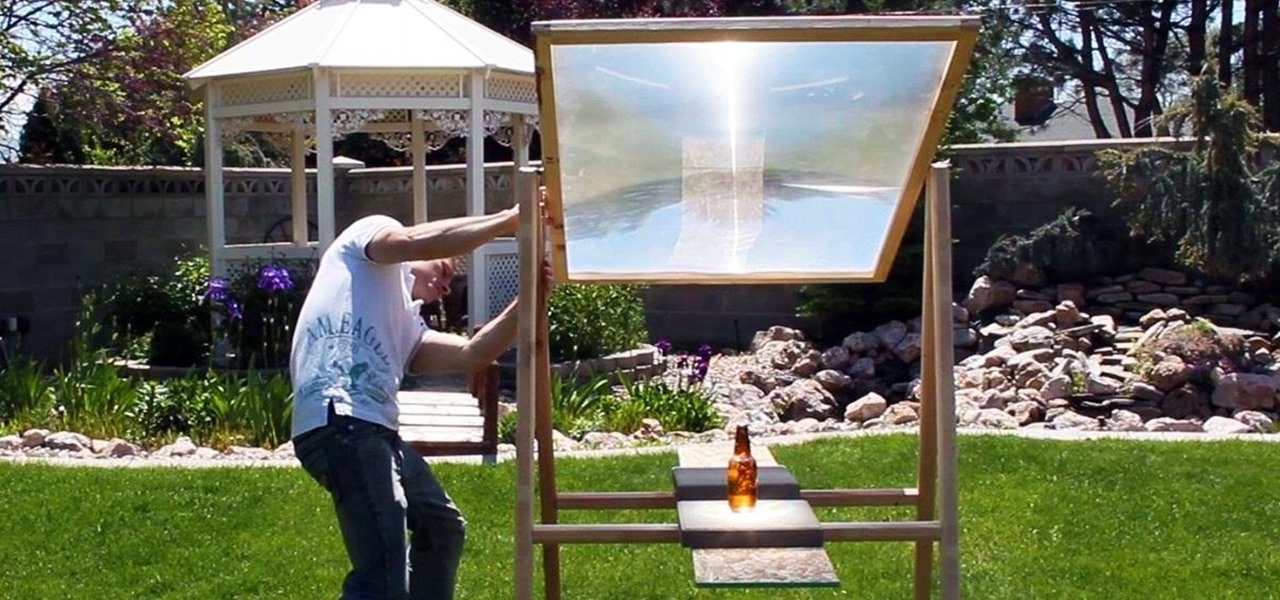
Here is how you can build a frame for your MEGA SOLAR SCORCHER in under an hour, and for less than $8!! This is effectively a 4 foot magnifying lens that concentrates insane amounts of heat from the sun. What would you do with all this free solar power? My design for this custom "Scorcher Frame" is easy to use, and incredibly cheap to make, as you can see in this step-by-step video.

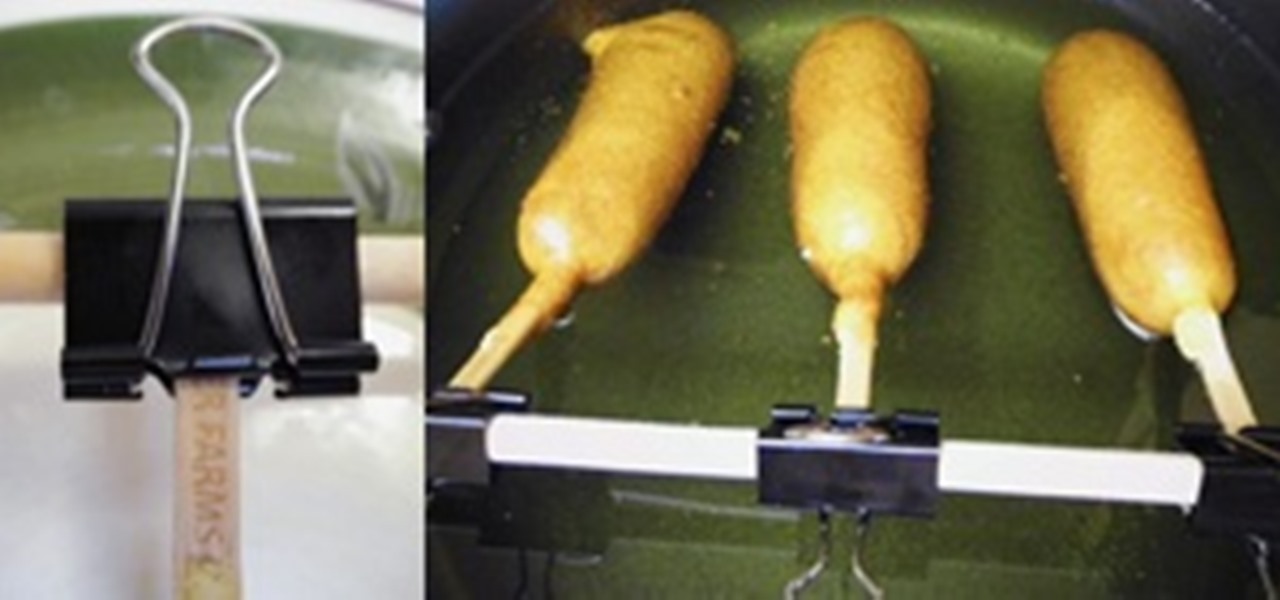
Fairs and festivals are awesome, and one of the best parts about them is the food. Sure, it's all deep-fried and terrible for you, but it's so delicious. It's also always on a stick, which makes eating fried food even easier for us fat Americans.

With vintage-inspired, indie Etsy pictures being all the rage, isn't it about time you jumped on board the retro picture wagon? Whether you desire making that vignette of schoolbooks from the 1920's topped with mini celluloid deer look more aged and sophisticated or you simply want to endow your portraits with a more old timey feel, fading the edges of a picture is your easiest and quickest way to achieve instant vintage.

Have you taken a photo that's perfect in just about every sense other than one? Like, for instance, that picture of you and your newly minted husband dancing at your wedding reception with your husband's drunken brother getting freaky with one of the waitresses on the side?

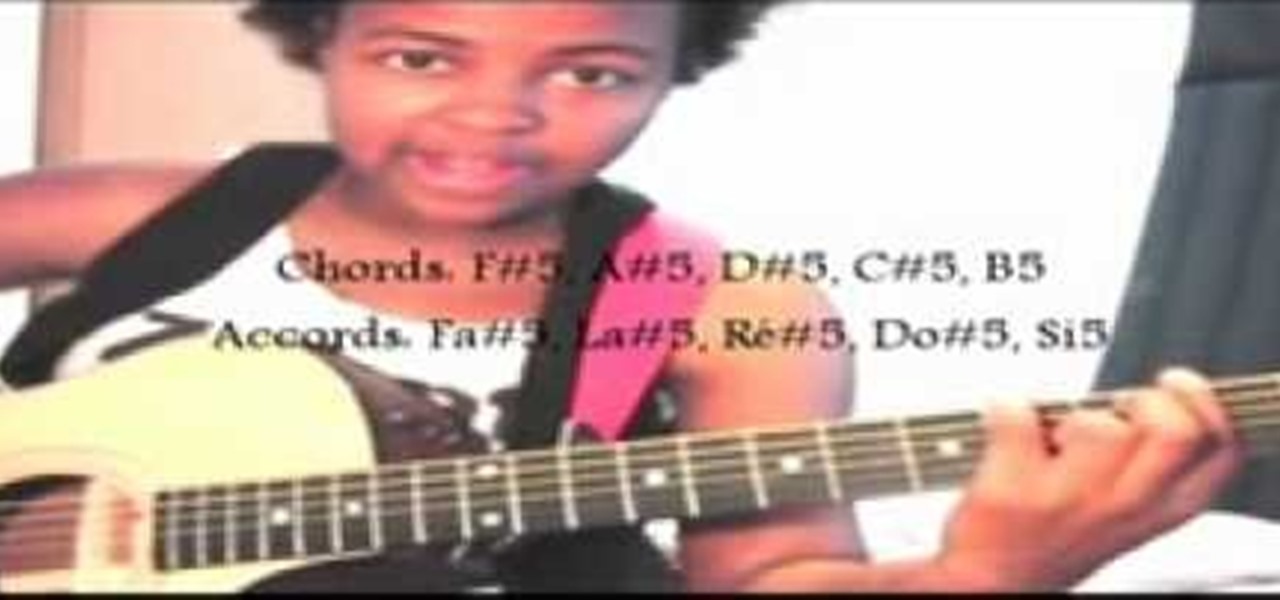
Want to play an unplugged version of 30 Seconds to Mars' "Closer to the Edge"? See how it's done with this free video guitar lesson, which presents a complete breakdown of the song and it chords. While this tutorial is geared toward those who already have some knowledge of the guitar, players of all skill level should be able to follow along given adequate time and effort. For more information, and to get started playing "Close to the Edge" on your own acoustic guitar, take a look!

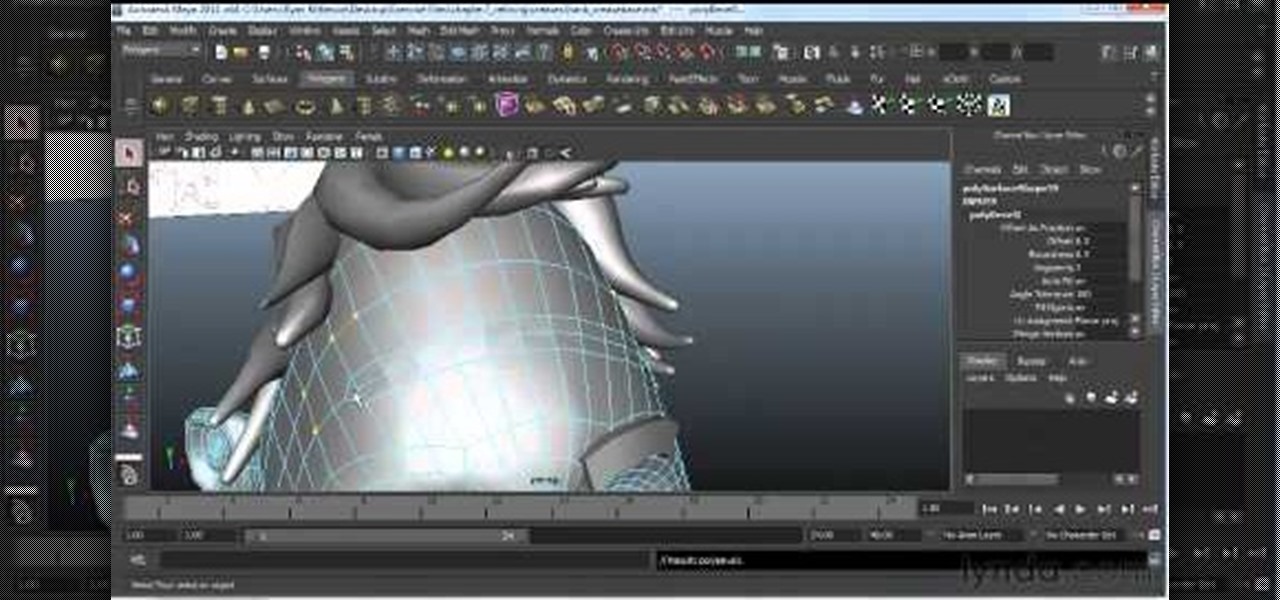
In this video tutorial, we learn how to create creases and hard edges in Maya 2011. Whether you're new to Autodesk's popular modeling software or a seasoned 3D artist just looking to better acquaint yourself with the Maya 2011 workflow, you're sure to be well served by this video tutorial. For more information, and to get started using the lessons imparted by this free video software tutorial yourself, watch this free video guide.

Add a little extra touch of realism to your project or image in Adobe Photoshop CS5. If you're building a digital scrapbook or photo album, you can Photoshop in a few pieces of tape at the edges, and this short tutorial demonstrates a few separate techniques to achieve this effect.

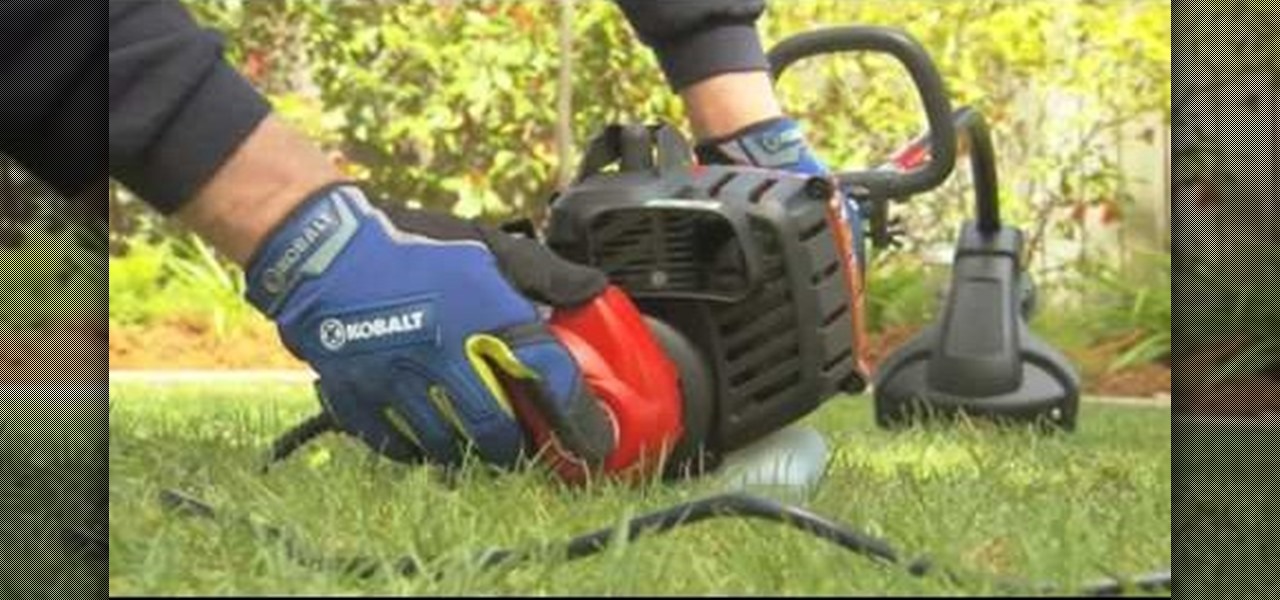
There are many tools that homeowners can use to help with the curb appeal of their own and landscape. One of those tools is a weed wacker or string trimmer. This device enables the user to get rid of weeds instantly and makes lines and edges look clean and finished. So in this tutorial, you'll be finding out how to use one in your yard today. So good luck, be careful, and enjoy!

HTPC. It stands for Home Theater PC. Some refer to it as simply a Media Center. But no matter what you call it, you're going to learn how to build one today. Why would you want to do that? Because one of the main advantages of creating your own home theater system is that you are control, not only of the cost, but the features and functions, as well.

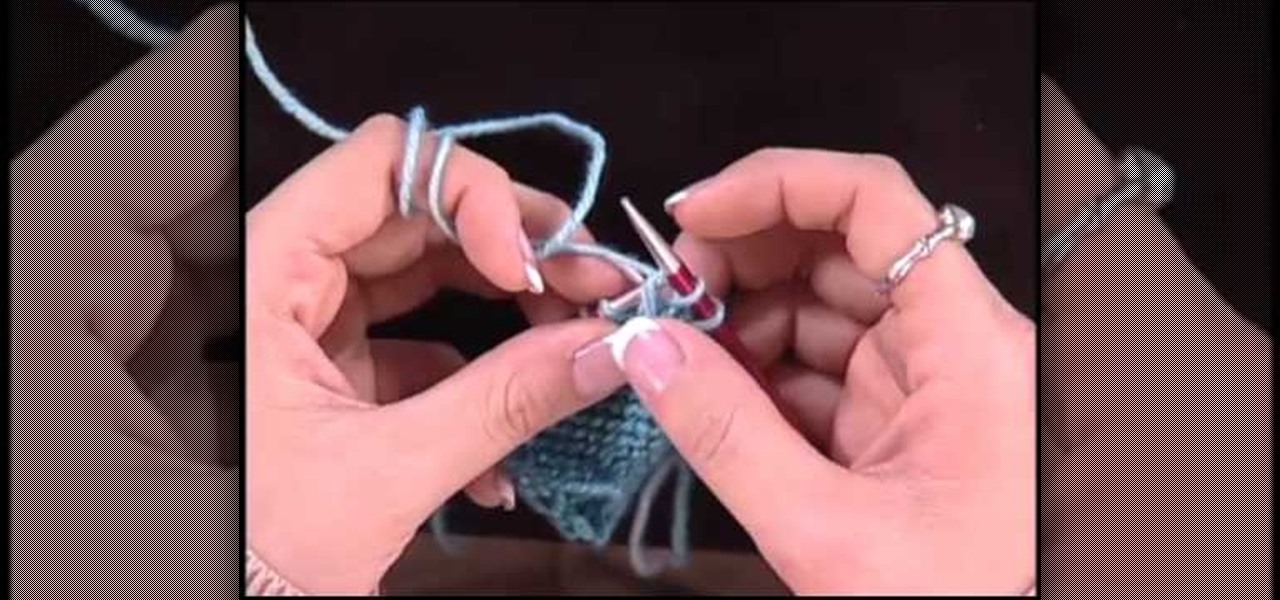
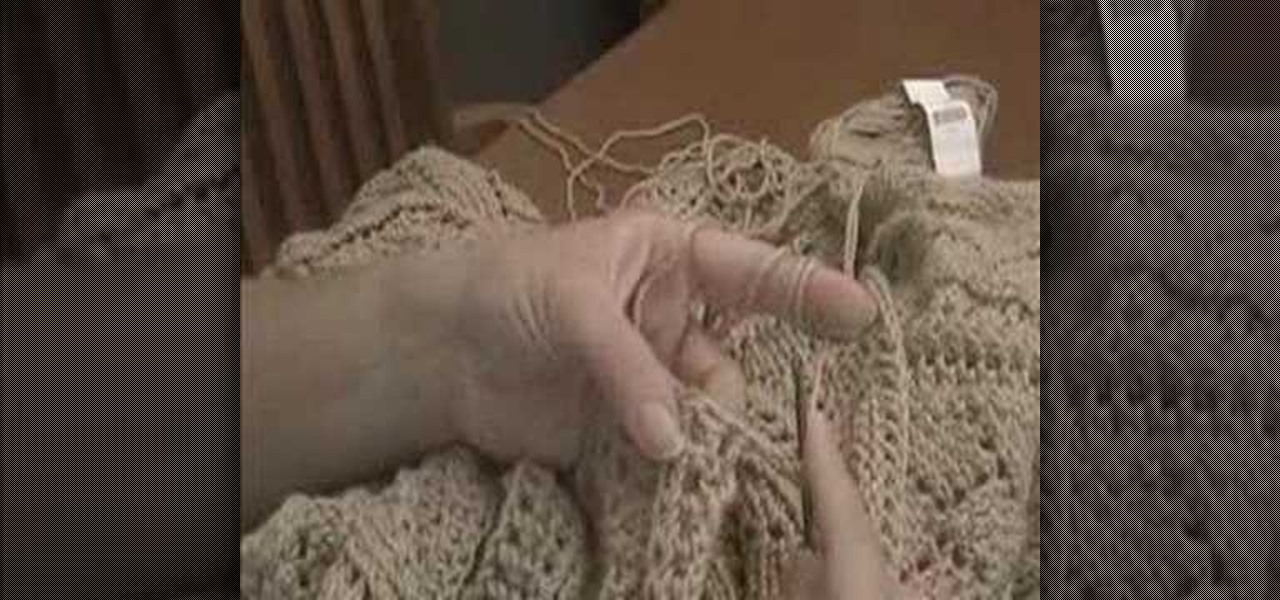
Are you 90% done with your lace shawl but have no idea how to finish the edges so they look rounded, complete, and not raggedy? Then a tubular cast-on may be just what you need to finish up the hems of your project in a professional manner.

This quick AE user's guide presents a lesson in light wrapping and edge blurs in After Effects. Whether you're new to Adobe's popular motion graphics and compositing software or a seasoned video professional just looking to better acquaint yourself with the program and its various features and filters, you're sure to be well served by this video tutorial. For more information, including detailed, step-by-step instructions, watch this free video guide.

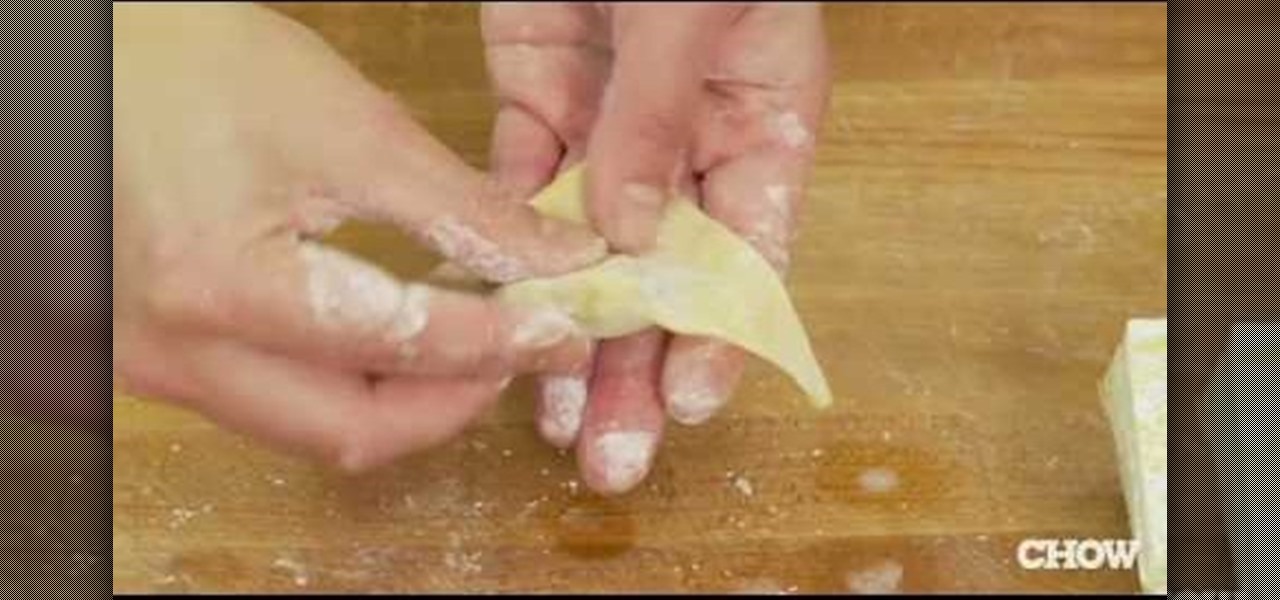
In this video tutorial, viewers learn how to fold won-ton. There are 3 basic won ton shapes: the triangle, flower bud and nurse cap. For the triangle shape, simply fold it diagonally in half to create a triangle and seal the edges. For the flower bud, begin with a triangle fold. Then fold up the spine and bring the 2 edges together. For the nurse cap, fold it horizontally to create a rectangular shape. Then bring the 2 corners together, similar to the flower bud. This video will benefit those...

When you've mastered the single crochet and have gotten a hang of the double crochet, it's time to really step up your knitting game and start the triple crochet, a more difficult but rewarding type of stitch that creates a very tightly woven fabric.

Learn how to use the BIG-IP Edge Client and its Smart Connect, Location Awareness, Customization, Deployment features. Whether you're new to F5 Networks' popular network appliance or are a seasoned network administrator just looking to better acquaint yourself with BIG-IP, you're sure to benefit from this free video software tutorial. For more information, including detailed instructions, take a look.

Watch how to configure LDAPS Authentication on the BIG-IP Edge Gateway with BIG-IP LTM functionality. Whether you're new to F5 Networks' popular network appliance or are a seasoned network administrator just looking to better acquaint yourself with BIG-IP, you're sure to benefit from this free video software tutorial. For more information, including detailed instructions, take a look.

Crocheting is a hobby that has been around for years and years. It's a very useful practice that can be used to make material that is necessary like blankets or shirts. In this video tutorial, you'll find out howt o make a crocheted edge fleece blanket using this easy to follow instructional video. So check it out and good luck!

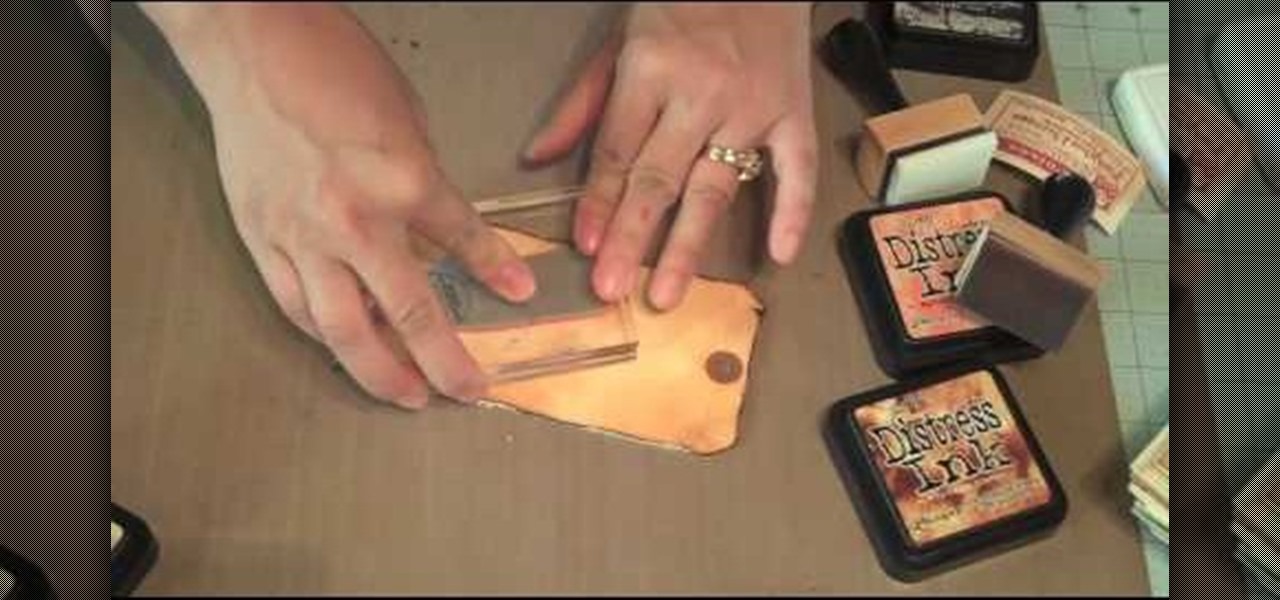
This video describes how to use distress ink. First we have to take a paper that we want to work on. Next take the distress ink colors. Spread the lighter colors first on the paper. Take the first color and spread it on throughout the paper. Next take the vintage photo and work on the edges with it. Next take the spiced marmalade ink and spread it on the edges again. Next take the paper and apply the paper edges directly to black soot ink pad. Next wait for sometime until it dry. Next take th...

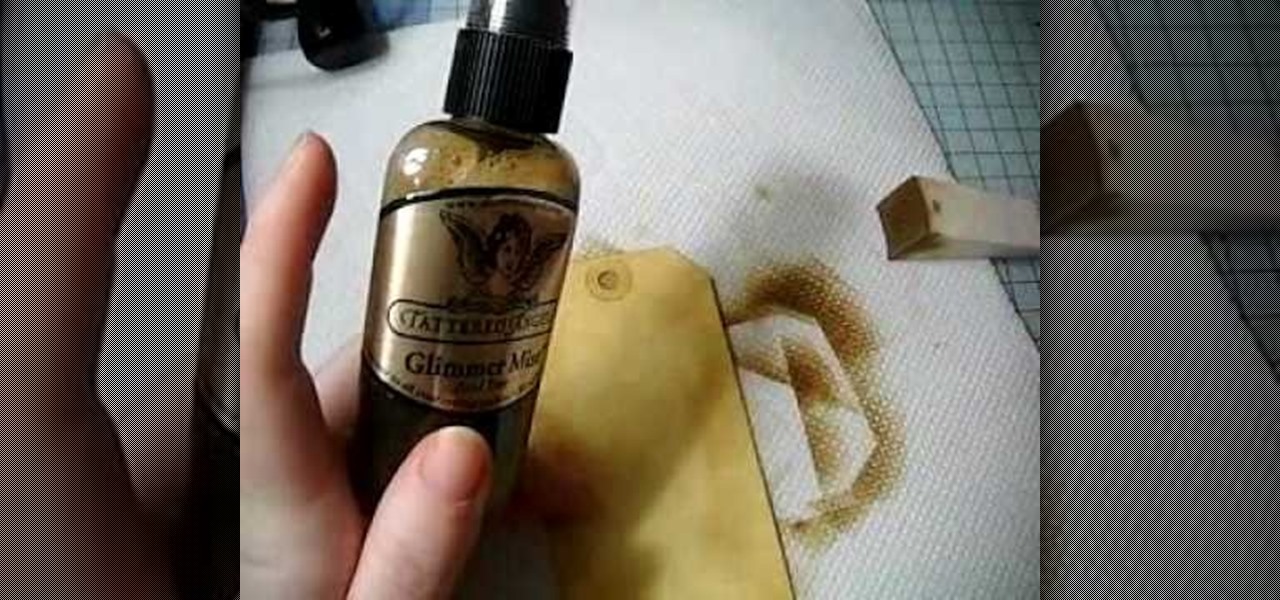
In this Arts & Crafts video tutorial you will learn how to make a distressed scarpbook tag. Take two tags, one red color and one yellow color and strip the threads off. Take a light color ‘Distress’ ink on a sponge and dab one side of the yellow tag with it to give it a light rough look. Now take little darker brown ink on another sponge and dab the edges of the tag with it. Then place the tag in a box and spray Glimmer mist on the tag. Dry the tag with a dryer. Now dab some more brown in...

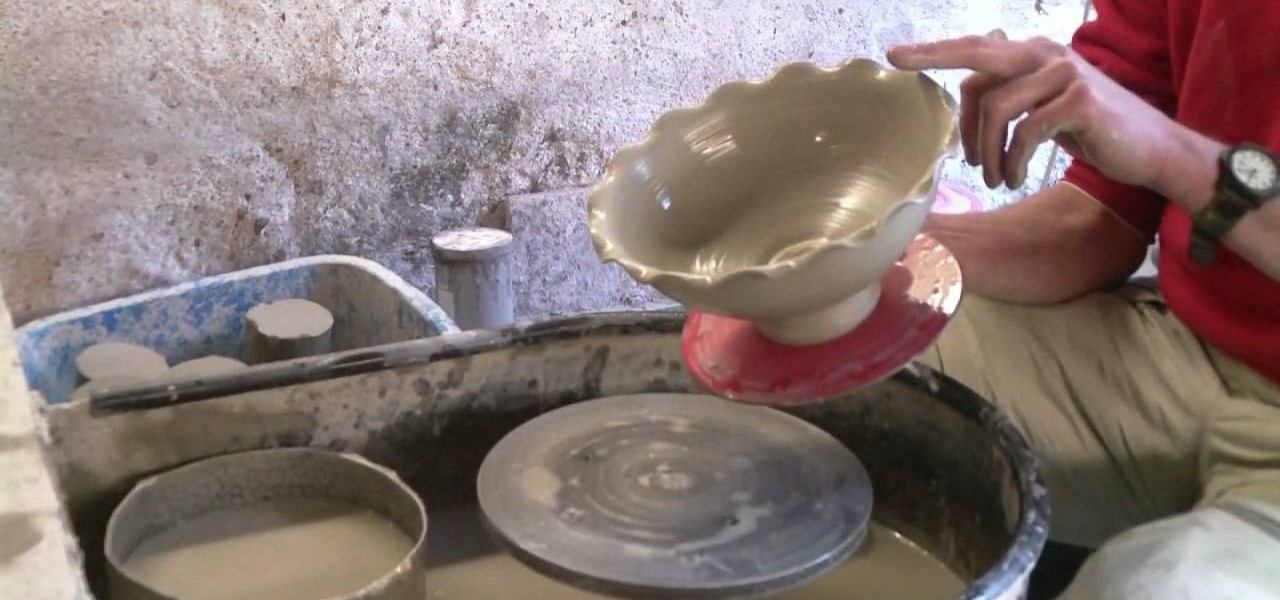
This video illustrates the method of throwing a wavy edged pottery bowl. This process comprises of the following stepsStep 1This process needs clay, pottery wheel and water in a bowl.Step 2Place the clay on the moving wheel.Step 3Now give the clay a desired shape with the help of your hands.Step 4keep wetting your hands at desired intervals and insert your fingers inside the clay so that it gives you the shape of a bowl.Step 5When your desired shape and size is ready take the clay bowl out of...

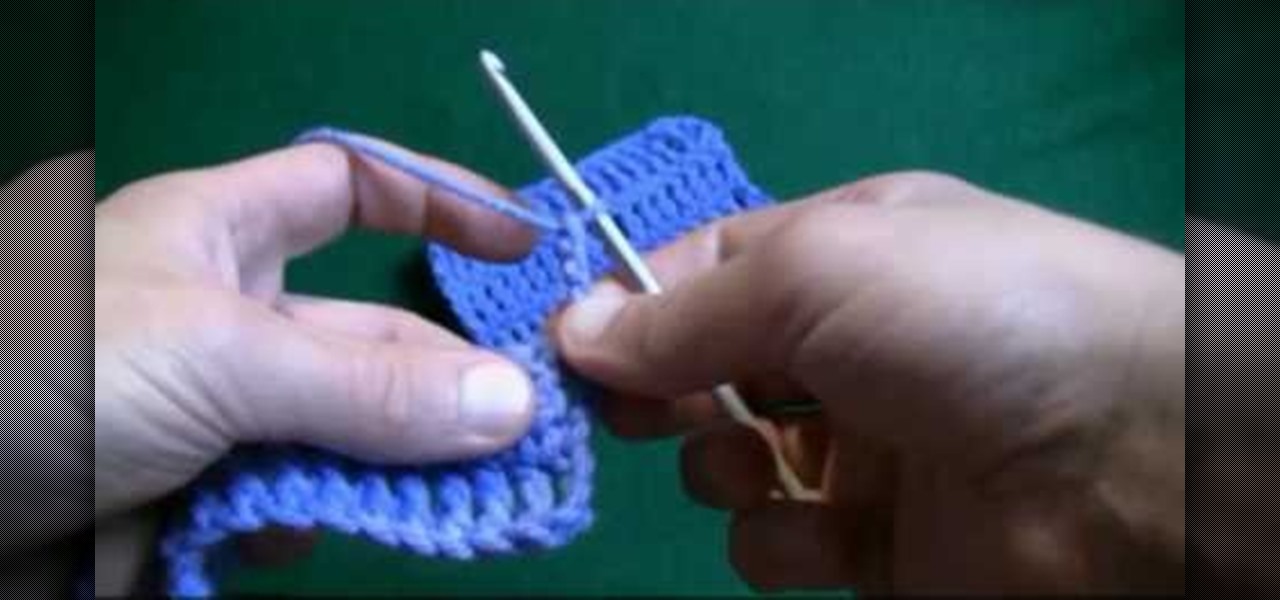
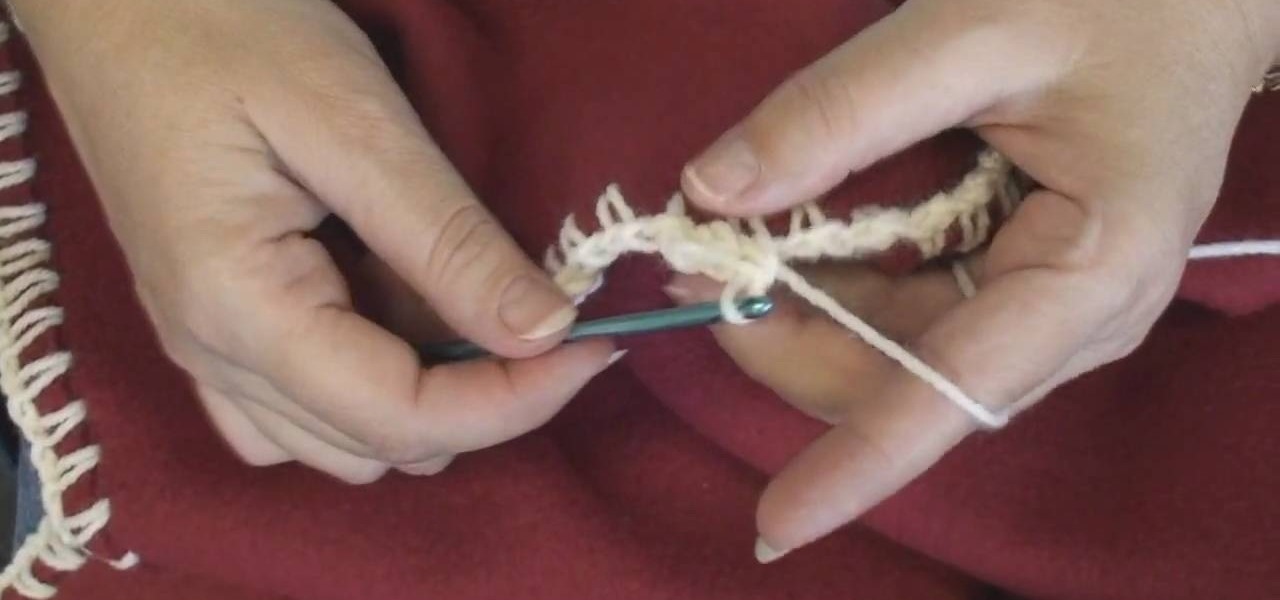
This video demonstrates how to make a double- crochet edge. The video uses a large cardigan neck to create a double crochet edge on. First, back the yarn around the hook and go into the next stitch. Then pull through a loop on to the hook. Take another loop on to the hook. Next, go through the first two stitches at the end of the hook. Then take another loop onto the hook and go through the last two stitches. So, you wrap, insert through next stitch, pull on another loop, draw the hook throug...

To make mini cupcake earrings first take a piece of sculpey and make a cylinder. Make vertical indentations around the cylinder, similar to those an the edge of a quarter. this forms the bottom of the cupcake. Next take another small piece of sculpy and role it into a line like a piece of yarn. starting at the edge of the top of your cylinder coil the line of sculpy around the edge and up, similar to a piece of novelty poop. this forms the cupcake. stick a earring finding through the top of t...

First, prep the nails. Apply the white tips to the end of your nail. Use a nail clipper to clip the edges and a nail file to round the edges so they are not pointy. Next, apply primer to the bed of the nail. Then apply white acrylic with a brush to the tips that you put on earlier. Use the brush to make sure it fits the shape you want. Next, apply nail polish on the nail bed until it is the same height as the acrylic. File the edges down again if needed. Coat with transparent pink mix (a mixt...

This how-to video explains how to use a tile file to remove a sharp edge from a piece of tile. To being you just need to buy a tile file (or a couple if you plan to use it a lot). A tile file would be used if a piece of tile has a sharp edge that you cannot hide in a corner or cover with another piece. To use the tile file simple rub the tile file against the tile like you would a piece of sandpaper on wood. Rub the tile file back and forth until the sharp edge has been smoothed out and then ...

This video illustrates how to light a match while bartending with one hand. Take a pack of match sticks. Slide the paper over the match pointer with your thumb. Fold a match stick backwards to the pack and fold it once at the edge of the pack. A match strip is printed over the edge in pack of match sticks. Just let the match stick rub the match strip using your thumb and the match stick is lighted up. Just slide over the table. Benefit after watching this video: 1. To light a match while bart...

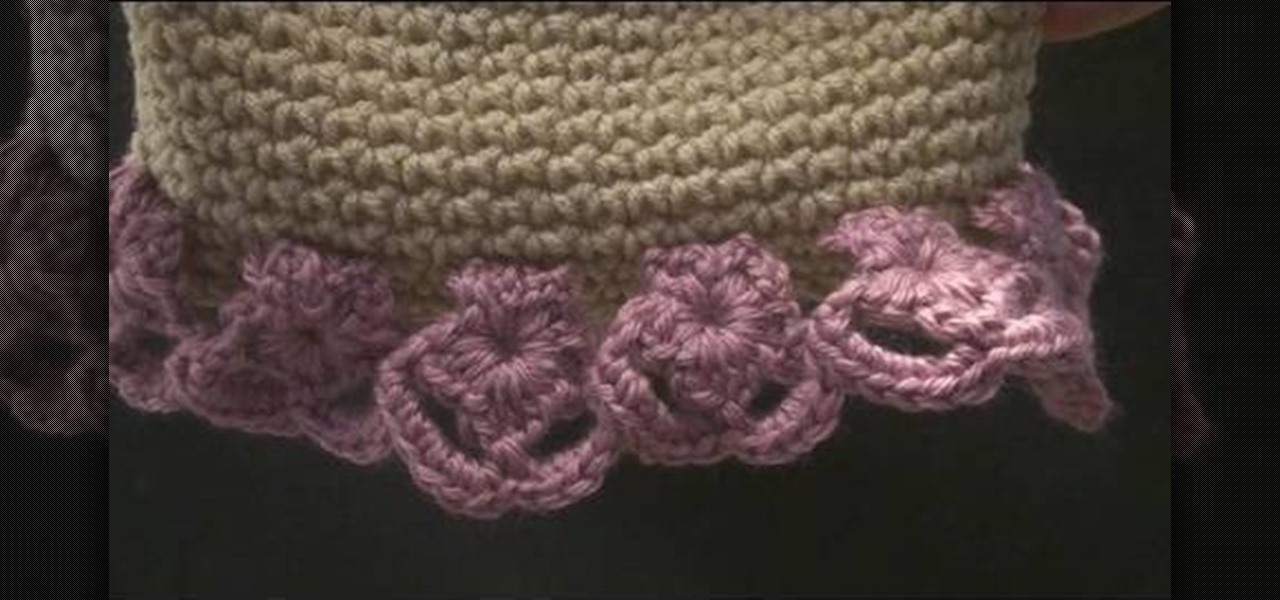
This how-to crochet video offers a simple pattern and instruction for stitching your own cute and easy crocheted hat. Knitted hats don't have to be for winter. While a cozy hat will protect you from the cold, a lighter yarn can add some style in warmer months as well. Check out this video d.i.y. arts and crafts lesson and learn how to crochet your own flower edging for hats.

As the best-selling toy of all time, the odds of you once playing with a Rubik's Cube are pretty high. And if you're like me, or even the cube's inventor Erno Rubik, your first attempts likely ended in futility. Every twist, every turn, the cube just gets more and more mixed up. Is there really a solution?

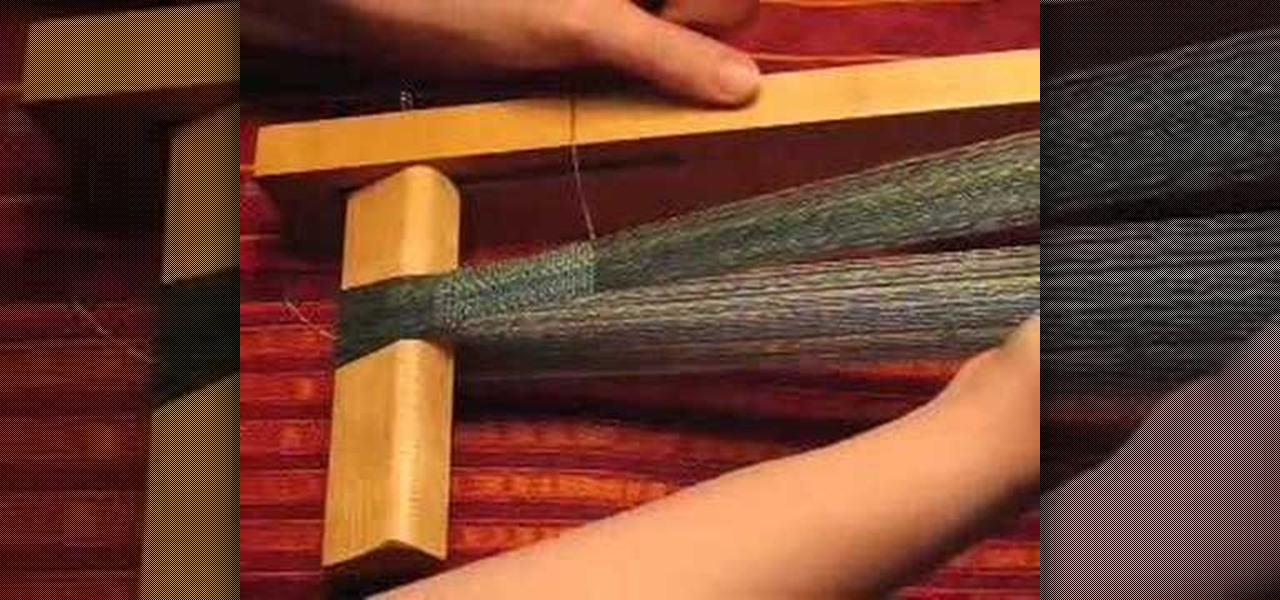
So you're weaving a narrow band. How do you keep the edges nice and straight? Here's a technique that combines weft insertion, beat, and selvedge control. It's useful for inkle weaving, tabletweaving, rigid heddle weaving, backstrap weaving... or even weaving small bands on a big loom. Try it!

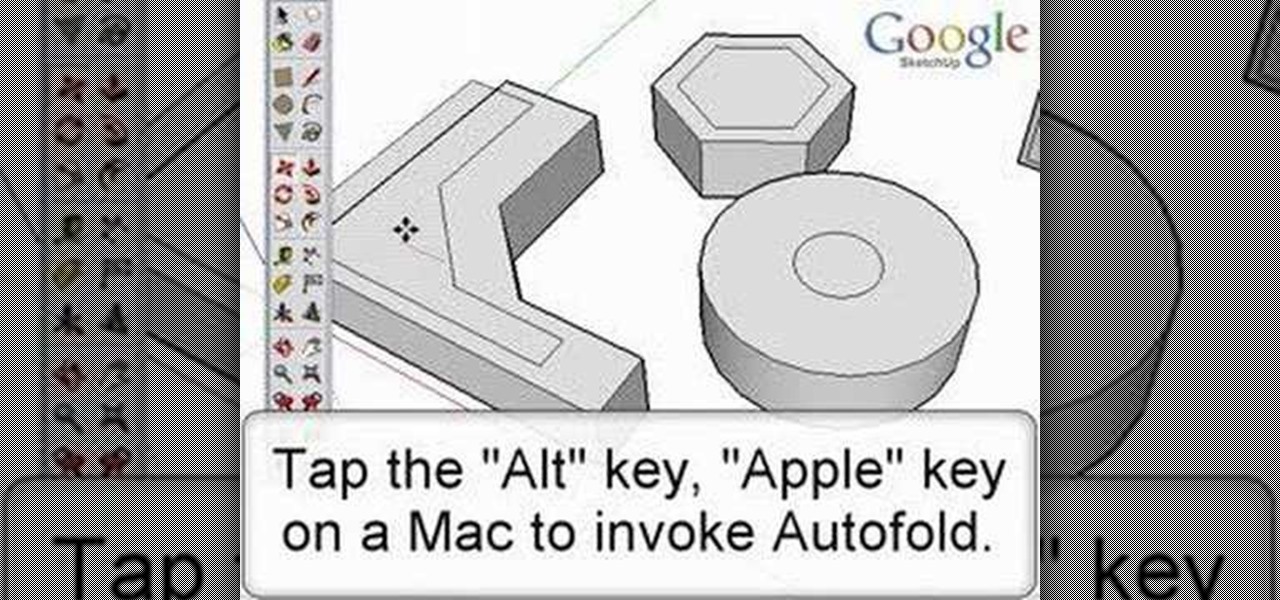
Autofold is part of the move tool and allows you to automatically create folding edges for new geometry. Take a look at this instructional video and learn how to use the move tool to autofold in Google SketchUp. The autofold can be activated by pressing the Alt key on the PC or the Apple key on a Mac. Autofold let's you move a point, edge or surface in any direction automatically creating fold edges as needed to do so.

Take a look at this instructional video and learn how to use the offset tool in Google SketchUp. To click on any surface to offset its edges, in or out. The tool auto selects any surface if no particular surface is selected. You can select a number of different surfaces or an individual surface. This tutorial covers offsetting surfaces versus edges, inferring, and some speedy tips.

This video cake decorating tutorial shows how to design piped scrolls of frosting on a cake. Start with a tube 44 or 43 at one point and twist it at the top, allow the tail of icing to fall on the edges to cover the edges of the cake. Repeat the same process around the cake. Piped scrolls are easy enough to replicate, just watch this instructional video and find out how it's done.

This Blender tutorial covers snapping points and merging objects as well as lofting between edges.

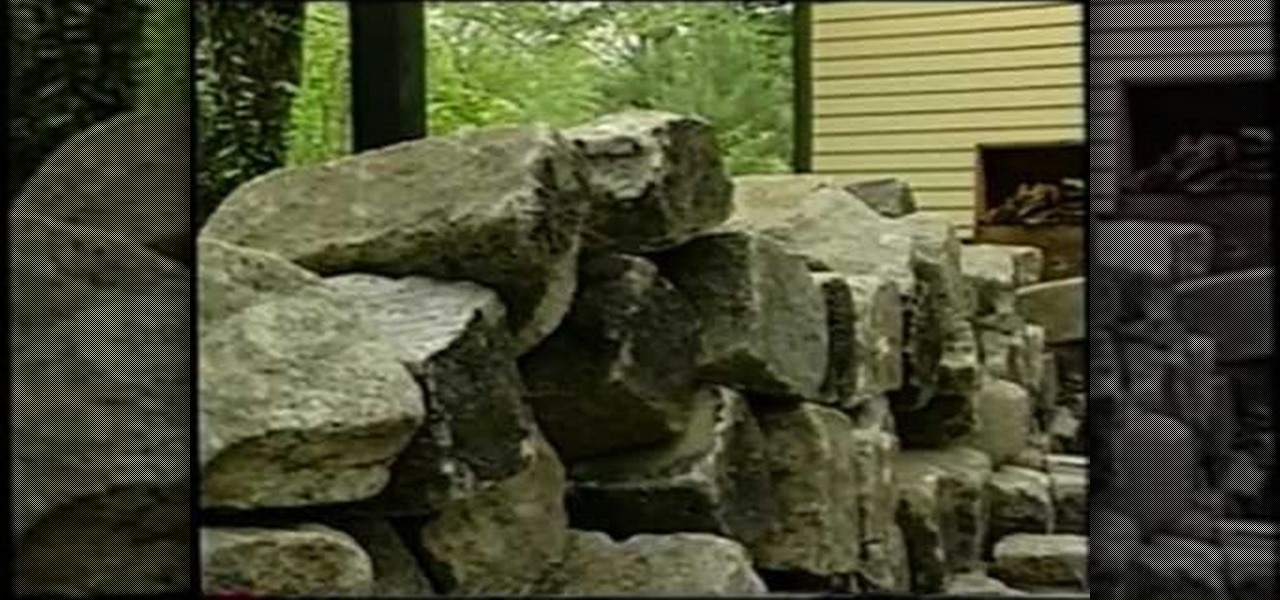
Tim Carter, of Ask the Builder, demonstrates how to use recycled cobblestones on your home property. Cobblestone can be used to edge gardens, driveways, and walkways.

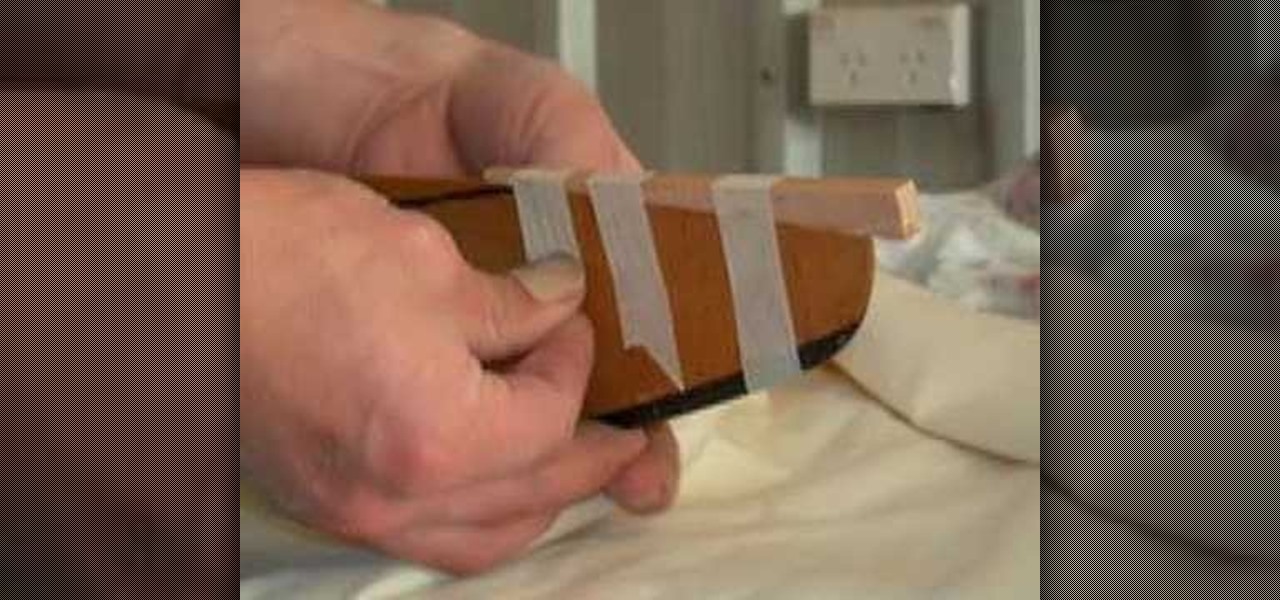
This video shows how to repair the damaged trailing edge of a wooden aircraft propeller using a scarf joint. It also shows how to fiberglass the repair.

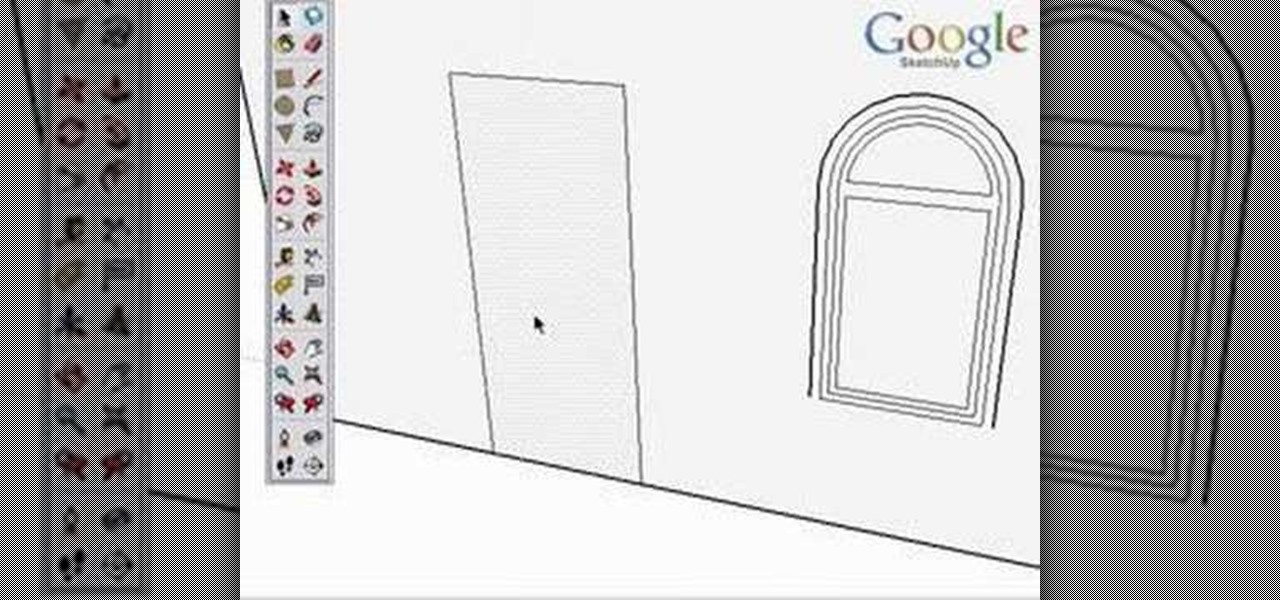
This video explains what to do when edges on a face won't sink in. Part of Chapter 16 of the book "Google SketchUp for Dummies" this troubleshooting video will definitely come in handy.

A butterfly bandage is handy item when a wound has smooth edges. It brings the edges of skin together and thus speeds up the healing.


