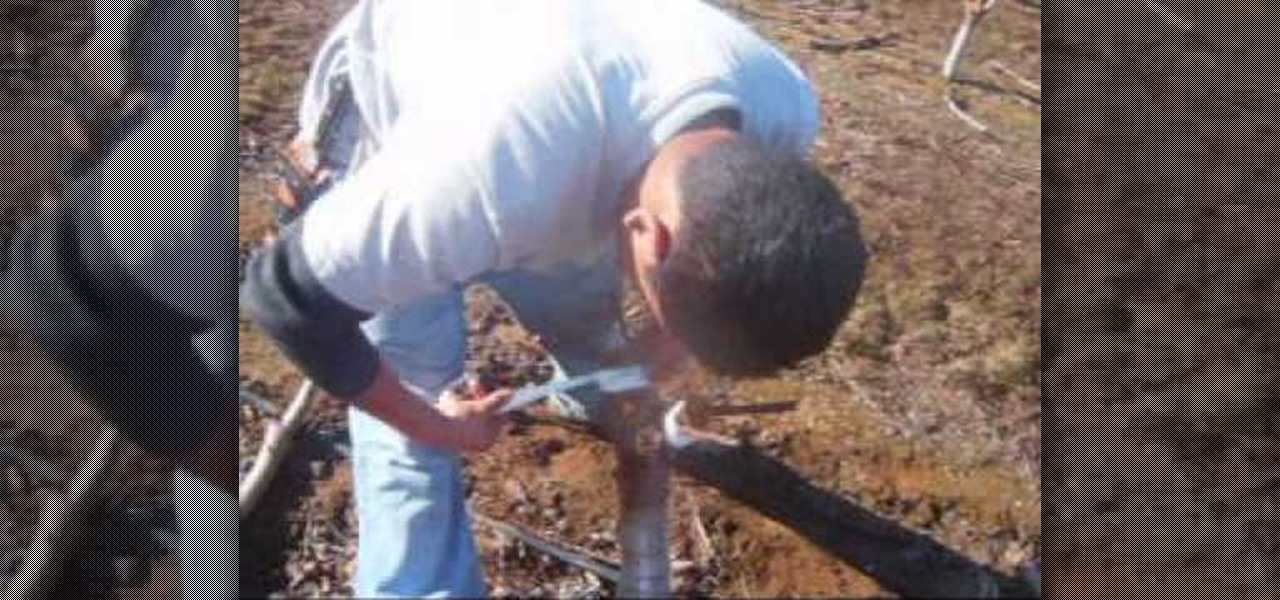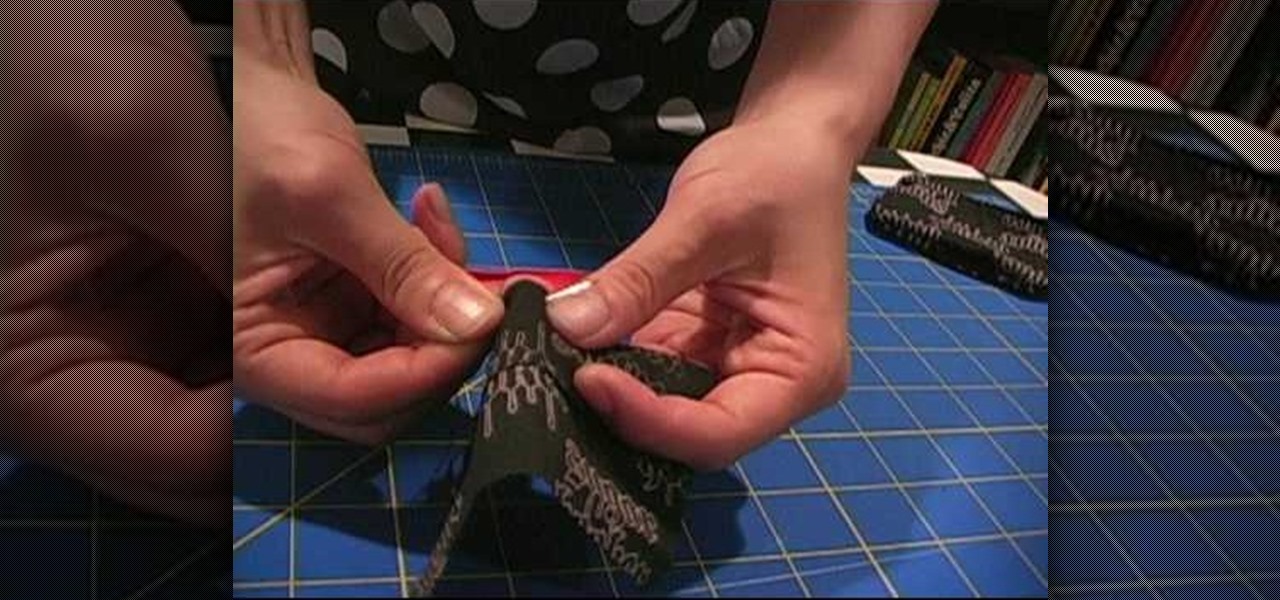
21st Century Boy demonstrates how to check yourself for testicular cancer. After a warm bath or shower, lift up your leg and rest it on the edge of the bathtub. Lift up your right testicle with your left hand and take the thumb, forefinger and index finger of your right hand and check the testicle. Switch hands and repeat the process for the other testicle. There should be a soft lump at the front and the back of the testicle. There should also be a smooth, firm tube running up the side. If y...
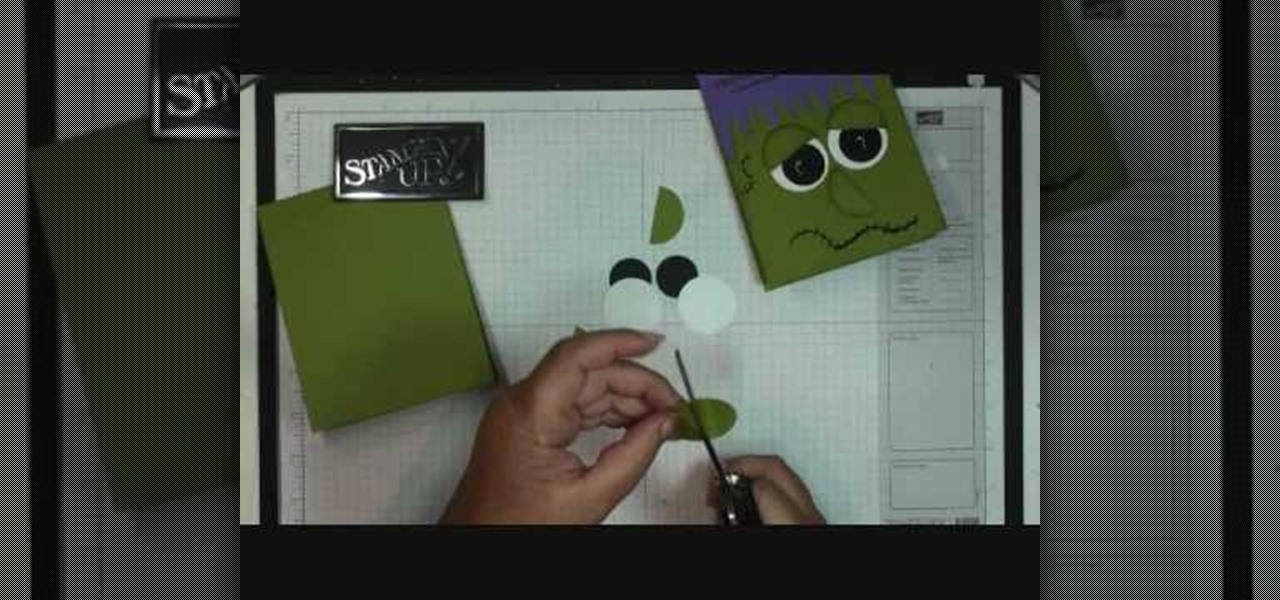
In this video tutorial, viewers will learn how to make a Frankie card. This video provides all the materials required to make the card. The materials required include: old olive card stock that is cut at 4 1/2" x 11", lovely lilac card stock that is cut at 2 1/2" x 5 1/2", stylus tool, Smarty Pants stamp set, 1" circle punch with 2 black card stocks, 1 3/8" circle punch on whisper white and old olive card stock, glue and a black market pen. This video will benefit those viewers who enjoy art,...

Tutvid shows you how to add flare and dramatic color to your raw camera images (usually the format of a DSLR). In a step-by-step guide with narration, Tutvid takes you through the process of using CameraRaw (used as an extension of Photoshop but never really brings it in photoshop) to add desired colors to your picture. Pull up your raw file in CameraRaw, and press "Command" or "Ctrl + R" to open up the editing panel. With an example, he shows you how to bring out lights in underexposed (dark...

To fill a gouge on a table edge you start by using auto body filler. Auto body filler is a two part substance. The catalyst is red and the resin is grey. When they are properly mixed it will be a uniform pink color. To keep the substance from spilling out of the damaged area put a piece of tape on the side of the table. Take some filler and force it down into the cavity formed by the tape along the side of the table. Let it dry for 3-4 minutes. Take the tape off and use a knife to trim off th...
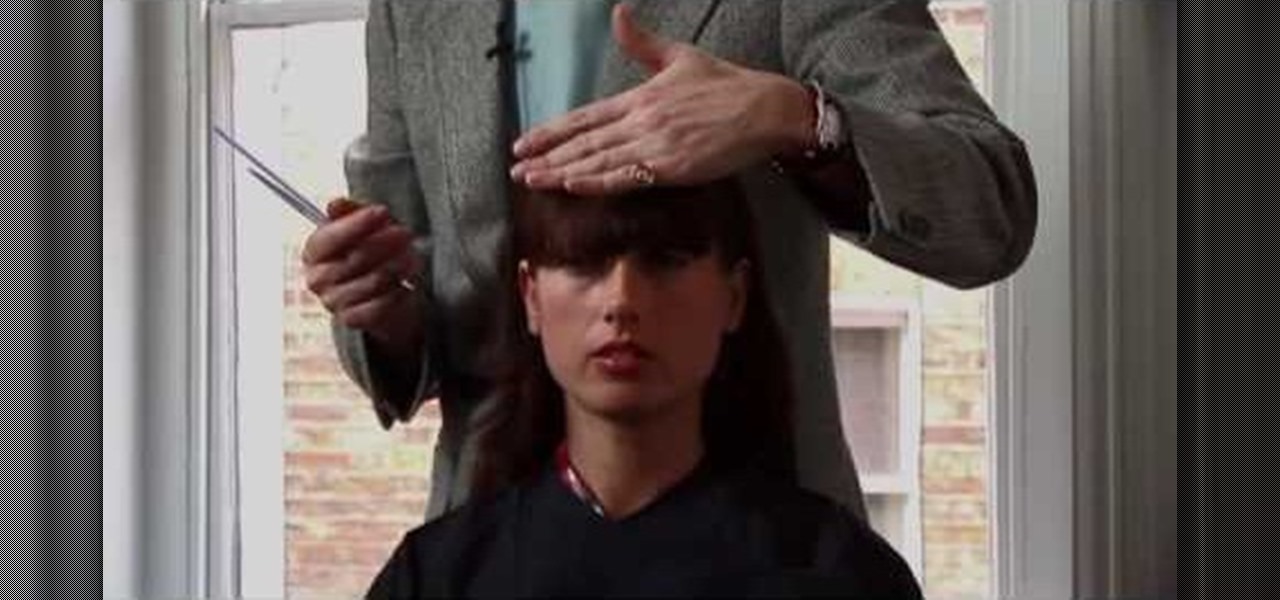
This video describes how to get a Kate Moss look with your bangs brought to you by stylist James Brown. Start with dry hair so that you can understand exactly where the bangs will be after cut as they can move up when they dry otherwise. Using a comb to pull the bangs down slightly and figuring where to put them just at the eyebrows you cut and move the hair back and forth along the brow to make sure it is staying in line with where you want it to end up. Continue until the hair is uniform ac...
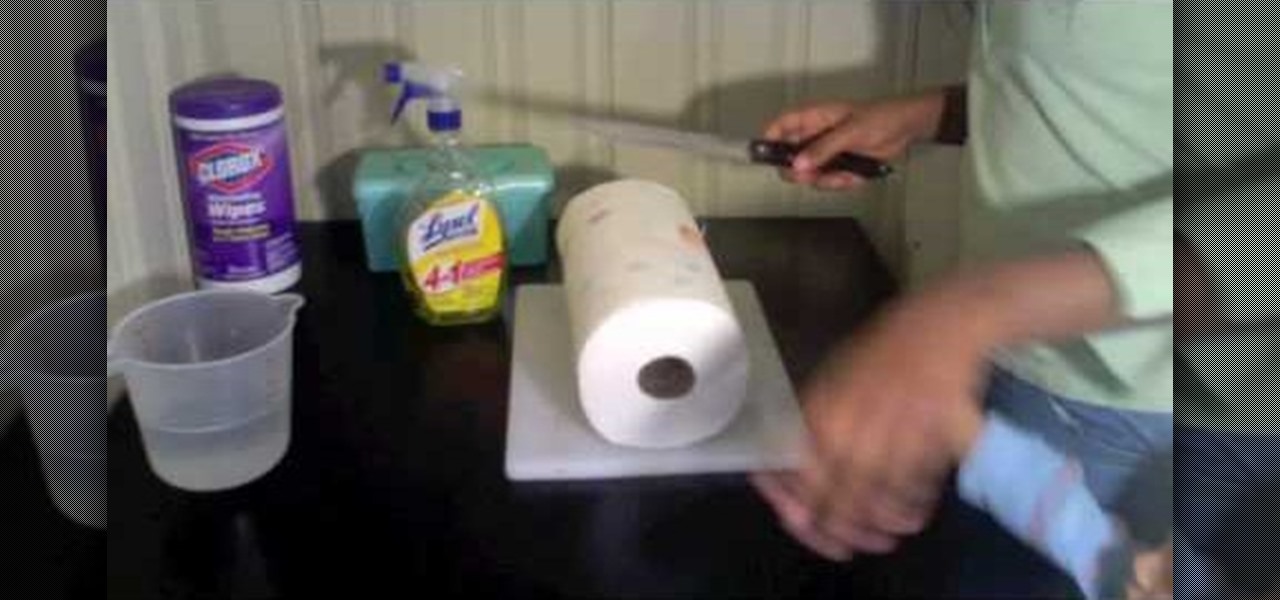
Learn how to make your own homemade cleaning wipes and save money with this video tutorial. You will need a roll of paper, 2-3 cups of you favorite cleaner, and a storage container with a lid, a cutting board, and a knife. Cut the paper towel role in half using only one half now. Put the half paper towel roll in the container and soak with the cleaner. Remove the cardboard from the center of the roll and the cleaning wipes will be pulled out from the center of the roll.

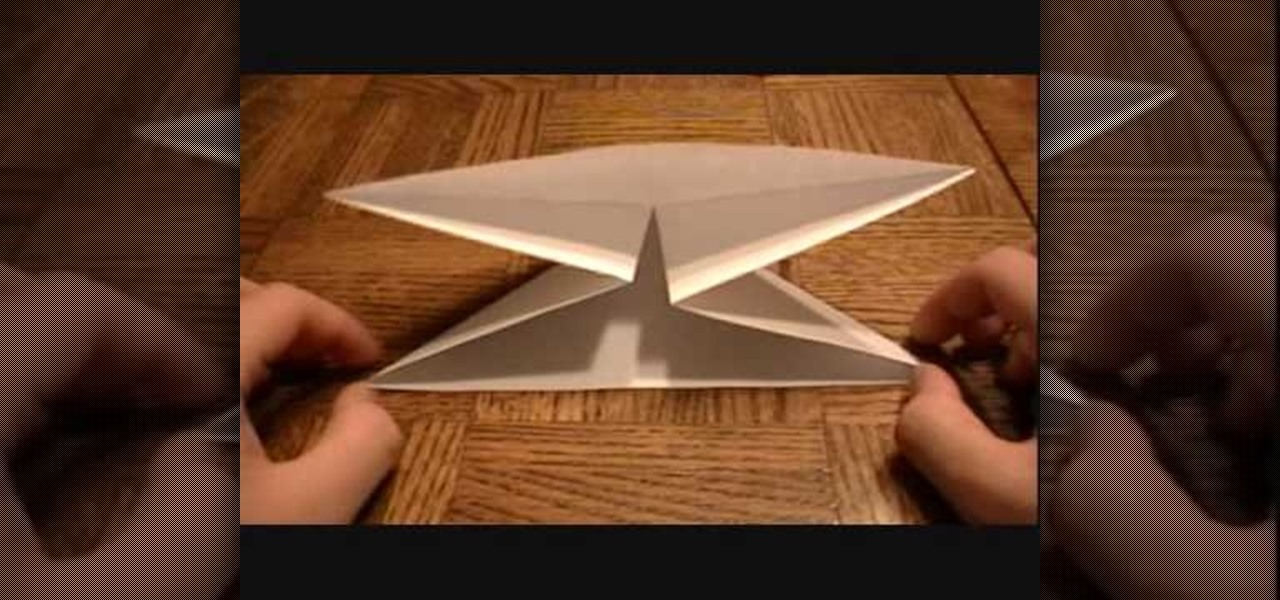
This origami video tutorial shows you how to fold an origami 3D box. 1. Prepare a square paper. 2. Fold from 1 corner to opposite corner. Make a "x" on the folded line of the paper.

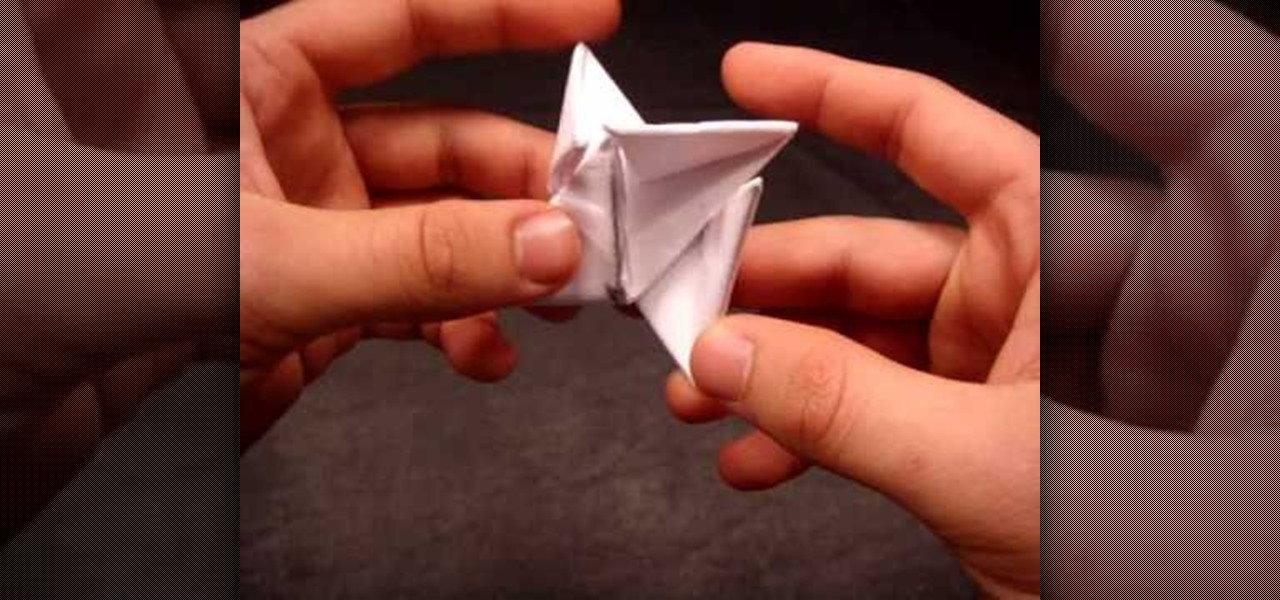
Shuriken are the ancient Japanese weapons you've seen ninja warriors use in the movies. Their name literally translates as "sword hidden in the hand". In this tutorial you'll learn how to make a shuriken out of paper in a few fairly simple steps. But while this throwing star isn't as deadly as a metal version, it has sharp edges and it is potentially dangerous. Be very careful about where you throw it, and never throw it at people or animals!

You can scare the hell out of your friends with the neat trick, or you can use it in your next horror-filled independent movie, to scare the hell out of your viewers. Watch this prank video tutorial to learn how to embed floss into your neck.

Ditch the needle and thread, enjoy a fun family project, and give your little crusader the ultimate crime-fighting tool. Learn how to make a no-sew superhero cape.

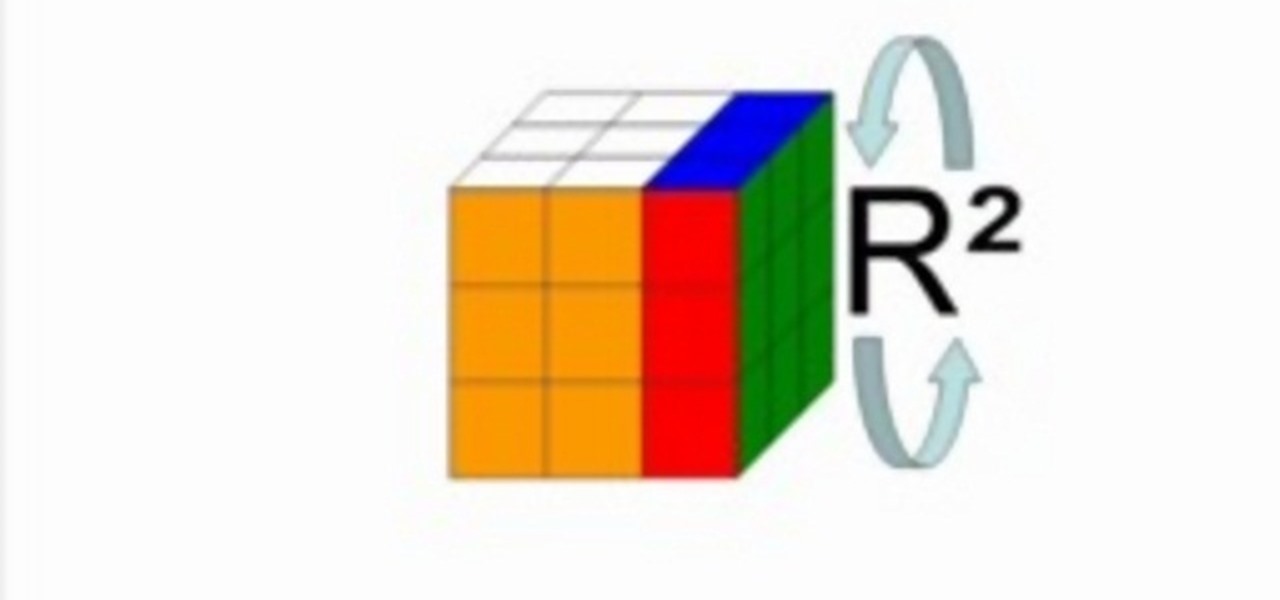
Since its invention in 1974, the Rubik's Cube has become a favorite pastime among geeks, puzzle lovers, and other similarly unique individuals. It is currently available in four basic flavors; Rubik's Mini, Rubik's Cube, Rubiks Revenge, and Professor's Cube. This video tutorial will cover the basic terminology and notation used in solutions for each.

Watch this knitting instructional video to learn how to do a knitting provisional cast-on. A provisional cast-on is usually worked in a contrasting waste yarn so the cast-on stitches can be easily removed later. The live stitches are then recovered so you can knit down from that point without the joining line you'd have if you picked up stitches along the edge. There are several provisional cast-ons; this is the one I like the best, because I find it to be the easiest to work. You'll need a c...

The Rubik's Cube, originally called the "Magic Cube," is a mechanical puzzle invented in 1974 by Hungarian sculptor and professor of architecture, Erno Rubik.

If you know how to perfrom an ollie on a skateboard, why not try for somthing bigger and more challenging? This how-to video with professional skateboarder Danny Way shows you how to do an ollie blunt on a skateboard.

Ladder stitch in hand embroidery can be one of two stitches. There's the surface embroidery technique that creates a decorative band that looks a lot like a ladder, with edges that look like a chain stitch. There's also a drawn thread technique called ladder stitch that produces a ladder-like strip of remaining threads in the design area. The ladder stitch in this video tutorial is the former - the decorative band used in surface embroidery. Watch this video from Needle 'n Thread to see how i...

Contrary to some screenwriting gurus, voice-over can be a handy narrative device. By speaking directly to the audience, rather than dramatizing, voice-over cuts through the running time. It can also cut down on resources. Just don't overdo it. Over-baked voice-overs sidestep drama, and leave little to interpretation. Imagine if everything were explained to you secondhand, rather than witnessing it yourself.

It's somewhat funny that the HTC ThunderBolt smartphone would be released around the same time as Apple's new Thunderbolt technology. Mainly because HTC's smartphone isn't exactly something I would compare to a flash of lightning, which averages around 60,000 miles per second. But Apple's new interconnect surely deserves the Thunderbolt designation.

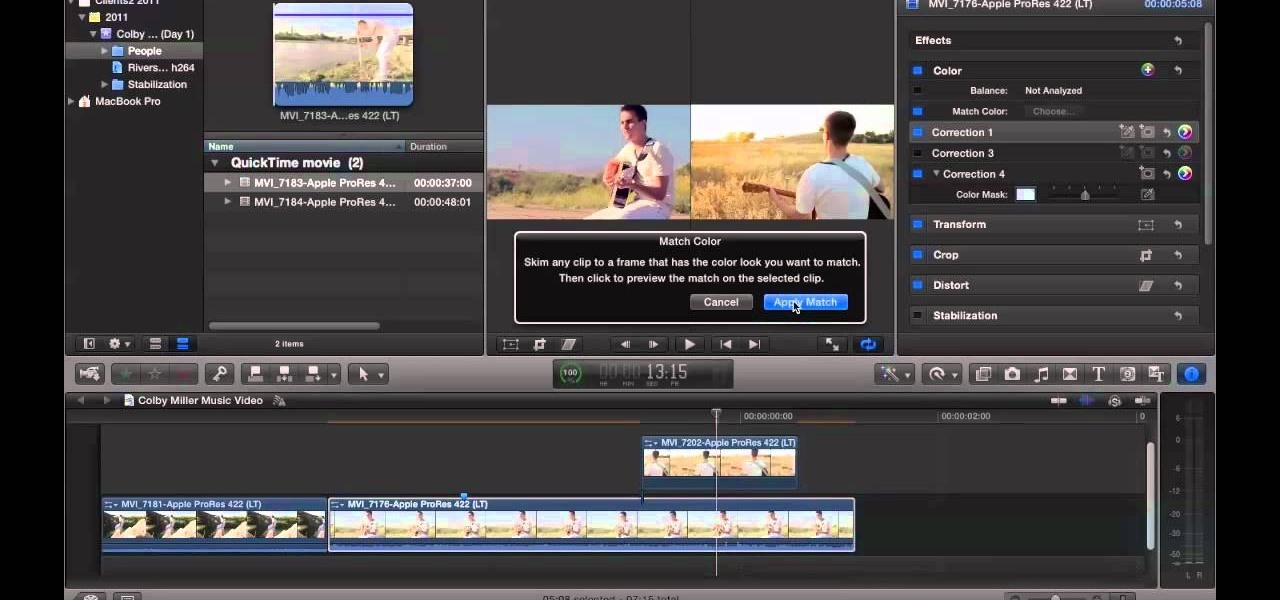
If you're shooting with a camera that doesn't have a built in microphone, you'll want to watch this video and learn how to use the automatic audio sync feature of Final Cut Pro X. Do video editing right on your Apple.

Got some footage that needs a touch up? Watch this video to learn how to use the color correction tools in Final Cut Pro. This video explains how to make the most of 3 way color correction to get your video to pop.

Are you using Final Cut Pro X for video editing on your Apple computer? Wondering how to sync external audio automatically? This video is your guide to using FCP X video editing software to sync external audio with your video.

Here is a video guide to the color correction tools in Final Cut Pro X. Learn how to use the saturation sliders, color tabs, and more. If you are using this Apple video editing software, check out this guide to FCP X color correction.

Sometimes, in the case of a guacamole emergency, you just need to peel an avocado in a hurry. This video will teach you how to do. Using only a knife and making just four cuts, you can peel an avocado in less than two minutes. Your cinco de mayo party won't be without guacamole for long!

Want some cherries? Better have some cherry trees. OH! Who cut down the cherry trees!? Guess it's time to get grafting and grow some new trees. This informative video shows how to graft cherry tree stalks onto existing cherry tree trunks. It looks primitive, but this is what you need to do to get some new trees growing! Cut and stick, cut and stick. Water, wait and grow!Watch this video and think of Anton Chekov when you do!

The dirndl skirt is cut straight and gathered at the waist, and is a traditional style of German or Austrian skirts. Due to the cut and the flare, it's an ideal skirt for Lolita style costumes, and this tutorail shows you how to sew a dirndl without a pattern.

If you've ever seen Goldfinger you've probably wondered when we're going to get access to lasers that could cut a man in half. This might be it. Watch on to learn how you can, with some electrical engineering skills, make a DIY blue death ray laser gun that will cut through all kinds of stuff. No word on whether it works on British secret agents.

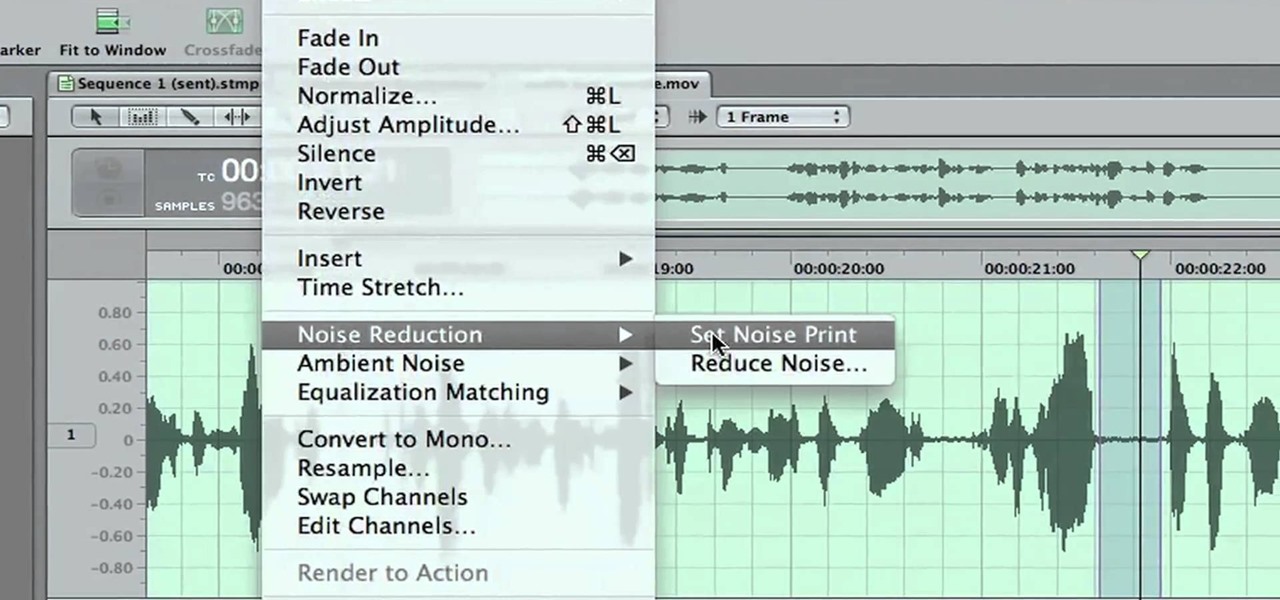
Don't let a little bit of hum ruin an otherwise perfect take! Final Cut Studio's Soundtrack Pro comes equipped with a number of handy noise-reduction tools. This free software tutorial from Final Cut King will teach you everything you need to know to attenuate unwanted background noise.

Need help figuring out how to beat Theme 1, Level 18 of Rovio's Cut the Rope HD with three stars? See how it's done with this gamer's guide, which presents a complete walkthrough of the process. With the right technique, you'll find it quite easy to beat. For more information, and to get started beating level 1-18 of this whimsical puzzle game won your own iPad, this helpful video guide.

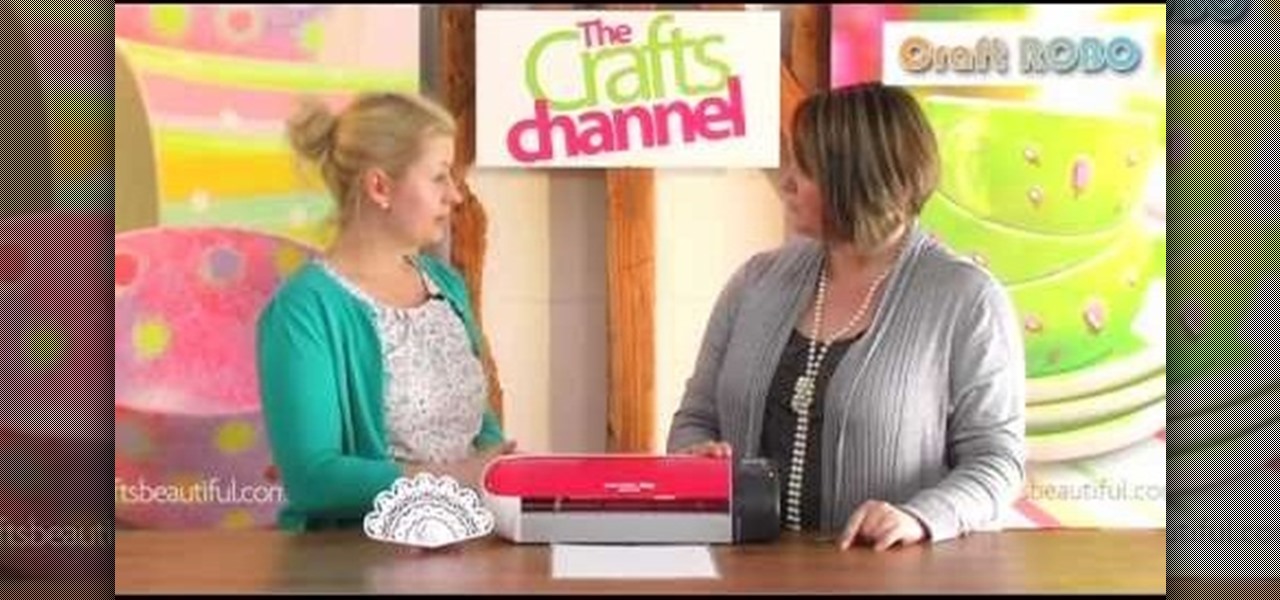
While you can hook up your Craft Robo to a computer, you might sometimes want a little extra mobility. You can load your designs onto an SD card and cut out your favorite shapes directly from the card. No cords needed!

Trying to figure out how you can get the Master Finger Achievement on the hot new iPhone game, Cut the Rope? It's actually quite easy! You have to play level six, then just follow along with the tutorial and the achievement is yours!

In this tutorial, we learn how to make a colorful paper turkey. For this, you will need: colored paper in red, orange, yellow, white, black, purple, and brown, a bag, scissors, and glue. Now, take the orange, purple, and yellow papers and cut out two teardrop shapes of each. Then glue them to the top of a brown paper bag. Then, cut out eyes using the black and white papers. Glue these onto the top of the bag to make the eyes, then use the brown to cut out the sides of the turkey, and glue on....

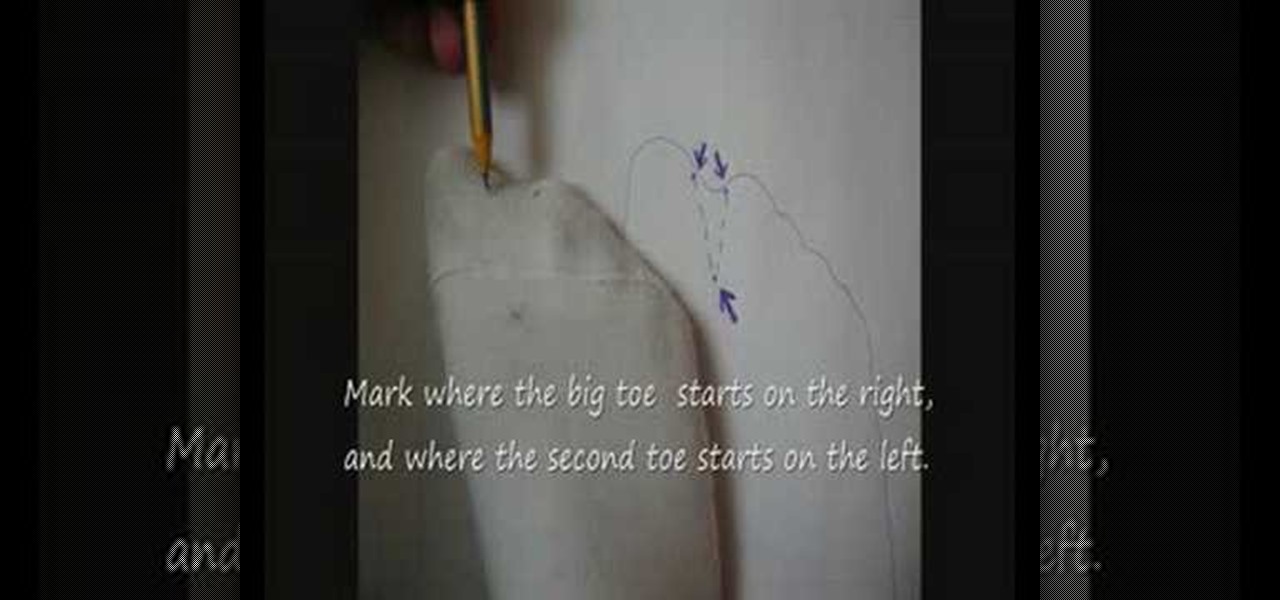
In this video, we learn how to make Tabi socks. You will need: pair of socks, thread, a needle, and scissors. First, you will turn the right sock inside out and put on your foot. Then, you will spread your big toe and second toe out as much as possible. From here, you will use a pencil to mark on the foot where you want to cut. Then, take the sock off and cut it out where you marked it. Take the needle and thread and sew along the shape that you cut out, to create separation between the toes....

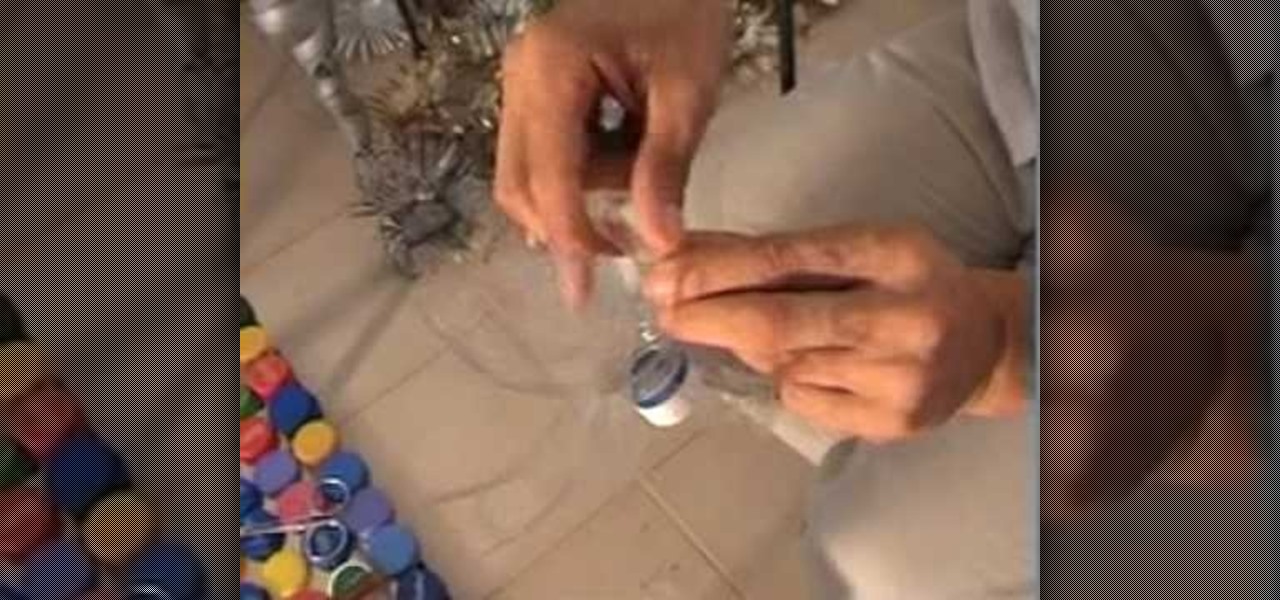
In this tutorial we learn how to recycle plastic bottles to make a toy windmill. First, cut the bottle in half so you just have the cap end of it. Then, use the scissors to cut strips in the plastic, all running next to each other. Once you have all of these cut, pull the strips out so they are flared away from the cap. Then, twist these so the are all going backwards from the cap and place a stick on the bottom of these, connecting with the cap. Now you can use these as a toy windmill, enjoy...

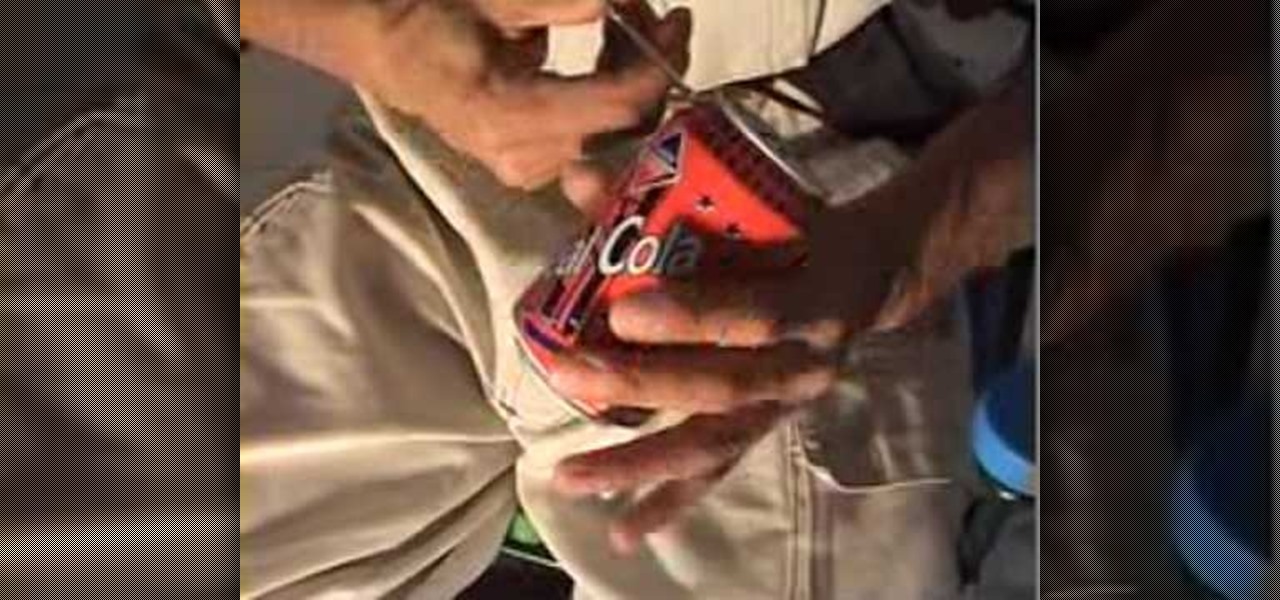
In this tutorial, we learn how to recycle cans to make garden decor. First, use small scissors to poke a hole in the top of the can, then cur around the top of it until you have removed the mouth. After this, cut a rigid design in the top of the can and then cut five slits going down on all the sides. Push these down, then cut the sides of them so they are slightly rounded. From here, you will attach these to another can that has been spread out with tons of different slits. Place this on a r...

In this tutorial, we learn how to make fur suit hand paws. First, take your fabric that looks like fur and has a cotton lining. Then, cut out the different pieces you need to create the paw shape. Now, sew the pieces that you cut out onto the fur and then cut it into the shape to fit onto your hand. From here, you will sew this together with a bottom piece, then you can sew the paws together and place it on your hand to wear. Add in any additional details you would like, then wear these where...

In this tutorial, we learn how to make a Duct tape hat. First, grab a hat that you want to duplicate and measure it out with a piece of paper. Then use this piece of paper as reference to how you will cut your pieces of duct tape. Now, cut the duct tape and stick them together to create the top of the hat. After this, you will connect the other areas of the hat together and make the bill of the hat. This will need to be thicker than the other areas and you will also have to cut it into a curv...

In this tutorial, we learn how to make your own summer dress. First, take a tank to and measure it out on your chest. Then, mark the shirt and cut it. Then, take another color tank top and cut off the opposite area that you just cut on the other tank. Take another piece of fabric now and measure it out to fit your body. Then, attach this to the bottom of the dress and sew all of the pieces together with a sewing machine. Try it on when you are done and then enjoy wearing your new homemade sum...

In this tutorial, we learn how to add fringe to a dress. First, take the dress that you want to add fringe too and hang it up. After this, mark on the dress where you want to add the fringe to it. Once you have marked this up, you will need to grab your scissors and start to cut. Cut up from the bottom to the top of where you marked. Cut in very thin strips, not thick so they move with you when you wear it. After you are finished, wear this with your favorite accessories and you're finished w...

In this video we learn how to make a zipper purse or mini fanny pack for your belt. First, fold a bandanna in half and cut out a rectangle. Then, cut a rectangle out for the belt loop too. Next, take one of the bigger rectangles and cut it about 1.5 inches from the top. Then, sew these two pieces together using a needle and thread with white thread. After this, pin down the zipper to the back and sew up the sides. Then take the other piece and stitch it to the front side of your other rectang...

The relationship between meat and meateater has never been more abstract. Most people can't even identify where on an animal's body their meat comes from! Watch this video to learn where the different cuts of turkey are on the bird.

In this tutorial, we learn how to distress and cut up jeans to destroy them. First, you will grab an old pair of pants that you want to have a distressed look on. First, you will need to take some sand paper and rub it on the front of the jeans in the thigh area. After you do this to your liking, you will take your scissors and cut a small hole going down the legs. Use your hands to make the holes larger, then leave the frays at the end for a more distressed look. When finished, wash them off...


