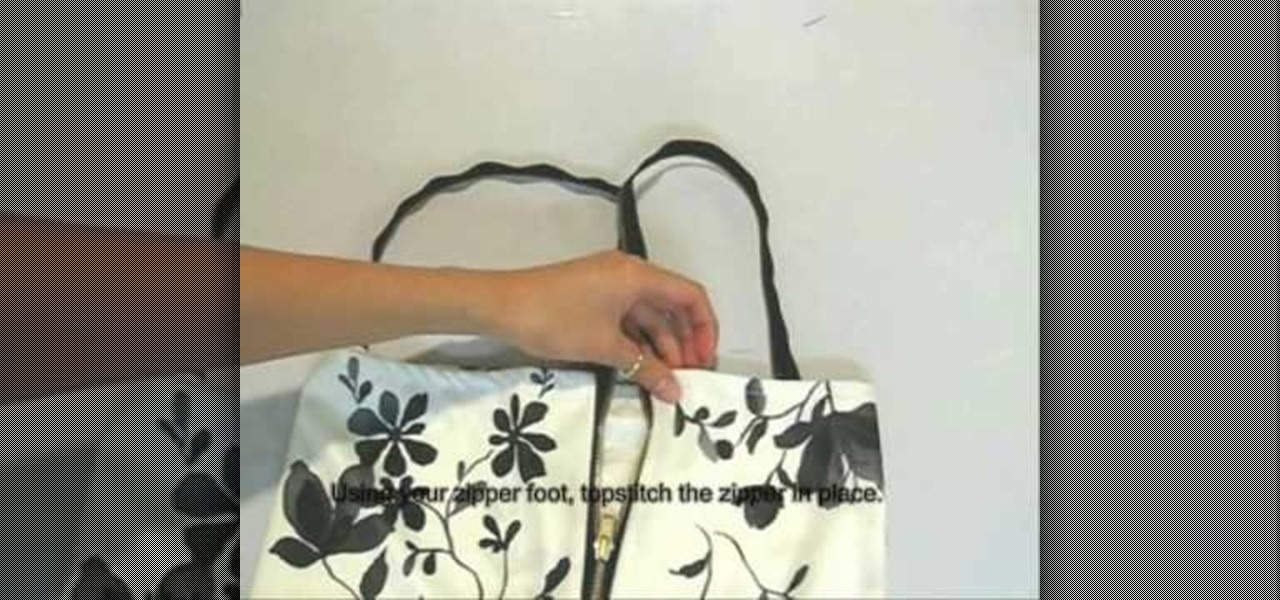
First of all you need some basic tools like sewing machine, scissors, pins, ruler, measuring tape and thread. You also need a printed knit of size 1.5 yard or 1.4 meters ad a separating zipper of size 18 inches or 46 cm. First you have to start by making the straps and bodice. Cut off two rectangles those measures from the top of your bust to the bottom of your bust. The length should be enough to go all the way around your upper half. Place these two rectangle pieces together. Now separate y...
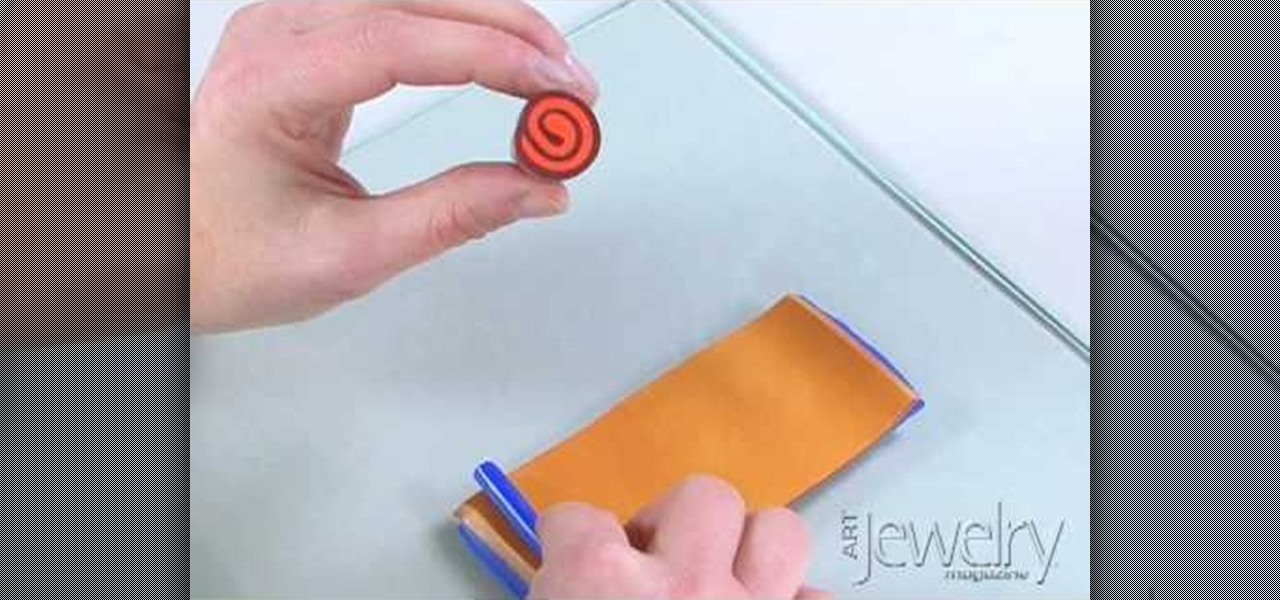
Jill Erickson from Art Jewelry Magazine demonstrates how to make a Jellyroll cane with polymer clay. Condition two different colors of clay by running them through a pasta machine set on medium. Then, trim off any rough edges. Stack the clay on top of each other and place a little bit of pressure on it to confirm the two layers. Using a blade slightly bevel the edges. Slide the blade underneath the two layers of clay for easier handling. Place a think snake of clay in the contrasting color on...
In this tutorial, we learn how to make a cute Thanksgiving card using stamps. First, cut an oval shape with an oval template. After this, you will stamp the image from the harvest home stamp set on watercolor paper. After this, outline the image with SU markers and color the image in with an aqua painter brush. From here, scallop the edges of the design to make it look more unique. Then, glue the stamp to the card stock and use it as the front of a card for the holidays! Experiment with diffe...
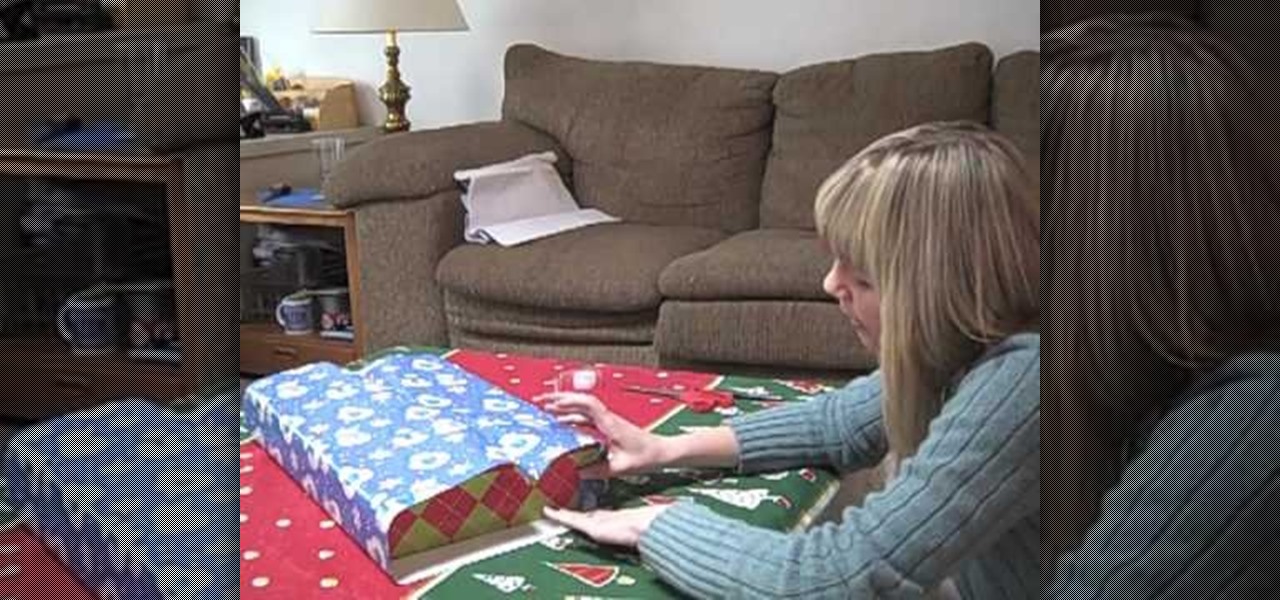
In this video, we learn how to wrap a gift so it comes out perfect every time. Start off by unrolling the wrapping paper out on a flat surface and cutting out a large square. After this, place the box upside down onto the wrapping paper. After this, meet the two ends to the middle of the gift and tape it down. Next, start to crease the edges of the sides down and flip the gift over. After this, push the top of the sides down, then tape it. Push the sides and bottom up and then tape it togethe...

This Thread Banger video demonstrates making a skirt from men’s button down shirt sleeves. Brooksie from Haute Sew presents the technique. Two men’s button down shirts are needed. Cut the sleeves off the shirt at the seams and then split them open at the shirt sleeve seams, leaving the buttons in the middle. Pin the sleeves together along the raw edge with wrong sides together and sew them. The panels can be made to alternate colors or in color blocks depending on the style of shirts used...

How to sharpen a knife using a sharpening stoneIn this video we are about to see how to sharpen a knife using a sharpening stone. First of all we need to know the faults and the damages on the edges of the knife where it is to be repaired. Then get a sharpening stone to make a sharp knife. Now rub the knife at a 45 degree angle with a fair amount of pressure. Now repeat the process by changing the positions of the knife on either hand. This is done to get the knife cutting towards the stone t...

Snowboarding: Hit the Slopes With Style There was a time when simply riding a snowboard made you the extreme guy on the slopes. But now, with more people strapping on a board instead of skis, the stakes have been raised. Fortunately, we've lined up this video tutorial to keep you on the cutting edge. See how to tailslide a rail on a snowboard.

Watch this video from This Old how to learn how to install an interior door. Steps:

Learn how to make a patio using concrete pavers; includes details on site preparation as well as cutting pavers and installing edging. Build a patio from concrete pavers.

1: Place paper sideways. Place the paper on the flat surface with the long edges at the top and bottom. 2: Fold long edge to opposite edge and unfold. Fold one long edge to the opposite long edge, crease, then unfold. 3: Fold longs edge to center and unfold. Fold one long edge to meet the center crease you just made. Now do the same with the other long edge, so they both meet in the center. Unfold completely. 4: Fold short edge to opposite edge and unfold Rotate your paper and fold one short ...

With only a few simple steps, you could be on your way to making an eco-friendly and fashionable tote!

All you need is an oversize sock to whip up an adorable sweater for a tiny dog. You Will Need

Ladies, it seems to be the trend to wear boyfriend cuts in clothes so here’s a video that will show you how to create a creative super cute and girly top using a guys shirt and tighty-whities. You can wear guy clothing and still look very feminine.

In this video from This Old House, you'll learn how to repair vinyl siding with General Contractor Tom Silva

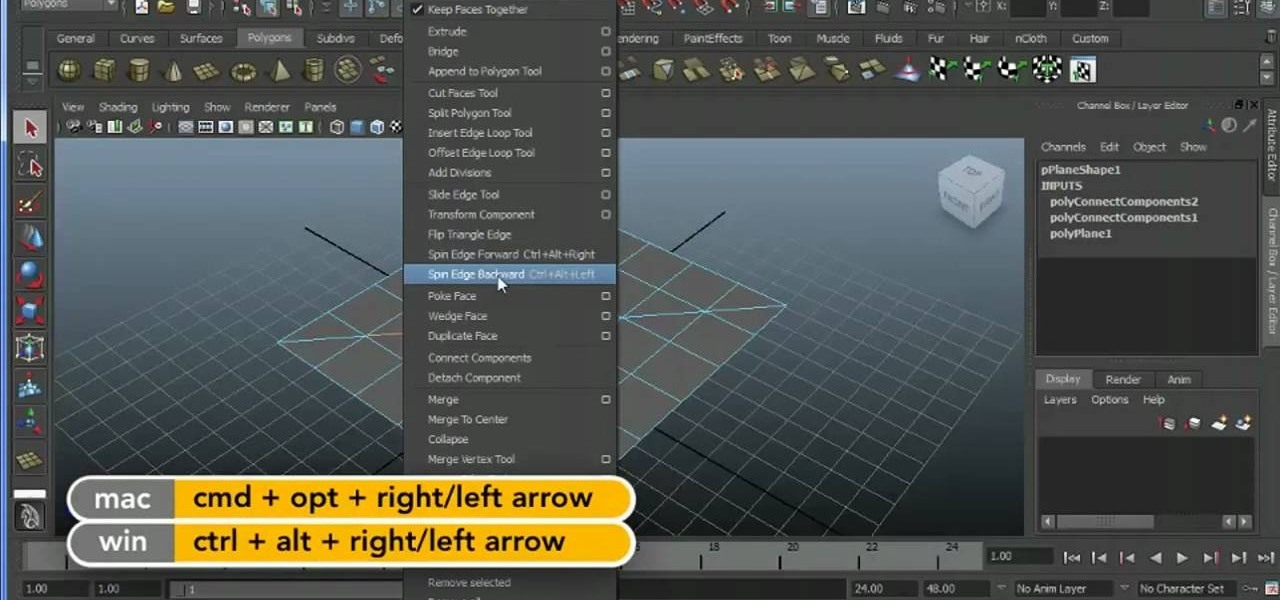
Learn how to take an edge and spin it around a model using Maya 2011's Spin Edge tool. Whether you're new to Autodesk's popular modeling software or a seasoned 3D artist just looking to better acquaint yourself with the Maya 2011 workflow, you're sure to be well served by this video tutorial. For more information, and to get started using the Spin Edge tool in your own Maya 2011 projects, watch this free video guide.

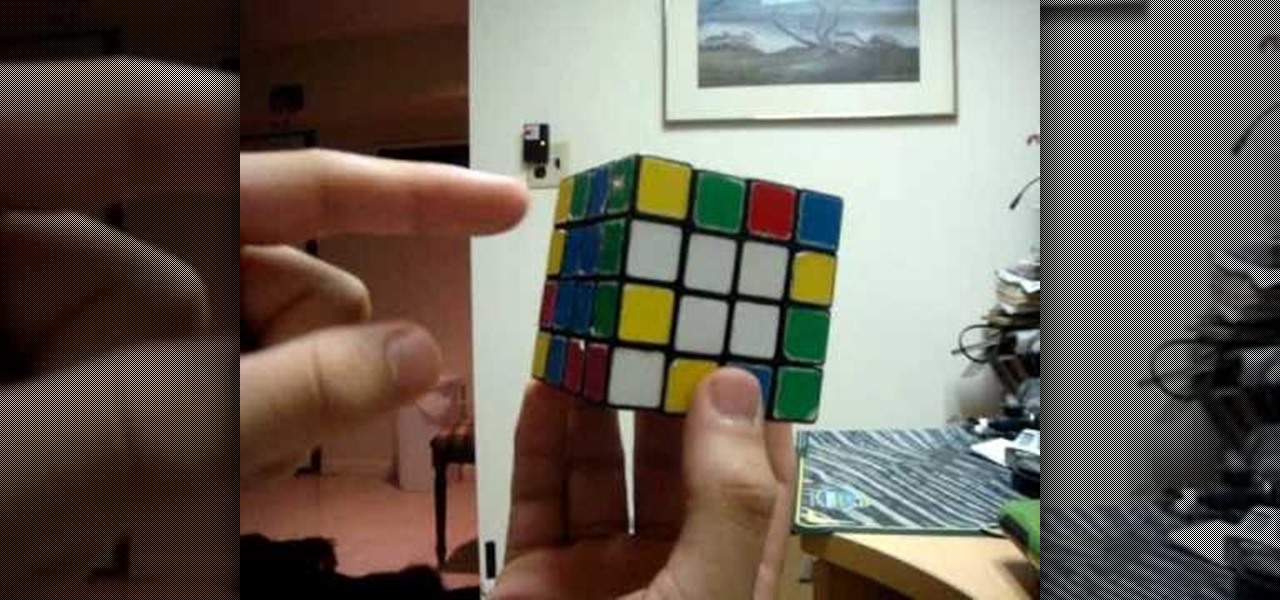
Check out this puzzle video tutorial on how to solve a 4x4 Rubik's Cube by advanced edge pairing. This video goes over how to match up multiple edges at a time, allowing you to eventually become faster with practice. This will also allow you to understand the technique necessary for multiple edge pairing in bigger cubes as well, where it really becomes necessary in solving quickly.

Increasingly, cutting-edge platforms like blockchain technology and augmented reality are overlapping, forging new digital frontiers that promise to change the way we interact with the virtual and the real world.

As augmented reality gains popularity, the demand for delivering related services and generating content increases. This is demonstrated by a pair of investments from the past week, one in the expansion of a technology lab and another in the form of seed funding for a content studio.

Wargaming's World of Tanks — the popular multiplayer online war game — teamed up with The Tank Museum to create an augmented reality experience like no other. Alongside several German tanks that are part of the exhibit, visitors can use Microsoft HoloLens and Google Tango technology to explore a rare Stürmtiger tank inside and out.

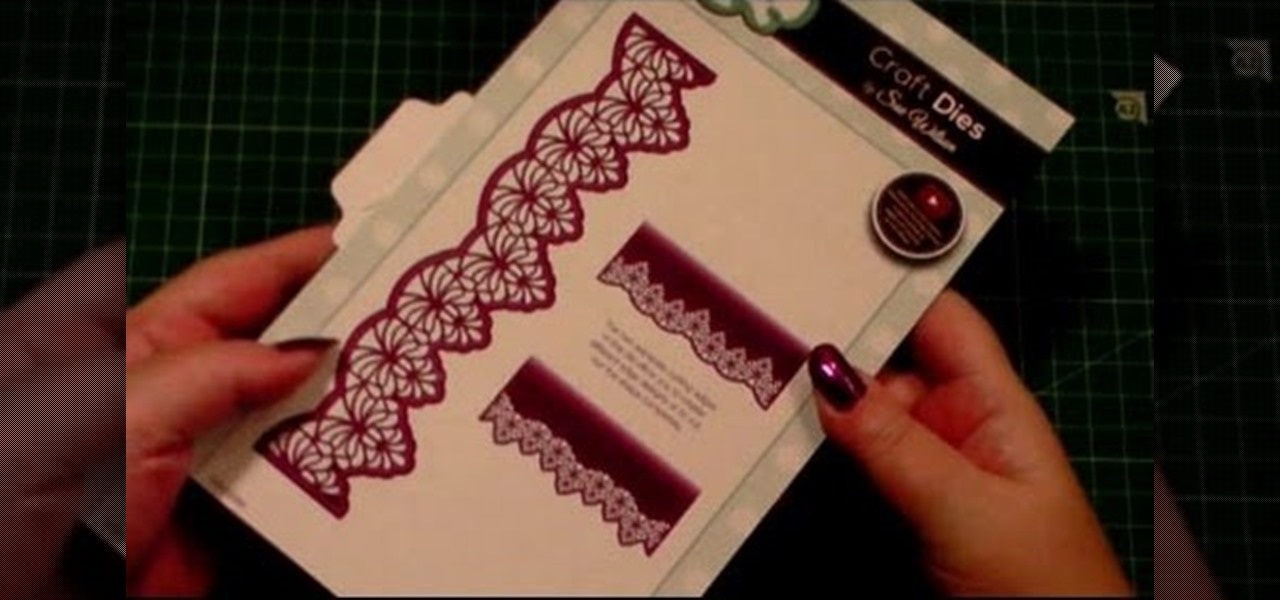
This card demonstrations shows how I have used the Creative Expressions Die from the Sue Wilson Gemini range, this one is called Corvus. This is Part2 of a mini series. .

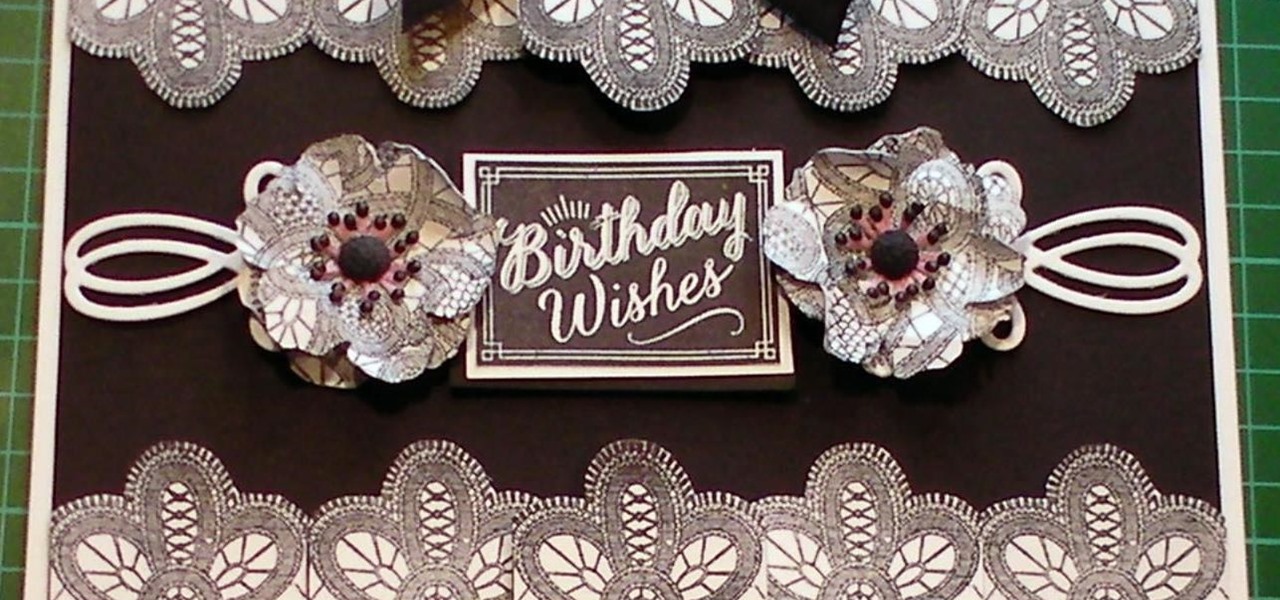
In this cardmaking tutorial I use a Anna Griffin rubber stamp to make a repeat pattern in a very easy way, so if you have trouble repeat pattern stamping this could be for you. I make a lace edged card with 2 pretty flowers and a stamped sentiment. Step 1: Items Used

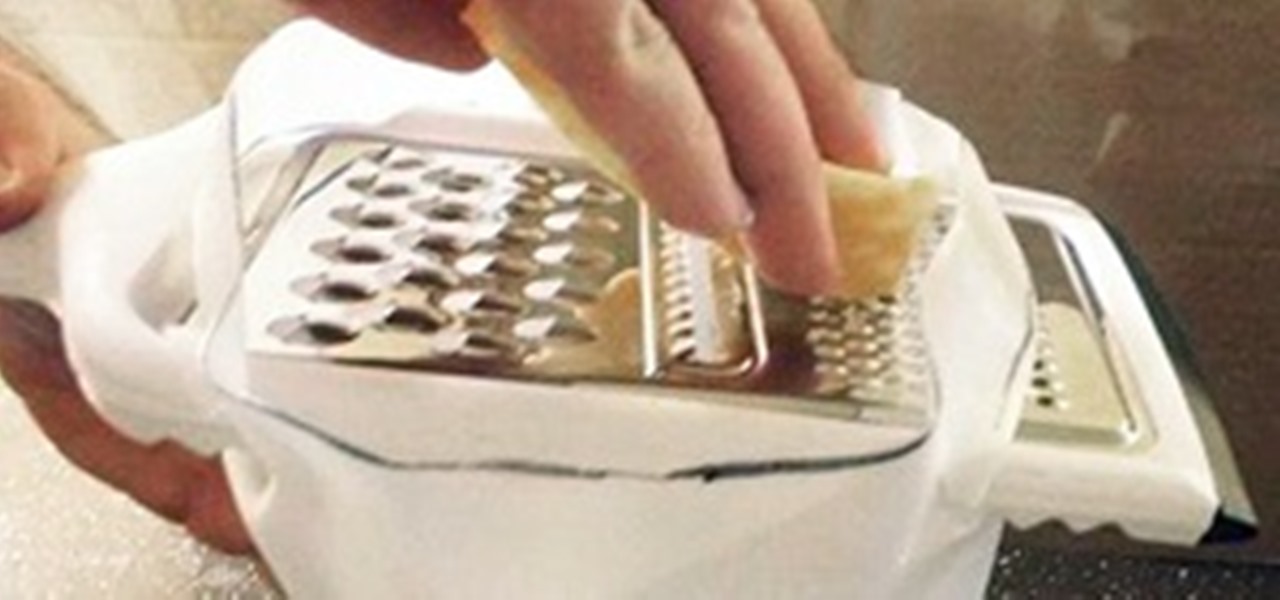
Cheese makes everything better. It's just a fact. Sandwiches, burritos, and even plain bread all get a benefited flavor quotient when cheese is involved.

To start making your tea and toast, roll about a section of white fondant about four inches by six about 1/8th inch thick. Now take a one inch circle cutter and cut out one circle. Now taking a half inch circle cutter, make an impression in the center of the first circle being careful not to go all the way through. Now you have your saucer for your toast. Next, take a one inch square cutter and cut that out of the fondant as well. Cut it in half diagonally and poke tiny little holes with a to...

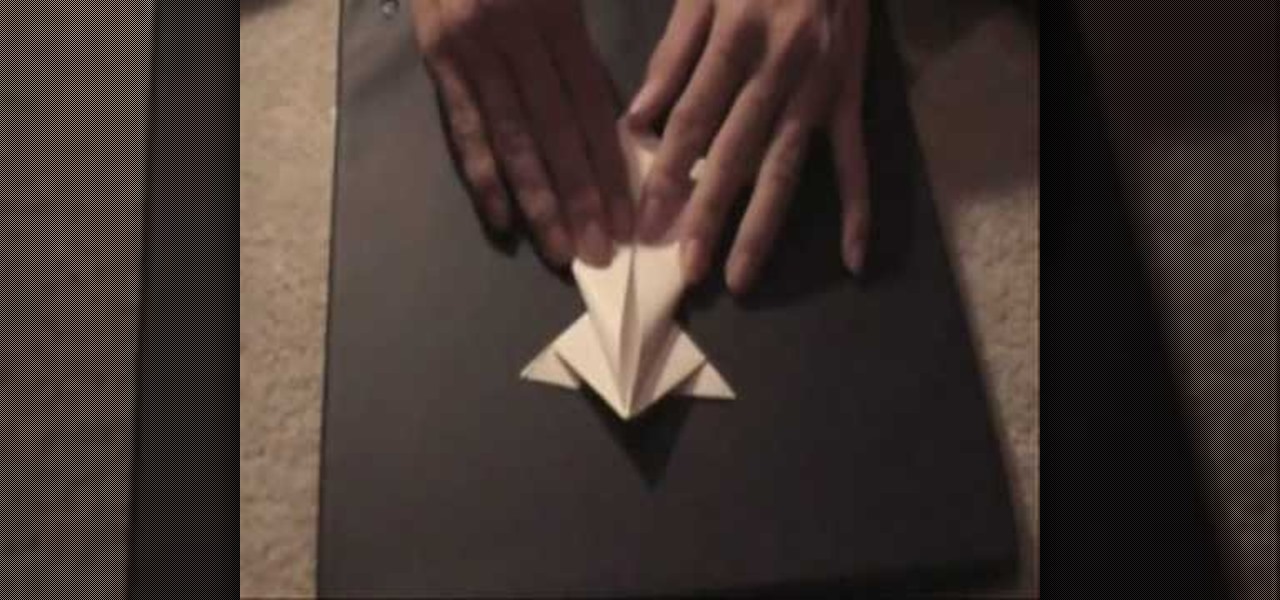
Kevin demonstrates how to make a paper frog. Take a regular sheet of construction paper. Fold the outer ends towards the center forming a triangle. Fold a crease at the base of the triangle and cut it out. Open the folds and you can observe two creases. Create two X-shaped creases by bending the opposite corners. Hold the triangles on the side of the X and squash it down such that the other two triangles meet. Repeat the process on the other side. This forms a square with a diagonal cut conta...

Try out some parkour… or maybe some freerunning… but it's dangerous, so how? By never letting "your" feet touch the ground (because they're resting on your ottoman). With Mirror's Edge, you never have to leave the house to get that free running and parkour feel.

Watch this video from This Old House to learn how to install a door latch. Steps:

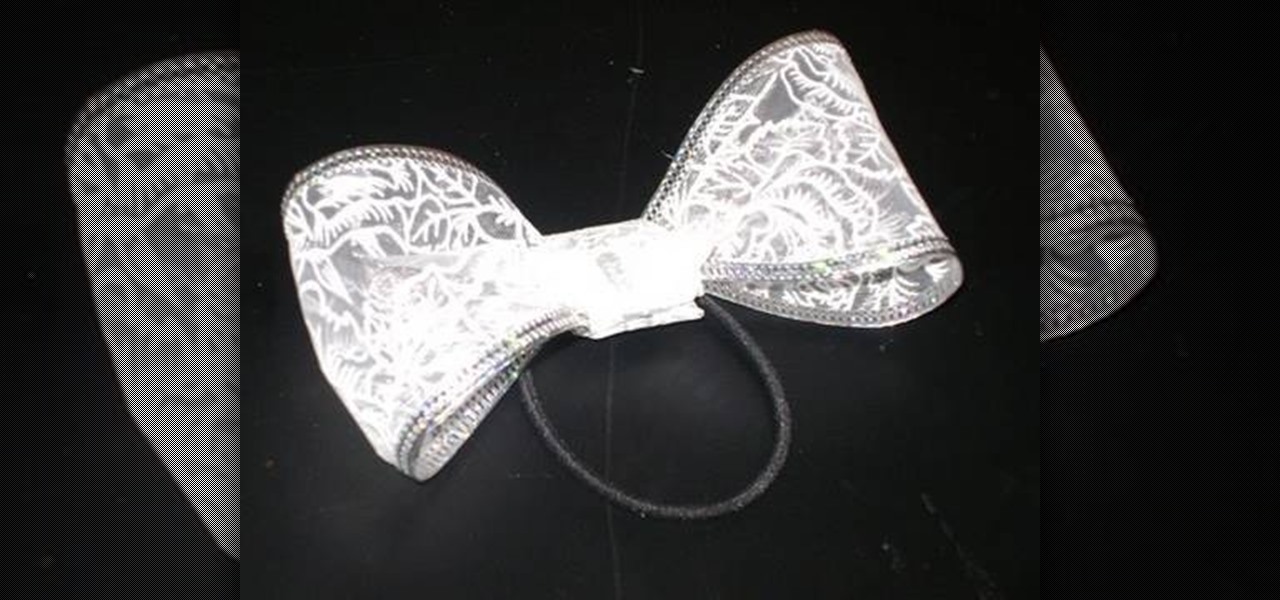
Materials required are lace, hair band, scissors and glue. Start by cutting off a piece of lace around ten inches length using a scissors. Now apply glue at the edges of one end of the lace. And then join the other end of the lace together to form a circle. Now hold this lace at the middle and then push in the middle. Press in at the centre so that it is divided into a Bow as shown. Spread the edges a little to make it appear fine. Now cut off a piece of lace around four inches using a scisso...

First of all take two pieces of FIMO- one white and the other red color. Now roll them flat on the table into rectangles. Now cut triangles out of them and then join together to form a rectangle which has more white than blue color. Now use a rolling pin to flatten their surfaces. Use a ruler to lift them off the table top. Now fold it in half and roll it again in the same direction. Don’t roll it too hard. Now keep rolling and folding in the same way. Now when you go thinner while rolling it...

You roll out some light brown clay, cut out two small circles and place one in a mini pie plate. The mini pie plate is similar to a plate you would find in a doll house. You take the extra clay and place it in a garlic press, which makes the clay come out in little strings. You take two of the string clay pieces and twist them together, making it look similar to a braid that will go around the pie later on. To make the apples, you take some rolled white clay, and any color chalk you want. You...

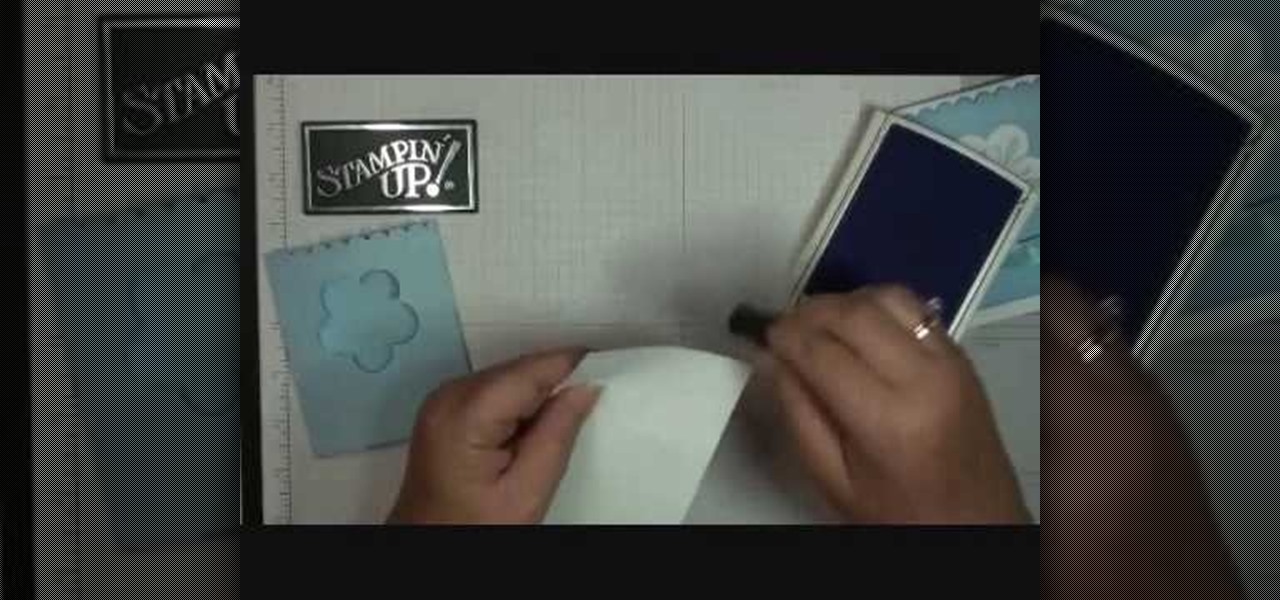
Stampin' Up Dawn shows how to use Stampin Up to create original gift card holders and sleeves in this craft tutorial. The tutorial shows how to create the Bashful Blue gift card holder. However, it should be noted that the Certainly Celery card does not utilize the scalloped edge design. The third style, Elegant Eggplant, uses ink #10510 and card stock #105126. You will need a strip of bashful blue card stock cut 4.5" by 7 3/4" scored at 3/4 and 4 1/4. Fold the score lines to create the sleev...

1. Draw a flower template on paper. 2. Cut out the template (it's like making a paper doll).

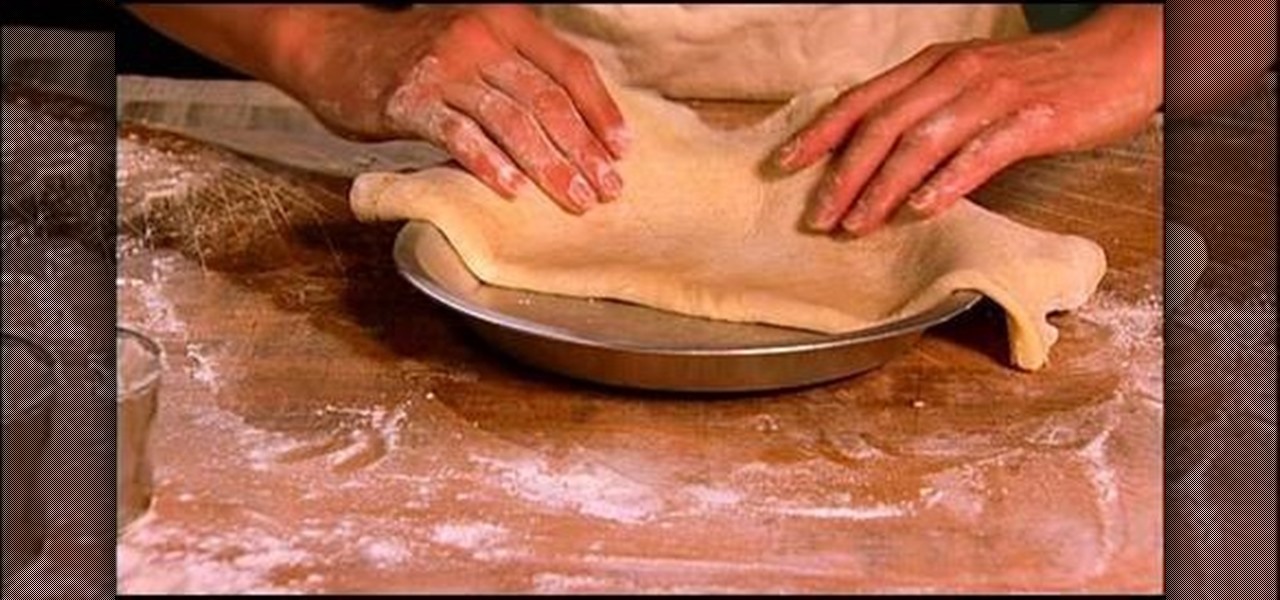
Pie crust can be tricky... If it's overcooked in the slightest, it will come out tough and break easily. In this video, learn how to make the perfect flaky homemade pie crust that will be the perfect compliment to any pie filling.

Scott Cutaneo reveals how to make a flaky pie crust.

Turn old watch faces into appealing bracelets by using an eco-friendly recycling technique. You Will Need

You know Moana's a rock-solid pick for Halloween this year. The question is, how far will you go to become Moana? Are you going to just slap on a cream skirt and a red bandeau? Or do you want to go all out and end up with the finished product like YouTuber Gladzy Kei did?

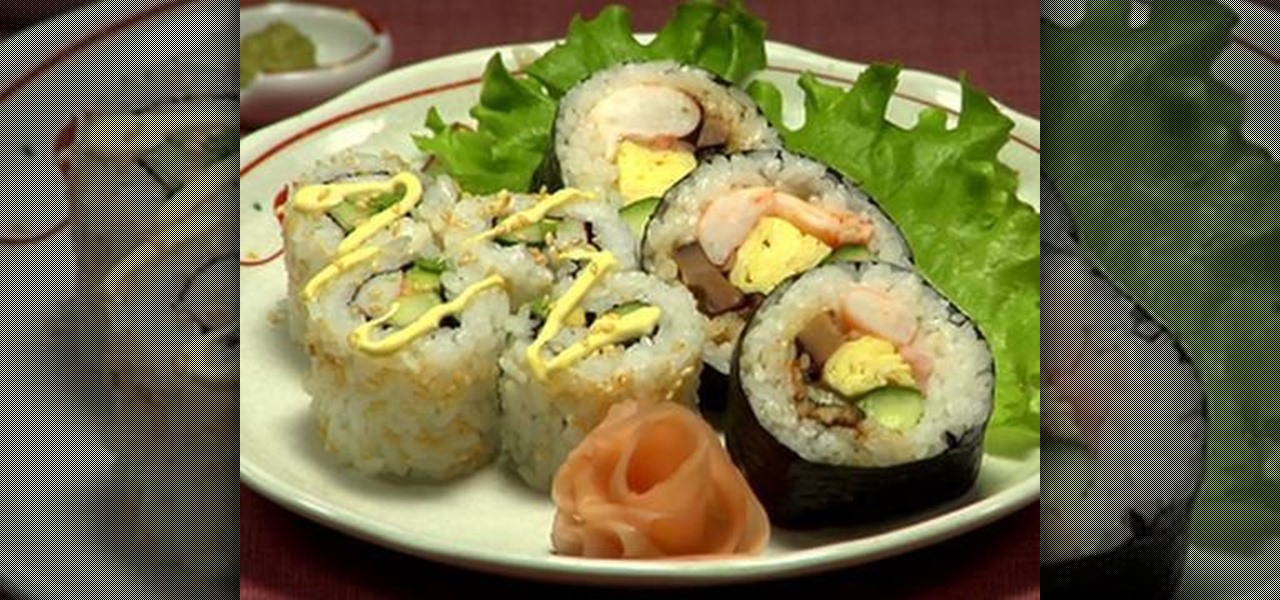
Ever wonder how to make futomaki sushi and California rolls? Cut ingredients for filling. Remove both ends of cucumber. Make 6 cucumber sticks. Cut avocado in ½, twist, remove seed. Remove peel. Slice into thin pieces. Cut shiitake mushrooms into fine strips. Cut barbequed eel lengthwise. Using 2 eggs seasoned with salt and sugar, make egg omelet. Heat pan; add a little oil. Pour 1/3 egg mixture into the pan and when almost cooked gather on far end of the pan. Re-oil pan. Add 1/3 mixture of e...

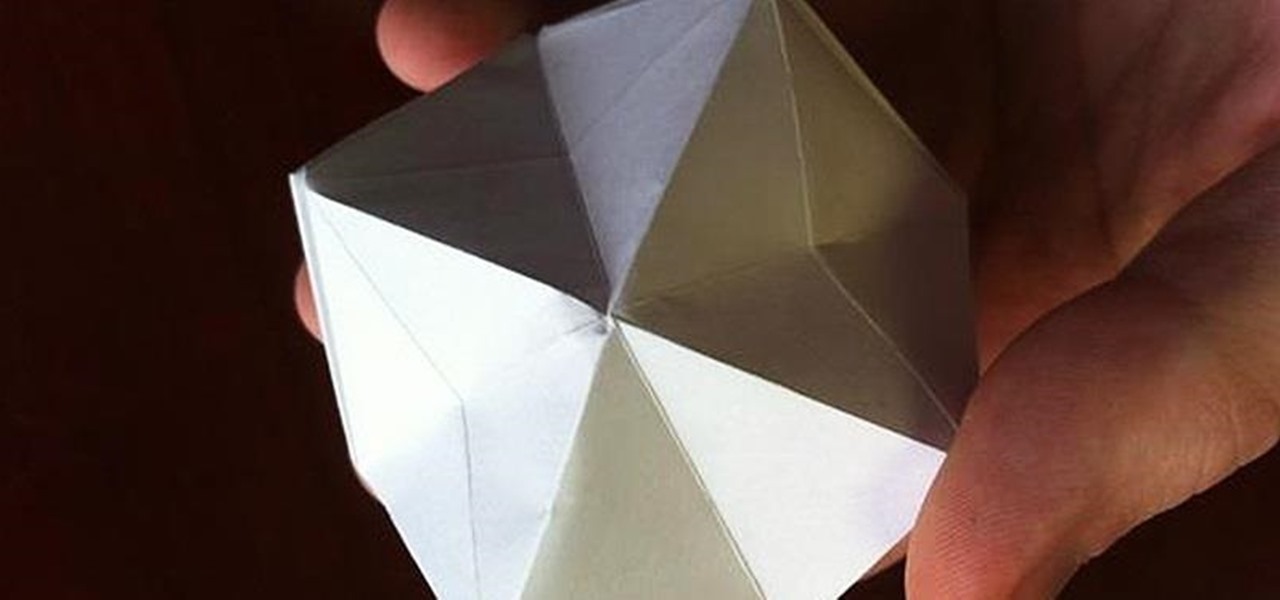
One of the most popular and basic origami geometric shapes is the "water bomb," which is a simple inflated cube. With a few extra folds and only a minor shift in approach, a more complex geometric shape can be achieved.

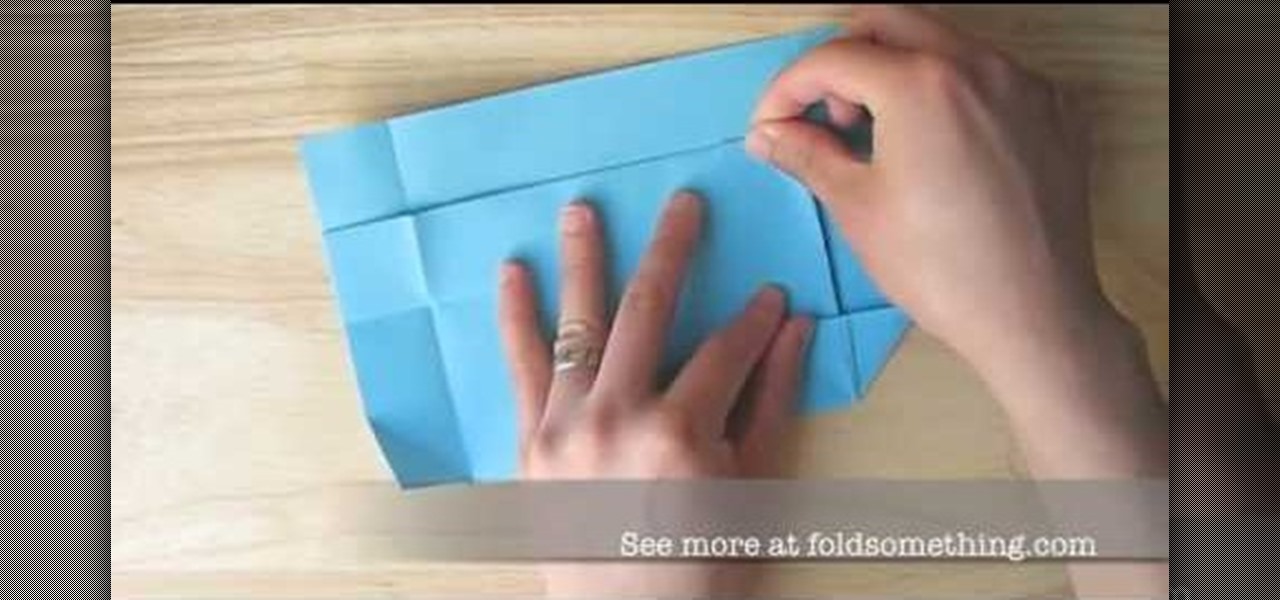
In this Arts & Crafts video tutorial you will learn how to Origami a paper envelope without glue or tape. Take a piece of paper and fold it in half hamburger style. Fold the open edge of the top sheet of paper back on itself so it reaches the closed edge. Repeat this step again. Give it a good crease, open it up and fold the open edge back to the middle crease and fold it back along the middle crease. This becomes the bar of the bar envelope. Now fold the other open edge of the paper so that ...

Installing Laminate Flooring on Stairs Laminate flooring can be installed on a flight of stairs, and this process can also be used when installing laminate on a floor and having to drop down a step to a sunken room.

The straight edge that is the hallmark of the formal hedge depends most on what you do before you cut. Accurate measurements and well-placed stakes are key. You'll learn these tips an more in this video.


