This video tutorial belongs to the software category which is going to show you how to darken the background in Photoshop using the burn tool. This is an example of how to improve your dodging and burning using the adjustment layers.
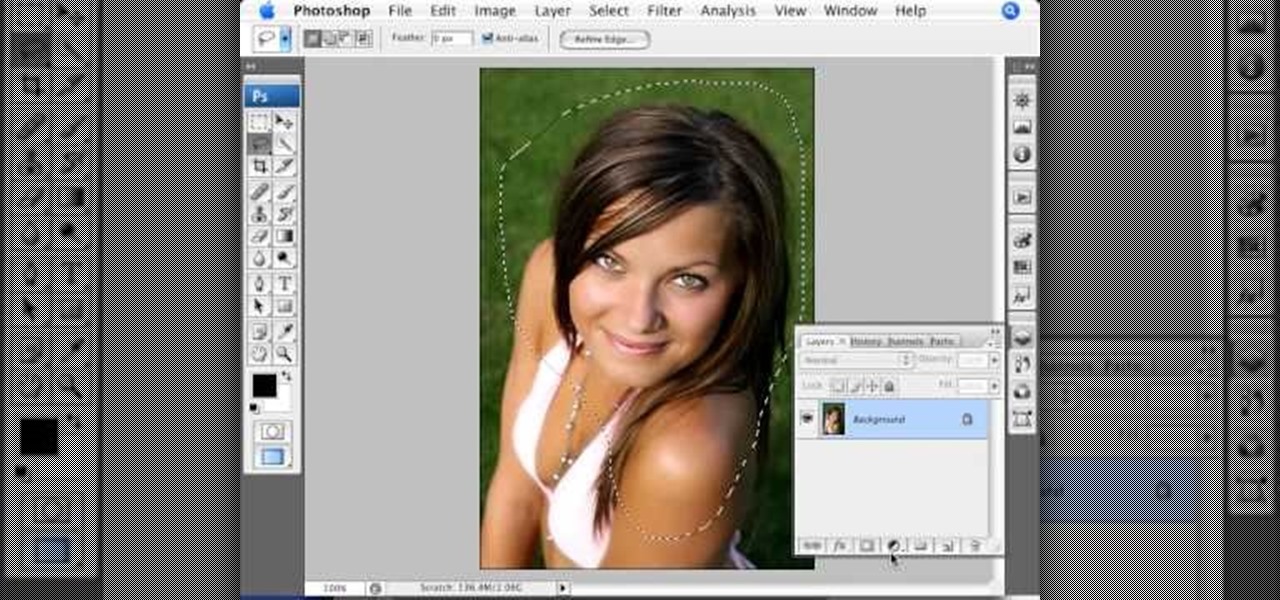
The video is basically about how to modify the focal point of the image. When the image has some stuff on the background and when you want the viewers to focus more on one particular area and making the rest of the image darker, you need to modify the light values of the image, which will be taught in this video. This can be done by just selecting the area, which you need to highlight on the image by giving some border and then add curves. In the curves the area is made darker than the rest b...

In this video, we learn how to draw Darth Vader from Star Wars. Start out by drawing the outline for the body, then draw in reference lines around to figure out where the facial features will go. From here, use a darker paint brush to make the outline darker and then erase any background lines. Then, start to add in the details to the body as well as to the outfit of the costume. Color in the background and then draw on the muscular details to the body. Add in color to the body and the cape t...
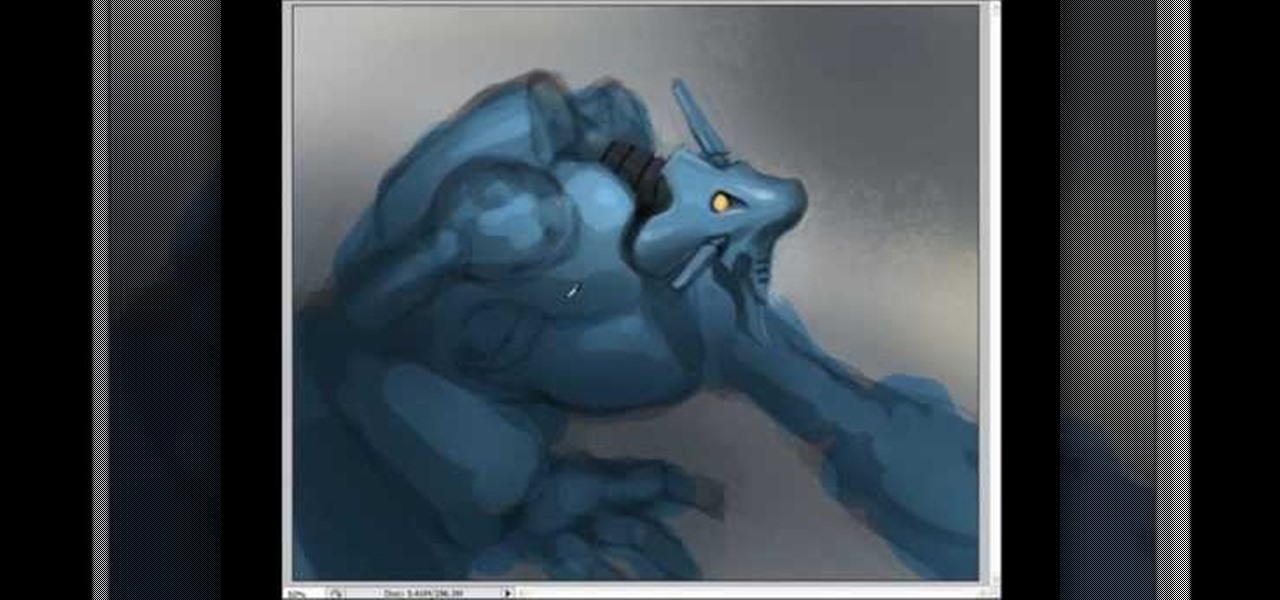
If you want to draw and paint a robot Mecha style you should first make a square and color this in a dark gray. Draw a silhouette in a darker gray color. You should draw basic body parts such as the head, arms and limbs and shoulder. You should draw this with simple dark layers. In the face, you can draw a different or cool complex design. You can also make the background darker and make shadows. To distinguish the figure from the background color the figure a dark dull blue. Now you need to ...
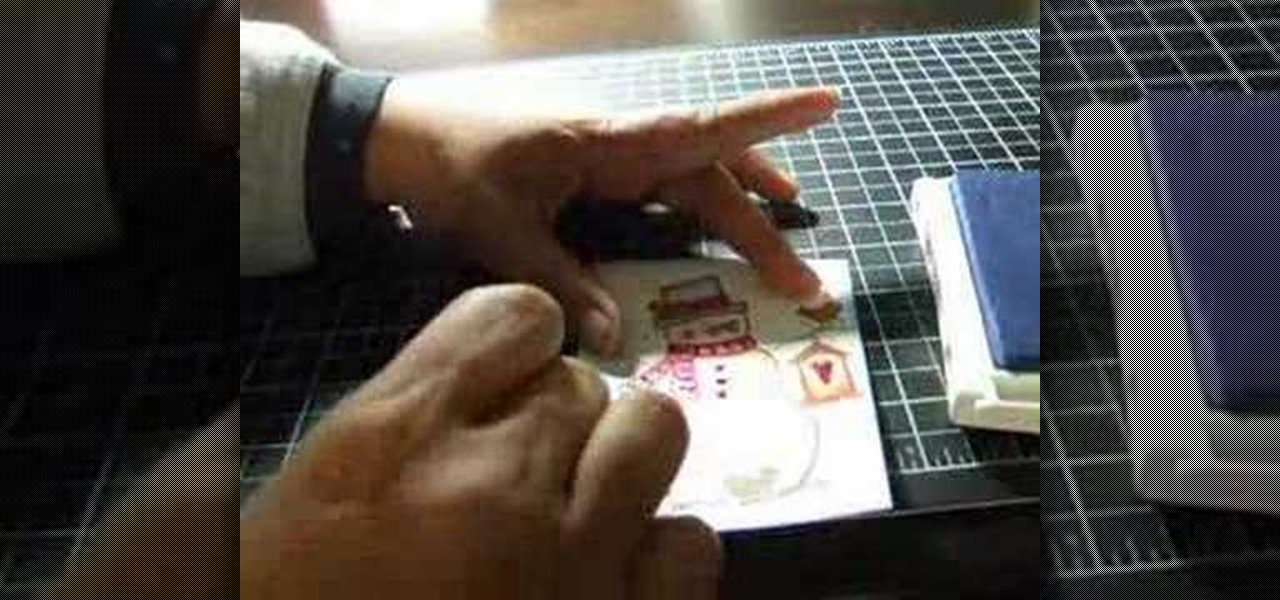
In this video tutorial, viewers learn how to shade and color the background of an image. This video explains all the materials required to shade and color the background of an image. The materials required are: a stamped image, a spoon dauber and an ink pad. Start by inking the sponge dauber and rub the edge of the cardstock. Continue to color the edge. Add more ink if you want the color to be darker. Color the background with the sponge dauber. Add link to the sponge dauber. Dab and rub the ...
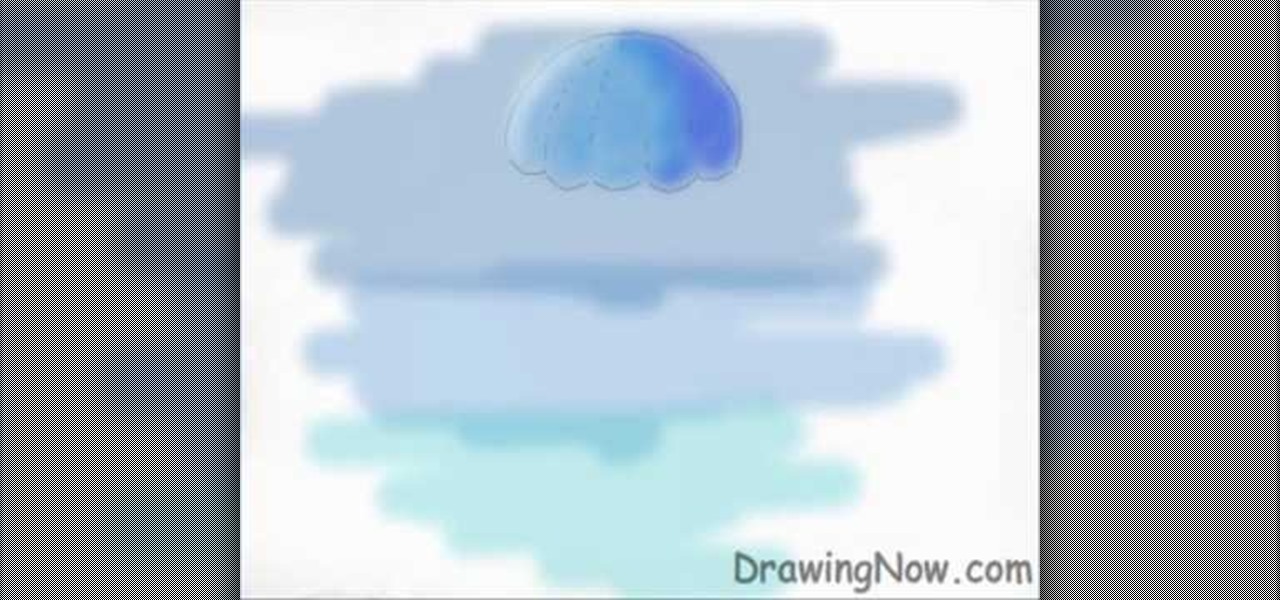
Drawingnow.com shows us how to draw and colour a jellyfish. First make an outline of the body of the jellyfish by drawing a dome with verticl sections like a parachute or an umbrella. Join the sections at the bottom of the dome like a skirt. Colour the background blue in three sections from top to bottom. Darker blue is used for the top-most section, a medium blue used for the middle section and a lighter blue for the lower section. Next colour the umbrella mass of the jellyfish in a blue ton...

This video describes how to create intricate nail painting designs. The first step is to choose a background color. You can either choose a lighter background color so the darker designs you paint over it will stand out, or a darker background color so the lighter-colored designs will stand out. For this specific design consisting of 3 flowers and a few dots, the former will be used. Next, take globbing paper and glob it with some white polish. Use a nail dotter to apply the polish from the p...

There are a lot of cool things in iOS 7, but there are also a lot of annoying things about it. One of the biggest issues I have is Apple's stock wallpaper options. I was really hyped about the new dynamic wallpapers, but they turned out to be a real disappointment because of the new interface.

In this tutorial, we learn how to make stencils in GIMP. Start with heads or faces if you are new to this. Then, use the rectangle tool to select the head. Then, go to image and fir canvas to selection. Now, remove the background by using the background tool. Once finished, go to colors, then threshold. The image should turn black and white. Turn the dial to the right, then turn it to the left to make it lighter and darker. Find the spot to where it shows detail but it's not distorted, then h...

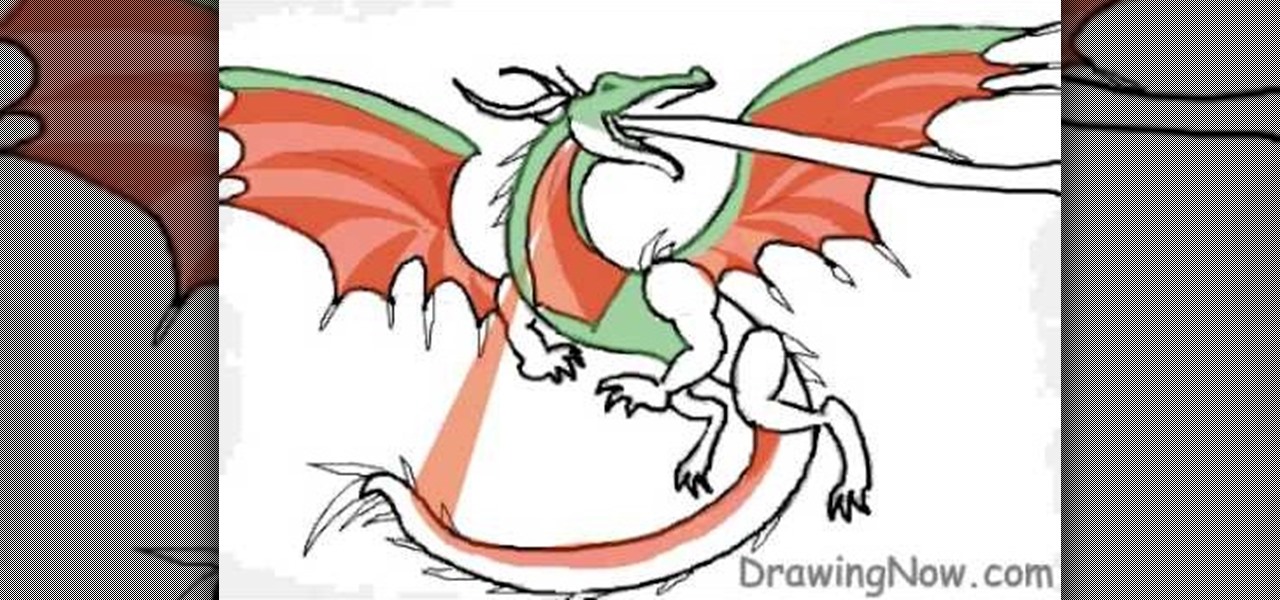
In this tutorial, we learn how to draw a basic dragon. First, draw the basic outline for the dragon, including the tail, wings, head, and body. From here, draw over the outline with the final outline in darker pen. After this, start to add in the details to the face and body. Once finished with that, move onto adding in shading and additional lines to make it look more realistic. Then, add in your colors. Use darker colors where the shading is to create more depth with the character. From her...

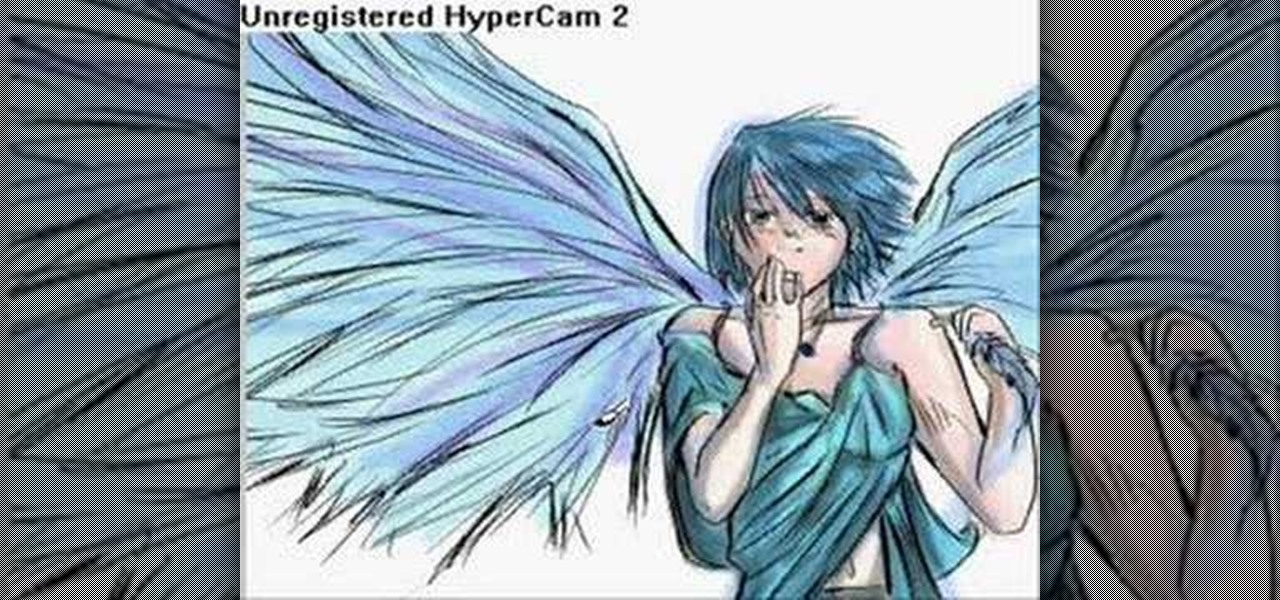
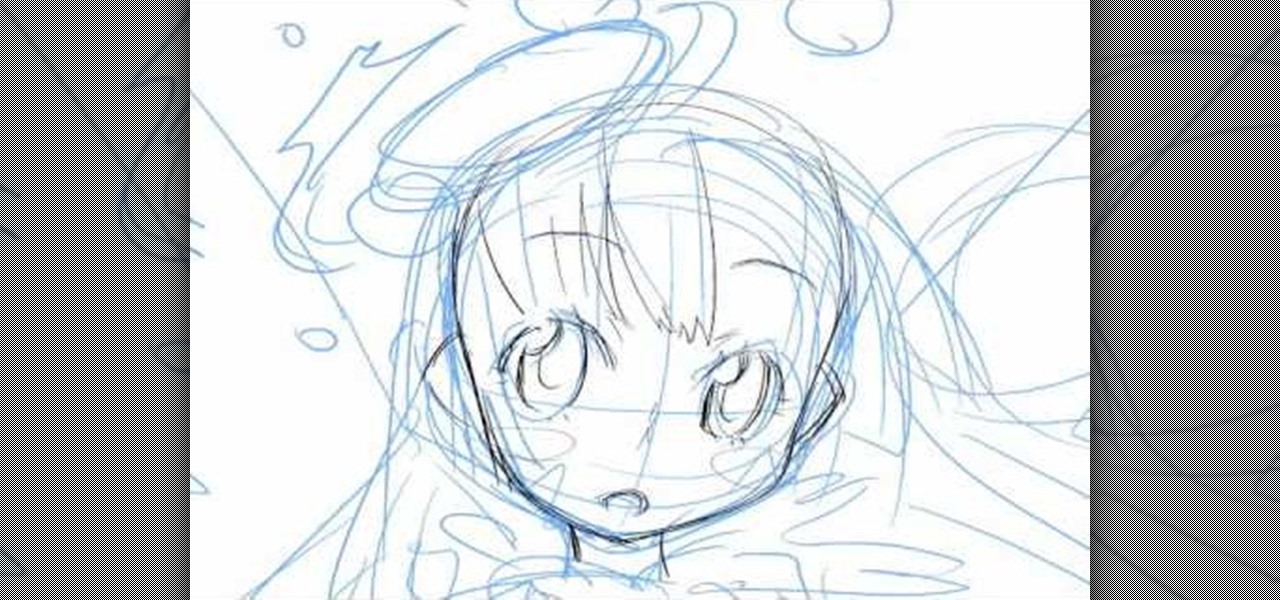
In this how to video, you will learn how to draw an angel. First, start out with the basic sketch of the drawing. Remember, eyes go in the middle of the head. Drawing the head first will help proportion the rest of the body. Use long strokes with the wrist to draw the hair. Try to make the hands the size of the face and try to make the fingers look like fish sticks. It is easier to draw if you study anatomy books. Next, erase the sketch and start going in with further detail. Exaggerate the w...

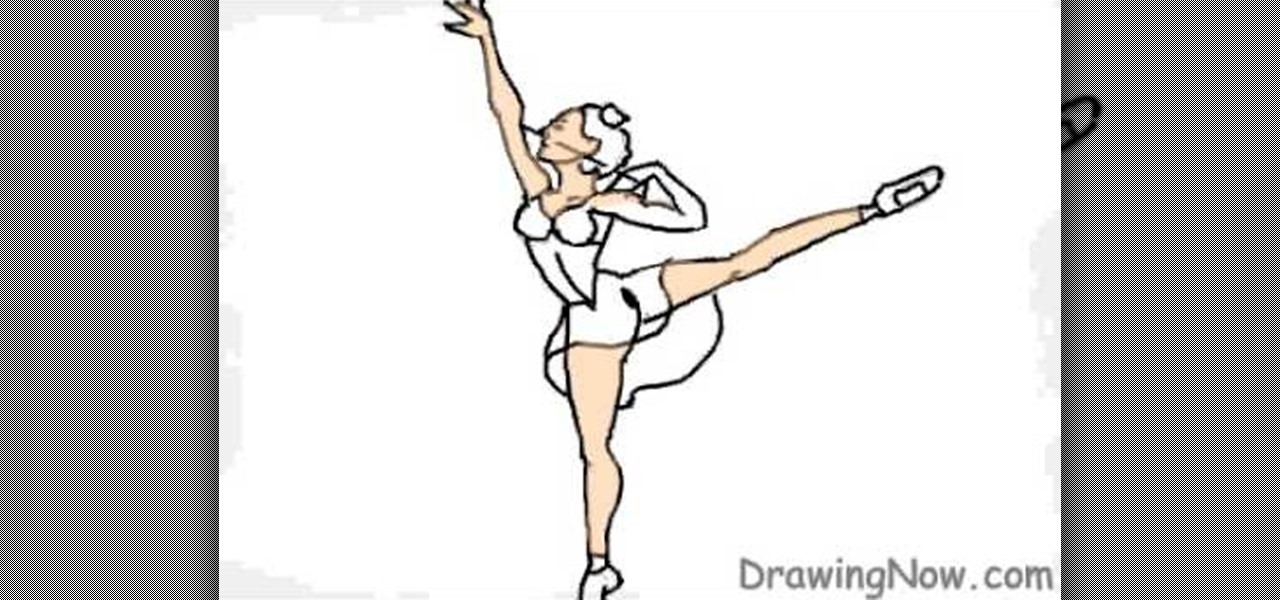
In this tutorial, we learn how to draw a ballerina. Start off by using circles and basic lines to draw the outline of the ballerina's body. Then, use a darker brush to create the body and add in the details of it as well. Draw one leg up in the air, while the ballerina is standing on the other with her arm raised high in the air. Erase any background lines, then start to draw in details of what the ballerina is wearing on her body. Draw in additional details around the figure, then when you a...

In this tutorial, we learn how to draw Danzo. To start, you will draw the outline with the light touch of the pencil. After this, draw in the final outline darker and then erase the background lines. Next, you will add in the details around the character and then add in lines to show creases and make it look more realistic. From here, you will add in shading to make the drawing have some more depth. After this, you will finish up by cleaning any stray lines with an eraser. You can also use th...

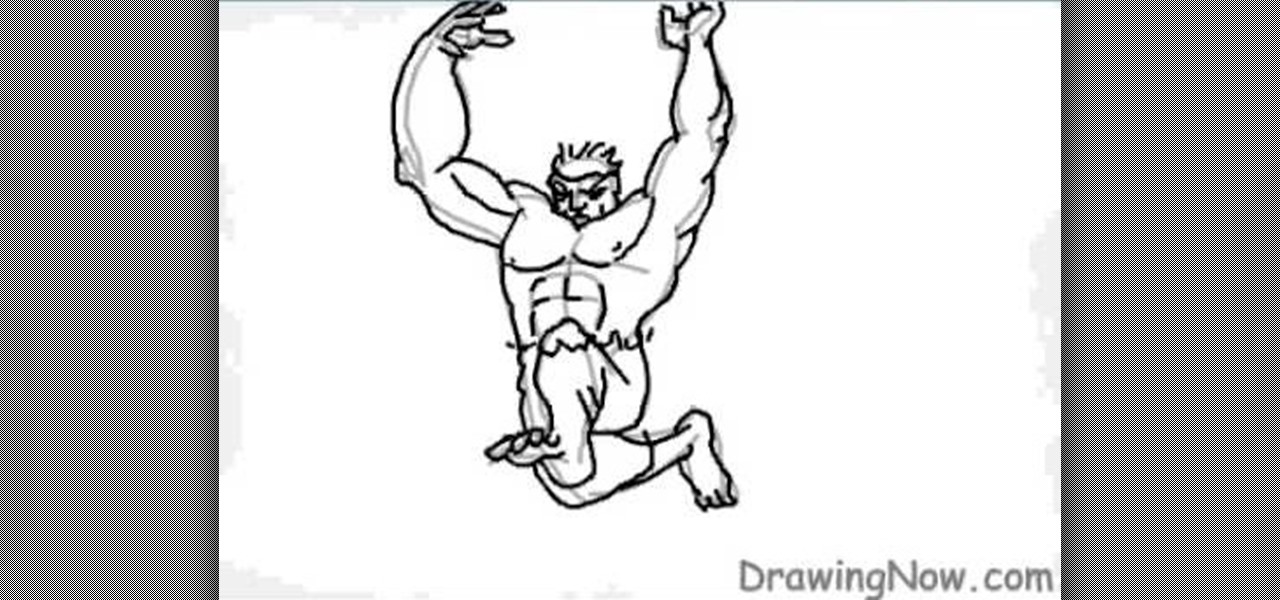
In this tutorial, we learn how to draw the Hulk. Start off by drawing the outline of the body. Make sure you draw the character's body large and keep the proportions accurate. After this, start to draw in the features of the face and the rest of the body. Use lines to make the muscles appear, then shade around them to make it look more realistic. Next, you will need to add some color to the drawing. Green would be most accurate, with some parts darker than others with shading. Finish this dra...

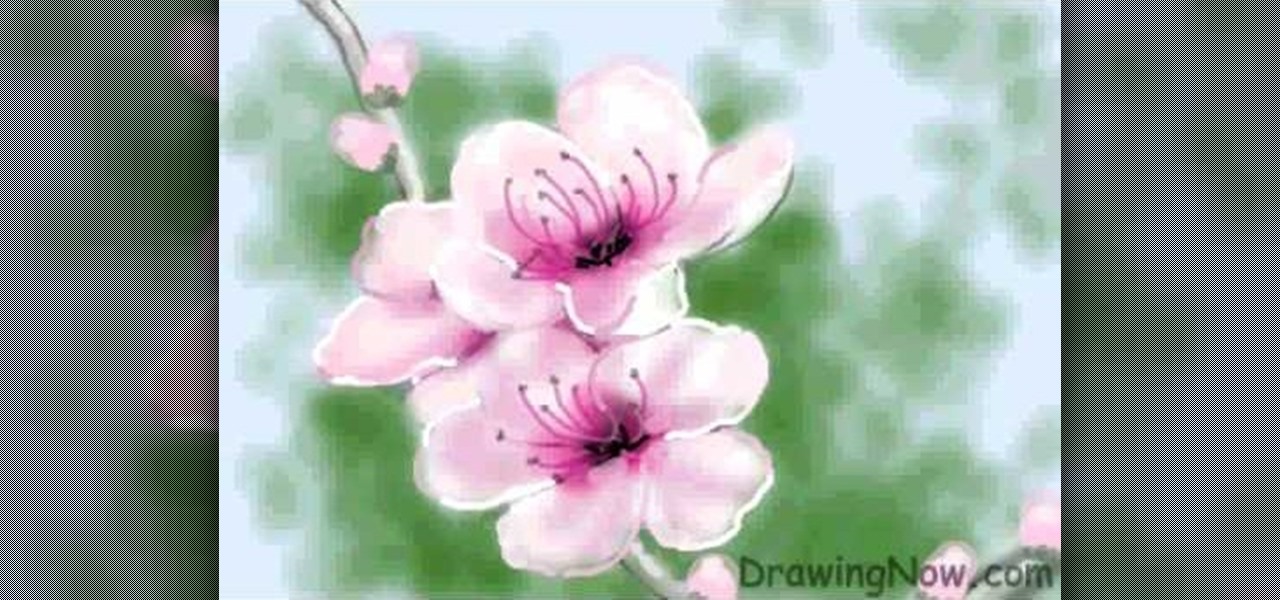
In this tutorial, we learn how to draw a peach blossom. First, draw the vine where the flowers will be. Then, draw the petals for the flowers, creating a basic outline. From here, you will color in the middle of the flowers with black and then a darker color of what the petals will be. After this, color in the petals and then create the background of the drawing. Next, color the vine in where the petals are on. Then, add white to the edges of the petals to show light hitting them. When finish...

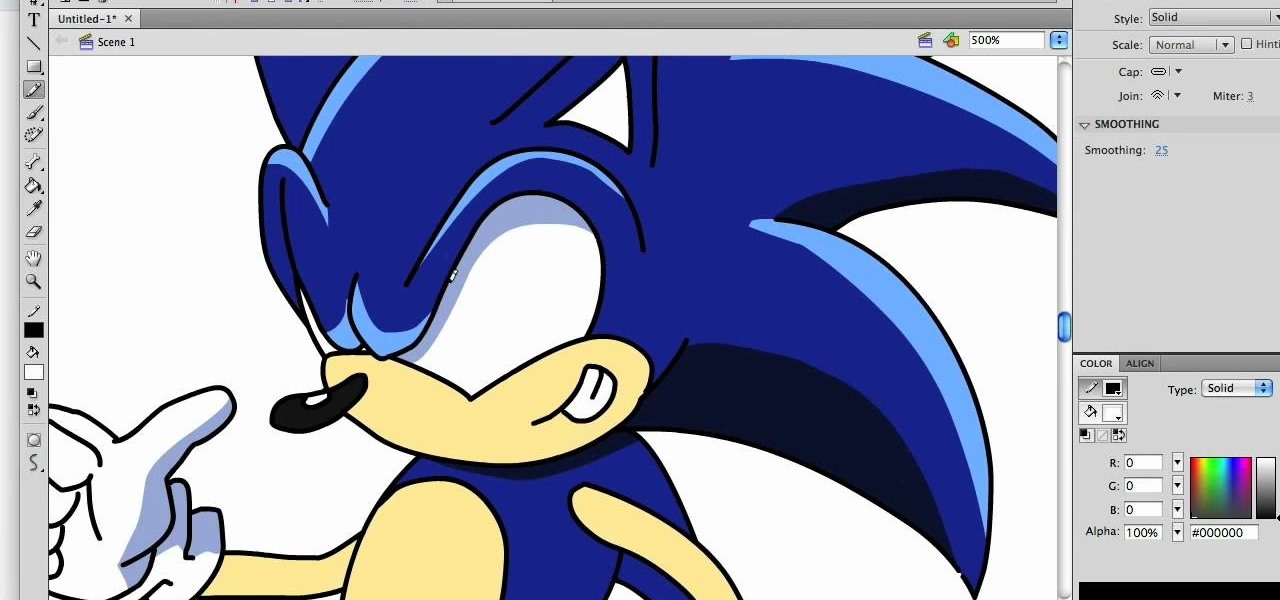
In this tutorial, we learn how to draw a hyper-stylized Sonic the Hedgehog. To start, you will draw the outline of the entire body of Sonic. Make sure you draw in the huge spikes for the hair as well. Next, you will draw in the eyes, muzzle, and nose on the face. Then, you will draw in the stomach area, the feet, and the hands. After this, clean up any background lines and color the character in completely. Next, shade in darker colors on the sides of the body to give Sonic more depth and mak...

In this tutorial, we learn how to draw an anime or magna illustration on your computer. To start out, you will open up a new draft and start to create the outline of the anime together. As you continue, you will draw in darker lines that will be the outline and the details of the character as well. Erase any background lines from the drawing that don't fit in, then create new additional lines. When you're done, start to add in the facial features and details, then add in the hair and clothing...

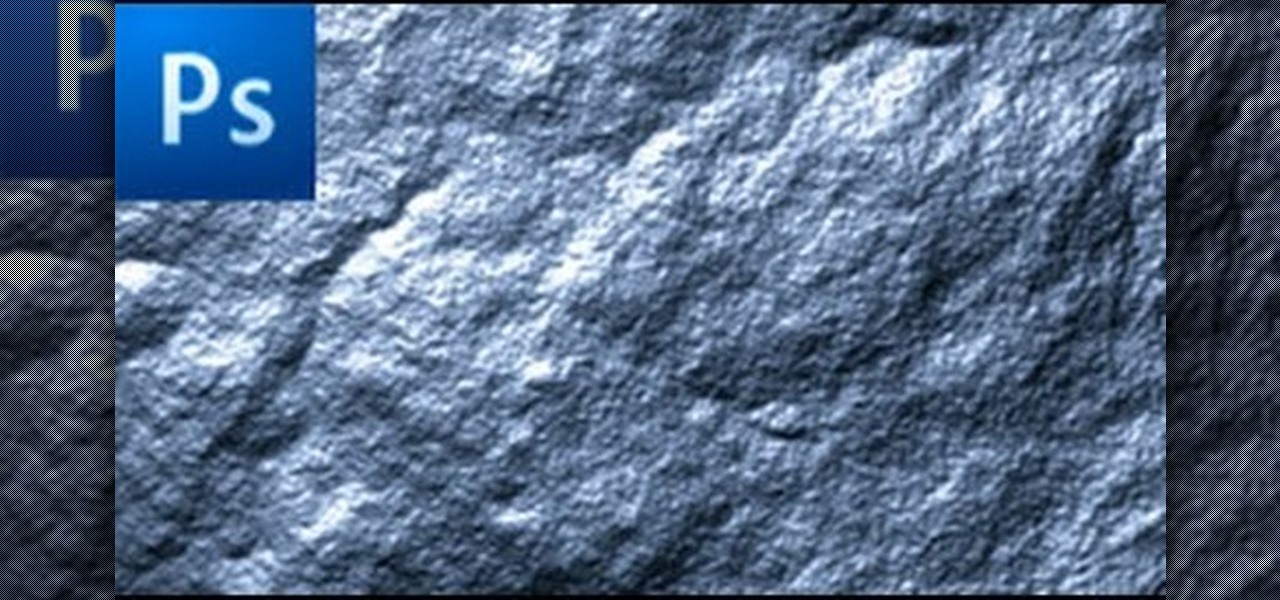
In this how to video, you will learn how to create a rock texture in Photoshop. First, open the program. Select your foreground as a gray color and the background as a darker gray. Go to filter and render clouds. Go to filter and noise to add noise. Add about 3 percent and click okay. Add a channel and click filter. Apply the difference clouds multiple times until you get something very dark. Add more noise and then fade the add noise filter. Go back to the original layer and go to filter and...

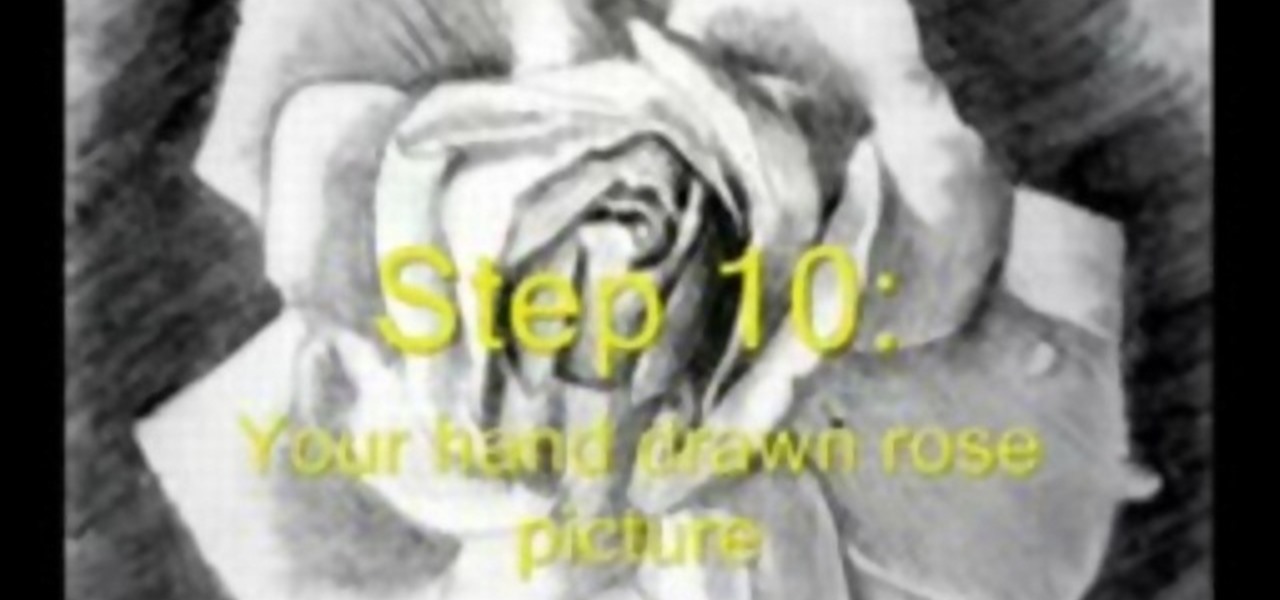
In this video tutorial, viewers learn how to draw a rose. Begin by selecting your favorite rose picture. Sketch the outward point lines from the center (this will outline the petals and stigma of the rose). Sketch the rose pedals with the lines. Erase the guidelines and re-sketch the pedals. Create tones using a 4B pencil. Then smudge the tones using your fingers. Then use a 6B pencil to shade and smudge. Users may choose to add water droplets on the drawing. Finally, use the 6B pencil for a ...

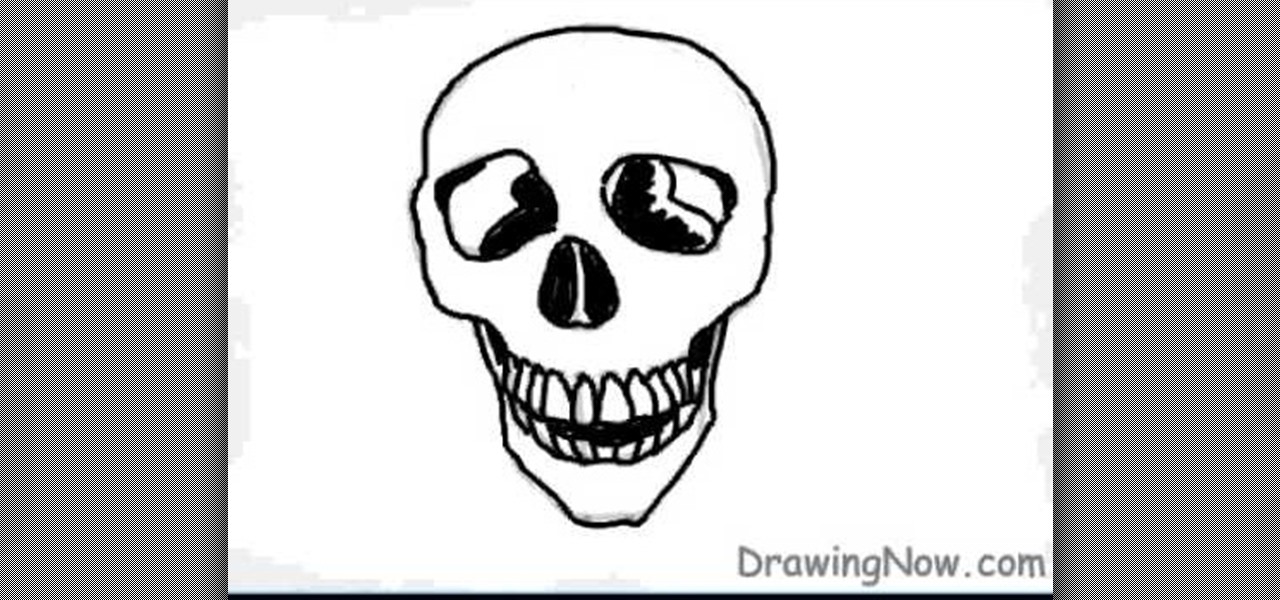
In this video tutorial, viewers will learn how to draw a skull using a computer. Start by drawing a circle for the head and a rectangular shape at the bottom. Draw a line in the center as a guideline. Then draw the eyes, nose and mouth. Now outline the skull and add the details. Shade in the eye sockets, nose and mouth. Now you can erase the guideline. Start coloring the skull to a preferred color. Then add in a darker color around the skull to shade it. Finally, outline the skull and color t...

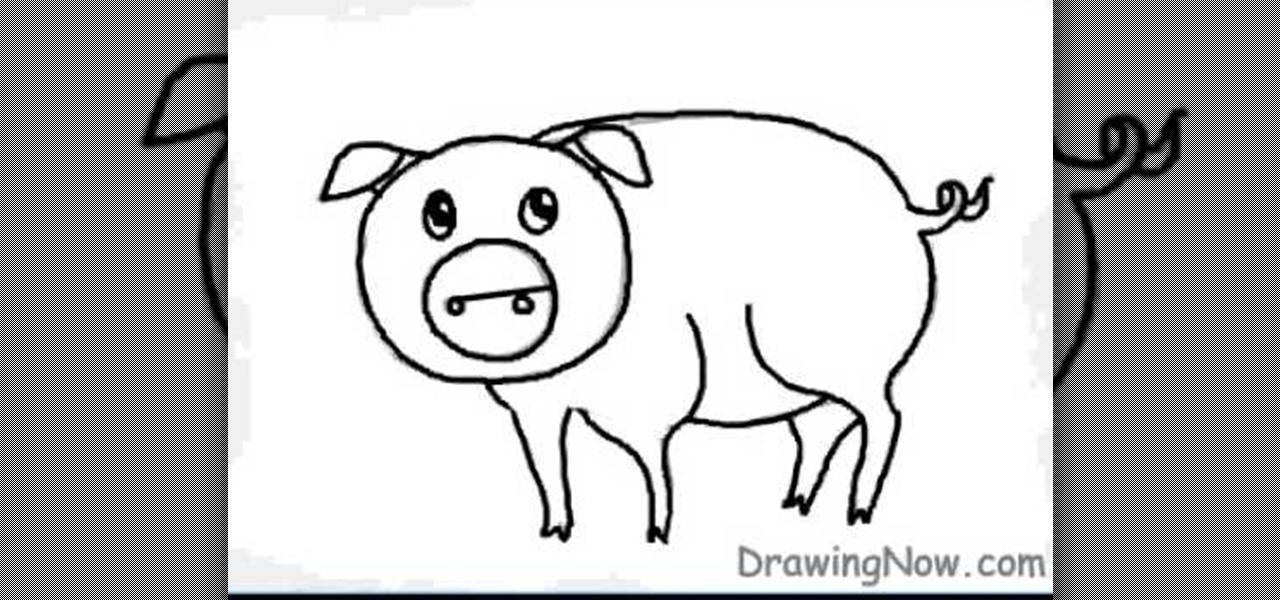
First neatly draw the outline of the pig, then color the outline with a darker shade as this is the base of the character. Next draw the eyes, nose, and the small curly tail which complete the outline of the pig. For the base color a slightly bright pink color should be selected to shade the inner part of the pig i.e. the stomach, legs, and face. A shiny touch should be added to the face to give it a brighter and happier appearance. The background must be colored also with blue and brown. The...

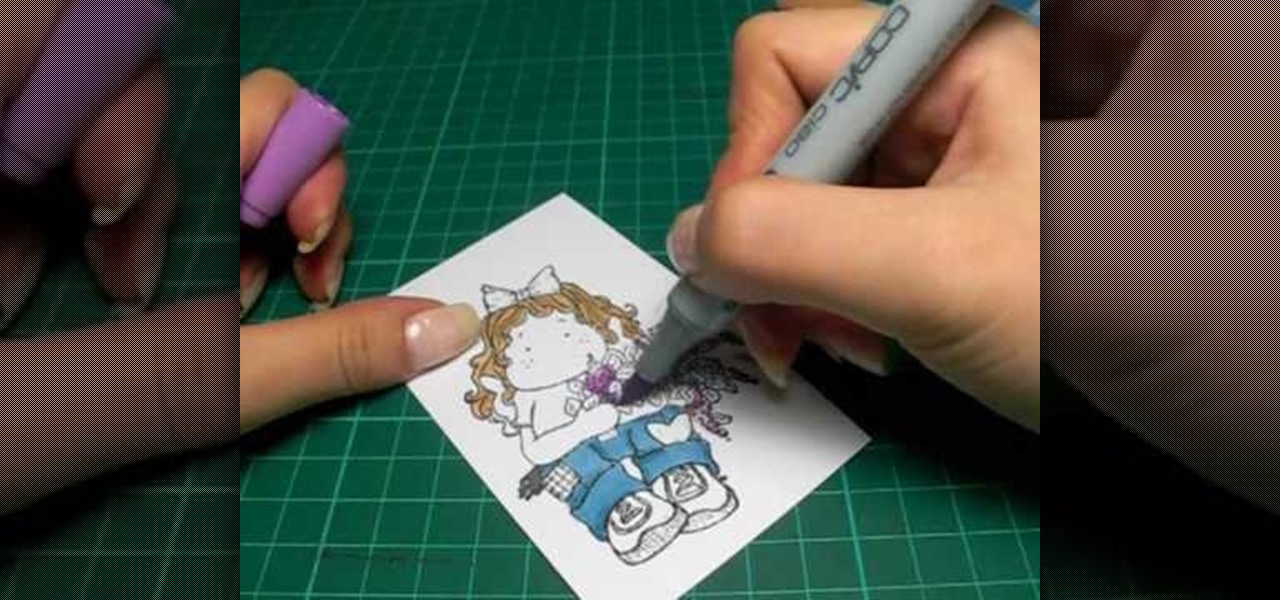
In this tutorial, we learn how to color with Copic pens. First, grab a picture that you want to color with your pens. After this, start to color in the picture with your different colored pens. After you fill in the colors, use a darker colored pen to add in shading and make the lines darker along the sides. Continue to color in your picture, adding shading where you prefer. Add in different colors and make the lines darker when you want them to look more bold. Make sure to add in highlights ...

You can make beautifully decorated cookies with just powdered sugar, water, and food coloring. Before you start decorating cookies, it is important to understand color theory. Primary colors are blue, red, and yellow. When you mix those colors you get secondary colors. Blue and red make violet. Red and yellow make orange, and blue and yellow make green. If you mix all three primary colors together, you get brown. To make black color, mix together green and red and a few drops of blue. Also, p...

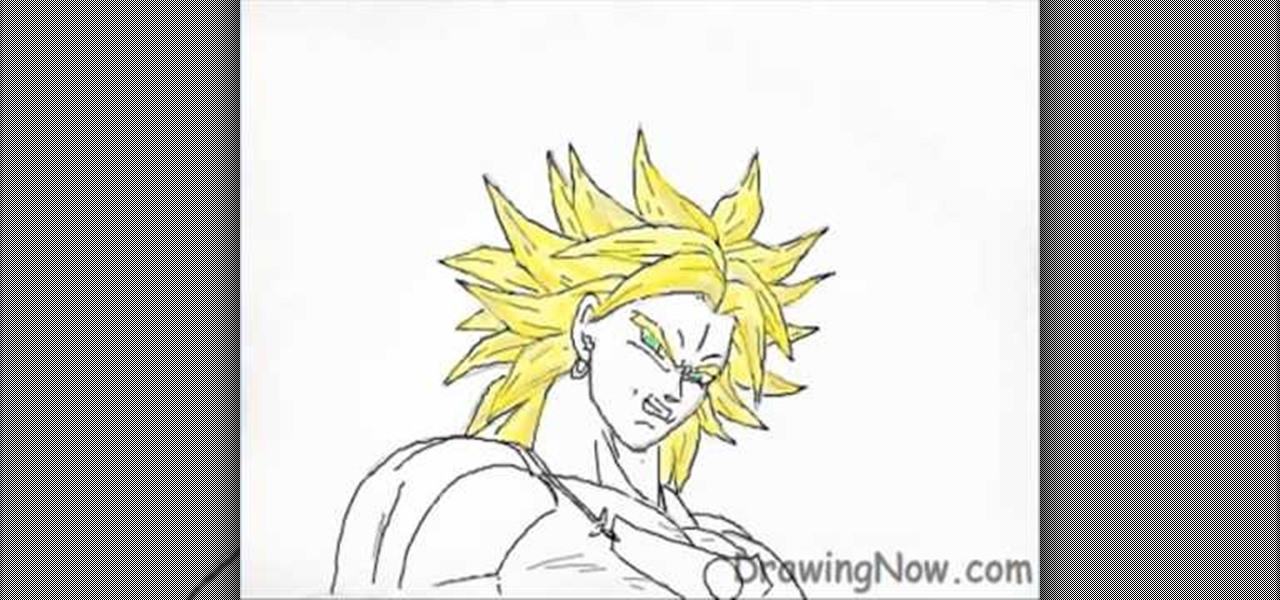
In this how to video, you will learn how to draw Broly. First, start out with an oval shape for the face. Next, add another for the ear. From here, you can add the neck, shoulders, and chest. Next, draw numerous spikes for the hair. The basic outline is complete. Go into the drawing with more detail by adding lines inside the spikes to simulate hair strands. Add the eyebrows, eyes, nose, and mouth. Next, draw in the muscles of the shoulders and chest. Add the outline of the necklace. Now you ...

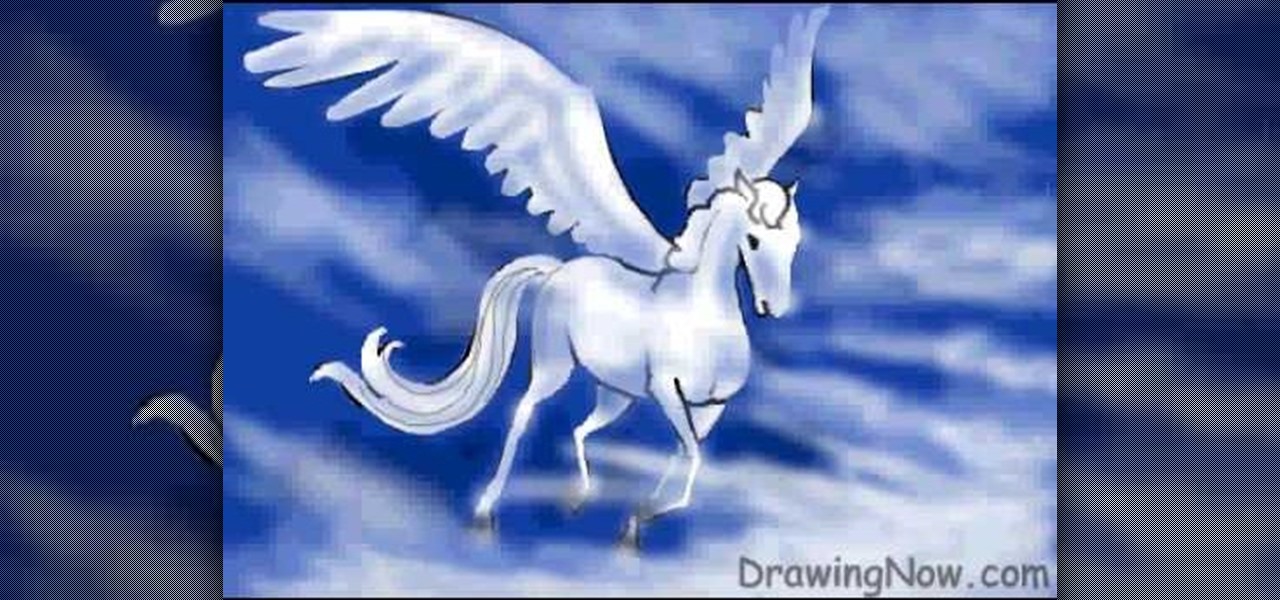
This video shows us how to draw a Pegasus, a fantasy horse with wings. Firstly draw the parts of the Pegasus roughly using light shades starting of with head, body, limbs, tail and wings. Then darken the parts previously drawn using darker shades and then add the feathers to the wings using the darker shades. Then after that erase the parts which were in lighter shade as it is considered as unwanted now. Then set the background by coloring it with blue color as the Pegasus will be usually see...

This tutorial video will show you how to contour and highlight your skin with makeup. Contours are "shadows" so you want to go darker than your actual skin tone.

In this drawing tutorial, we learn how to draw a chibi Sokka. Start off by drawing a round circle for the head of the character. After this, draw on the ears to the sides of the head. Then, draw on the hair on the back of the head followed by the facial features. After this, draw on the body, but don't draw a neck because this character doesn't really have one. Once you have the outline finished, start to use a darker marker to create the clothing and other details onto the character. Clean u...

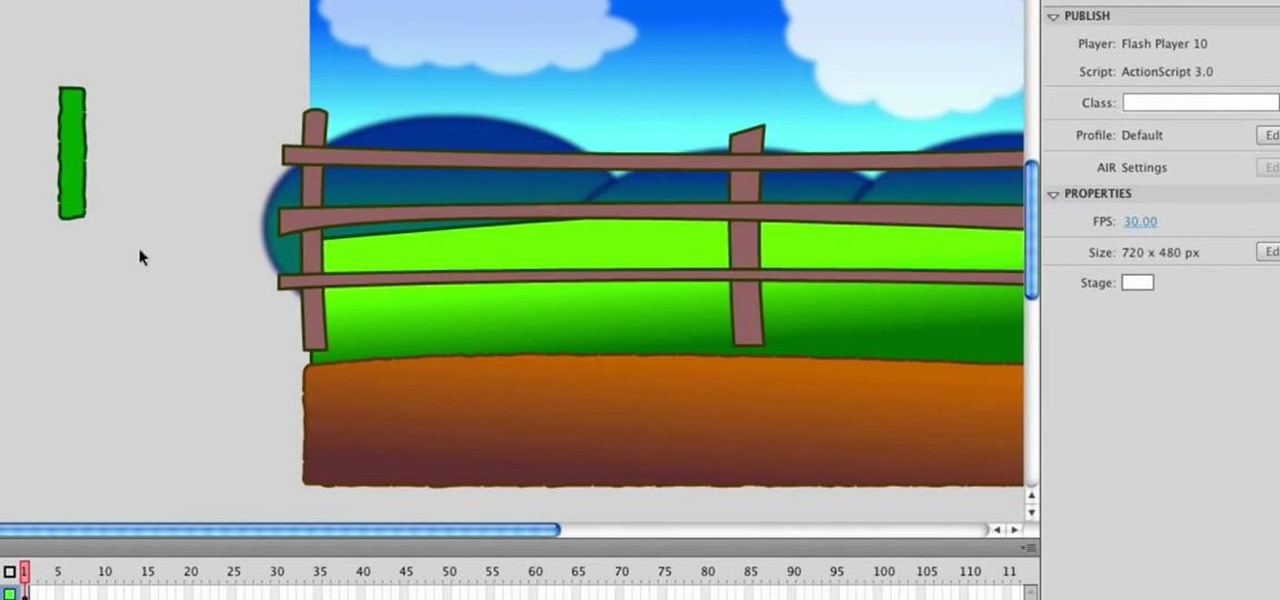
In this tutorial, we learn how to design a cartoon environment in Adobe Flash. Start out by picking the color for the green. Use different types of green, making a gradient so it transitions from a lighter to a darker color. After this, draw on the sky making it go from darker at the top to lighter blue at the bottom near the grass. Add in a fence on the grass, then draw on circles with gradient layers to create mountains. Create a new layer to make dirt and grass on the front of the picture ...

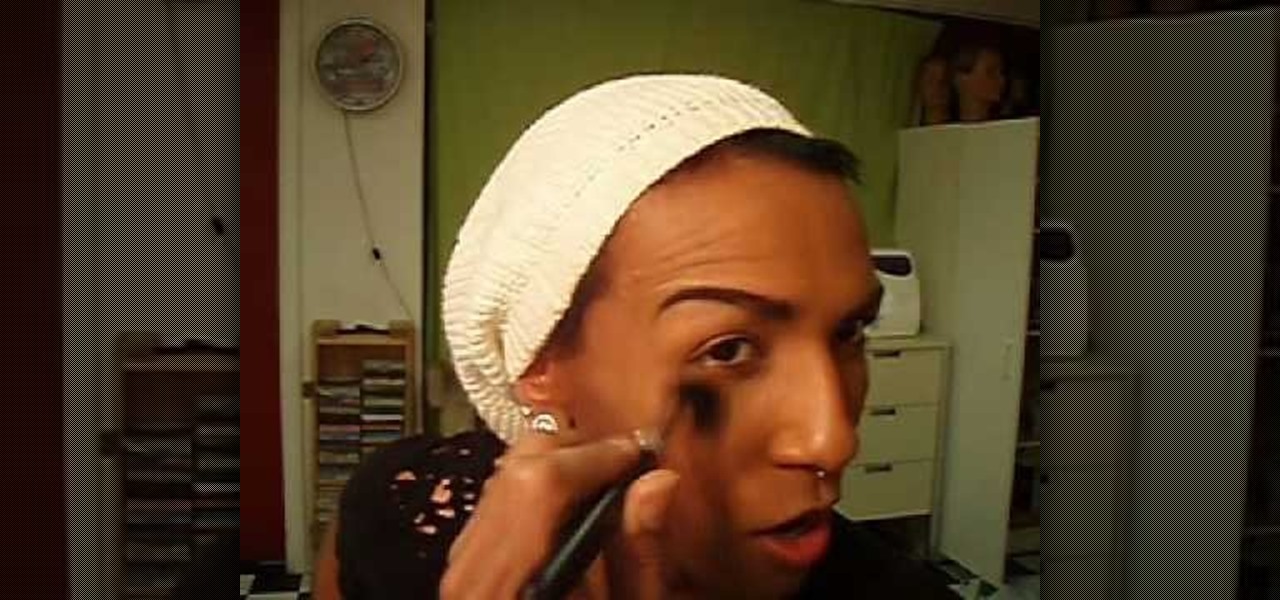
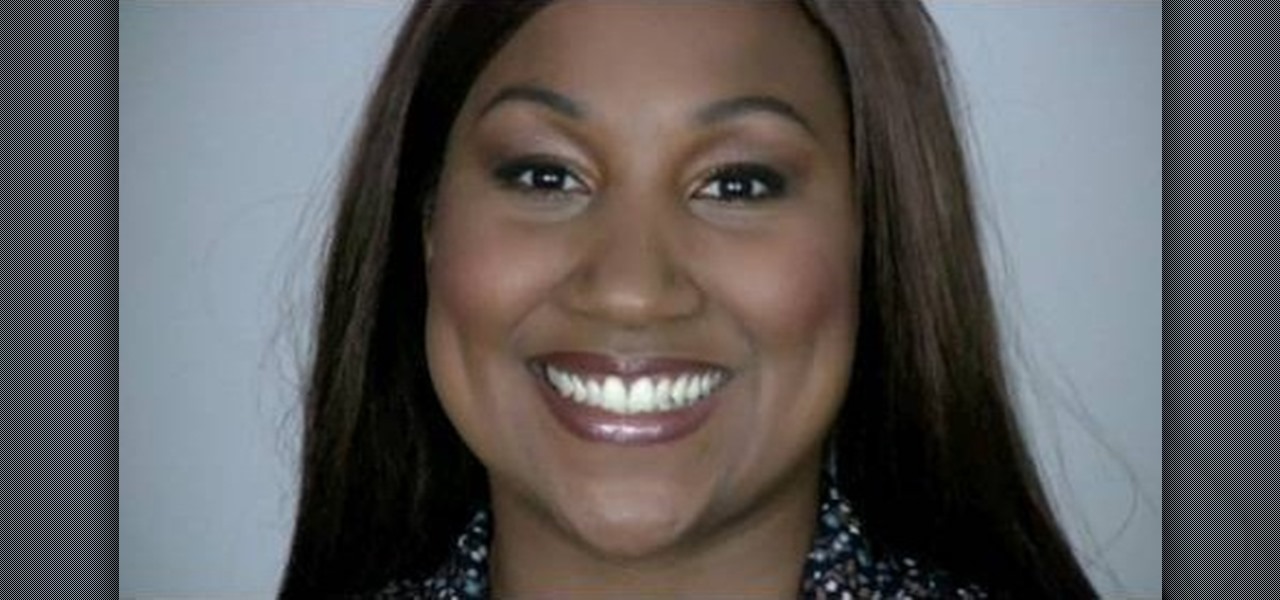
While there exist many makeup tutorials out on the web, you'll seldom find one that applies to all skin tones. Darker skin tones in particular require a different outlook in terms of color intensity and application.

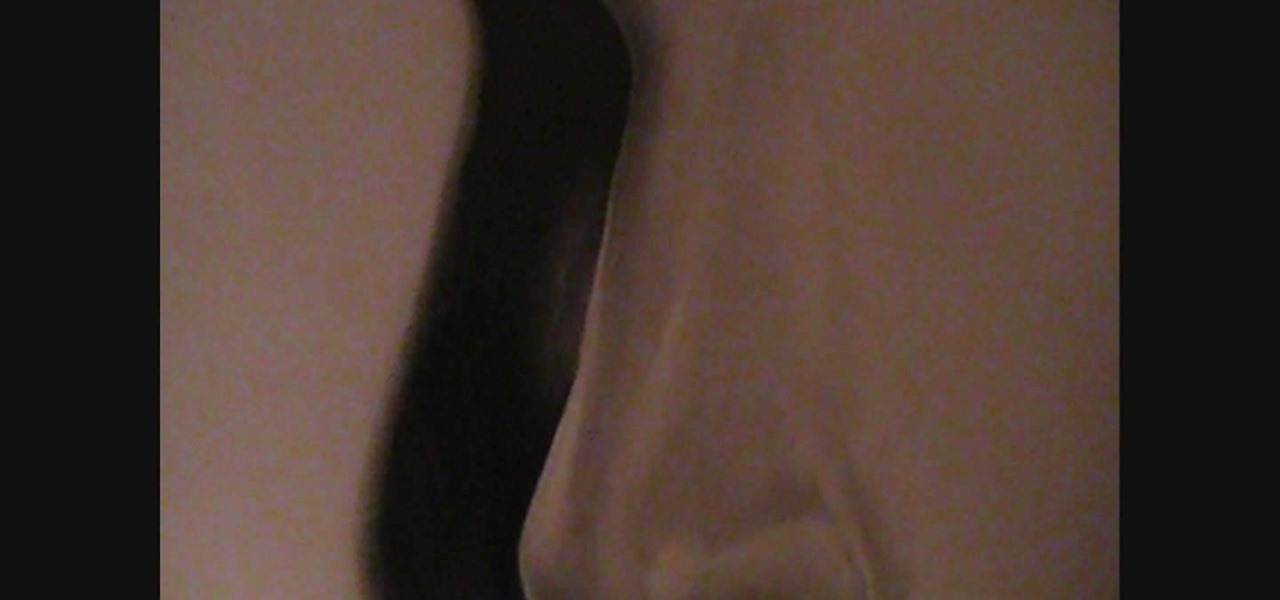
In this video we learn how to draw a nose using simple methods. Use a grid to start sketching out your drawing. Note the dark and light areas by outlining them on your paper. Then, crosshatch the first layer using whichever method works the best for you. Then, use a tissue to blend the pencil marks in with each other and create a lighter shade. Grab your darker pencil and mark on the darker areas of the nose, then start to shade in darker then before. To finish, use your pencil to add in the ...

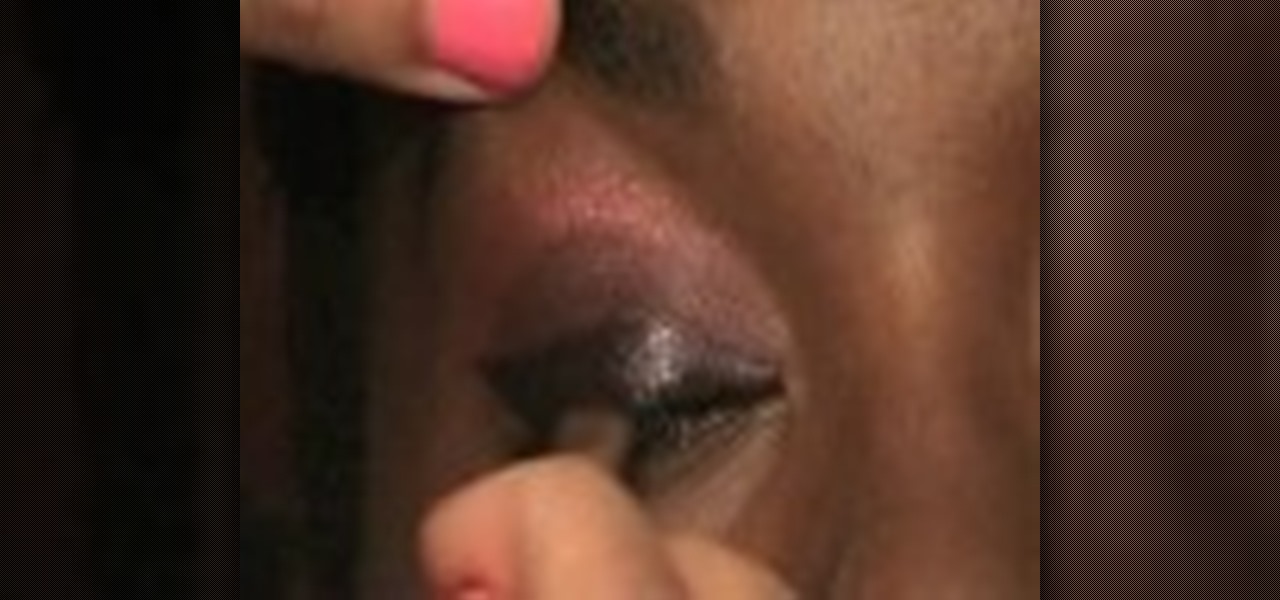
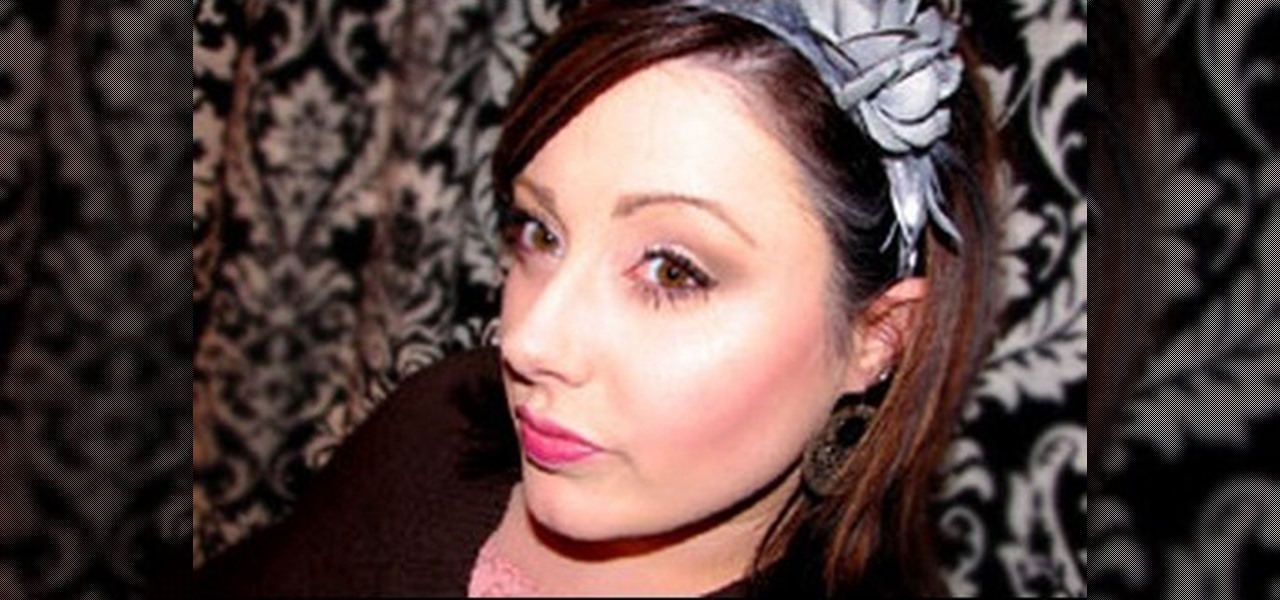
Watch this instructional cosmetics video to create playfully pink makeup look for darker skin. You will need several shades of pink eye shadow and of course, false eyelashes. Don't forget a fushia lipstick with a clear lip gloss. Beautiful.

Watch this instructional cosmetics video to create a flashy look with bright eyes and neutral lips that compliments women with darker skin. Use a berry colored eye shadow with a gold shimmer. Create a cat eye shape with darker eye shadow colors using a wet application method. Go back in with light pink highlights to emphasize the bright factor.

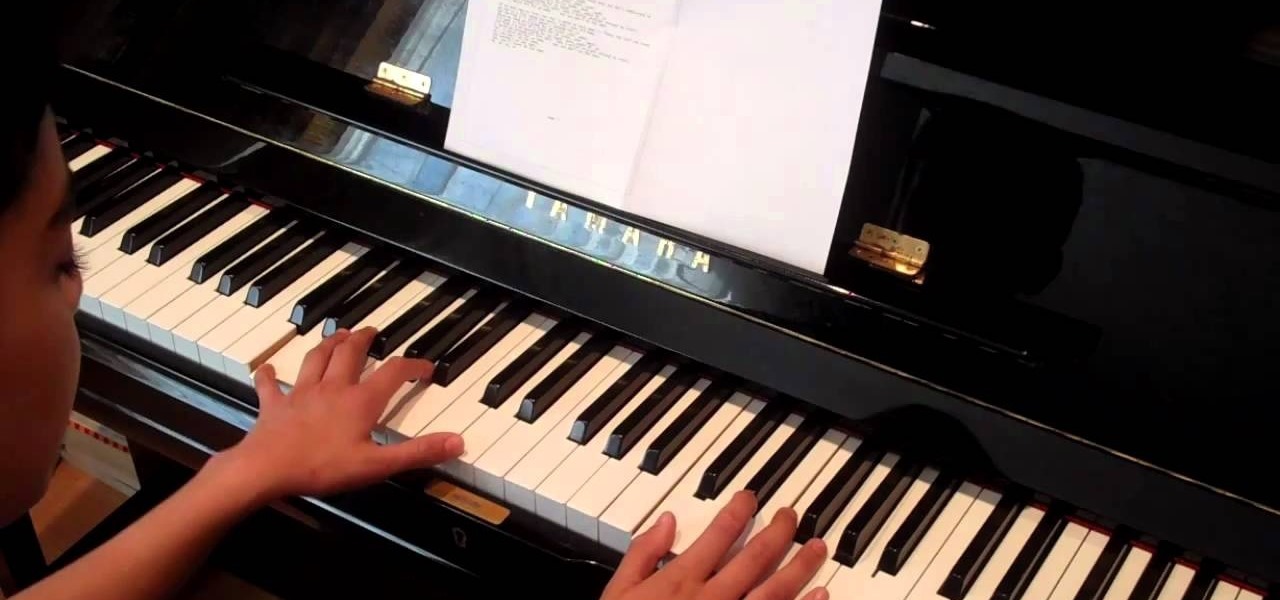
Bruno Mars is shooting up through the pop hierarchy, and for good reason. His latest single "Grenade" shows his darker side beautifully, and this video will teach you how to play an awesome cover of the song on piano and show that ex how you really feel.

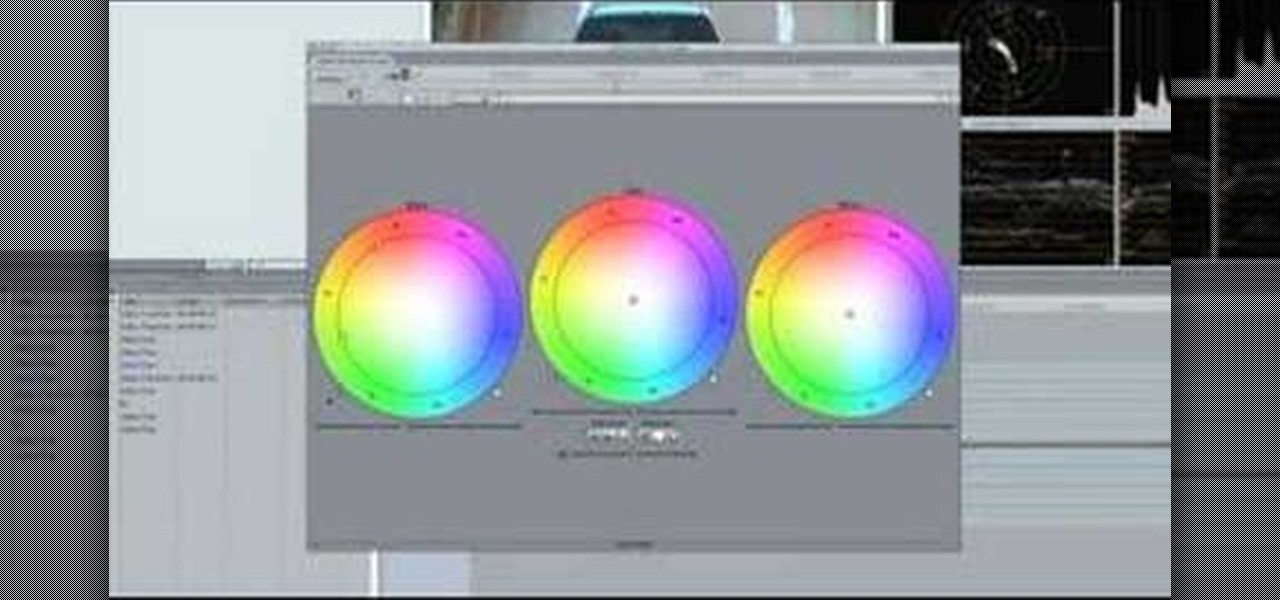
Make sure your video projects are broadcast safe with color correction and the Waveform Monitor in Apple's Final Cut Pro. This free video tutorial presents a complete overview of how to use the Waveform Editor and FCP color correction tools for increased darker blacks and whiter whites while staying with broadcast specifications.

In this tutorial, we learn how to properly apply blush. You will need a medium angled brush to help apply your blush before you begin. Then, make a fish face and apply a darker blush along the side to make your cheekbones show more. Use blushes that work for your skin, play around with different colors. Find a plum color or pink colors and mix them together as well. You only want to go a couple shades darker than your skin tone. Your cheekbones may have a flesh color, so bring the contour col...

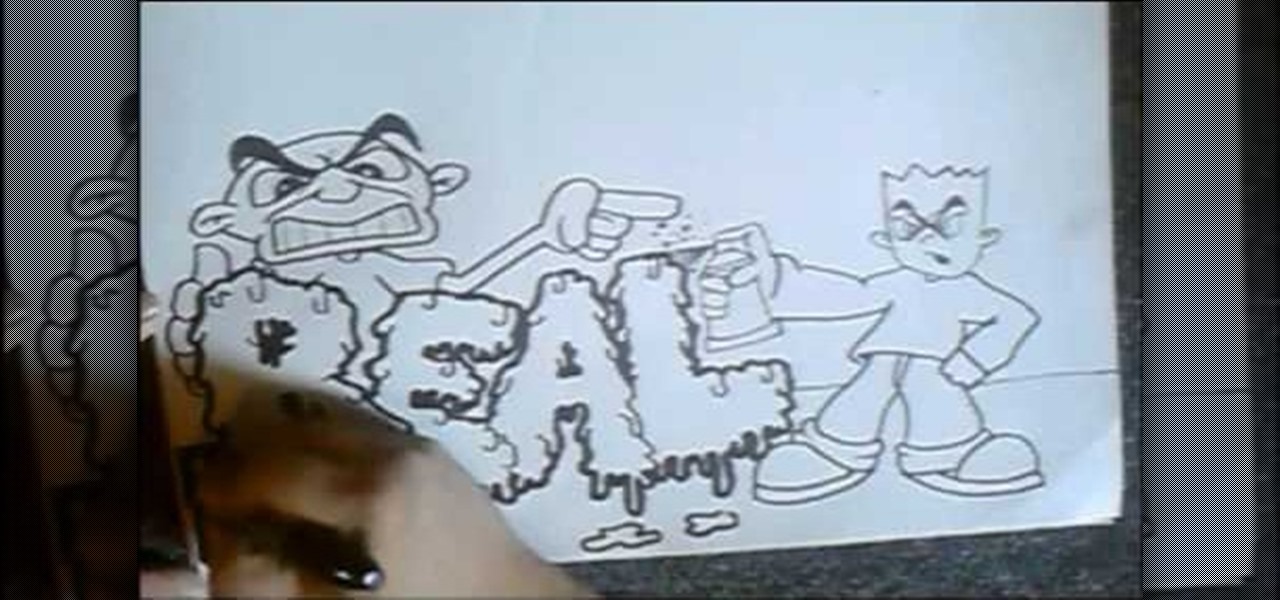
In this tutorial, we learn how to draw graffiti letters. When you are drawing these letters, you will want to use as much imagination as you can. Make sure to add in your own personal flare to give each of the letters a special touch. Now, you will draw the letters making them into a large 3D letter. Add in swirls and lines to the edges of the letters to give them a wet look and then add in shading to the side to make it look darker. Add in more shading and darker outlines, then when you are ...

In this video, we learn how to apply eyeshadow. First, you need to see what your skin tone is and research colors that work best with it. Then, you need to get the right tools. Once you have the right brushes and eyeshadow colors, you are ready to apply. Some brushes that might work include: fluffy, straight, small and large. Now, close your eyes and dab the eyeshadow onto your choice of brush. Brush the color all over the eye, making it darker on the end of the outer edge of the eye. Then, a...

In this video, we learn how to draw Maplestory Bigfoot. Start out by drawing the outline of the character, then start to draw on the details. Once you have finished the outline of the entire character, start to use a darker pencil or pen to make it darker. Add in shading on different parts to make it look 3D, then add in lines to make the character look more realistic. Add as many details as you would like, then when you are finished you can color in the picture as you would like. You can rep...

In this tutorial, we learn how to draw Neopet cartoon cats. First, use a small brush to create the outline of each of the cats. Use light strokes to make the outline, then start to add in the details onto the cat with a darker colored brush. Add in the details of the face, including the whiskers, mouth, and eyes. Don't forget to add on the ears as well. Erase and lines that are on the back of the drawing, so all you see is the darker and more exact lines. Continue on drawing the body, making ...

In this tutorial, we learn how to draw an 18 wheeler semi truck. Start out using a pencil to draw the outline of the truck, using lines on a vertical point to make sure everything is even. After this, use your pencil to smudge darker marks throughout the truck. Next, use the pencil to make darker lines for the outline of the truck and add in more details to it. Make sure to draw in the tires, as well as the windshield and the headlights. Turn the paper around to get the best angles while draw...


