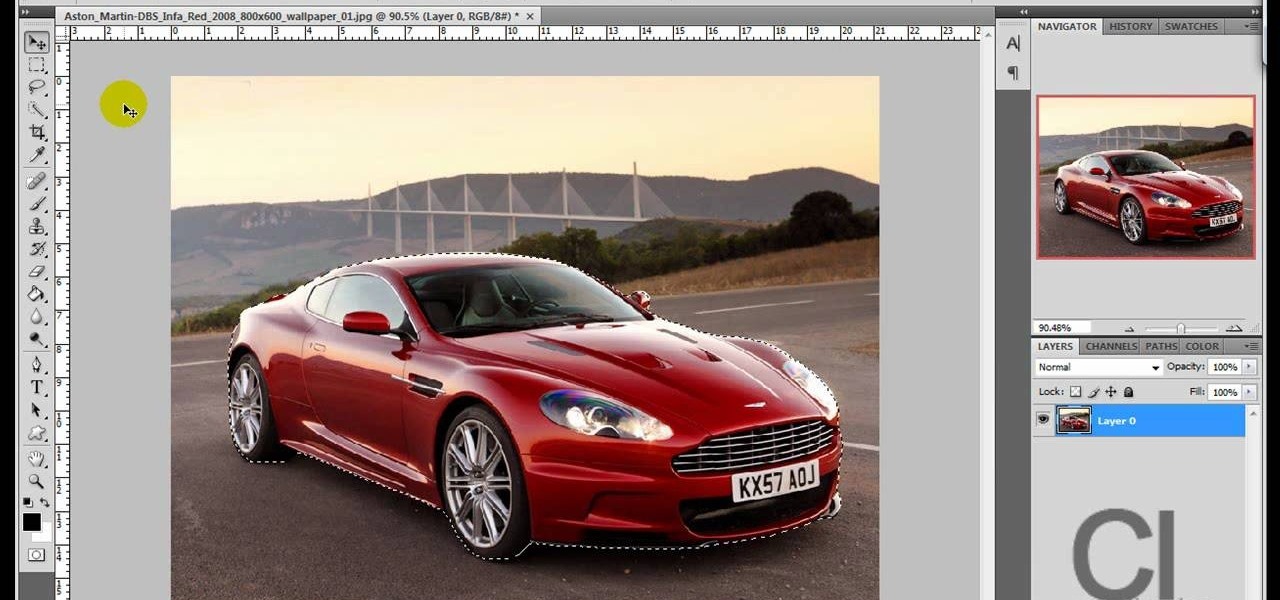
Task Manager got revamped quite a bit in modern versions of Windows. First introduced in Windows NT 4.0, it's become pretty popular among more advanced users. In Windows 10, Task Manager is not just a task manager anymore, it's also a system monitor, startup manager, history viewer, user controller, and the list goes on.

Newer gaming systems like the PlayStation 4 have a nice, subtle feature that goes a long way towards helping create a more immersive experience. Any time you're on the main menu or home screen, an ambient background music track is playing, which adds an aural appeal to an experience that would otherwise be all about the visuals.

Video: . Step 1: Today We Are Going to Draw an Airplane. Let's Start with a Rectangle in Two Point Perspective. Before We Begin We Need to Figure Out Where Our Horizon Line and Vanishing Points Will Be. Sit Back and Think What Kind of Look You Are Going for.
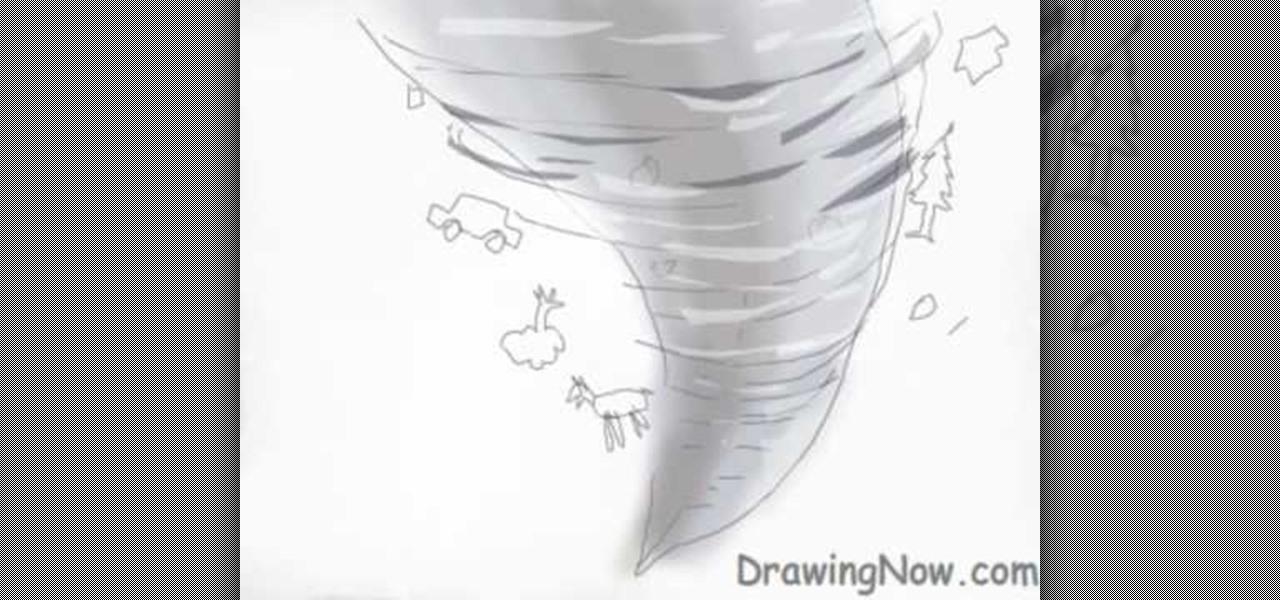
Tornados are a force of nature, and very fun to draw. This tutorial from the fine folks at Drawing Now demonstrates how to draw a tornado surrounded by flying cars and trees. Here are their step-by-step instructions:
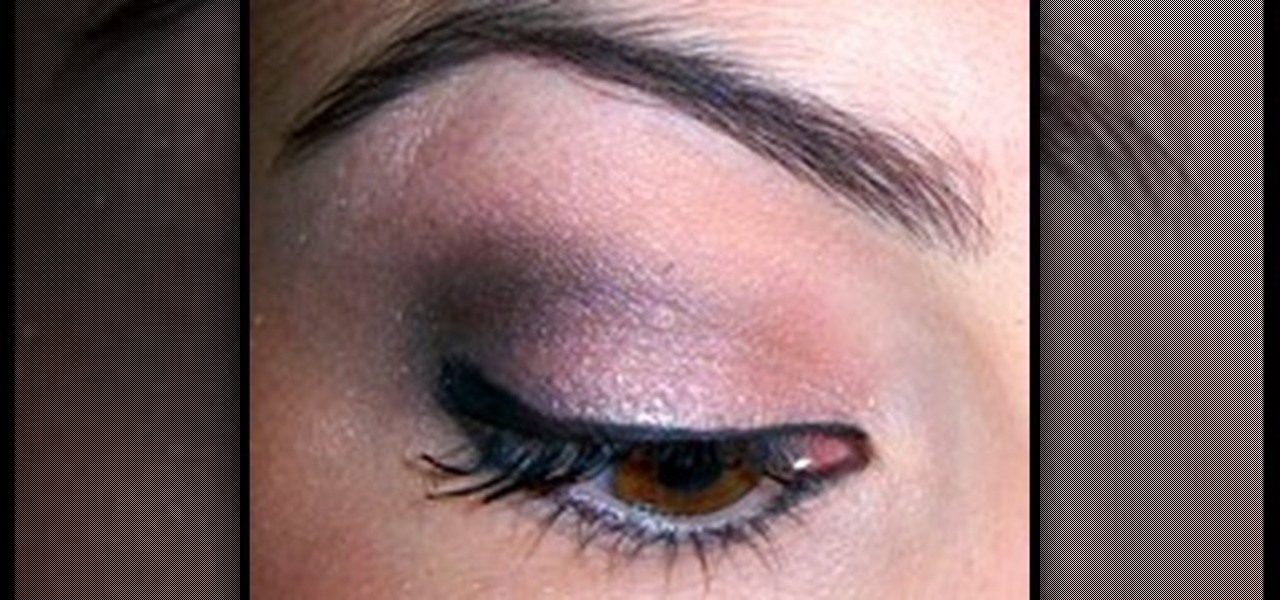
This video shows how to do the "outer V" eyeshadow technique. All you will need are 2 shadows (1 medium/light and one dark), eyeliner, and mascara. First you must prime your lid using an eyeshadow primer or cream shadow. Now take the lighter shadow and cover the entire eye area in it, concentrating it on the lid. Next take the darker color and put it on your crease brush. Apply the shadow to the center of the crease, and blend a little of it inward, but focus most of the color on the outside ...
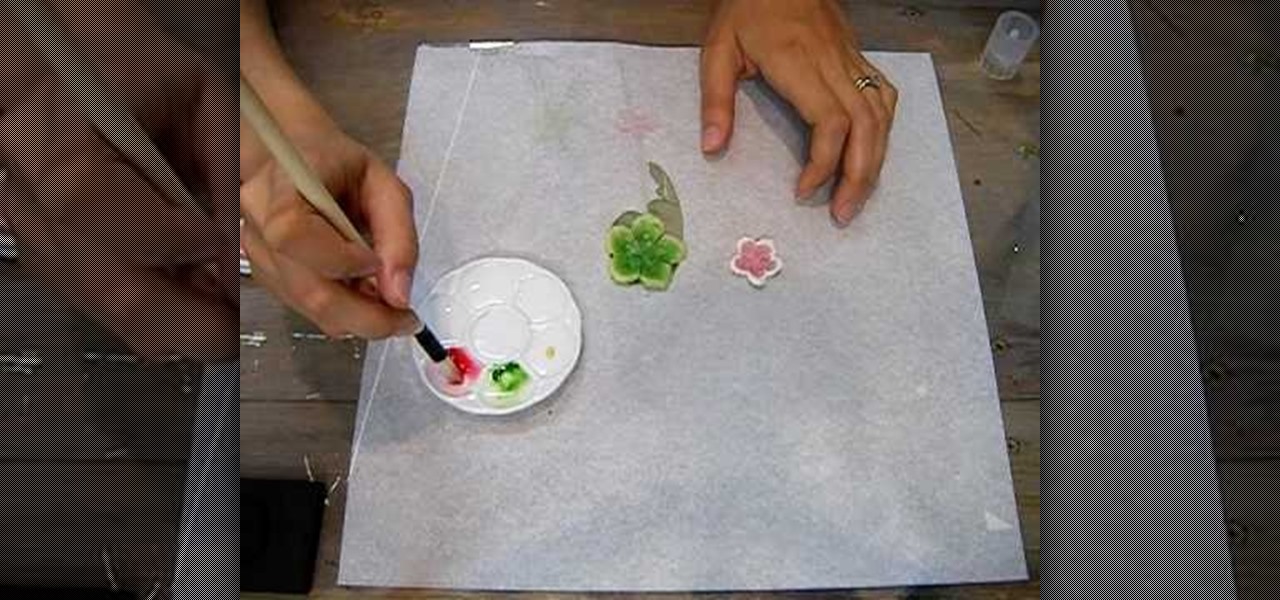
Supplies needed1. flower cut outs (you can buy them from A Piece of Craft)2. Water colors3. paint brushes4. clean water5. heat gun5. Water color pallet

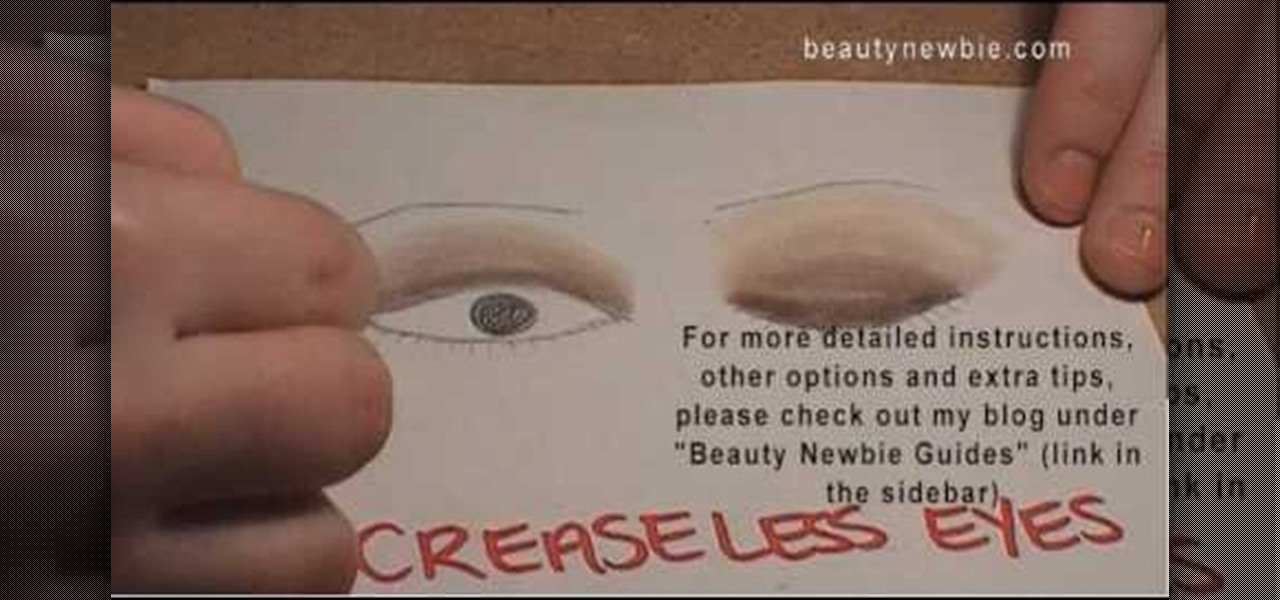
Beauty Newbie suggests determining the shape of your eyes to create dramatic makeup looks using eye shadow. For close set eyes, you'll need to create more space between your eyes. Try applying a light shade on the inner third of your eye. Then, on the outer part of your eye add a darker shade. Its not necessary to always use three shades, although it does enhance the end result. If your eyes are wider set, you'd just do the opposite of the close set eye technique. If your eyes are deep set, A...

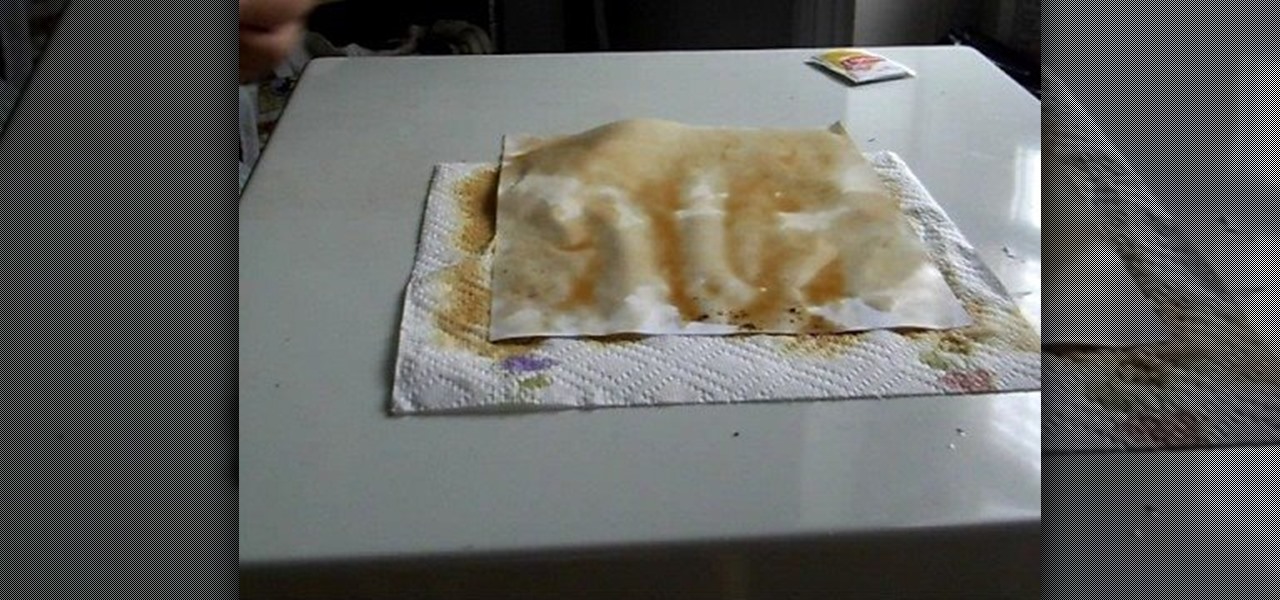
This video demonstrates how to stain a white sheet of paper and make it look antique. You'll need two tea bags (an extra one if the other tears open. Place the paper to be stain on a tissue or newspaper to avoid a mess. Take half a tumbler of hot water and dip a tea bag until the color becomes dark orange. Take out the tea bag and gently wipe all over the sheet of paper and also dab gently on the applied parts for a darker stain in some regions to look natural. Repeat this process by turning ...

Whether it be for a school project or just a funky looking journal or letter, making your paper look antique is very easy. Antique paper is great for invitations, props, unique stationary..lots of things! This tutorial will teach you how to age your brand new paper instantly for a neat, old fashioned look.

During Easter, everybody stocks up on the eggs because dying eggs is a great Easter activity. But there's something else you can try… dying and marbling. Watch this video recipe to learn how to dye and marble Easter eggs. A new twist to Easter eggs.

Want a smokey eye look but only have a single type of eye shadow? This home beauty video tutorial will teach you how to create a classy, imperceptibly gradiated eye look using that single shade of eye shadow.

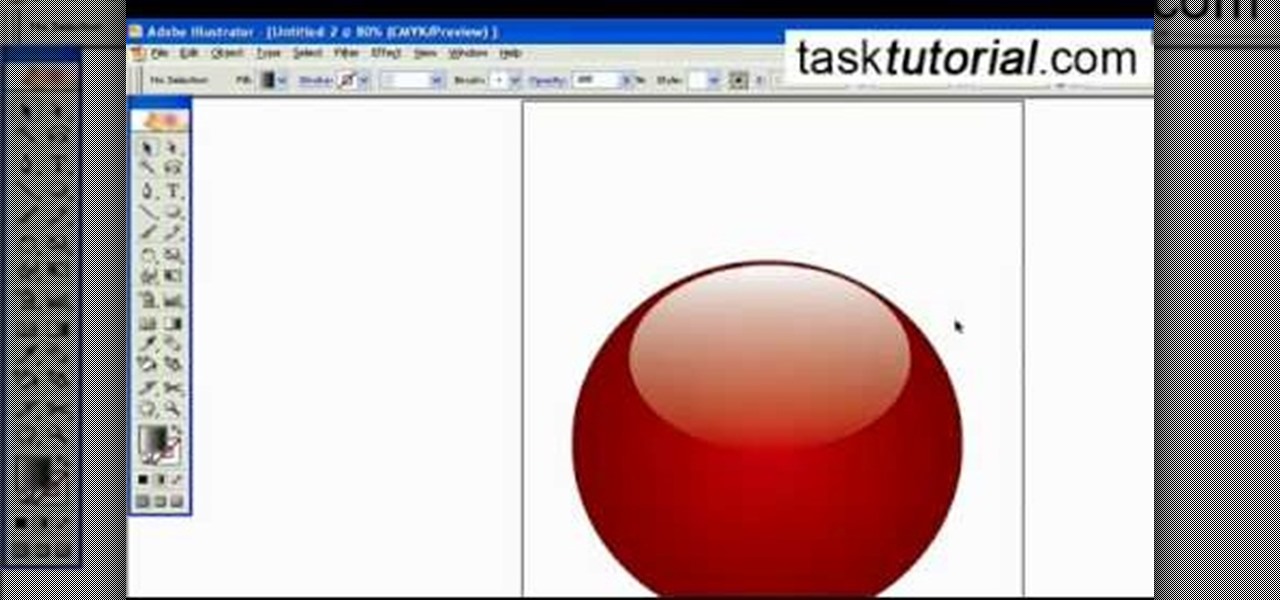
To create a Christmas ornament in Illustrator is very simple if you follow the steps below. Before starting the process one should ensure that all project files used in the tutorial is available. First by holding the shift key draw an oval, then go to gradient and create a new gradient which is at right side of the window. Now select red color and make it darker, then select 'Radiant' from the tool and switch the color positions. Select the ellipse tool once again and create a new shape on to...

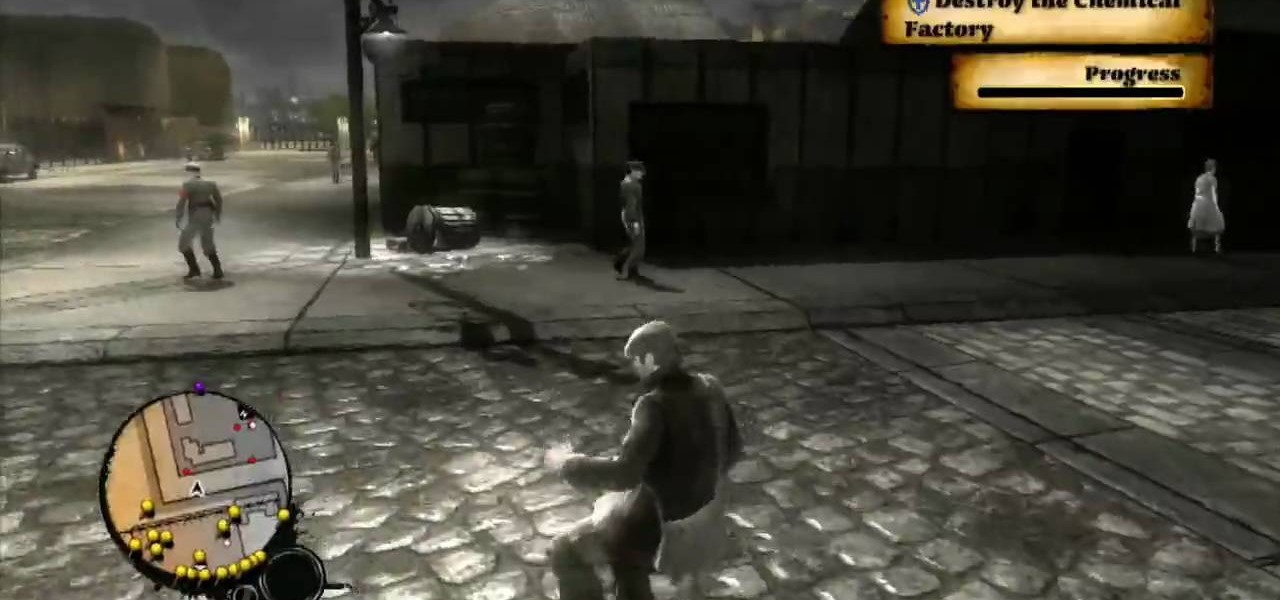
You may have to eventually abandon your stealthy approach in this mission on The Saboteur for the Xbox 360. The second mission in Act 2: Better Dying Through Chemistry is when you reach the entrance, there's a gunner behind sandbags by himself. If you take him out quickly and disguise yourself you can actually play this level pretty quietly. There are two basic kinds of targets, the smaller, thinner tanks, and the bigger, darker tanks. The big tanks you can blow with dynamite and as long as y...

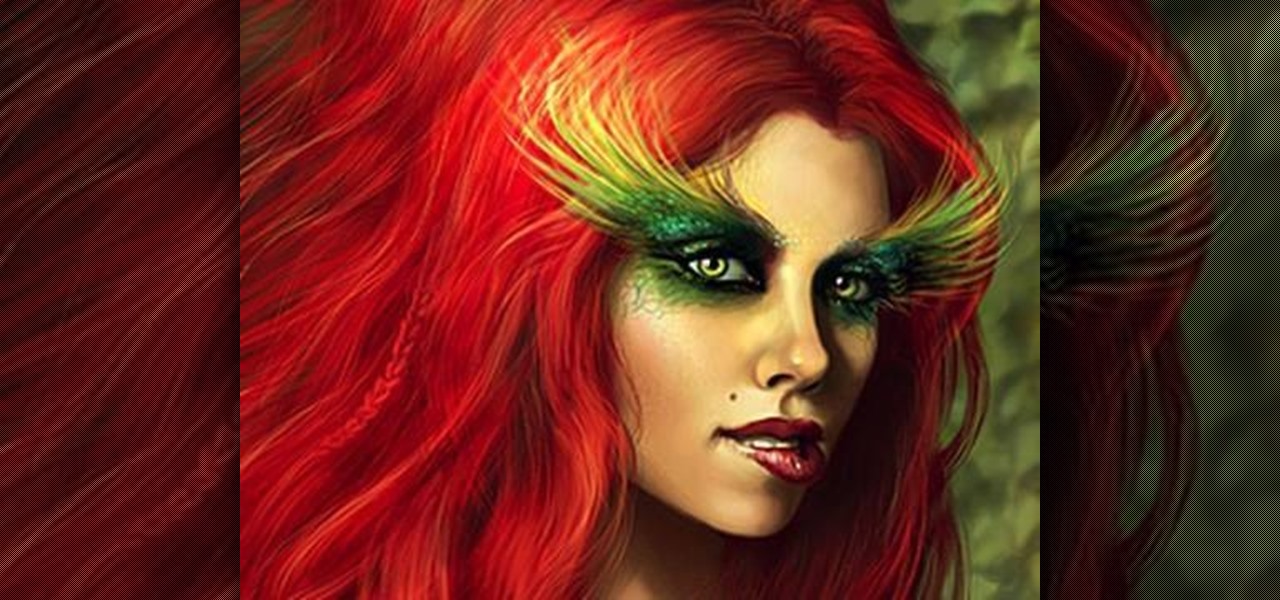
Jessica Harlow presents a great look for Halloween. She mostly uses eye shadows by "Beauty from Earth" and "Obsessive Compulsive" brands, but thinks it is OK to use colors from any 88 shade shimmery shadow palettes available in the market.

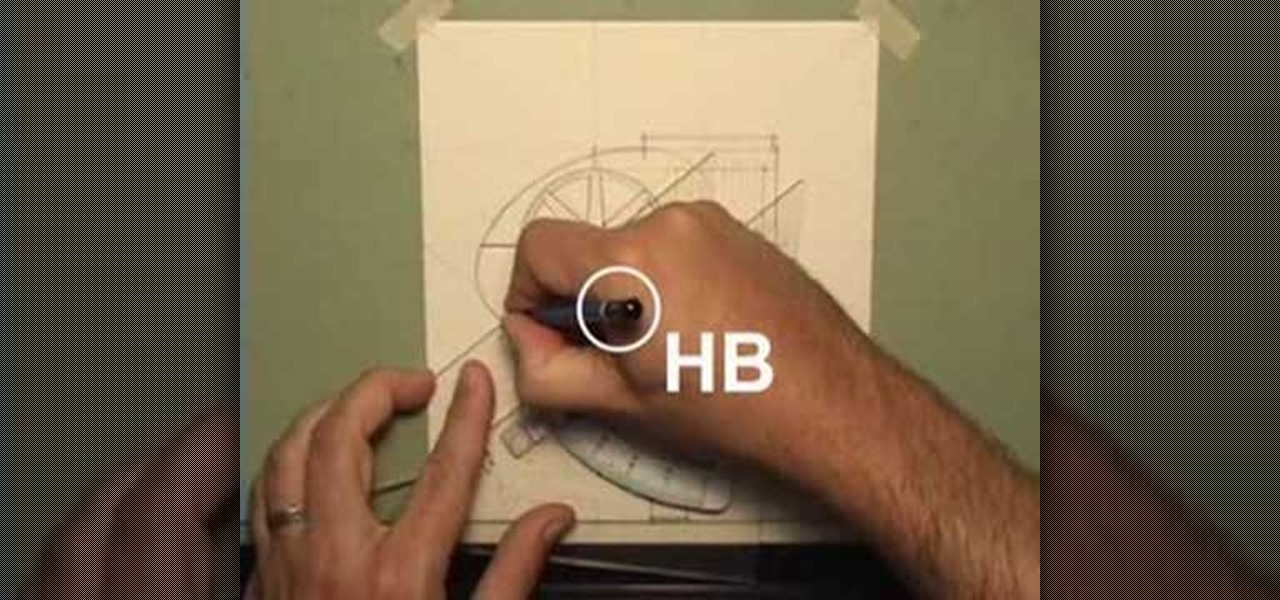
Take a lesson in architecture from renowned architect Doug Patt by watching this video tutorial. If you want to learn about drawing and designing, without going to school, Doug's just the teacher. Watch to see how to design and draw with lead like an architect.

In this tutorial, we learn how to create a toned-down, everyday makeup look. Start out by priming the eyes, then brushing on a light nude color to the entire eyelid. After this, brush a darker color onto the crease of the eye and blend the two in together. Next, take a light nude shimmer color and brush over the eyelid on top of the other colors. Next, take this color and brush it up to the brow bone to create a highlight. Add in a dark brown color in the crease of the eyes, then blend in to ...

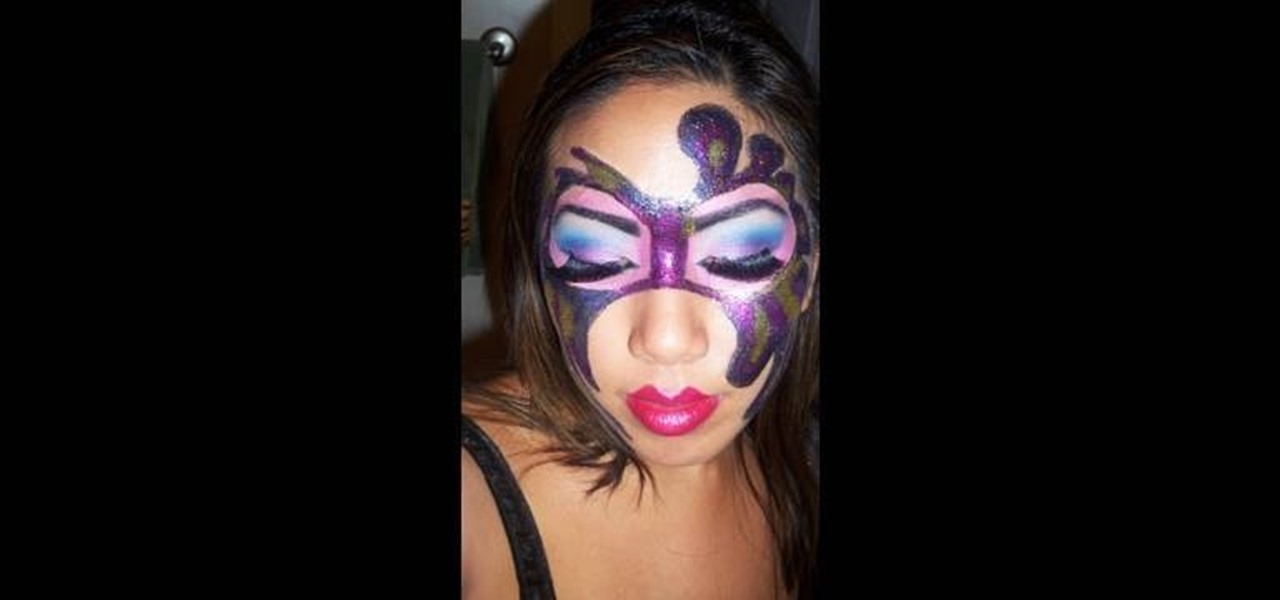
In this video, we learn how to apply a glitter makeup masquerade mask for Halloween. Start off by applying primer to the eyes, then a dark pink eyeshadow up to the crease. Next, apply purple to the lower lids, blue to the crease, and white underneath the eyebrow. After this, take a darker blue to the outside of the eye and blend together with the pink in the middle. Next, apply the blue shadow to the lower lash line, then apply eyeliner on the top and bottom of the eye in black. Now, you will...

In order to make a pop up greeting card, you will need the following: 3D Maribu pens, a paintbrush, water, scrap paper, a pencil, a ruler, a cutting knife, eraser, 3 pieces of colored card stock, a white card, scissors, and a glue.

Drawing Japanese schoolgirls is one of the staples of manga-style art. Here, the drawing instructors at Drawing Now demonstrate how to draw Konata, one such character from teh manga series Lucky Star. Here are step-by-step instructions from the artist:

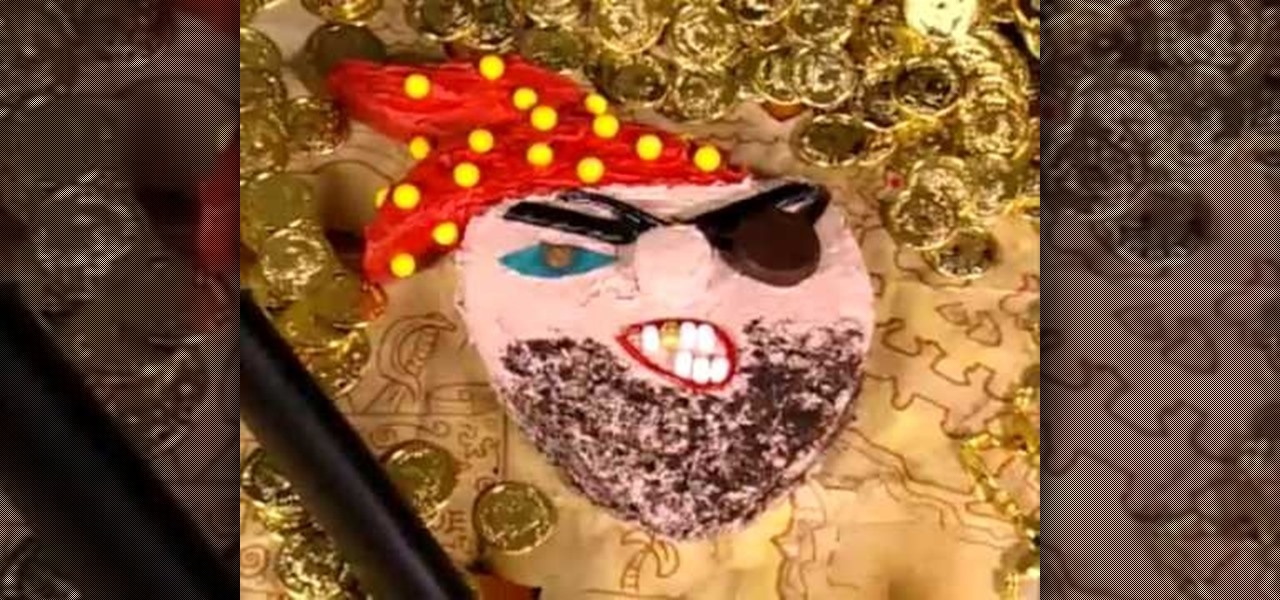
This video shows us how to make and decorate a cake that looks like a pirate. You will need 1 baked 9' round cake, 2 1/2 cups of white frosting, 1 1/2 cups red frosting, 1 TBSP. brown frosting, chocolate cookie crumbs, mini jaw breakers, fruit leather, an M & M, a peppermint patty, black licorice, red licorice, Tic Tacs, and a marshmallow.

Dressing a plus-sized shape can seem difficult. However, if you dress correctly for your body type, you can easily look stunning! Make sure that you determine your body type, which is all about the proportions of your body.

In this how to video, you will learn how draw a '56 Chevy truck with flames. First, draw the outline of the car. Next, go into it with the windshield and driver side window. Next, draw the two wheels on the side. Also draw the lines for the fenders of the car. Add in the grill and head lights of the car in the front. Finish the basic outline with the vents on the hood of the car and the details of the back of the truck. Next, draw the flames in with a red marker. Outline the flames with a yel...

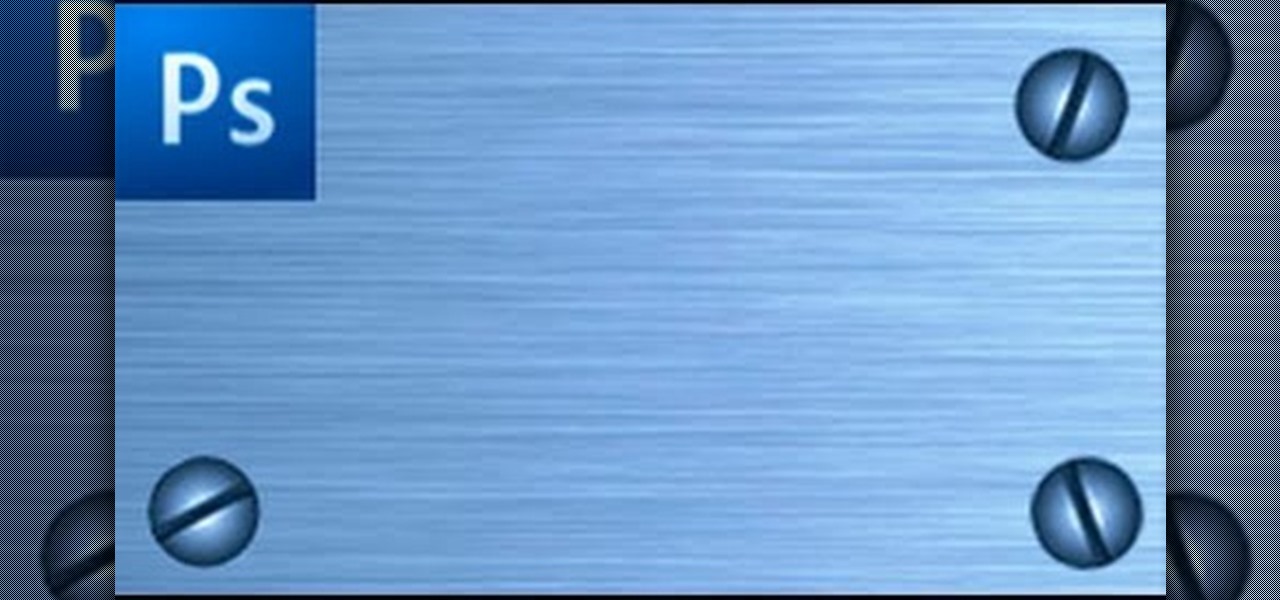
In order to make a brushed metal effects in Photoshop you should first go to your gradient tool and select a dark grey or a black and click okay. Shift and drag your mouse to create the gradient. Next, go to filter, Noise, and then add noise and change the percent to 40% and click okay. Now, go to blur and ocean blur and change the angle to 0 and distance to 100 pixels. Now, for the sides to look like brushed metal, crop those sides out. Now you have a metal effect. To make a screw, click on ...

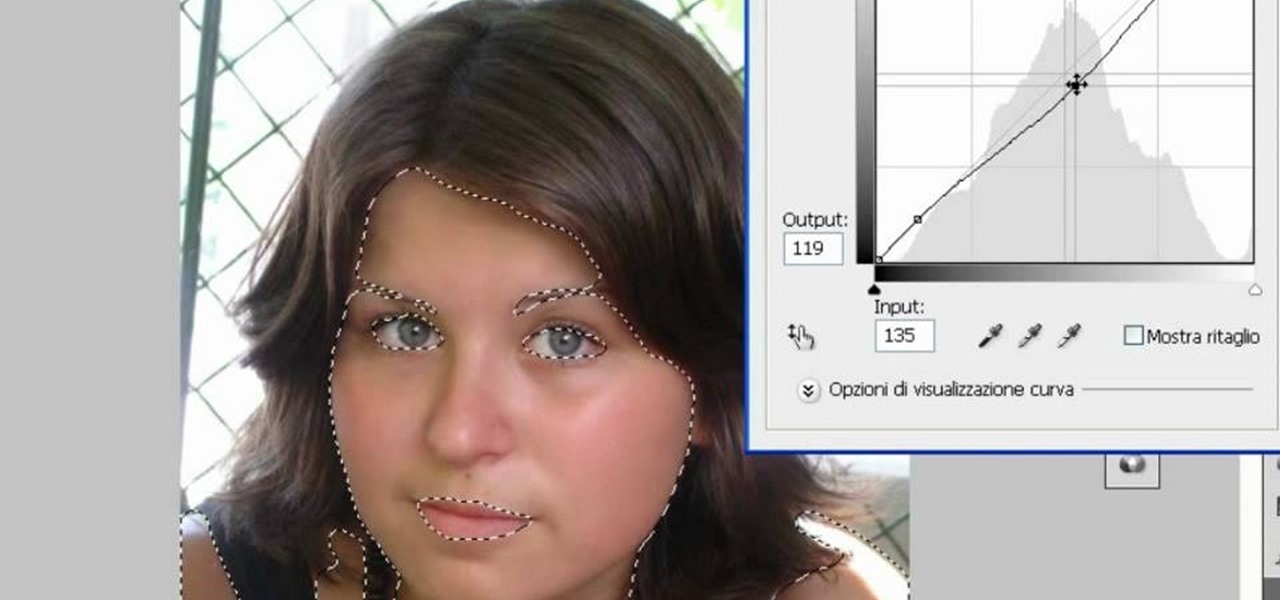
In this video tutorial, viewers learn how to make a digital sunburn using Adobe Photoshop. Begin by importing the image into the program. Then use the masking tool and select the areas of the skin that you want to sunburn. Now select a reddish color and use the brush tool to paint the select areas. Then click on the masking tool to create a selection use the marquee tool to invert the selection. Now right-click on the selection and select Inverse Selects. Then go to Image, click on Regulation...

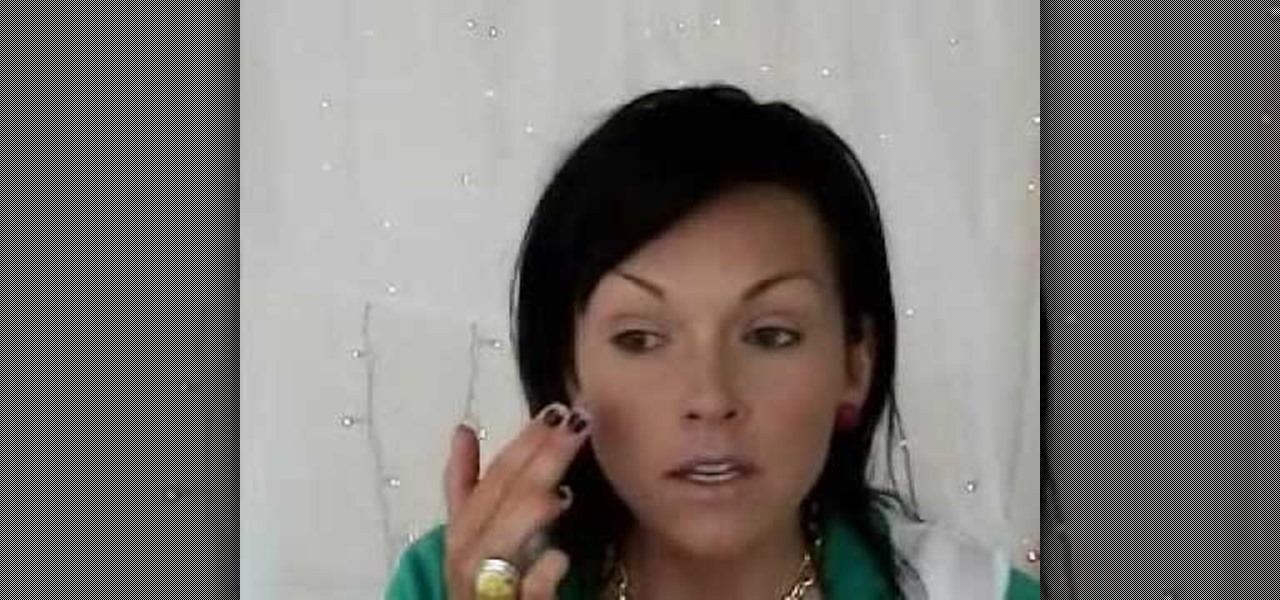
Ever wonder how to get a flawless face? Kandee Johnson shows you how. After cleansing your face or getting out of the shower, use St. Tropez bronzer and then moisturize. After moisturizing, apply foundation using fingertips. Kandee uses Lauren Mercier Moisturizing Foundation in Golden Beige. Make sure to apply to eyelids so you won't see veins or redness. The next step is to use concealer. Kandee uses Lauren Mercier Two - Tone concealer. Use the Lighter color underneath the eyebrow and then a...

Decorate a Cardboard Sun Mirror- Acrylic Painting Project- Art and Craft

First of all take two pieces of FIMO- one white and the other red color. Now roll them flat on the table into rectangles. Now cut triangles out of them and then join together to form a rectangle which has more white than blue color. Now use a rolling pin to flatten their surfaces. Use a ruler to lift them off the table top. Now fold it in half and roll it again in the same direction. Don’t roll it too hard. Now keep rolling and folding in the same way. Now when you go thinner while rolling it...

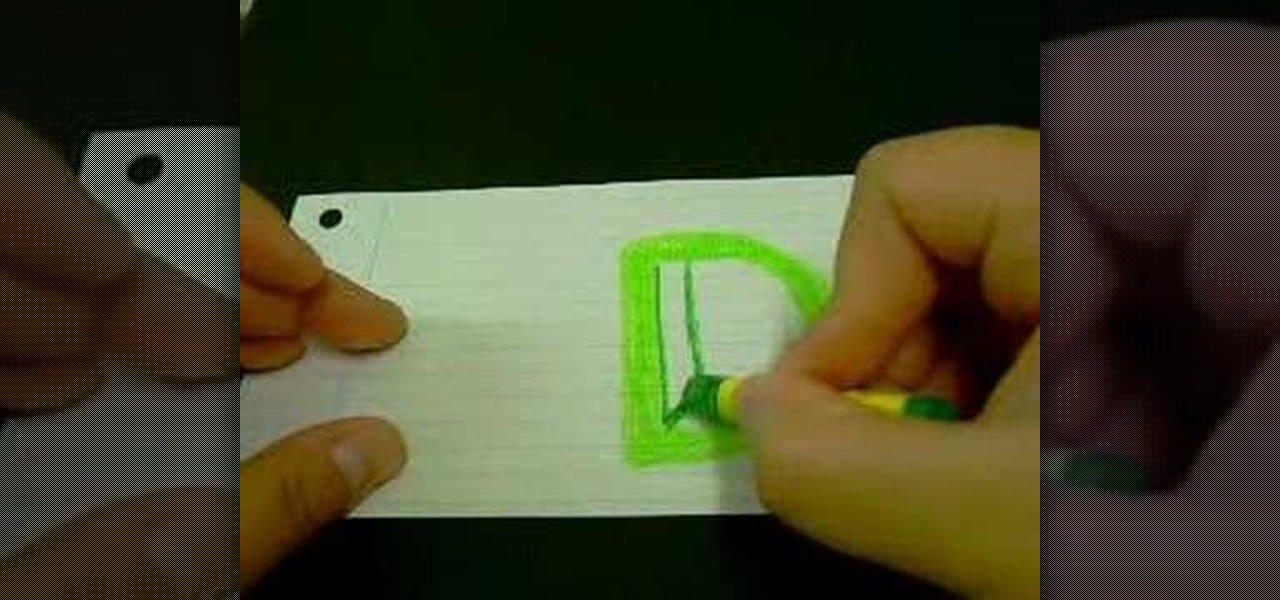
Drawing the letter D as a 3D block letter is easy and fun. To start simply draw the D like you normally would. Next, you need to draw another smaller D inside the first D. From there, draw another D on the outside of the first D. Color in the 3 stacked Ds with your first color. To continue, choose a darker version of your original color. In the bottom left hand internal corner of the D draw a short line that extends at about a 30 degree angle in reference to the bottom of the D. From the end ...

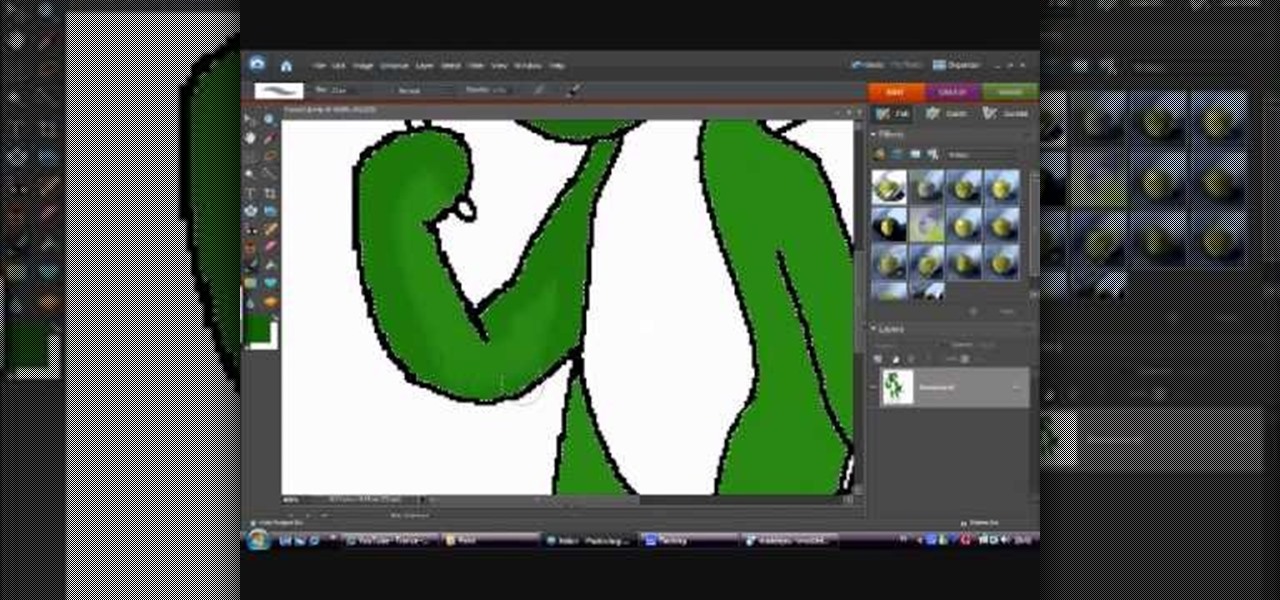
In this how-to video, you will learn how to draw Yoshi from the Mario Brothers universe using MSPaint. First, have a reference photo ready. Open the program and use the line, curved line, and freehand tools to draw the outline. Start off with the face. Outline the body, and then move on to the eyes and mouth. Move on to the outline of the body. Just as with the head, move on to the interior details of the body. Once the outline is finished, fill in the basic green color of the body. You can a...

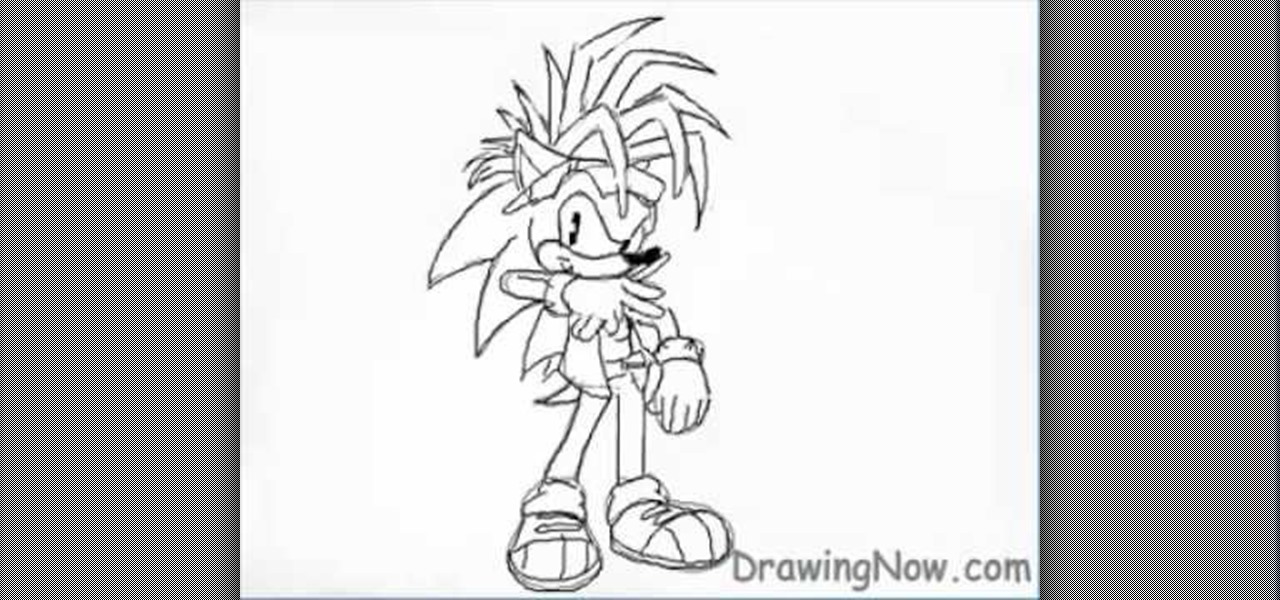
To draw Manic the Hedgehog, you should start by sketching a rough outline of the body, including Manic's hair. Once you have your sketch outline, start drawing over the outline with a darker line, including details like the eyes, nose, mouth, arms, hands, clothes and shoes. Once you have your final outline, go back and erase your initial rough sketch, so that your line drawing looks clean. Now that your line drawing is ready, you can start filling in with color! Start with Manic's green areas...

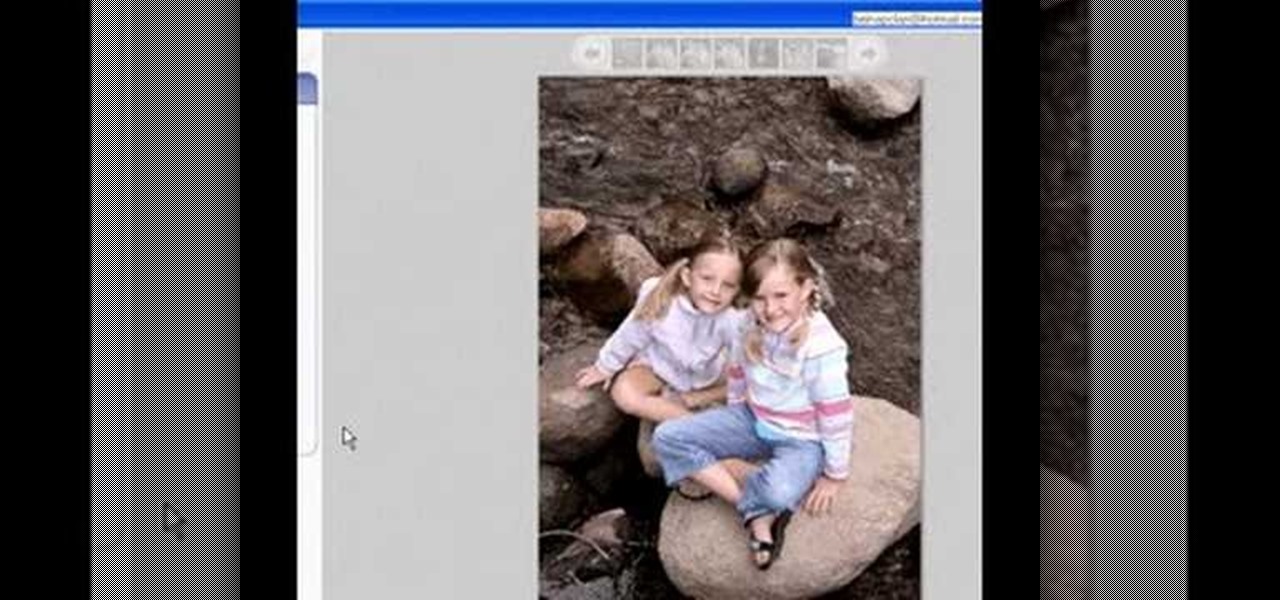
Begin with starting the program Picasa. If the program has been opened, choose an image for editing. Double click on one of the images and it will open. On the left of the screen there is an editing toolbar. The next option after this is to Crop the picture. Click "Crop Picture". Then choose the format you want the picture to be cropped to. Then hit Enter.The next option is "I'm Feeling Lucky". With this option you can give the picture the best color possible.Following with Redeye Repair. Cho...

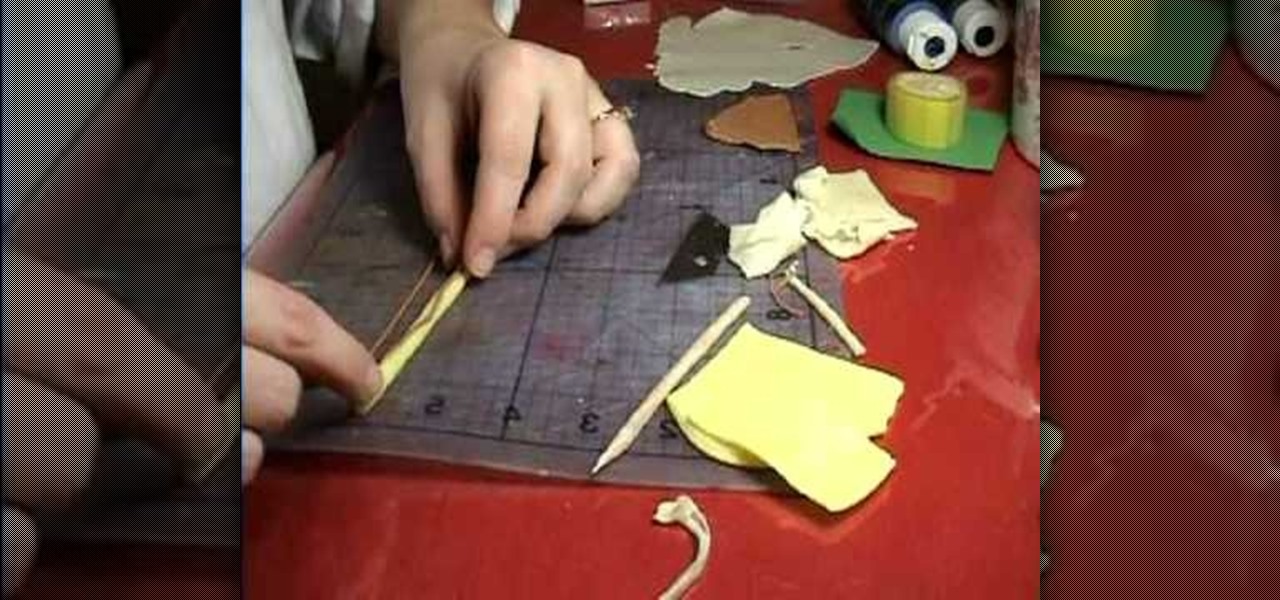
Translucent, yellow and brown clays are needed to make the banana. For the covering mix the translucent and yellow clays. Another translucent mixed with a little yellow is needed for the flesh of the banana. The seeds are made with the brown mixed with translucent rolled out very thin. The rolled light yellow clay needs to be twisted into the shape of a triangle vertical. Take a translucent rolled flat and place the yellow clay and cut little clay and roll it together into a very thin roll. T...

This video shows us how to make lilies for a dollhouse just in time for Easter. First you take a toothpaste cap and some copper metallic paint and paint it. This is your flower pot! Make the flower heads and set aside. Take some clay and stick it into the flower pot. Then take some wire, the length of what you want for stems, and stick one end into the flower bloom and the other into the cap. To make these flowers, you take some clay and roll it into a ball. Lengthen your ball into a cone lik...

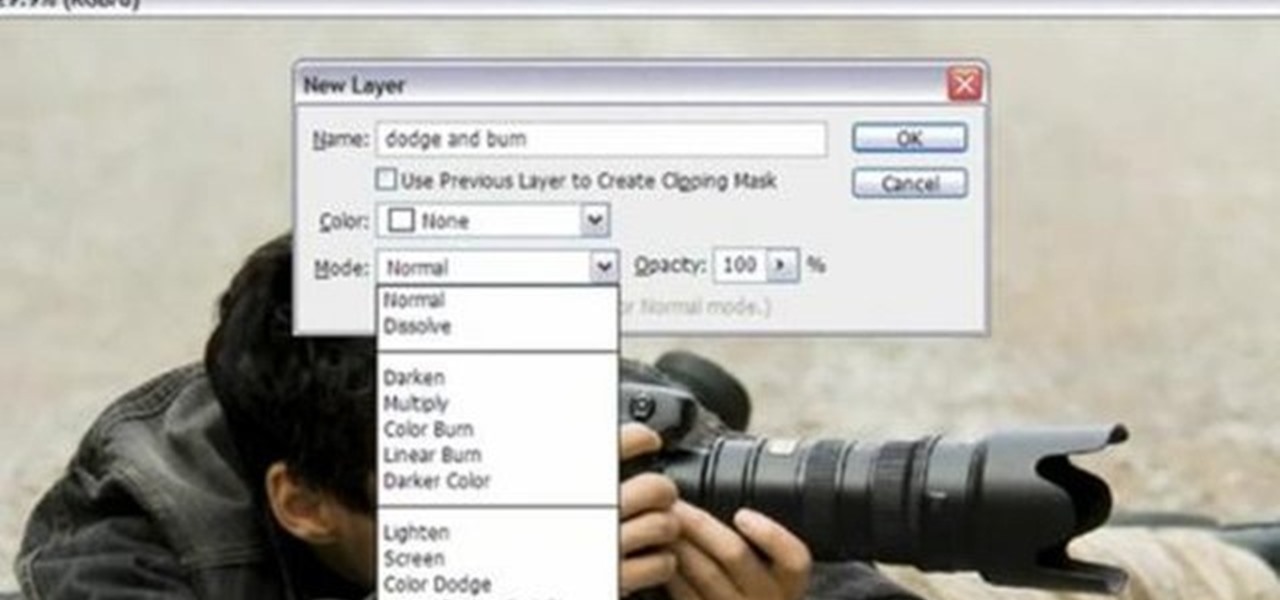
Yanik Chauvin demonstrates how to do Non Destructive Dodging (lighten) and burning (darken) of images using the tools in Photoshop. He shows the image of a man lying on earth with his camera. To start the work he wants to make a new layer which can be done in two ways either by clicking on the ‘layer’ button on top of menu or by pressing down the alt key and clicking on the new layer at button of the layer palette. It will bring up the dialogue box. He named it “dodge and burn” and from the l...

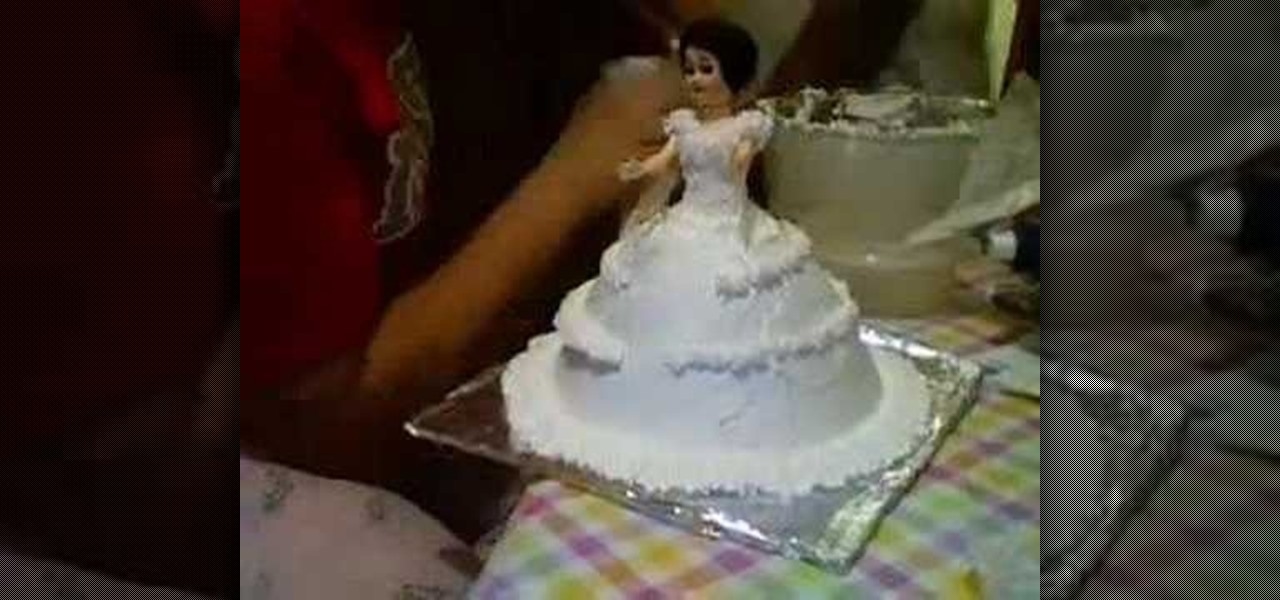
In this video you can see Goth Girl 4Eve completing a frosted doll cake. She begins with a base cake in the shape of a lampshade or angel food style pan with a small plastic doll inserted in the top (or doll top half). A creamy white frosting is smoothed over the bottom with a spatula, then more frosting is added to the midriff of the doll with a pastry bag and rosettes (decorating tip). More rosettes form the cap sleeves and enhance the waist, the hem and the skirt. For the skirt, go around ...

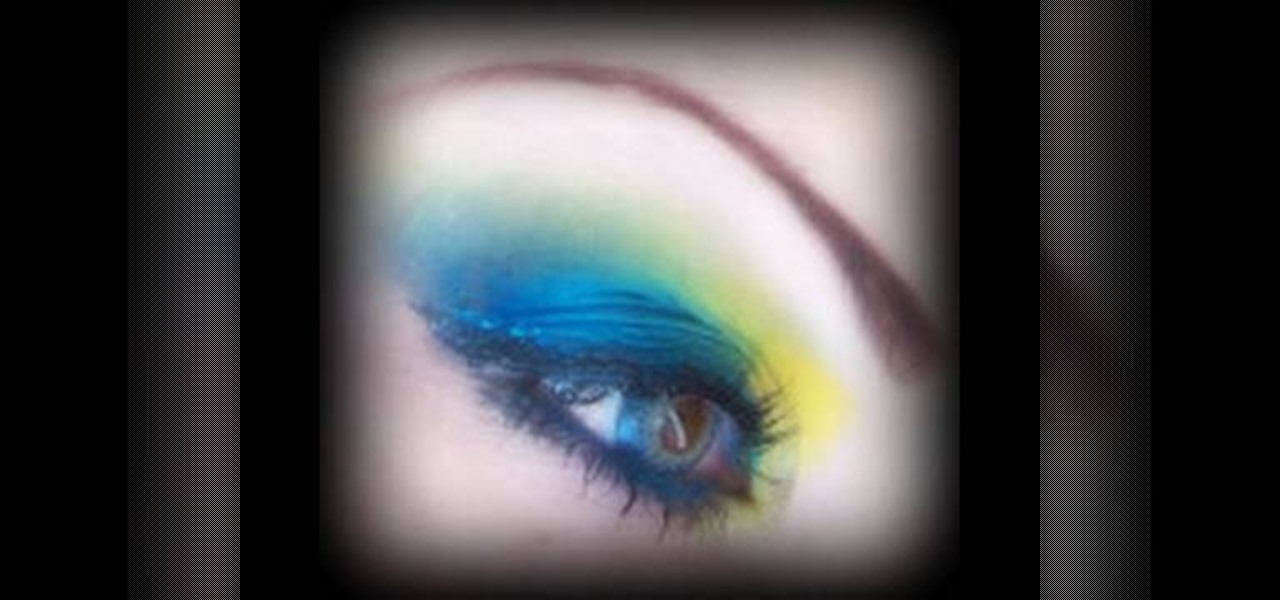
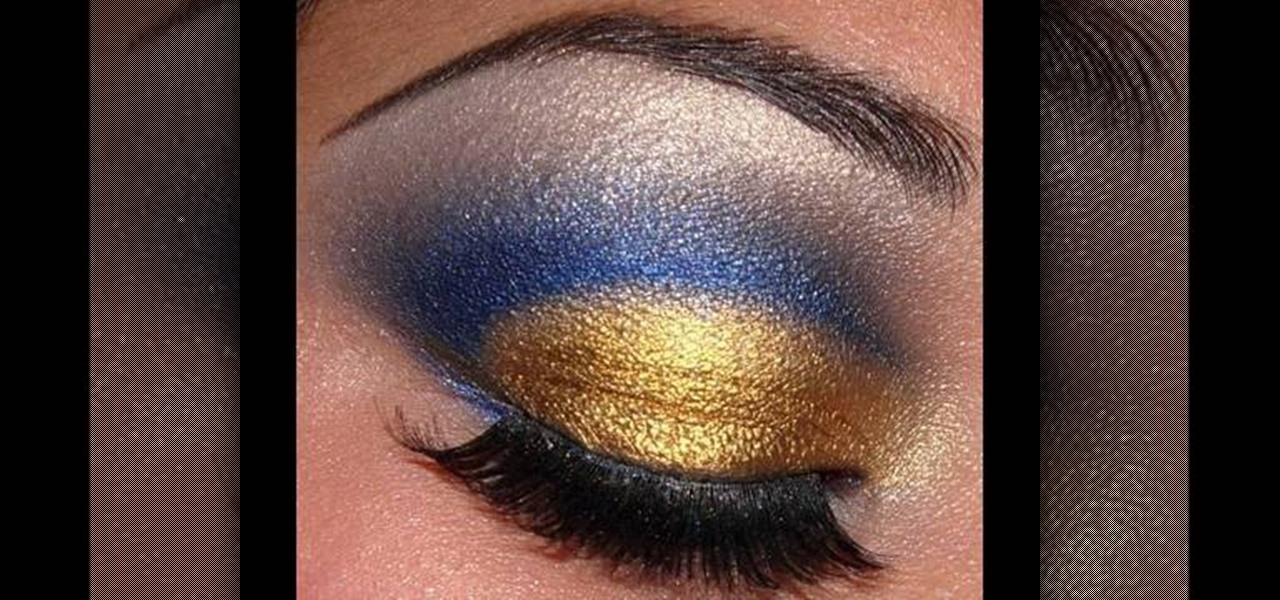
In this beauty tutorial learn how to use Mac and BitchSlap! Cosmetics to obtain a tropical punch-inspired makeup look. The look incorporates yellow and blue tones to the eye area. To begin, make sure to apply a foundation onto the entire eye lid and under eye area. Use a brush to apply the light blue color on the middle section of the eye lid and crease. In the inner part of the eye lid and crease, brush on a yellow shadow. A dark navy color should be applied to the outer portion of the eye. ...

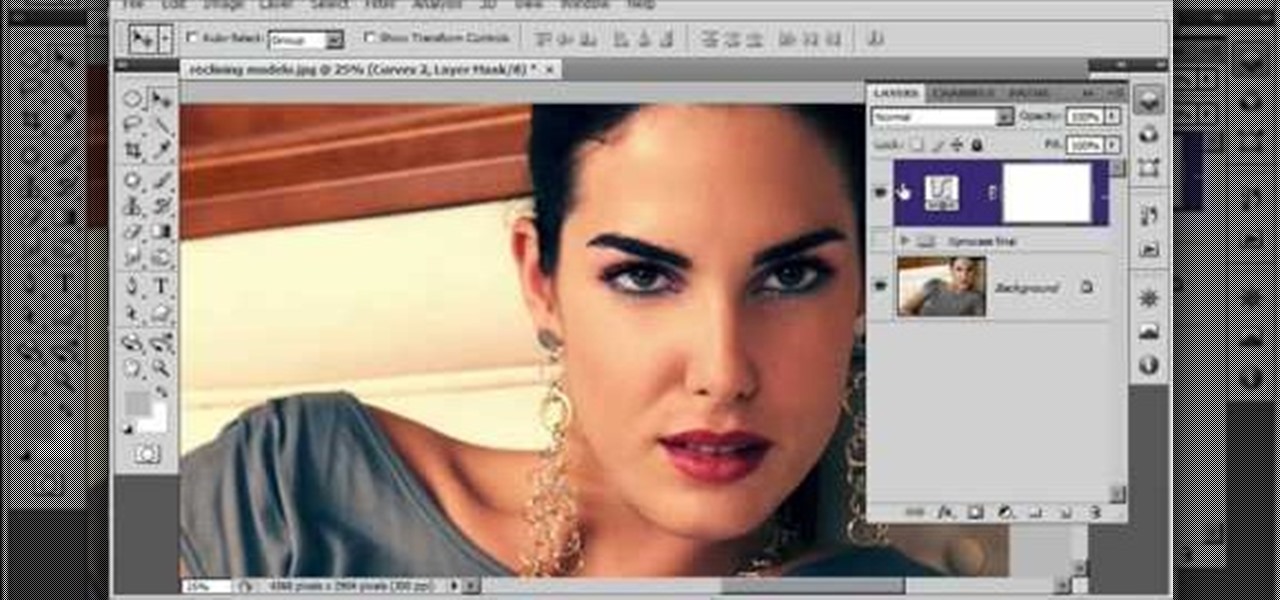
Cross processing is a Photoshop version of slide processing. The result would be you get all these weird color shifts. For reasons best known to people who run the fashion magazines, this look became very popular in the 1990s. Start by adding in a curves layer. Add a new adjustment layer for curves. If you've never used curves before it is recommended that you take a curves tutorial first as for this effect we will need to adjust individual color channels. It is not difficult but if you don't...

Use the "Magic Wand" tool to select the color you wish to change. The next step is to open the replace color box. Go to Image > Adjustments > Replace Color. After the Replace Color box is open, you may have to select the color that you want to change in the image. Sometimes, it will automatically select the color you're changing, but sometimes you will have to use the Eyedropper Tool and click a hue of the color you wish to change. After the color is selected in the "Replace Color" box, you c...

In this video from Logan Salter, he demonstrates how to create a "golden goddess" make-up look. First he massages Lancome moisturizer into his skin. He applies Blistex lip balm to his lips and under his eyes. He uses Studio Tech foundation in a warm tone, applying it with a brush to the apples of his cheeks and over his eyes. He applies concealer to his jawline, around his mouth, and under his eyes. He applies foundation to his whole face with a sponge, then contours under his cheeks with a b...

This tutorial teaches you how to create a blue and gold cut crease makeup look. Use MAC's uppity fluid base on the lid and inner corner. For the lid, use Shock Tart and put it all over. For the inner corners use Obsessive Compulsive Cosmetics called Oric. Blend it into the lid color. Now take MAC's technical color in Auto Day Blue from the outer corner going through the crease. With a small smudge brush, use a dark blue color to cut the crease. Blend the blue out towards the eyebrow making it...


