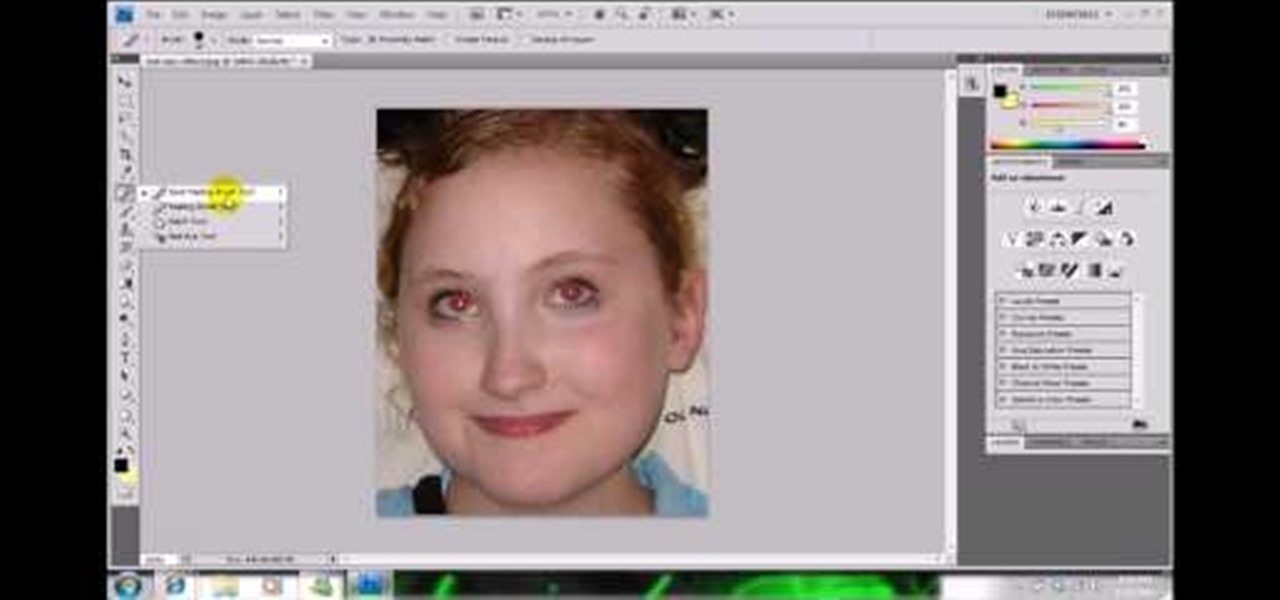
In this video, we learn how to get rid of red eyes while using Photoshop. Make sure you have Photoshop open with your picture up and you're ready to go. First, on the left hand side you will find a "healing brush" tool (which is 7 tools down from the top), click on that and then click "red eye tool". Next, you will click on each of the red eyes in your photo. After this, it will change the color of your red eye to the normal color. If the photo needs changed, you can also change the contrast ...
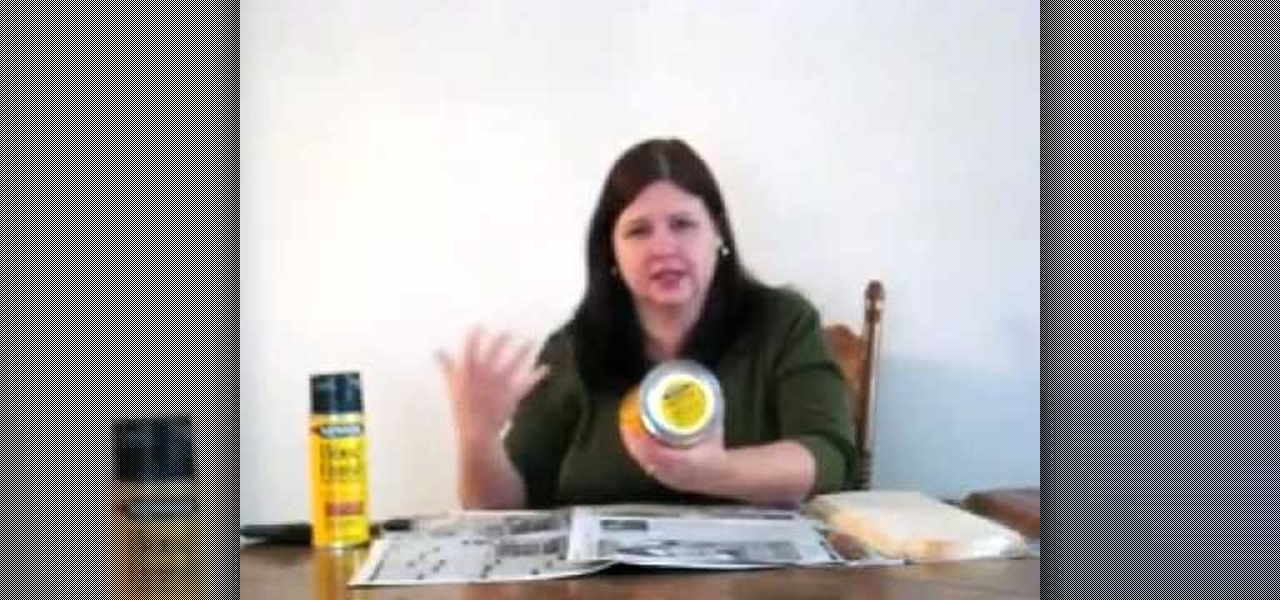
You will learn how to get a nice, even stain on wood in this Home and Garden video tutorial brought to you by TheSoapGuy. It’s really easy and simple to do. Get a finished piece of wood. You should work in a well ventilated area because wood stain generates a lot of fumes. Wood stain comes in aerosol spray and in cans. Mix the stain in the can by rolling the can. Don’t shake it, it will generate bubbles. Open the can and apply the wood stain with a brush evenly on the surface. The more coats ...
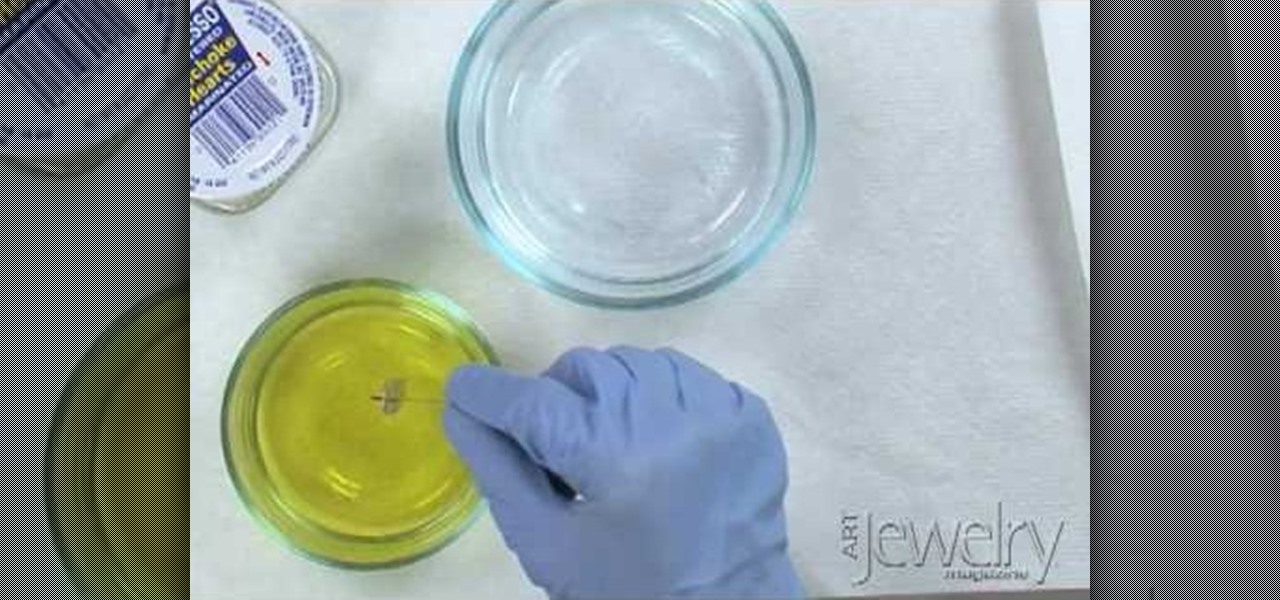
artjewelrymag teaches you how to use a liver of sulfur solution to create a patina. First, be sure to wear protective gloves and eye gear. Be sure to perform this operation in a well-ventilated area because sulfur smells like rotten eggs. To get started, add a few small pieces of liver of sulfur to a small dish of warm water. Use a wooden stick or a small PVC pipe and stir. The temperature and the amount of time you leave the metal in the solution will affect the patina. You can dip the metal...
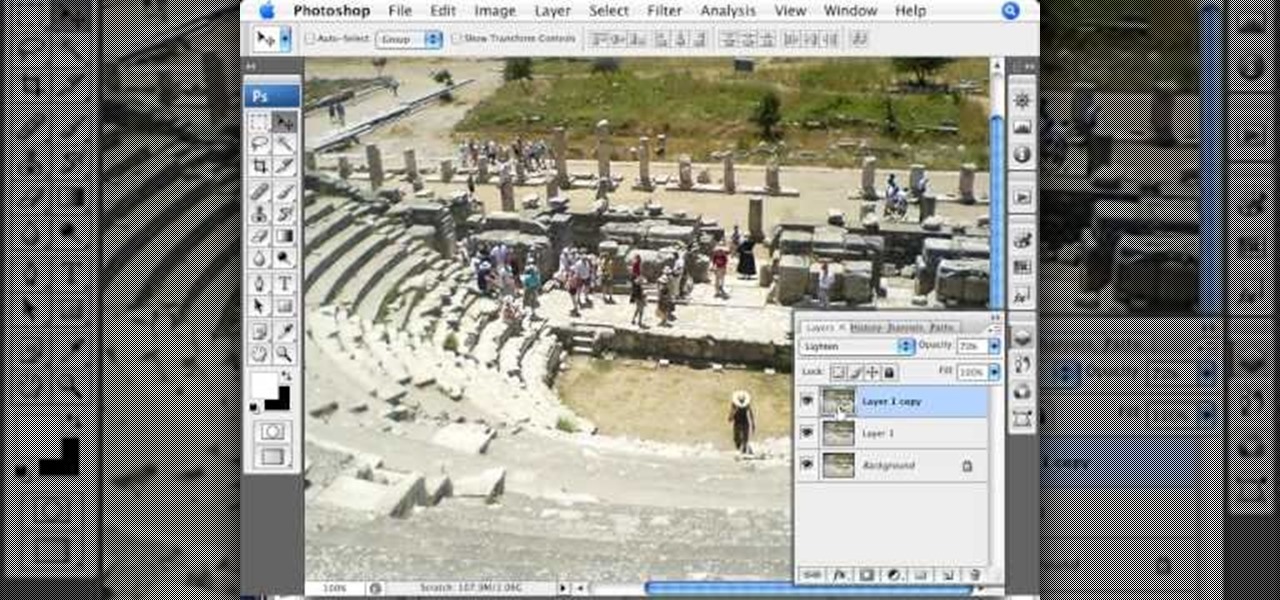
Photoshopuniverse teaches you how to enhance the colors of photos using Adobe Photoshop. You get a photo and duplicate that layer. Set the blending mode to Soft Light. You repeat that step, only the blend mode should be Lighten. The shadows are now darker. You can change the blend mode opacities to 60%-70%, but both layers should have about the same opacity. Also make sure that the white values are not to white and that details, like faces, are still OK to see.
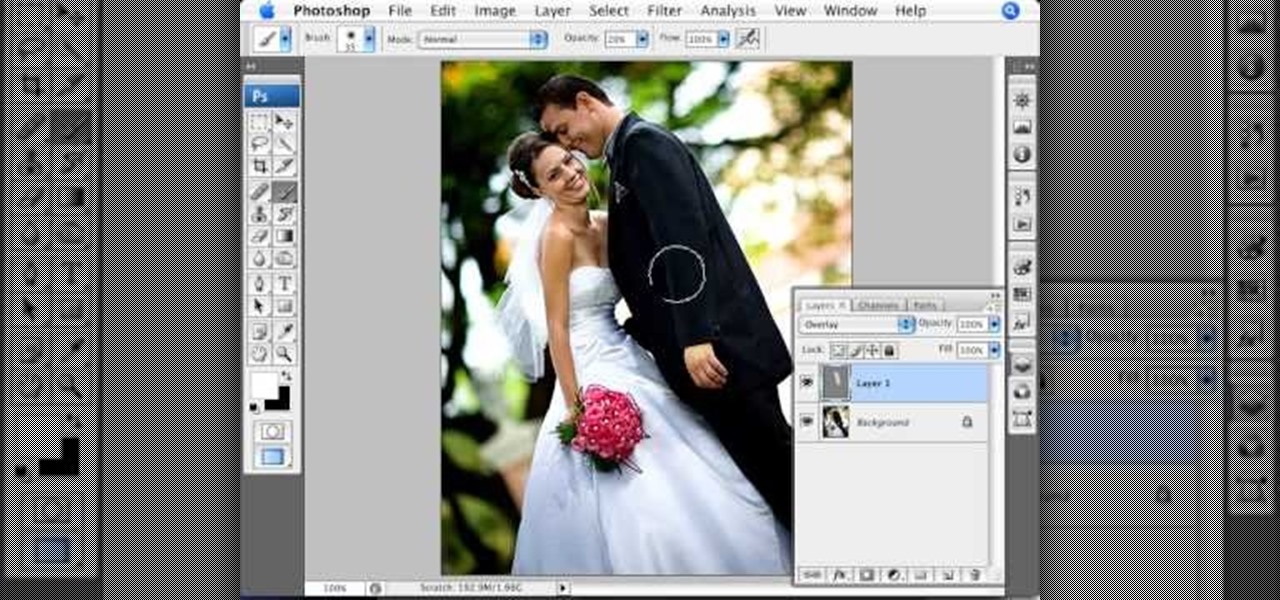
Photoshopuniverse teaches you how to use the Dodge and Burn tools in a non destructive manner, in Adobe Photoshop. Dodge makes things lighter. Burn does the opposite. The problem is that this is destructive operation. Use the Brush tool at 20% opacity. Create a new layer with 50% grey. Change the layer's mode to Overlay. With the black color you will make things darker and with the white lighter. To view the changes, review the overlay layer. To correct a mistake on this layer, use a brush wi...
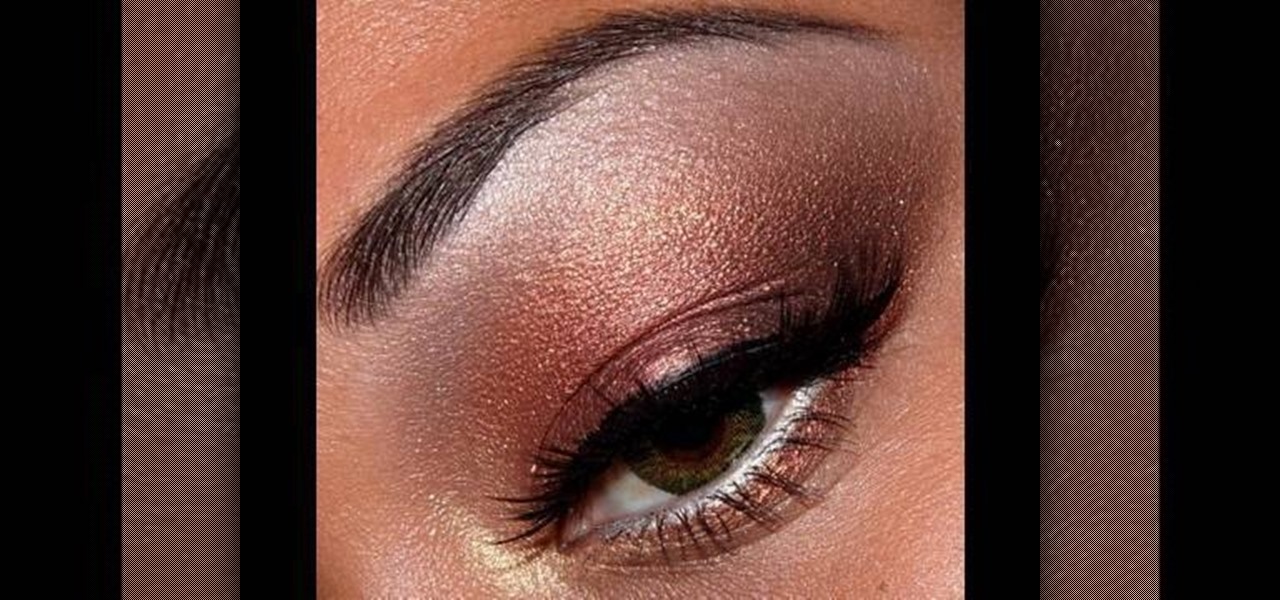
A combination of red and gold eyeshadow is great for emphasizing green eyes - this is because red and gold are complementary colors to green. For the base, apply a clear or skin-colored base to the entire eye area. Use a highlight base just beneath your eyebrows. Blend it in. Use a black liquid base on the upper eyelid. For eyeshadow, start off with a shimmery gold by putting it in the inner corners of the upper lid. Take your red and start off slightly in the middle of your eye, where you le...

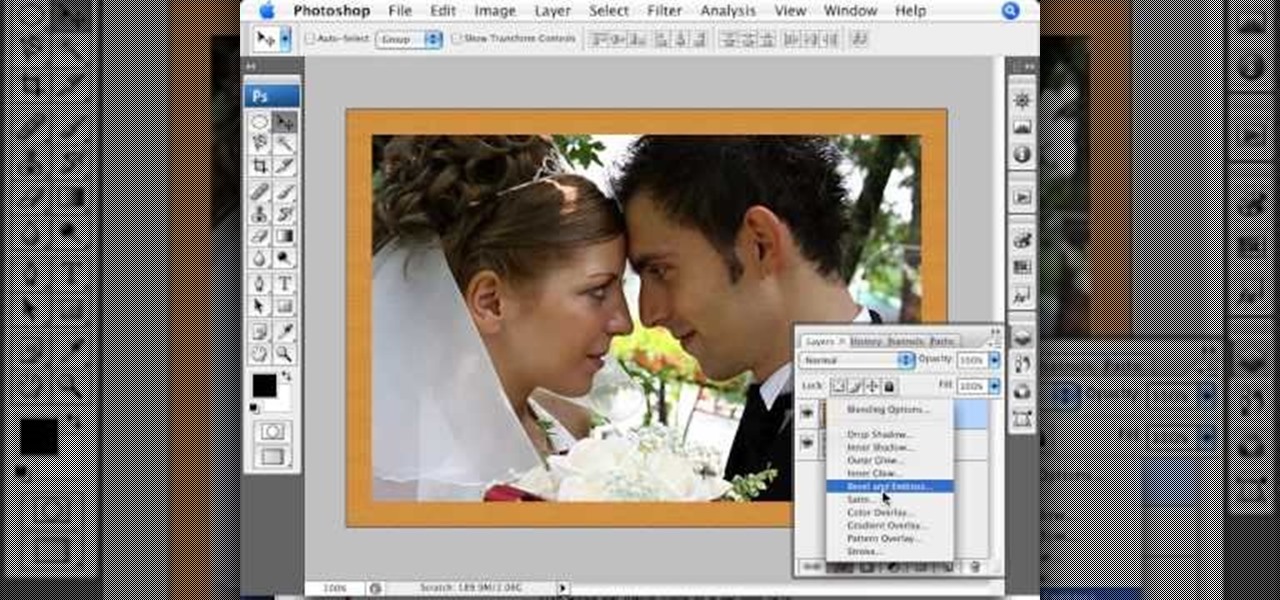
In this video tutorial by photoshopuniverse you learn how to create a wood photo frame in Photoshop for your photos. Take the photo that you want to add a frame to, open it in Photoshop. Open the layers palette and double click to convert to a regular layer and increase the canvas size of the image to the required thickness of the frame. Create a new layer and fill in with the wooden pattern. Apply a mask and reveal the photo as shown. Apply the desired effects bevel and emboss to get the woo...

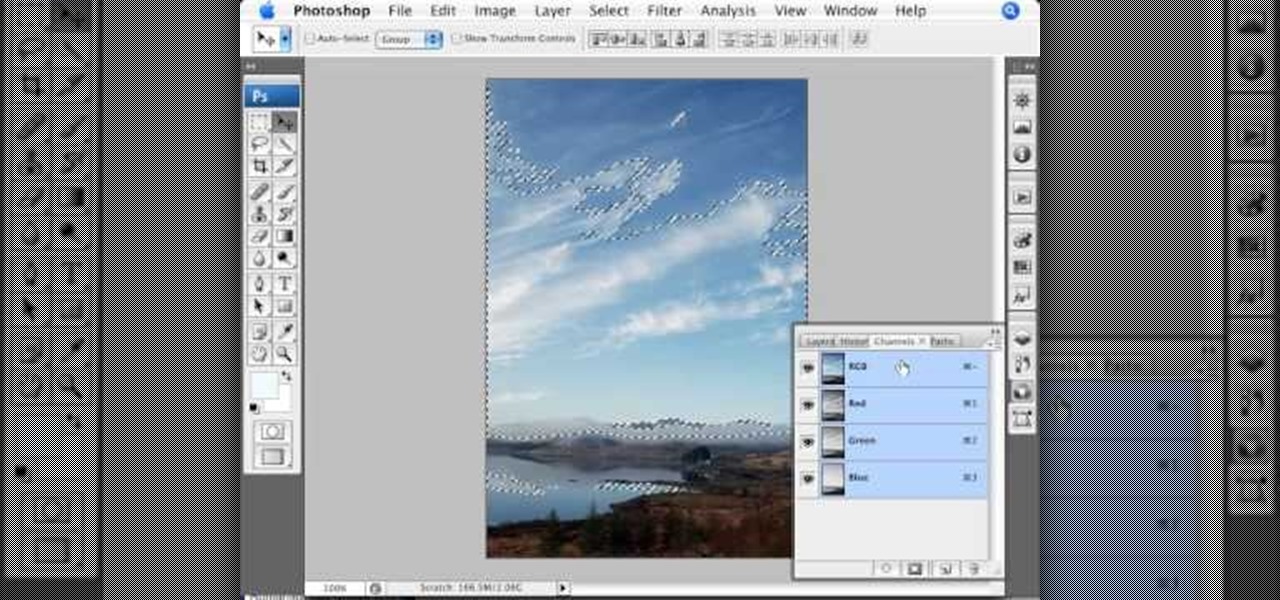
This video is about using a luminosity mask in Photoshop. The luminosity mask is used to enhance the color and contrast in photos that lack each of these. The color is enhanced or punched up. Choose the manipulation tool: channel and RGB. To choose RGB, touch control and then select RGB. Select the 100 % white or light parts of the photo, it will not select the darker or black images. Copy the light parts of the image by using control J. Choose to copy the lightest parts by selecting overlay ...

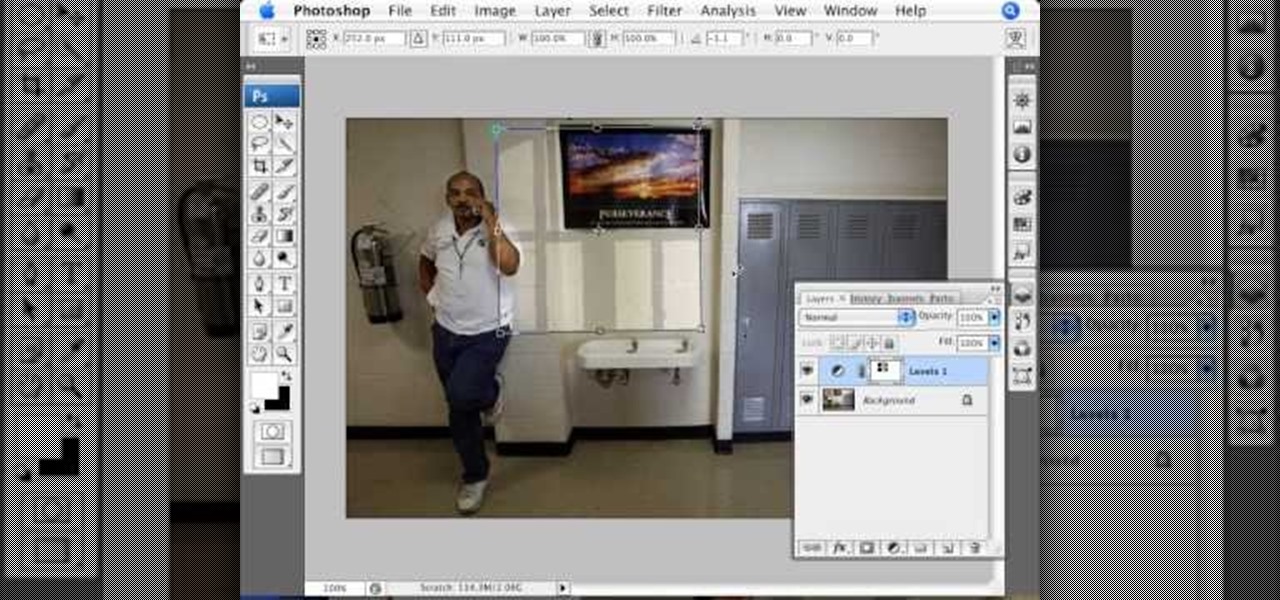
In this video we are going to light cast a window so we can add more focus to the photos. First take unremarkable photo, then find a window image to transfer and select all Ctrl+a. After that copy it to the previous image. Click layer 1, then select the white space in the window that allows the sun light to pass by using magic tool quick select the part of the window. Delete the layer, after that go to adjustment layer, select levels. Adjust the level so that the color of the window is darker...

This image editing software tutorial shows you how to extract a green screen background from behind a spock-like monster in Photoshop CS3. Learn how to remove the green spill of light that appears around the edges of images, that are shot against a green screen backdrop. This is an important step in cleanly extracting a background professionally in Photoshop. Especially if you want your monster scenes to look great!

This is how to make a DIY aquarium or fish tank background. Some people's methods may differ from these, but this is the easiest, most inexpensive way. You may want to listen to the Incubus song "The Warmth" while you are doing it. (Wait--is that Brandon Boyd?)

This video describes how to use the Chroma Key Effect in a few easy steps.

It's OK to want an extended break when you're working or learning from home. Maybe you want to play a video game, spend more time with your family, hang out with your dog, or FaceTime with friends. But how can you do that when you're supposed to be in a Zoom video conference or class? Thanks to one Zoom feature on your iPhone, it may be easier than you think.

The coronavirus pandemic has ushered in an unprecedented time in modern history where terms like "social distancing" and "self-quarantine" have pushed their way into the zeitgeist.

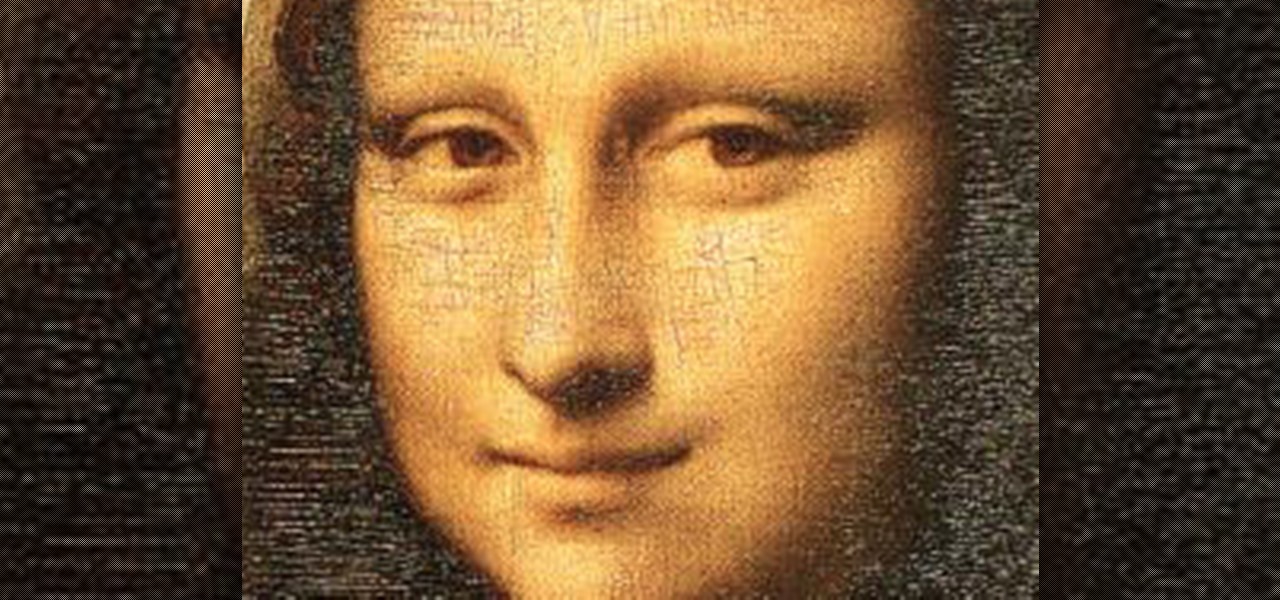
If you loved The Da Vinci Code by Dan Brown, then listen up— there's been a new discovery found hidden within Leonardo da Vinci's most famous painting— the Mona Lisa.

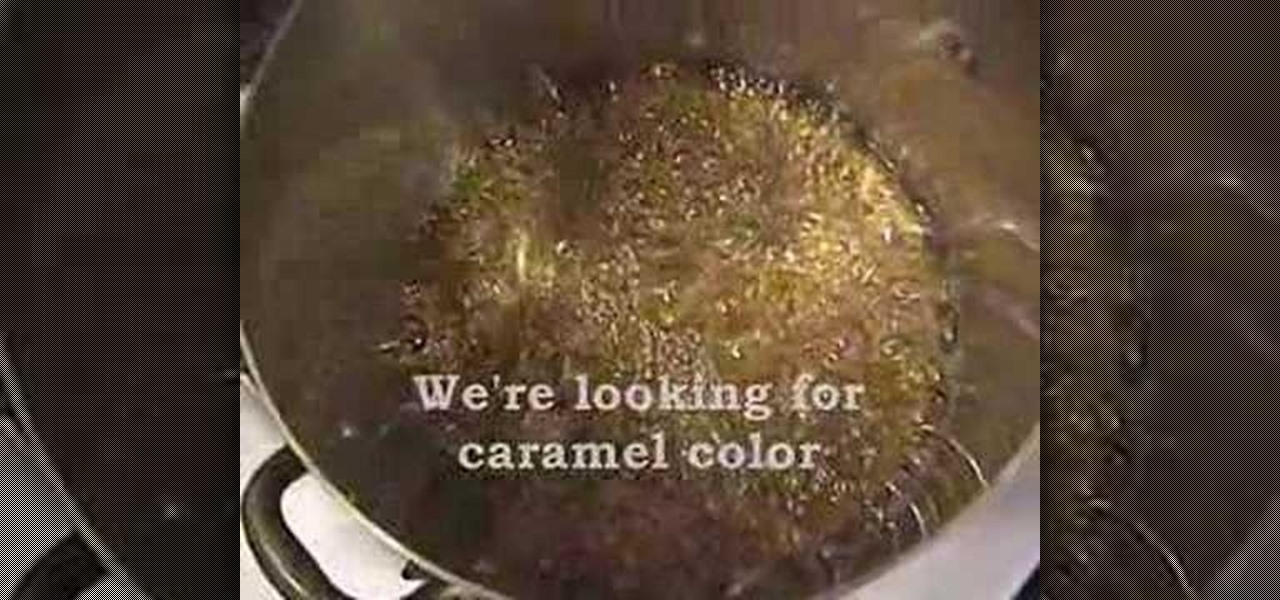
In this tutorial, we learn how to make caramel sauce at home. First, pour some sugar and water into a large saucepan. Turn on the heat and then wait for the reaction between them to begin. The sugar and water should start to boil, then put the lid on for two minutes and then take it off. After this, boil for 5-10 more minutes until it gets darker. After this, you will need to stir in the butter and the cream. Once both of these are completely combined, you will pour into a dish and let the ca...

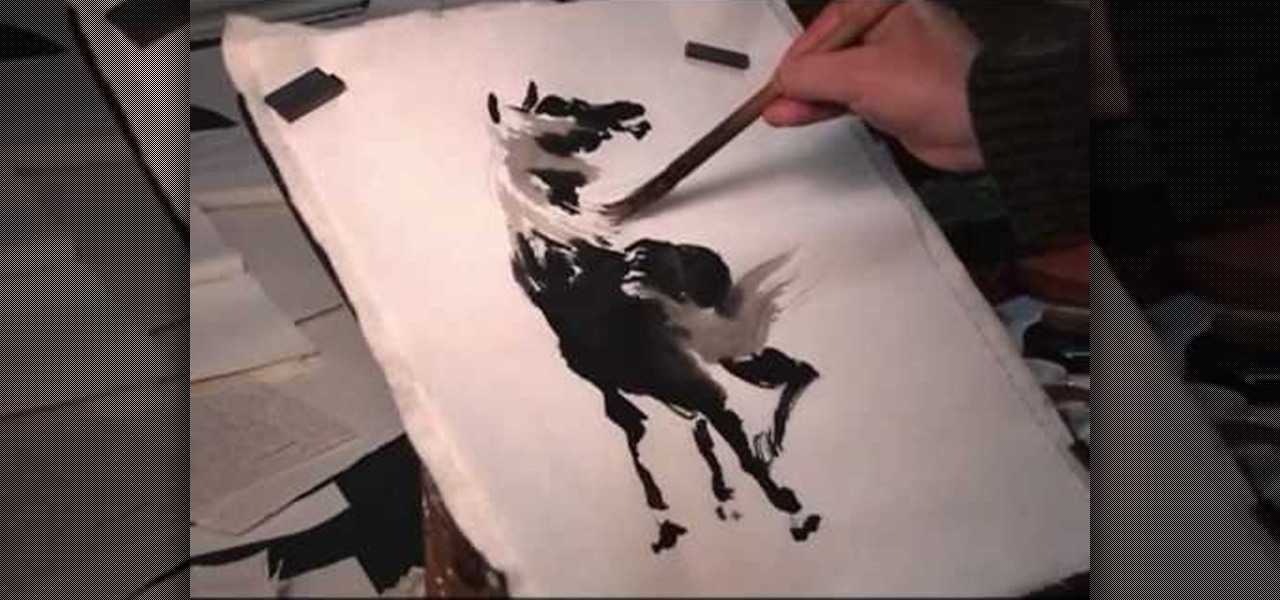
In this tutorial, we learn how to draw the back view of a horse. Start by drawing the tail. Use a horse main brush made out of real horse main hair. Change to another brush to use a darker color for the rest of the body of the horse. Paint around the tail that you made to create the rear end and the legs that are on the horse. Also create the feet and make sure to just use one stroke as you are creating these. Next, creating a neck and then the head along with the main on the top of the horse...

Add a background .mp3 file to play music when visitors come to your website. You can also build buttons to allow users to pause, mute or play the file while they're on your website. This tutorial shows you how to build this system using Action Script 3 and Adobe Flash CS4.

In this video, we learn how to draw a basic human figure. Start with a circle first as the head, then draw cross hairs over the circle to indicate the tilt and direction the head is facing. Then, add in the chin, shoulders, then circles where the joints are. Draw in the rib cage and spine, then the hip bones. After this, draw the legs and continue down until you reach the feet. When you finished with this outline, use a darker line to draw more details and shading in on the face and body. Whe...

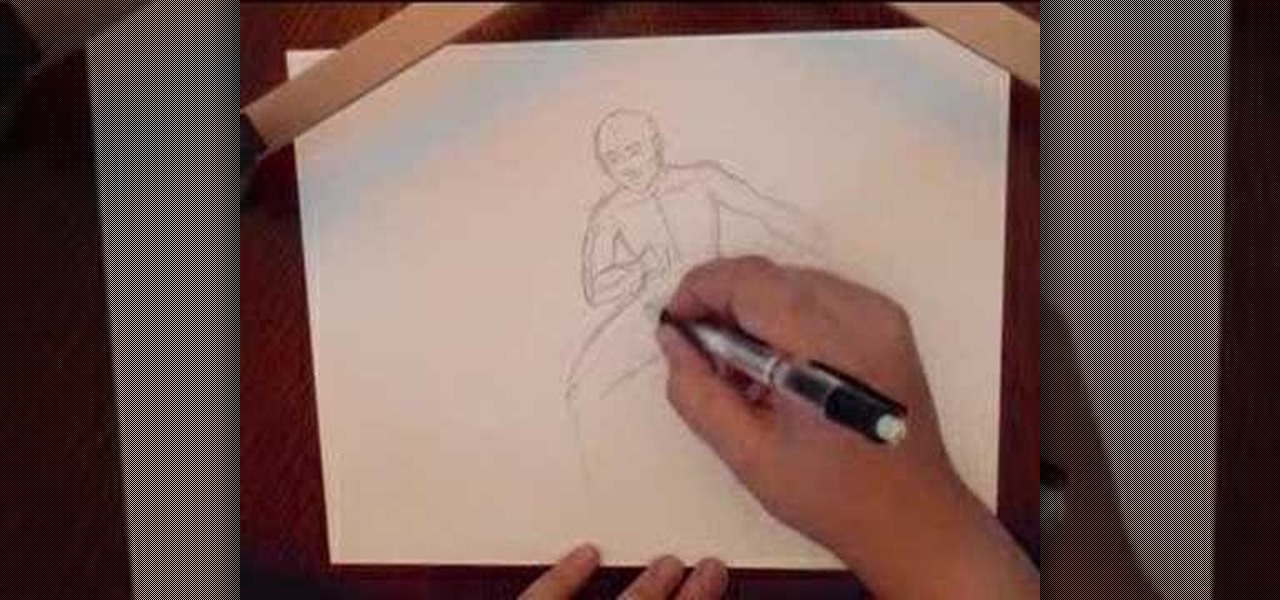
In this video, we learn how to draw a game character in motion. First draw the outline of the game character and make the body more prominent with details. After this, start to add in darker lines around the outside, then start to shade in the drawing and make the different parts pop out of the page. Next, add in colors throughout the sketch and add in white marks to show the glare on the picture. You will want to keep adding in all the small details to make this picture look even better. Whe...

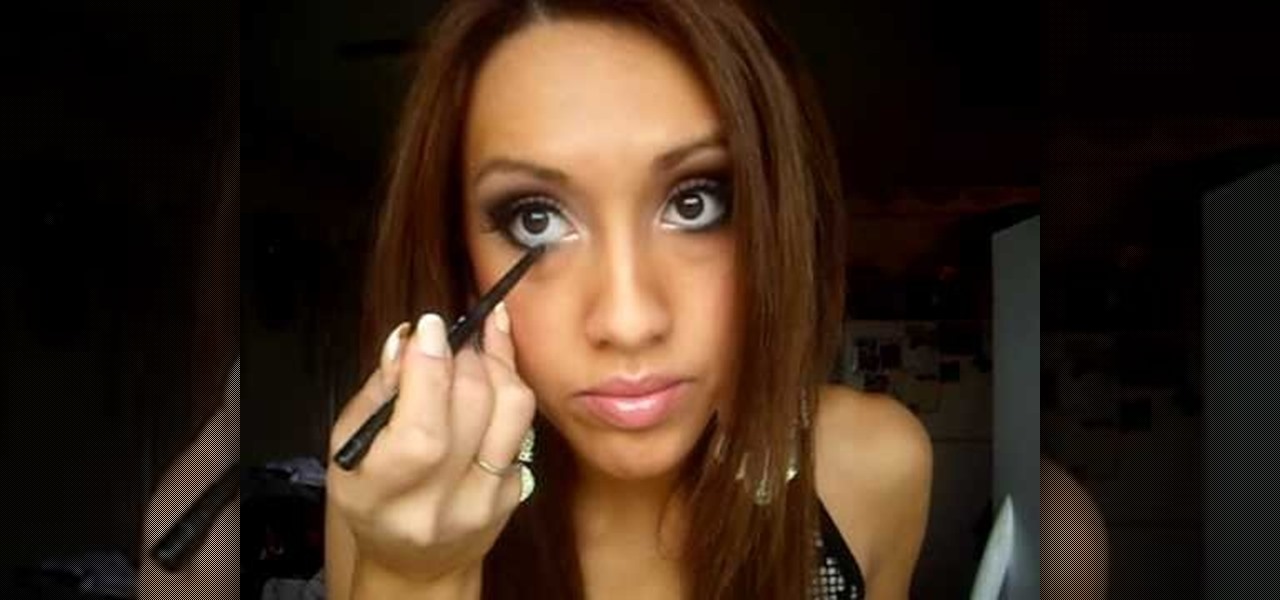
In this tutorial, we learn how to create Tyra's makeup look from "Ru Paul's Drag Race". First, apply eyeliner onto the eye, going from the inner crease out to the brow bone and making a rectangle around the crease of the eye. Next, make this line darker and smudge out the edges of it. Now, get gold sparkly eyeshadow and brush it onto the eyelid underneath the crease where the black liner is placed. After this, paint on silver shadow underneath the brow and then blend the black and silver toge...

In this video, we learn how to apply and blend eyeshadow. First, you want to start by adding a primer to your eyelids. Now, use a large brush to brush a light shadow onto your entire eyelid. After this, use a smaller brush to brush a lighter shadow onto the inner crease of your eye and underneath the eyebrow. After this, use a brush to apply a dark shadow to the outer crease of the eye, then blend with the lighter shade. Next, paint a darker color on the outer v of the eye and continue to ble...

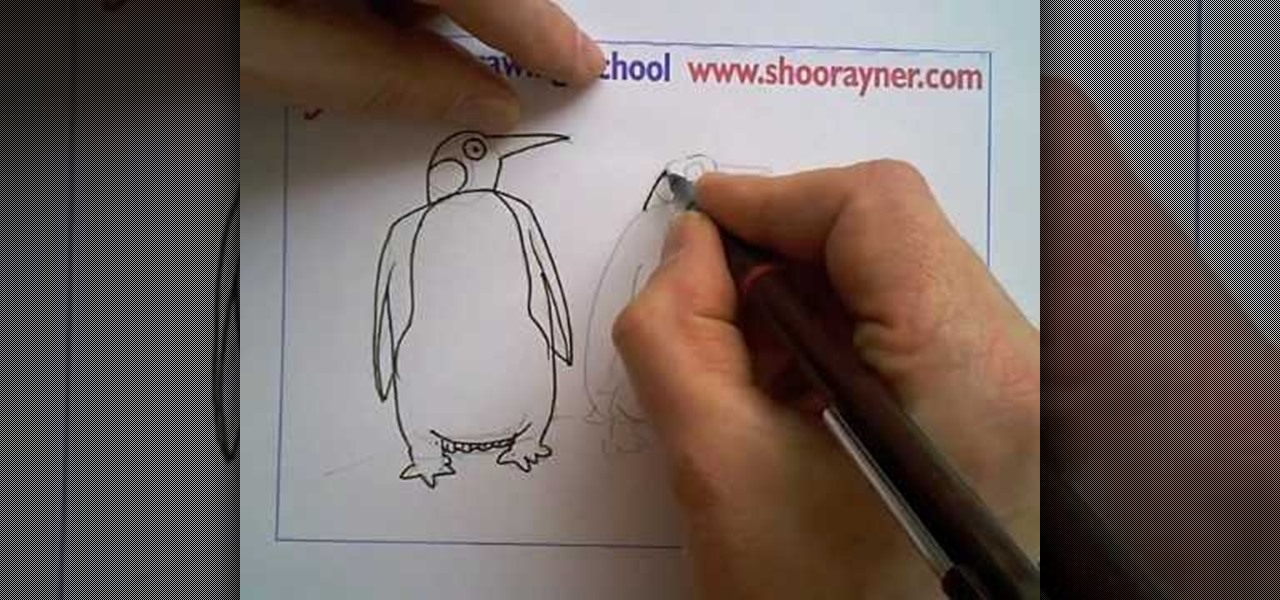
Shoo Rayner teaches us how to draw penguins in this tutorial. Start off by drawing a boxed shape for the body, then draw the head and beak onto the top. After this draw on the windows as well as the belly and the feet of the penguin. Use a light pencil while you are doing this, since it's just the outline. After this, draw the inner body of the penguin, then start adding further details. Use a darker pen or pencil to draw over the outline and create the entire penguin. You can draw from the s...

If your YouTube page looks boring and outdated, why don't you take the time to make your own background and template? It's really easy to do and can help add some subscribers to your channel.

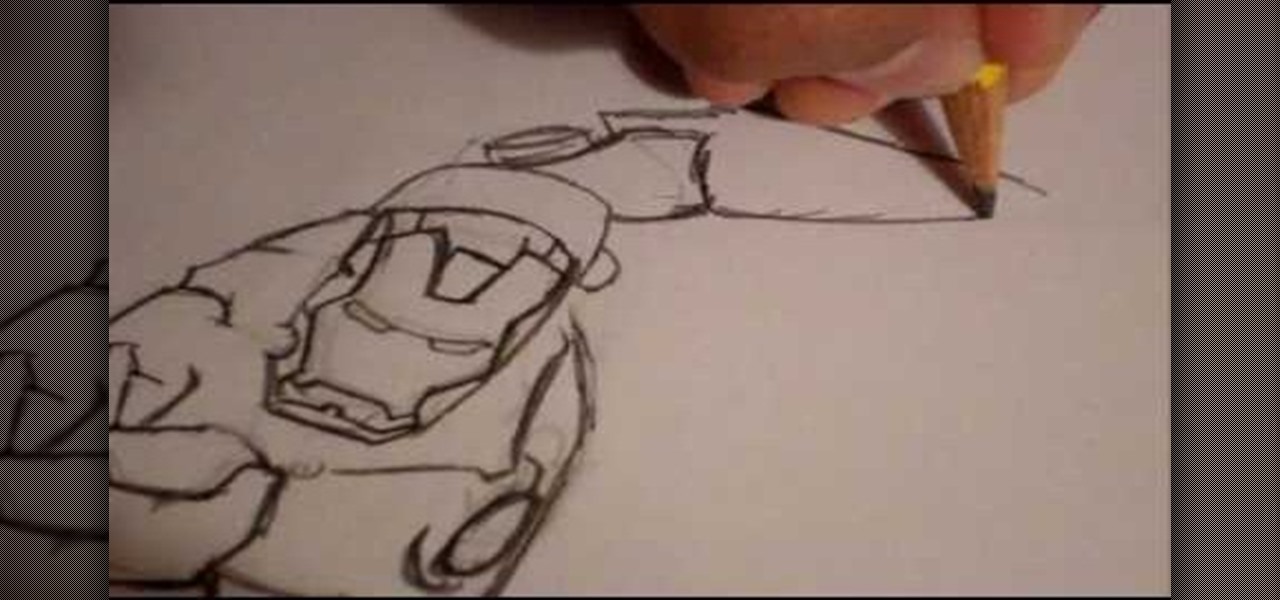
In this tutorial, we learn how to draw Ironman. Start off by drawing the feet to Ironman, making sure to pay close attention to the detail that is on the outside suit. Make sure to include bolts and screws to make the picture more lifelike. Use shading on the outside of the sides to make it darker and more realistic. Continue working your way up on Ironman until you reach the torso and the rest of the upper body. Then, draw the head onto the top followed by the large mechanical arm and the he...

In this video, we learn how to draw a polar bear. Start off by drawing a round circle for the stomach, then draw the head next to the stomach. This should make it look like the polar barn is crouching low to the ground. Next, draw on the four legs to make it look like the bear is walking. After this, draw in darker lines to outline the bear further and then draw in a baby polar bear next to the mother. To add a special touch, draw in snow and ice around the bears. When finished, sign your nam...

In this C4D user's guide, learn how to ctrl-drag axes to bypass the object axis tool; how to change a group axis with several selected items; how to set a light to negative values to make darker areas; and how to undo camera (view) moves by choosing "shift-command-Z." Whether you're new to MAXON's popular 3D modeling application or are just looking to get better acquainted with Cinema 4D and its various features and functions, you're sure to enjoy this free video software tutorial. For more i...

See how to add a background image to an CSS image container div with this handy hand-coder's guide. Whether you're using a fancy WYSIWYG (or what-you-see-is-what-you-get) page editor like Adobe Dreamweaver CS5 or a barebones text editor like Notepad, if you want to build websites, you'll need to have some understanding of HTML (for the structure of your web pages) and CSS (for their style). And this free coder's guide will get you started along that path.

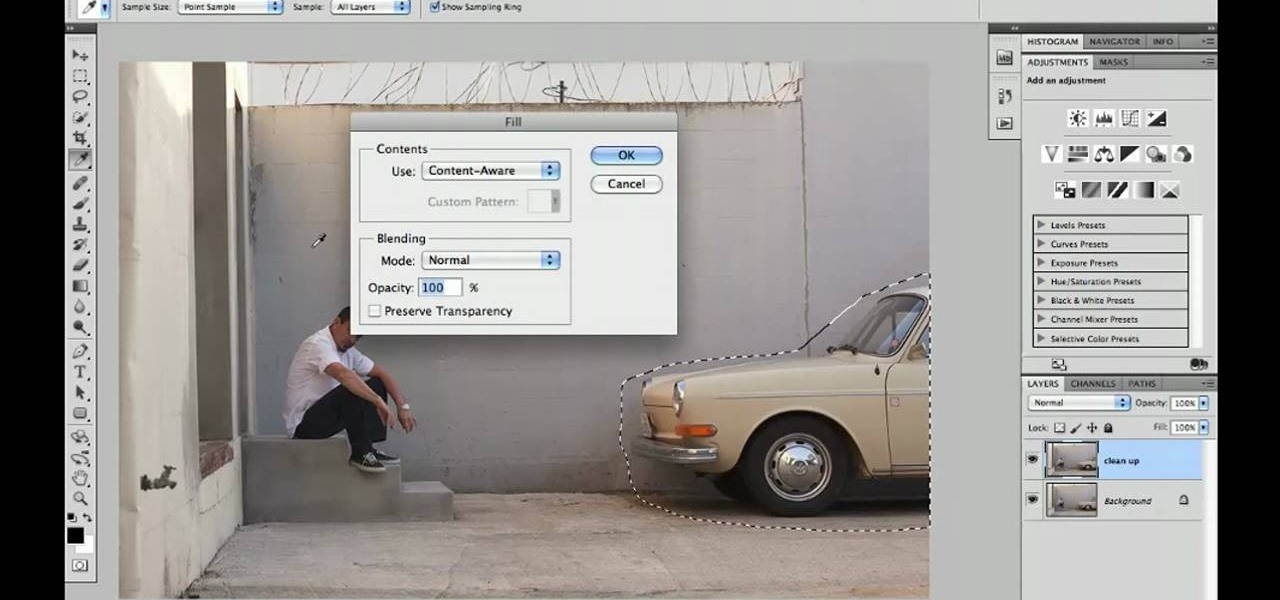
Learn how to utilize Adobe Photoshop CS5's new content-aware fill feature to remove and replace existing backgrounds within your digital images. Whether you're new to Adobe's popular image editing software or a seasoned graphic design professional just looking to better acquaint yourself with the unique features of Photoshop CS5, you're sure to find something of value in this video tutorial. For more information, and to get started using the content-aware fill tool for quick, seamless edits, ...

Learn how to set up your render environment and layout backgrounds in Swift 3D scenes. Whether you're new to Electric Rain's popular Flash-oriented 3D modeler or just looking to better acquaint yourself with the program, you're sure to find much of value from this free video software tutorial. For more information, including a complete walkthrough of the process, watch this web developer's guide.

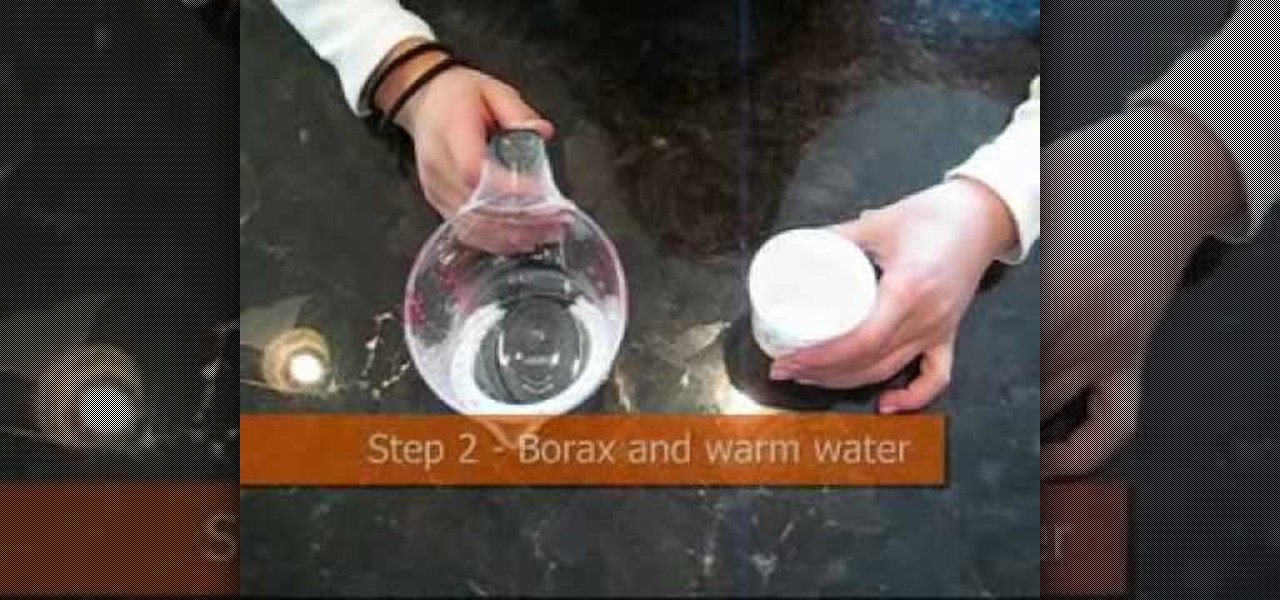
This video shows you how to make slime, flubber or goop. Take two ounces of glue and one quarter cup of water. Pour the water into the glue and stir the mixture. Pour in a few drops of paint and keep stirring. The more paint you add, the darker it will be. Take one quarter teaspoon of borax and one quarter cup of warm water. Add the borax powder into the warm water and mix together to dissolve the borax. It is ok if not all the borax is dissolved. Pour the borax mixture into the glue mixture ...

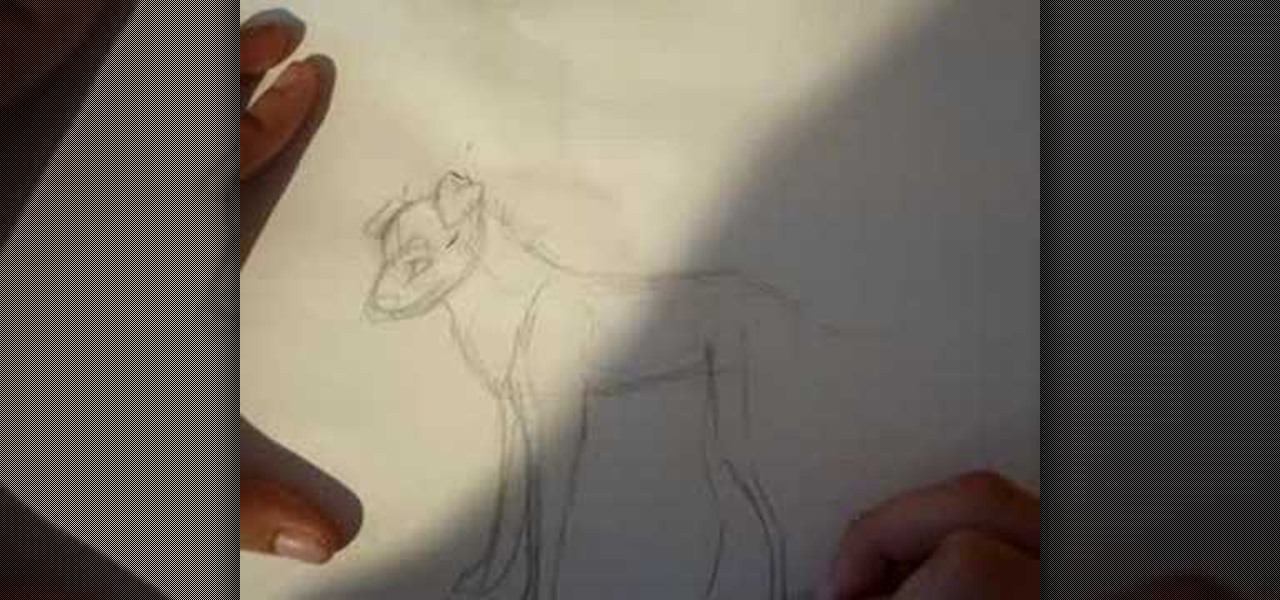
Learn the right way to draw a wolf with its full body, by watching this video. The artist begins by drawing three circles faintly and connecting them with a line, representing the head and body of the wolf. Next, the skeletal structures of the legs are outlined. The tail and ears are faintly outlined next. The artist then begins outlining the face in detail, adding the eyes, nose, mouth, ears etc to the wolf’s head. The body is now outlined adding rough edges to indicate fur. The legs of the ...

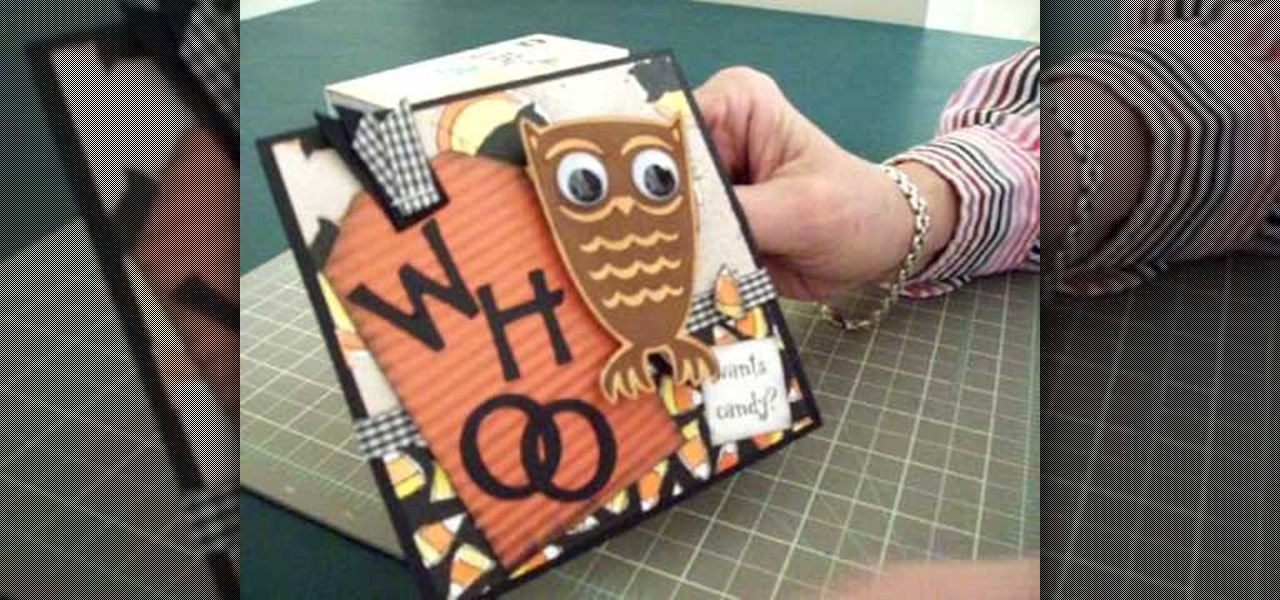
Learn how to make an owl Halloween card using the Cricut Storybook cartridge: Mary explains how to make a 5 x 5 inch square Halloween card in a few simple steps. On page 34 of the Cricut Storybook manual you'll find the owl. Cut the owl at 3 inches out of the darker brown by hitting shift and the owl. Then cut the owl out in the shadow and layer it. Give the owl big google eyes. Cut a tag out of Tags, Bags, Boxes and More at 4 inches. Then run it through the crimper. Then cut the letters W-H-...

Impress others with your artistic skills by learning to paint a gypsy dancer on the computer. Construct a rough sketch line drawing of a girl dancing. Use a soft brush to airbrush some colors in. Use as few colors as possible. Don't worry about the value yet. This will be a basic map of what colors you want to use. Start adding darker colors in. Use a highlighter to add lighter colors. Use the soft edge brush to blend and a hard edge brush to define forms. Experiment to your liking. With this...

This Photoshop tutorial shows you how to use the extract tool to extract a background from a monster image. Many techniques show you how to remove the subject, but here you will learn to remove the background. Never fear, the Extract Tool is here! Rediscover the Extract tool all over again. In some situations, it's still the best way to make a mask for detailed hair.

In this software tutorial you will learn a quick and dirty way to extract a monster from its background using Photoshop CS3. This technique of using the history tool doesn't work on all images, but it is definitely interesting. Create your own scary Halloween monsters with some image editing tricks in Photoshop and this tutorial.

In this video tutorial you will learn to use the Photoshop extract filter to extract images from the background. The trick works best for erasing mostly solid-colored, contrasting backgrounds. Photoshop also does a nice job of getting rid of the color halo problem – but you may have to do some additional touch-up work at the end.

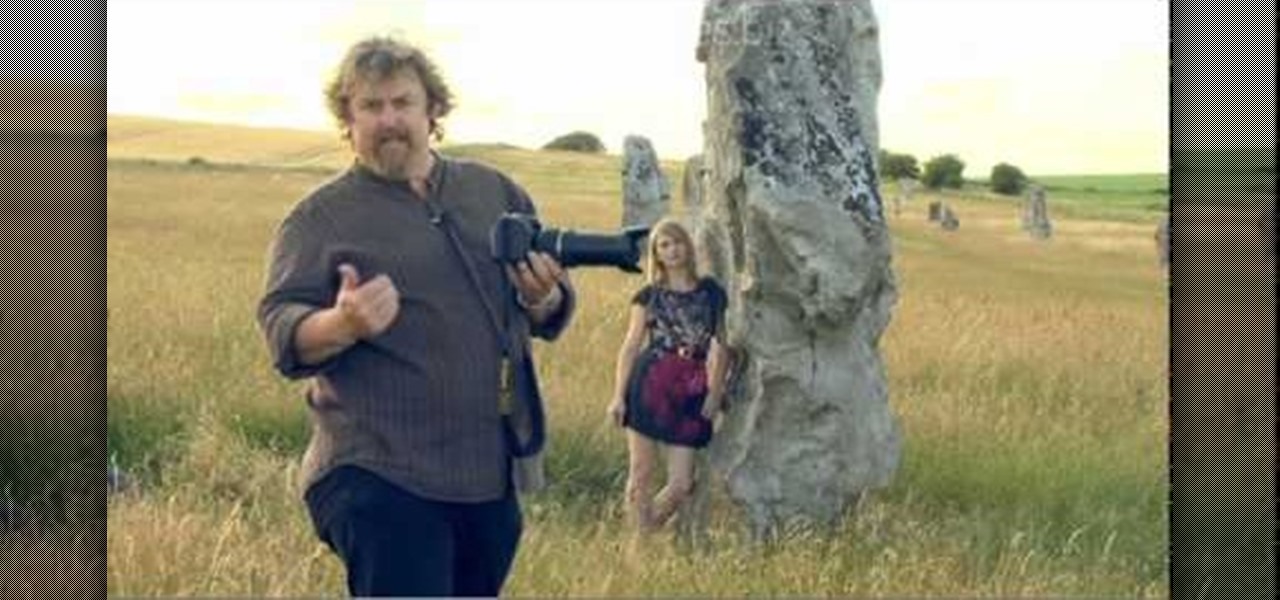
There's a technique available for digital SLR cameras that most amateur photographers do not know about, or do not use correctly, and that's using a simple telephoto lens (long lens) to create blurry background, great portraits or awesome up-close macro shots. Without the telephoto lens, you lose a lot of the emphasis on your subject, because the background blends in, whereas telephoto lenses help create a degree of depth, blurring out the background, giving concentration on the foreground. I...

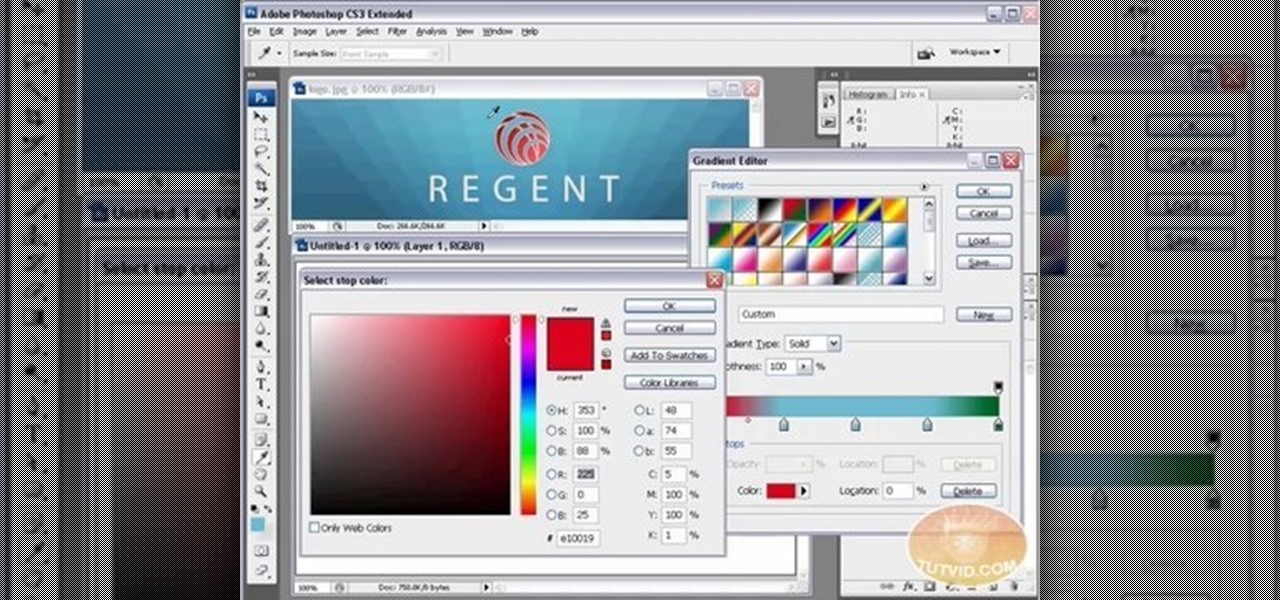
Envious of web 2.0-style websites and their fancy backgrounds? Want to learn how to make your own? You're in luck. Whether you're new to Adobe's popular image editing software or simply looking to pick up a few new tips and tricks, you're sure to benefit from this free video tutorial from TutVids. For more information, including step-by-step instructions on how to create fancy web page backgrounds, watch this graphic designer's guide.

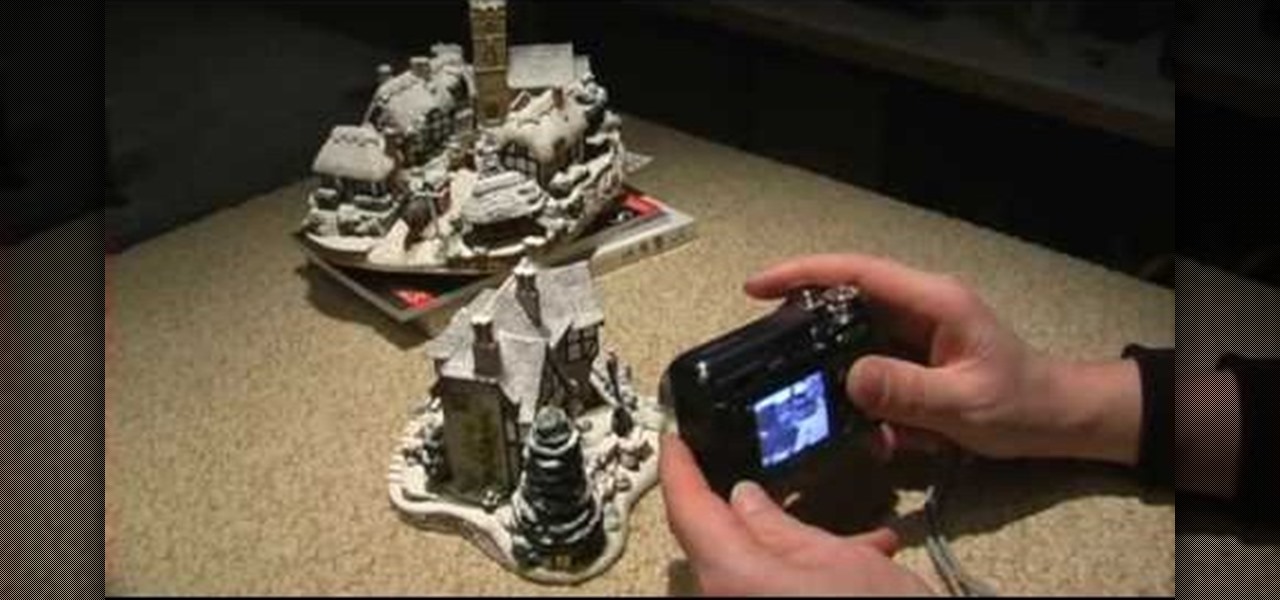
Rick Vanman reveals the secrets to professional video effects using your own computer software. Position your model houses into a setup of your liking. Take a picture of the houses with a digital camera using the macro setting. Edit your picture in Photoshop. Disguise any unwanted objects with the cloning tool. Separate the foreground and the background of the picture into 2 different layers. Film yourself in front of a green screen. Key out the green with your video editing software. Using y...


