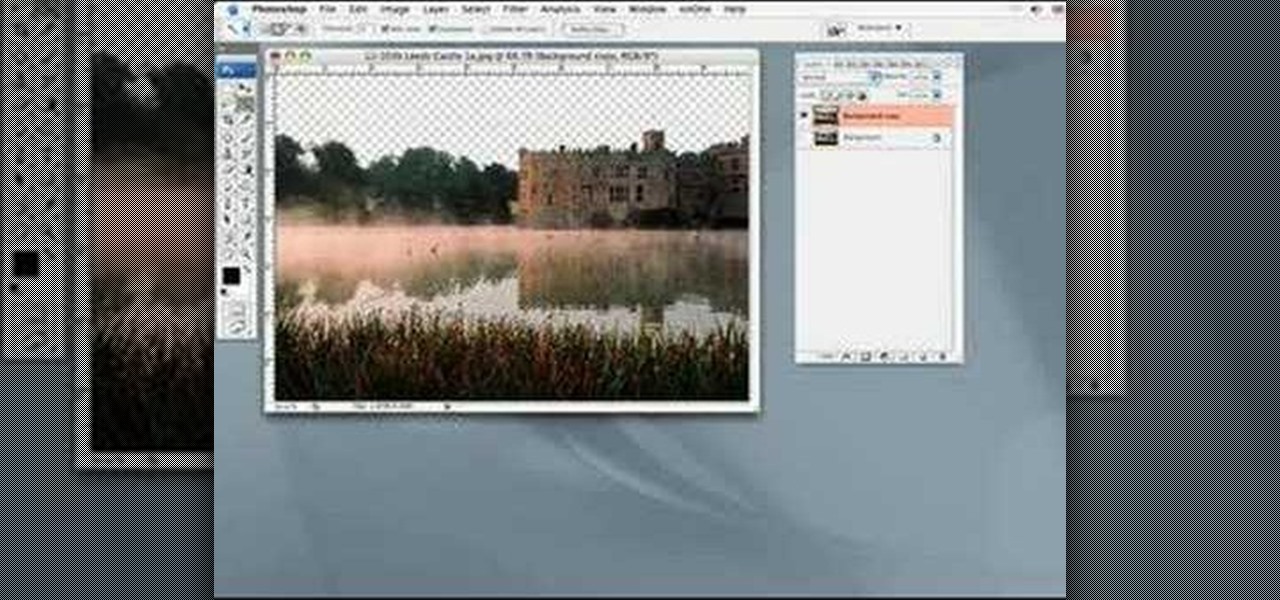
Pixel Perfect is the "perfect" show to help you with your Photoshop skills. Be amazed and learn as master digital artist Bert Monroy takes a stylus and a digital pad and treats it as Monet and Picasso do with oil and canvas. Learn the tips and tricks you need to whip those digital pictures into shape with Adobe Photoshop and Illustrator. In this episode, Ben shows you how to create a jellyfish environment in Photoshop.
Want to change your iPod background to something cool? This video shows you how to hack a click-wheel model to reset your iPod and gain access to the system center so you have the option to set a variety of different backgrounds and wallpapers for your iPod.
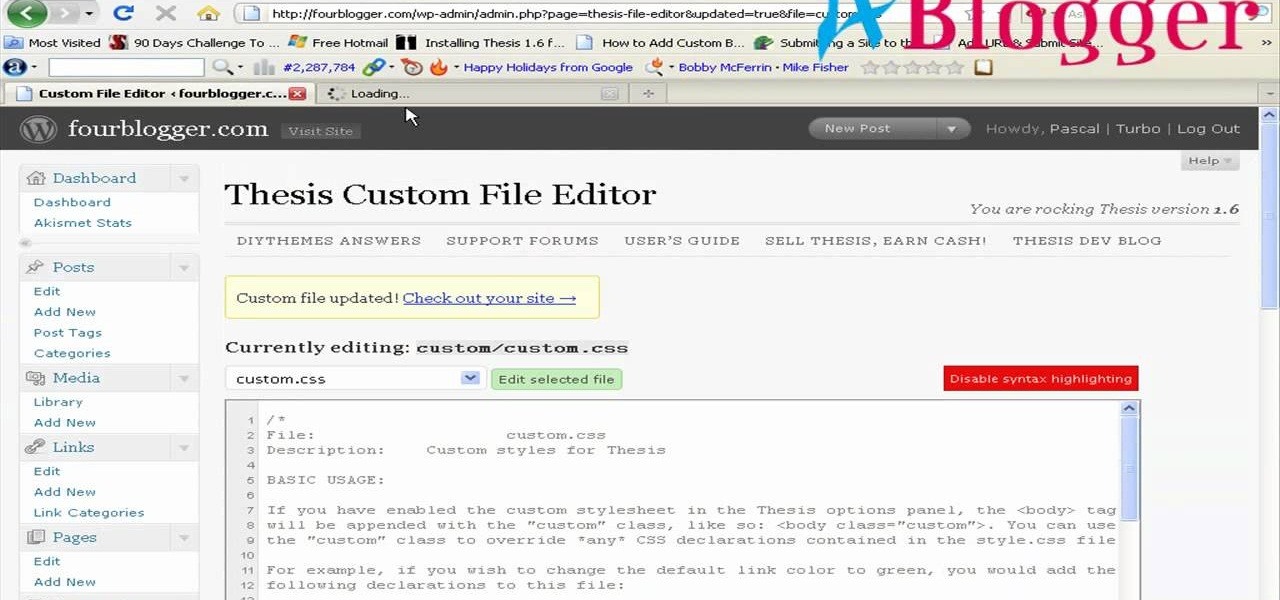
First you need to go to your site and click any post you want and see the simple heading and now you want to change the background. To do this, first you need to go to your word press admin and then click custom file editor in thesis options it will open your code window and here you will have to paste the code which is showing in the video. you will have to paste it in custom.css. After pasting the code you have to click the green save button.
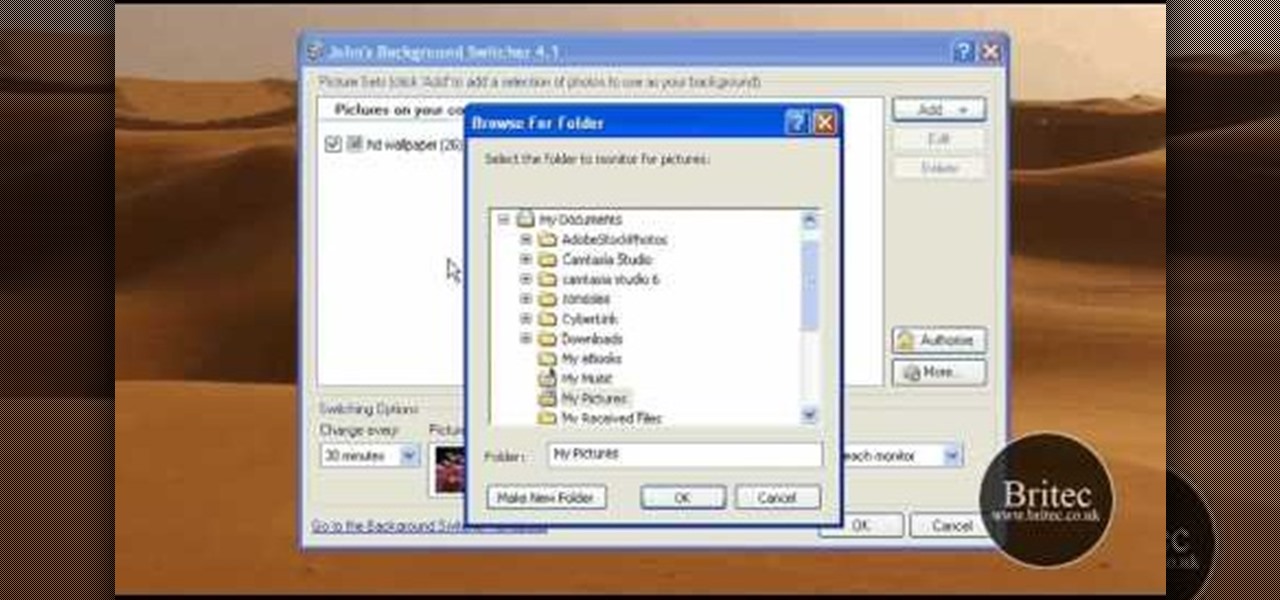
Ever wanted to use a slideshow of images as your desktop background? With John's Background Switcher—a free application for Microsoft Windows PCs—, it's easy! So easy, in fact, that this home-computing how-to from the folks at Britec can present a complete overview of the process in just over four minutes. For complete details, including step-by-step instructions, watch this video guide.
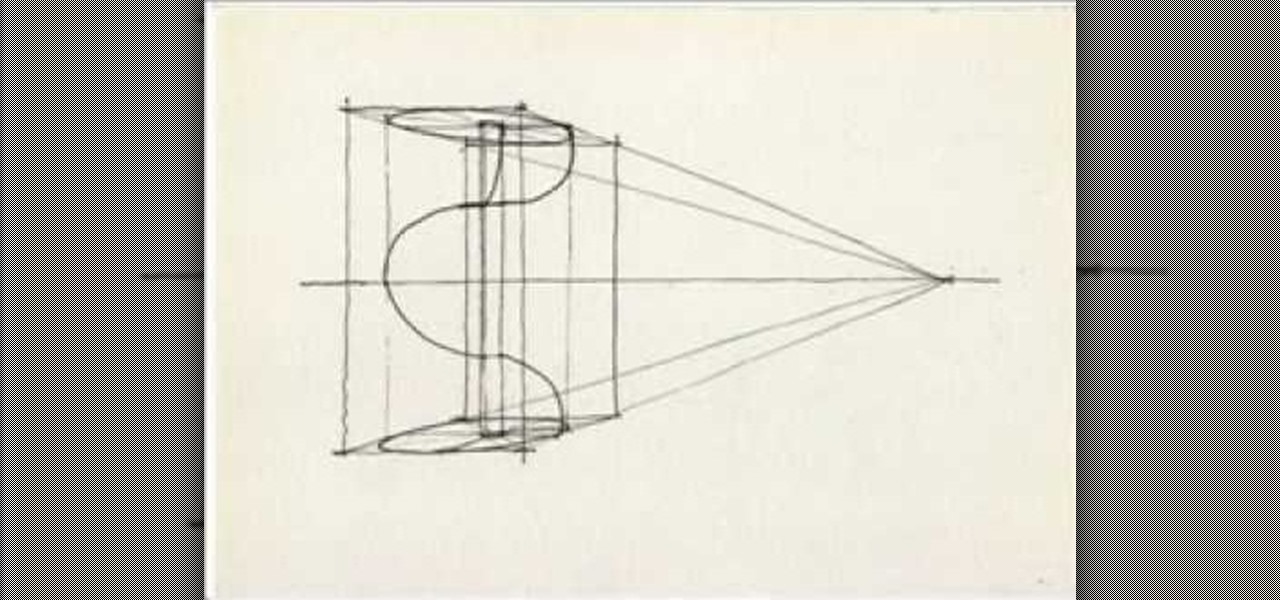
This video shows us how to draw a spiral staircase in a very simple way. Firstly a horizontal line is drawn and upon that a rectangle is drawn. Then four lines are drawn from the four corners of the rectangle and all this four lines are meeting at the same point on the horizontal line which was drawn previously. Then another rectangle is drawn behind the rectangle intersecting the four lines drawn from the four corners of the rectangle. And at the rare end, numbers of lines are drawn in betwe...
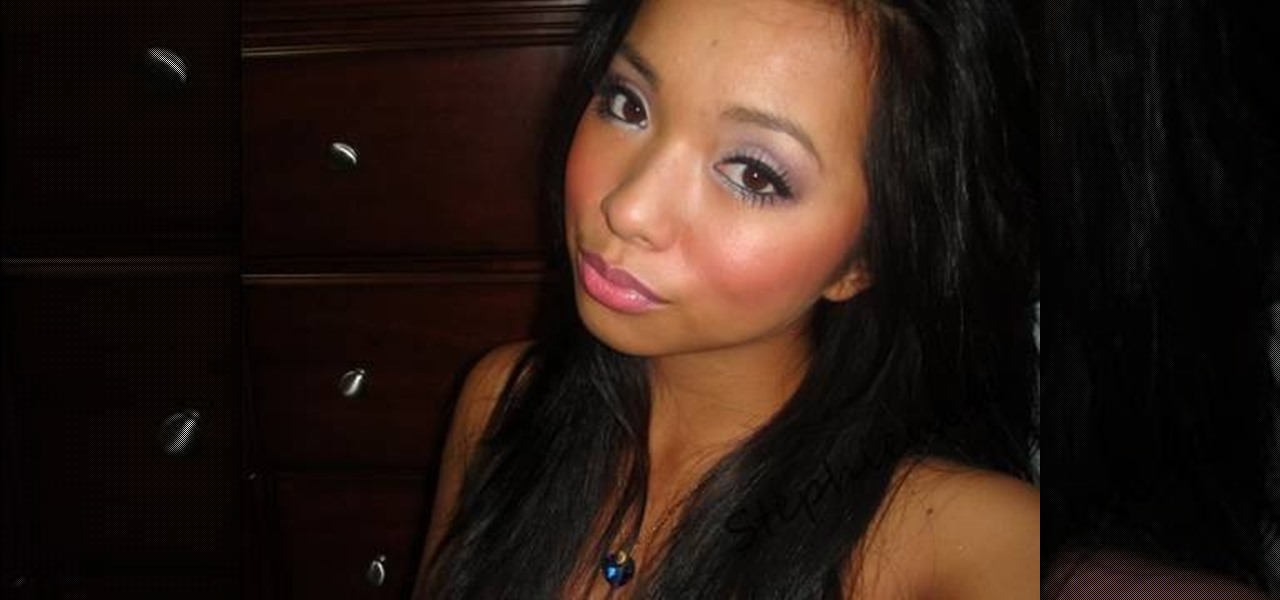
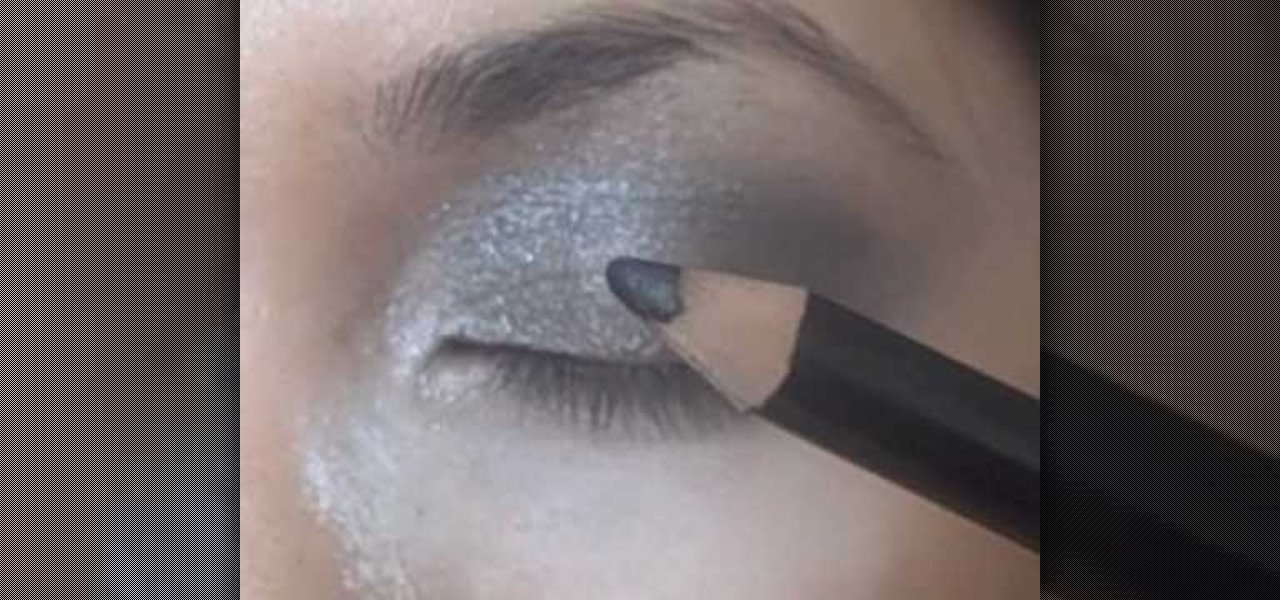
Create amazing fairy eyes using silver eyeshadow in easy steps! Start with a base all over your lid and eye area. Now add a little to your lower lash line. You will then apply a highlight with brush to your brow bone With a new smaller brush use a light shimmery silver to apply to the inner part of your eyelid. Apply about 1/3 of the way in. Apply a light lavender color to the rest of your eyelid. Using a darker purple apply to the outer corner of your lid, also pulling it into the crease are...

Watch this instructional quilting video to quilt a tendril or "C" background fill with a longarm sewing machine. This pattern is a simple and convenient way to create an elegant background fill on many kinds of quilts. It helps to draw the tendril pattern with pen before trying it with the longarm sewing machine. Customers love it.

Depending on lighting conditions, you may need to overexpose the background to get a good shot of your subject. See how you can use Photoshop to bring the overexposed backgrounds back to life. This trick will work if you took a photo of the object and the sky, or if you just have another image of a background you want to use.

If you want to create a space arcade game, then you won't want to miss this! In this video tutorial you will learn to create your own scrolling game background using Macromedia Flash. By moving the background you can create the feeling of moving forward - just what you'll need for a space arcade game!

You've found the perfect photo for your presentation but the background is the wrong color or worse, a cheesy image. Well, if you're creating your presentation in Keynote '08, you can just remove the unwanted background using the alpha tool! See how in this tutorial from Apple.

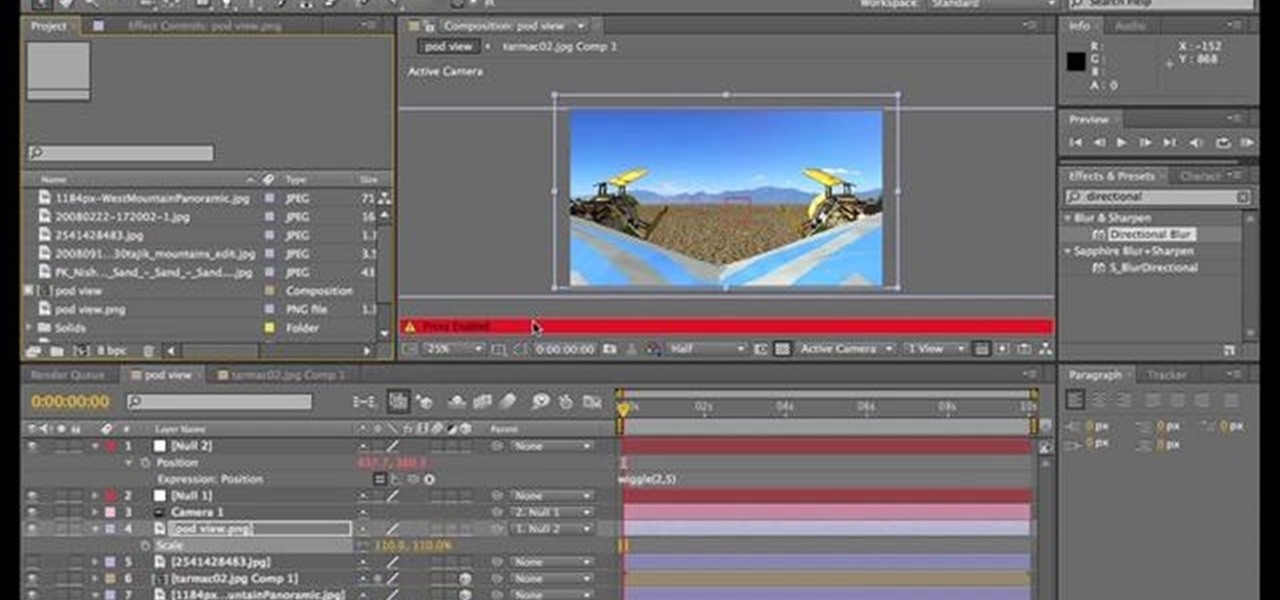
In this tutorial, After Effects is used in actual realtime to create a video comp that simulates a forward three-dimensional movement. Several images are arranged into a layered, three-dimensional composition, and a single image is tiled into a surface pattern that is offset tilted and scrolled forward indefinitely. Several additional elements are also mentioned to add realism and depth to the forward scrolling movement, including foreground elements, background images, camera shake, camera p...

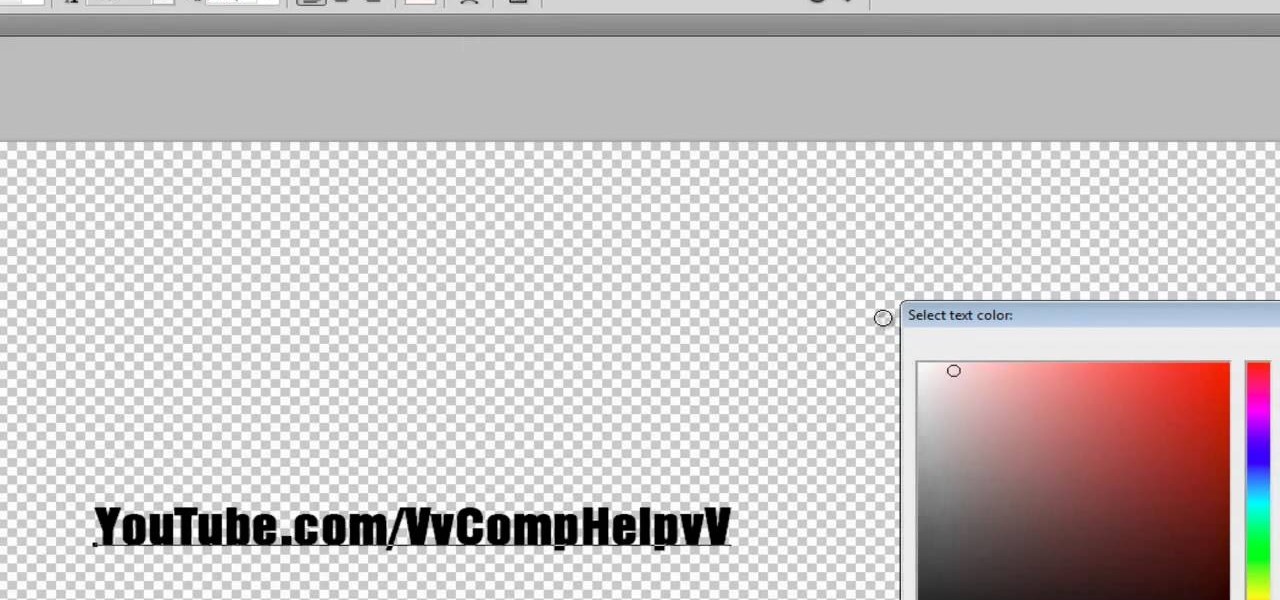
If you're serious about your video creations you're going to want to watermark them. To do this, you'll need Adobe Photoshop to create, in this case, a text watermark with a transparent background. It's not hard to do with this simple tutorial, so get going!

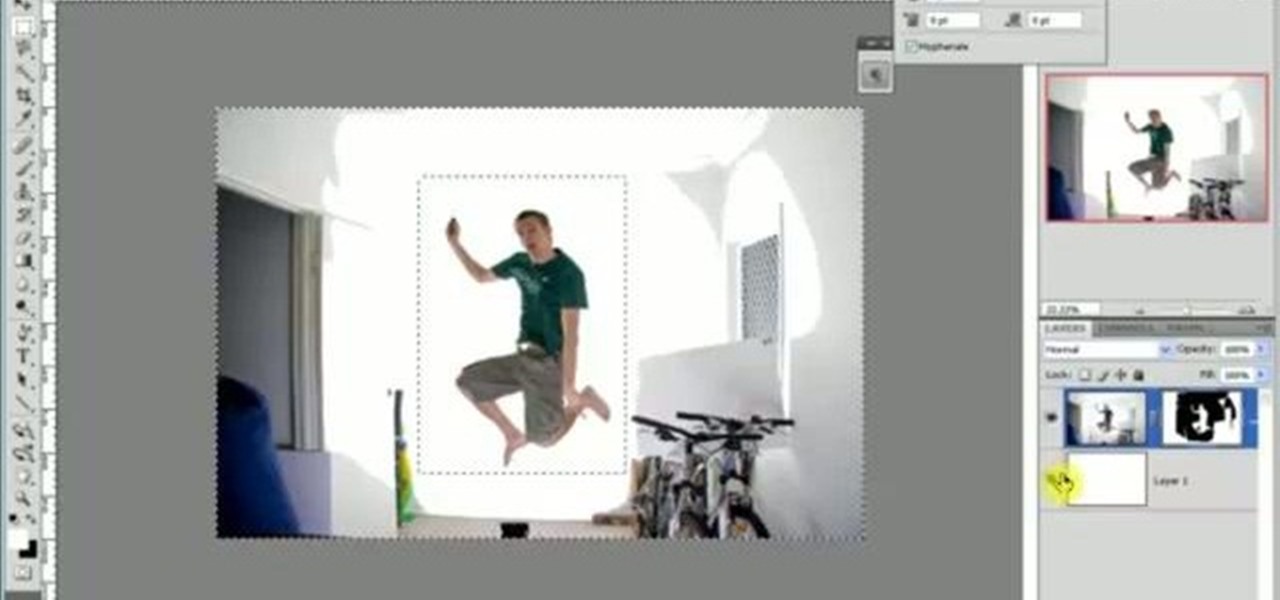
Love the look of the seamless white background in some trendy photographs? You don't need to pay for expensive remodeling to your studio - this video explains a very simple and inexpensive technique you can use to achieve this same effect in your low budget studio.

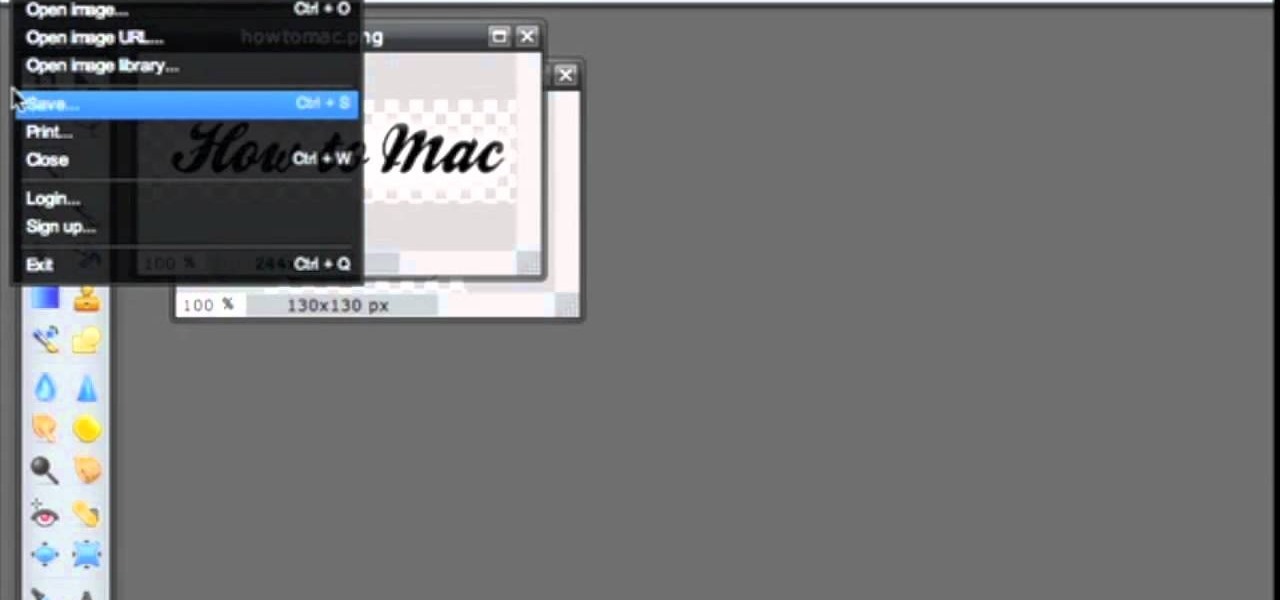
Pixlr.com is a free image editor, but how can you save your image with a transparent background? This is a quick tutorial that shows you how to save your image file as a .png, which will retain all the data you need.

This is a quick and dirty tutorial that gives you some useful tips when you're trying to shoot simple high key portraits. You can accomplish this with just two lights and a Lastlite HiLite background, and here is how it works!

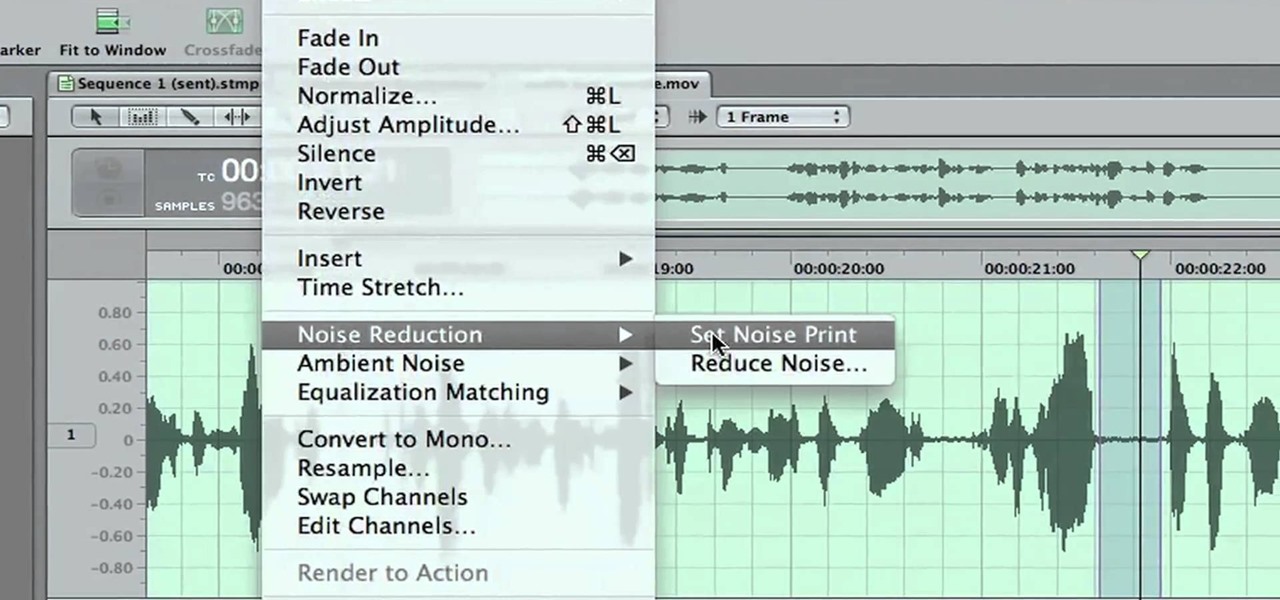
Don't let a little bit of hum ruin an otherwise perfect take! Final Cut Studio's Soundtrack Pro comes equipped with a number of handy noise-reduction tools. This free software tutorial from Final Cut King will teach you everything you need to know to attenuate unwanted background noise.

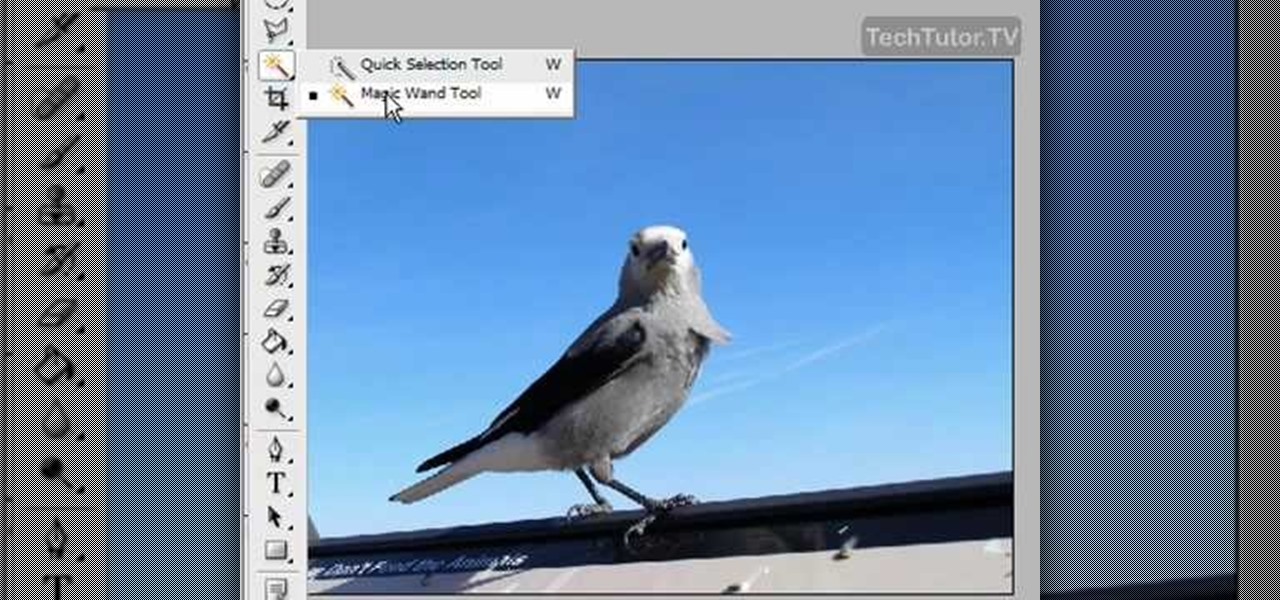
In this video tutorial, you'll learn how to delete the background of an image in Adobe Photoshop CS3.

Interested in setting a custom background on your Nokia N900 mobile phone? It's easy! So easy, in fact, that this N900 owner's guide can present a complete overview of the complete process in just over seven minutes. For all of the details, including step-by-step instructions, take a look.

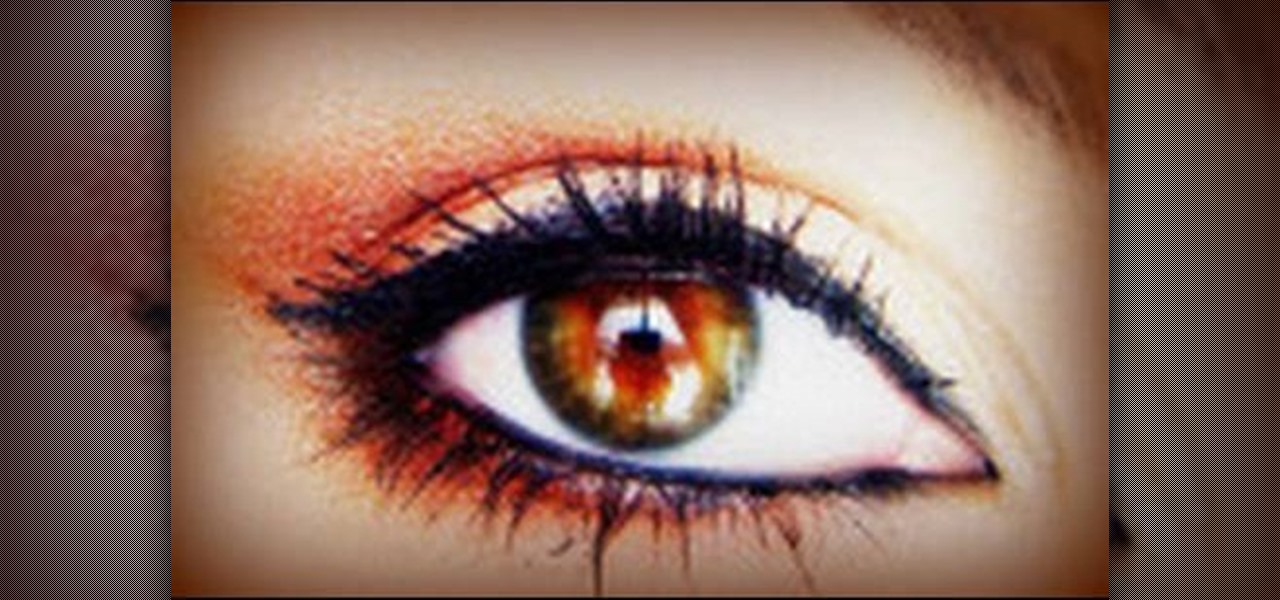
In this tutorial, we learn how to apply a "Moroccan truffle" makeup look. First, apply a light neutral shade all over your eye with a fluffy brush. After this, take a burnt orange and brown color and brush it into the inner crease of the eye where the outer 'v' is. Then, brush a bright orange on top of it and blend everything together. Only blend this until you reach half way to the inner corner of the eye. Then, brush the darker brown shade from the 'v' to underneath the eye. After this, app...

In this tutorial, we learn how to apply Jennifer Lopez inspired smoky eyes. First, apply a light beige glitter all over the eye. From here, apply a white ice color all over the eyelid and into the crease of the eye. Get the color a little wet to make it stick and show more on the eyelid. Next, take a black eyeliner and draw inside the bottom of the eye and on top of the eye as well. After this, apply mascara or false lashes and you will have a beautiful Jennifer Lopez makeup look! Just top it...

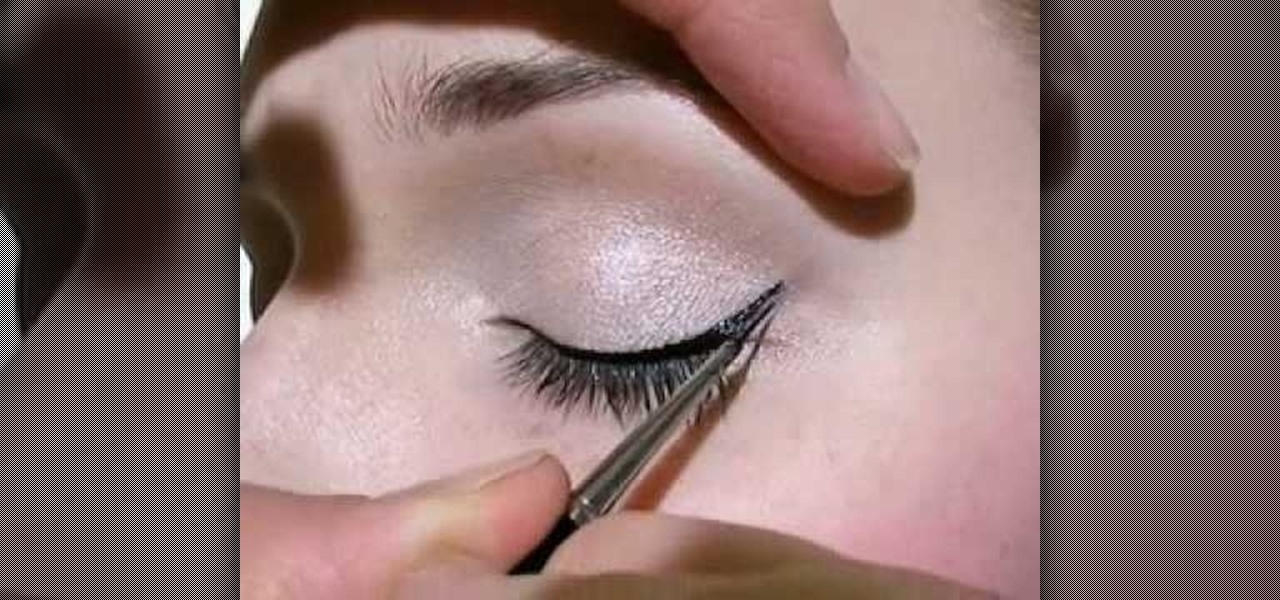
In this tutorial, we learn how to apply hot liquid eyeliner. First, line the eye with a slanted eyeliner brush that has been dipped into the liquid eyeliner. Line from the inside corner to the eye out to the outside of the eye. Pull the lid up gently so you can really push the eyeliner into the lashes to make them look darker and fuller. After this, line the outside corner of the eye and make a light flare if you would like a more dramatic look. This will finish the eyeliner look, have fun wi...

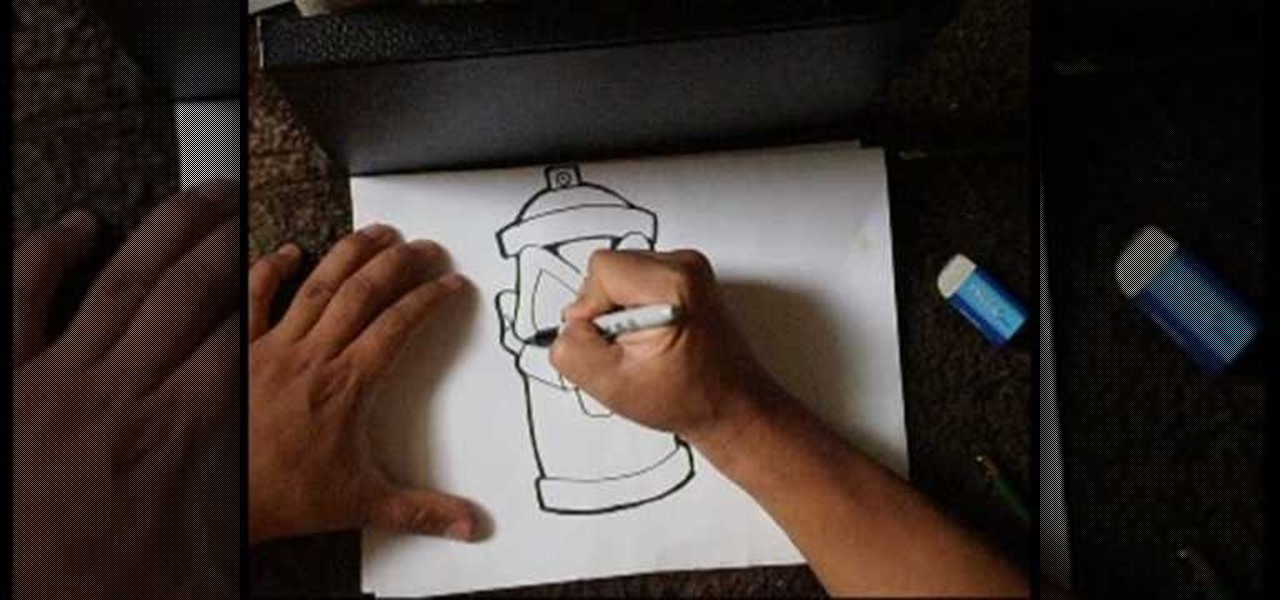
In this tutorial, we learn how to draw a spray can sketch. First, draw the face of the can on the piece of paper, drawing the eyes, nose, and mouth. After this, draw the surrounding parts of the can around the face. Draw the bottom and the top of the can as well as the top with the middle open area where the spray will come out. After this, draw in as much detail as you would like on your spray can. Use a black marker to shade in on the sides and make lines darker. When finished, save and enj...

In this video, we learn how to get the Megan Fox retro pinup look. First, apply a white shadow all over the lid and underneath the eyebrows. From here, brush a tan color over the top and then take a color that matches your hair color and brush it into your brows to match the color. After this, apply a gray eyeliner to the waterline on the top of the eye. Next, brush a darker gray color over this and flare the edges out on the sides. Brush this on the bottom lash line and then apply mascara on...

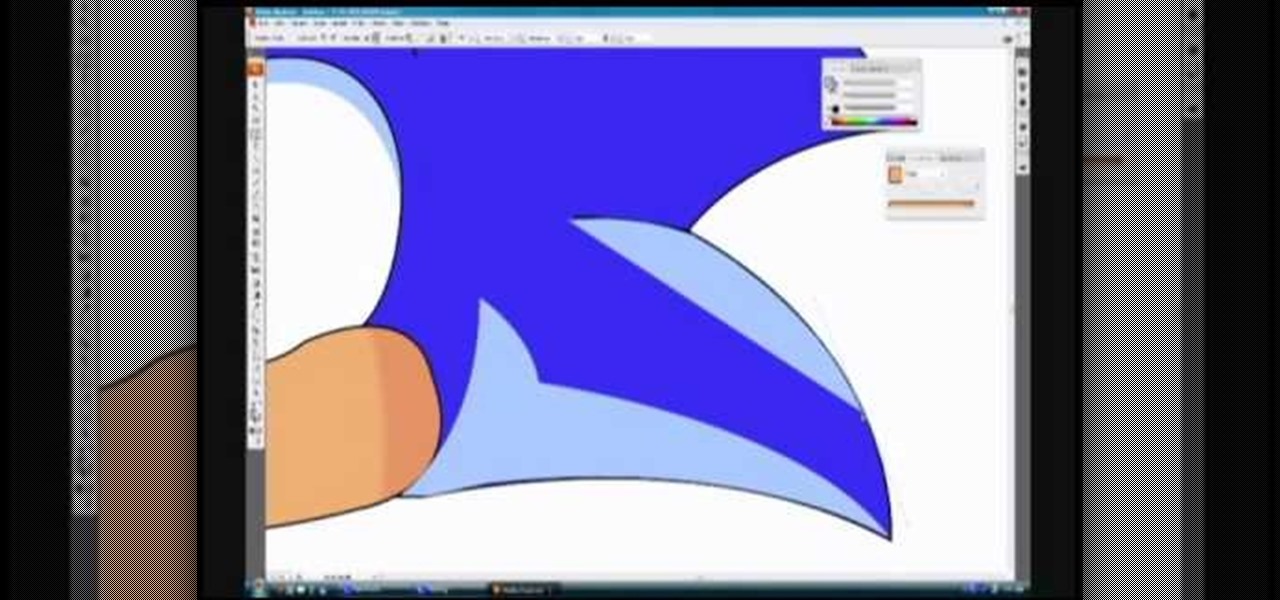
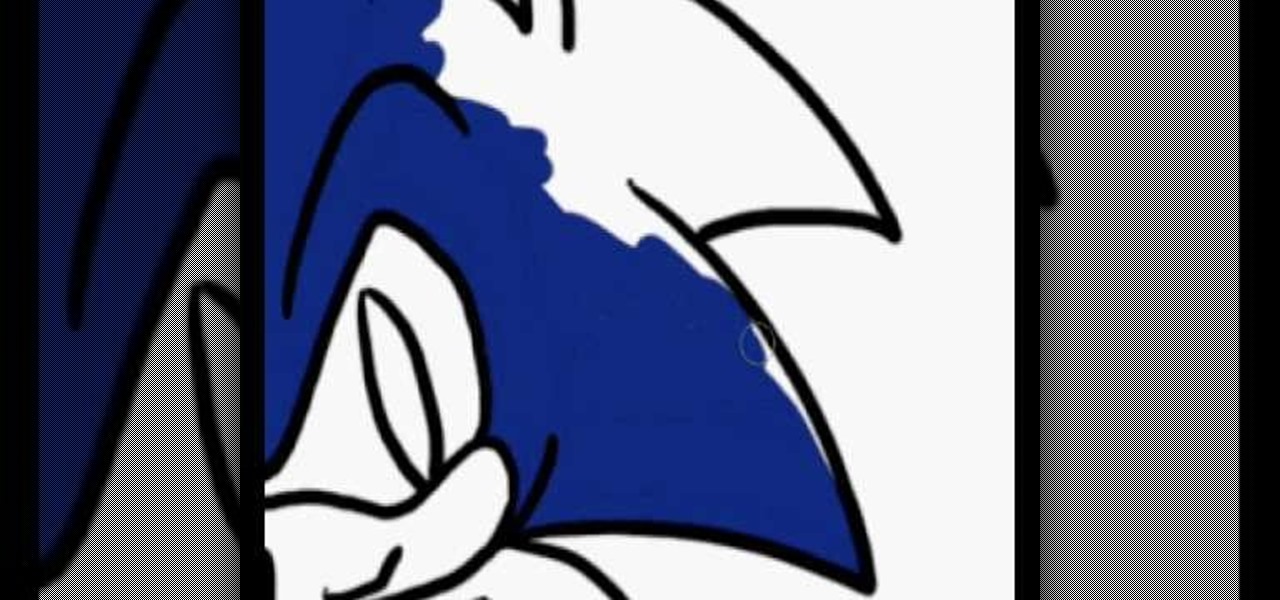
In this video, we learn how to draw Sonic in Adobe Illustrator. First, draw out the muzzle and the nose with a pen. From here, you will draw out the eyes and then make the outline for the ears and the hair. Next, draw in the details around the face. Once you do this, add color to the hair and to the face as you see fit. Then, add in additional lines to show creases and make him look more realistic. After this, add in shading with darker colors on the sides of the face and the hair. When finis...

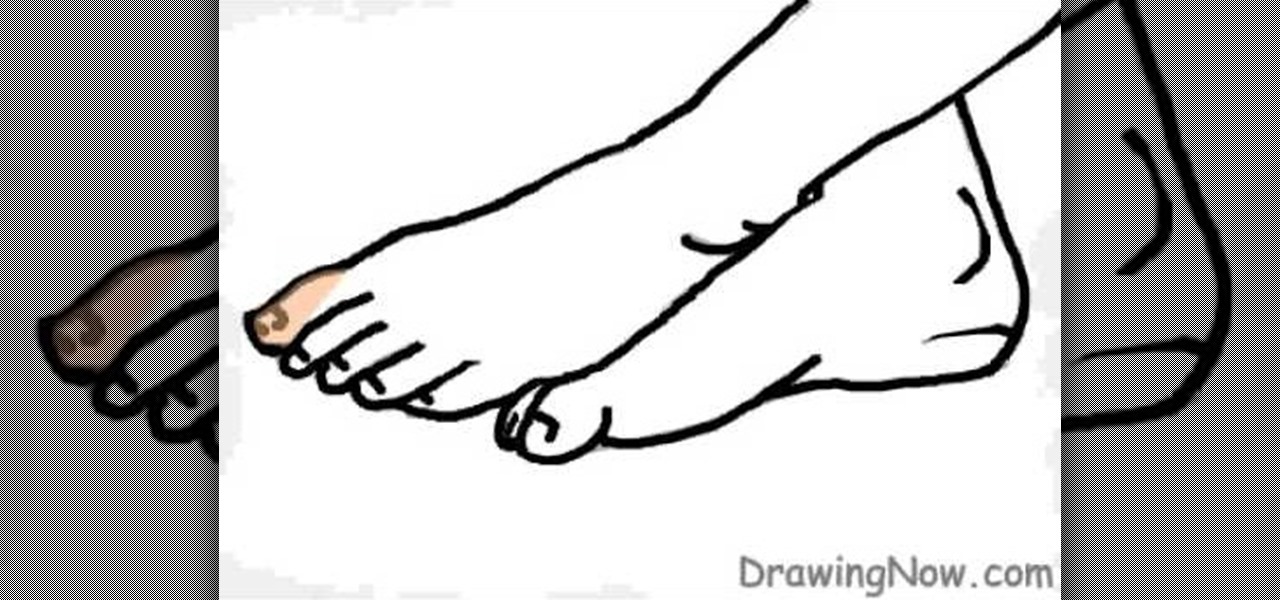
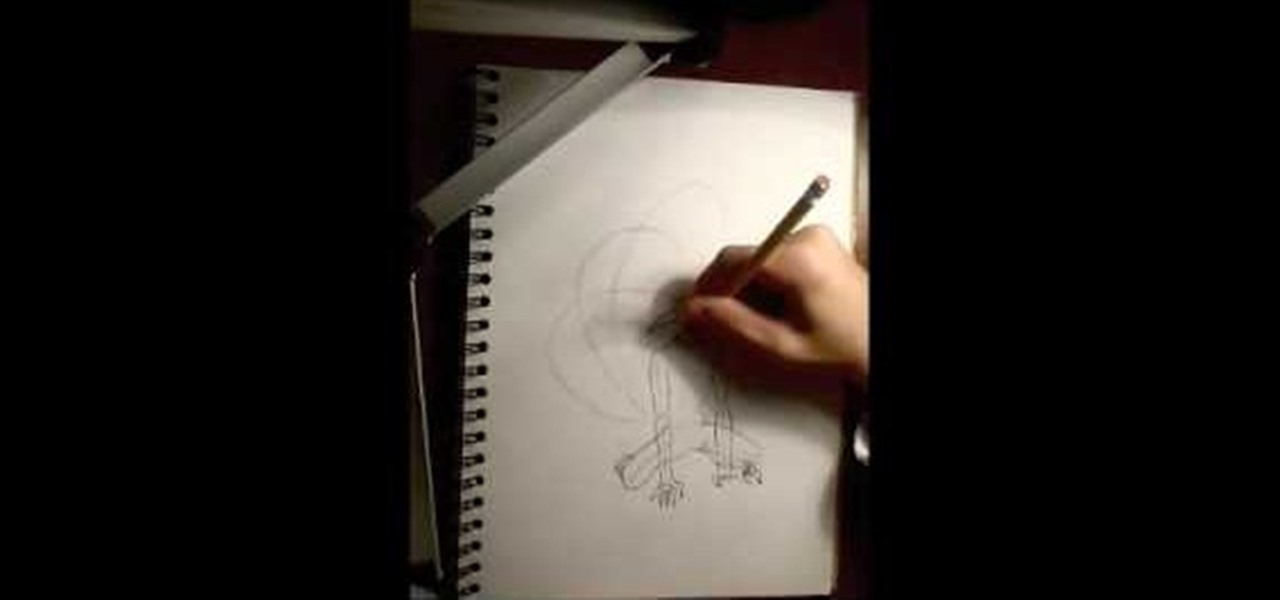
In this tutorial, we learn how to draw two feet. First, draw the feet crossed with just the ankles showing. After this, draw in the toes and then start to draw in lines where the muscles of the feet are. From here, you will start to add in the smaller details using a small brush. Then, create the toenails on the toes and color the feet and ankles a skin color. After this, add in gray to shade the lines onto the feet and ankles. Use darker lines to create contours of the limbs and then you wil...

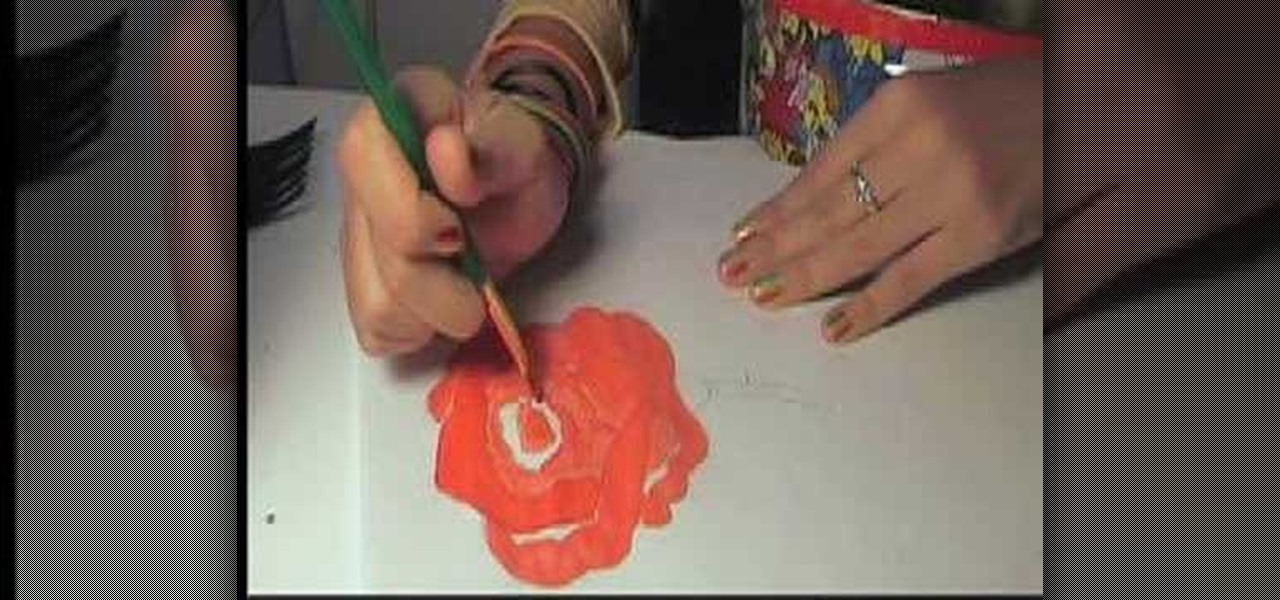
In this tutorial, we learn how to paint a red rose. First, you will add some red paint to your brush and paint along lines of a rose outline. Use an angled brush so you can get a better accuracy while you are painting. After this, continue to paint around the petals until you reach the entire area of the rose. Then, paint the inside of the rose. You will then mix the red together with darker colors and whites to add depth to the flower on the paper. Once finished, you will have a gorgeous red...

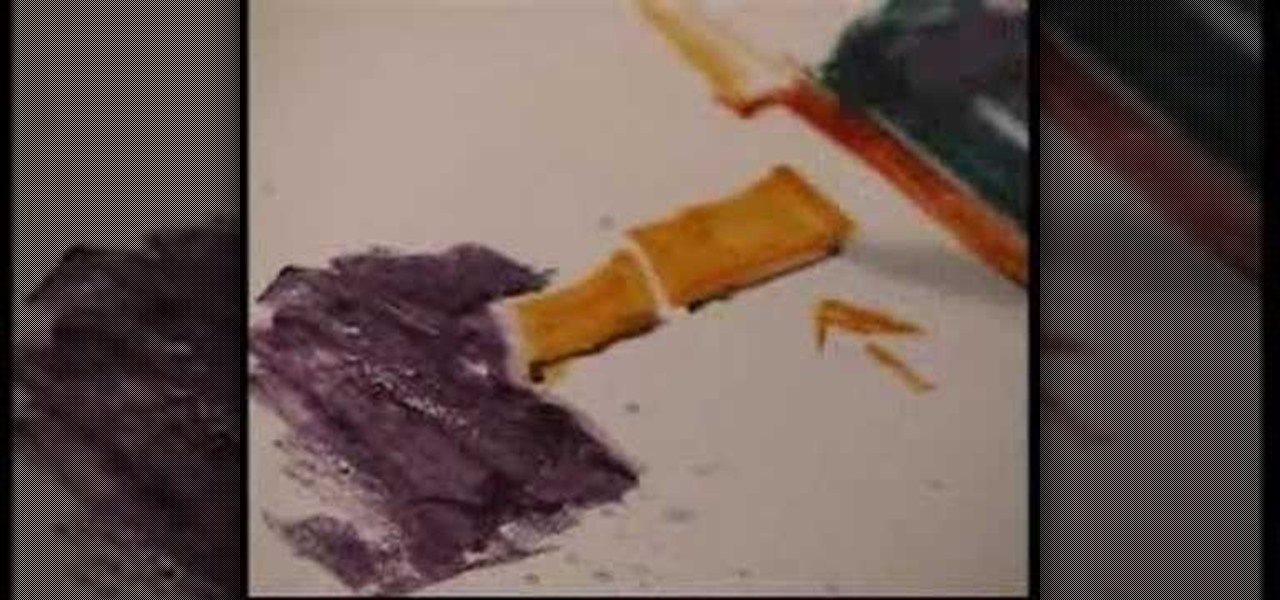
In this video, we learn how to use watercolor pencil techniques. The rendering process is similar to those with graphite. You will use strokes, giving them different lengths and colors to create texture. You can do crosshatching on the paper so everything is darker and you are hiding the white. Burnishing is when you lay down dark colors to the surface of the paper and work more colors in, the white will work as a blender. The end result will be a very smooth finish with a slightly waxy feel....

In this tutorial we learn four tricks to make your eyes look bigger. The first tip is to layer on a shimmery light shadow to the eyes and then add on a darker color to the crease of the eye. Curl the lashes and then apply mascara to the eyes after clamping and working up the eye. Next, take some false lashes and apply these to the outer edge of the eye. The lashes will give you a thick and luxurious look. Later when you go to take these off you just need to use simple eye makeup remover. Any ...

In this video, we learn how to draw Sonic the Hedgehog in Photoshop. First, draw a circle on the page and then draw the eyes onto him. After this, draw on his ears and then his hair around his head. After this, draw in the rest of his body and his feet. From here, use a darker paint brush to create the final outline of the character. Draw in the lines around Sonic to make him appear more realistic. Then, color him a dark blue color with red on his shoes. When finished, save this drawing and y...

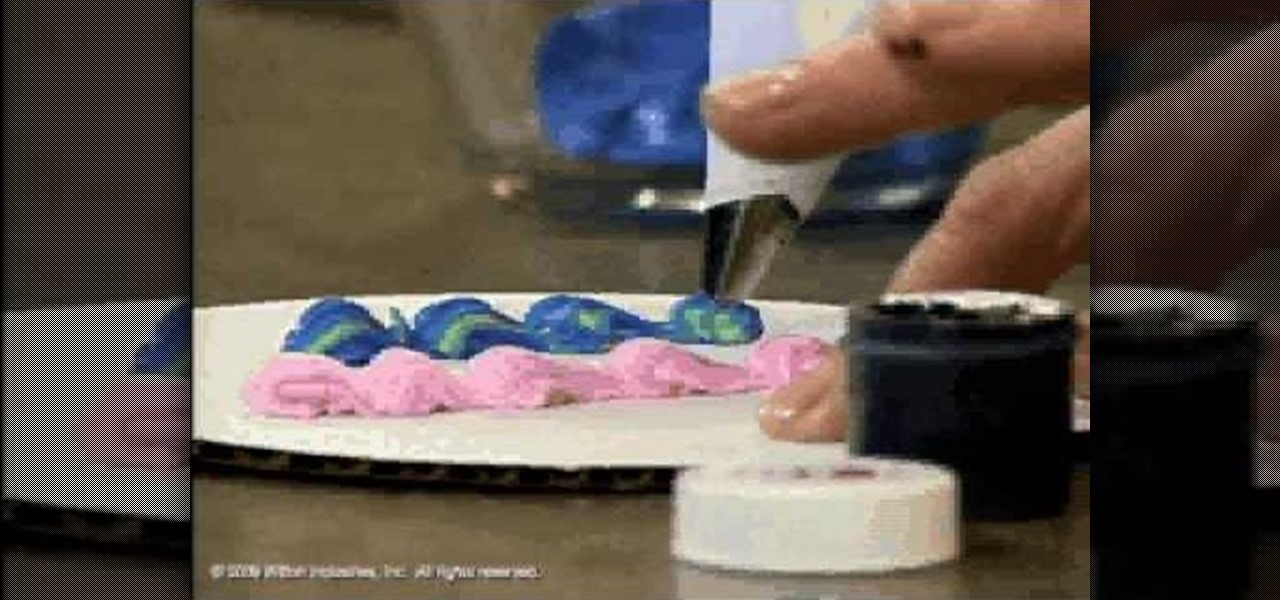
In this tutorial, we learn how to choose the appropriate color for cake decorating. First, spoon your icing into a bowl and then add in a small amount of food coloring. Start to mix this together, then add in additional icing if you want a darker or a brighter color to your icing. Experiment with different colors if you feel comfortable with using different ones. Take a parchment bag and roll it into a full, then stripe up the bag. Then, fill the parchment with some icing and this will create...

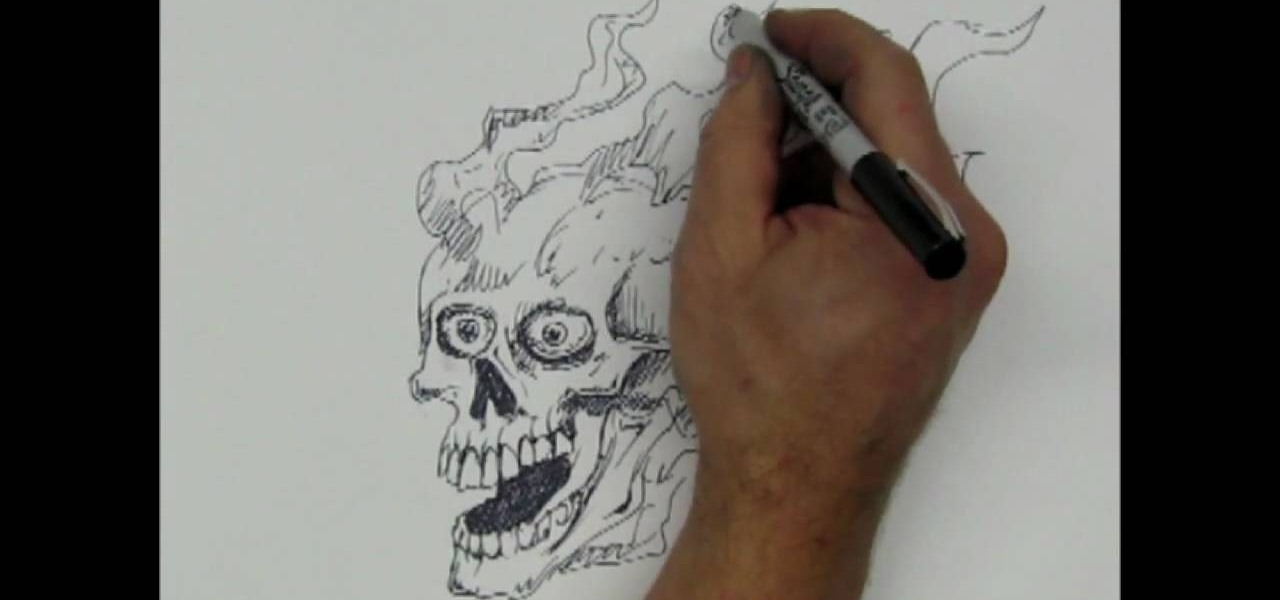
In this tutorial, we learn how to draw a skull with a Sharpie. First you will draw the eyes, make sure to draw lots of little lines around them then cross them to create depth. From here, draw the outline to the head and then the nose and the teeth. Make sure to add lines in around the head to show cracking and marks around the head. Use shading to create darker lines along the head and then add in additional details. Make this unique to you, it doesn't have to look one certain way. When fini...

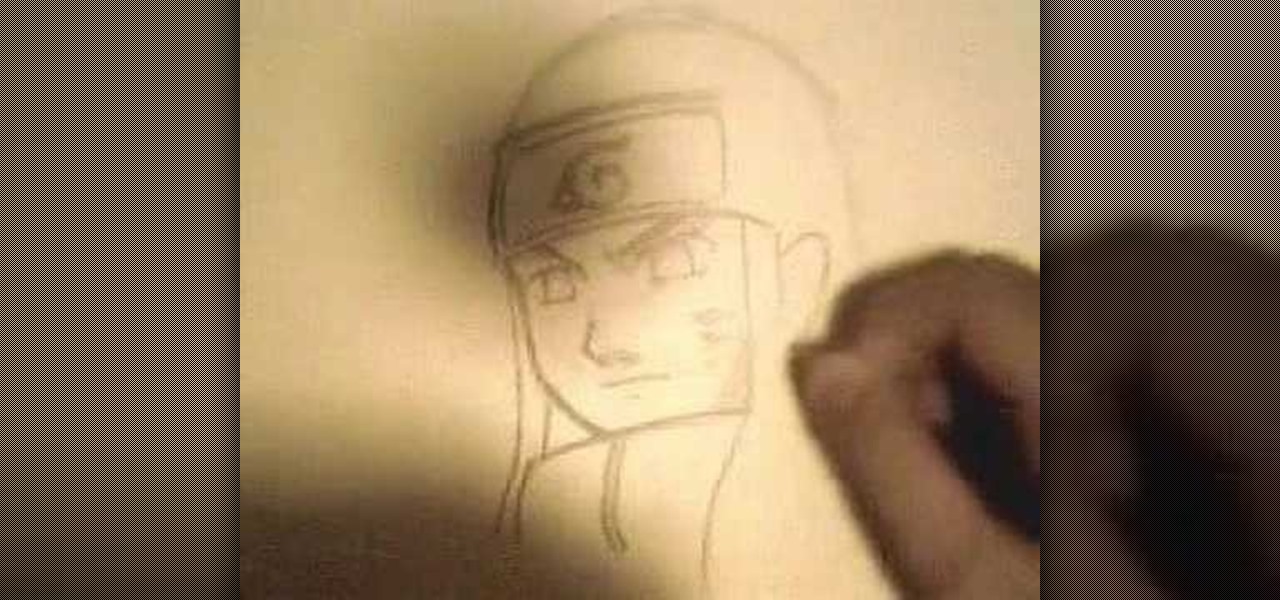
In this tutorial, we learn how to draw manga Neji. Start off by drawing the outline of the character. Don't forget to include the parts where the facial features, limbs, and hair are at. From here, you will use a darker pen to draw in the rest of the character. Next, you will start to draw in the additional lines and shading to make the character look more realistic. Once you do this, you can start adding some color! Use any colors that you would like or use the normal colors that are on Neji...

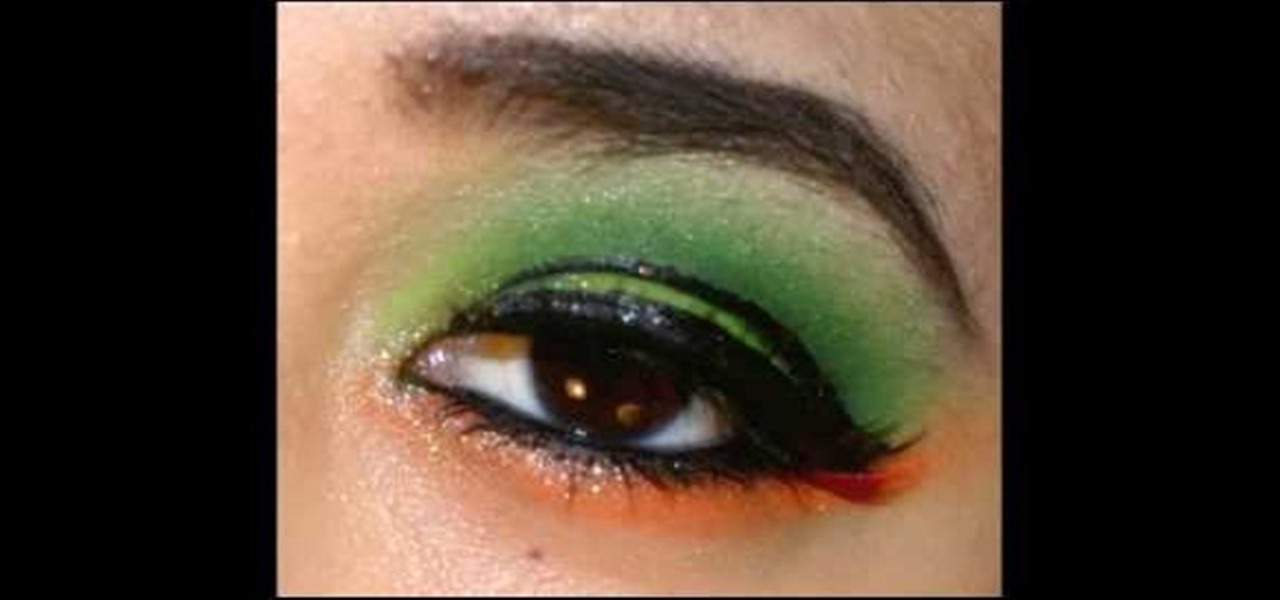
In this tutorial, we learn how to create a neon green and orange look using Kryolan UV. To start, you will brush a shimmery and sparkly white eyeshadow underneath the eyebrow on the brow bone. From here, apply a light green eyeshadow on the eye and into the crease. From here, apply a darker green shimmer shadow to the crease of the eye and blend it into the outer corner. Then, apply a sparkly orange eyeshadow on the bottom lash line, from the inner corner to the outer edge, meeting with the g...

In this video, we're shown how to draw Fred Flintstone from "The Flintstones". Start off by drawing the outline for Fred's body, drawing in his limbs and his upper/lower body. After this, use a darker pen to draw in the full outline and create a more 3D type of image. Next, you can draw in the clothing for the character, drawing in lines to show creases in the clothing as well. Then, you will need to color the skin and the outfit as well and add in the facial features. After this, draw in the...

In this video, we learn how to draw Naruto Fuuton Rasen-Shuriken. To start, you will first draw the outline with a light pencil. Then draw it darker over the outline with more details to make the final outline. From here, start to add details into the middle and then draw on the entire body. From here, draw on the clothes and make sure to put the lines on to show the folds and creases of them. Draw on the details of the face and finish off cleaning up any lines that aren't needed. Shade in wh...

In this tutorial, we learn how to draw Naruto 4-tails. First, draw the outline of the characters and the four tails. After this, draw in the rest of the outline in the final stages using a darker stroke of the pencil. Start to add in the details of the figure of the body and then add in the shading around the sides. Make sure you draw in the hands and the fingers as well as the facial features to make it look more realistic. Add in any more details that you would like to make it unique, then ...

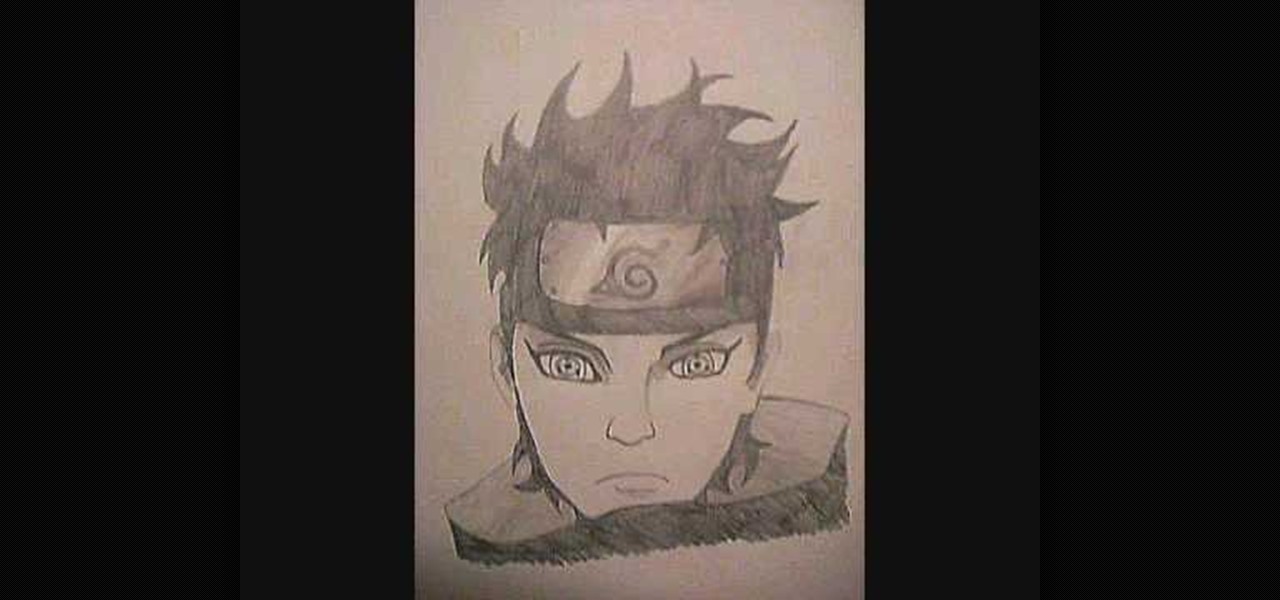
In this tutorial, we learn how to draw Shisui Uchiha. First, draw the outline of the face. After this, draw in the eyes pushing on the pencil harder to make them darker. Then, draw in the band around the forehead and draw in the details of the face as well as the facial features. Add in lines on the face to make it look more realistic and aged. From here, draw in the hair on top of the head, adding a lot of lines to show the strands. From here, draw the shoulders on the body under the head an...

In this video, Logan Salter teaches us how to apply Mad Hatter makeup for Halloween. Start out by applying white eyeliner to the tops and bottoms of the eye, then apply it to your eyelashes until they are white. From here, apply orange eyeshadow underneath your eyes and to the tops of the lids. Blend this outward from your face and then add in a darker orange to create a contrast. Next, apply a pink shadow into the crease and under the eyes. Apply the orange shadow to the brows, then brush it...

In this tutorial, we learn how to add 3D effects and shading to graffiti letters. To start, you will draw a simple letter with a pencil. Then, take one point under the letter in the middle and draw a darker outline. Next, you will draw an outline around the first outline to make it look 3D. Next, you will shade in the area in the middle of the letter and anything that is in between the first letter and the second. After this, you will add in lines and additional detailing to make the letters ...

In this tutorial, we learn how to draw a human skull. To start, you will use your pencil to draw a light outline of the skull on your paper. After this, you will start to add in more shading and lines throughout the face to make it look like it has depth and contours. From here, you will draw in the teeth and then create the nose and the pits for the eyes. After this, you will start to shade in the sides of the skull darker and then add in any additional details like small cracks on the face....


