In this video, we learn how to draw a realistic skull. Start off by using a pencil to draw out the basic outline of the skull. After this, add in further details, such as shading on the side of the head to show that it is hollow. Also add in the sockets for the eyes and show where the nose is at. Draw in the jaw bone as well as the teeth and the jaw line around it. Draw on cracks to the face at different places to make it look more realistic. Add in shading and darker lines where you feel nec...

In this tutorial, we learn how to draw a 3D ball and cone. First, draw a circle with two lines coming out the side of it. After this, add in shading to the bottom of the circle and then draw a shadow coming out of the bottom of the circle as well. After this, draw a light that is shining onto the ball. Make sure you are drawing a black crayon to get the best texture out of this. Draw in darker lines on the circle, then draw lines over the top of the ball and through where the light is shining...
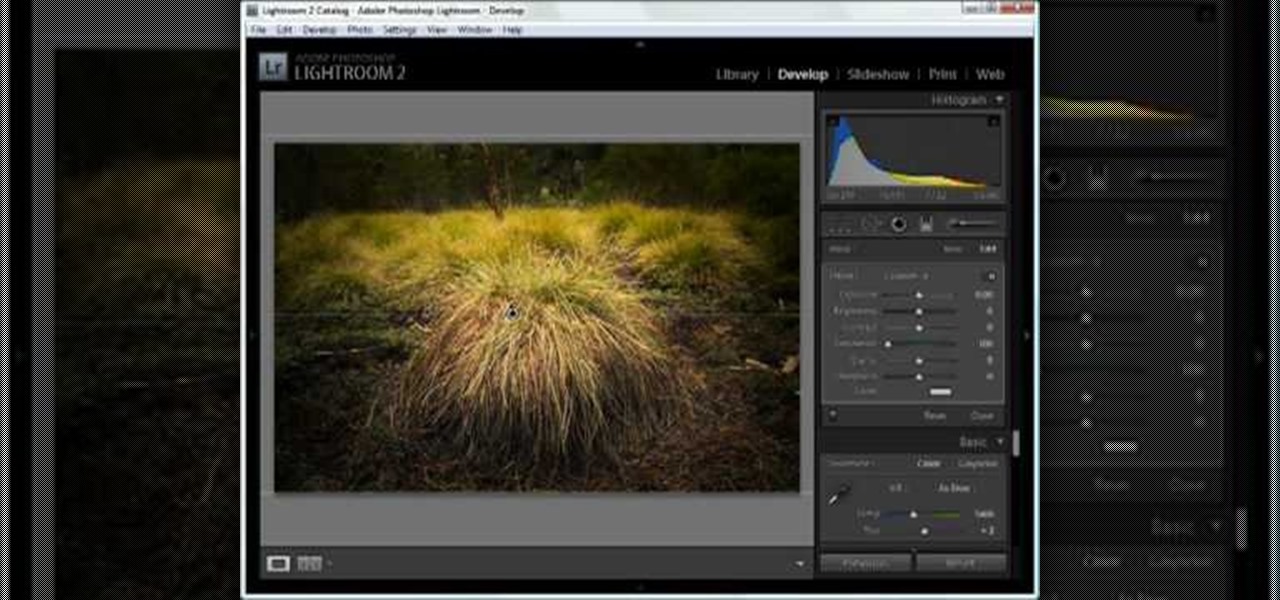
In this tutorial, we learn how to dodge and burn in Lightroom 2. First, open up your image in Lightroom 2 and use the brushes to change the saturation and the colors in the image. You can also use the graduated filter which you can use to apply effects across the image itself. Next, you can add a tint onto the picture and apply a second filter to make the top of the image darker, then make the middle of it brighter. Change the exposure and saturation to make the picture look more realistic. U...
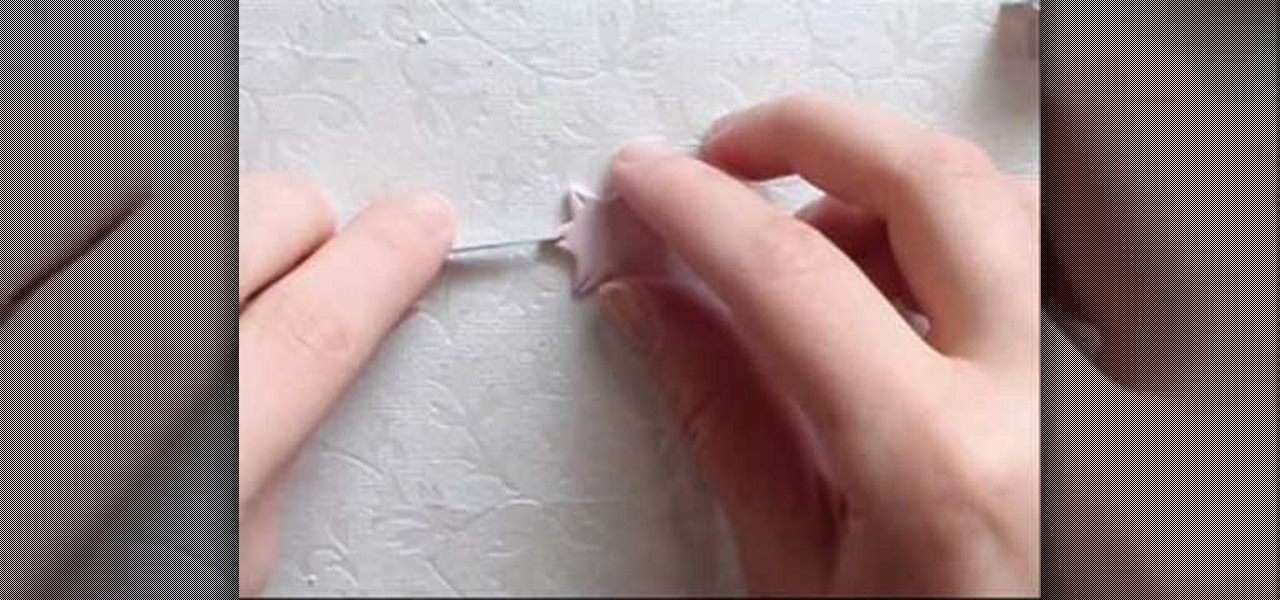
Cherry blossoms aren't just special because they're Bath and Body Works' best-selling scent of all time. No, in addition to their delicate floral smell, cherry blossoms are special because they are the first flower buds to open in spring. Spring officially stars when you see the cherry blossom trees bursting into color, and what a wonderful way to celebrate the new season!

In this tutorial, we learn how to draw transparent objects. Start out using light pencil markings, and draw the basic shape of the bowl. After you have the round top and have make it three dimensional, add shading to the bottom circle in the bowl so that you can see the bottom of the inside. After this, add shading to the side of the bowl to give it a realistic feel like it's sitting on a table. Next, use your eraser to remove some of the shading, then fill in darker pencil marks onto these s...
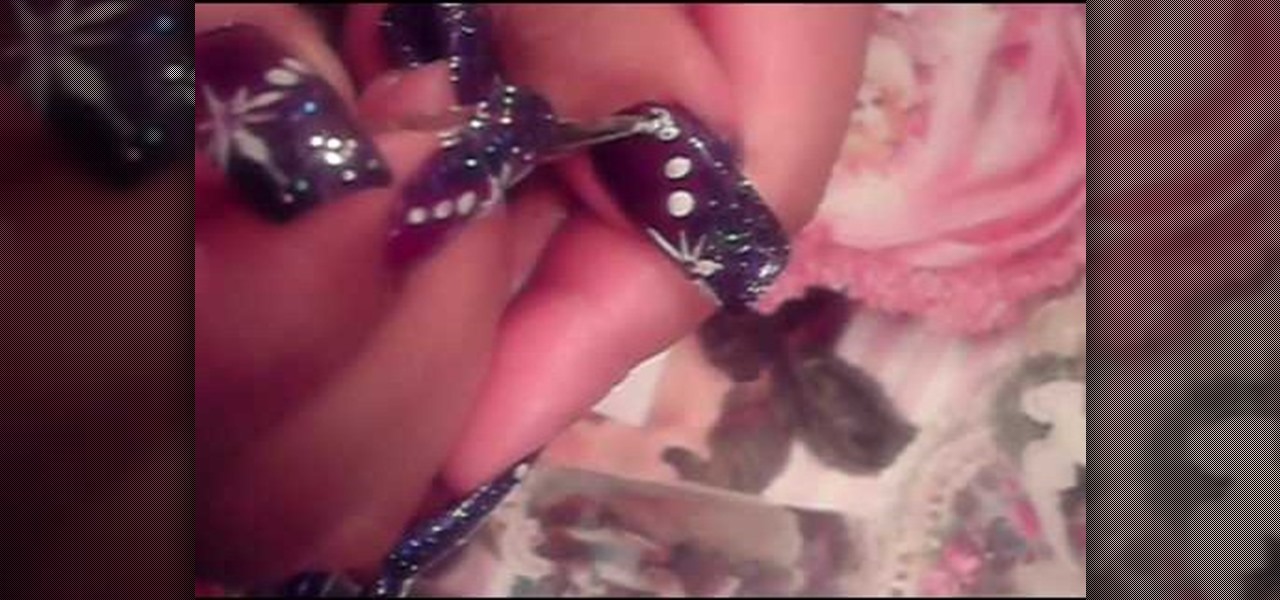
In order to do a nail art design with purple, glitter, white stars, and dots, you will need the following: 2 tones of purple nail polish, white polish, nail dotting tool, rhinestones, nail art polish, clear nail polish, and glitter nail polish.

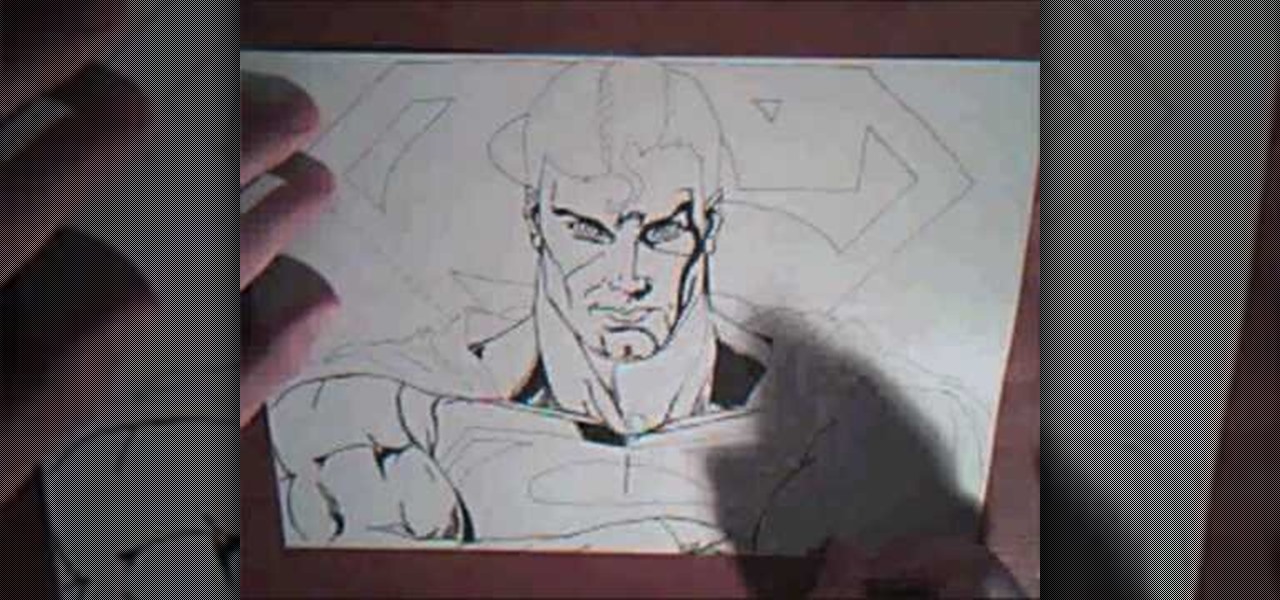
In this tutorial, we learn how to draw superman from DC comics. Start off by drawing the head and adding in the hair on top. Give the character a strong jaw line and eyes that look serious and focused. Continue drawing down, outlining the lips and nose, then making broad shoulders. Draw a cape over the shoulders and continue down making a line where the neck and breast plane connect. Draw the "s" sign on the costume, then continue by drawing the Superman logo behind the character. Now, star t...

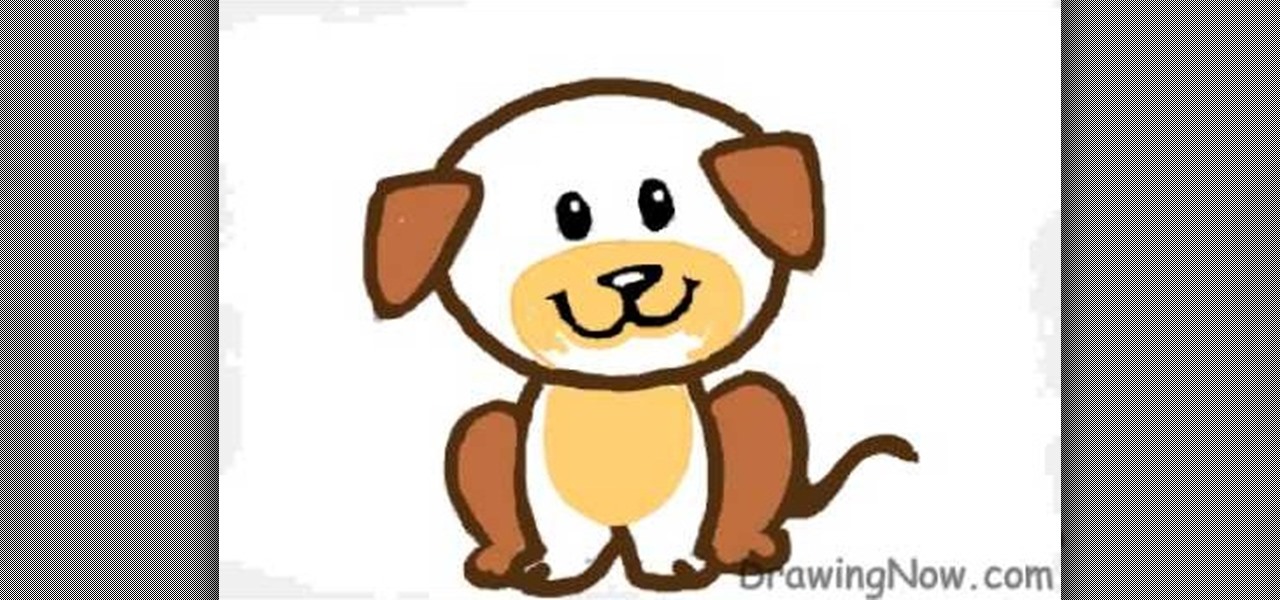
In this tutorial, we learn how to draw a cartoon puppy First, draw the oval head, followed by triangles for ears. next, draw the body underneath with four legs coming out of the bottom like the dog is sitting down. Add on a squiggly line for the tail next to the leg. Now, color the ears and back legs light brown, then add eyes, a nose, and a mouth onto the face. Draw a circle around the nose and mouth, then color in with lighter brown/tan color. Now, color the rest of the dog a darker shade o...

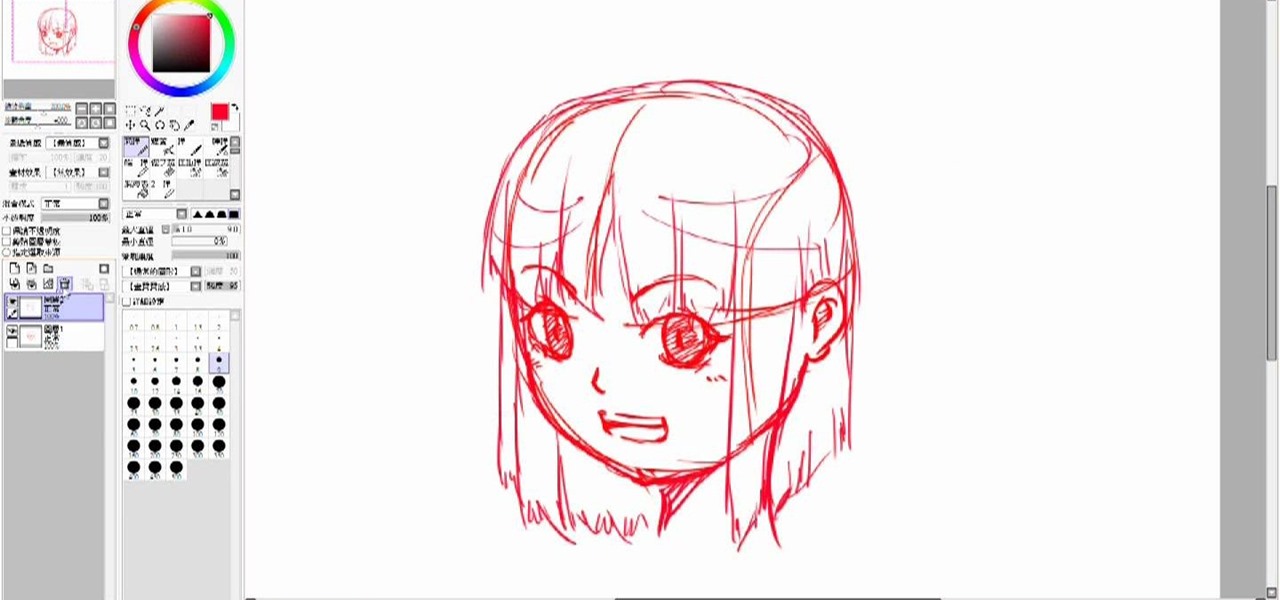
In this tutorial we learn how to draw a manga face. Start off by drawing a circle, after that add a cross in the middle as a reference point for where to draw the eyes, mouth, and nose. After you do this, you can start adding in further details to the face to make it look more realistic. Don't forget to add in lines on the face for wrinkles and pupils to the eyes. Ears should be placed on both sides of the head and don't forget to draw in hair as well. Outline the pictures with a darker brush...

In this tutorial, we learn how to draw Blair from Soul Eater. Start off by drawing the head, hat, and body with a light pencil. Next, draw an arm going down from the body. These will be basic construction lines that you will draw over with a thicker pen later on. Start to establish the eyes and eyebrows, as well as the nose, mouth, and chin. Add details into the picture, then start going over your lines with a darker pen or pencil. Start to add in details that you feel make the character look...

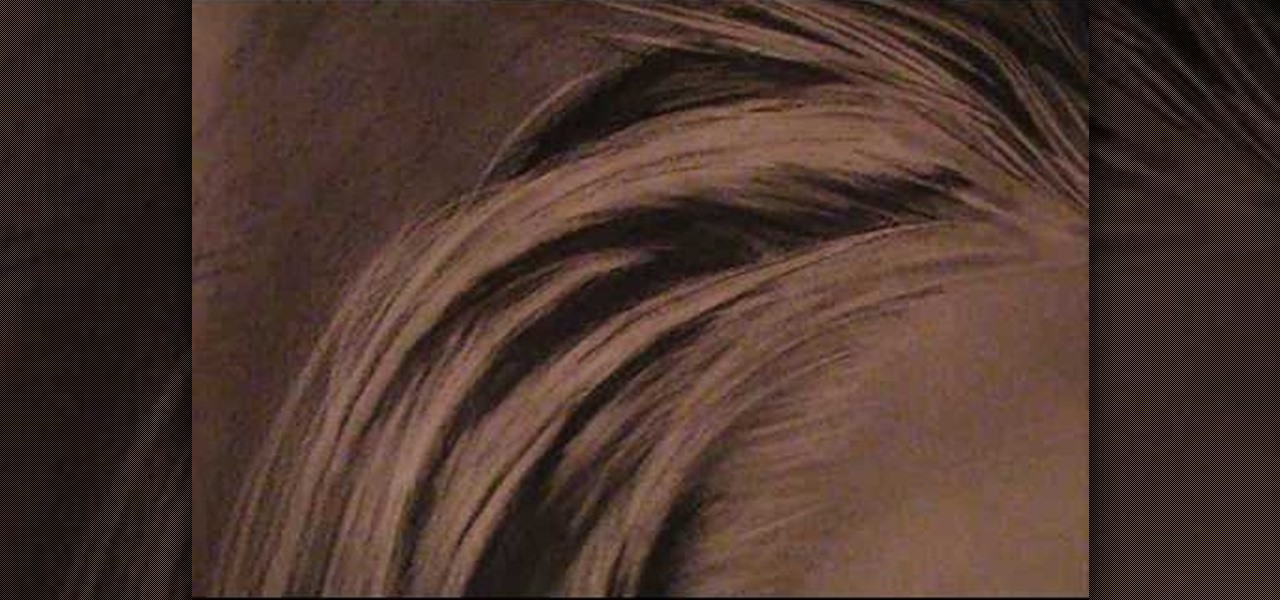
In this tutorial, we learn how to draw realistic hair. Start out with a rough outline and look where the hair is clustered together. Draw the clustered area first. Then, cross hatch over the entire surface of the area and blend in. Add hair to the forehead area, then use a darker pencil to form the shape of the hair. After you do the clusters, start to draw the hair that is separated from the rest. Keep looking at the picture you are drawing, then use an eraser to change the drawing to match ...

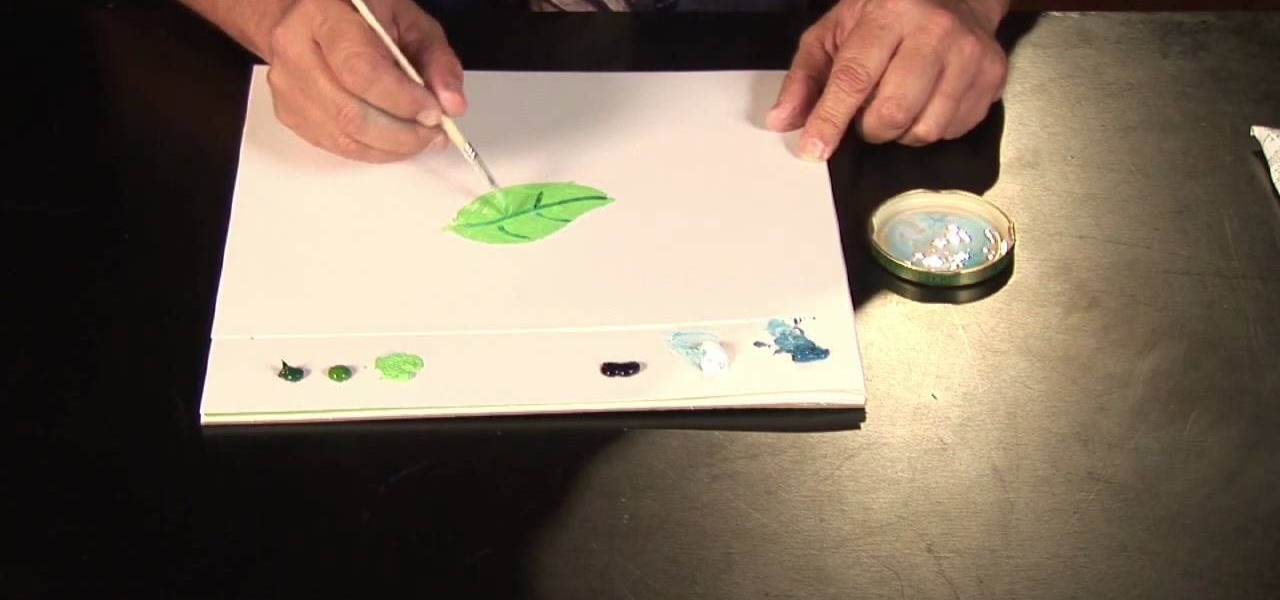
In this tutorial, we learn how to paint a leaf tree with oil paints. First, paint light green on the leaves using a blank canvas. After this, add in a dark green color to make the stems and the middle of the leaf. Use different greens to draw the leaf out towards where the tree would be. You can blend in darker parts to make highlights, then use white to make a shine on the leaf. If you make a mistake, don't worry. Just use paints to make something change on the leaf and make it unique and al...

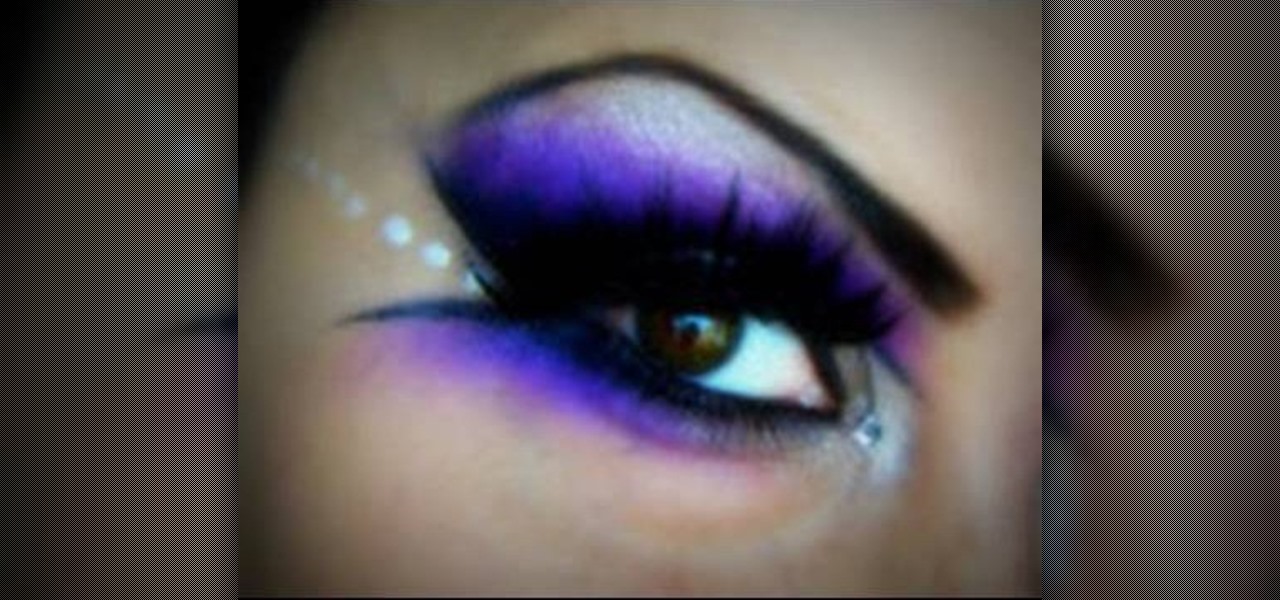
In this tutorial, we learn how to mix purple & silver for a dramatic makeup look. First, apply primer to your entire eye lid. After this, use purple paint and brush it onto the outer edge of the eye and the crease on top. Next, paint the purple under the brow bone, and then paint a darker purple underneath the first purple. Use light blue on the inner edge of the eye, then paint purple underneath and add eyeliner to both the top and bottom of the eyes. Use a small black brush to outline where...

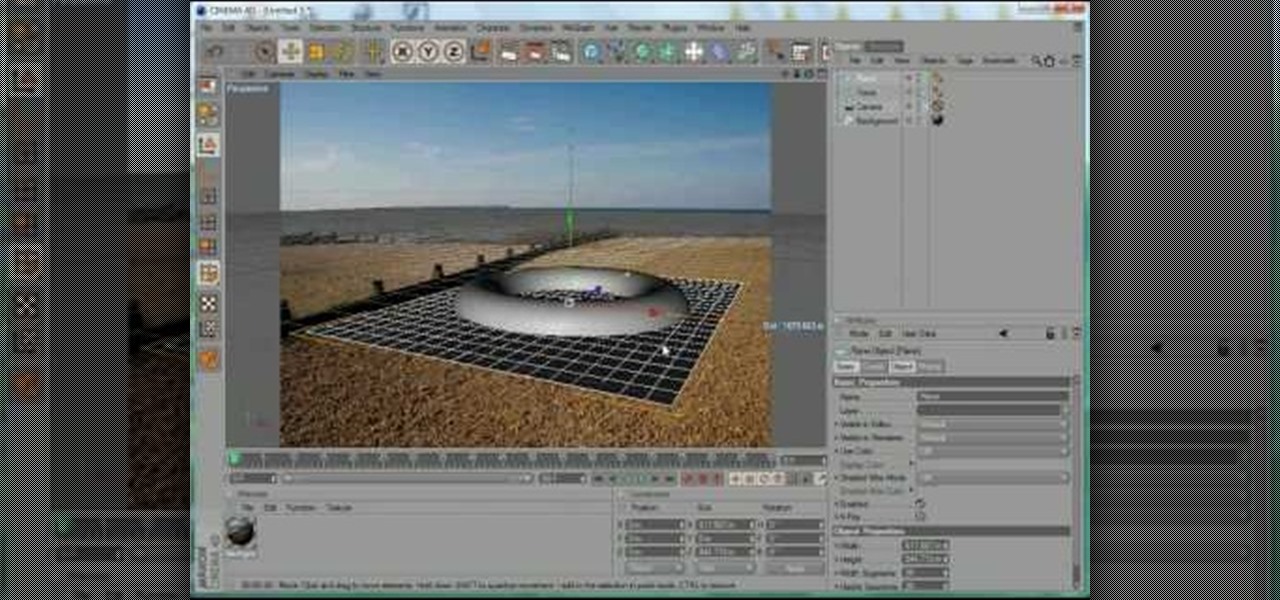
In this C4D-user's guide, you'll learn how to apply a 2D bitmap file as a background in Cinema 4D. Whether you're new to MAXON's popular 3D modeling application or are just looking to get better acquainted with Cinema 4D and its various features and functions, you're sure to enjoy this free video software tutorial. For more information, including complete instructions, watch this 3D modeler's guide.

In this clip, you'll learn how to go about designing custom backgrounds for your YouTube channel in Adobe Photoshop CS4 or CS5. Whether you're new to Adobe's popular raster graphics editing software or a seasoned professional just looking to better acquaint yourself with the program and its various features and filters, you're sure to be well served by this video tutorial. For more information, including detailed, step-by-step instructions, watch this free video guide.

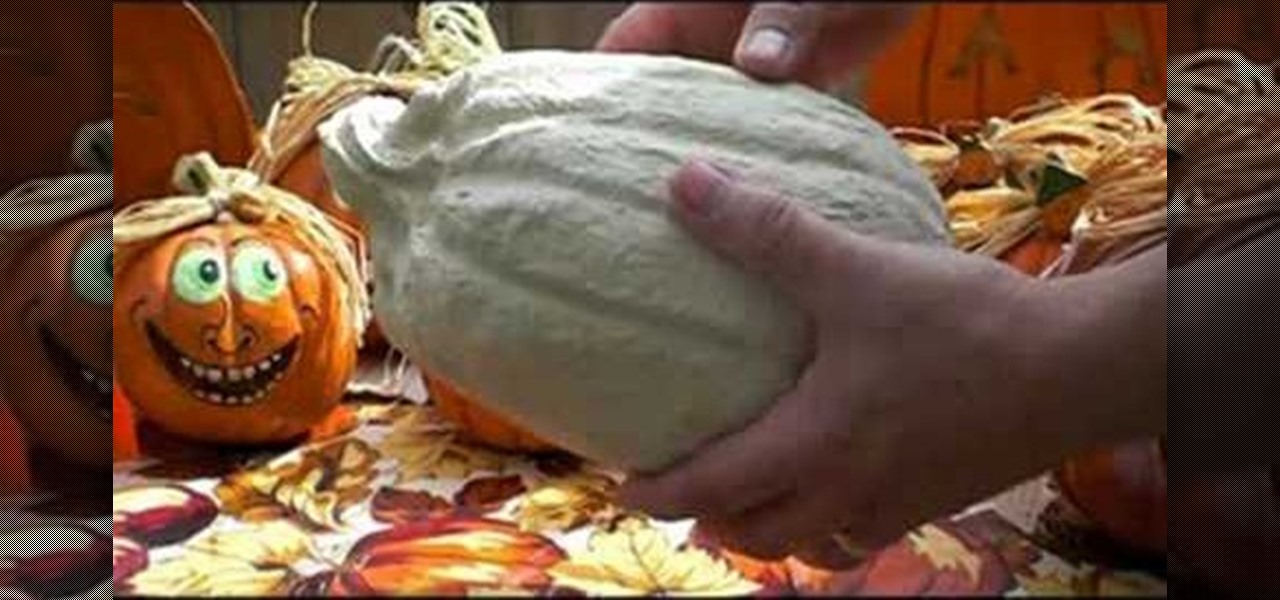
In this tutorial, we learn how to make paper mache Halloween pumpkins. You can purchase the pumpkin already made in the correct shape. When you are read to paint it, use orange pain and then a darker color in the creases to make it look realistic. You may need to smooth the pumpkin out before you paint, to make it easier to paint. Let the paint dry when finished, then add a gloss on. You can also paint on faces and different designs if you want to spice things up. You don't have to paint them...

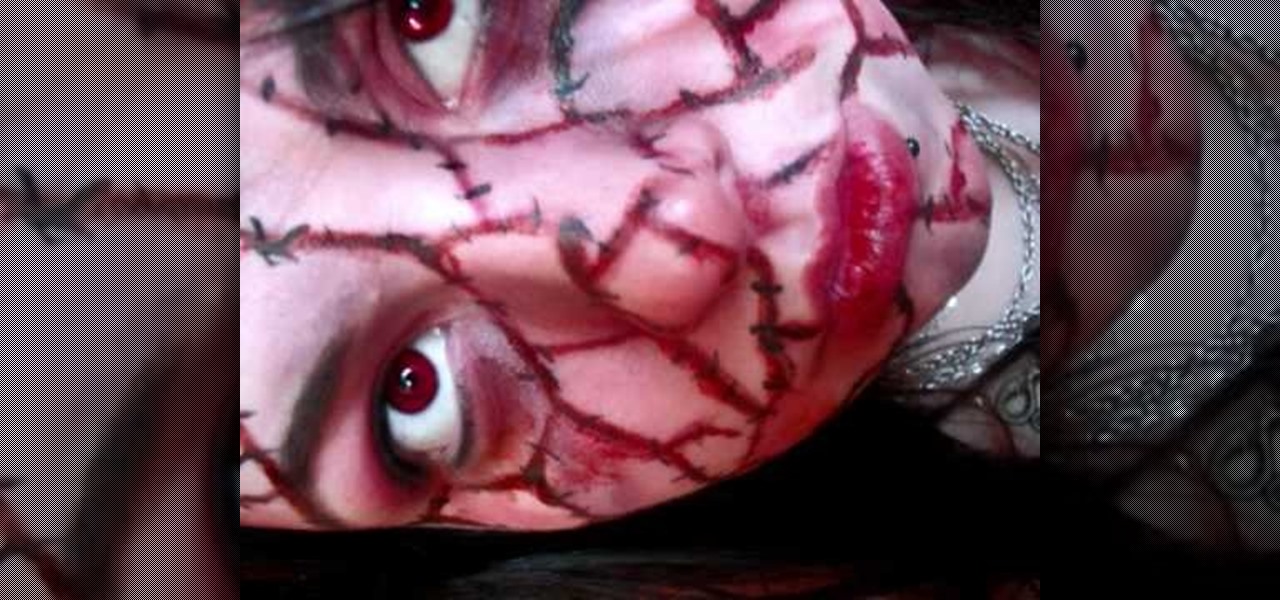
In order to do a bloody makeup look for Halloween, you will need the following: deep red blush, deep shadow Mac paints, eyeshadow, contour shadows, theatre blood, and eyeliner.

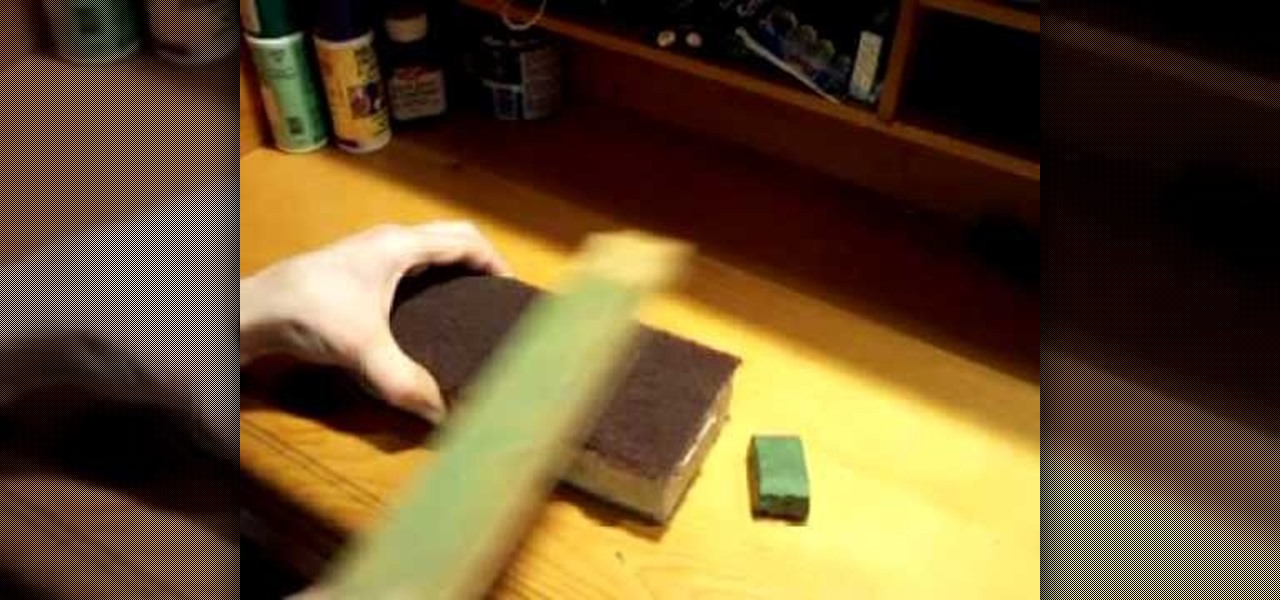
In this tutorial, we learn how to apply sharpening compound to a hone. First, remove the old compound by scratching the hone on scotch bright. Keep doing this until the compound is off and the hone is soft. To reapply, start coloring the compound on. Work your way from the top to the bottom, moving in an up and down motion quickly. Make sure you apply enough to where the hone is a darker color of green instead of a light green When you are finished, you will have newly applied compound within...

In this video, we learn how to apply mineral mascara with Lisa Liddiard. First, you will curl your eyelashes with an eyelash curler before you put any mascara on. Now, grab your mascara and wipe off the tip of the brush to remove an excess mascara. Now, brush the mascara onto your top eyelashes, shaking the brush left to right at the base of your eye. Apply one to two coats of this mascara, putting more towards the outside lashes to give it a darker and more full look. If you'd like, you can ...

In this tutorial, we learn how to cook a London broil. First, heat up a skillet on medium high and then place your meat onto the skillet. Now, let the meat brown on both sides, and keep cooking, seasoning with salt and pepper as you go. Keep cooking on both sides, making sure not to burn either side of the meat. The outside will be darker on the outside since you are cooking it on a skillet instead of an outside grill. Grab a thermometer and make sure your meat is cooked thoroughly, depending...

In this video tutorial, viewers learn how to photograph with infrared. Infrared photography is photography the infrared spectrum of light, rather the visible spectrum of light. The main effect are to turn the sky darker, smooth out skin and turn foliage white. Users will need a camera that is converted into infrared. Then simply take a picture with the infrared camera and all the photos that are created by the camera will be in infrared. This video will benefit those viewers who are intereste...

In this tutorial, we learn how to apply ice blue eye shades for the winter. To start, apply concealer underneath your eyes and then apply foundation to the entire face. Next, use an angled brush to apply makeup to your brows and make them more full. Now apply powder underneath your eye to catch any powder that falls while you are applying eyeshadow. After this apply primer to your entire lid and then apply a yellow tone shadow to your entire eye. Now take a blue eyeshadow and brush it on the ...

Anxious about shooting a white foreground object against a white background? Learn how to take stunning white-on-white photographs with this free video photography lesson. For more information, including detailed, step-by-step instructions, and to get started taking your own wintry photographs, take a look.

First, outline the upper portion and lower portion of the right eye. Make the upper line darker than the lower one. Copy and paste this to create the left eye of your anime artwork. Create the eyeball using the Circle tool. Create two more circles inside the eyeball - one bigger and the other smaller. Make eyelashes by using a set of curved lines. Create at least three thick strands of these eyelashes. Create another circle inside the eyeball that intersects the two smaller circles created ea...

This video demonstrates how this artist draws a tree using a pencil and paper. After creating the outline of your tree trunk, darken the line and add shading as necessary throughout the tree to add dimension to your drawing. The darker shading is focused on the outside edges of the trunk, lightening as you go towards the center of the trunk. Sharpen your pencil as necessary, since it is easier to add detail to your tree with a sharp pencil. Add further branches to your initial trunk and creat...

Remember those iPod ads with shadowy, black figures, a bright background, and a clearly delineated white iPod? You can cut yourself a piece of the overstuffed Steve Jobs pie by watching this tutorial on how to create an iPod people effect with Photoshop.

Want to separate a foreground object from its background? Whether you're new to Adobe's popular image editing software or simply looking to pick up a few new tips and tricks, you're sure to benefit from this free video tutorial from Connor Tuts. For more information, including step-by-step instructions on how to get started extracting elements from pictures in Photoshop yourself, watch this graphic designer's guide.

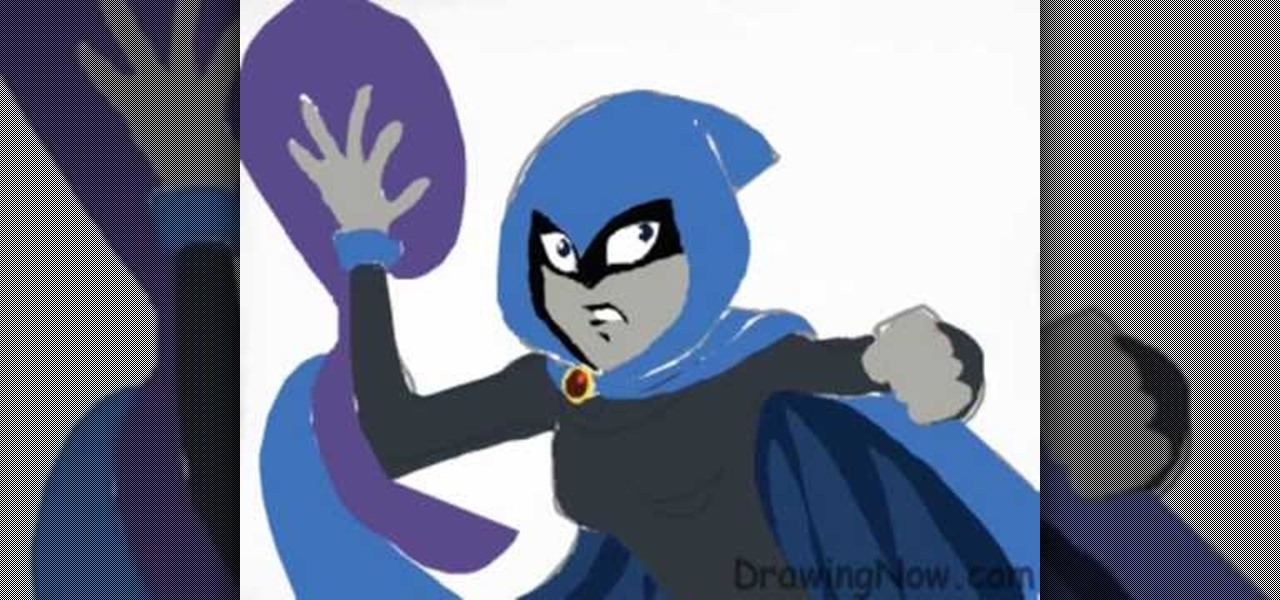
Teen Titans is one of the most tragically underrated American children's cartoons of all time. Fortunately, Drawing Now one of our favorite art instruction groups, has created this video tutorial on how to draw one of the shows iconic characters, Raven. Here are the artist's step-by-step instructions:

The darker your hair is, the harder it is to lighten it. If you are not keen on stripping your hair with bleach but want to avoid that orange look of poorly dyed tresses, check out this tutorial. In it, you will learn how to take your dark brown hair to blonde without any bleach at all. This is a much healthier method for your hair and you will be thankful you chose it in the long run. Avoid the frizz and fry that come with bleaching and follow this step by step for lighter locks.

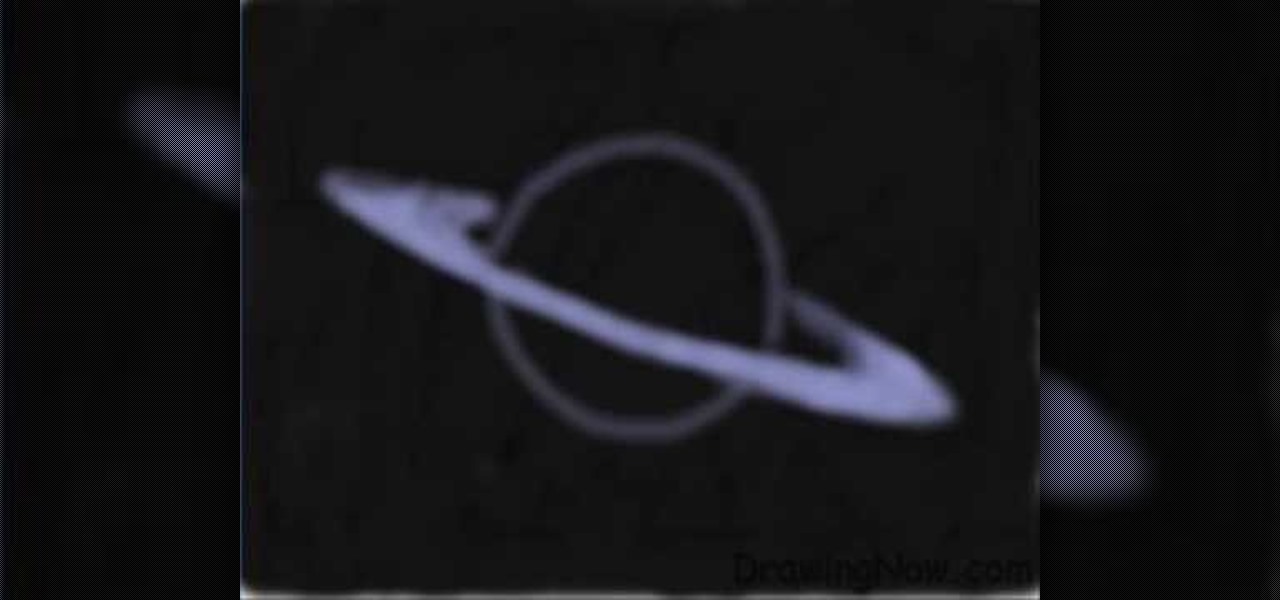
In this how-to video, you will learn how to create a drawing of Saturn. First, fill in the area with black to create space. Next, create a circle and a ring around it. This will be the basis of the planet. Go into the ring by filling it in with more color. Now, fill in the planet with the darker shades. Once this is complete, you can fill in the planet with the striped colors. You must do the same with the ring. Finally, go back into the planet and do some fine tuning. Once this is done, the ...

In this how to video, you will learn how to draw a Cookie Monster cupcake. First, draw two circles for the eyes. Follow this with a furry texture oval shape for the face. Add a mouth with a cookie in it and draw the bottom as a cupcake wrapper. Draw the pupils of the eyes. Next, color the face a blue color. You can draw the cookie inside of the mouth a brown color. Use a black color to outline the areas around the mouth. Fill in the chocolate chips of the cookie with a darker brown color, and...

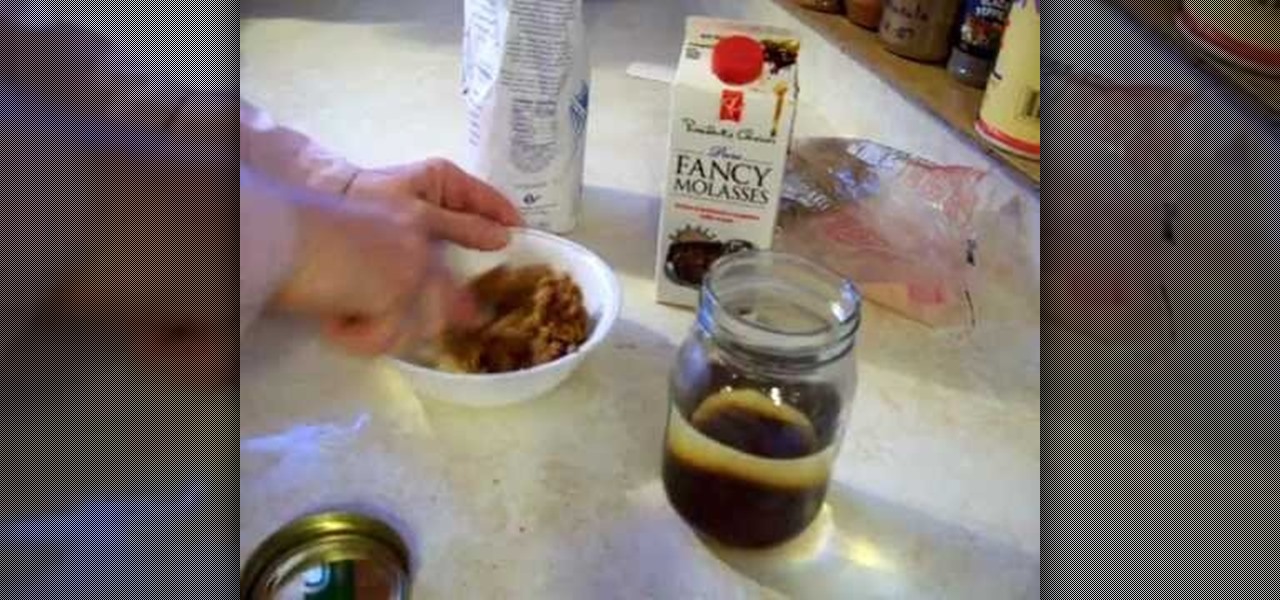
This video is about how to make brown sugar out of white sugar (granulated sugar) and molasses. Brown sugar is not more natural than regular white sugar, it is just white sugar with some molasses added. "Raw sugar" is a more natural form of sugar than white granulated sugar that comes from the sugar cane plant. To make your own brown sugar simply take some white sugar and add some molasses and mix well. The more molasses you add, the darker the brown sugar will be. If you are baking a recipe ...

In this tutorial, learn just how easy it is to enhance your subject by changing their backdrop. By changing the background of a photo you can place your subject in new and exciting places, and enhance the color of their skin and eyes with the right color pallette.

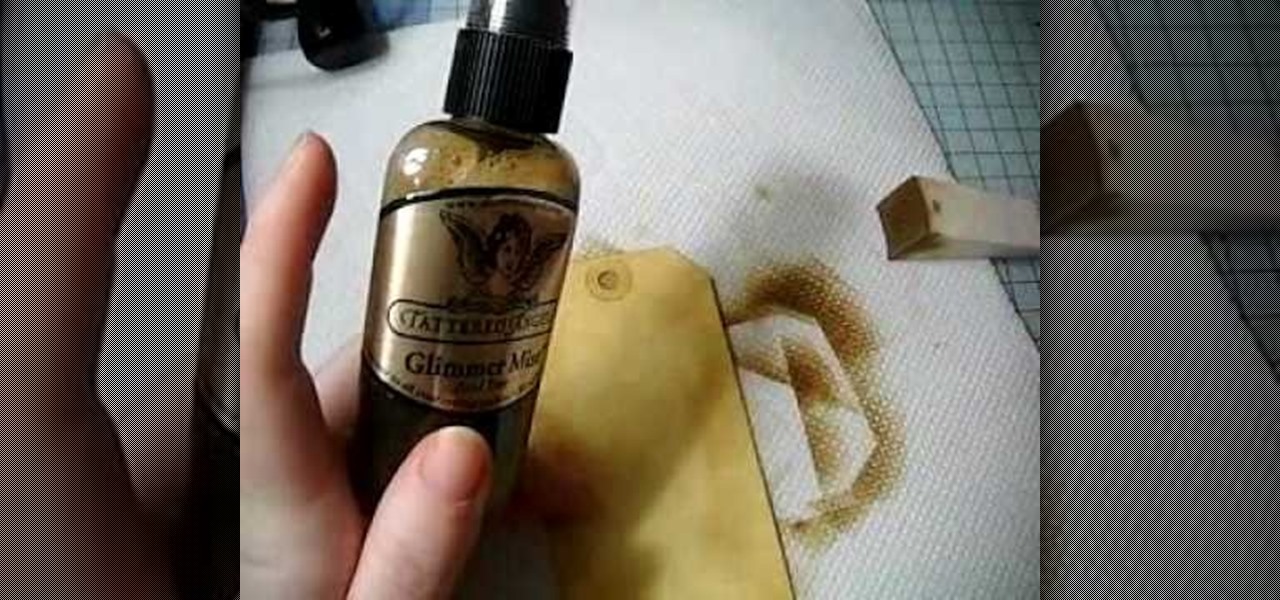
In this Arts & Crafts video tutorial you will learn how to make a distressed scarpbook tag. Take two tags, one red color and one yellow color and strip the threads off. Take a light color ‘Distress’ ink on a sponge and dab one side of the yellow tag with it to give it a light rough look. Now take little darker brown ink on another sponge and dab the edges of the tag with it. Then place the tag in a box and spray Glimmer mist on the tag. Dry the tag with a dryer. Now dab some more brown in...

In this video tutorial, viewers learn how to tan an image using Adobe Photoshop. Begin by opening the image in the program and create a new layer. Then select the brush tool and select the tan color. Click OK and apply the color over the areas that are wanted to be tan. Then apply another layer with the same color to darken the image. Finish by configuring the Opacity to a lighter color and blend it to the image, This video will benefit those viewers who enjoy editing images to enhance them a...

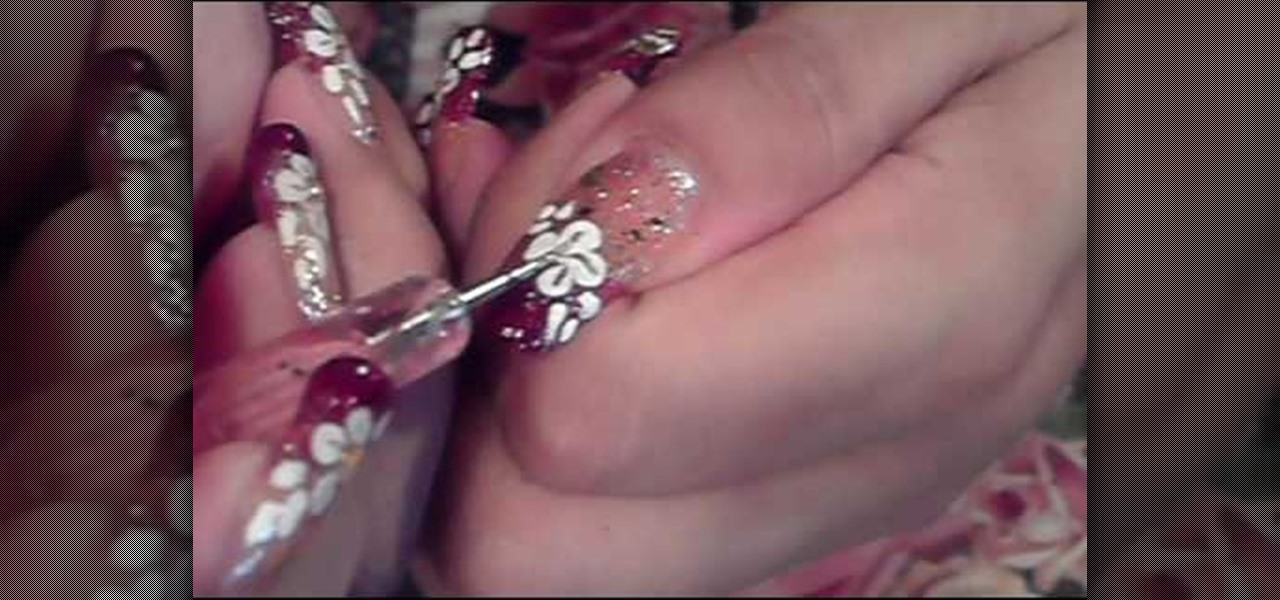
In this video it is demonstrated that how to Paint nails with a gold glitter flower design. First of all apply red glitter French tip manicure on your nails, now reapply red glitter nail polish on it so that tips get darker. Now take a golden polish and apply it to half way rest nails with the help of sponge. Now apply big and small glitter to your nails to become more shiny. Now to make flowers on your nails, take white nail polish, gallop paper and start making dots such a way that it looks...

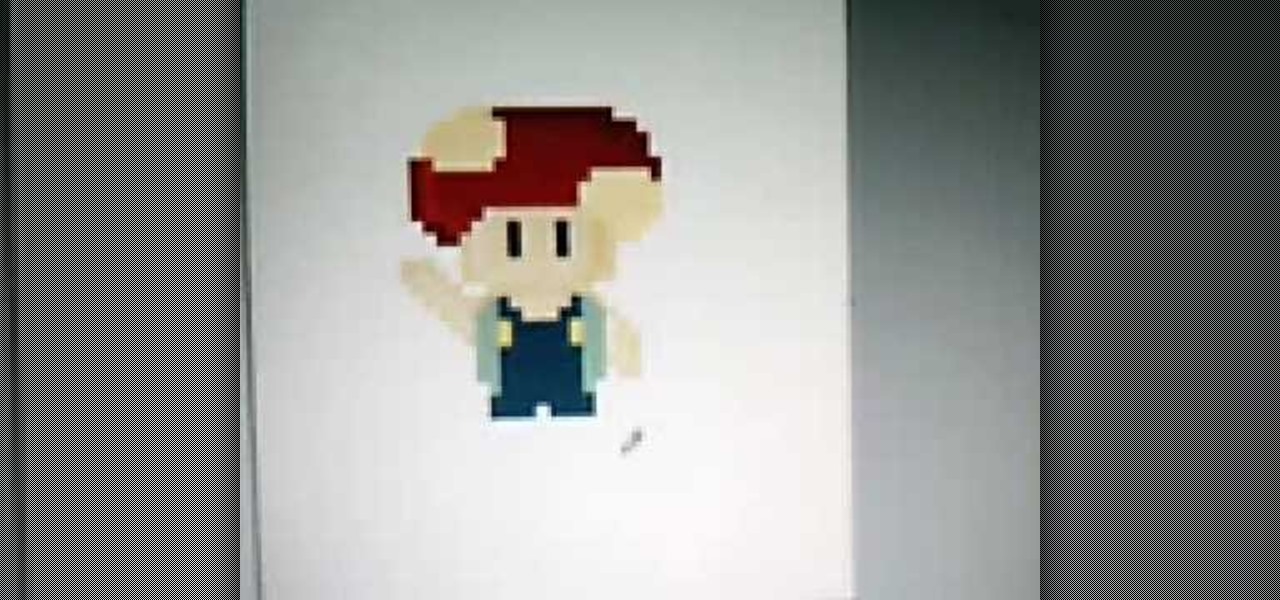
Drawing an 8 bit toad seems very easy from the video of Mario brothers, first you draw two short standing lines which are the eyes and are black in color using freehand draw option. Then you draw a somewhat oval shape using the same option around the eyes which would look like a face using the color light yellow then you provide darker shades on each side to give the face a 3d effect. Then the cap is drawn after which you draw the rest of the parts the body, dress, hand, shoes etc and finally...

This is a clear video showing how to easily draw a 3D letter 'B'. First of all you start by just writing the letter 'B' normally; and then you double outline all of the lines you have drawn, both inside and outside of the letter. Color it in with a block color for a 2-dimensional letter. Then its time to make it 3D! In the middle you just add lines parallel to the 2D letter, and also around the top and left sides of the shape; color this in with a darker color, and voila! You should now have ...

In this video, Mr. G demonstrates how to draw a wintery snowflake. You will need a plain pencil, or a blue and black colored pencil for this drawing. Start by writing your name and the date on a white sheet of paper. Then, begin lightly drawing the base of your snowflake. After you have drawn your base, Mr. G will show you how to make the lines darker to form the shape of your snowflake. Then, you will learn how to detail your snowflake by drawing small triangles inside the basic shape that y...

Learn how to draw Kenpachi Zaraki from the manga series, Bleach. "Drawing Now" teaches fans of the manga series, Bleach how to draw a sketch of the character Kenpachi Zaraki. You will need: a drawing pencil, colored pencils/markers, and a basic idea of how Kenpachi looks. Start by drawing a lighter, erasable outline of Kenpachi (this is so mistakes can easily be fixed before bringing in more color). Using a darker color (preferably black), trace over the lines you wish to keep in the drawing ...


