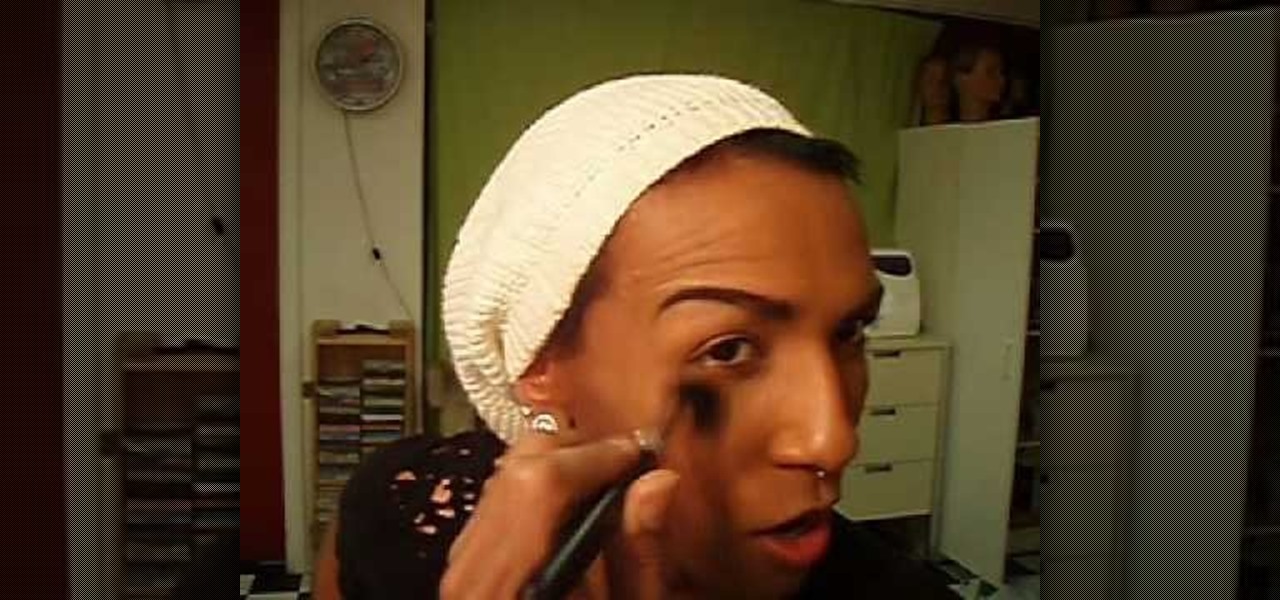
How To: Contour and highlight your skin with makeup
This tutorial video will show you how to contour and highlight your skin with makeup. Contours are "shadows" so you want to go darker than your actual skin tone.


This tutorial video will show you how to contour and highlight your skin with makeup. Contours are "shadows" so you want to go darker than your actual skin tone.
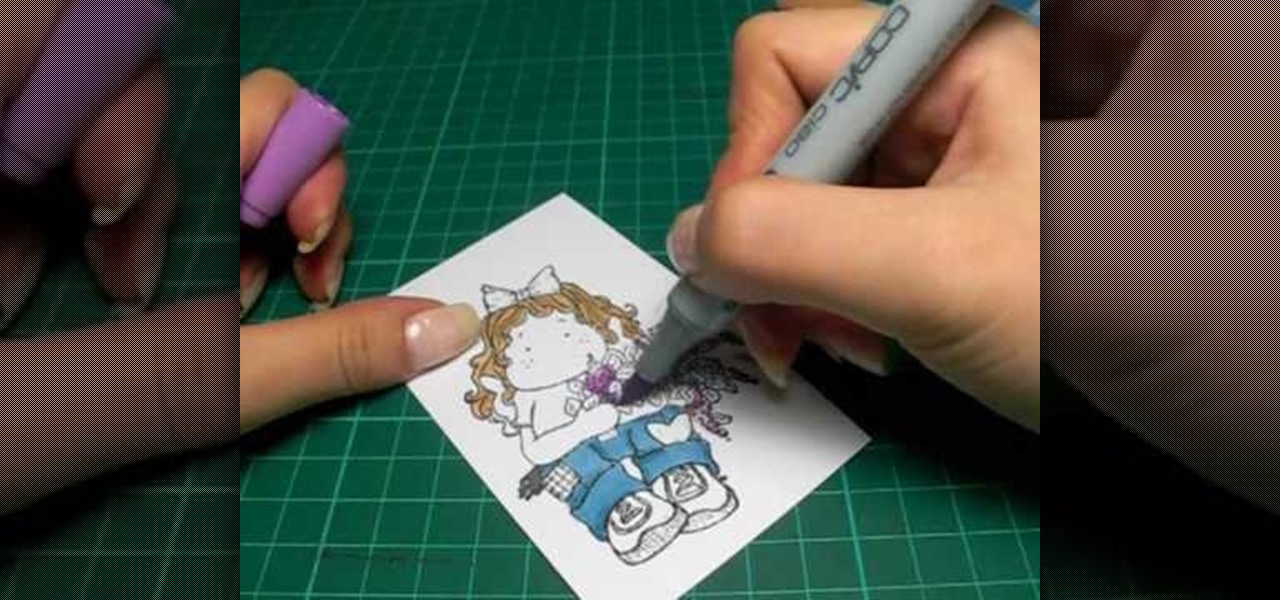
In this tutorial, we learn how to color with Copic pens. First, grab a picture that you want to color with your pens. After this, start to color in the picture with your different colored pens. After you fill in the colors, use a darker colored pen to add in shading and make the lines darker along the sides. Continue to color in your picture, adding shading where you prefer. Add in different colors and make the lines darker when you want them to look more bold. Make sure to add in highlights ...
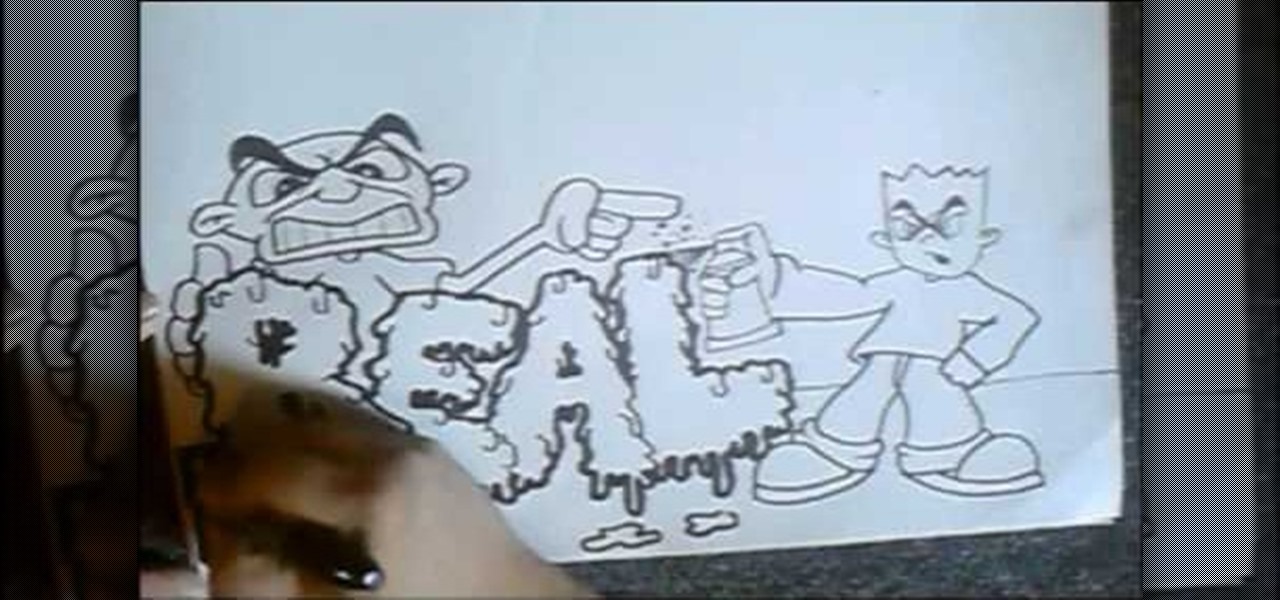
In this tutorial, we learn how to draw graffiti letters. When you are drawing these letters, you will want to use as much imagination as you can. Make sure to add in your own personal flare to give each of the letters a special touch. Now, you will draw the letters making them into a large 3D letter. Add in swirls and lines to the edges of the letters to give them a wet look and then add in shading to the side to make it look darker. Add in more shading and darker outlines, then when you are ...
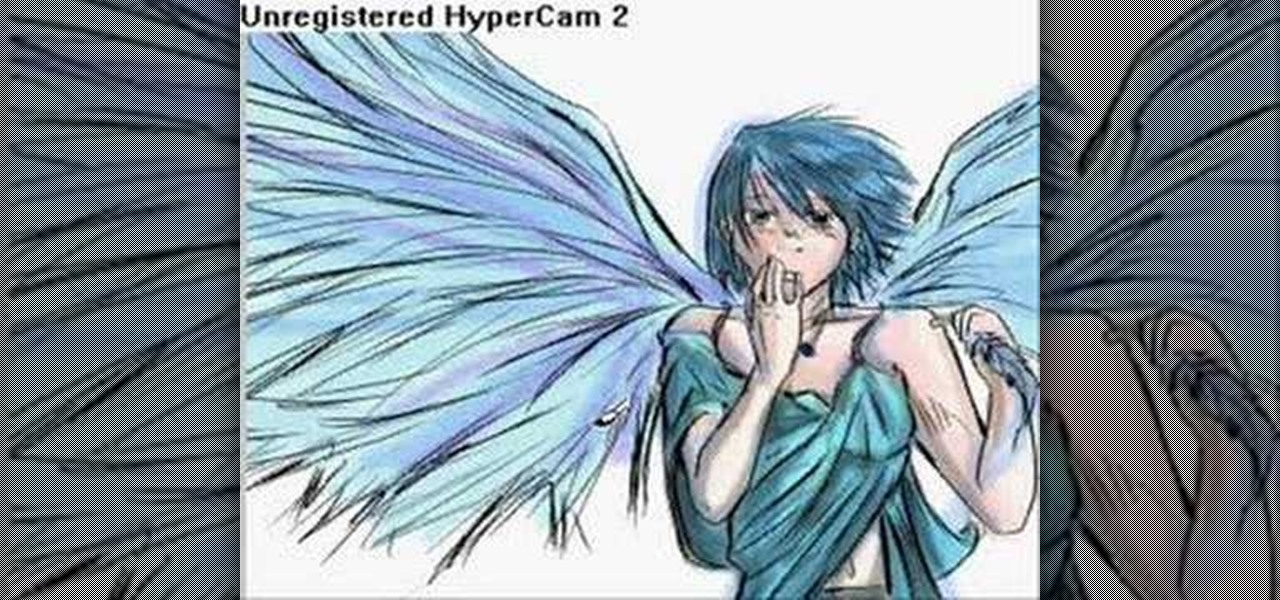
In this how to video, you will learn how to draw an angel. First, start out with the basic sketch of the drawing. Remember, eyes go in the middle of the head. Drawing the head first will help proportion the rest of the body. Use long strokes with the wrist to draw the hair. Try to make the hands the size of the face and try to make the fingers look like fish sticks. It is easier to draw if you study anatomy books. Next, erase the sketch and start going in with further detail. Exaggerate the w...
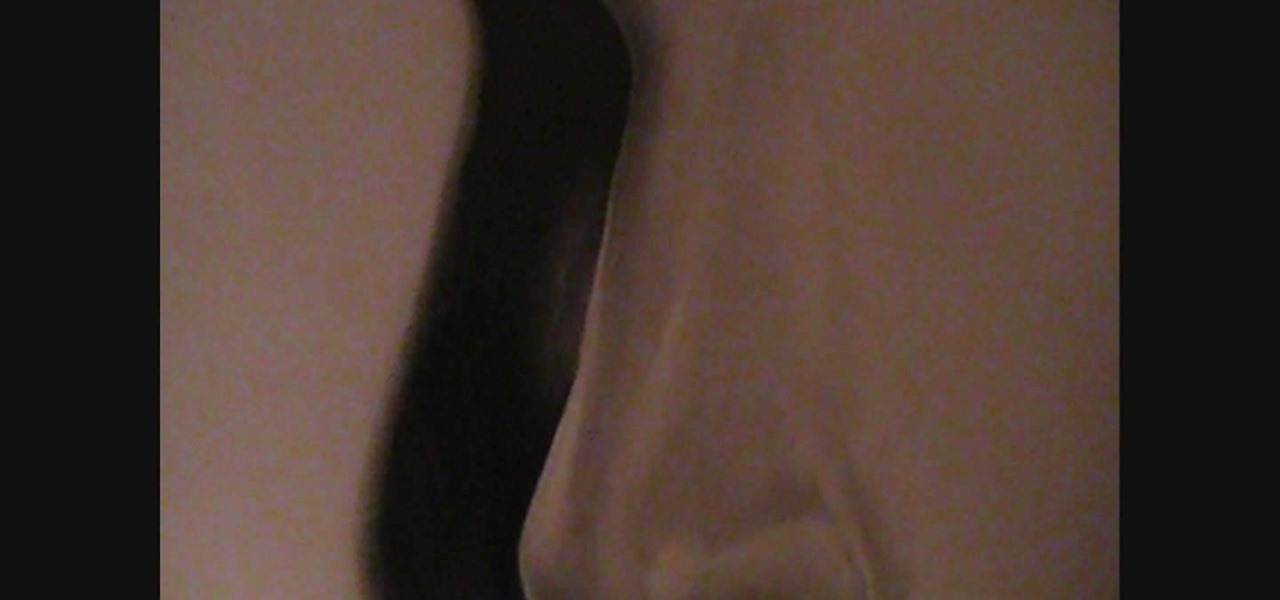
In this video we learn how to draw a nose using simple methods. Use a grid to start sketching out your drawing. Note the dark and light areas by outlining them on your paper. Then, crosshatch the first layer using whichever method works the best for you. Then, use a tissue to blend the pencil marks in with each other and create a lighter shade. Grab your darker pencil and mark on the darker areas of the nose, then start to shade in darker then before. To finish, use your pencil to add in the ...

The video shows us a how to draw a human figure in a very simple manner. It is done using a pencil. First, you draw the axis lines both horizontal and vertical with a very light shade. Now start drawing the upper right part and lower left part simultaneously so that you can get a rough shape of both the top and the bottom of the human figure. Then start drawing the face of the figure very lightly and then darken the shades of the figure which you had done previously. The shades are made darke...
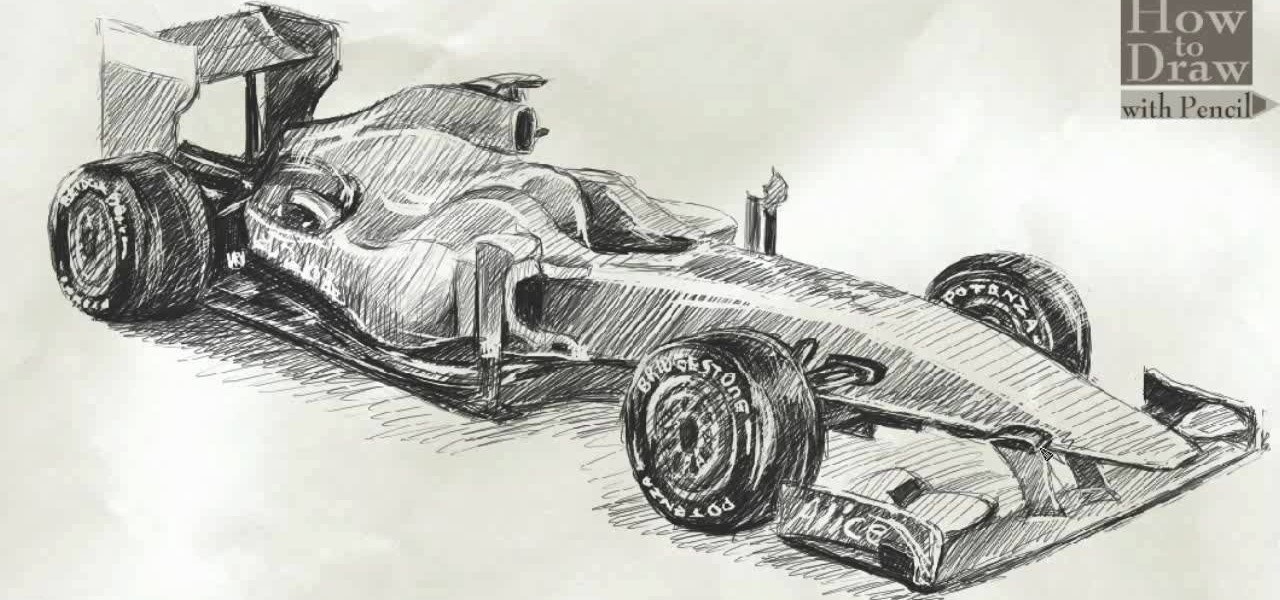
In this video, we learn how to draw a Formula 1 Ferrari F60. Start out by drawing of the car, then start to shade it in. Shade in the wheels and then the rest of the vehicle with a lighter pencil. After this, use the eraser to erase different parts of the car to make it look more realistic. Draw in darker lines with the pencil to make it more shaded. Then, add in shading on the bottom of the car and continue to darken the care until it's completely filled in. Add in writing on the wheels and ...
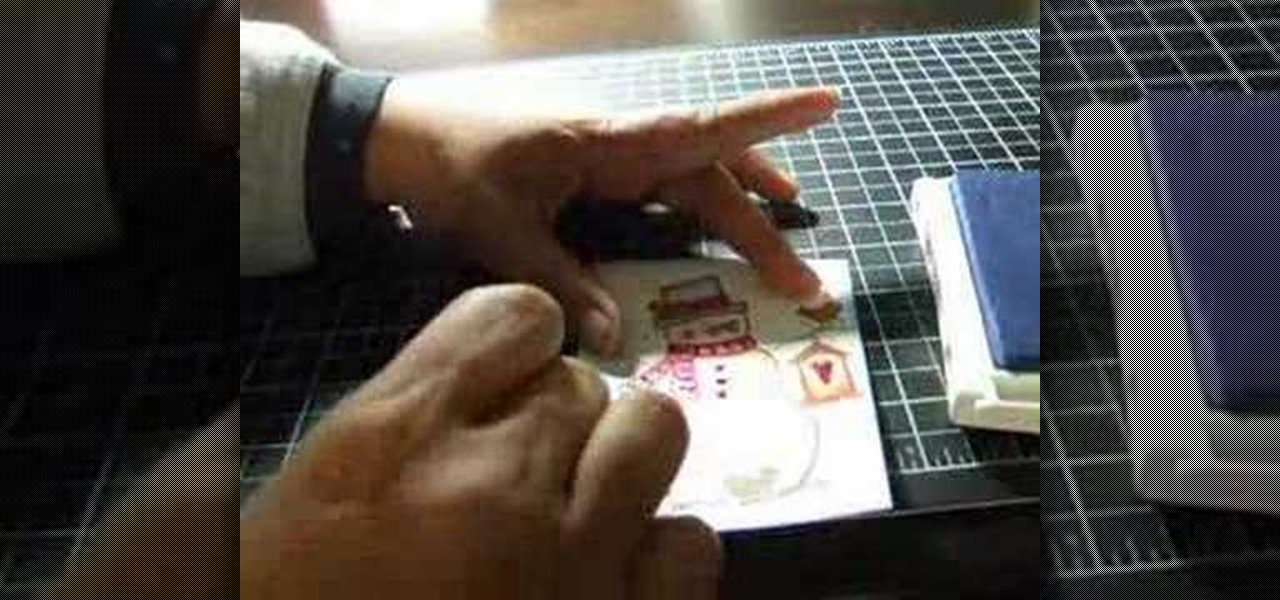
In this video tutorial, viewers learn how to shade and color the background of an image. This video explains all the materials required to shade and color the background of an image. The materials required are: a stamped image, a spoon dauber and an ink pad. Start by inking the sponge dauber and rub the edge of the cardstock. Continue to color the edge. Add more ink if you want the color to be darker. Color the background with the sponge dauber. Add link to the sponge dauber. Dab and rub the ...
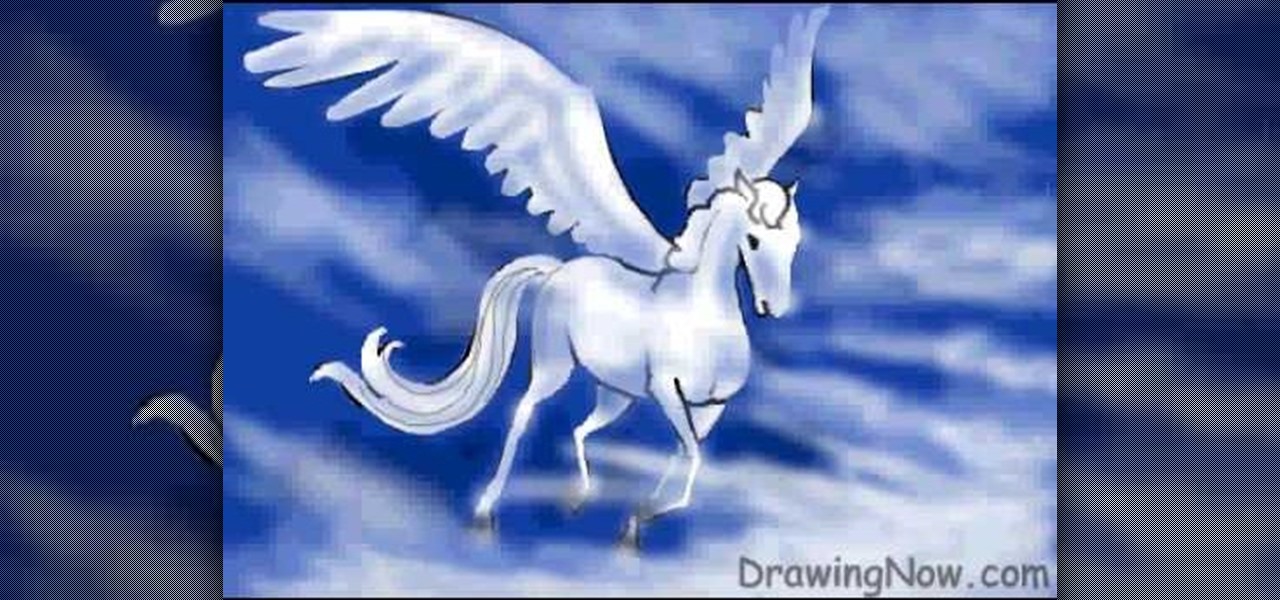
This video shows us how to draw a Pegasus, a fantasy horse with wings. Firstly draw the parts of the Pegasus roughly using light shades starting of with head, body, limbs, tail and wings. Then darken the parts previously drawn using darker shades and then add the feathers to the wings using the darker shades. Then after that erase the parts which were in lighter shade as it is considered as unwanted now. Then set the background by coloring it with blue color as the Pegasus will be usually see...

Watch this instructional cosmetics video to create playfully pink makeup look for darker skin. You will need several shades of pink eye shadow and of course, false eyelashes. Don't forget a fushia lipstick with a clear lip gloss. Beautiful.
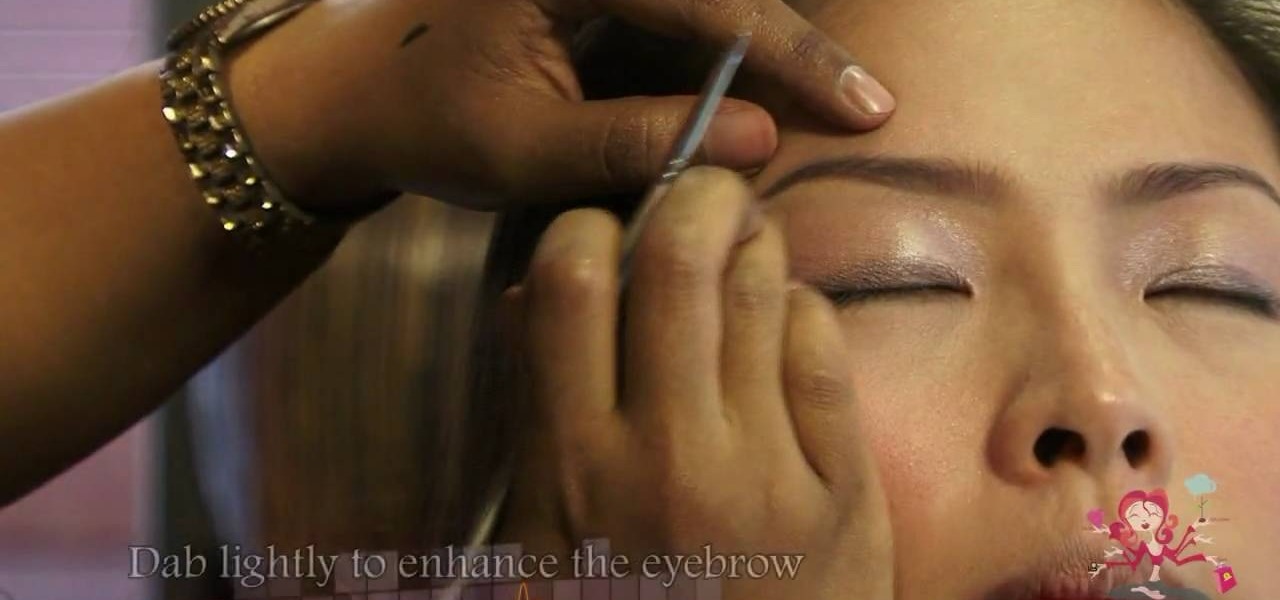
Once you contour your face you never go back. That's because contouring - or using varying shades of makeup (bronzers, foundations, highlighters, concealers) that are lighter or darker than your skin - helps define your features. Alternatively, contouring can also fake features you don't have and cover up features that you're less fond of.
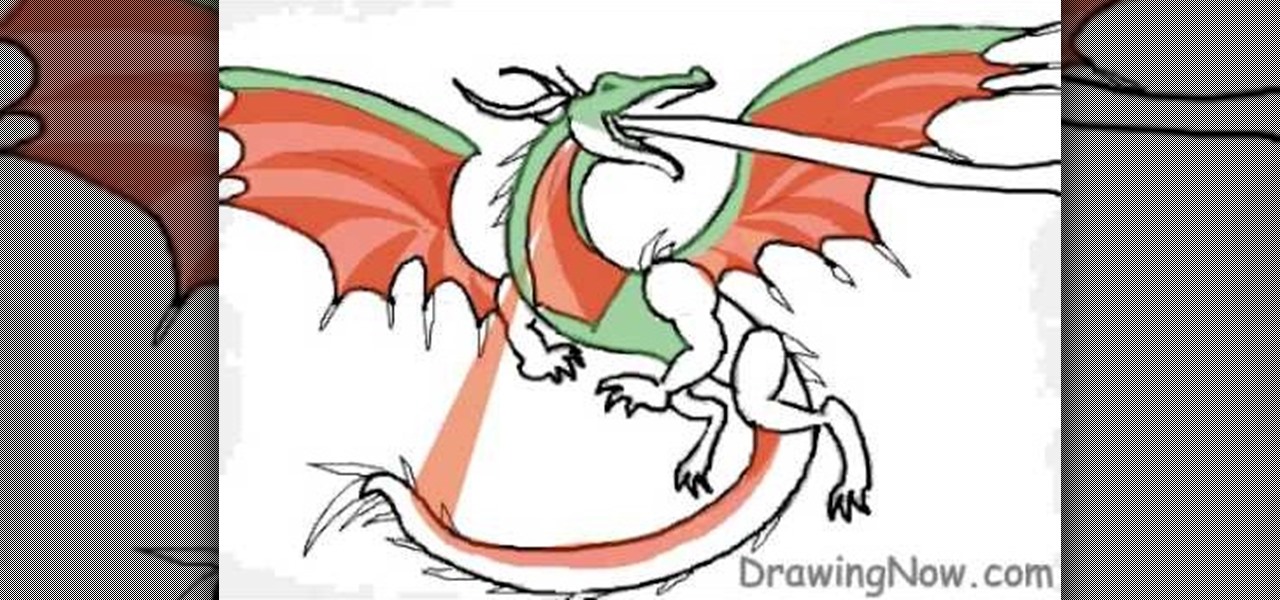
In this tutorial, we learn how to draw a basic dragon. First, draw the basic outline for the dragon, including the tail, wings, head, and body. From here, draw over the outline with the final outline in darker pen. After this, start to add in the details to the face and body. Once finished with that, move onto adding in shading and additional lines to make it look more realistic. Then, add in your colors. Use darker colors where the shading is to create more depth with the character. From her...

In this tutorial, we learn how to add 3D effects and shading to graffiti letters. To start, you will draw a simple letter with a pencil. Then, take one point under the letter in the middle and draw a darker outline. Next, you will draw an outline around the first outline to make it look 3D. Next, you will shade in the area in the middle of the letter and anything that is in between the first letter and the second. After this, you will add in lines and additional detailing to make the letters ...
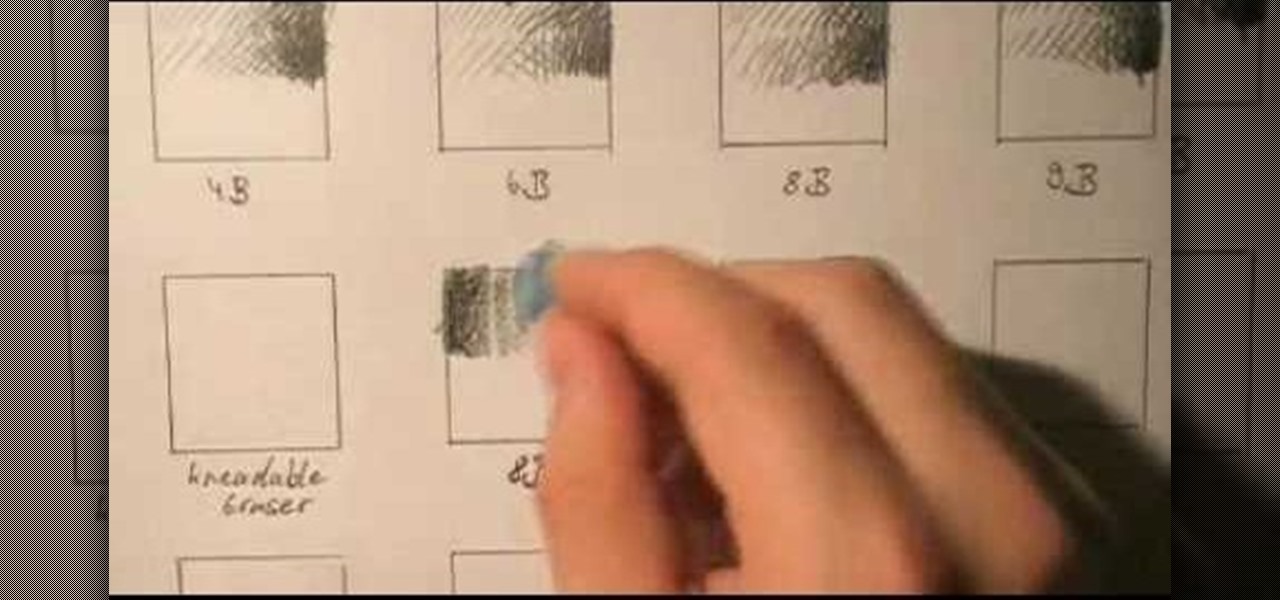
In this video, we learn how to draw with basic concepts and techniques. To shade with different pencils, you will start out by doing a light touch on the pencil and then push down harder to create a darker shade. Use different pencils to get long and wider lines from the shading. A 4B and a 6B pencil will have lines that look the same, but they are different in the way they apply graphite to the paper. Practice using all of your pencils to get an idea of how they write, then you can choose wh...

In this tutorial, we learn how to draw transparent objects. Start out using light pencil markings, and draw the basic shape of the bowl. After you have the round top and have make it three dimensional, add shading to the bottom circle in the bowl so that you can see the bottom of the inside. After this, add shading to the side of the bowl to give it a realistic feel like it's sitting on a table. Next, use your eraser to remove some of the shading, then fill in darker pencil marks onto these s...
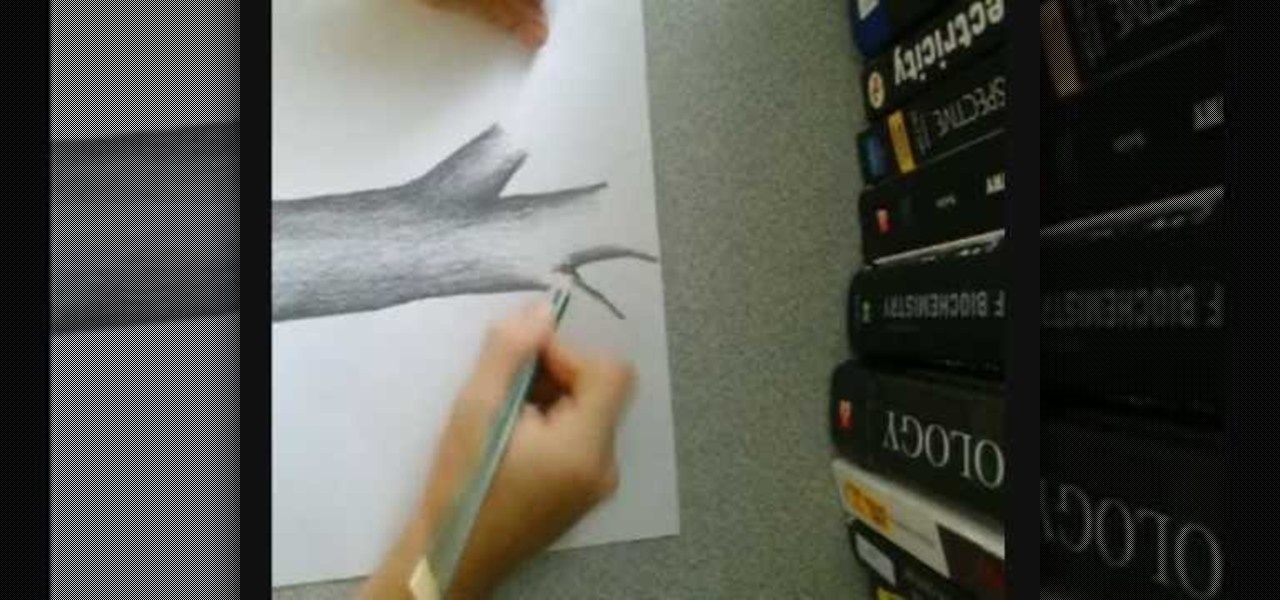
This video demonstrates how this artist draws a tree using a pencil and paper. After creating the outline of your tree trunk, darken the line and add shading as necessary throughout the tree to add dimension to your drawing. The darker shading is focused on the outside edges of the trunk, lightening as you go towards the center of the trunk. Sharpen your pencil as necessary, since it is easier to add detail to your tree with a sharp pencil. Add further branches to your initial trunk and creat...
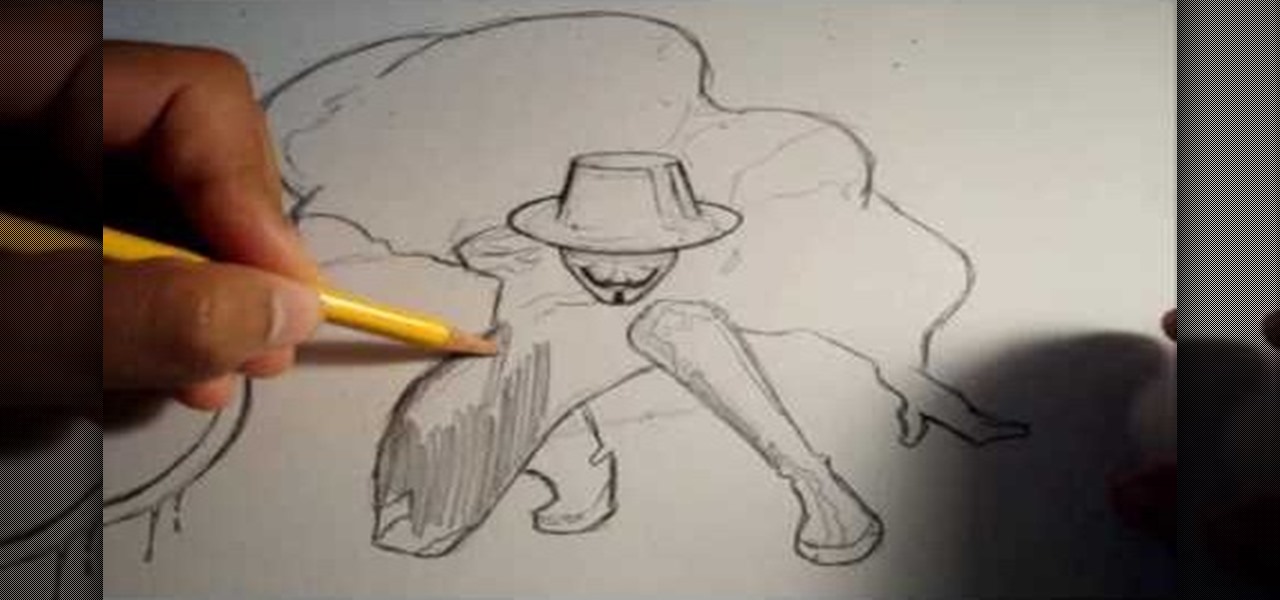
In this how to video, you will learn how to draw V for Vendetta. First, start out with the legs of the character. Draw the outline as if the character is squatting. Next, draw the outline of the cape and the hands. Next, draw the face of the character. Note that he wears a hat. You can also fill in his mask. Note that the mask has a mustache and a grin. Once the outline of the character is complete, add the basic details of his suit. This includes the areas of the highlights and shading. Make...
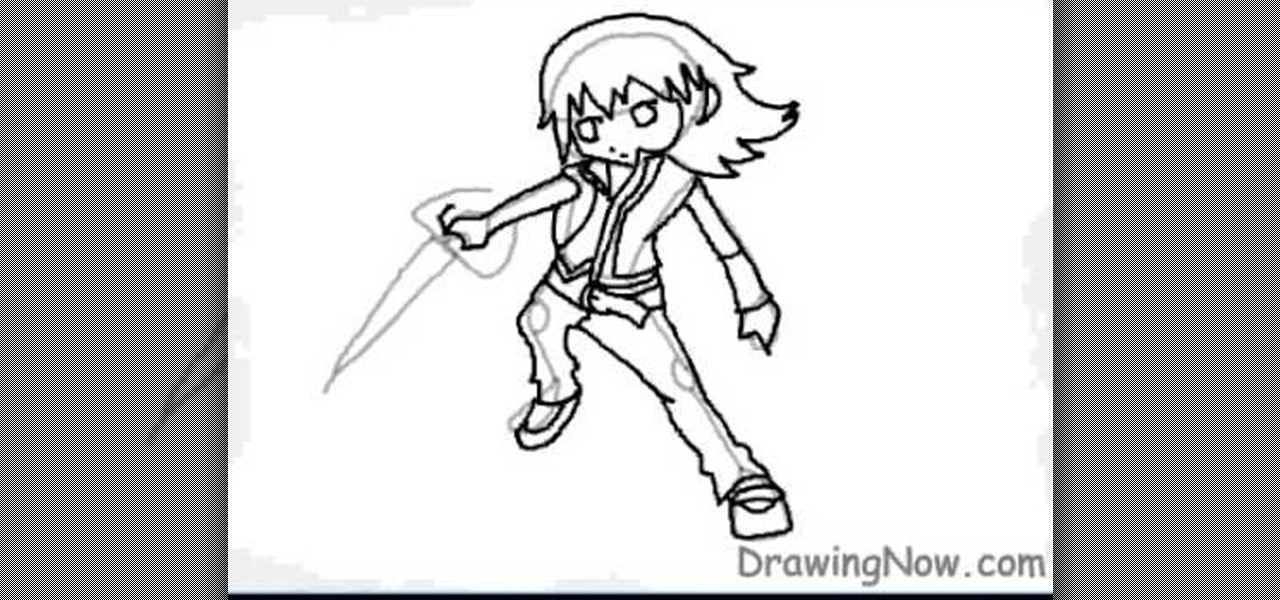
The video shows us how to draw Riku from Kingdom Hearts. Firstly draw a rough circle and then draw a center line to it. Then draw the rest of the body parts along with the sword aligned to it along the way down. Draw all this using a lighter shades and once you are done creating the body line roughly, use the darker shades to highlight that and also start drawing the other important parts like parts of the mouth, costume, limbs and the shoes. Then erase the parts which were in lighter shades ...
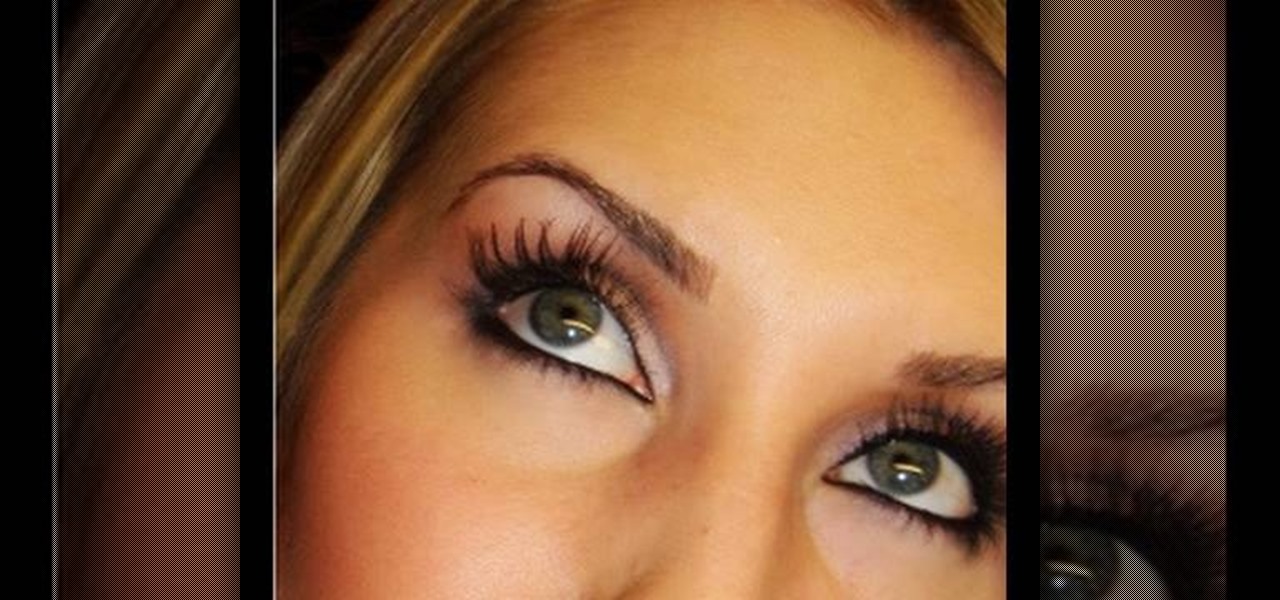
This is one of the biggest mistakes women make when it comes to eyebrows. Many women become overly aggressive when it comes to plucking their brows and end up with thin or almost nonexistent brow hairs. Unfortunately, eyebrow hairs can take months to grow back and, in some cases, plucked eyebrow hairs may not grow back at all, particularly after years of over plucking. Stop plucking and give your eyebrows a chance to grow back to their natural state. In the meantime, you can use a soft eyebro...

In this tutorial, we learn how to properly apply blush. You will need a medium angled brush to help apply your blush before you begin. Then, make a fish face and apply a darker blush along the side to make your cheekbones show more. Use blushes that work for your skin, play around with different colors. Find a plum color or pink colors and mix them together as well. You only want to go a couple shades darker than your skin tone. Your cheekbones may have a flesh color, so bring the contour col...

In this video, we learn how to draw Maplestory Bigfoot. Start out by drawing the outline of the character, then start to draw on the details. Once you have finished the outline of the entire character, start to use a darker pencil or pen to make it darker. Add in shading on different parts to make it look 3D, then add in lines to make the character look more realistic. Add as many details as you would like, then when you are finished you can color in the picture as you would like. You can rep...

Looking to spruce up your living room or bedroom? Learn to combine a vivid imagination with good paint sense to choose the right colors for your walls and feel good about your surroundings.
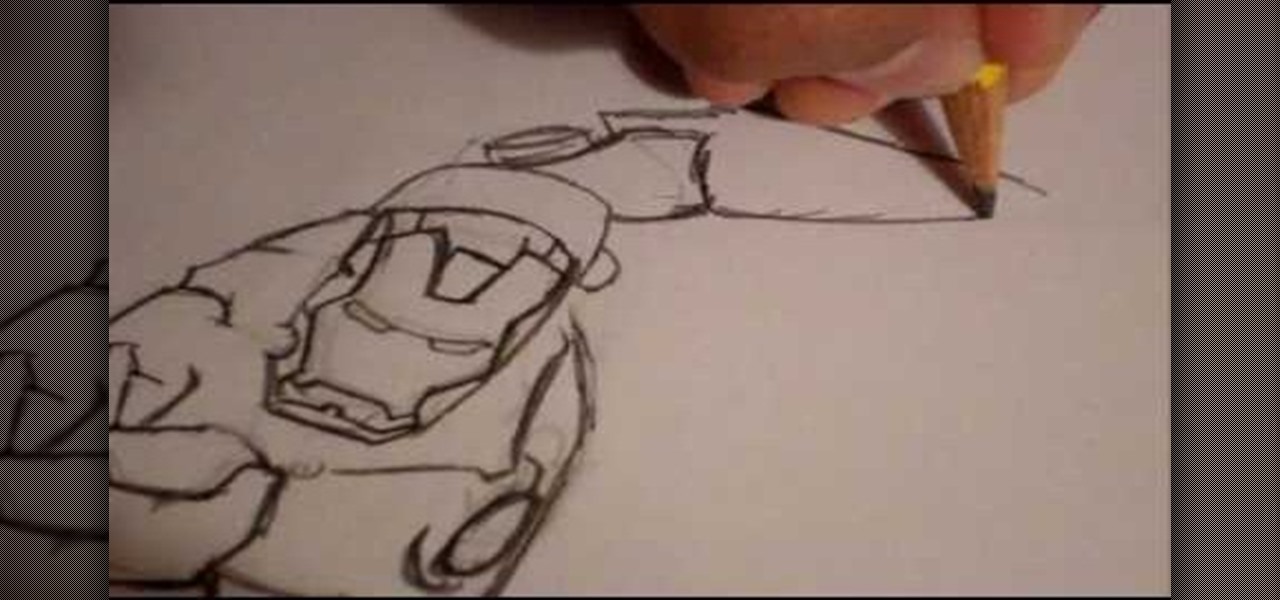
In this tutorial, we learn how to draw Ironman. Start off by drawing the feet to Ironman, making sure to pay close attention to the detail that is on the outside suit. Make sure to include bolts and screws to make the picture more lifelike. Use shading on the outside of the sides to make it darker and more realistic. Continue working your way up on Ironman until you reach the torso and the rest of the upper body. Then, draw the head onto the top followed by the large mechanical arm and the he...
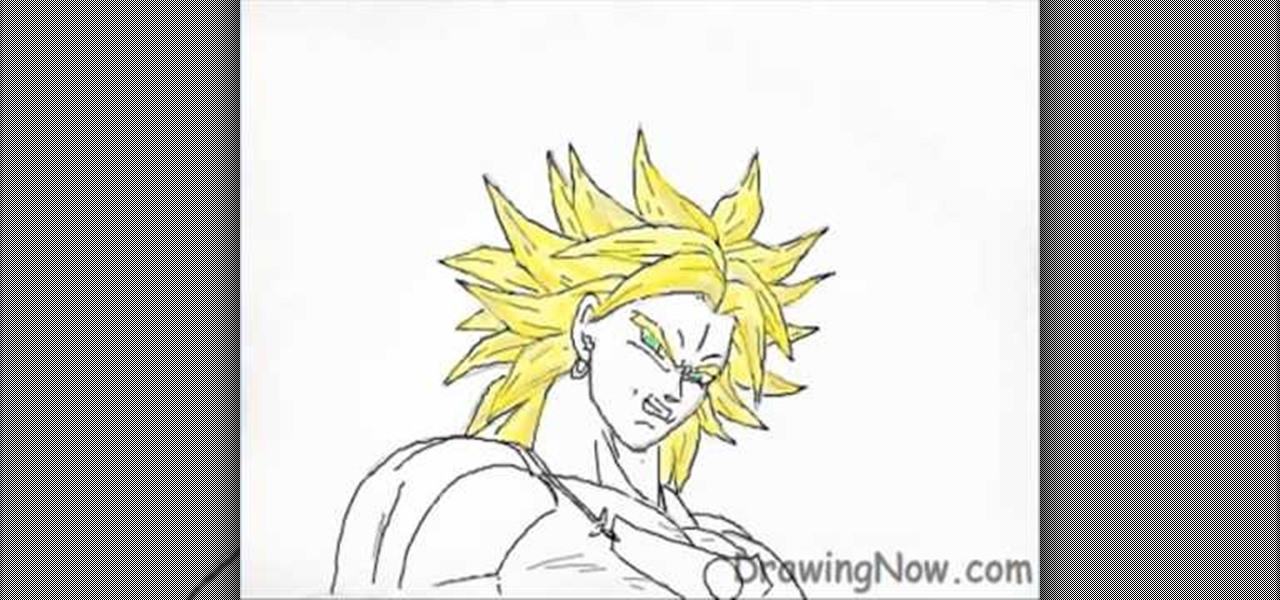
In this how to video, you will learn how to draw Broly. First, start out with an oval shape for the face. Next, add another for the ear. From here, you can add the neck, shoulders, and chest. Next, draw numerous spikes for the hair. The basic outline is complete. Go into the drawing with more detail by adding lines inside the spikes to simulate hair strands. Add the eyebrows, eyes, nose, and mouth. Next, draw in the muscles of the shoulders and chest. Add the outline of the necklace. Now you ...
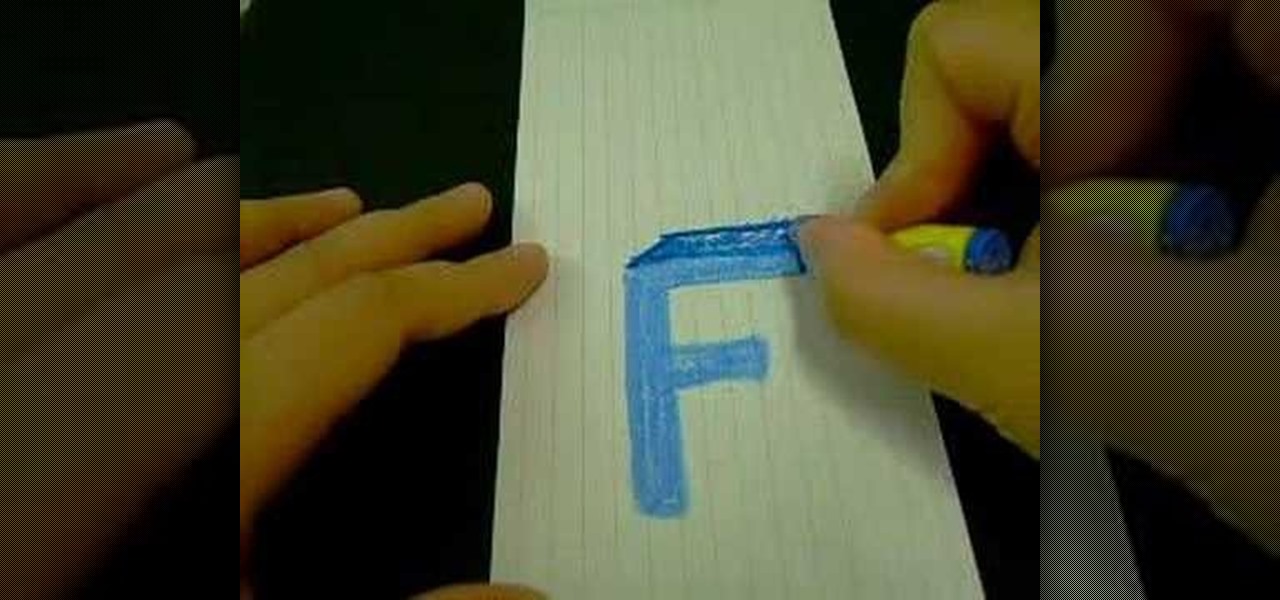
This video teaches us the method to draw the letter F in 3D. First draw F normally. Now double the outlines of the F on both sides of the outlines. Draw a line that is parallel and of the same length of the longer top arm of F. Join the ends of the line to the ends of the top arm by parallel lines. Color the parallelogram with a darker shade. Make a parallelogram by joining the ends of a line drawn parallel and equal to the smaller side of the rectangle of the top arm. Draw a vertical line an...
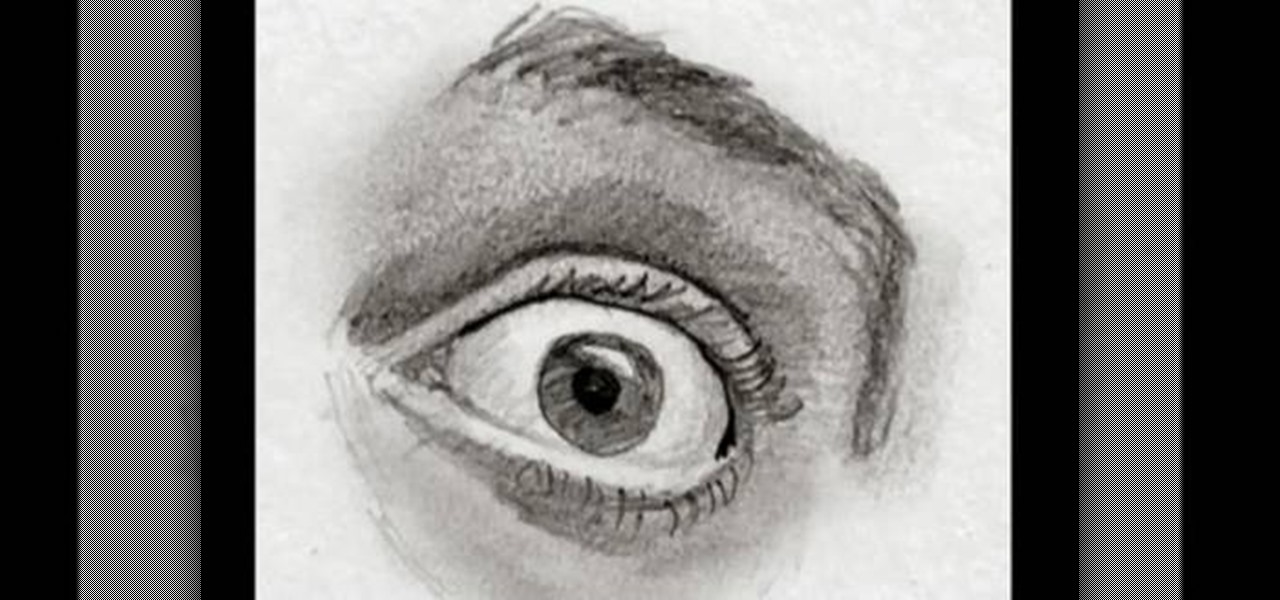
Watch this fine art video tutorial to learn how to master drawing a fearful eye in two minutes. In two minutes you will be able to draw the expression of fear in the eye.
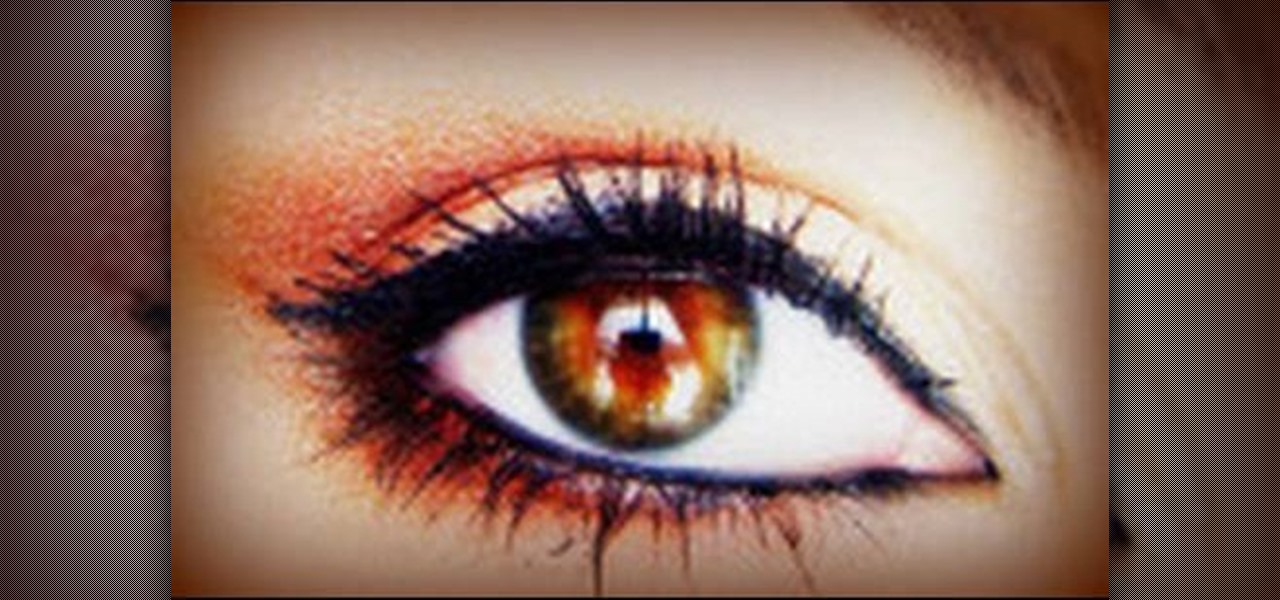
In this tutorial, we learn how to apply a "Moroccan truffle" makeup look. First, apply a light neutral shade all over your eye with a fluffy brush. After this, take a burnt orange and brown color and brush it into the inner crease of the eye where the outer 'v' is. Then, brush a bright orange on top of it and blend everything together. Only blend this until you reach half way to the inner corner of the eye. Then, brush the darker brown shade from the 'v' to underneath the eye. After this, app...

In this tutorial, we learn how to draw Danzo. To start, you will draw the outline with the light touch of the pencil. After this, draw in the final outline darker and then erase the background lines. Next, you will add in the details around the character and then add in lines to show creases and make it look more realistic. From here, you will add in shading to make the drawing have some more depth. After this, you will finish up by cleaning any stray lines with an eraser. You can also use th...
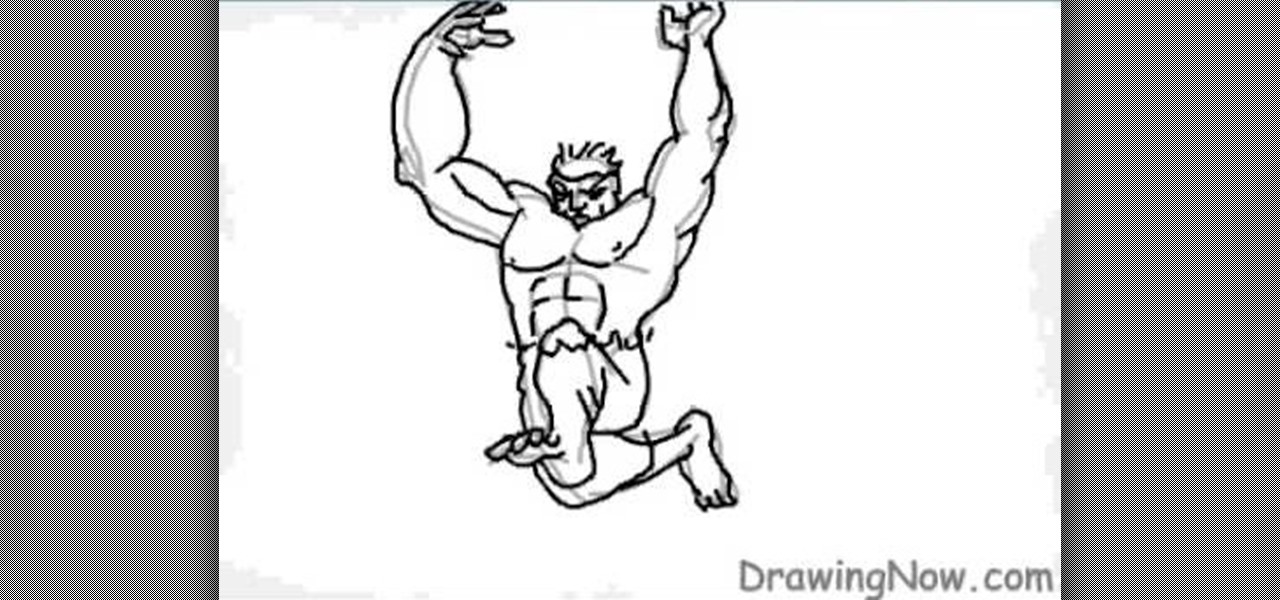
In this tutorial, we learn how to draw the Hulk. Start off by drawing the outline of the body. Make sure you draw the character's body large and keep the proportions accurate. After this, start to draw in the features of the face and the rest of the body. Use lines to make the muscles appear, then shade around them to make it look more realistic. Next, you will need to add some color to the drawing. Green would be most accurate, with some parts darker than others with shading. Finish this dra...

In this tutorial, we learn how to draw a human skull. To start, you will use your pencil to draw a light outline of the skull on your paper. After this, you will start to add in more shading and lines throughout the face to make it look like it has depth and contours. From here, you will draw in the teeth and then create the nose and the pits for the eyes. After this, you will start to shade in the sides of the skull darker and then add in any additional details like small cracks on the face....
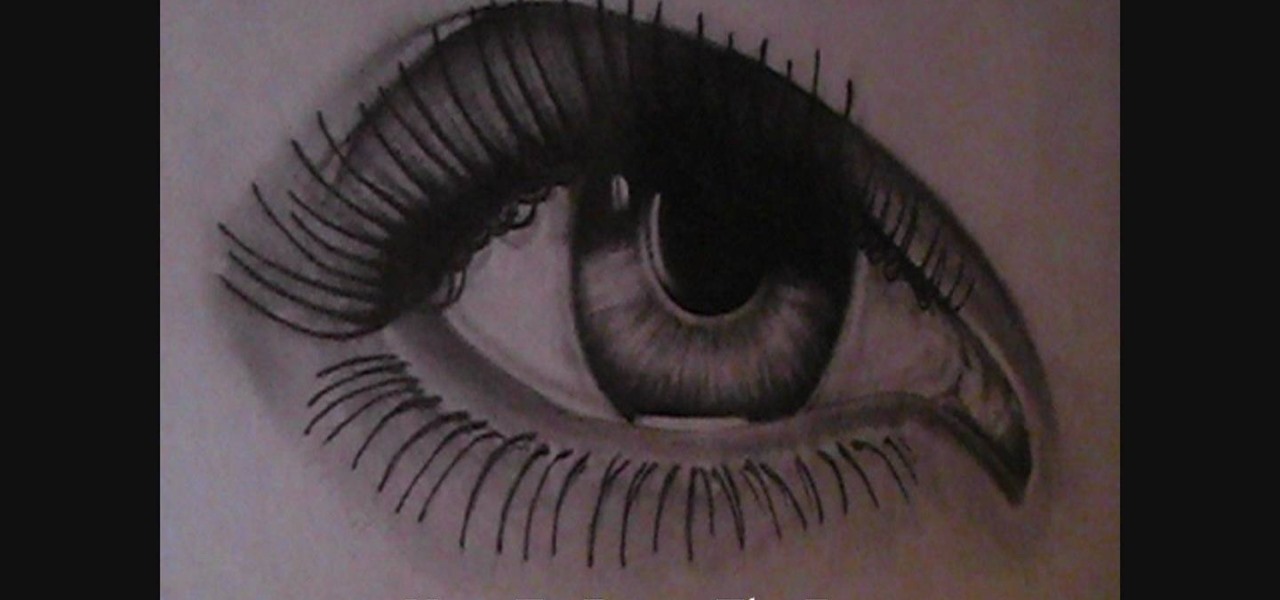
In this tutorial, we learn how to draw an eye. Start out by drawing the outline of the eye, which should be in a football shape. Then, draw the inside of the eye and the outside of it as well. Then, you will start to add in additional details around the eye and the eyelashes. After this, add in the crosshatch inside the eyes and shade in the pupils. Shade around the outside of the eye, then add darker lines for the eyelashes on both the top and the bottom. Add a crease in the eye to make it l...

In this video, we learn how to draw a realistic skull. Start off by using a pencil to draw out the basic outline of the skull. After this, add in further details, such as shading on the side of the head to show that it is hollow. Also add in the sockets for the eyes and show where the nose is at. Draw in the jaw bone as well as the teeth and the jaw line around it. Draw on cracks to the face at different places to make it look more realistic. Add in shading and darker lines where you feel nec...
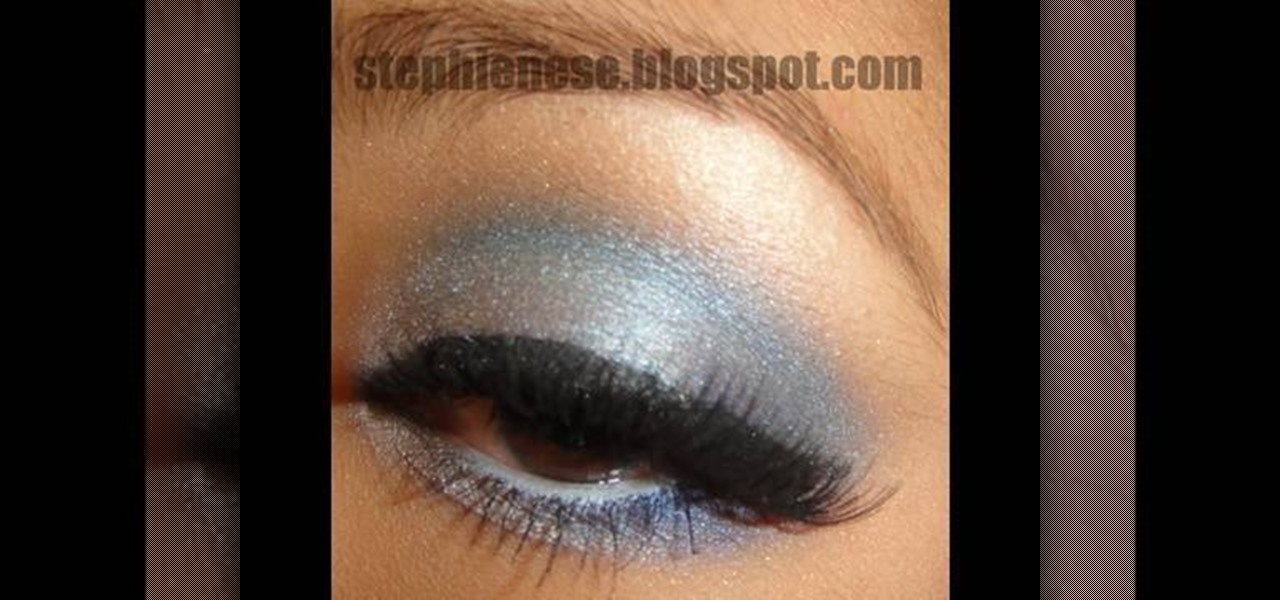
In this tutorial, we learn how to apply ice blue eye shades for the winter. To start, apply concealer underneath your eyes and then apply foundation to the entire face. Next, use an angled brush to apply makeup to your brows and make them more full. Now apply powder underneath your eye to catch any powder that falls while you are applying eyeshadow. After this apply primer to your entire lid and then apply a yellow tone shadow to your entire eye. Now take a blue eyeshadow and brush it on the ...

In this how to video, you will learn how to draw a Cookie Monster cupcake. First, draw two circles for the eyes. Follow this with a furry texture oval shape for the face. Add a mouth with a cookie in it and draw the bottom as a cupcake wrapper. Draw the pupils of the eyes. Next, color the face a blue color. You can draw the cookie inside of the mouth a brown color. Use a black color to outline the areas around the mouth. Fill in the chocolate chips of the cookie with a darker brown color, and...
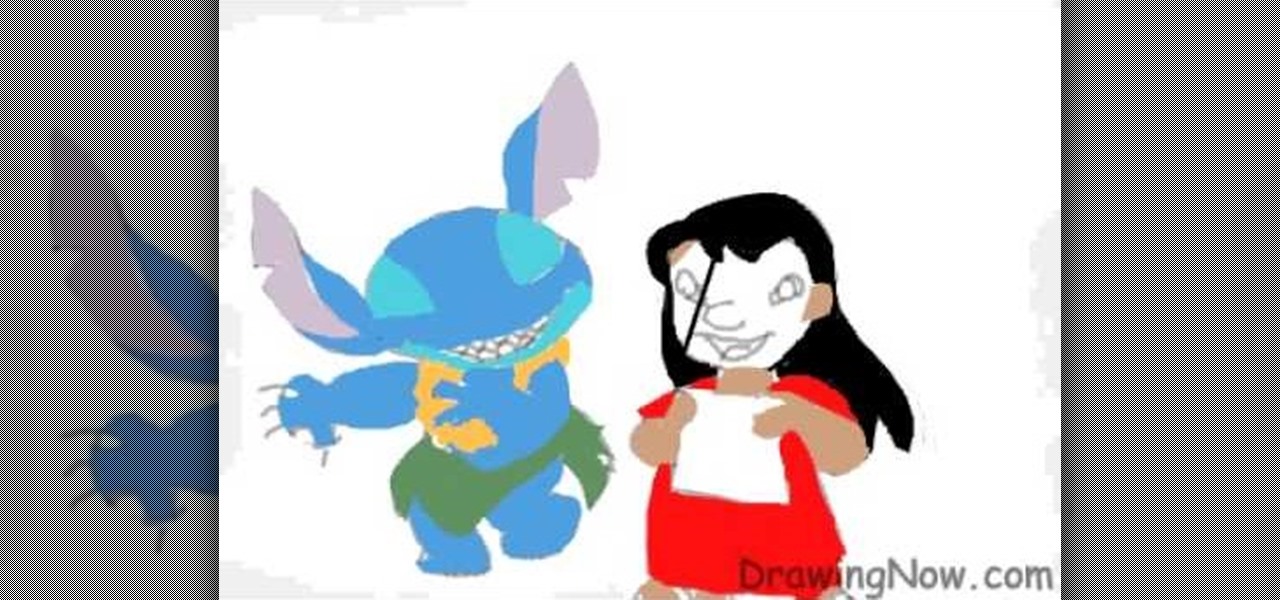
Begin by drawing an oval and attach two feathered shaped ears to head. Draw guidelines for the face. Draw the face and a marshmallow shaped torso. Add the legs and arms. Add the detail and start erasing the guidelines. Repeat the similar steps for Lilo. Once finished both characters, color them. Add a darker shade of the colors for shading. Outline the characters and add all the details. This video will benefit those viewers who enjoy drawing on the computer and would like to learn how to dra...

The video shows us how to draw a manga hair on a computer. Firstly draw a oval shape to represent the face though it is not important, just for the sake of using it as a reference. Then draw the outline of the hair formation using a lighter shade and then start drawing the hairdo in the way it is supposed to be and then darken it using the darker shades. Then erase the outline which you had done previously which is not needed now and then color the hairdo with appropriate colors. This kind of...
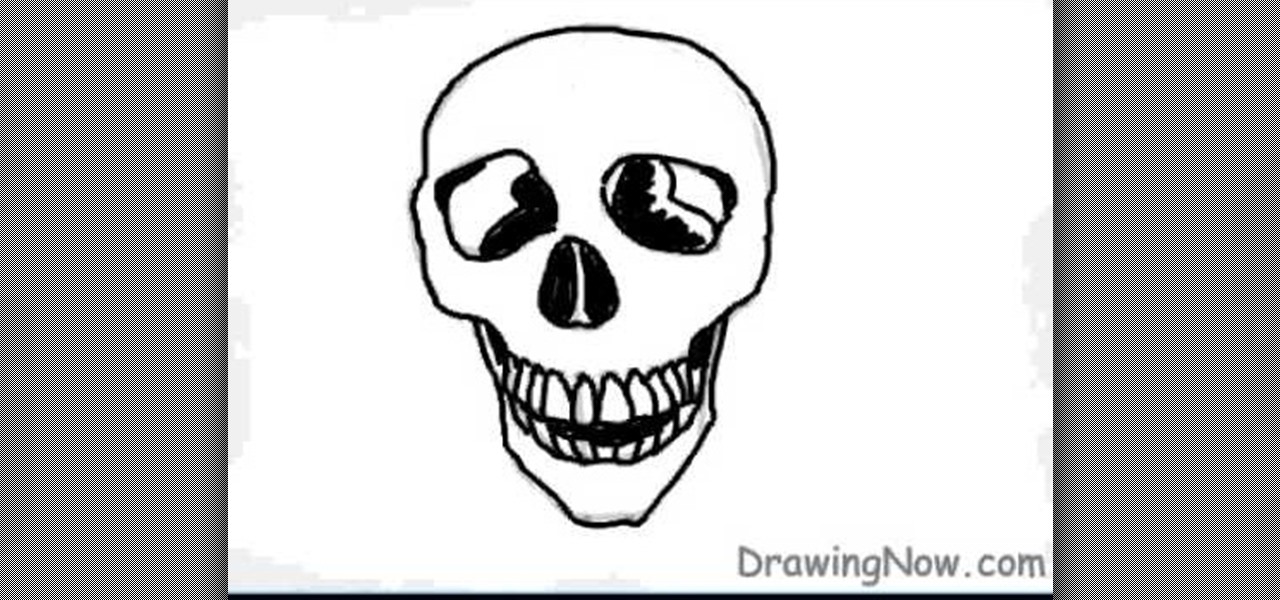
In this video tutorial, viewers will learn how to draw a skull using a computer. Start by drawing a circle for the head and a rectangular shape at the bottom. Draw a line in the center as a guideline. Then draw the eyes, nose and mouth. Now outline the skull and add the details. Shade in the eye sockets, nose and mouth. Now you can erase the guideline. Start coloring the skull to a preferred color. Then add in a darker color around the skull to shade it. Finally, outline the skull and color t...
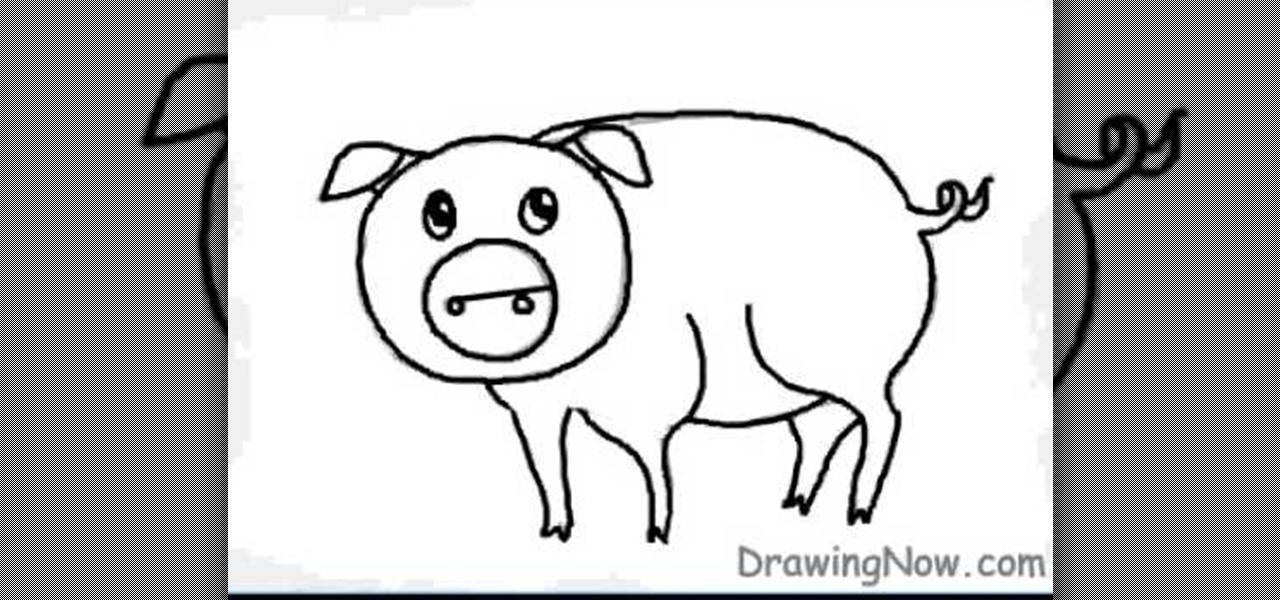
First neatly draw the outline of the pig, then color the outline with a darker shade as this is the base of the character. Next draw the eyes, nose, and the small curly tail which complete the outline of the pig. For the base color a slightly bright pink color should be selected to shade the inner part of the pig i.e. the stomach, legs, and face. A shiny touch should be added to the face to give it a brighter and happier appearance. The background must be colored also with blue and brown. The...
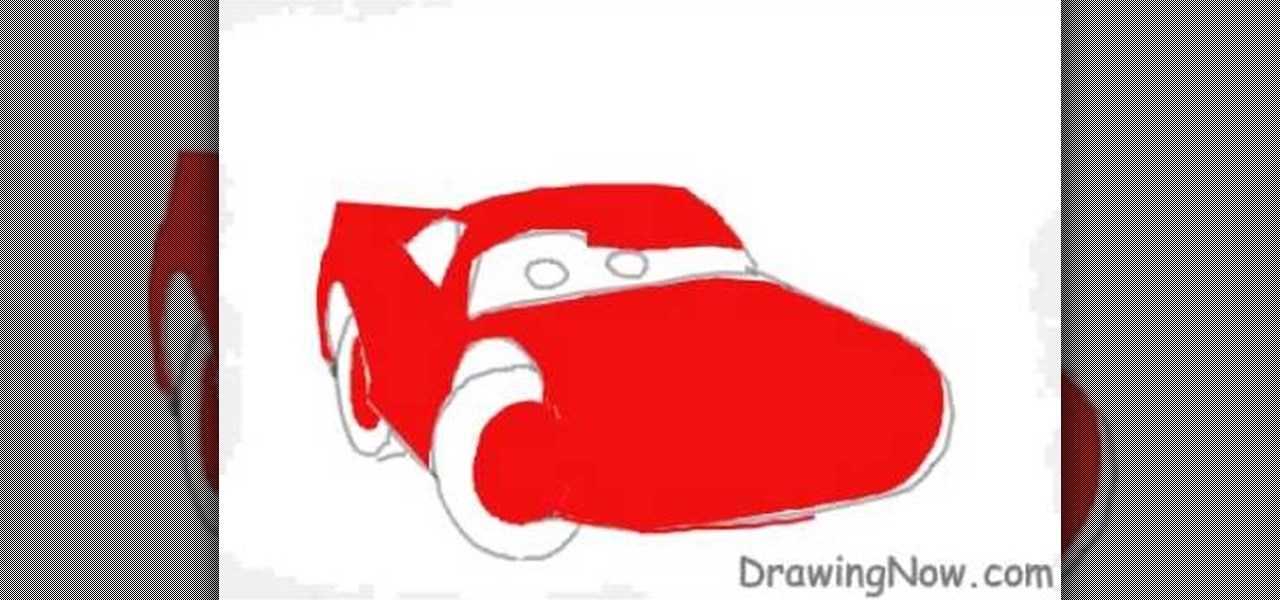
In this video tutorial, viewers will learn how to draw the character Lightning McQueen from the Disney movie Cars. Begin by drawing a 3D rectangle. Make it rounded. Add the wheels and windshield. Draw the mouth on the bumper and the eyes on the windshield. Draw the spoiler and add the details of the car. Then erase the guidelines. Then start adding the colors. Add a darker shade of red for shading. Finish by adding the details on the car. This video will benefit those viewers who enjoy drawin...
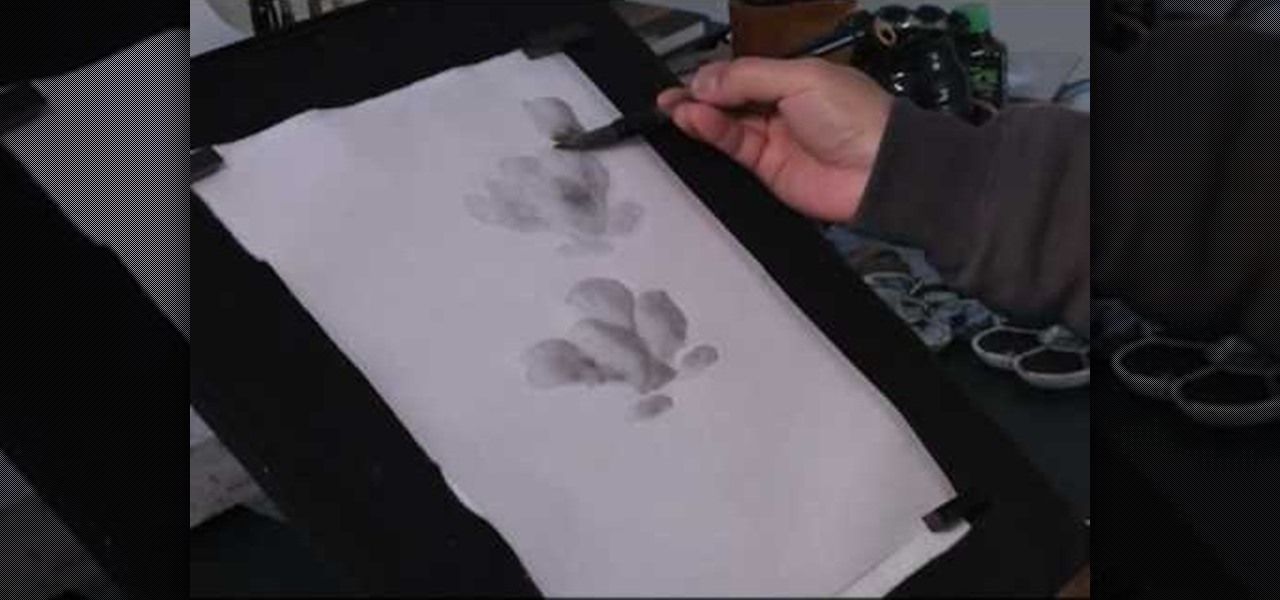
This video demonstrates how to paint a magnolia in ink and water, Chinese style. Make gray ink by mixing water with the black ink. Squeeze the brush with a piece of tissue and dip it in glue water made of peach sap powder mixed with water. When he begins to paint, half the brushstroke is gray and half is clear water. In this way you can use the brush to get darker and lighter shades of gray to make the magnolia flower shape that appears to be shaded. He then uses a stiff brush and black ink t...