In this C4D user's guide, learn how to ctrl-drag axes to bypass the object axis tool; how to change a group axis with several selected items; how to set a light to negative values to make darker areas; and how to undo camera (view) moves by choosing "shift-command-Z." Whether you're new to MAXON's popular 3D modeling application or are just looking to get better acquainted with Cinema 4D and its various features and functions, you're sure to enjoy this free video software tutorial. For more i...
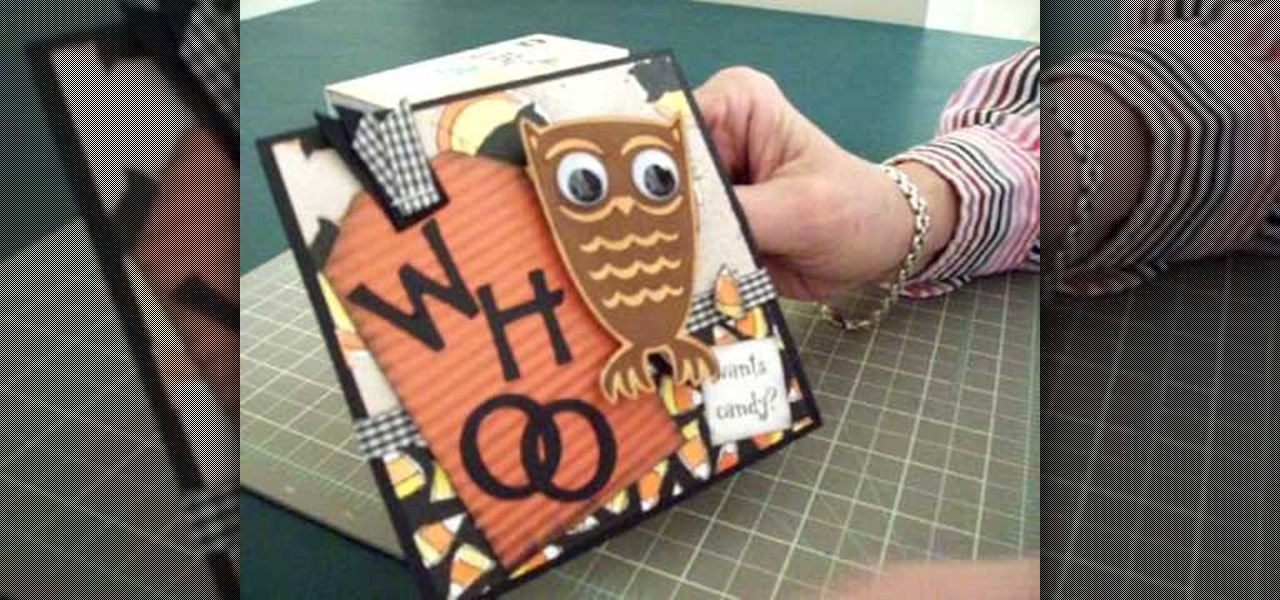
Learn how to make an owl Halloween card using the Cricut Storybook cartridge: Mary explains how to make a 5 x 5 inch square Halloween card in a few simple steps. On page 34 of the Cricut Storybook manual you'll find the owl. Cut the owl at 3 inches out of the darker brown by hitting shift and the owl. Then cut the owl out in the shadow and layer it. Give the owl big google eyes. Cut a tag out of Tags, Bags, Boxes and More at 4 inches. Then run it through the crimper. Then cut the letters W-H-...
Violin Lesson #32-33 -- 4 Types of Shifts. Todd Ehle discusses the four types of shifts on the violin in this 2-part lesson.
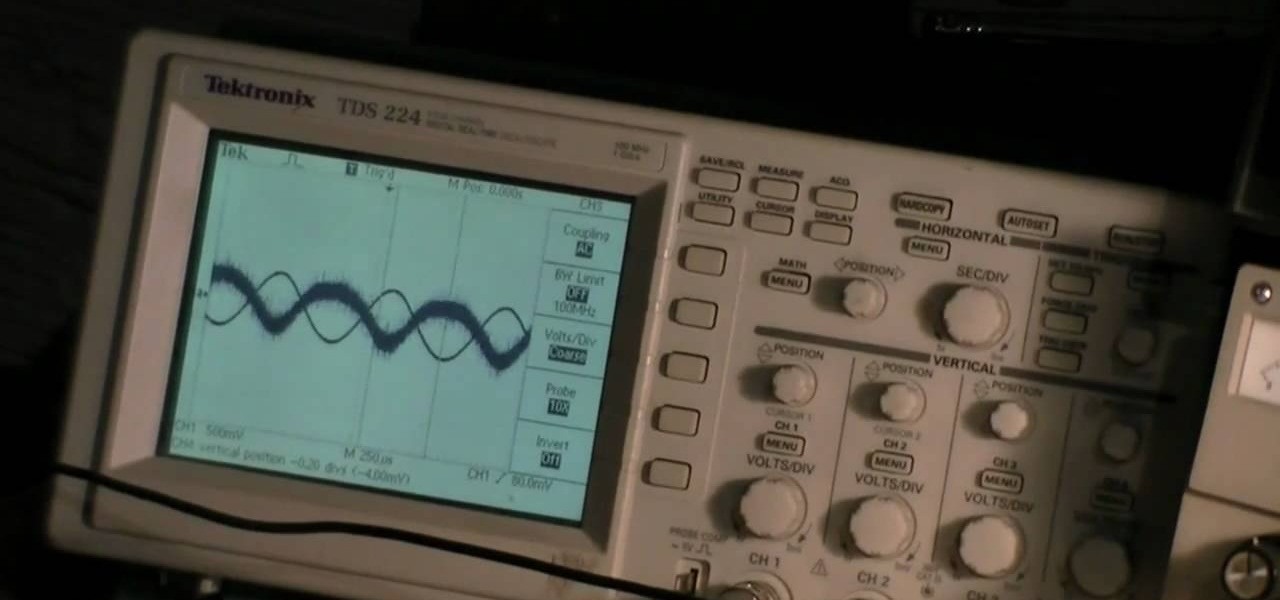
The phase-shift oscillator is one of the most common electronic parts, used in all sorts of mostly noise-making devices. If you like electrical engineering and new a new project, watch this video to learn how to make a phase-shift oscillator out of a single transistor, resistors, and capacitors.
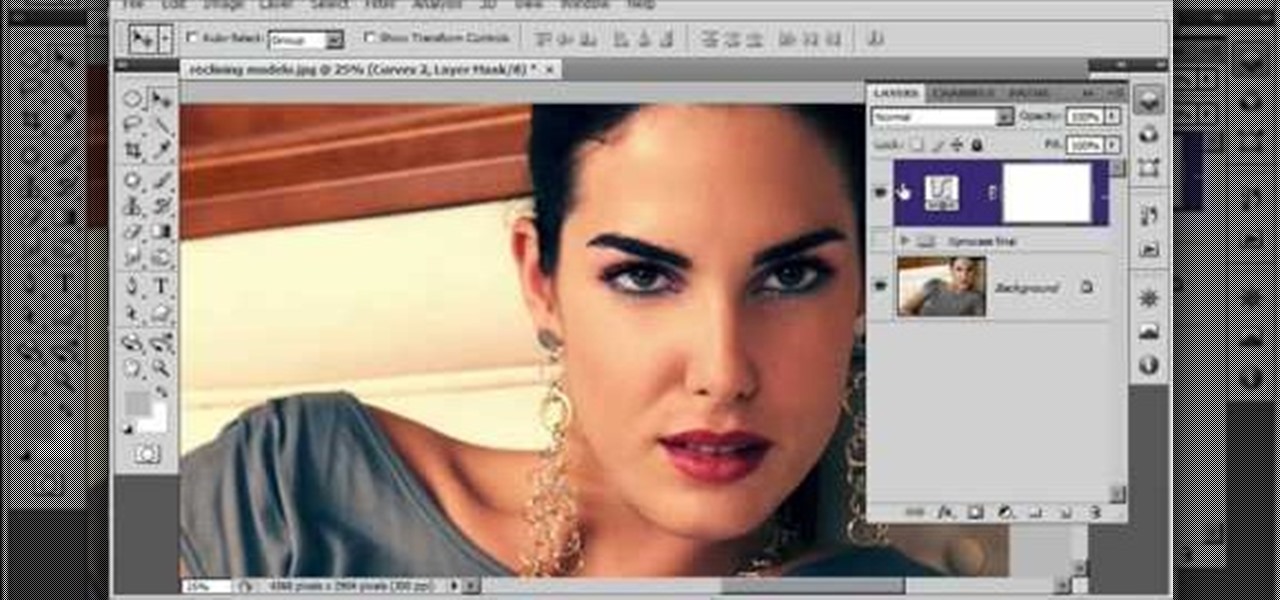
Cross processing is a Photoshop version of slide processing. The result would be you get all these weird color shifts. For reasons best known to people who run the fashion magazines, this look became very popular in the 1990s. Start by adding in a curves layer. Add a new adjustment layer for curves. If you've never used curves before it is recommended that you take a curves tutorial first as for this effect we will need to adjust individual color channels. It is not difficult but if you don't...
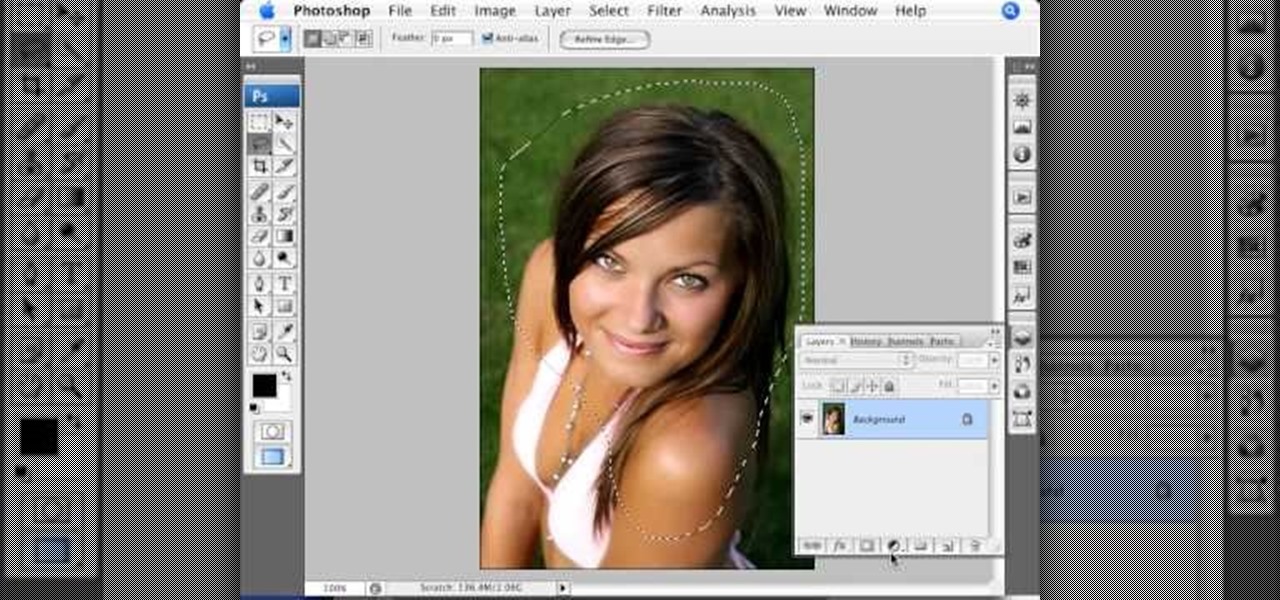
The video is basically about how to modify the focal point of the image. When the image has some stuff on the background and when you want the viewers to focus more on one particular area and making the rest of the image darker, you need to modify the light values of the image, which will be taught in this video. This can be done by just selecting the area, which you need to highlight on the image by giving some border and then add curves. In the curves the area is made darker than the rest b...

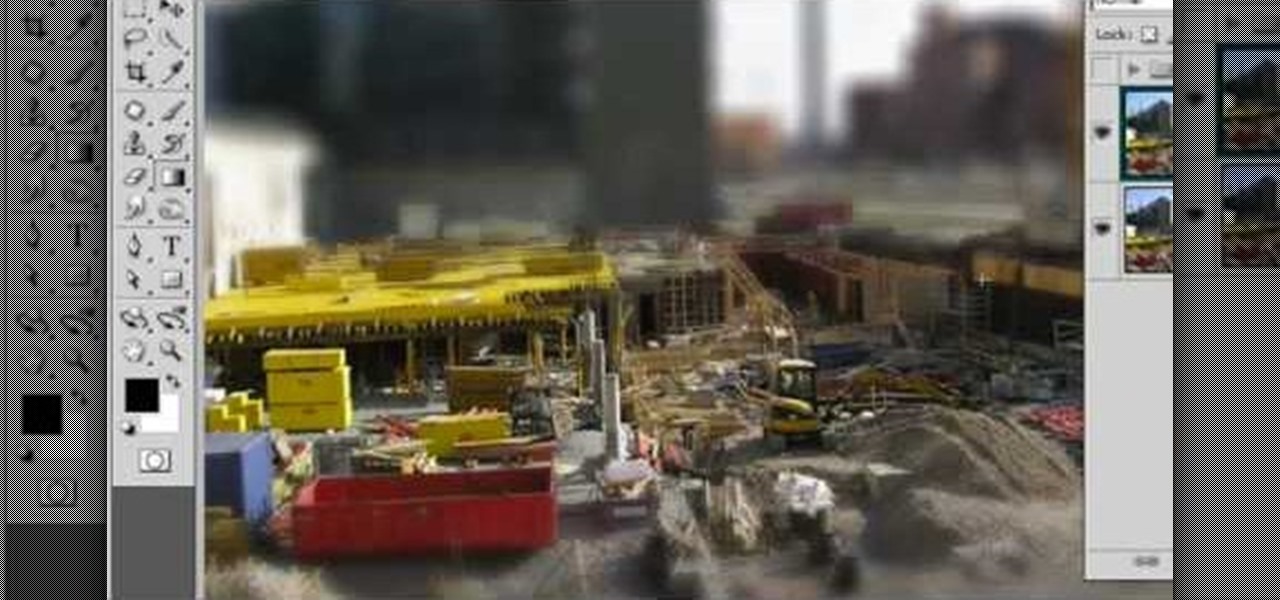
Easily turn your pics into table top style miniatures with this easy to create effect. This takes panarama photographs from afar and fades certain areas creating a toy scene effect. It's magical. Turn cities into model like images that resemble fantasy more than real life. To do this in Photoshop you're going to use the blur tool, layer masks, copies and gradient tools.

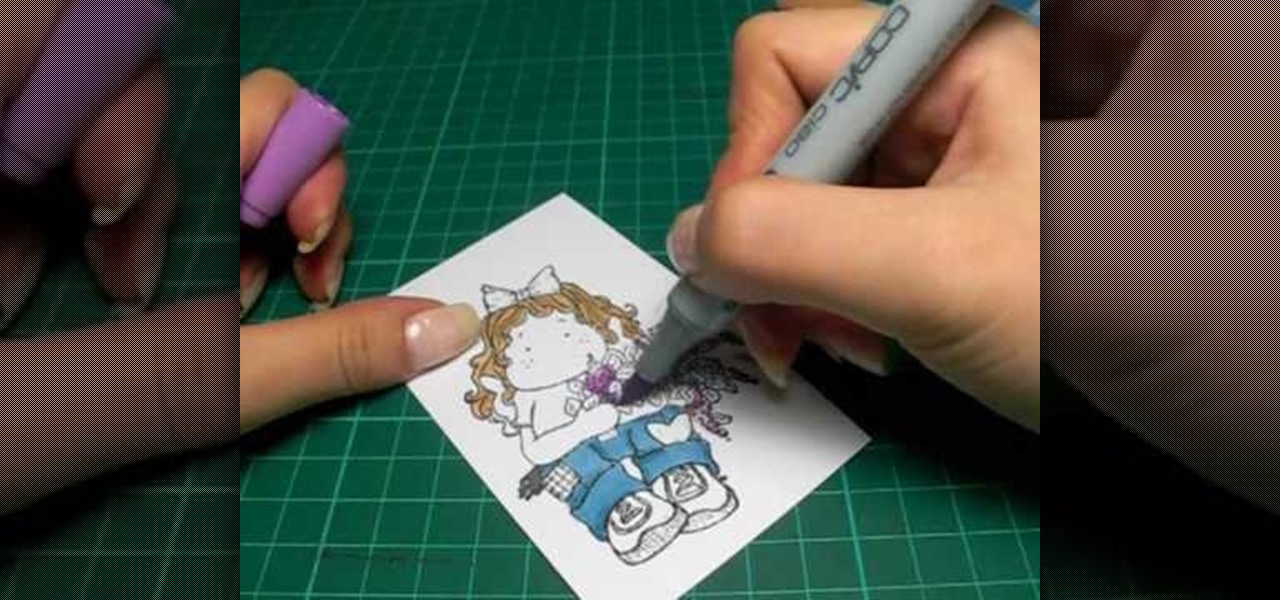
In this tutorial, we learn how to color with Copic pens. First, grab a picture that you want to color with your pens. After this, start to color in the picture with your different colored pens. After you fill in the colors, use a darker colored pen to add in shading and make the lines darker along the sides. Continue to color in your picture, adding shading where you prefer. Add in different colors and make the lines darker when you want them to look more bold. Make sure to add in highlights ...

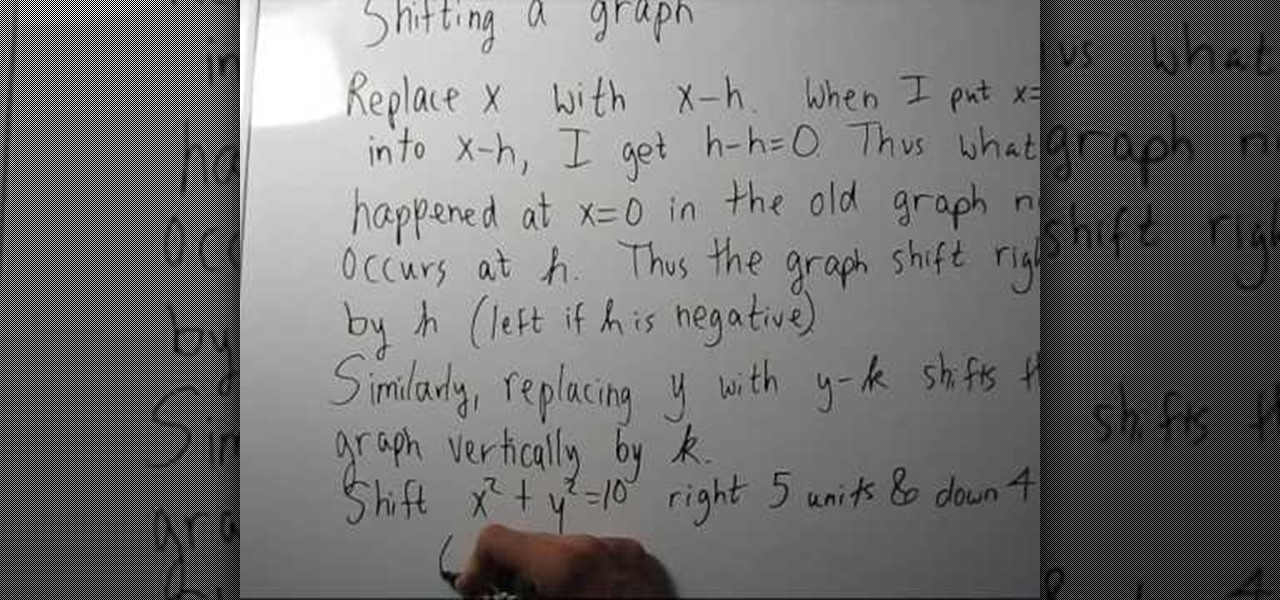
This video will demonstrate exactly how to shift a graph on a x,y axis. When shifting a graph on the x axis you will need to replace x with x-h; where h is the variable to shift the graph. No matter how far you need to shift a graph, h is always the number of units you are shifting; shifting up or right is represented as a positive and down or left is negative. Just plug in your units into your equation and you will have your shifted graph.

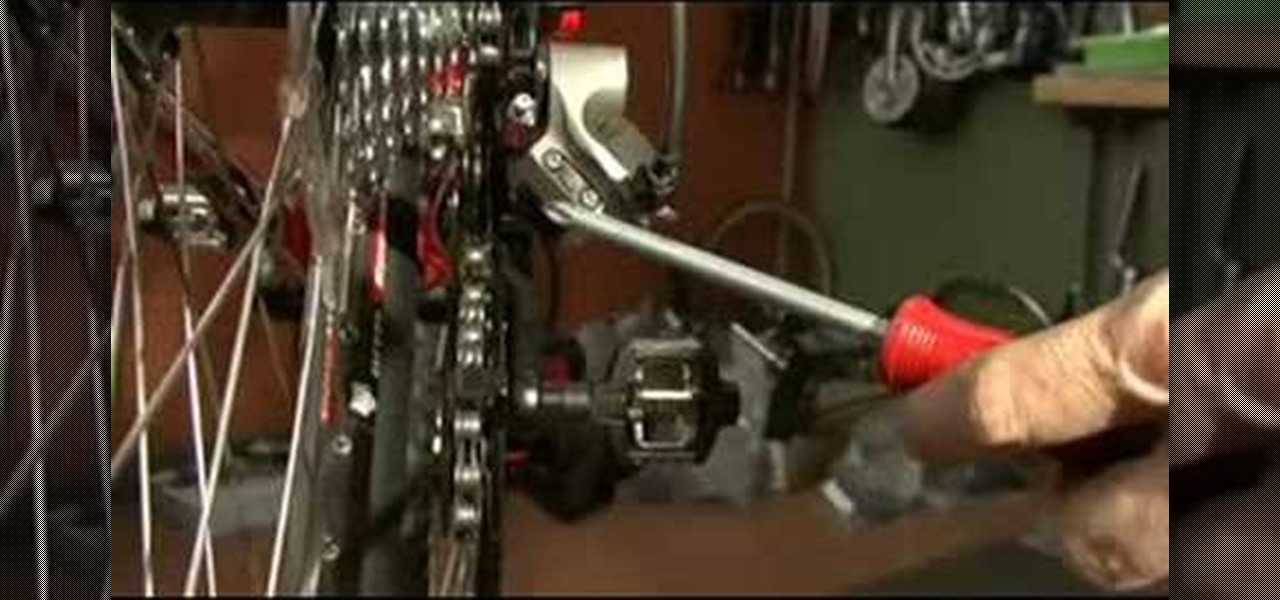
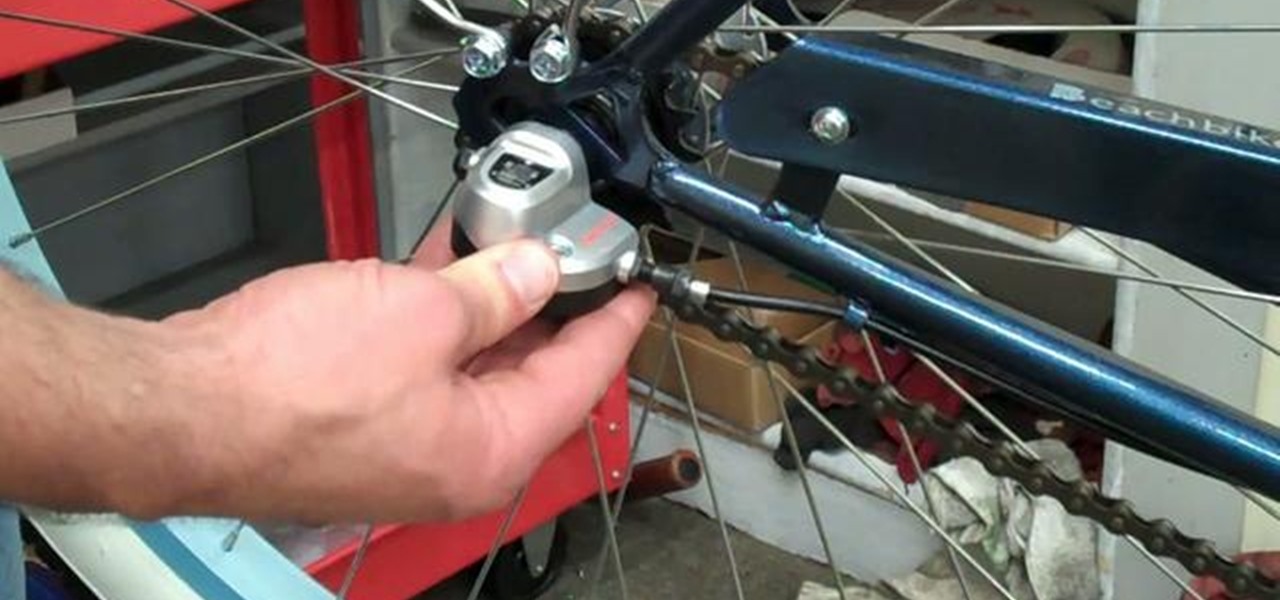
Use a 5mm Allen wrench and loosen the bolt holding the cable on the rear derailleur. Thread the shift cable through the cable stays and tighten it in the rear derailleur with as little slack as possible. Make sure that the adjustment screw on the shifter is in the mid point of the adjustment.

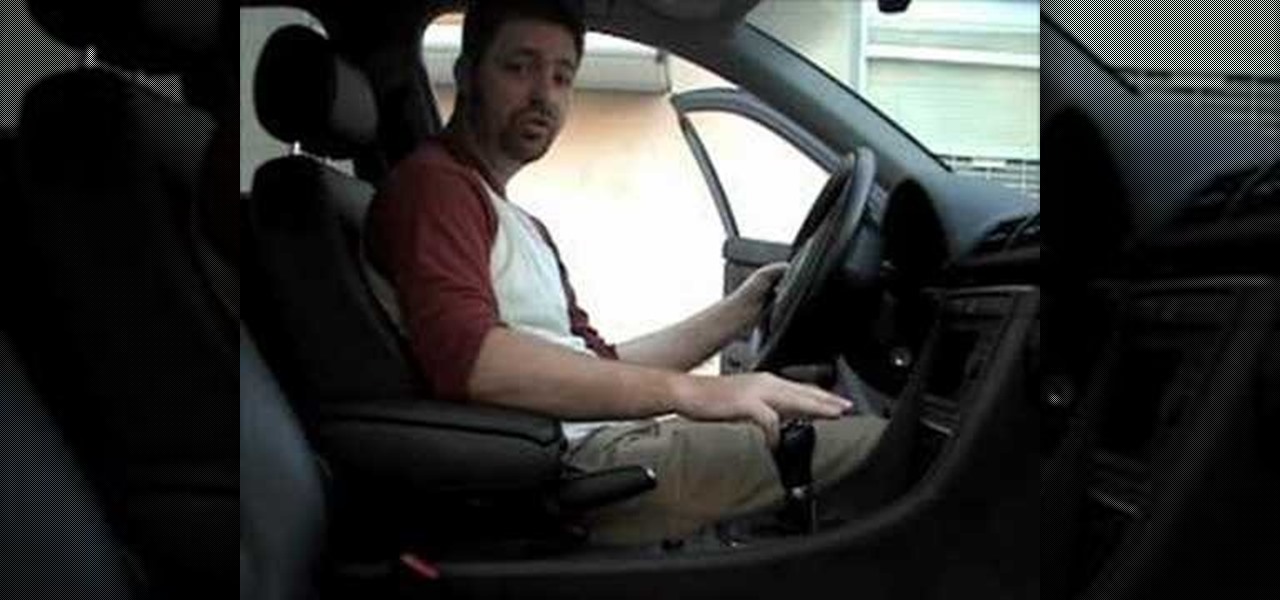
This is a presentation from WatchMojo detailing the operation of a manual/standard automobile. Explanation includes the placement of pedals listed from left to right as the clutch, the brake, and the gas. There is also an explanation on the gearshift which includes a diagram of where gears are located. Explanation for the beginning of driving includes instructions as follows; ensuring that the ground is flat, the application of the parking brake, the process of depressing the clutch, placing ...

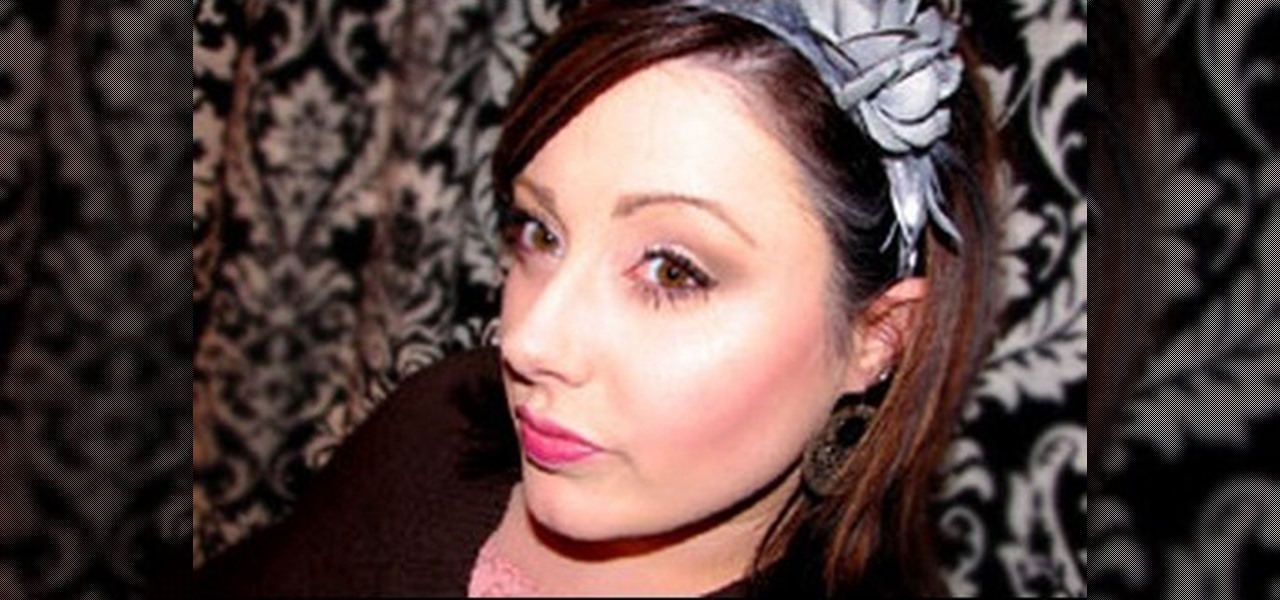
This tutorial video will show you how to contour and highlight your skin with makeup. Contours are "shadows" so you want to go darker than your actual skin tone.

Kipkay from Make Magazine shows us how to create a photographic illusion, making things look smaller than they really are with tilt-shift photography. Materials needed include rubber plunger, an oversized lens, a plastic body cap, a single lens (or digital single lens) camera, a hot glue gun, a sanding file, and a disposable object for a plastic backing, such as a VHS tape case. With this great tutorial and a little work, create the illusion of a miniaturized world with this photographic tech...

More power and better gas mileage are just two of the reasons you might want to learn how to drive a stick shift.

1: Chose a stretchy fabric & fold in half, so that the right side of the patterns are together. 2: Lay dress on top of fabric & trace the dress with dressmakers chalk, allowing for a 1.5 cm seam allowance (except for the bottom. allow 5 cm).

In this video tutorial, viewers learn how to photograph with a tilt shift lens. Shooting in a position of height will exaggerate the field, Make sure to lock down the exposure of the camera before tilting. A tilt shift lens allows users to choose where the focal point lies and are able to blur out the image. To maximize the depth of a field, users need to simply turn the lens to change the focal point. This video will benefit those viewers who are interested in photography and have a tilt shi...

In this video, Brandon will show you how to drive a stick shift safely and effectively. In a stick shift, there are three pedals, the gas, the clutch, and the brake, all of which will be used in order to drive the car. You should use your right foot for the gas and the brake and your left for the clutch. This video will show you the basics of how to drive a stick shift and how to shift gears without making the car stall.

We all feel the need for speed from time to time, but sometimes speed alone is not enough. Maybe you feel the need for Need for Speed: Shift 2 career prize money as well. If that's the case, check out this video and learn how to mod NFS Shift: 2 to get maximum career prize money.

This motorcycle driving tutorial explains how to ride a motorcycle by showing you how to shift the gears of the bike. This video goes into detail about how gear shifting works on a bike and then reminds you not to overthink it in practice!

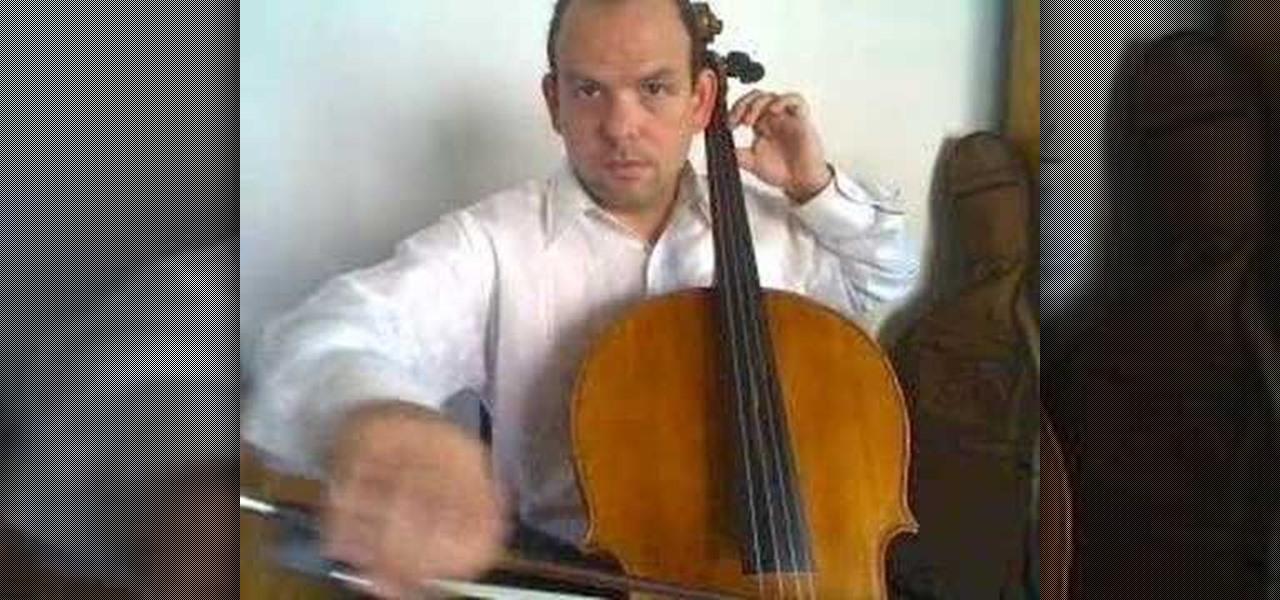
This short instructional cello playing video explains a few basic techniques on how to shift on the cello. Shifting is the method in which you go from one position to another. This tutorial covers helpful mechanics for beginning cello players.

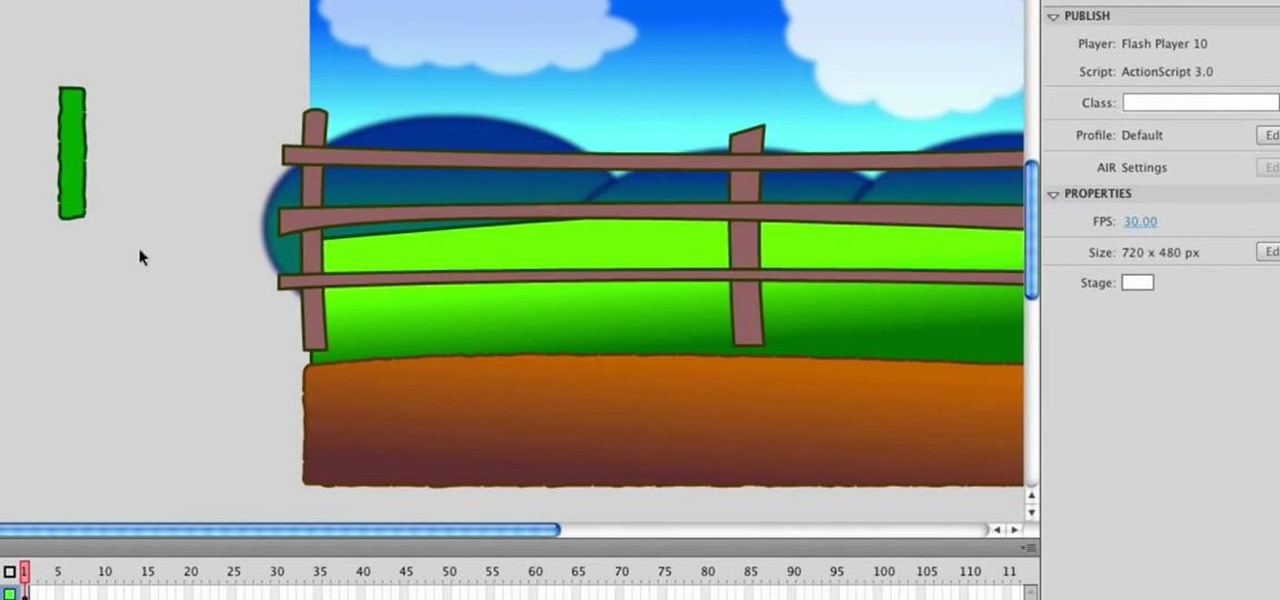
In this tutorial, we learn how to design a cartoon environment in Adobe Flash. Start out by picking the color for the green. Use different types of green, making a gradient so it transitions from a lighter to a darker color. After this, draw on the sky making it go from darker at the top to lighter blue at the bottom near the grass. Add in a fence on the grass, then draw on circles with gradient layers to create mountains. Create a new layer to make dirt and grass on the front of the picture ...

While there exist many makeup tutorials out on the web, you'll seldom find one that applies to all skin tones. Darker skin tones in particular require a different outlook in terms of color intensity and application.

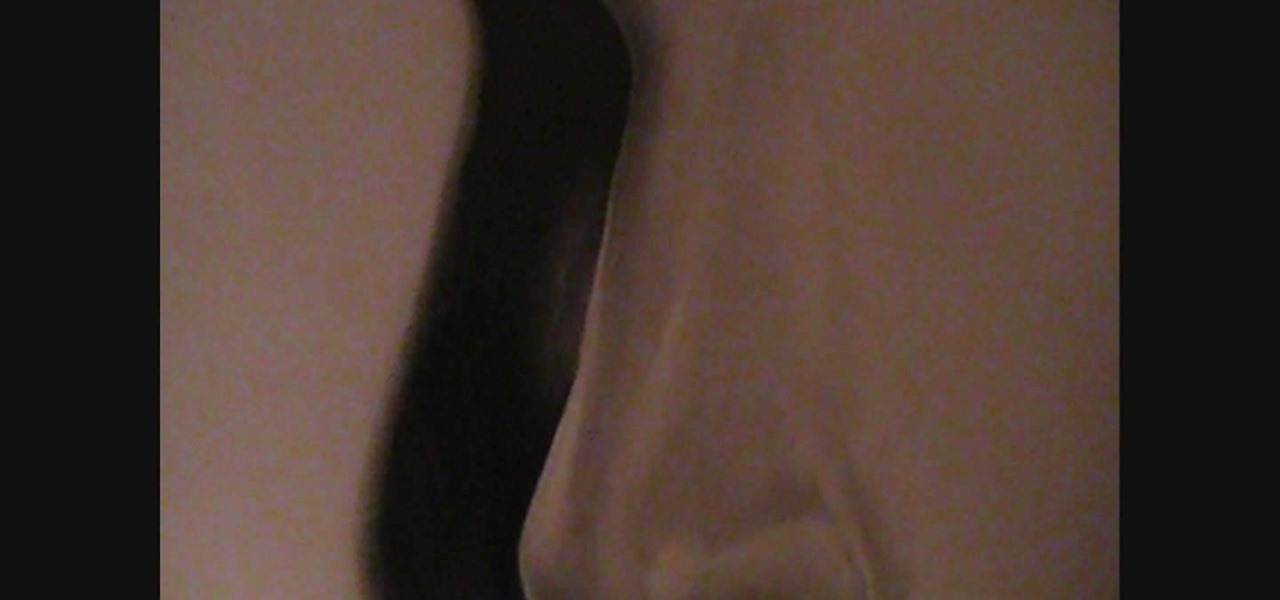
In this video we learn how to draw a nose using simple methods. Use a grid to start sketching out your drawing. Note the dark and light areas by outlining them on your paper. Then, crosshatch the first layer using whichever method works the best for you. Then, use a tissue to blend the pencil marks in with each other and create a lighter shade. Grab your darker pencil and mark on the darker areas of the nose, then start to shade in darker then before. To finish, use your pencil to add in the ...

Watch this instructional cosmetics video to create playfully pink makeup look for darker skin. You will need several shades of pink eye shadow and of course, false eyelashes. Don't forget a fushia lipstick with a clear lip gloss. Beautiful.

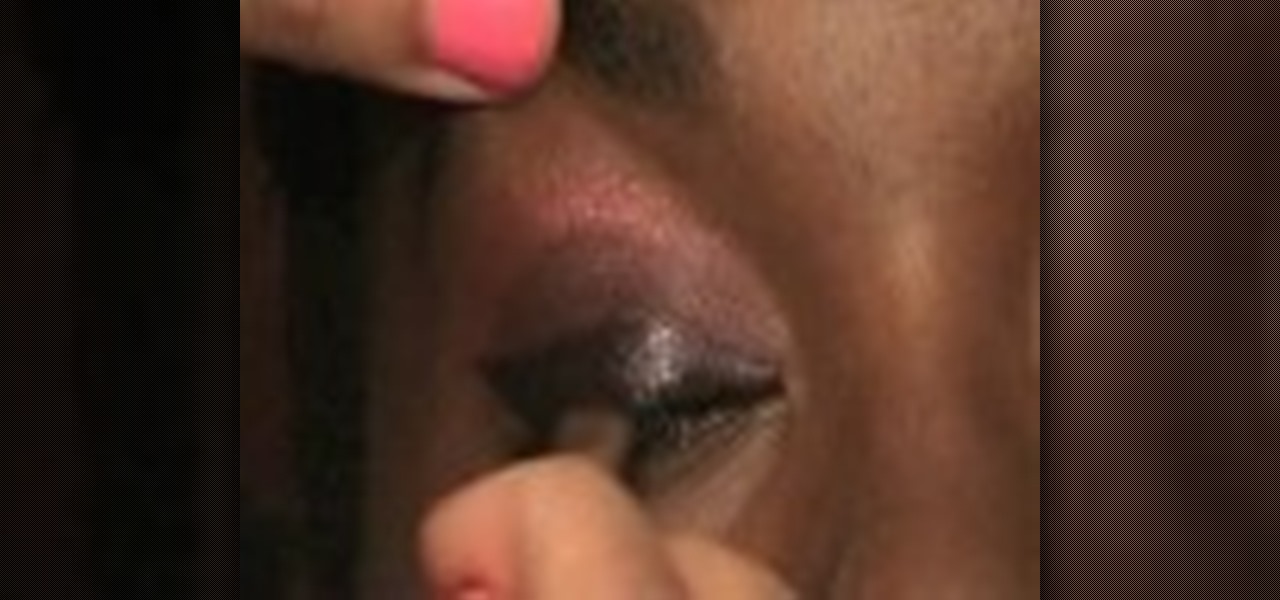
Watch this instructional cosmetics video to create a flashy look with bright eyes and neutral lips that compliments women with darker skin. Use a berry colored eye shadow with a gold shimmer. Create a cat eye shape with darker eye shadow colors using a wet application method. Go back in with light pink highlights to emphasize the bright factor.

Lucas Colin teaches students the proper way of shifting gears while racing to prevent damage to the gearbox.

You will need to create some time lapse footage first. Then, you can use the Magic Bullet software to edit in a fake tilt shift look for your time lapse film. This technique will work on most other video editing programs as well.

Just because you have two left feet doesn't mean you have to give up on impressing the ladies at the club. We get that getting your groove on can be intimidating, especially when all you know how to do is the John Travolta from "Saturday Night Fever," but there are easy steps you can take to get your body jiving in an "attractive to the ladies" way.

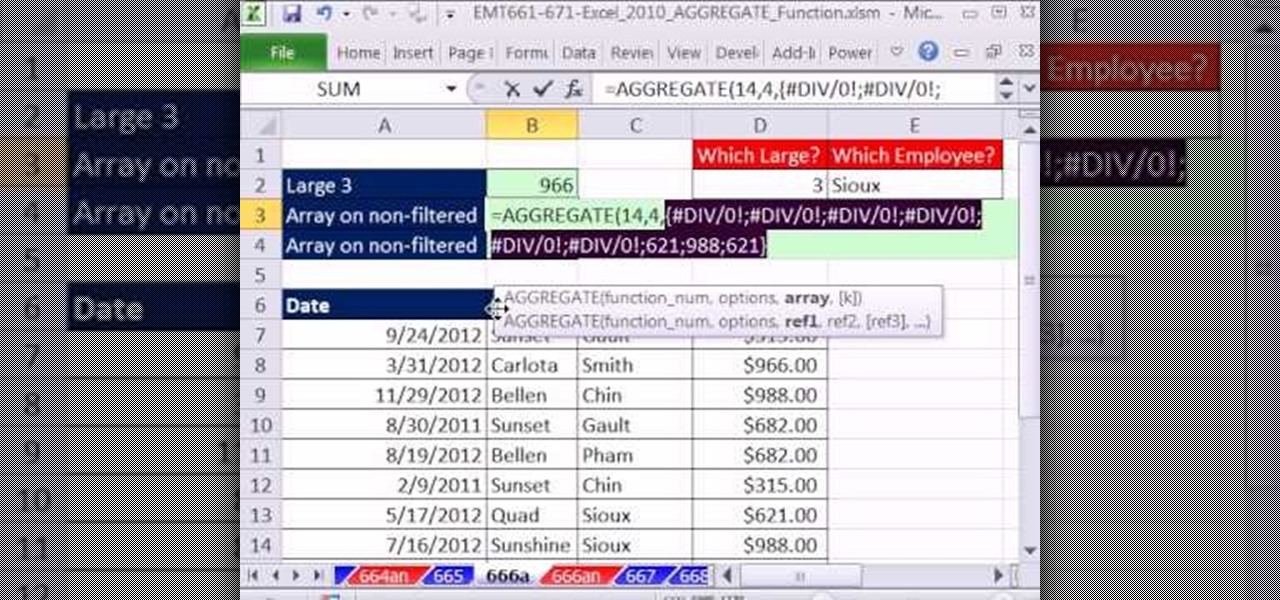
New to Microsoft Excel? Looking for a tip? How about a tip so mind-blowingly useful as to qualify as a magic trick? You're in luck. In this MS Excel tutorial from ExcelIsFun, the 666th installment in their series of digital spreadsheet magic tricks, you'll learn how to use the AGGREGATE function to avoid Ctrl + Shift + Enter for normal array formulas.

Make sure you keep your bike in top shape by tuning it every once in a while. In this video, learn how to properly tune your 3 speed beach bike so that it runs safe and smooth all summer long.

In this tutorial, we learn how to properly apply blush. You will need a medium angled brush to help apply your blush before you begin. Then, make a fish face and apply a darker blush along the side to make your cheekbones show more. Use blushes that work for your skin, play around with different colors. Find a plum color or pink colors and mix them together as well. You only want to go a couple shades darker than your skin tone. Your cheekbones may have a flesh color, so bring the contour col...

In this video, we learn how to draw Darth Vader from Star Wars. Start out by drawing the outline for the body, then draw in reference lines around to figure out where the facial features will go. From here, use a darker paint brush to make the outline darker and then erase any background lines. Then, start to add in the details to the body as well as to the outfit of the costume. Color in the background and then draw on the muscular details to the body. Add in color to the body and the cape t...

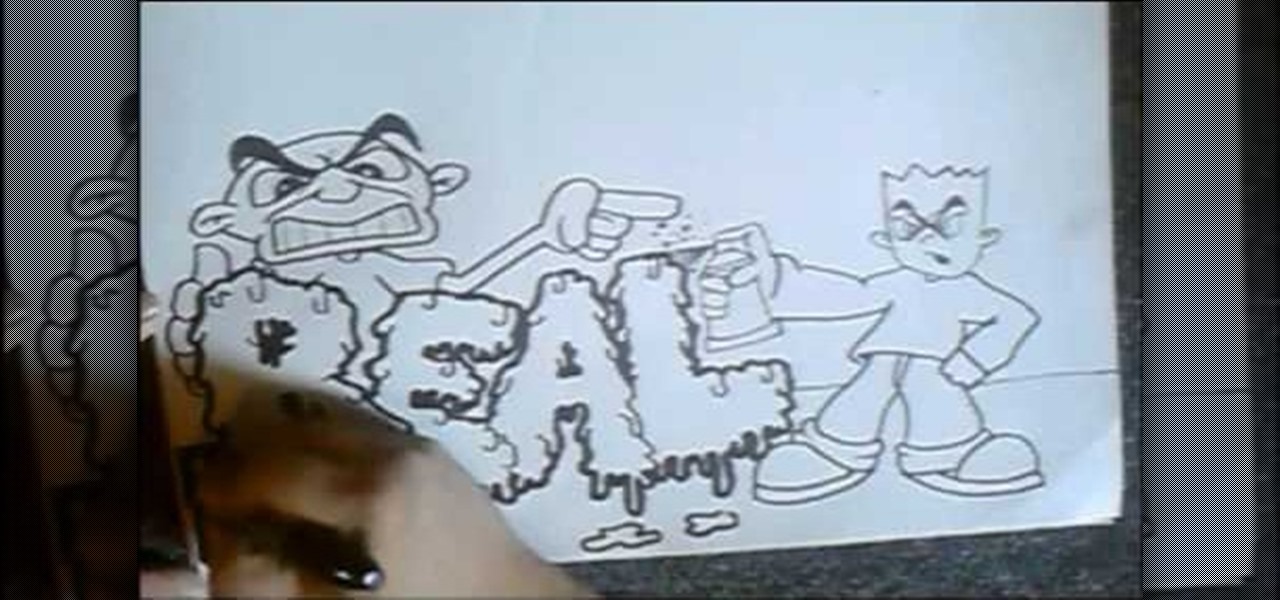
In this tutorial, we learn how to draw graffiti letters. When you are drawing these letters, you will want to use as much imagination as you can. Make sure to add in your own personal flare to give each of the letters a special touch. Now, you will draw the letters making them into a large 3D letter. Add in swirls and lines to the edges of the letters to give them a wet look and then add in shading to the side to make it look darker. Add in more shading and darker outlines, then when you are ...

In this video, we learn how to apply eyeshadow. First, you need to see what your skin tone is and research colors that work best with it. Then, you need to get the right tools. Once you have the right brushes and eyeshadow colors, you are ready to apply. Some brushes that might work include: fluffy, straight, small and large. Now, close your eyes and dab the eyeshadow onto your choice of brush. Brush the color all over the eye, making it darker on the end of the outer edge of the eye. Then, a...

In this video, we learn how to draw Maplestory Bigfoot. Start out by drawing the outline of the character, then start to draw on the details. Once you have finished the outline of the entire character, start to use a darker pencil or pen to make it darker. Add in shading on different parts to make it look 3D, then add in lines to make the character look more realistic. Add as many details as you would like, then when you are finished you can color in the picture as you would like. You can rep...

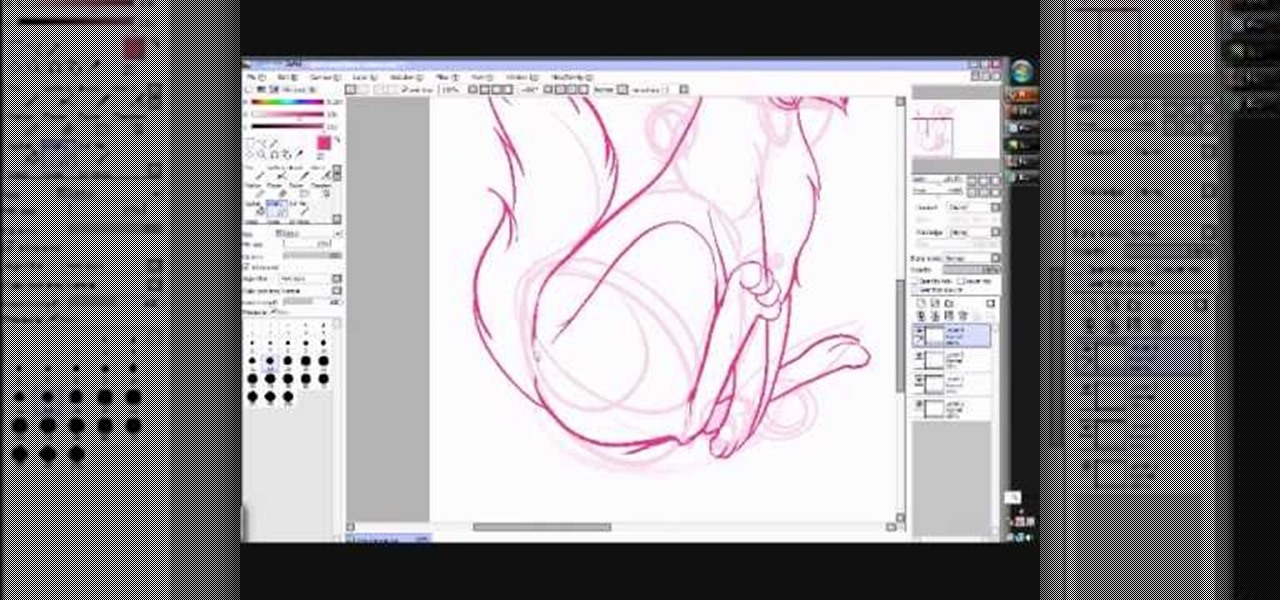
In this tutorial, we learn how to draw Neopet cartoon cats. First, use a small brush to create the outline of each of the cats. Use light strokes to make the outline, then start to add in the details onto the cat with a darker colored brush. Add in the details of the face, including the whiskers, mouth, and eyes. Don't forget to add on the ears as well. Erase and lines that are on the back of the drawing, so all you see is the darker and more exact lines. Continue on drawing the body, making ...

In this tutorial, we learn how to draw an 18 wheeler semi truck. Start out using a pencil to draw the outline of the truck, using lines on a vertical point to make sure everything is even. After this, use your pencil to smudge darker marks throughout the truck. Next, use the pencil to make darker lines for the outline of the truck and add in more details to it. Make sure to draw in the tires, as well as the windshield and the headlights. Turn the paper around to get the best angles while draw...

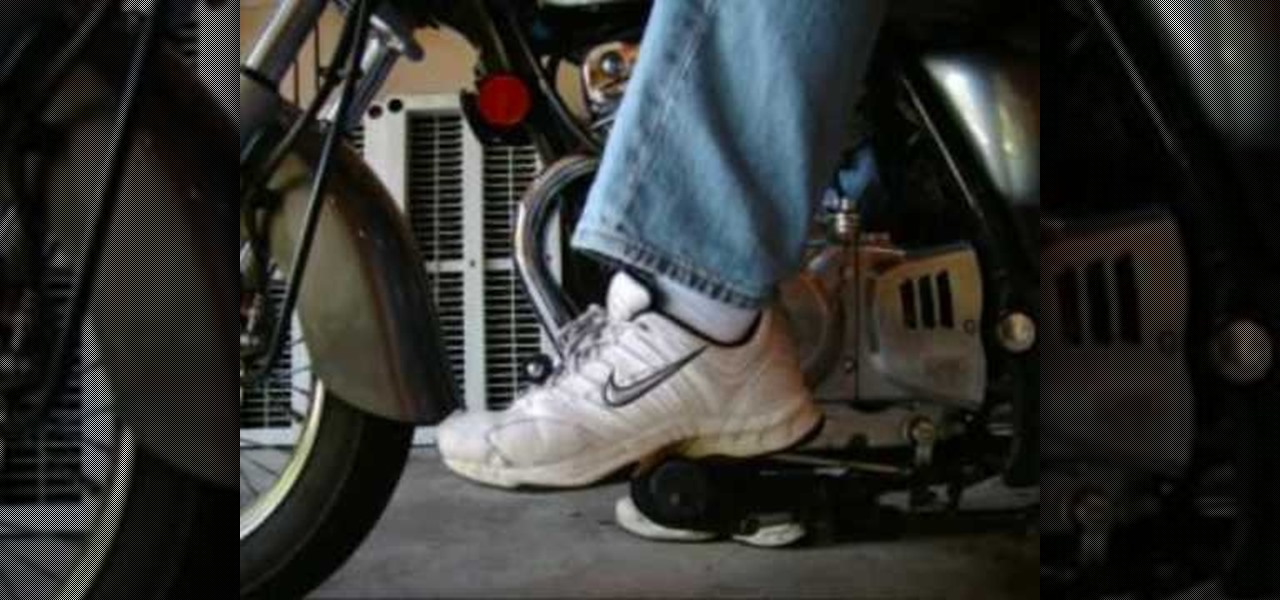
In this tutorial, we learn how to shift gears on a 2008 Ninja 250 motorcycle. First, pull in the clutch, take it down to first, then give it gas and release the clutch to get the bike started. To shift gears, pull in the clutch, pick up, then ease out the clutch, then give the bike gas. Keep doing this to change in between the different gears on the bike. Practice doing this in an empty parking lot and don't forget to keep on the gas while you are doing this. You may let go of the clutch to q...

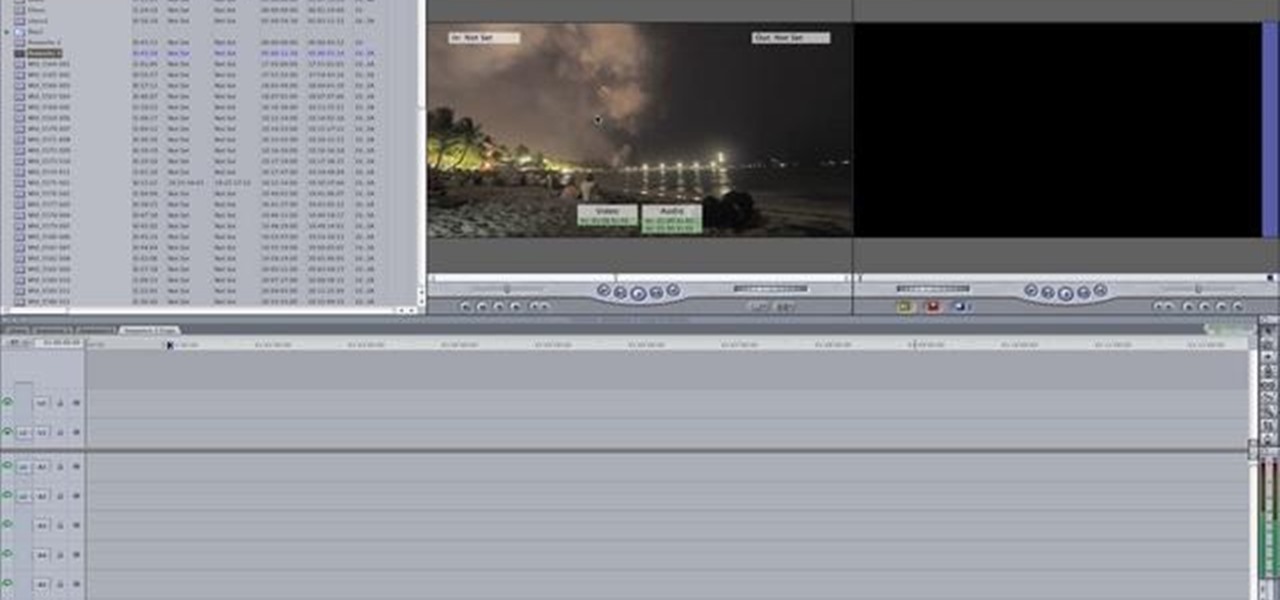
In this video tutorial, viewers learn how to create a tilt shift effect with Adobe Final Cut Studio. Begin by changing the video's speed to 300% and disable the Frame Blending. Now click on Effects, go to Video Filters, press on Time and select Strobe. Change the Strobe rate to 7-15 fps. Now switch to Motion and Duplicate the group. Then create a simple mask in the upper group and apply defocus to the lower group. Under Mask, increase the Feather rate up to 100%. Now add another mask around t...

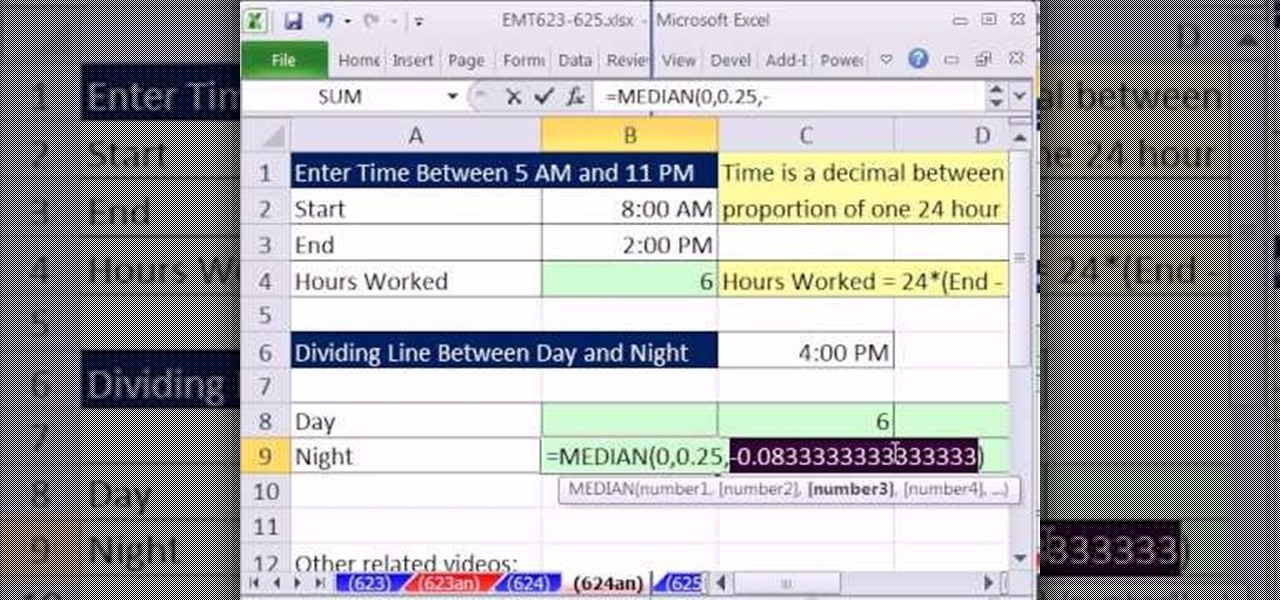
New to Microsoft Excel? Looking for a tip? How about a tip so mind-blowingly useful as to qualify as a magic trick? You're in luck. In this MS Excel tutorial from ExcelIsFun, the 624th installment in their series of digital spreadsheet magic tricks, you'll learn how to break apart the hours worked in a given day into one part for the day shift and a second part for the night shift using the MEDIAN function instead of the IF function. The MEDAIN function can be used when there are different ca...


