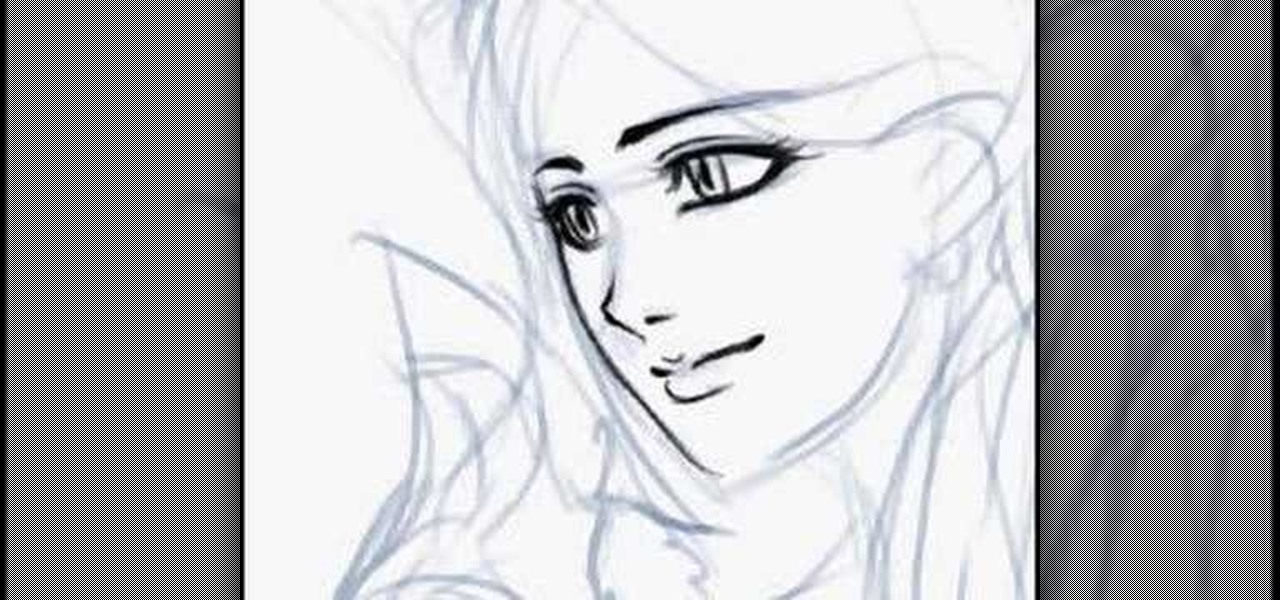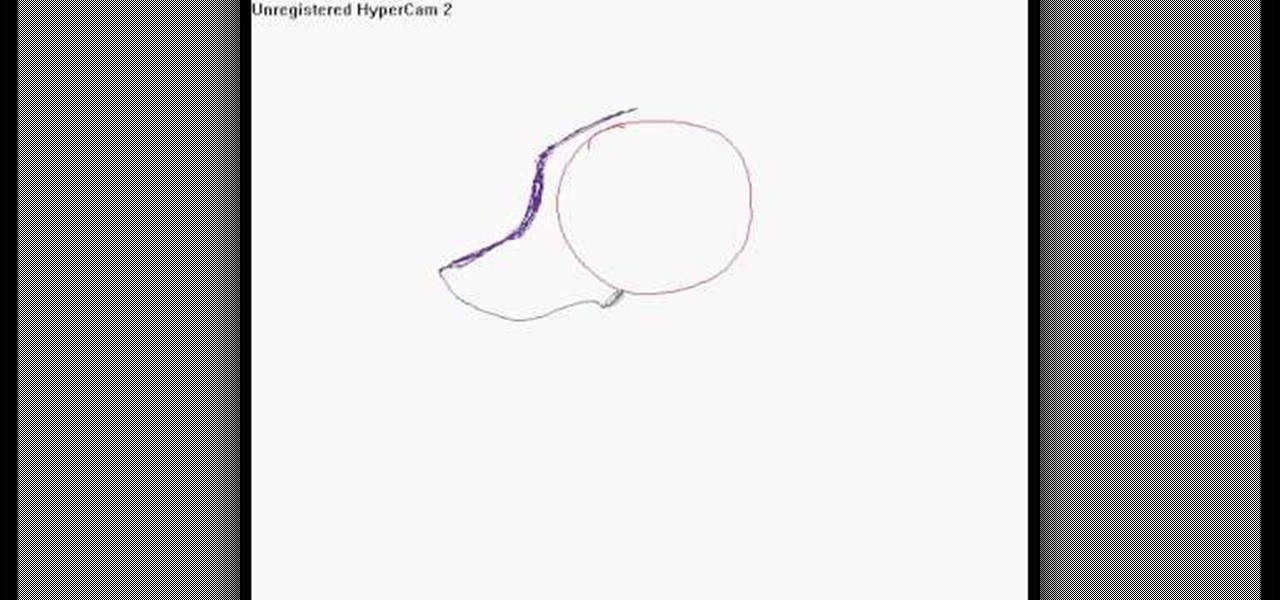
In this video, we learn how to draw wolf eyes. Start out by drawing the outline for the wolf head. Then you will draw the eyes in an almond shape dragging downward on the nose. After this, zoom in on the eyes with the computer and then fill in darker lines around the eyes. Draw in the pupils on the eyes and add in the details for the corners of the eyes as well. If you want to draw wolf eyes from a side view, draw the outline of the head to give you reference, then draw the shape of one of th...

In this tutorial, we learn how to make stencils in GIMP. Start with heads or faces if you are new to this. Then, use the rectangle tool to select the head. Then, go to image and fir canvas to selection. Now, remove the background by using the background tool. Once finished, go to colors, then threshold. The image should turn black and white. Turn the dial to the right, then turn it to the left to make it lighter and darker. Find the spot to where it shows detail but it's not distorted, then h...
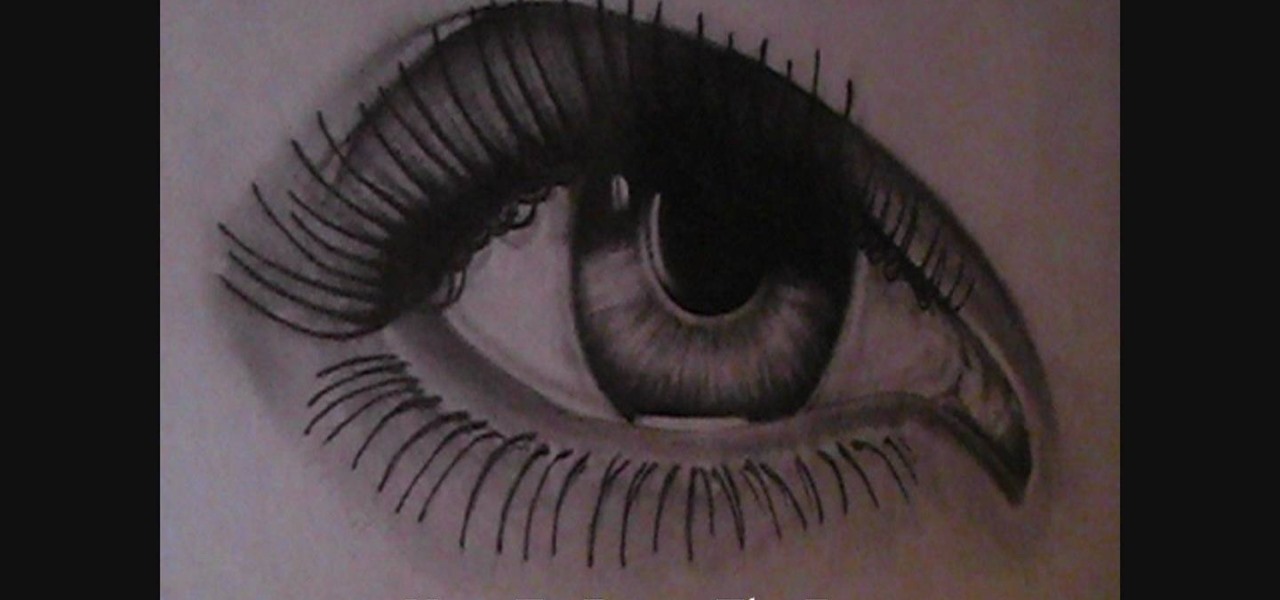
In this tutorial, we learn how to draw an eye. Start out by drawing the outline of the eye, which should be in a football shape. Then, draw the inside of the eye and the outside of it as well. Then, you will start to add in additional details around the eye and the eyelashes. After this, add in the crosshatch inside the eyes and shade in the pupils. Shade around the outside of the eye, then add darker lines for the eyelashes on both the top and the bottom. Add a crease in the eye to make it l...
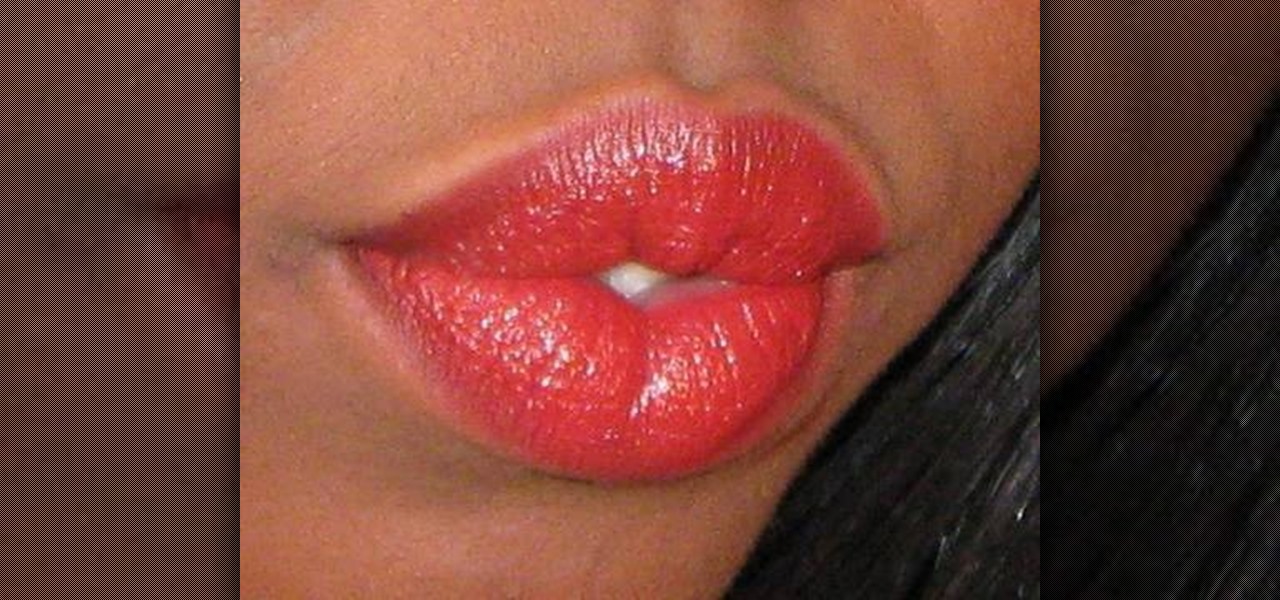
In this tutorial, we learn how to get perfect red lips for African American skin. First, take a dark red lip line from Studio Gear named "red wood" and apply it to the lines of the lips. Once your lips are fully lines, grab your lipstick and apply it to your lips carefully. The liner will be darker than the lipstick, so make sure you blend them in together lightly. After you are finished applying, clean up any smudges on the edges of your mouth. Then, apply makeup on the bottom an sides of th...
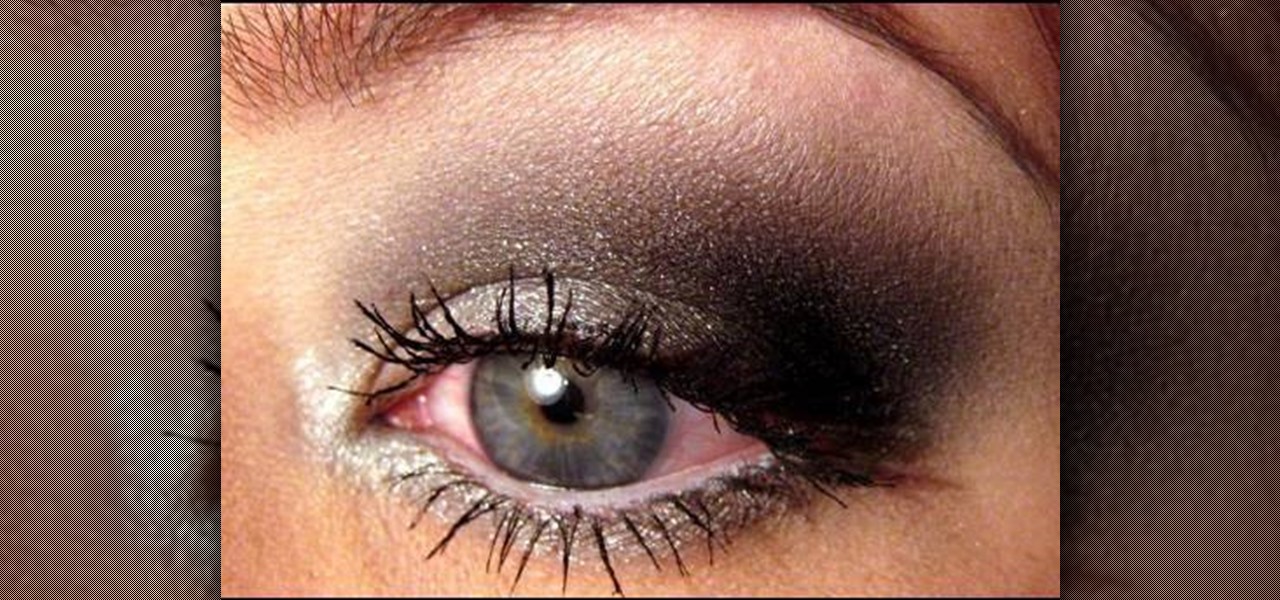
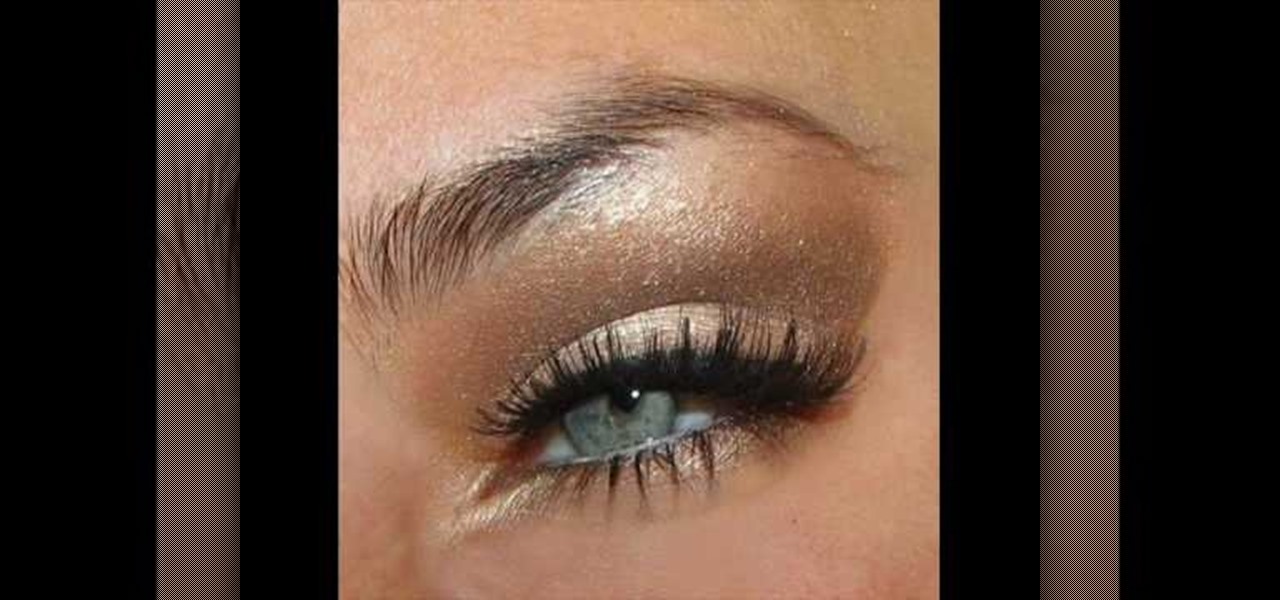
In this tutorial, we learn how to apply a silver smoky makeup look for a hooded eye. Start out with a silver color brushed all over the eyelid. After this, brush a darker color in the crease of the eye, blending in the outer corner of the eye. From here, blend this up towards the brow bone. Place black on the outer corner of the eye to deepen the area, then blend out. After this, apply a light shimmer underneath the brow for a highlight and blend with the bottom colors. Apply the silver color...
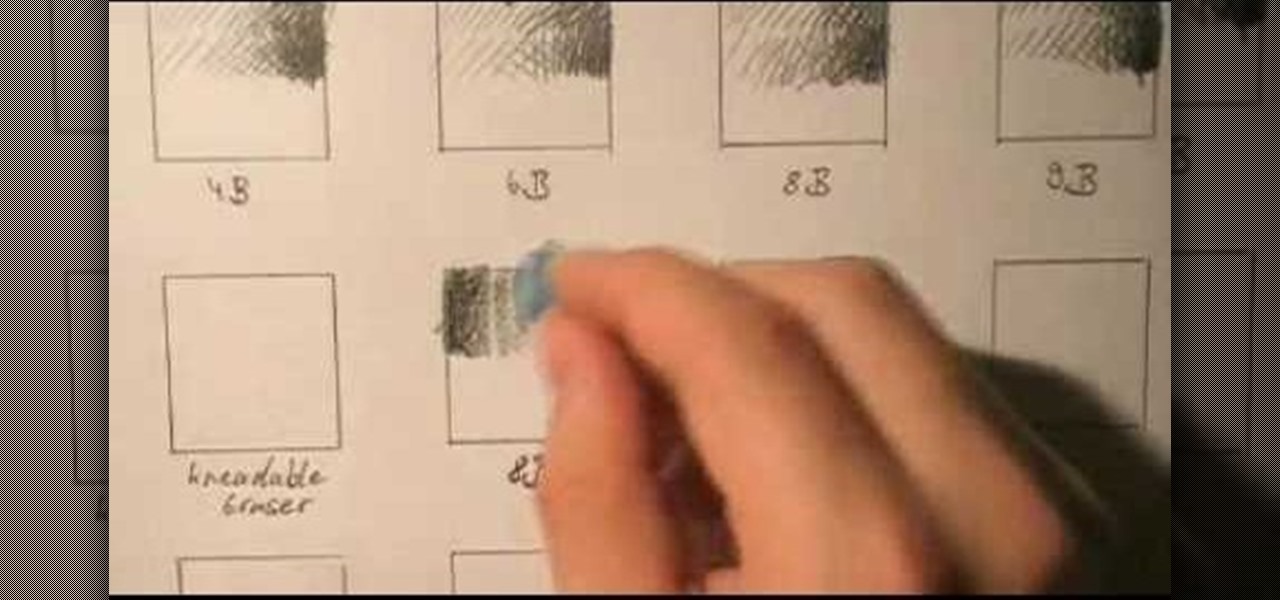
In this video, we learn how to draw with basic concepts and techniques. To shade with different pencils, you will start out by doing a light touch on the pencil and then push down harder to create a darker shade. Use different pencils to get long and wider lines from the shading. A 4B and a 6B pencil will have lines that look the same, but they are different in the way they apply graphite to the paper. Practice using all of your pencils to get an idea of how they write, then you can choose wh...

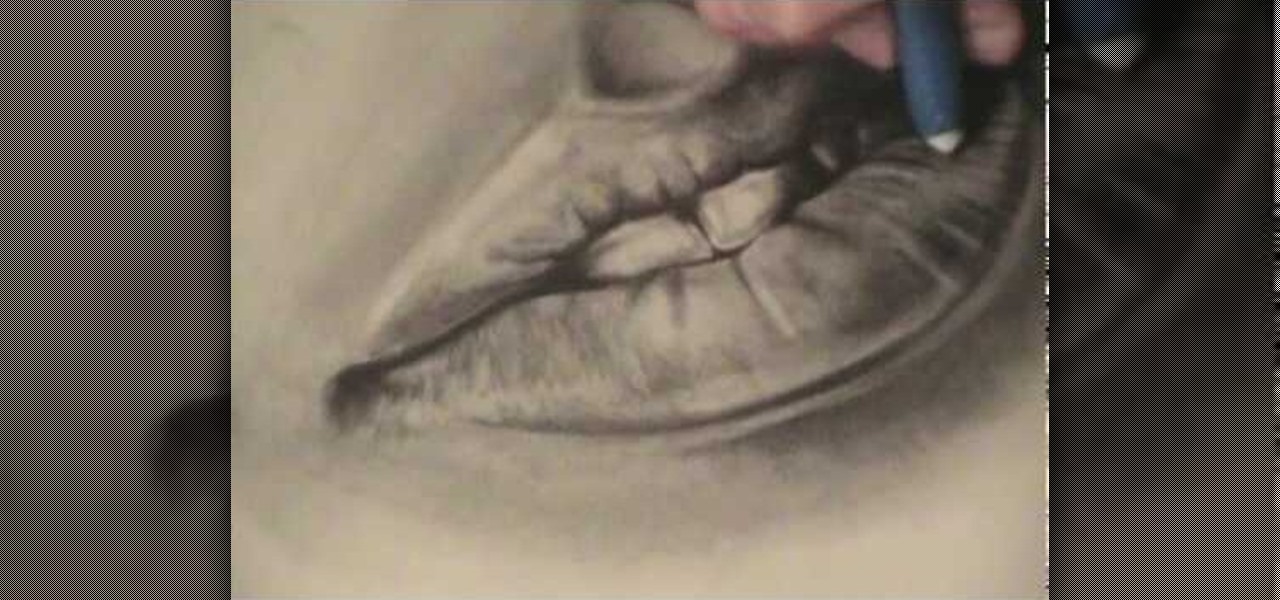
In this tutorial, we learn how to draw realistic lips and teeth. First, draw on your outline for the lips and teeth, using a light pencil. Try your best to get it as natural looking as possible. Now, draw in the shadows and the mid-tones for the lips. Also add in reflective lights and draw in the teeth. Add in details to the teeth and use darker lines to separate them. Use dark creases to form the lips and then continue to add in additional details. When you're finished, darken around the mou...

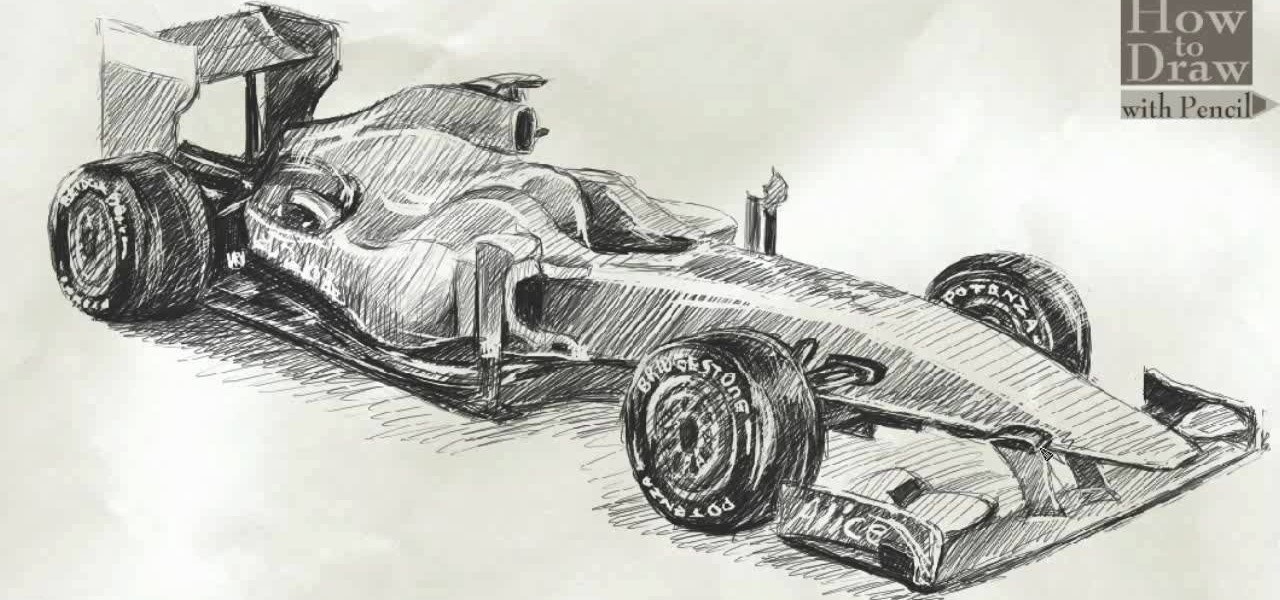
In this video, we learn how to draw a Formula 1 Ferrari F60. Start out by drawing of the car, then start to shade it in. Shade in the wheels and then the rest of the vehicle with a lighter pencil. After this, use the eraser to erase different parts of the car to make it look more realistic. Draw in darker lines with the pencil to make it more shaded. Then, add in shading on the bottom of the car and continue to darken the care until it's completely filled in. Add in writing on the wheels and ...

In this tutorial, we learn how to draw Electivire from PokŽmon. Start out with a very sharp pencil and lightly draw the outline of the body of the character. After this, use a firmer hand to draw a darker line on the outline of the body, then start to add in details of the face and the rest of the character. Next, draw the details on the body to give it more of a personality and make it look more realistic. Continue to draw on the rest of the body parts, using lines and shading where appropri...

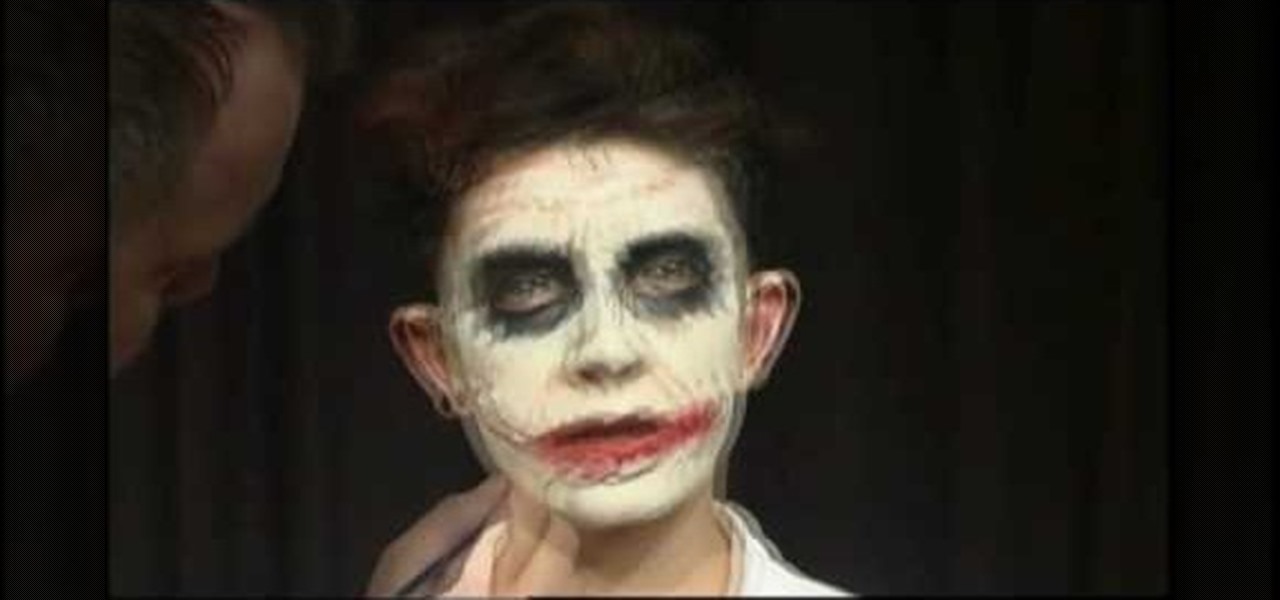
In this video, we learn how to make a prosthetic Glasgow smile like the joker. First, smooth the material onto the face and around the lips. Follow the shape of the lips for the sides of the mouth to make it look larger. Use a Q-tip to push on the prosthetic onto the face. Once this is attached, you can add in the color to the lips to make it look more realistic. Makeup will need to be added to the entire face. White should be on the face, black should be around the eyes. Go for a cracked and...

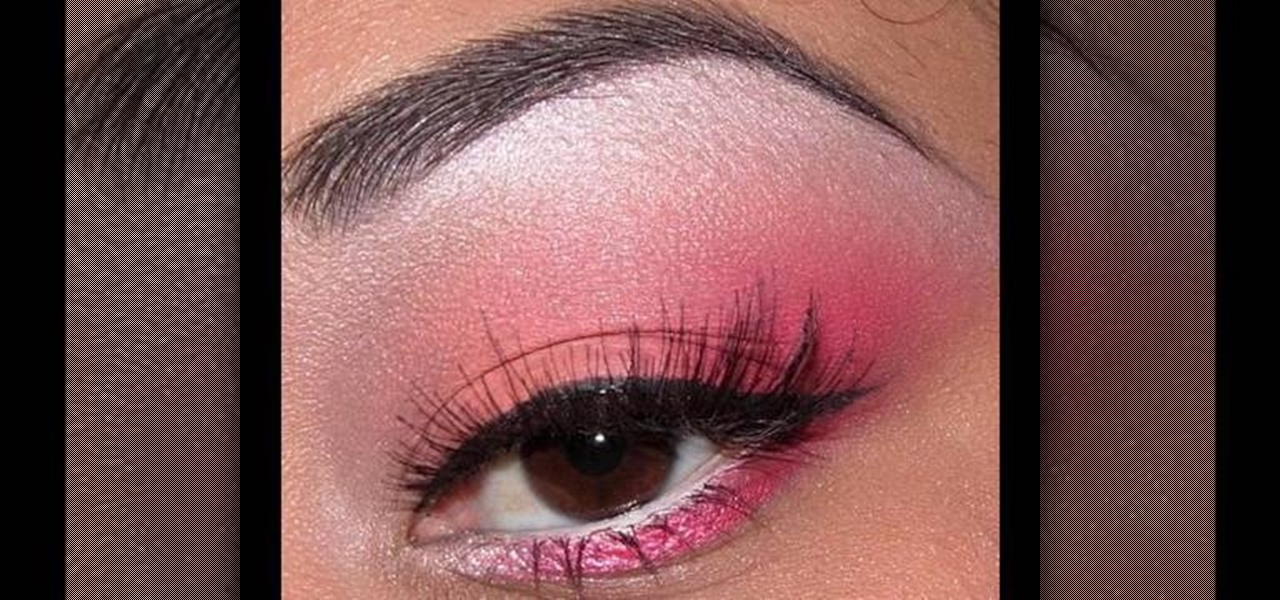
In this tutorial, we learn how to create a punk rock look with pink and coral eyeshadows. First, take a coral shadow and brush it over your entire eyelid. After this, brush a darker color on the corner of the eye and then use a white color underneath the brow bone. Now take a coral pigment and brush it over the first coral color to create a brighter shade. Blend the white in with the coral towards the crease of the eye. Add more color as you see fit until the color pops and is very bright. Af...

In this tutorial, we learn how to draw wavy manga hair. Start off with your manga face shot and then grab a pencil. Draw in strands of hair on the forehead and create bangs across to the eyebrows. After this, draw down hair on the head going down around the ears and throughout the rest of the head. Use a light touch of the pencil to create most of the strands coming from the root of the head, then use a darker line to create different types of strands. When finished, add in additional details...

In this tutorial, we learn how to draw the Black Queen of Chess. First, you will need to draw the outline of the character using a light pencil on paint or another drawing program on your computer. After this, use a dark blue pencil to draw the outline of the body on darker and to make it more detailed. Next, add in the details to the drawing all over the entire body. Make sure to draw on the clothes after you do this. Once finished, you will need to draw on the facial features and the hair, ...

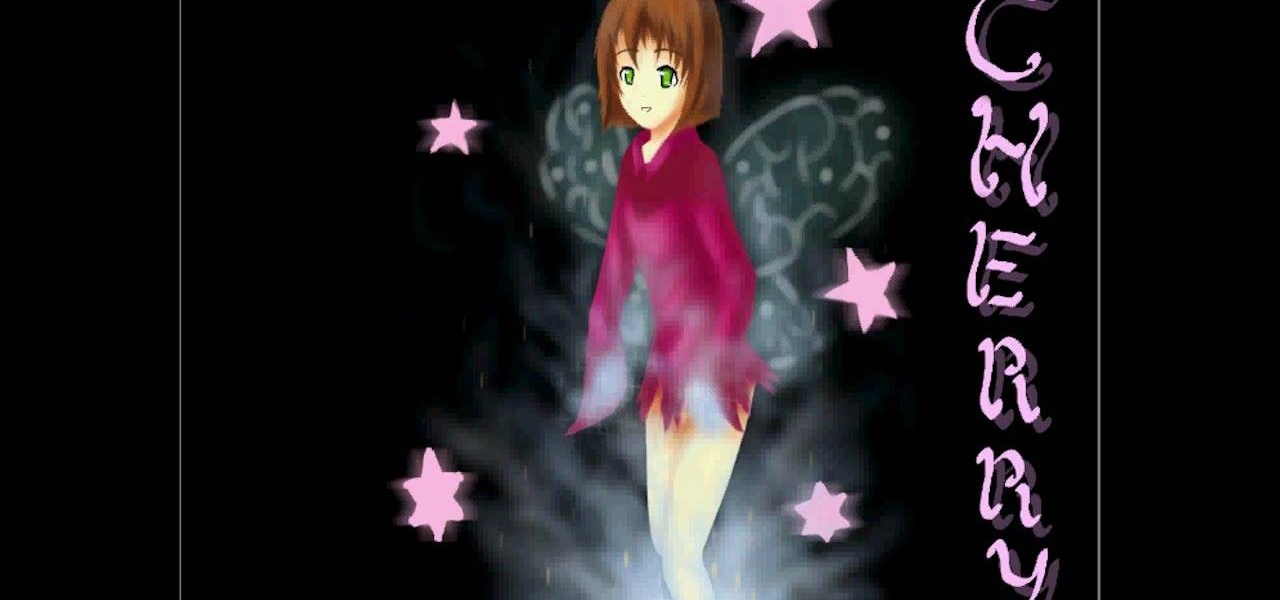
In this video, we learn how to draw a cherry fairy. First, sketch the entire picture before you start to draw in any detail. After this, draw in darker lines where you want the features of the body to go, then start to add in features of the face. Next, add in color to the face and to the outfit of the fairy. Make sure you give her hair and bangs that are surrounding her face as well. Once you have the color completed, create a white light coming from the bottom of the fairy and going up into...

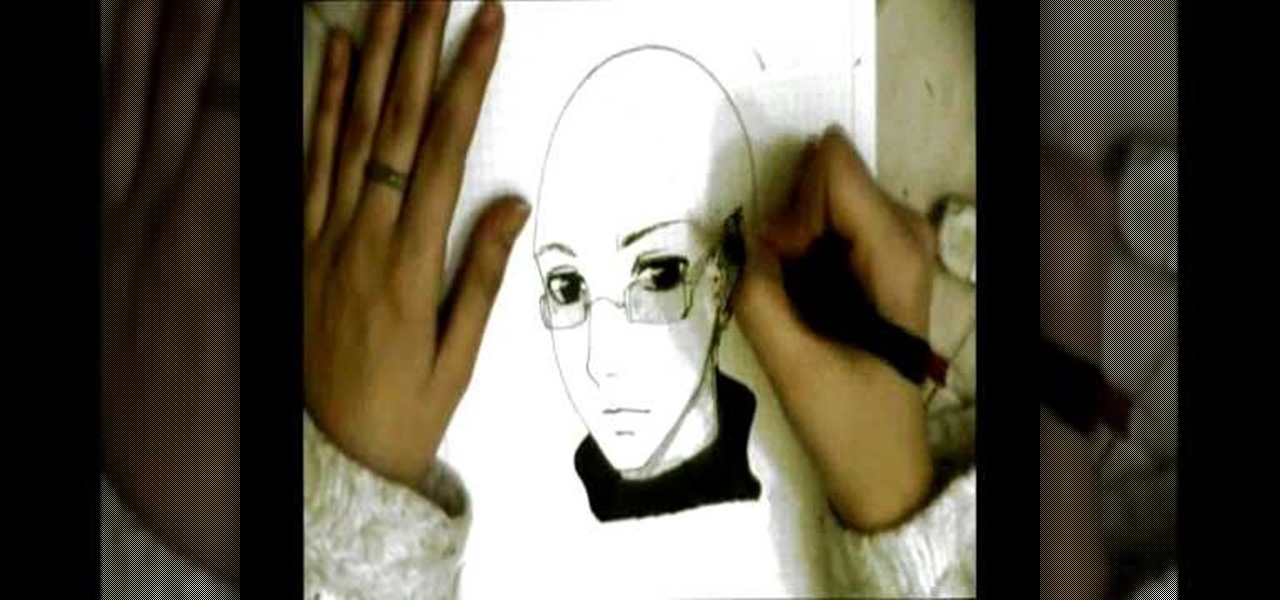
In this tutorial, we learn how to draw Marik Ishtar. Start with the outline of the head (in a circle shape) and draw the reference lines around the front of the face. After this, draw in darker lines around the features of the face and start to add in details throughout the entire head. Draw in hair, a nose, eyes, ears, and everything else. Once you have finished with this, draw in the neck of the character and then the shoulders. After this, finish the hair off on the back of the had, then a...

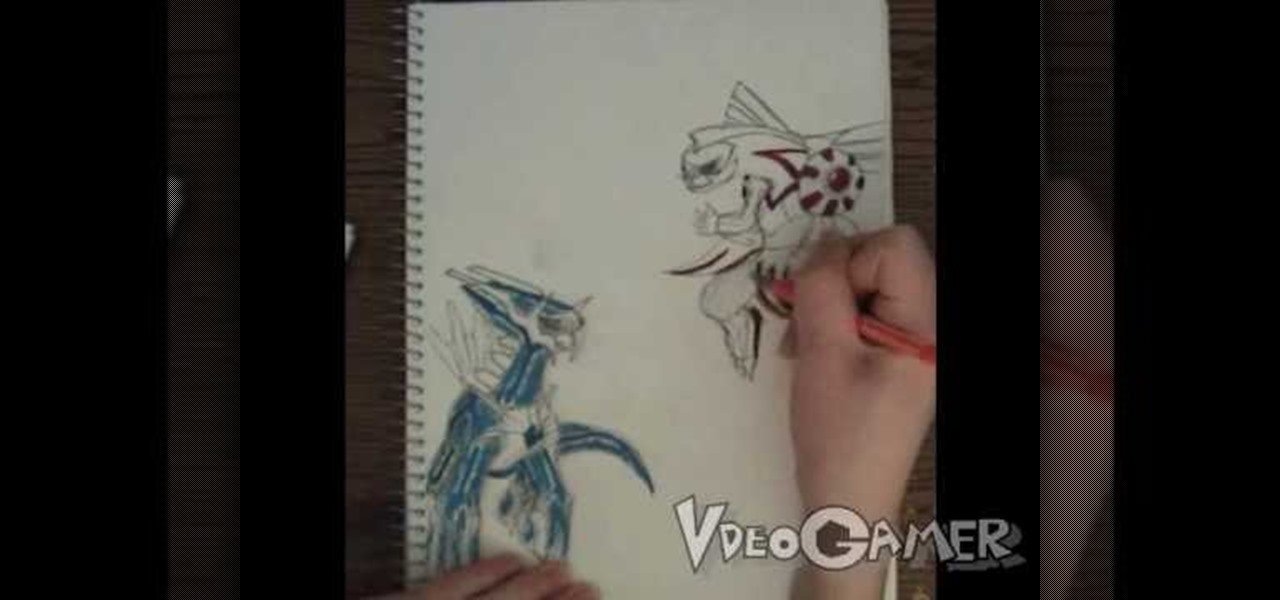
In this tutorial, we learn how to draw Palkia vs Dialga. First, you will need a pencil, pen, sketch paper, and colored markers on hand. Now, start to draw the characters by drawing the outlines of their bodies first. After you have completed this, start to draw in the details of both the characters. Make sure to draw in even the smallest details that are featured on their wings and throughout their body. Next, you will use a pen to shade in some areas darker and trace over, then use the marke...

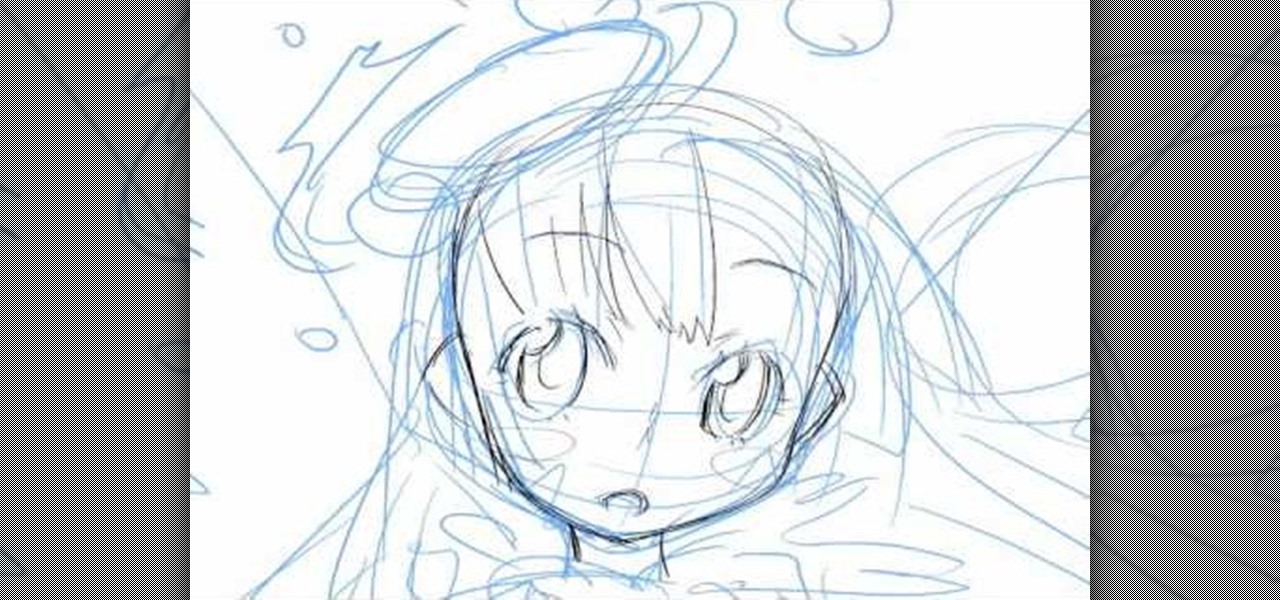
In this tutorial, we learn how to draw an anime or magna illustration on your computer. To start out, you will open up a new draft and start to create the outline of the anime together. As you continue, you will draw in darker lines that will be the outline and the details of the character as well. Erase any background lines from the drawing that don't fit in, then create new additional lines. When you're done, start to add in the facial features and details, then add in the hair and clothing...

In this tutorial, we learn how to draw Death the Kid from Soul Eater. First, you will need to draw in circles around the body where the joints would go. After you do this, draw the outline of the body around the joint markers. Next, you will start to draw in the arms for the character and add in the full detail of the arms and machinery. Next, use a darker line to create the details in the body and the outline as well. When finished, you will need to add in the details of the face as well as ...

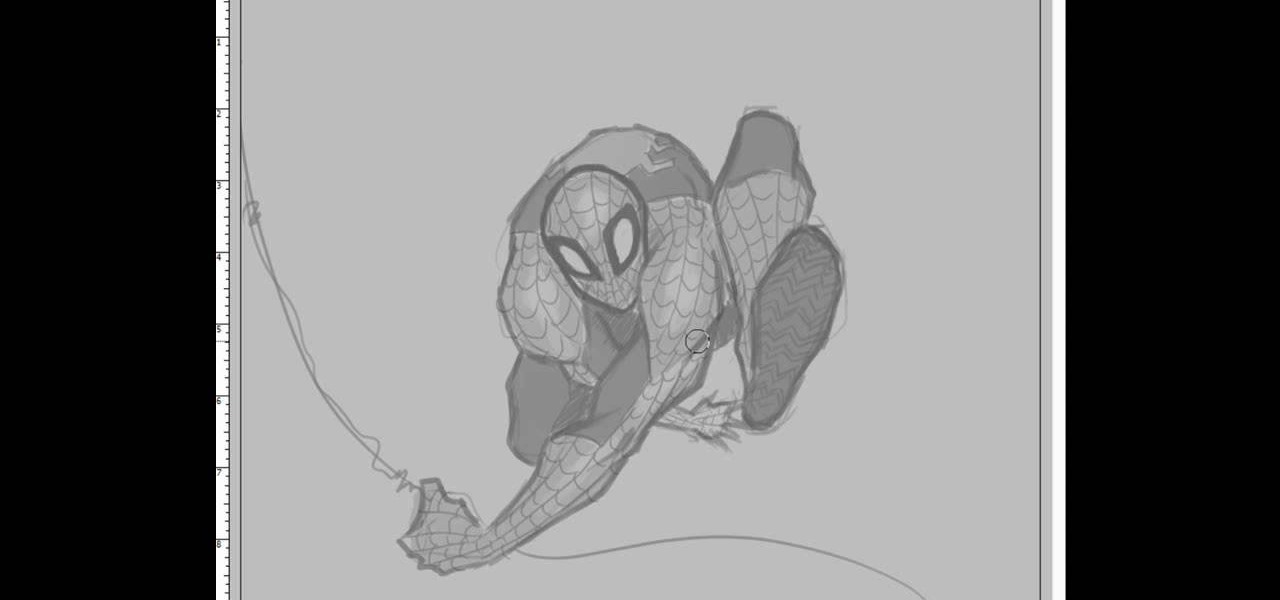
In this tutorial, we learn how to draw Spiderman. First, draw the outline of Spiderman's body while hanging from a web up in the air. Then, use a darker line to draw over the original sketch of the body. Start to fill in details of the entire body and the face of the character. Next, fill in the small details of Spiderman. Draw the details down to what the bottom of the shoes on his suit look like. Make sure the face has all the right details, then add in lines to the web to make it look more...

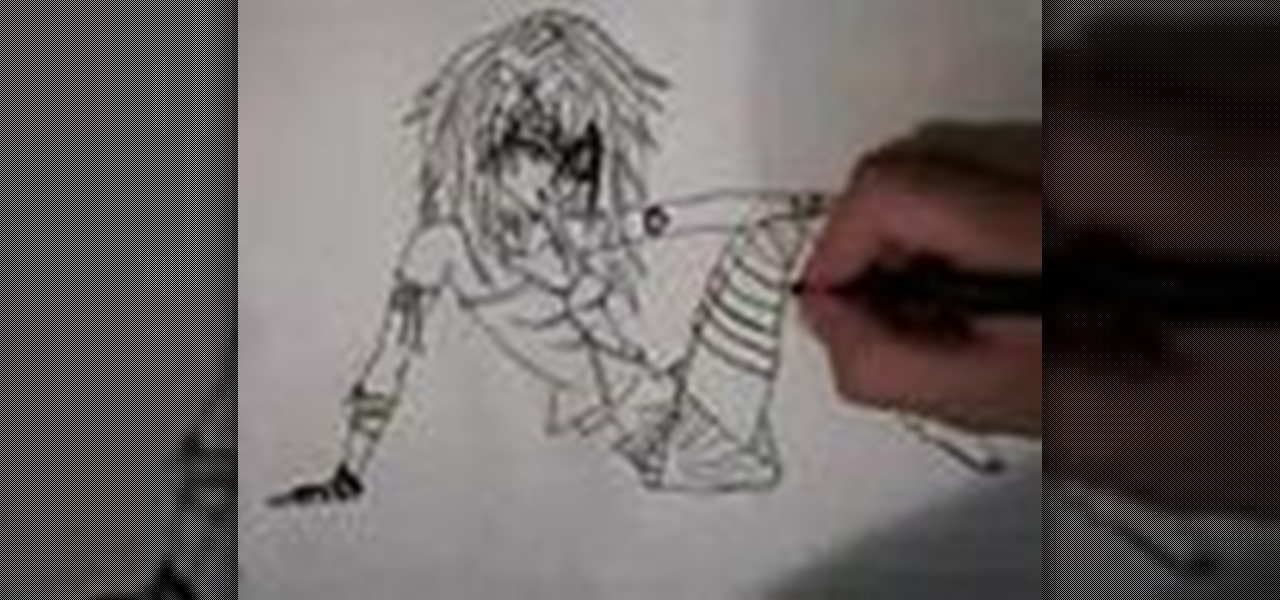
In this tutorial, we learn how to draw a manga cute emo girl. Start out by drawing the outline of the body, then add in the surrounding details. After this, use a darker marker to draw in the outline and the rest of the details inside the character. Make sure to draw in hair and all of the facial features to make her look feminine. Draw down the rest of the body, giving her a woman's shape and cleavage. Also make sure to draw on a pleated skirt and a tank top. Draw on the legs and feet, with ...

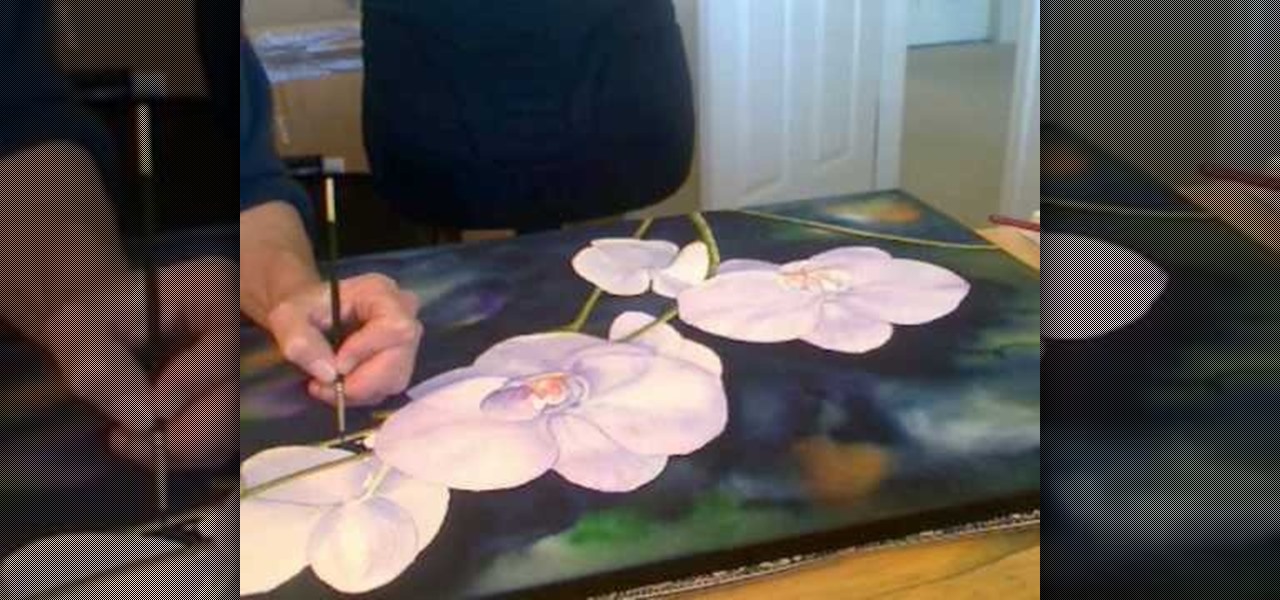
In this video, we learn how to pain orchid flowers with watercolor paints. Start out by using a light lilac color on the petals. Use a thin brush to push the colors around on the picture so you have slight shading around the different petals. Use a darker purple color in the middle of the flower. Then, use a yellow color in the very middle. Add in a green leaf and stem on the bottom of the flower. Use a paper towel to smudge any excess moisture or water off of the flower to make it more prist...

In order to create a Jennifer Lopez inspired makeup look, you will need the following: a base for your eyes, blush, a bronzer, Maybelline quad eye shadow, false eyelashes, liquid liner, and a moisturizer.

In this video, we learn how to draw an anime girl in Photoshop. First, draw the outline of the face, shoulders, and neck using a light touch of the brush. Next, draw in the details of the face and then start drawing in the hair. Use different shapes and swirls for the hair, to make it thick and long around her face and body. Next, draw in her hand and arm. Use a darker brush to fill in the details and draw over the outline, to create the final sketch. Add in eyelashes and feminine details to ...

In this tutorial, we learn how to create a sea nymph makeup look. Start by applying purple shadow the eyelids, then apply a darker purple color over the top of it. Now, on top of this, blend a black to the eyelid colors, then line the top and bottom of the eyes. Draw a rough outline on your face next where you are going to apply the sequins. Start to color in your face where the sequin face mask is going to be, and color it blue and bright yellow, or whatever matches your mask. When finished,...

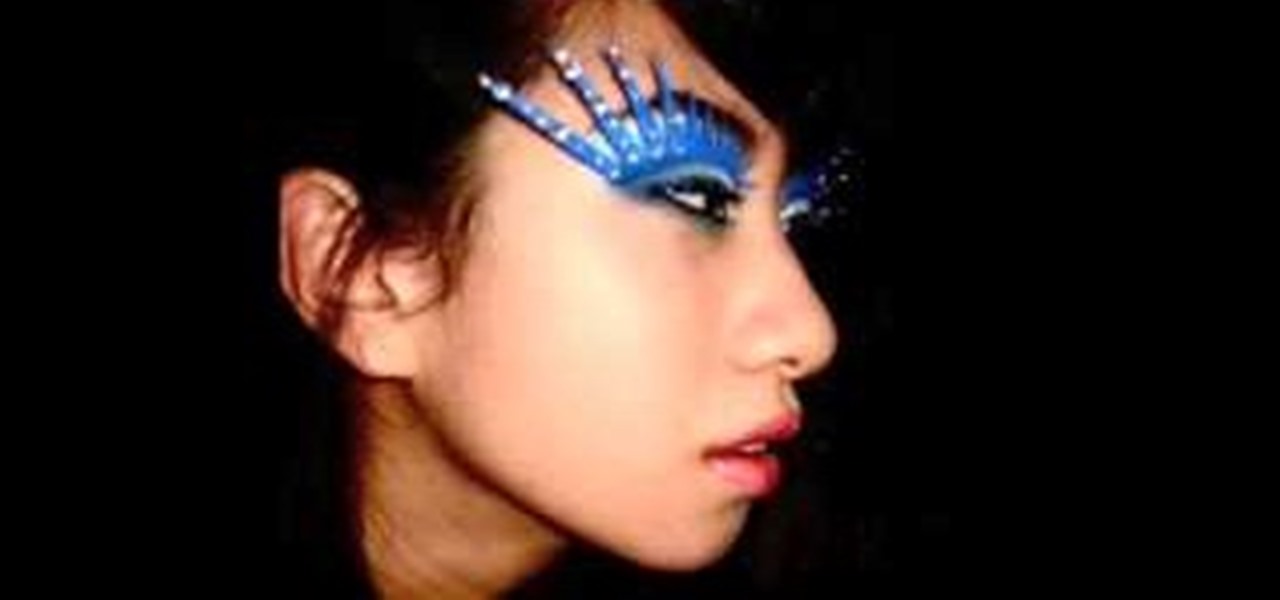
In this video, we learn how to get Kylie Minogue inspired makeup. First, you will need to get cardboard paper and cut it out into an eyelash shape, cut around the individual eyelashes making them very long. Next, glue on rhinestones to the lashes and set aside to dry. Next, apply a blue eyeshadow to the entire eyelid going up to the brow bone. After this, apply a darker blue in the crease and the outer v, then blend colors together. After this, apply a shimmer color to the inner crease of the...

In this video, we learn how to get a chic and sophisticated look with light makeup. First, you want to prime your face and then spray brush on a foundation that matches your skin tone or is slightly darker. Next, set your face with a powder and lightly dust your entire face. Define your brow after this, using light strokes and a pointed brush. Next, apply a matte brown shadow into the crease of the eye using light motions and blending with the other eyeshadow colors. Now take a light shimmer ...

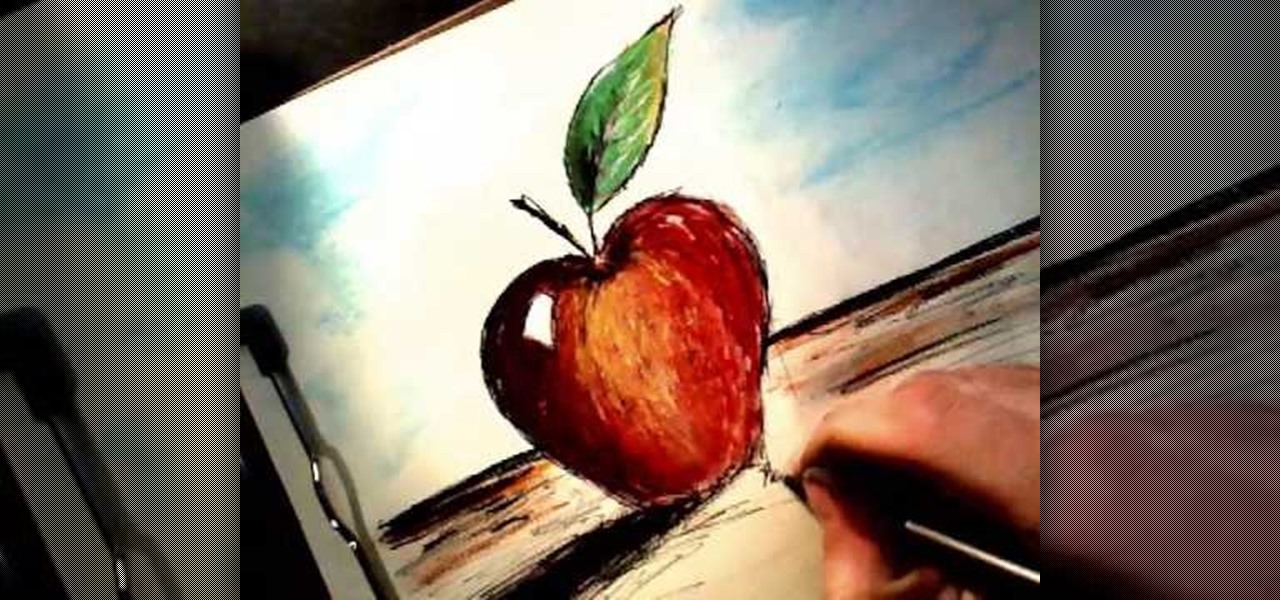
In this tutorial, we learn how to draw an apple. Start by drawing the outline shape of the apple. It looks like a slight heart shape in the middle of the apple where the stem is. After this, start to fill in the apple with lines to make it look more realistic, then draw the stem and a leaf coming out of the top middle of it. Color in the leaf with browns, blacks, and green. Then, draw lines on the bottom of the paper to make it look like the surface. Finish by coloring the apple red, making d...

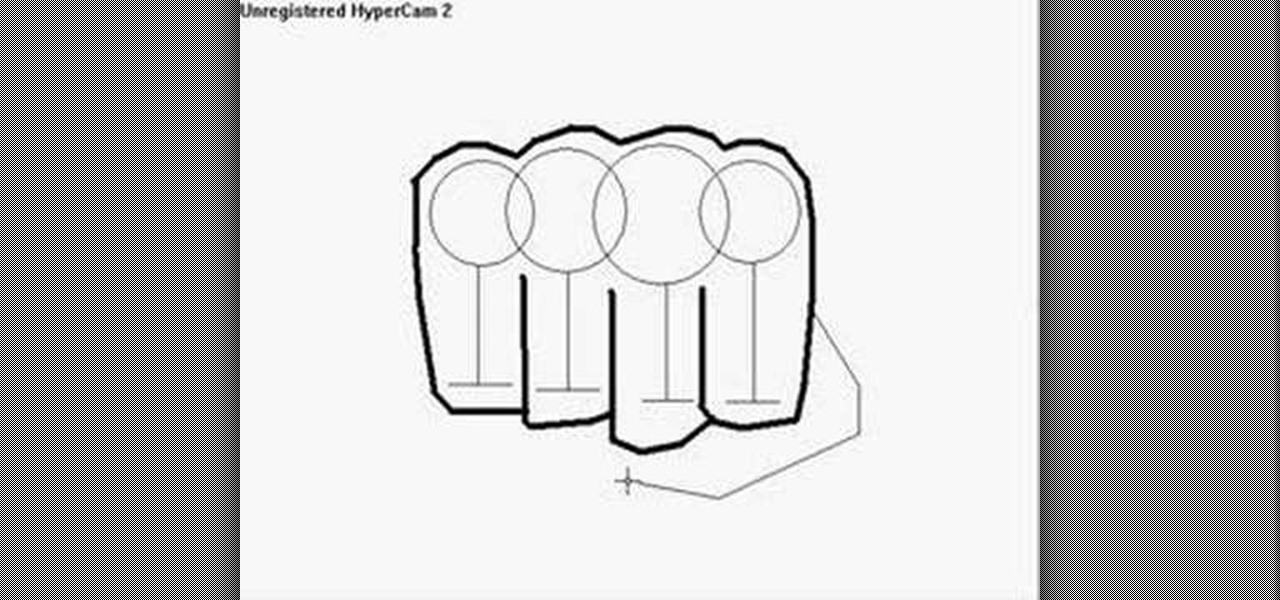
In this tutorial, we learn how to draw a fist. Start off by drawing for circles linked to each other, then draw lines coming down from the middle of each circle. Then, draw a line across the bottom of each vertical line, going horizontally. After this, use a dark line to outline around the circles and the bottom of the lines. Make sure to draw a line in between each of the individual lines. Next, add a couple of curved lines to make a thumb appear on the side. To finish, erase the original ci...

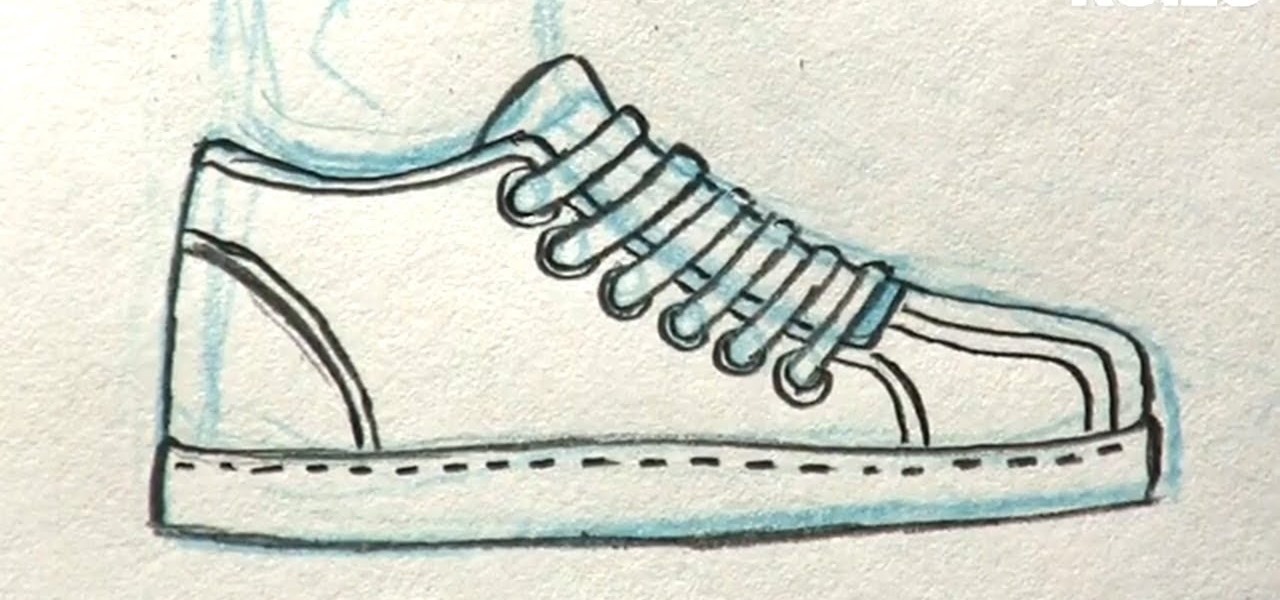
In this tutorial, we learn how to draw manga shoes. First, you want to sketch the basic shape of the foot. On top of this, you will draw a rough shoe shape with a different colored pencil. Next, draw in the details of where the laces are going to go, and where the lip of the shoe will be. Also draw in the soles and any other details you feel you need. Switch over to a black pencil to draw in darker details and add in shading throughout the drawing. When you are done, sign your name by your dr...

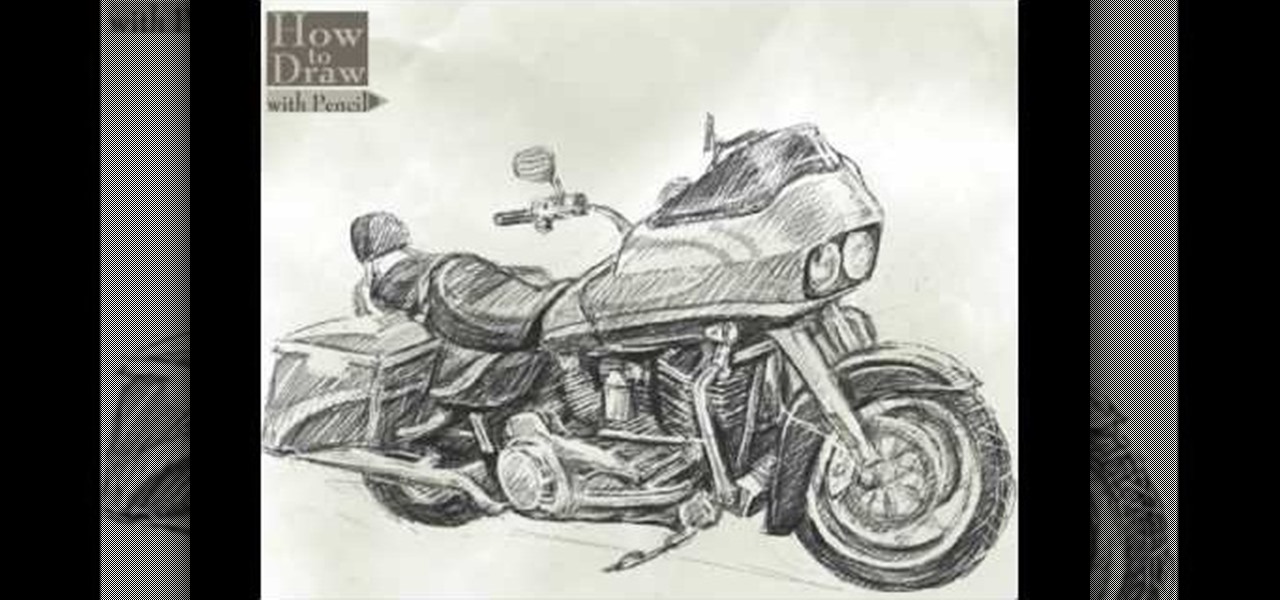
In this video, we learn how to draw a Harley Davidson Road Glide. Start off by drawing the body of the motorcycle as a rough outline. After this, start to fill in the different areas by making large sections of the bike 3-D. Draw in the wheels and the back of the bike, as well as the handle bars, mirrors, and lights. Draw the seat and back seat in, then start to add in further details. Apply shadowing to the car, making some parts darker than others. When you are finished with the drawing, co...

In this video, we learn how to draw Hamtaro. Start off by drawing the large head, followed by the body and the ears. After this, draw the arms and legs onto the character. Next, outline the drawing in a darker pen, then add in additional details. Draw on the eyes, nose, and pupils. Don't forget to draw on the paws and feel as well as lines to make it look like fur. To finish up this picture, you will need to add colors to the hamster. You can go with the traditional colors, or change them up ...

In this video, we learn how to draw a wolf step-by-step. First, draw out an outline of the body using circles and lines to show where the legs will go. Next, make the snout for the nose and then draw in the ears and the eyes. Next, draw in lines around the outside of the wolf to show that it has fur. Next, use a darker pen to outline the wolf, then add in details to the legs and the rest of the lower body. Add in a tail that is curved but not high in the air. When you are done, you will have ...

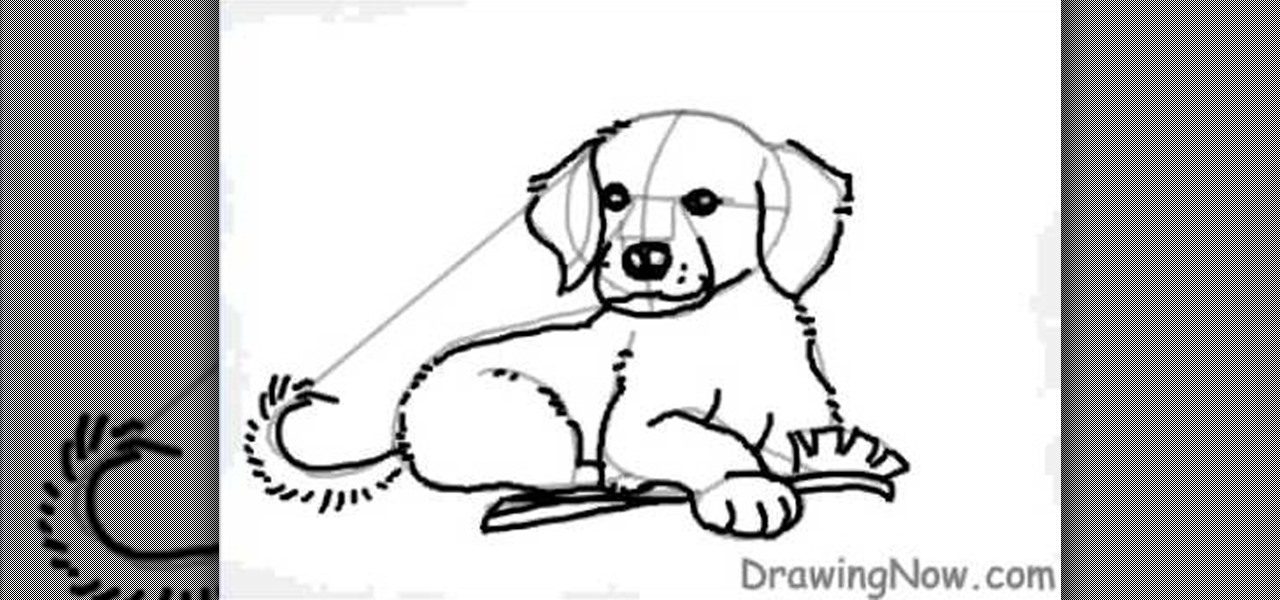
In this tutorial, we learn how to draw a cartoon golden retriever puppy dog. Start off by drawing the face with intersecting lines on it so you know where the nose, eyes and mouth go. Then, keep outlining the rest of the body including the legs and tail. Next, use a darker brush to go over the lines and make more of a detailed outline, including fur and eyes. Make sure to use lines on the side of the dog to make the hair look more realistic. After this, paint the inside of the dog using a lig...

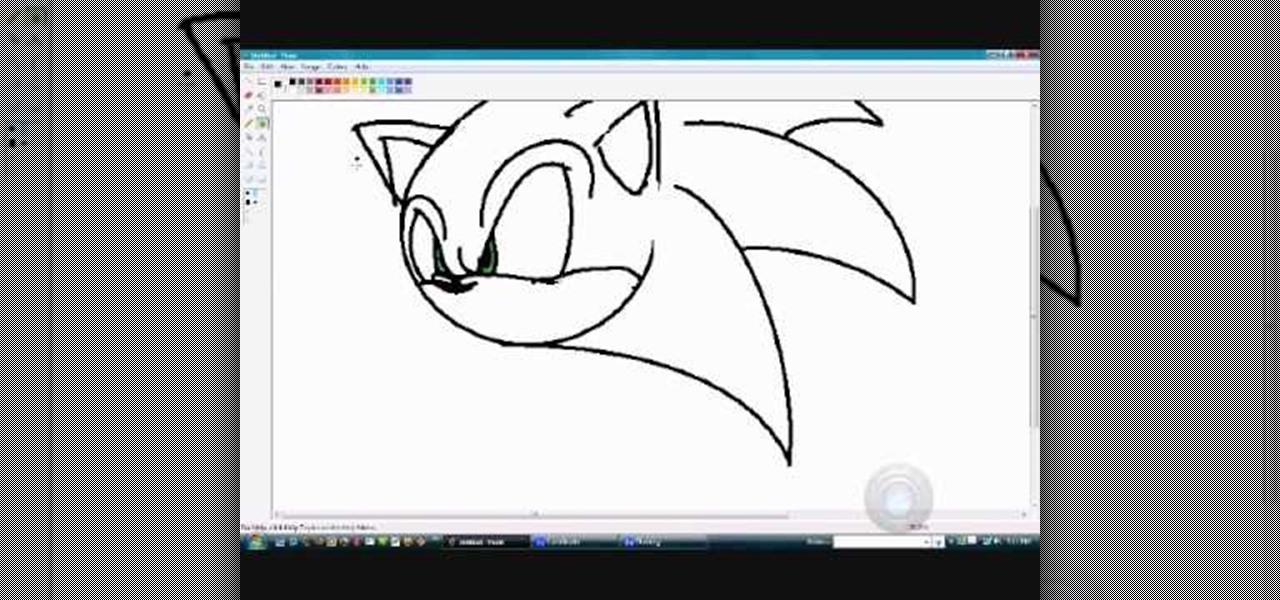
In this video, we learn how to quickly draw Sonic the Hedgehog. Start off by drawing the eyes and eyebrows. Next, draw the ears on the side and connect the head around it. After this, start going to the side to draw the three spikes for the hair. After this, draw in the nose, mouth, pupils, and inside of the ears. Add in shading where appropriate and add highlights to the top of the head. Use a black paintbrush to draw the outline of Sonic darker. After this, finish the picture by coloring it...

In this video, we learn how to draw a realistic skull. Start off by using a pencil to draw out the basic outline of the skull. After this, add in further details, such as shading on the side of the head to show that it is hollow. Also add in the sockets for the eyes and show where the nose is at. Draw in the jaw bone as well as the teeth and the jaw line around it. Draw on cracks to the face at different places to make it look more realistic. Add in shading and darker lines where you feel nec...

In this tutorial, we learn how to draw a 3D ball and cone. First, draw a circle with two lines coming out the side of it. After this, add in shading to the bottom of the circle and then draw a shadow coming out of the bottom of the circle as well. After this, draw a light that is shining onto the ball. Make sure you are drawing a black crayon to get the best texture out of this. Draw in darker lines on the circle, then draw lines over the top of the ball and through where the light is shining...

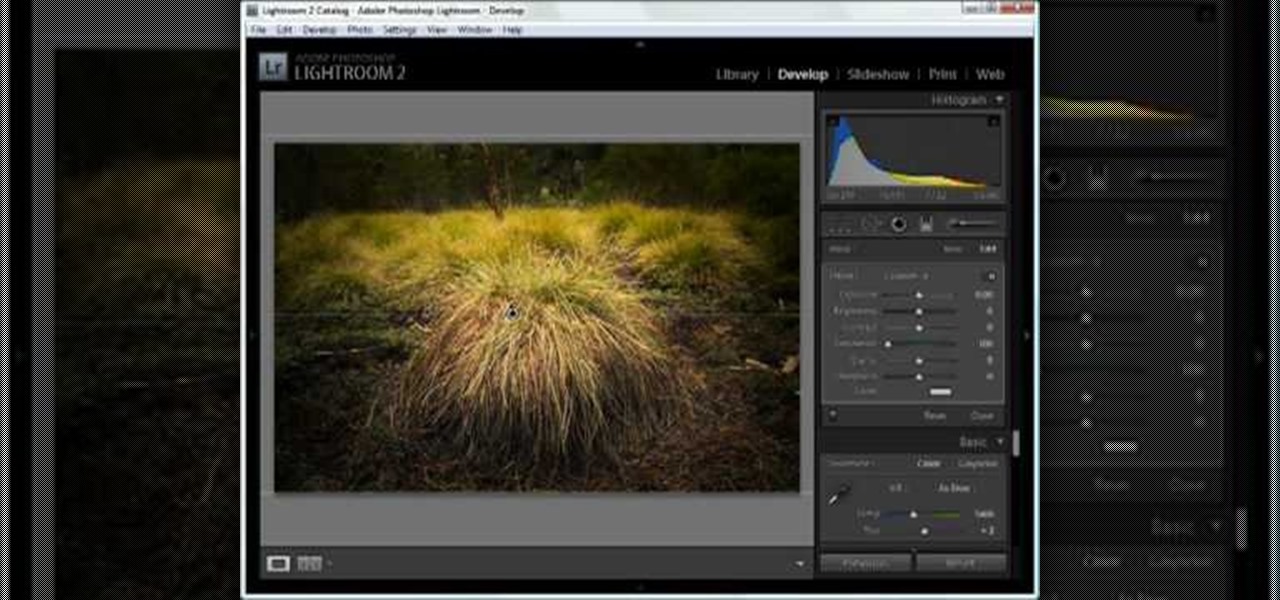
In this tutorial, we learn how to dodge and burn in Lightroom 2. First, open up your image in Lightroom 2 and use the brushes to change the saturation and the colors in the image. You can also use the graduated filter which you can use to apply effects across the image itself. Next, you can add a tint onto the picture and apply a second filter to make the top of the image darker, then make the middle of it brighter. Change the exposure and saturation to make the picture look more realistic. U...

Cherry blossoms aren't just special because they're Bath and Body Works' best-selling scent of all time. No, in addition to their delicate floral smell, cherry blossoms are special because they are the first flower buds to open in spring. Spring officially stars when you see the cherry blossom trees bursting into color, and what a wonderful way to celebrate the new season!

In this tutorial, we learn how to draw transparent objects. Start out using light pencil markings, and draw the basic shape of the bowl. After you have the round top and have make it three dimensional, add shading to the bottom circle in the bowl so that you can see the bottom of the inside. After this, add shading to the side of the bowl to give it a realistic feel like it's sitting on a table. Next, use your eraser to remove some of the shading, then fill in darker pencil marks onto these s...

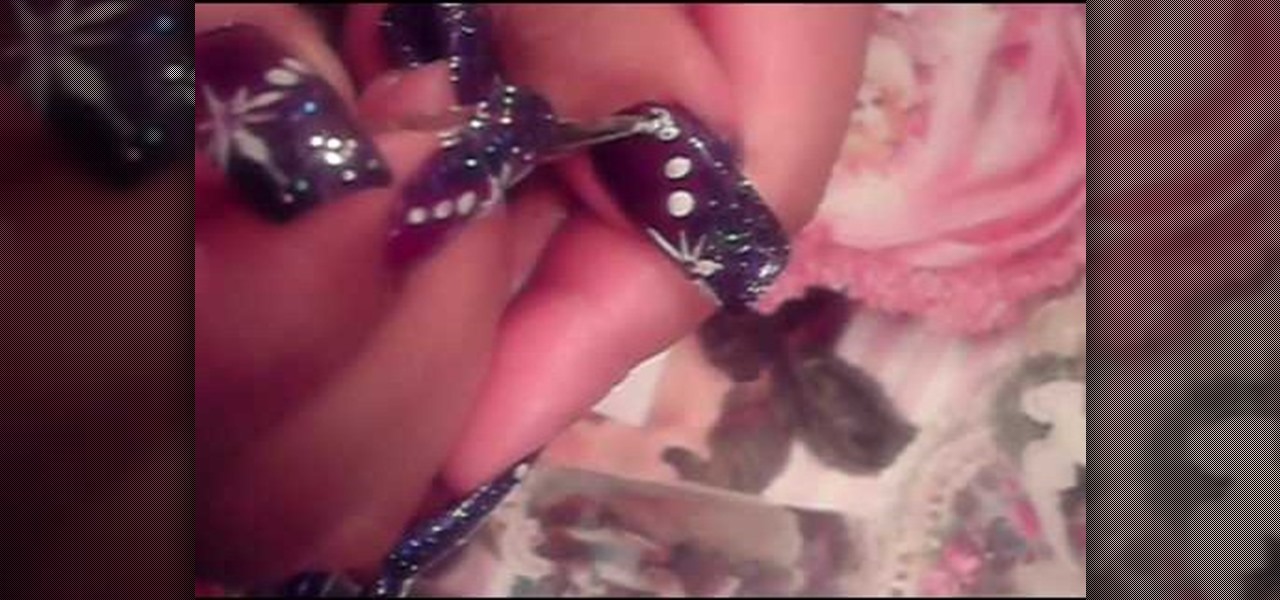
In order to do a nail art design with purple, glitter, white stars, and dots, you will need the following: 2 tones of purple nail polish, white polish, nail dotting tool, rhinestones, nail art polish, clear nail polish, and glitter nail polish.


