

How To: Build strong corner joints with K'NEX
Learn how to make stronger corner joints in your K'NEX structures without using blue and purple connectors.

Learn how to make stronger corner joints in your K'NEX structures without using blue and purple connectors.

Learn to do a side mount or four corners pin in Jiu Jitsu.
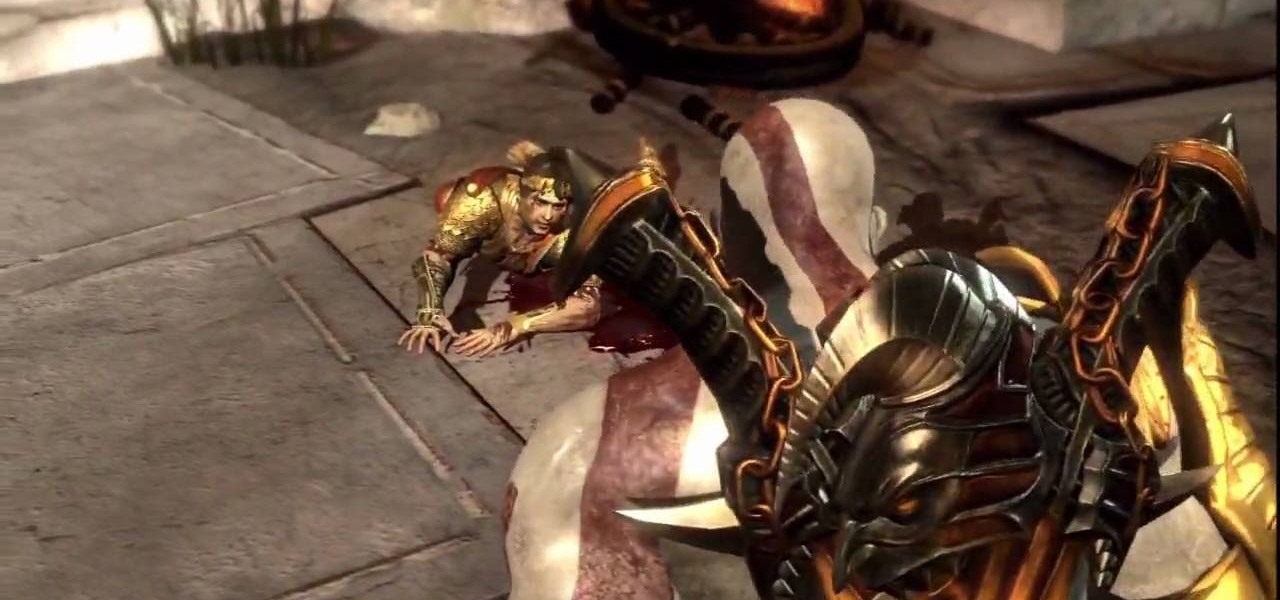
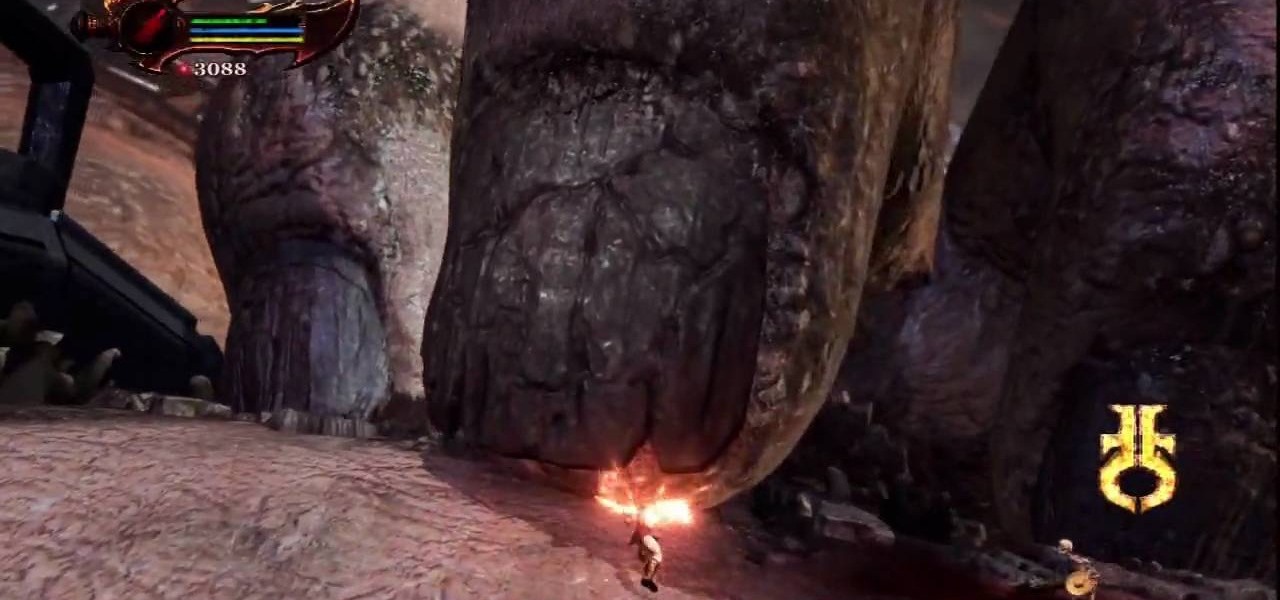
In the City of Olympia, you'll find Helios. This is one hard battle Kratos must endure, and your want to get the Head of Helios. At first, Helios will be protected by a bunch of men with shields who you can't immediately attack. Once you win, you'll need to lay your hand over Helios to block out the sunlight. Watch the walkthrough for Helios's Head in God of War III on PS3.
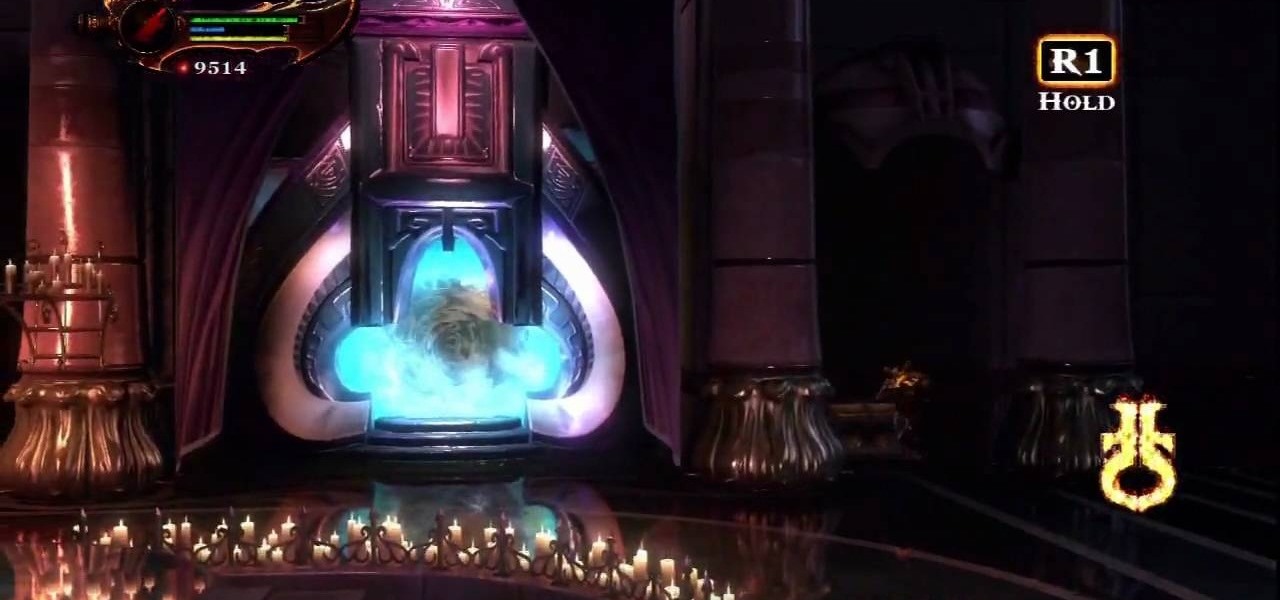
Watch and learn how Kratos can survive opening the Hyperion Gate. There's one hell of a battle to get past first, so make sure you have enough energy for the fight. Watch the walkthrough for the Hyperion Gate in God of War III on PS3.
See how to get past the Gorgon Elevator in the Caves of the Cavern. You will need to activate this to go down into the lower levels.. Watch the walkthrough for the Gorgon Elevator in God of War III on PS3.

Find out the secret to solving the Muses Puzzle. If you're having trouble with the solution, this video guide will show Kratos step-by-step what to do to win. Watch the walkthrough for the Muses Puzzle in God of War III on PS3.

Find out how Kratos can get Hera's Chalice in this God of War 3 video guide. This chalice can drain health meters. This all takes place in the Olympic Gardens and the Stone of Hyperion. Watch the walkthrough for Hera's Garden in God of War III on PS3.

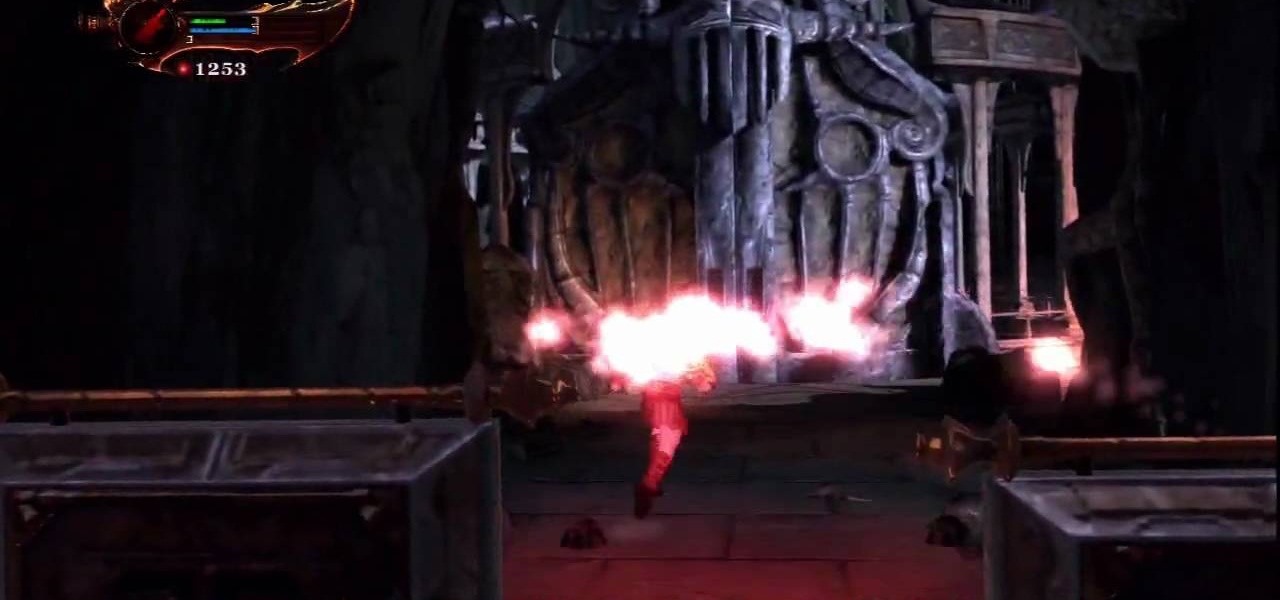
Can you solve the portal puzzle in this mission of God of War 3? Ready Kratos Ballista for this, because the ballista is the main weapon for which you will solve this dilemma. Watch the walkthrough for the Portal Puzzle in God of War III on PS3.
Watch as the Nemesis Whip is being constructed by Hephaestus, but be careful, as soon as he's done, he's going to try to kill Kratos. Can you survive the Whip?. Watch the walkthrough for the Nemesis Whip in God of War III on PS3.
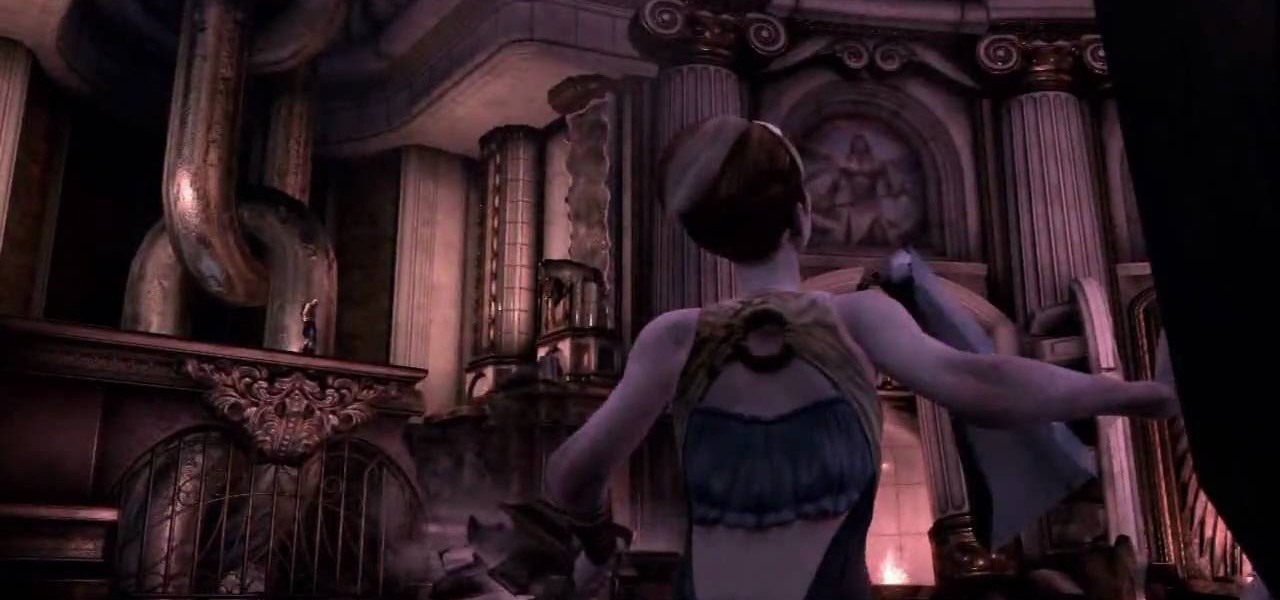
Aphrodite — the goddess of beauty, fertility and sexual love, and once you find her in Aphrodite's Chamber, you'll know exactly why. Before speaking with Aphrodite, grab the Minotaur Horn out of the chest, then start the minigame with Aphrodite. Watch the walkthrough for the Aphrodite's Chamber in God of War III on PS3.
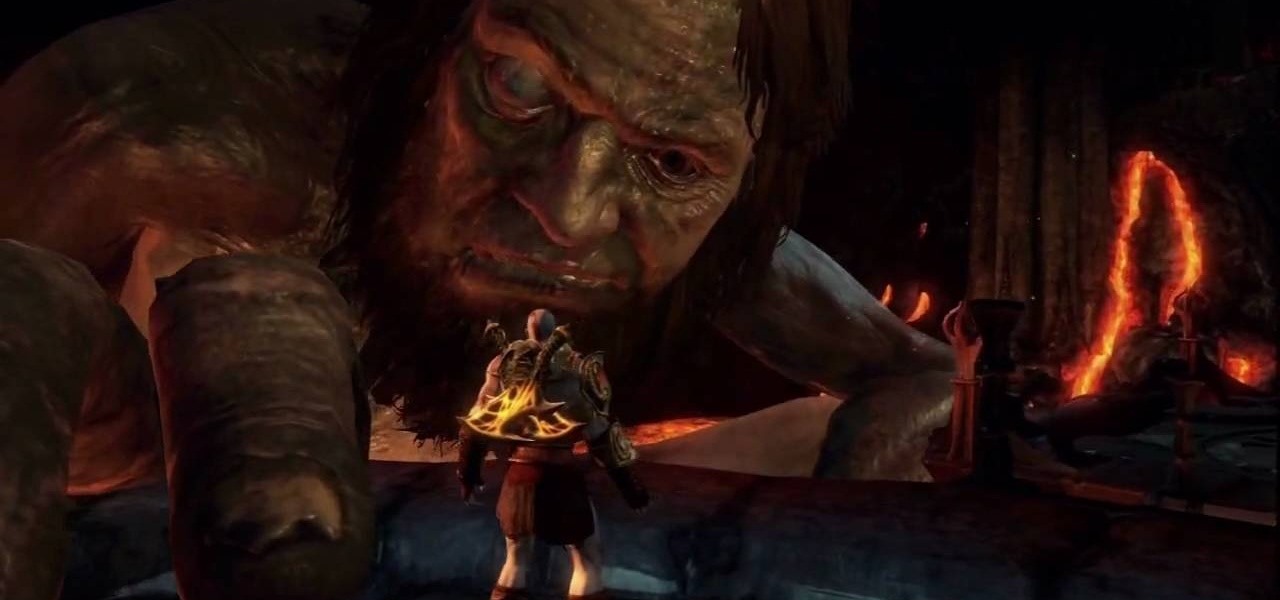
You meet with Hephaestus yet again, and this time, Hephaestus has quite the story to tell Kratos, and ask him of a favor. Will Kratos do what Hephaestus asks? Watch the walkthrough for the Return to Hephaestus in God of War III on PS3.
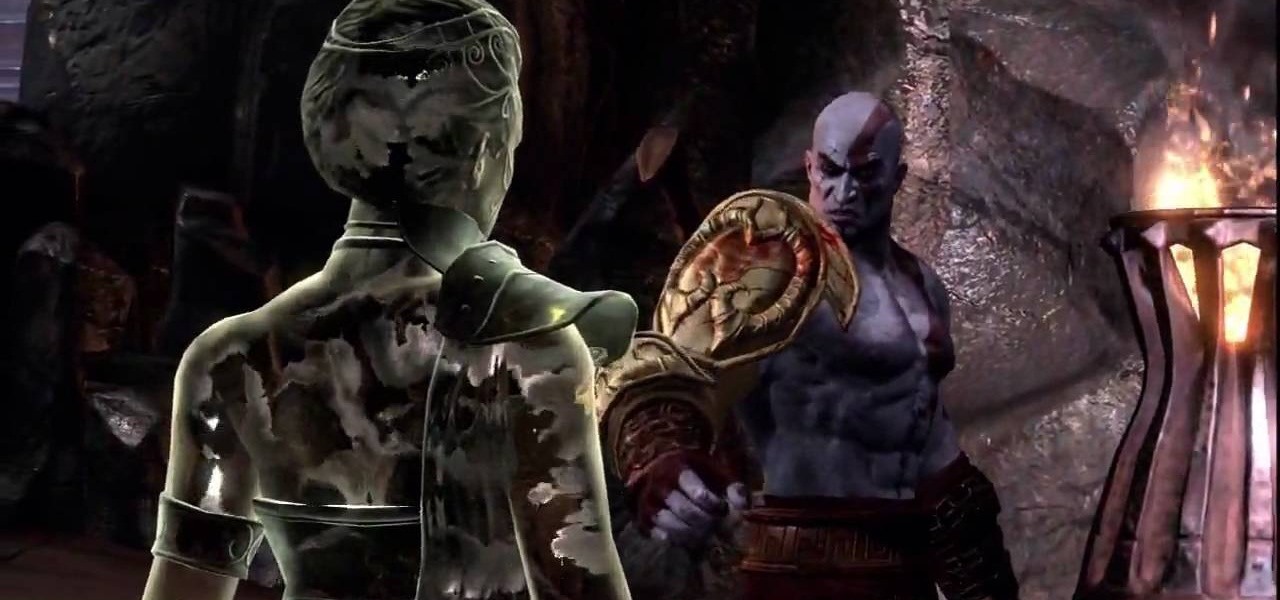
Inside Poseidon's Chamber (Chapter 6: Chambers, Gardens, and the Forge), Kratos must find the Poseidon Princess. She can be very helpful to you and your journey. Watch the walkthrough for the Poseidon Princess in God of War III on PS3.
Eventually, you and Kratos will make it to the Path of Eos in the City of Olympia where cave fighting will be met. You'll be entangled with harpies, reapers and other enemies. Watch the walkthrough for the Path of Eos in God of War III on PS3.
Here you first speak with Hephaestus, where you express to him your plans. If Kratos can find his way out of the underworld, he can surely find his way to the Flam of Olympus. Hephaestus points Kratos in the direction of Tartarus. Watch the walkthrough for the firriest encounter with Hephaestus in God of War III on PS3.
After Kratos has met Hermes at the Flame of Olympus, you must give chase to Hermes. This is no ordinary chase, so be prepared to jump ledges, climb ladders, and fly fast. Watch the walkthrough for Chasing Hermes in God of War III on PS3.

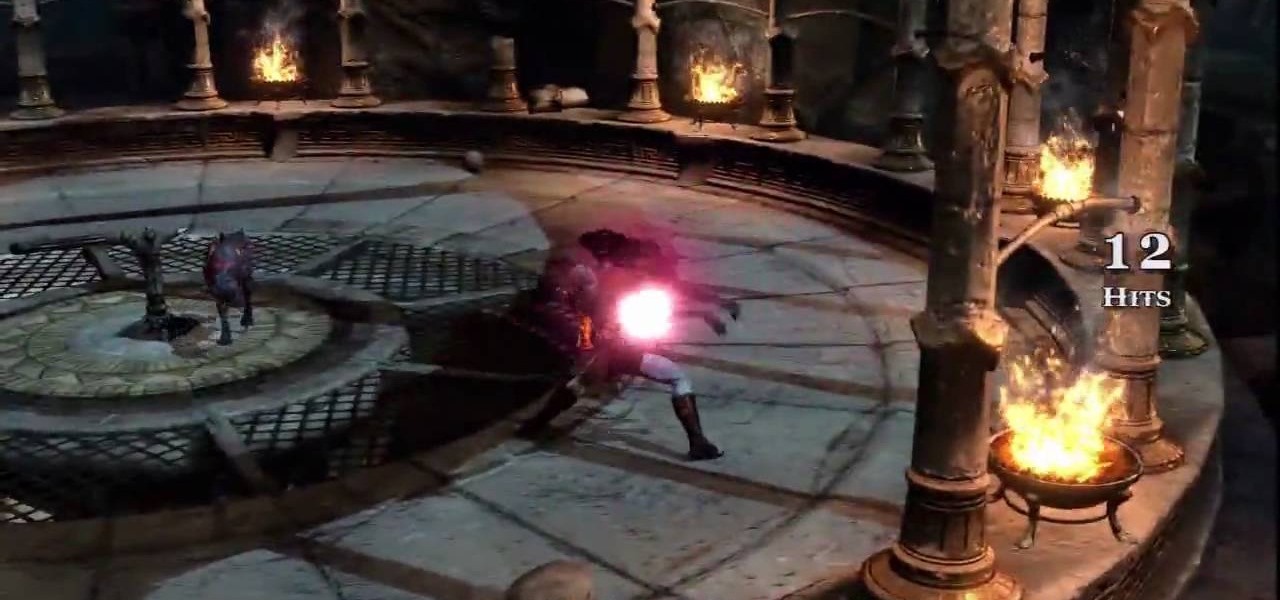
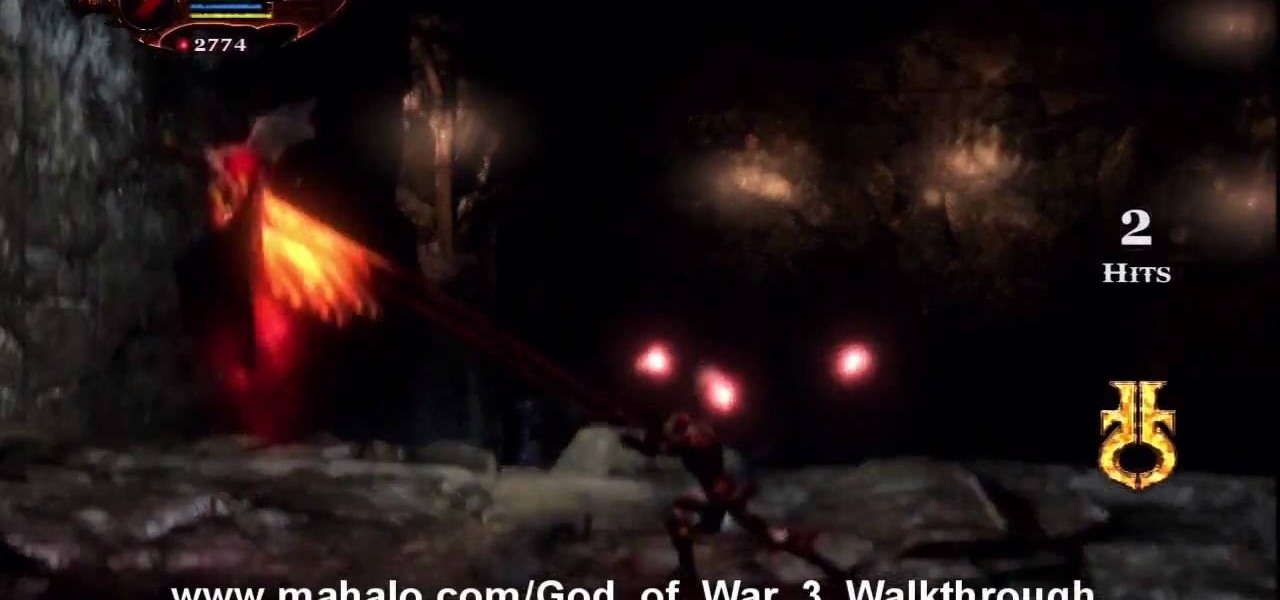
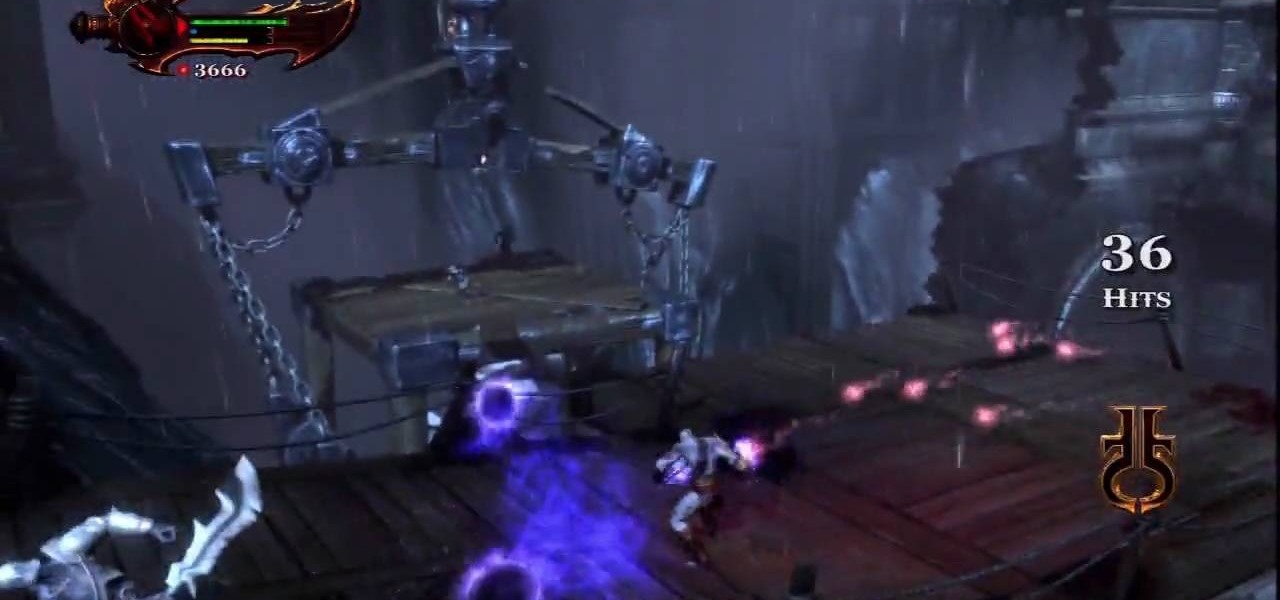
Kratos finally made it to the Caverns. In these caverns, your Bow of Apollo is your best friend (weapon). There's lots of minotaurs and archers to defeat, and once you demolish them, you have to fight a Cerberus. Watch the walkthrough for the Caverns in God of War III on PS3.
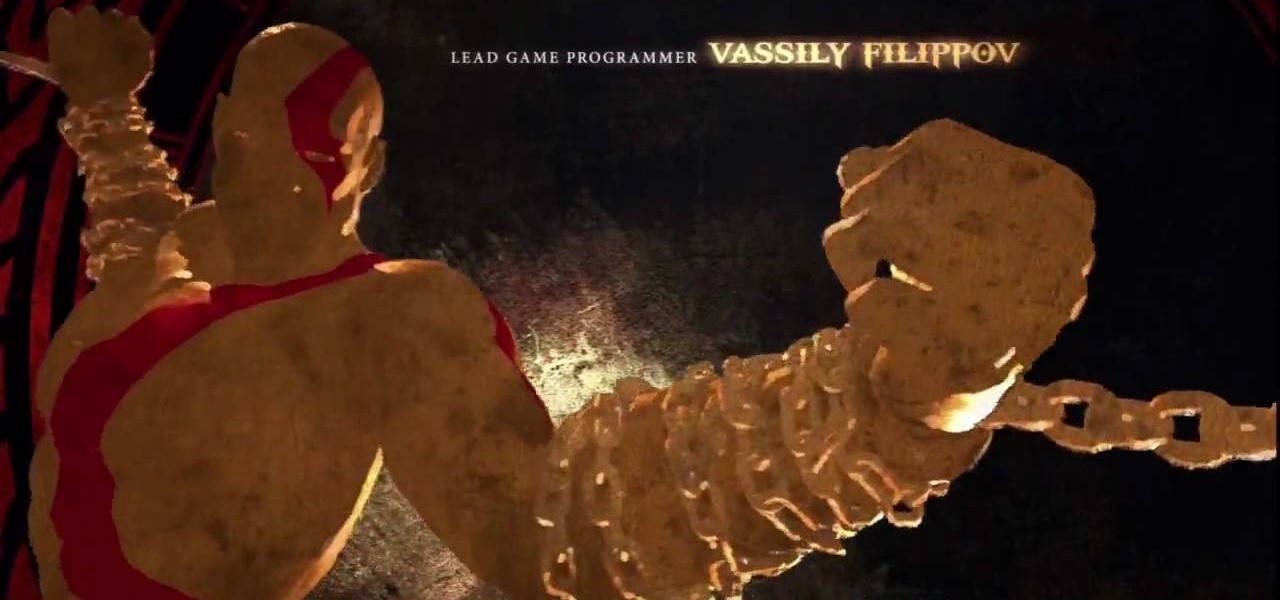
During Chapter 4 (The Caverns) of God of War 3, Kratos will make his way to the Chain of Balance. This is a trick part for Kratos, so don't lose your "balance" and when complete, you'll fly up into the Caverns. Watch the walkthrough for the Chain of Balance in God of War III on PS3.

In Chapter 4 of God of War 3, you'll encounter the Flame of Olympus. Here, you need to reveal pictures on the walls with the Head of Helios. Then approach the Flame, where Hermes will show up, for which you will need to give chase. Watch the walkthrough for the Flame of Olympus in God of War III on PS3.
The City of Olympia is the 3rd Chapter in this game, where you first leave Hades and enter into the City of Olympia, and where you'll follow the Path of Eos. If you need some help with the chapter, follow this guide. Watch the walkthrough for the City of Olympia in God of War III on PS3.
At the end of Chapter 1 - Mount Olympus, Kratos will have to battle Poseidon, his first real boss fight. Poseidon is the God of the Sea, which means there's a risk of drowning, so be careful. Follow this guide to winning the fight. Watch the walkthrough for the Poseidon Boss Fight in God of War III on PS3.

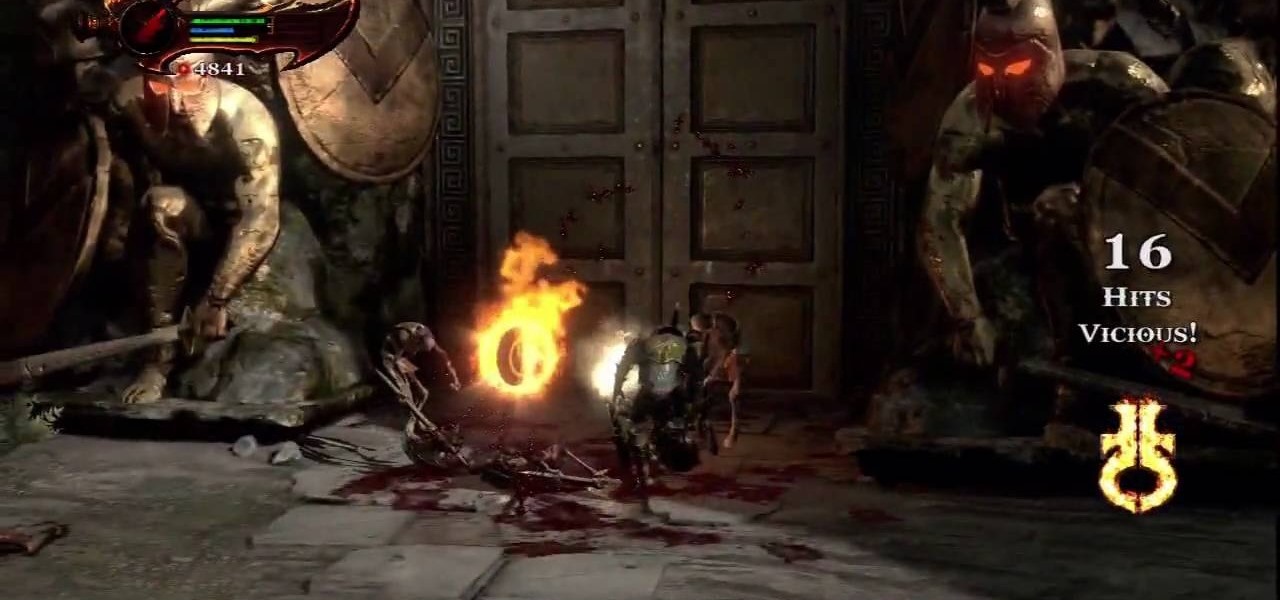
The Three Judges of the Underworld is a complicated mission for Kratos. There's a lot to accomplish, like battling unarmed souls, gorgons, and minotaurs. Among these battles, you'll need to acquire the Gorgon Eye and Minotaur Horn and Phoenix Feather. Watch the walkthrough for the Three Judges in God of War III on PS3.
See how Kratos makes his way through the Realm of Hades, which includes such levels as the River Styx, Peirithous, Judges of the Underworld, the Forge, Place of Hades and Hades himself. Watch the walkthrough for the Realm of Hades in God of War III on PS3.
Now that Kratos had made it past the Palace of Hades, he must confront none other than Hades himself. This is the ultimate boss fight in the Realm of Hades, so be prepared. Try stealing the Claws of Hades to help. Watch the walkthrough for the Hades Boss Fight in God of War III on PS3.
The Palace of Hades in Chapter 2 —the Realm of Hades, is no easy place to be for Kratos. During this level, there's much to fight, but you need to save your energy for the battle against Hades himself. Watch the walkthrough for the Palace of Hades in God of War III on PS3.
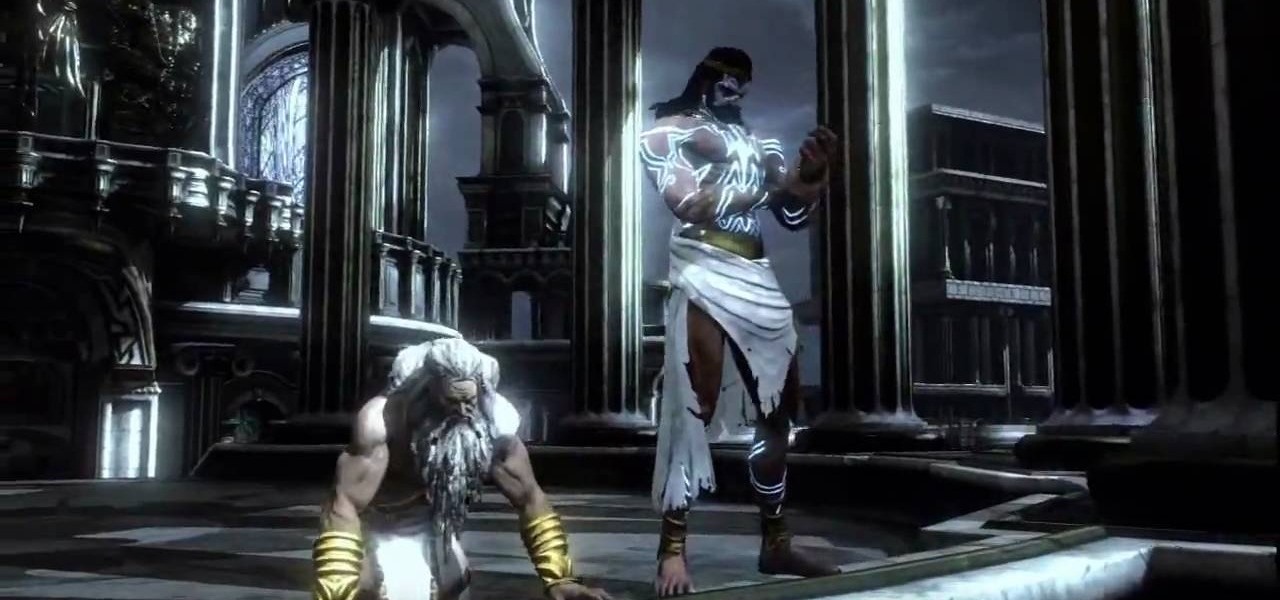
The name alone sounds like something not to be reckoned with… Cronos. But Kratos can prevail against this titan boss. This could be the deadliest boss fight you've ever encountered. Watch the walkthrough for the Cronos Boss Battle in God of War III on PS3.

You and Kratos have met the Three Judges in the past, now you must return to them in the Realm of Hades. You're going to have to break the Chain of Balance that the 3 Judges have held in place for so long. Watch the walkthrough for the Return to the 3 Judges in God of War III on PS3.
It's time for Kratos to rescue Pandora. But is she dead or alive? Once you reach her, can you both survive the challenges of the Labyrinth and all its traps? If you need help, this guide should help. Watch the walkthrough for Rescuing Pandora in God of War III on PS3.

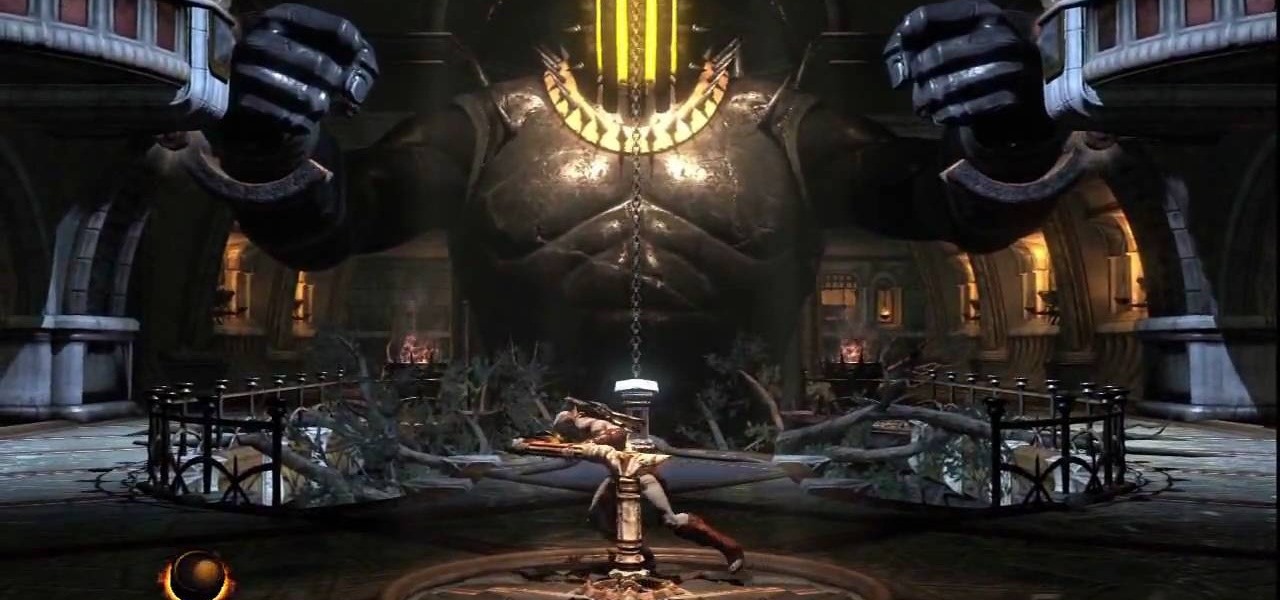
The Labyrinth. It's Zeus's main layer. Can you make it through the Labyrinth unscathed? Can you find your way to the key for Pandora's Box? See what it takes to reach Pandora's Box. Watch the walkthrough for the Labyrinth in God of War III on PS3.
Zeus. He's one of the worst. Can you defeat Zeus on your own? If not, you may need help — you may need a walkthrough to guide you along the ultimate battle against the boss Zeus. Watch the walkthrough for the Zeus Boss Fight in God of War III on PS3.
This level in God of War 3 has you trying to find and get Apollo's powerful bow. Can you find this weapon? Or does your "God of War" status defy you? Find out for yourself and watch the steps needed to win. Watch the walkthrough for acquiring Apollo's Bow in God of War III for PS3.
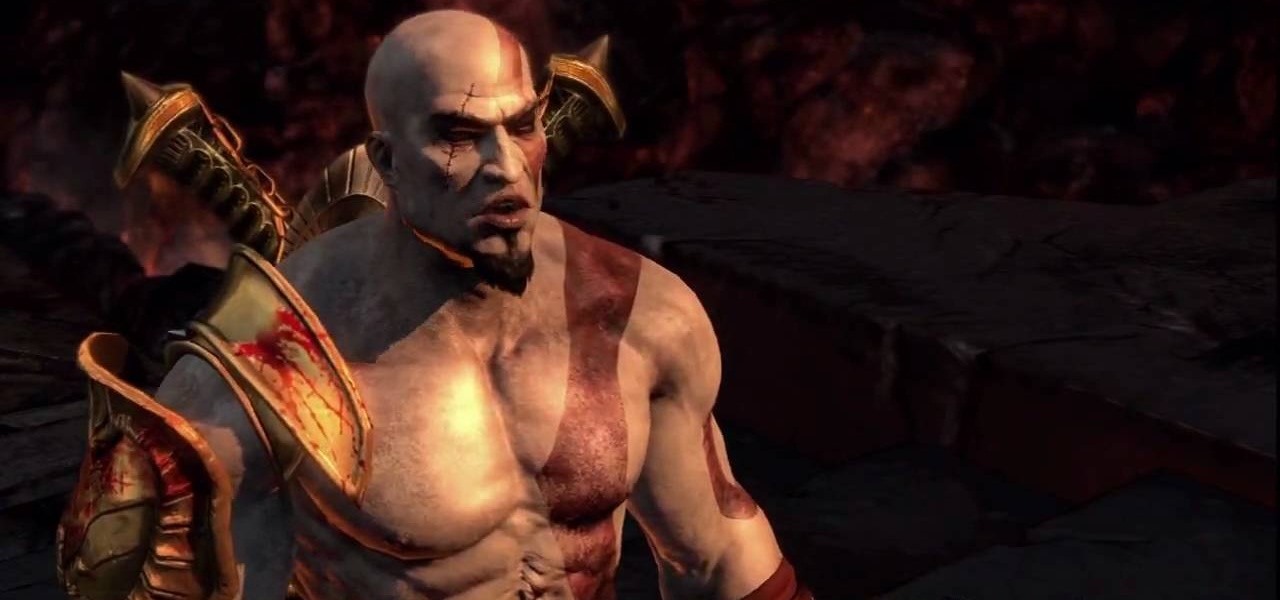
See how it all begins in God of War 3 with this video walkthrough of the opening introduction to the video game. Learn all about Kratos and his status as God of War. The hands of death could not defeat him, the sisters of faith could not control him, and on this day, the man, the legend, the Kratos, will have his revenge! Watch the walkthrough for the Opening Introduction of God of War III.
With this how-to on the ancient Japanese art of paper folding, you'll learn how to make a strikingly beautiful water lily from a paper napkin. For complete, step-by-step instructions on assembling your own paper lotus flower, watch this origami how-to and, if you like, read along below.

1. First moisturize the face. 2. Trim and cover the brows, to conceal the eyebrows. 3. Apply foundation, use Studio fix powder set foundation. 4. Use Contour with TANTON blush and the 242 on the sides of nose and the eye brows. Blend using the 217 5. Use random Lise Watier Brush for the cheeks. And blended base contour with the 217. 6. Use CARBON+ANGLE BRUSH to mark the eyebrows. 7. Use CARBON+217 to get dark contoured lids and use 282+CARBON harshly lining and winging out to enhance the eyes...

This video will help you learn how to create an Explosive rainbow color swath in Photoshop. First open a new file, keep the width 845, height 475, RGB color mode and white background.

In this tutorial, we learn how to create a dramatic tropical look with Bitch Slap makeup. Start off by applying a primer to the eye and a yellow shadow on the inner corner of the eye. Next, apply an orange color next to this and blend in on the edges. After this, apply a red color on the edge of the orange and blend together. From here, you will apply purple to the crease of your eye and blend it to the outer corner of the eye. Then, apply black on the outside corner of the eye and blend with...
In this video, we learn how to use a Stila Jewel Palette to make a shimmery eye look. First, you will need to brush a nude color onto the lid, then grab a shimmer gray color and brush it onto the outer edge of the eye and into the inner corner of the eye. Next, grab a gold color and brush it onto the middle of the eye and nowhere else. Then, take the black color again and brush it into the crease of the eye and on the sides to create a contrast. After this, take the purple color and brush it ...

In this tutorial, we learn how to create a realistic looking cut using cinema makeup. This is a great look for a new year or holiday look that you want to make yourself look more unique and stand out! First, take a brow pencil and redefine your brows so they are darker and more intense. Avoid using black, most people cannot pull this look off. Now, use eyeshadow primer on the eyelids to enhance the eyeshadow color. After this, use gold eyeshadow and apply on the outer v of the eye. Then, take...

In this tutorial, we learn how to create a burnt burgundy contoured face and eye look. First, apply a primer to the entire eyelid as a base. Next, apply a shimmer pink eyeshadow with an eyeshadow brush. Next, line the lash line with black eyeliner, and then blend a burnt burgundy eyeshadow onto the outside corner of the eyelids. Circle the brush so the colors all blend into one but will still have the darker color on the outside. Next, take the same burnt burgundy color and pant it onto the b...

It's no secret, artists are broke. That's why they're referred to as "starving artists". One day these artists will achieve unimaginable success, but for most of their lives, they'll be struggling to survive… struggling to keep their vision alive. That's why they need to work cheap. And that's why they stretch their own canvases, not buy pre-made ones or have the hobby shop do it. If you’re a starving artist, save a few bucks, hone your carpentry skills, and stretch your own canvas.

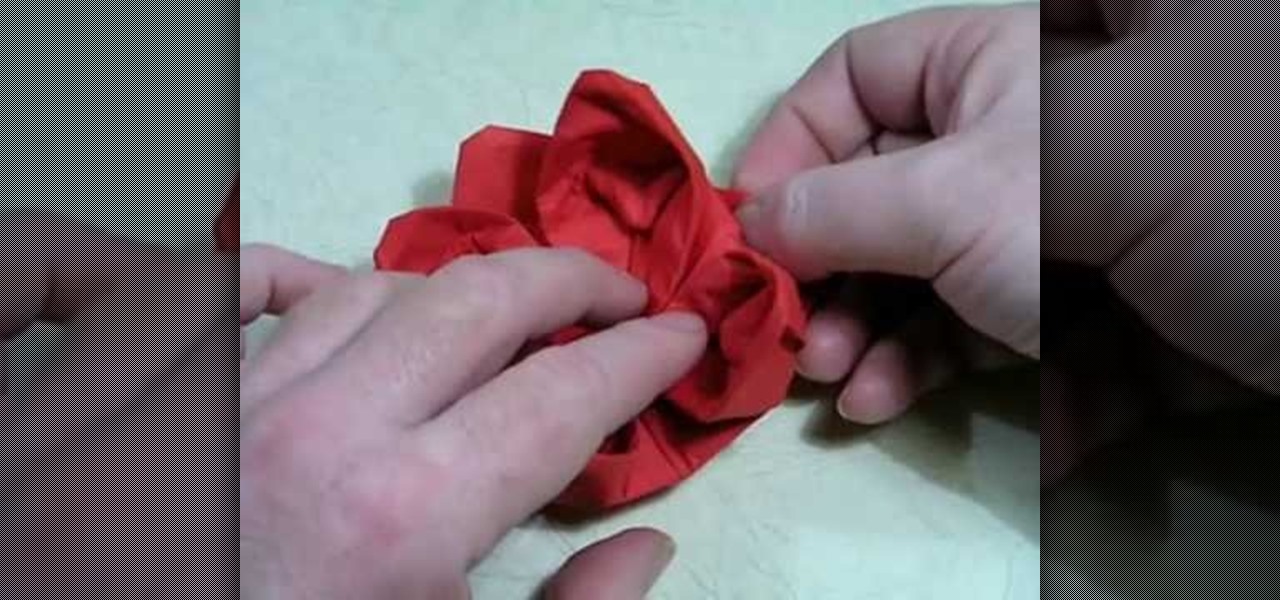
In this Hosting & Entertaining video tutorial you will learn how to fold a cloth napkin into a flower. First fold the napkin in half. Then lift one corner and fold it back up to the center fold line and do the same for the other corner also. Now fold the center point back up to the center fold line. Flip the napkin over and repeat these steps. Then open up the center fold and fold the protruding triangles back up to the center point of the napkin. You now have a square folded napkin. . Now fo...