In this tutorial, we learn how to tie dye an oval style shape. Start with a square piece of a shirt that is damp, then fold it in half. Then fold it in half again, then in half again. After this, fold the shirt accordion style, paying attention to where the main corner of the shirt is. Once finished folding, tie two knots in the bottom, then fold the fabric up until you reach the ties. Now, tie or secure this bundle tightly with rubber bands. Apply your favorite colors of die on the shirt, ge...

In this video, we learn how to finish a crochet never ending granny square. There is a spiral effect happening in this, because there is no place that is stopping, it's going in a continual circle. To finish one of these, you will see that the corners should be perfect. But, you will need to choose one corner to finish it off at. Go across, then choose a side to stop at. Then, chain over and double crochet in. When you come across with another color, you can weave in the end so that you can't...

Learn how to corner pin a video onto an iPod, mobile phone, TV or monitor with the Mocha 3D tracking tool in Adobe After Effects CS4 or CS5. Whether you're new to Adobe's popular motion graphics and compositing software or a seasoned video professional just looking to better acquaint yourself with the program and its various features and filters, you're sure to be well served by this video tutorial. For more information, including detailed, step-by-step instructions, watch this free video guide.
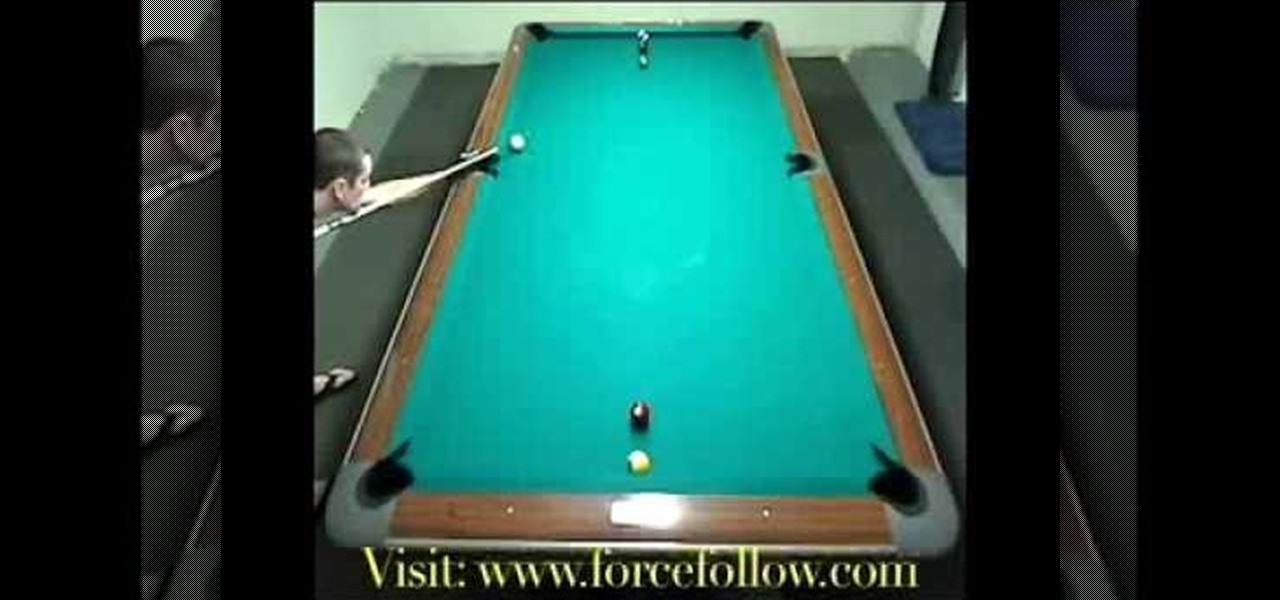
In this video, we learn how to play pool doing the spot drill. You will run balls in rotational order without missing or touching another object balls. First, you will place the cute ball diagonally to the ball and then shoot the ball into the corner pocket diagonal to it. There are several ways to go through this pattern. You can also stand on the opposite side of the table and shoot into the corner pocket from farther away. Make sure the cue ball doesn't get stuck to the rail, which will ma...
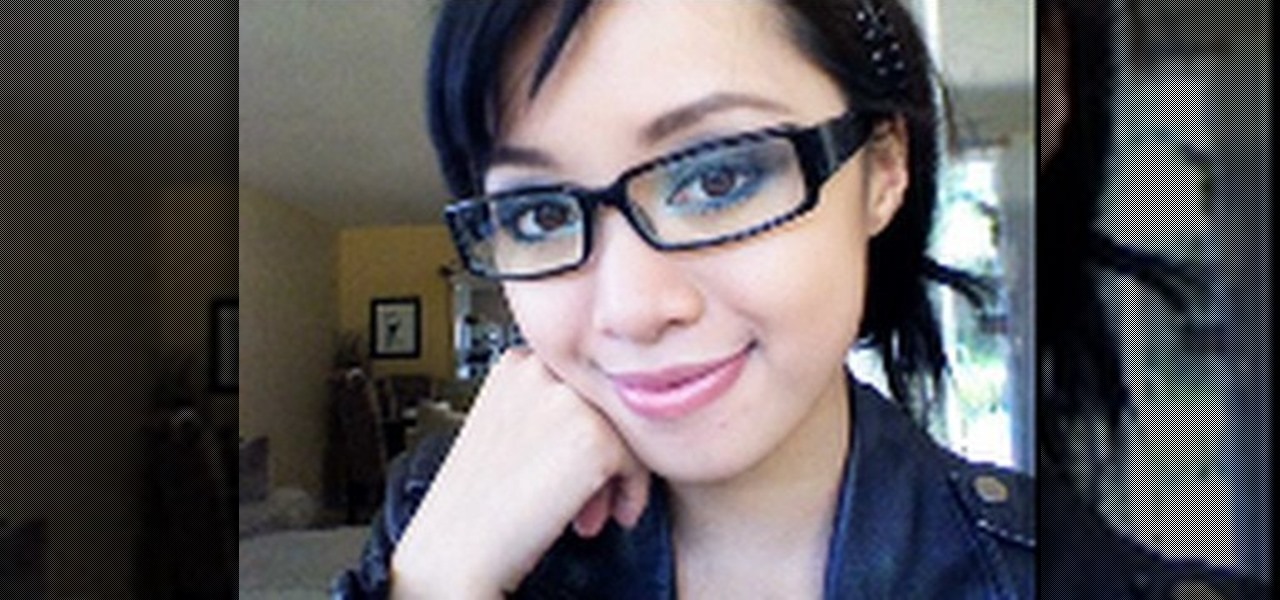
In this video, we learn how to wear smoky royal blue eyes with glasses. First, find the dark circles of your eyes and apply concealer to them to cover it up. Next, apply concealer to the face and define your eyebrows. After this, apply a silver shadow to the eyes, followed by a blue to the crease of the eye and on the inner corner. Apply a gray shadow to the crease of the eye, then take a bright blue shadow and blend it into the eyelid, avoiding the middle of the lid. Next, apply a black shad...

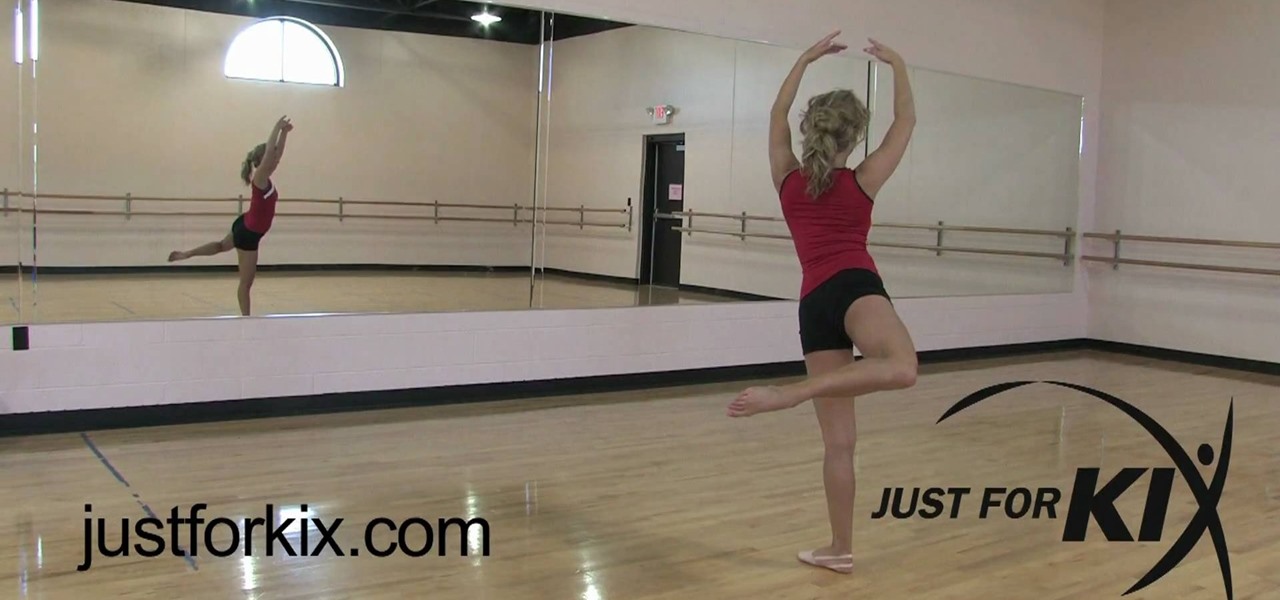
In this tutorial, we learn how to perform a turning open second leap. Start with a high shinnay on one and two, then a low shinnay on three and four. Stop with the right leg and ninety degrees to the left corner, then do a deep plea. Push off with your left foot and then take the right leg to the other corner. Hit and open second jump after this, making sure the left and right leg match each other. Rolling out of the jump, tuck the left leg and go to the front, then step up. When finished, yo...

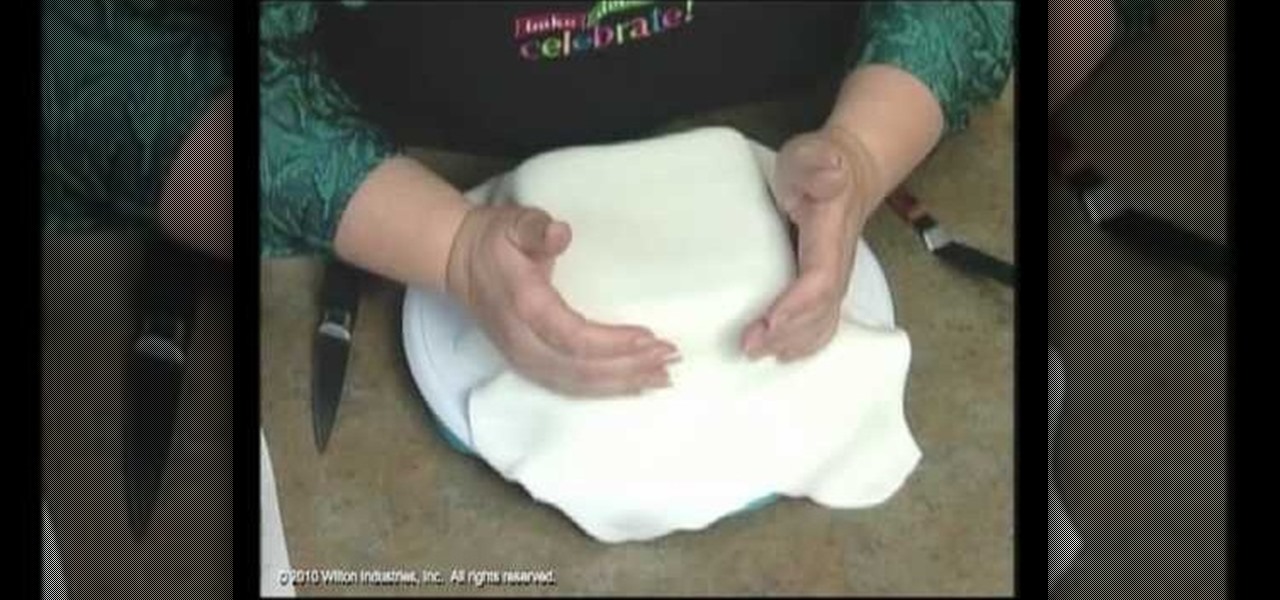
Fondant is an indispensible tool for pastry chefs, and not because they're good at satisfying a sweet tooth. Smooth in consistency and rolling out just like dough, fondant is often used to cover professional cakes and to make miniature cake decorations.
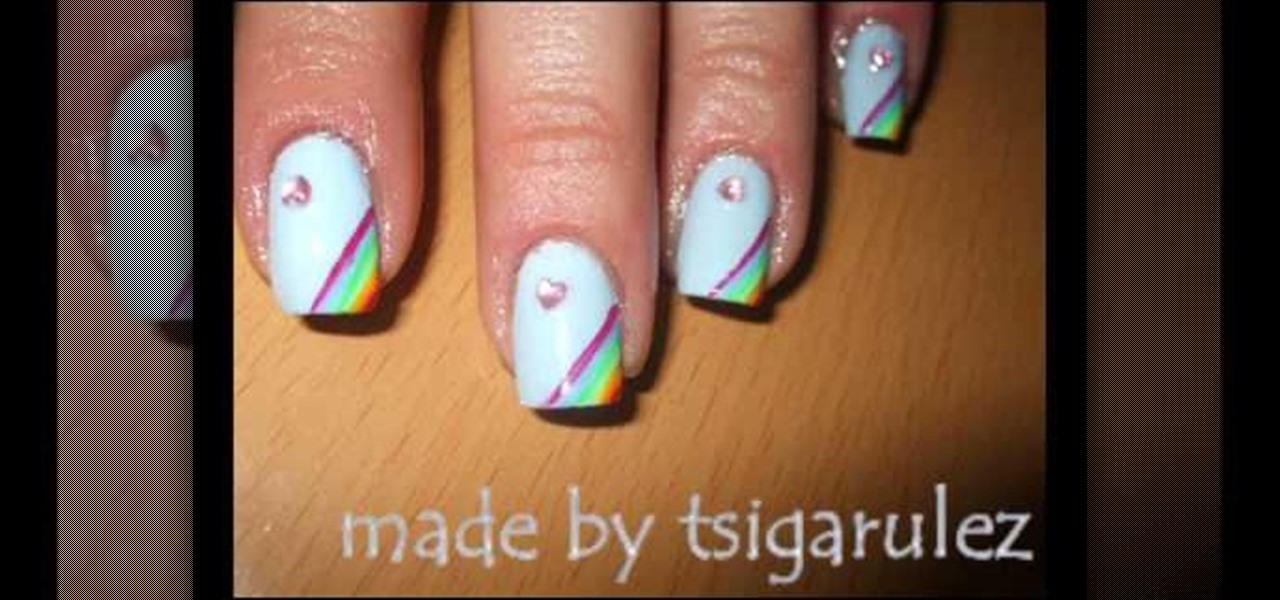
In this tutorial, we learn how to paint rainbow nails with rhinestones. First, paint the nails light blue and let them dry. After this, grab several other colors, enough so that you have the colors of the rainbow. Now, paint lines onto the left hand corner going diagonally across the nail, making each line next to one another. After you get to the very tip of the nail, let the colors dry completely. Next, paint on a clear coat on top, then apply a pink heart rhinestone on the bottom corner of...
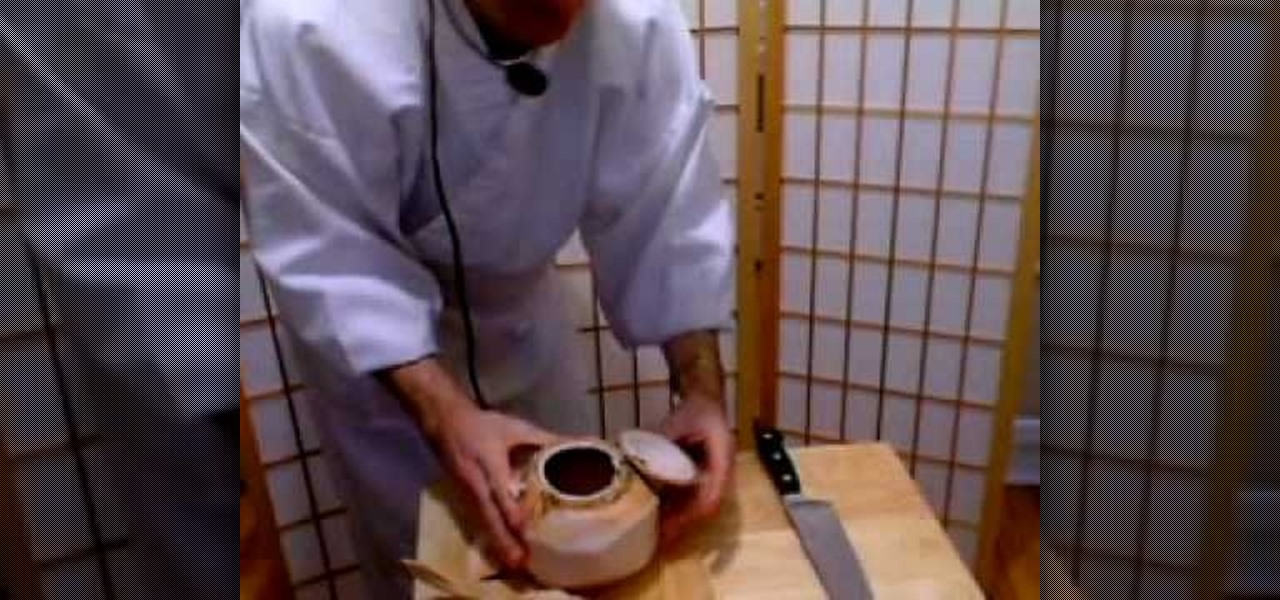
In this tutorial, we learn how to open a fresh young coconut. First, you want to grab a sharp and large knife, then go around the coconut cutting the husk off. After you have done this, you should be down to the nut of the coconut. Some areas of the husk will be thicker than the others. Next, use the corner of the knife to knock the top corner of the coconut. After this, take the knife and stick it into the hole that you made. Wedge it in there slowly, then turn the knife towards you and cut ...
In this tutorial, we learn how to do changing spot combo pirouettes. First, prepare for the turn facing the front left corner. Do a triple pirouette, then forte the leg around and change your spot to the right front corner. After this, land behind. Do this in counts of eight, then plea and land. This may be difficult to understand at first, if you have no experience doing dance moves. Just keep practicing, and pretty soon you will have these moves down! Changing spots is an easy move to get d...
Clinton Kelly teaches us how to prepare an easy radish appetizer in this tutorial. First, take a radish and cut off both ends. Next, scoop out a little bit of the center of the radish going in a circular motion with a pairing knife. Now, take softened butter and place it into a plastic bag and push into the corner. Snip off the corner of the bag, then fill the middle of the radish with butter and sprinkle with kosher salt. Next, place this on a platter with a bed of kosher salt on the bottom ...
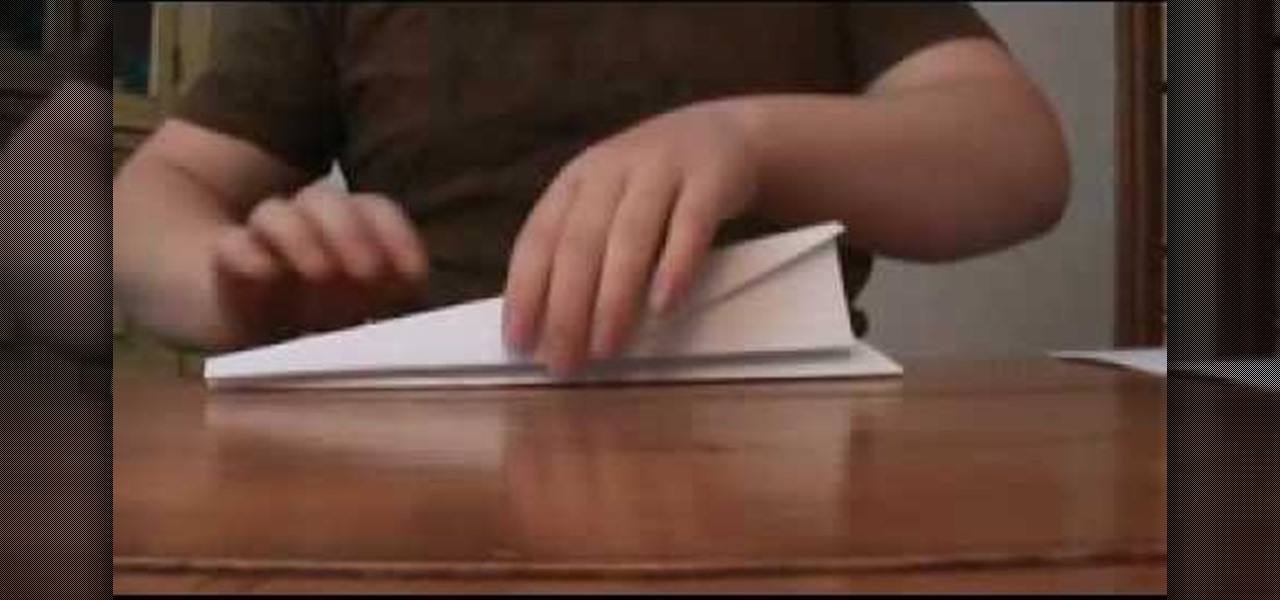
In this video tutorial, viewers learn how to fold a paper airplane. Begin by folding the paper vertically in half. Then open the fold and fold the 2 top corners to the center crease to form a triangle. Now fold the top point down so the it tucks underneath the fold to form a envelope shape. Then fold the 2 top corners to the center crease to form a triangle once again. Now fold it vertically in half and fold the wings down so that they are aligned with the bottom of the plane. This video will...
In this video tutorial, viewers learn how to burn a CD using iTunes. Begin by opening iTunes and create a playlist. To create a playlist, click on the + sign at the bottom left corner and name it. Then drag the desired song(s) into the playlist. Now insert a blank CD into the computer hard drive and click on Burn Disc at the bottom right corner. When a small window pops up, select the preferred speed, gap between songs and CD information. When finished, click on Burn. his video will benefit t...
In this tutorial, we learn how to fold a Christmas tree. First, start with a square paper and fold it in half, then open it and fold it corner to corner. Open the paper again, the turn it over and fold it side to side. Open it once more and fold again side to side. The paper will not automatically fall into the shaped creases and you will have four flaps. Take your finger inside and flatten all the flaps. You should have four flaps on each side and then you can cut the bottom to form a trunk ...
In this video tutorial, viewers learn how to make a paper rose with a napkin, Begin by orienting the napkin lengthwise. Then pinch the napkin corner with your right index and middle fingers. Now wrap it around the fingers. With your left hand, squeeze to create the size of the rose flower. Then hold the flower with your left hand and twist the stem. Now hold the end of the stem twist and pull the corner upward to create a rose leaf. Pinch the leaf into place and pull the excess napkin downwar...
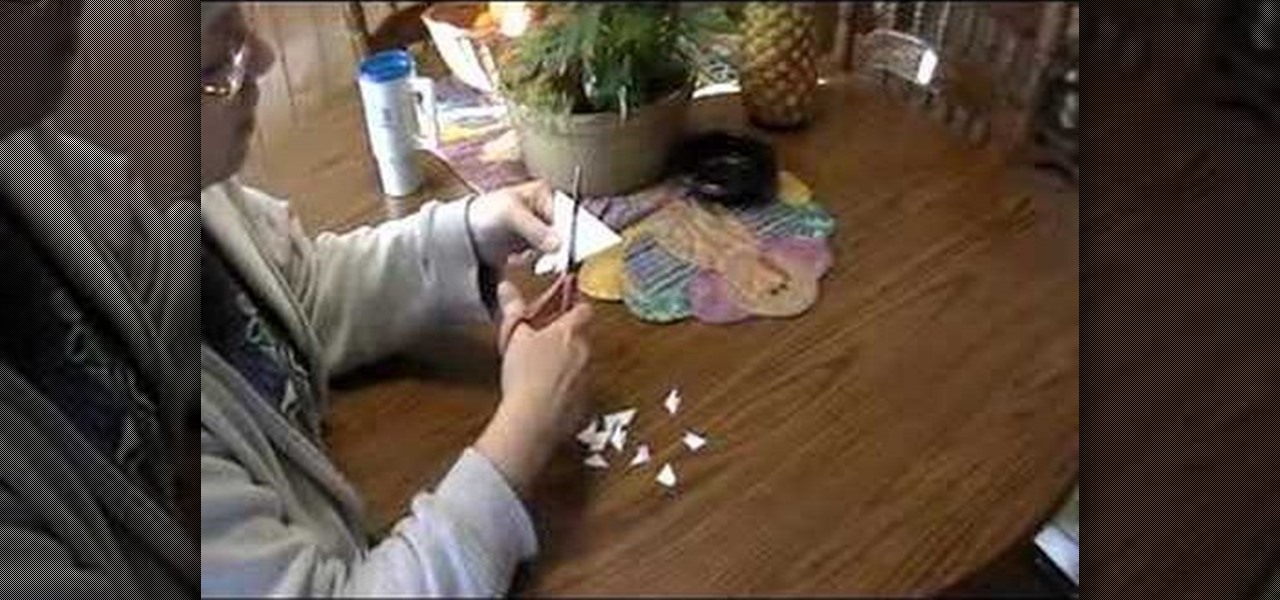
Secure a square-shaped piece of paper preferably six inches long on both sides. Cut the square paper into two equal halves. Fold one piece longitudinally right at the middle. Open the fold and refold it horizontally, on the shorter side. Refold the longitudinal crease you made earlier. Then, fold both sides diagonally but facing opposite each other.
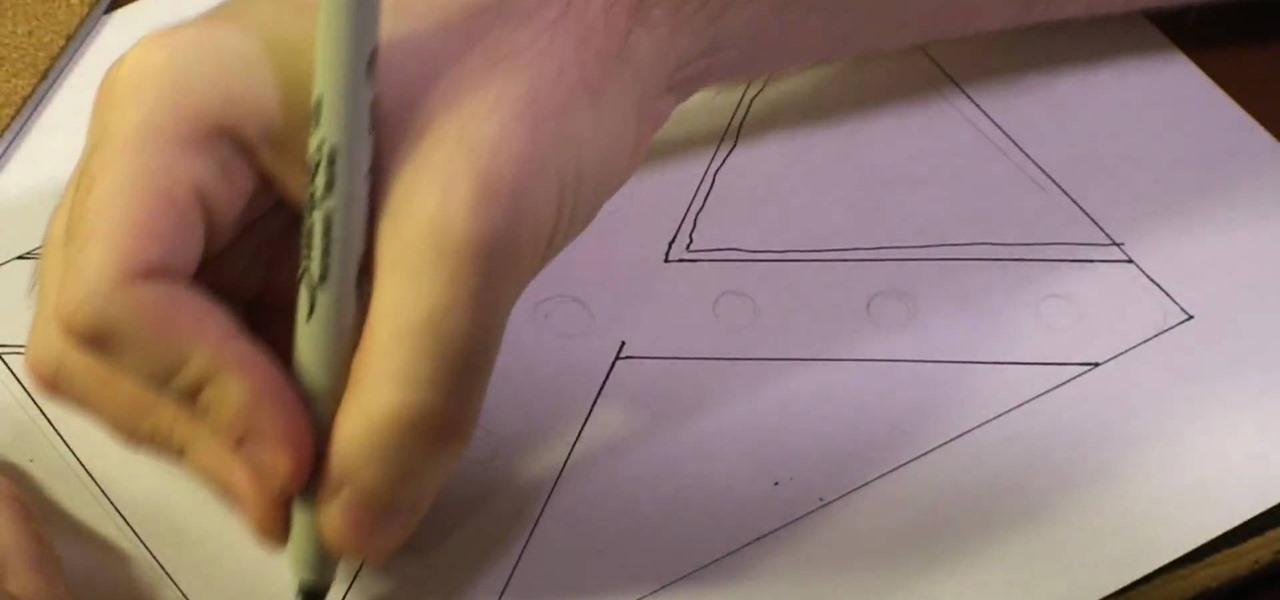
In this video tutorial, viewers learn how to draw a rebel flag. The materials needed are a ruler, sheet of paper and drawing utensil. Begin by using the ruler to draw a rectangle for the flag. Then draw an X in the center of the flag, going diagonally from the top corners to the bottom corners. Now draw outer lines on the X. Then draw the 13 stars on the flag, The first star is in the center of the X and add 3 stars on each side. This video will benefit those viewers who enjoy drawing, and wo...
In this Arts & Crafts video tutorial you will learn how to fold a hexagonal, six-point paper star with origami. Take a hexagonal sheet of paper and fold in half from all corners. Then fold each side inward up to the center point. Open up all the folds. Now fold one side up to the center point. Then fold one corner back over itself and fold the next side of the paper up to the center point. Continue like this for all sides and you will now have a smaller folded hexagon. Then lift up each flap ...
In this Arts & Crafts video tutorial you will learn how to make a lily flower from folded paper with origami. For this, you need a square sheet of paper. First you fold it in half and then fold it in half in the other direction. Next you fold it diagonally across to form a triangle. Then fold it again across the other diagonal. Open up the paper and push the diagonal folds inwards slightly so that the center point is pointing upwards. Then press the folds in to form a triangle. Take one of th...
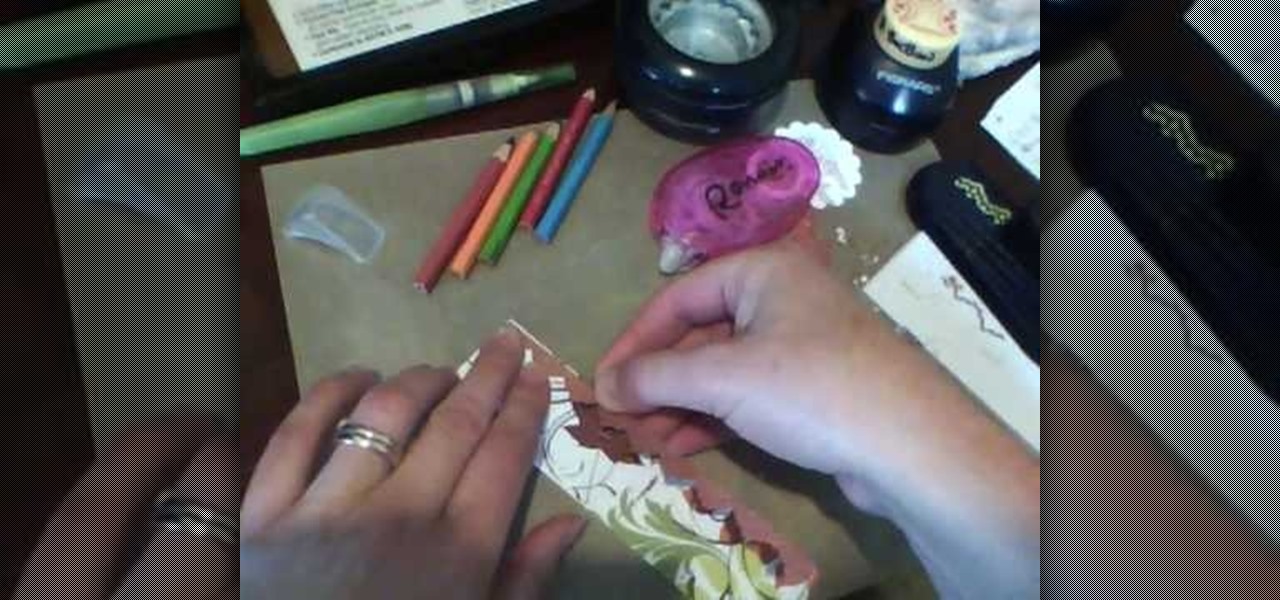
In this Arts & Crafts video tutorial you will learn how to make a vertical Easter greeting card. Take a 6x6 yellow card and fold it in half. Using the Valentrio Fiskars corner punch, you can punch one corner. Cut a 2 1/2” wide metallic cardstock, a 1” wide paper strip, stamp a picture or a design and punch it with Fiskars punch. Punch the 1” wide strip with the Fiskars border punch and glue both the pieces above and below the metallic card stock. Glue the metallic card stock and the pic...
In this Arts & Crafts video tutorial you will learn how to make a folded paper ostrich with origami. For this project, you need a square sheet of paper. First you fold it diagonally across to form a triangle and cut it off in two. Then take one piece, fold it in half to form a smaller triangle, open and fold down along the centerline from the top of the triangle. Open it up and again fold along the centerline from the base of the triangle. Now fold from one of the corners up to the intersecti...
This video demonstrates how to make a hexagon from a square paper. Fold a square paper into half horizontally. Fold this rectangle into half again forming a square one-quarter of the original size. Fold the open edge towards the center fold on either side forming a crease. Take the closed corner and fold towards the center crease. Open the center fold and fold it inwards. Fold the corner towards the diagonal edge on both sides, this forms a cone like structure with a paper edge at three-quart...
In this Arts & Crafts video tutorial you will learn how to use clear stamps & make a card. You will need acrylic stamps for this project. The products used in the video are from papertrayink.com. The stamps are clear and have a sticky back with which you can attach them to an acrylic base to make the stamp block. Then ink the stamp and stamp it on the paper. Since, it is clear, you can ass and align it properly on the paper. The other cool thing about acrylic stamps is that you can take more ...
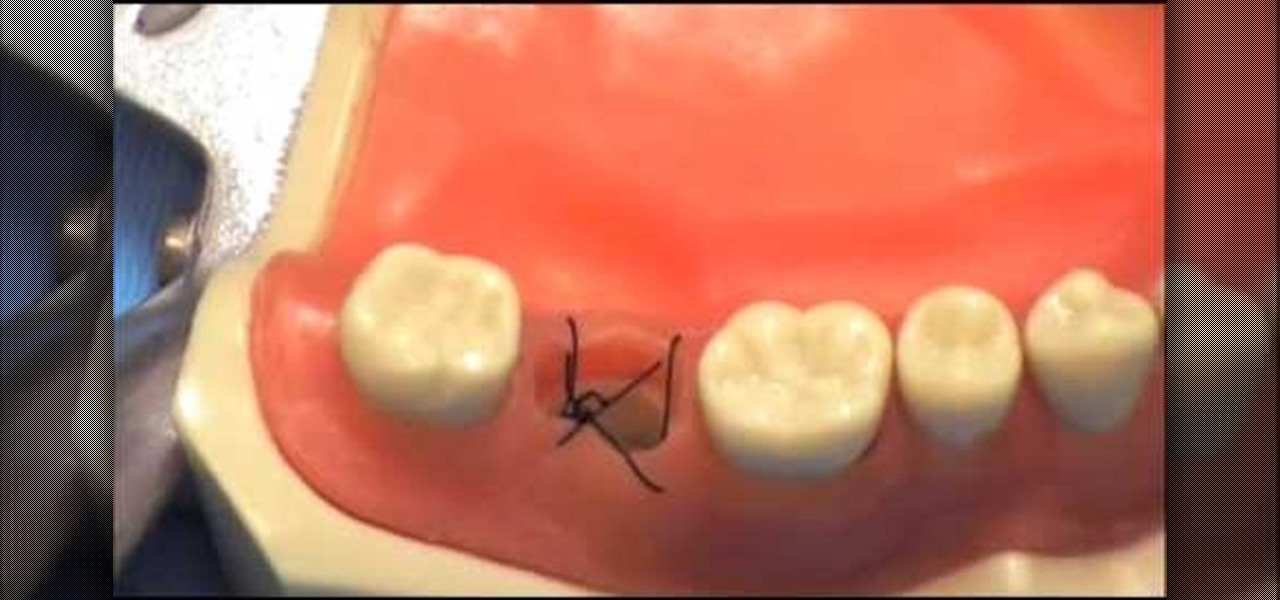
This how-to video shows you how to tie a figure eight suture. This is useful for finishing up oral surgery dealing with things such as tooth extraction. First, pull the string through one side of the gum with your tools. Next, take the end and pull it through on the other side. Once this is done, pull the string through the gum on the opposite corner. Once this is done, pull the string through the gum on the opposite of the corner. From here, you have formed a basic figure eight suture. This ...
In this video, Karen shows us how to decorate cupcakes in different ways. You can use McCormick frosting in a bowl, add neon green food coloring and mix this together. Put some frosting on the cupcake and smooth it out onto the cupcake. Another great thing is to put frosting into a small plastic sandwich bag, cut the corner of the bag and you now have your own icing bag! You can use this to make any design you'd like on your cupcakes. Make the clip on the corner bigger or smaller, depending o...
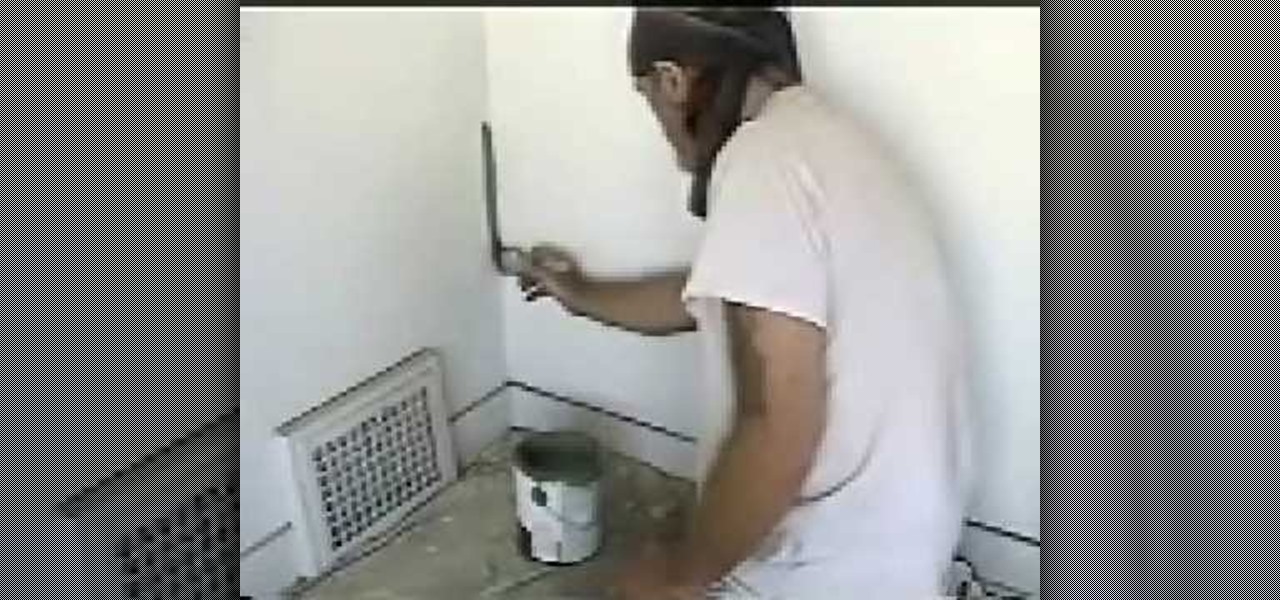
In this video, we learn how to cut a line using paint onto your walls. To do this you will need walls, a paint brush and your choice of paint. Make sure you get just the right amount of paint onto your brush and place the bristles against the wall right next to the corner of the wall. Slide it down making the line as straight as possible. Keep going until you have a line all the way down the corner, making it very straight and neat. Do this on both of the walls and you will a have professiona...
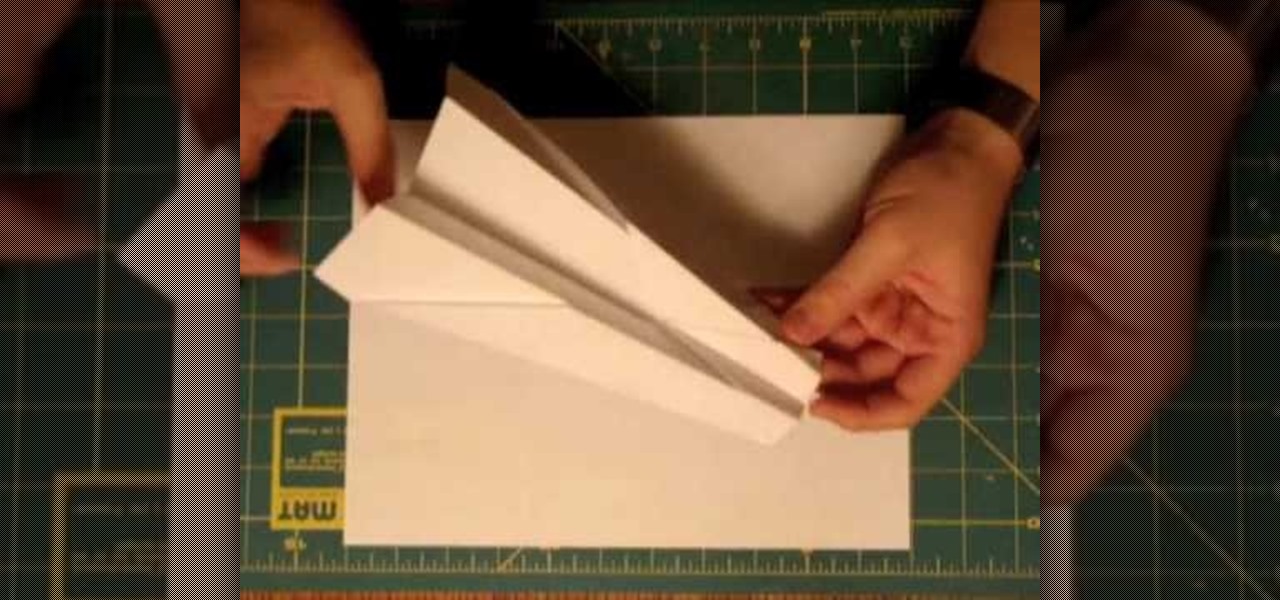
This video shows you how to make a very good paper airplane, that will fly in the air for about 10 seconds before it falls. Start by folding your paper in half length-wise, and then at one end fold triangles from the corners into the middle. Then flip your paper over, and fold the same corners in again, so that your paper looks like a taller point. Take the last 3 inches of the point and bend it into the middle of the paper, creating an X out of the folds. Then fold it all in half so that you...
This video illustrate how to fold a paper frog. Here are the following steps.Step 1: First of all take a sheet of paper and fold it into half diagonally forming a triangle.Step 2: Now roll back the paper and fold this triangle it into half so that a smaller triangle is formed..step 3: Now fold back the triangle and make it into two equal halves.Step 4: Now take the corners and fold them all to the center and open it from the center to the joined line.step 5: Hold back the triangles out of the...
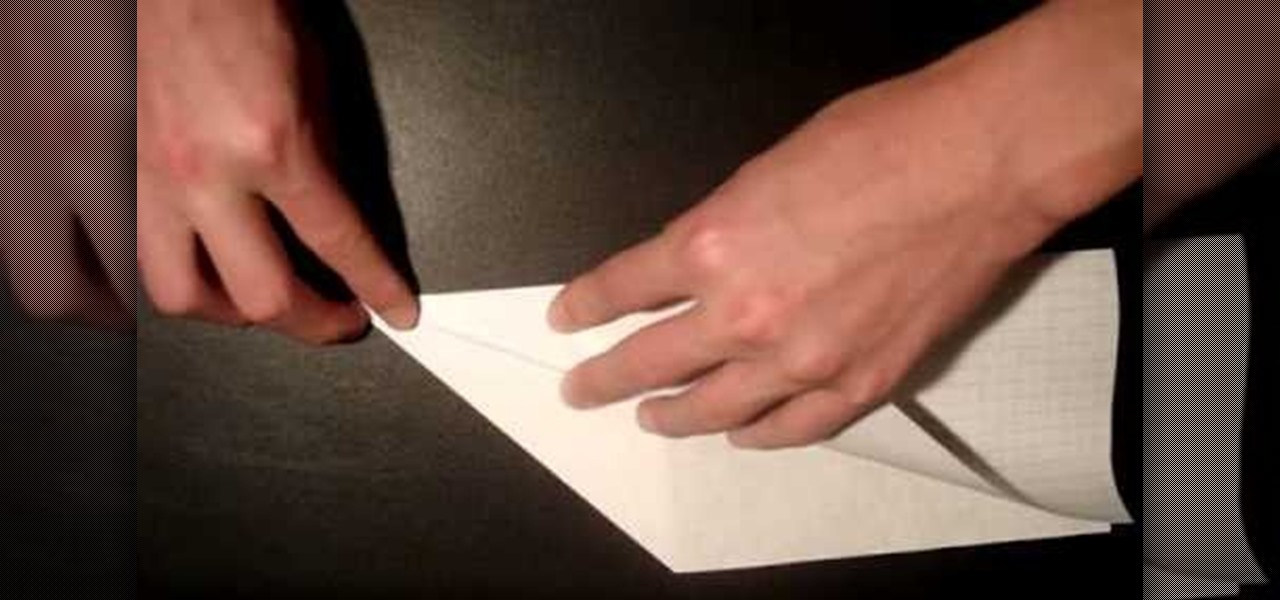
That Paper Guy shows you how to make a simple paper airplane. First, get a piece of paper 8 1/2" x 11" and fold it in half lengthwise. Then fold on one side a triangle. Flip to the other side and fold a triangle as well. Fold the corners down in the same direction on both sides, making sure the edges meet the center fold. Fold the corners down one more time on both sides, again in the same direction. Open up the finished airplane so that you're able to grab the center with your thumb and inde...
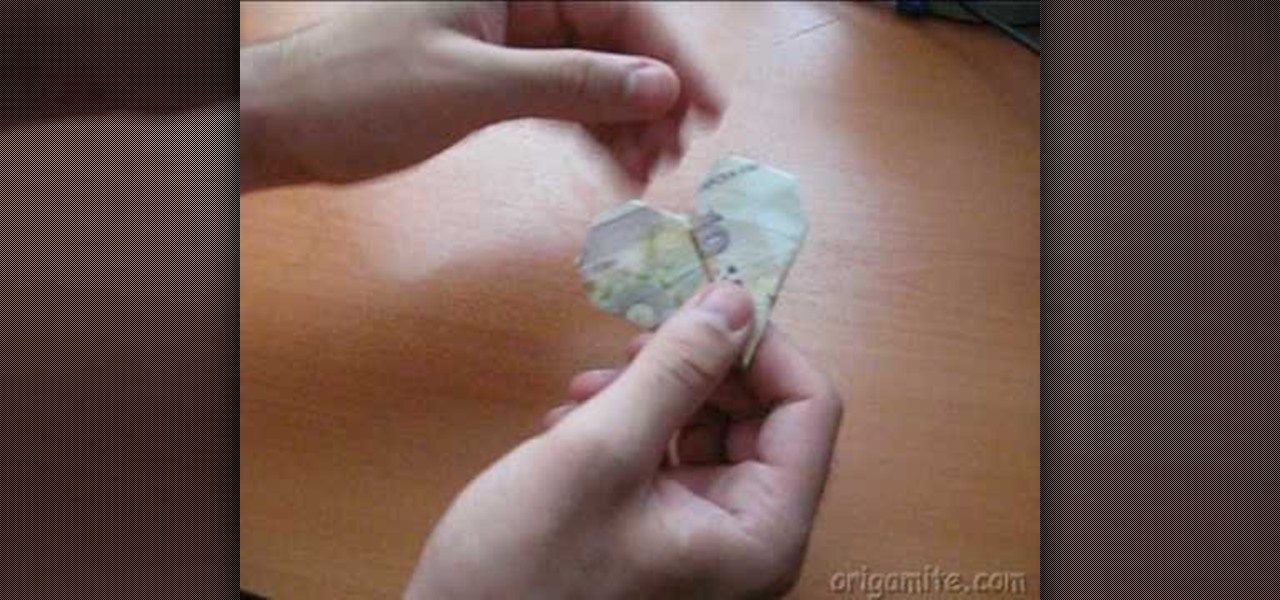
We learn an easy and fun way to make an origami heart out of a dollar bill. No supplies needed. Just the dollar bill and two capable hands. First fold up the bottom of the bill. Then fold it in half. Fold both sides into triangles bringing them to the middle. Turn over in. Fold in inside corners. Then the outside corners, rounding into a heart. Make sure the creases on the sides are well done. Flatten the paper out with palm to make it completely flat. And there in your hands you have a paper...
Fyeo shows a cool way to fold a bandanna. Naturally you start with a bandanna. Lay it out flat and fold it so you get a nice big triangle. Then, fold it one more time so you get a smaller triangle. You then fold it again. Not so the corners meet, but so that just a little is hanging off. Then you take the corner and fold it in and under. Take about five inches up and fold it under so that a tail is hanging out of your back pocket. Once you've completed this, place the bandanna in your pocket....
Making a paper airplane that will fly far is useful for throwing in a competition. If you want to know how to do that you should watch this. 1. Roll the right corner toward the middle of the rectangular paper and then flatten it. Do it on the left corner. 2. Fold the paper in half (lengthwise). You should have two big wings now. 3. Fold the left wing into half (lengthwise). Do it also on the right wing. You're done. After following these simple steps, you can now challenge your friends.
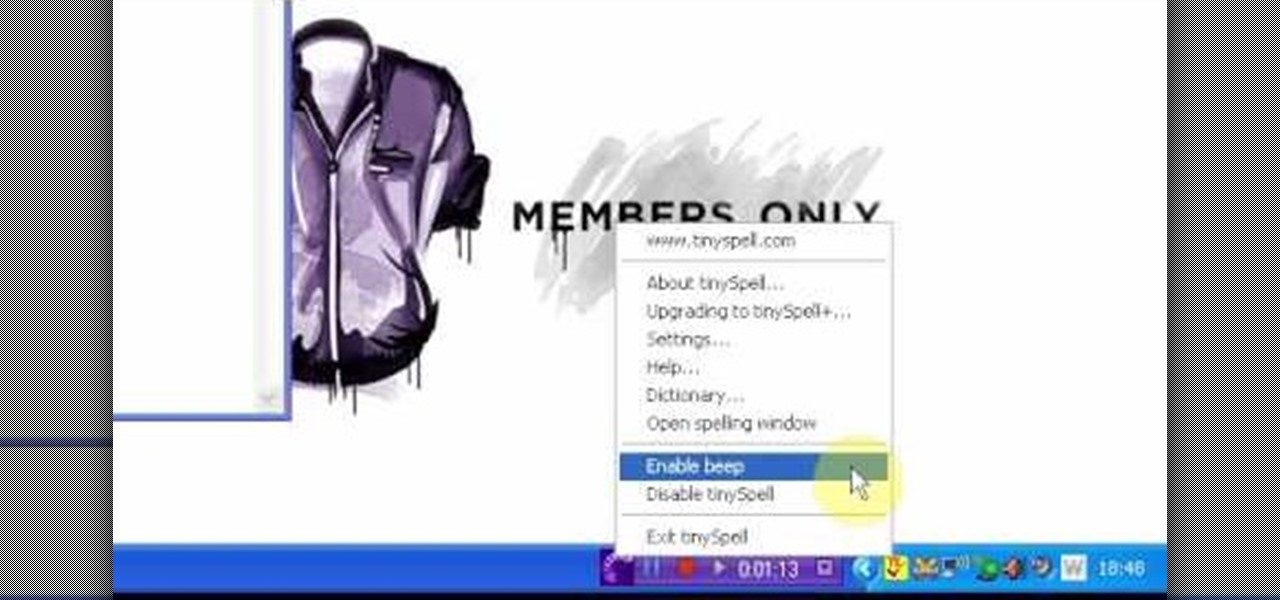
TinySpell is a handy program to correct your spelling automatically. Download and install TinySpell. TinySpell is a little handy program for your typing. Just open notepad for example. Then make a mistake like: Hello theree. When you look in the bottom right corner of your screen, you'll see the TinySpell icon. Right click on it and click on Open spelling window, it will tell you what you've done wrong. In the window you'll see theree turned red. Click on the button next to "theree" and selec...
This video is a must-see for all those freshman pledges headed to toga parties down on fraternity row. Or better yet, the girlfriends that are dressing those guys! She begins by wrapping the sheet around the back of the male model. One end is at the chest while the other end is wrapped over the opposing shoulder after making the entire loop around his body. She pins one corner at the left shoulder blade, pulling the loose excess to the back. She pulls the other corner underneath his arm and t...
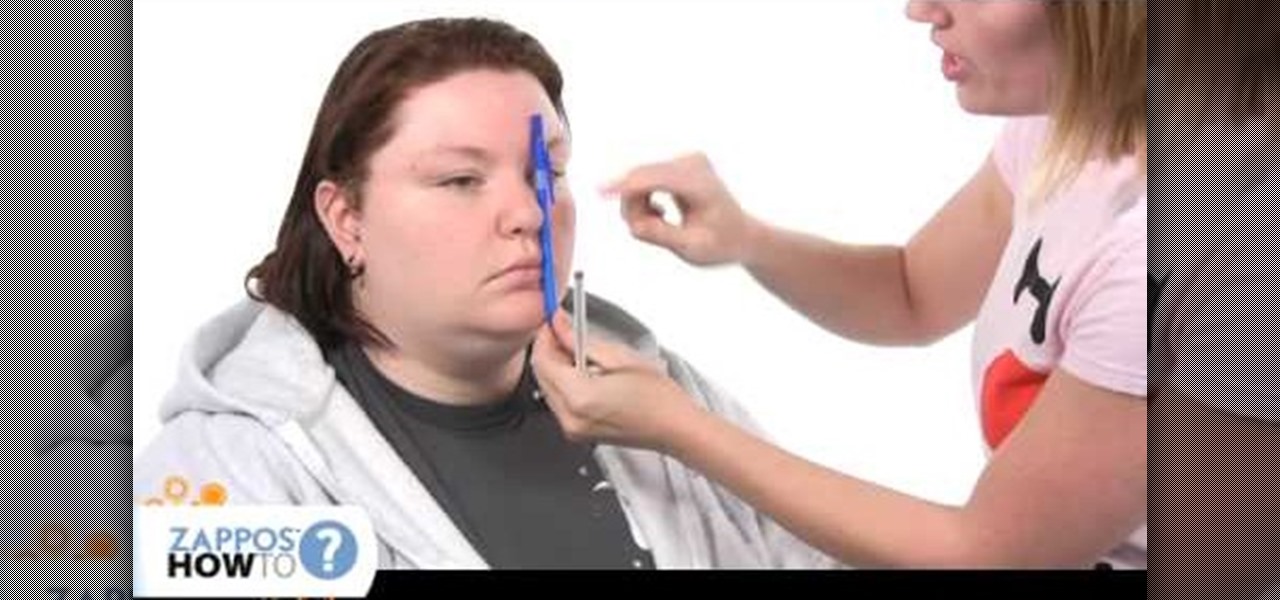
For a complete look, eyebrows can really add to your face. Learn how to properly shape and fill your eyebrows for a complete look that frames your face and presents a done look regardless of whether you are wearing makeup or not. To figure out how you want to shape your brows, line up the inner corner of your brow and the outer edge of your nose. Use a pen or anything straight to create this alignment. Where the tip of this tool ends is where your brow will start (from the inner corner). The ...
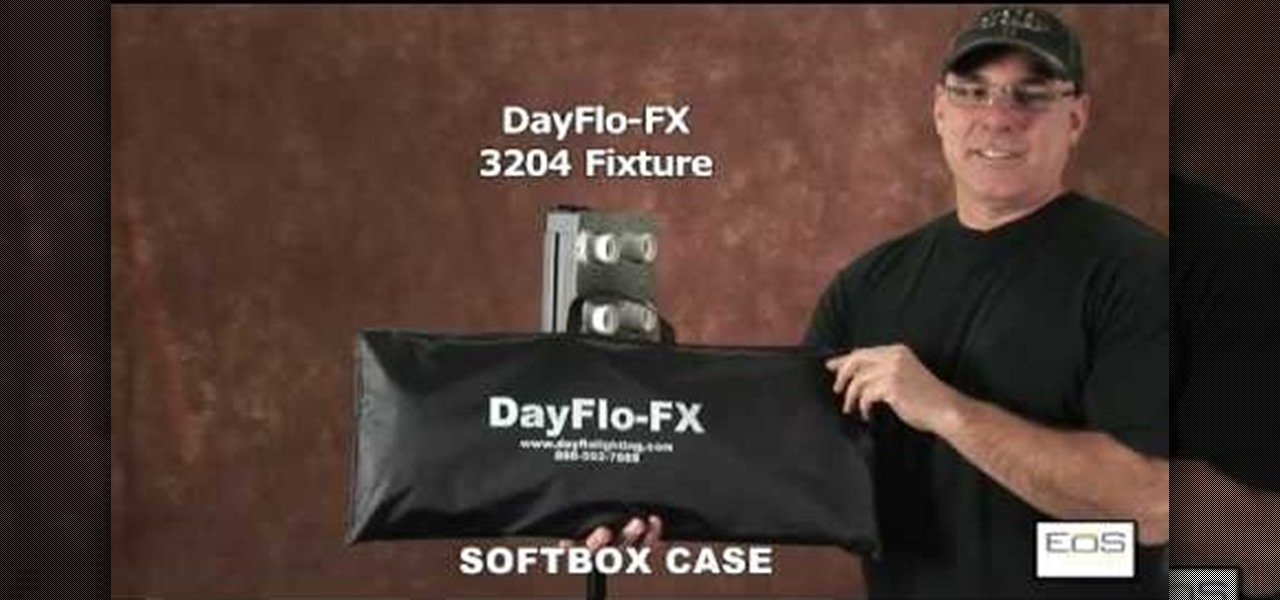
This video is a tutorial on how to assemble a DayFlo-FX 3204 Softbox. The instructor begins the video by showing what the DayFlo case looks like before assembly. The first part installed are the diffuser panels, it is also noted that you must remove the protective film from the front panel. The instructor notes that there are holes drilled into each side of the fixture. The next step is to insert the fat tipped ends of the rod into the corner holes and install the rods into the top two corner...
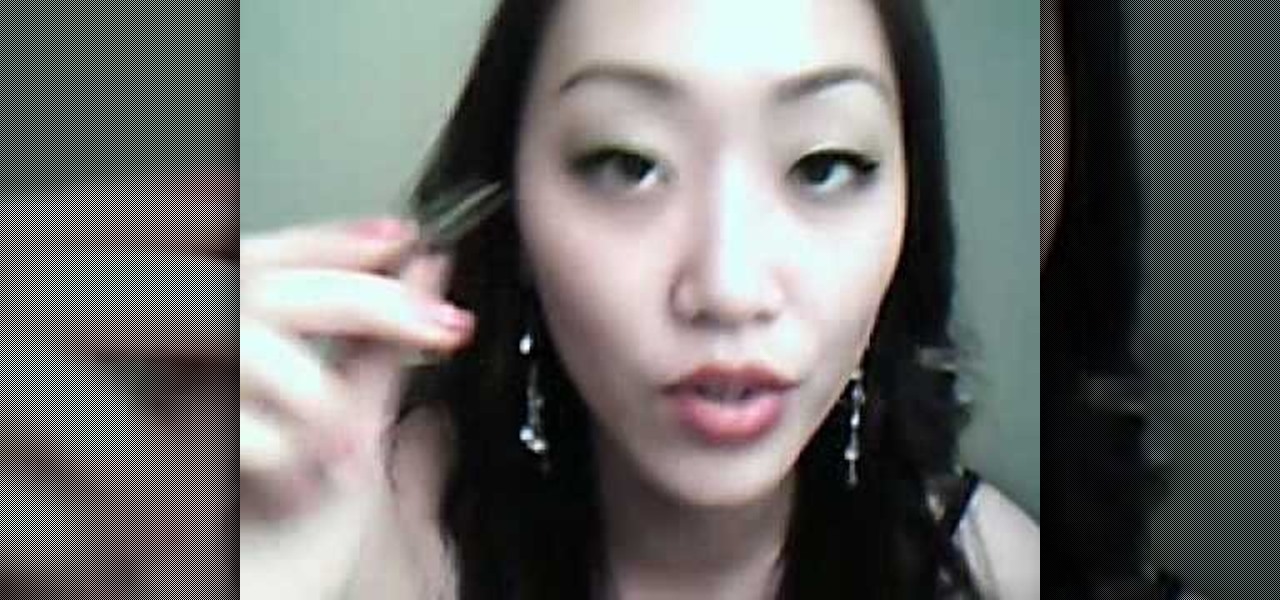
In this video tutorial, viewers learn how to pluck the eyebrows. Users will need a pair of tweezers and manicure scissors. To reduce the pain, users can use an ice cube to numb the area, use a dental numbing gel or use a hot towel to open up the pores. The eyebrow should begin at the corner of the eye and nostril. For your arch, it should line up with the nostril and pupil. The length of the eyebrow should begin at the outer corner of the eye and nostril. This video will benefit those viewers...
Elizabeth Chamberlain with Space Lift demonstrates how to attract more business with feng shui. To attract more business you need helpful people to hire you or to spread the word about your goods and services. The travel of information is also important in business. Your house should address these areas. First, find the focus room on your energy map by laying the energy map on top of your home floor plan. The travel and helpful people area is in the lower right corner of your home, standing i...
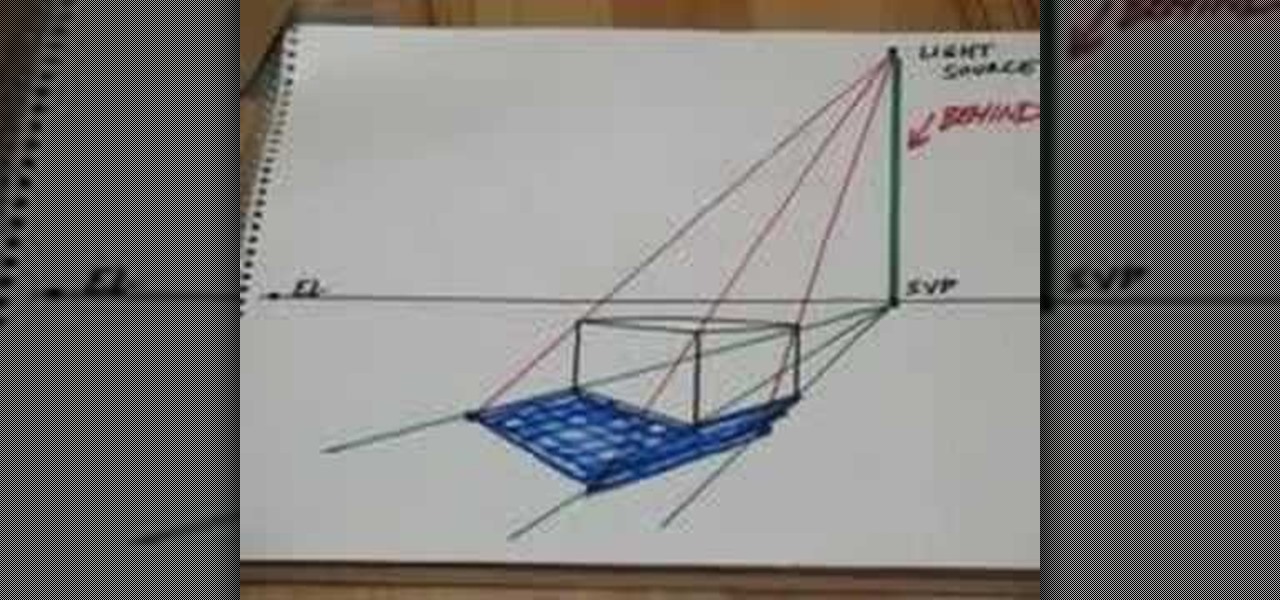
This video demonstrates the process for drawing prospective shadows using a light source. Start with the shadow vanishing point which is directly below the light source on the horizon line. Draw lines from the shadow vanishing point to the front three corners of your box. Next draw lines from your light source to the top three corners of your box. Where the shadow lines intersect, that area defines the shadow area and can be filled in for shadows. The shadows, of course, will line up with you...
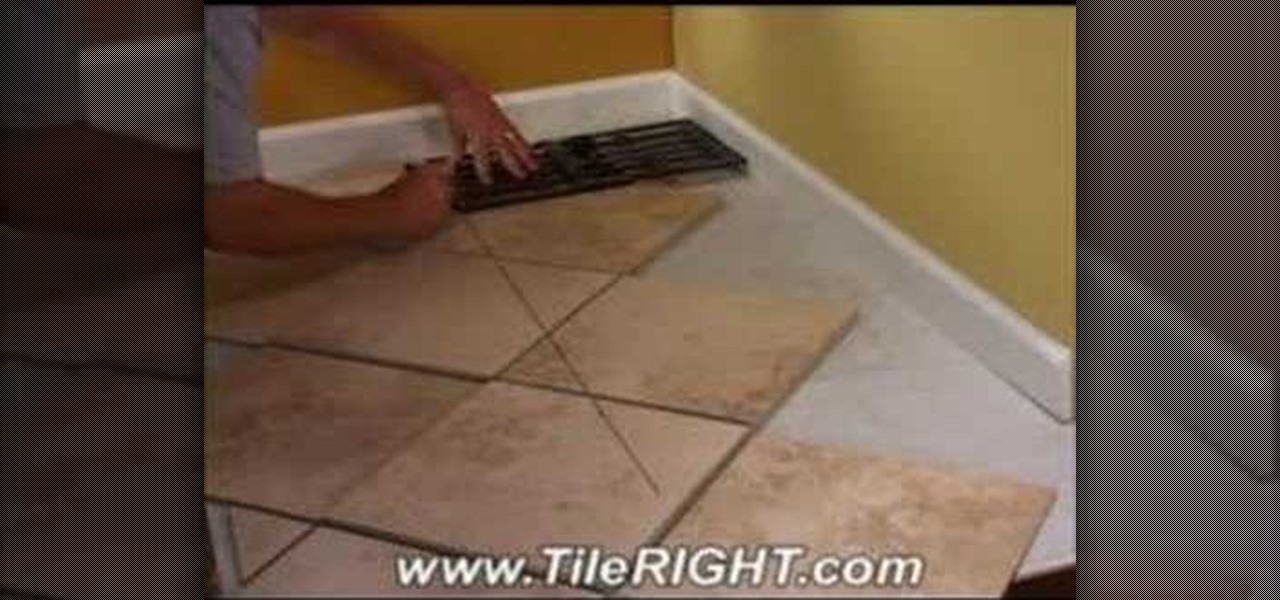
Tile RIGHT demonstrates how to tile a diagonally cut tile. First set the Measure Right Pro to the appropriate setting, extending it from corner to corner along your tile. Account for your grout line and the space up against the wall. Then, lock the tool. Next, place the tiles you're going to use on top of your set tiles. Slide the Measure Right Pro along the wall and mark the tiles. Place the sections in the appropriate place. Then, cut your tiles. Lay the tiles where you've previously marked...