Giant Steps is quite popular for being an incredibly difficult song to play seeing as it's a string of II, V, I chord changes in three different keys, among other changes that are inherent in the song. Thanks for making our lives more difficult Coltrane! If you're having trouble making your way around the neck and improvising this video can help! He talks about similar tonalities out of each chord change and scale connection between different keys. Just be careful because the audio goes out o...

Orange plum tomatoes are sweeter than your average red tomato, which make them a sweet treat to put into salsa. Summer's coming to an end soon so celebrate the last waning days of warm weather and ripe, succulent food by making this pluout, or plum tomato, salsa with Me Gusta.
We love songs played on the ukelele because the instrument always makes the tunes sound lighter, brighter, and makes us feel like we're lounging around a beach in Maui with a margarita in hand. If you're a ukelele player looking for a fun new song to try, check out this ukelele tutorial for playing "Santeria" by Sublime.
When you're making a restaurant, or a house, or any other somewhat modern Lego model, one way to make the interior (or exterior for that matter) come to life is by making furniture, and what better way to start than with a table with a striped table cloth on it? In this great video you will find out what parts he uses and then go through the assembly process all the way to the final project! Pay close attention though as the placing of some of the bricks are absolutely crucial to the model co...
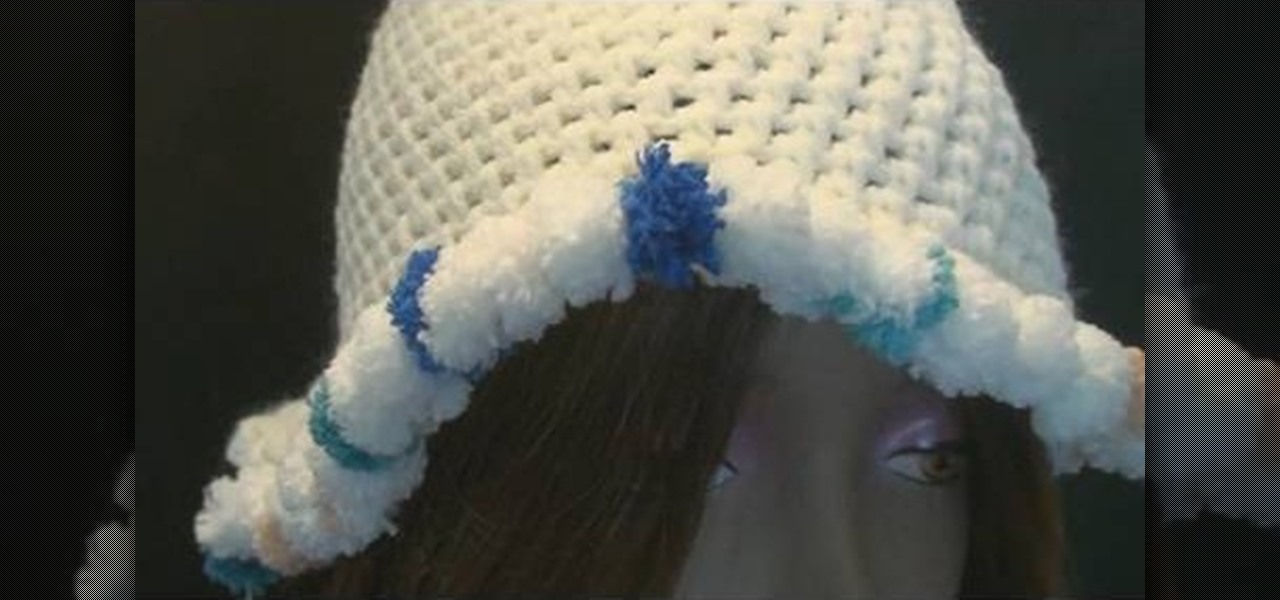
Despite what you may believe, making a crochet cap doesn't end at the last knitting row. In fact, crochet caps can be embellished in a number of different ways, including this Pomp-A-Doodle trim.

In this video, we learn how to use French wire when jewelry making. First, you want to take your wire and cut it to the length you need, using wire cutters. After this, you will place a stopper next to the pendant or bead that you are applying inside the necklace. Next, string on the clasp to the wire and then bend the end of the wire to the inside of the stopper, then cut the end of that with wire cutters. When finished, your clasp should be secure at the end of the wire and ready to hook on...

'Udon' means 'thick', and udon noodle soup is a traditional Japanese dish known for it's thick rice noodles. This delicious soup is made with dashi, mirin, soy sauce, fresh vegetables, chicken and shellfish. The tutorial shows you how to start by making the dashi broth, boiling and blanching the vegetables, and then cooking the meat for a soup that's a meal by itself.

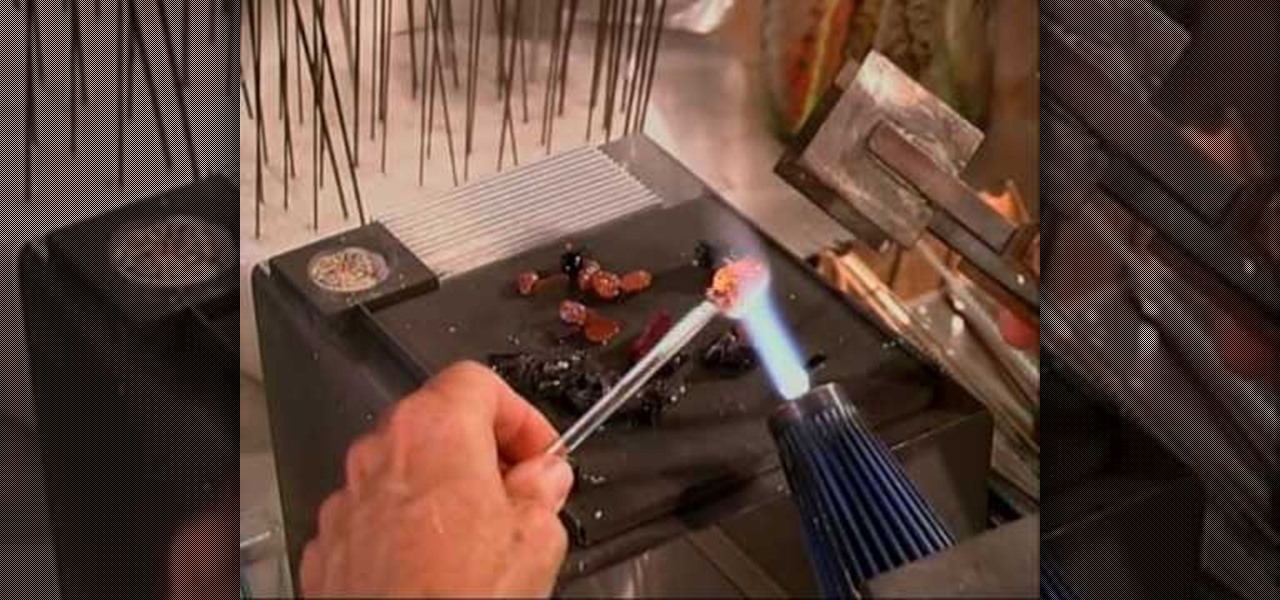
These gold stone stringers look like glistening incense sticks and are incredibly beautiful. Check out this jewelry making tutorial to learn how to turn gold stone lumps in blue and an orangey yellow into long sticks, or stringers, made of these melted lumps.

An EZ-Crimp is a very useful tool in jewelry making; with a rounded loop on one end and a flat rectangulr space equipped with a hole on the other, it allows for the attachment of a piece of wire (inserted through the hole) and can be used to close a necklace.

Christmas will be here before you know it, which means weeks of festive parties, spending quality time with friends and family, and, if you're the crafty type, making presents and other favors for friends. This year, surprise your loved ones with a truly unique gift by making this Christmas elf.

If your son or daughter is planning on making a diorama for a classroom project or just because, making a cool water feature can be a great idea. Using real water may be fine and all, but if you want to prevent any kind of mess from happening, you can build one using materials that give a water like feel. So in this tutorial, you'll be finding out how to make a diorama waterfall from scratch. It's great for dioramas and is sure to be a much better fit than actual water. So good luck and enjoy!

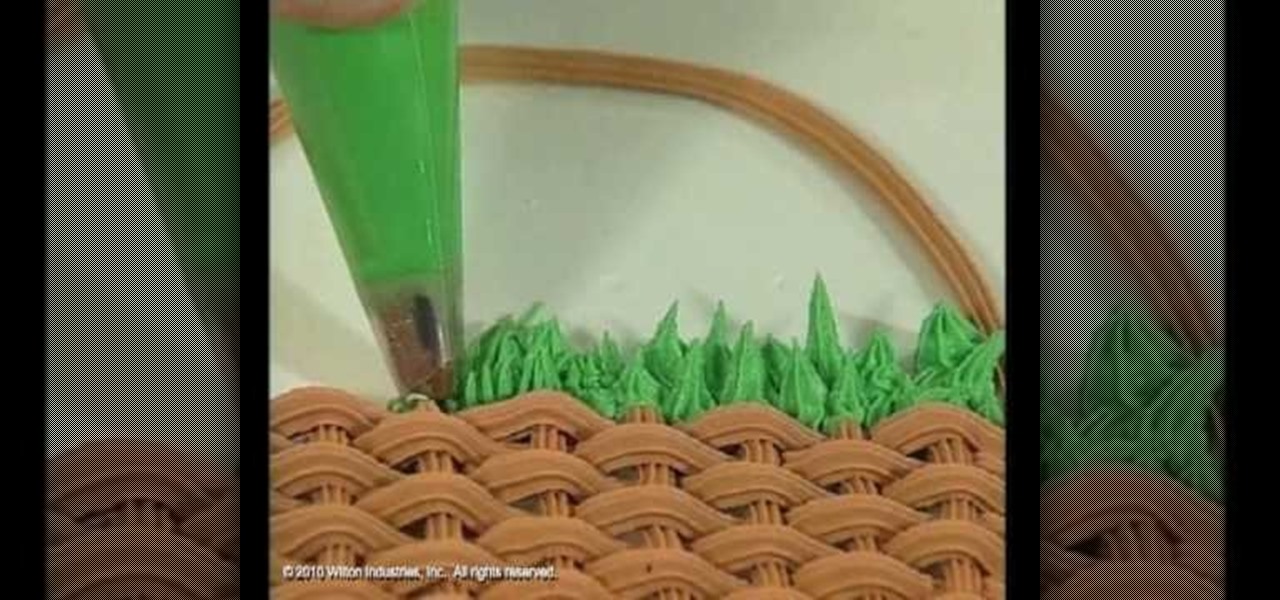
Grass is one of those things you'd think would be easy to replicate in icing, but actually end up becoming your worst nightmare. The problem that most cake enthusiasts have is that they think grass can be made from just about any piping tip, which is not the case as the result is usually a tangled, uneven mess.

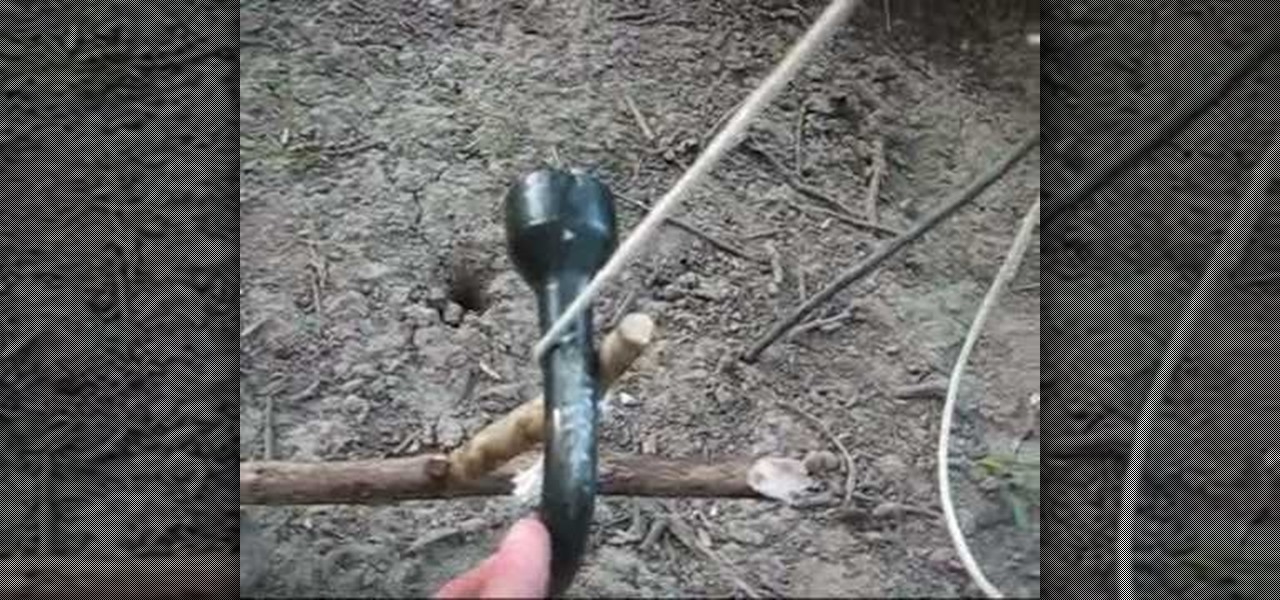
If you're out in the wild and hope to capture something, the best way to do so without using any bullets or a knife is by capturing it. You can do so by making a great trap using mother nature and some other manmade parts.

In this tutorial, we learn how to make a wallet with card holders from duct tape. First, you will need to cut out duct tape in several strips to the size you want. You can use any color of duct tape you want. Next, you will start to overlap the duct tape on top of each other so there are no stick sides, then finish it by overlapping the last piece. Continue to do this, then fold it in half to make a wallet shape. Next, you will make card holders. Measure out how large the holders should be by...

In this tutorial, we learn how to draw a rose, step by step. start off drawing the petals of the rose, making the inside of the flower first. After this, start to draw in more details and draw around the inside of the flower, making the rose larger and larger. After you have done this, draw on the stem underneath where the petals are, and add leaves onto the stem. Continue to add in any details that you see fit throughout the picture. When you are done drawing, color it if you prefer, then si...

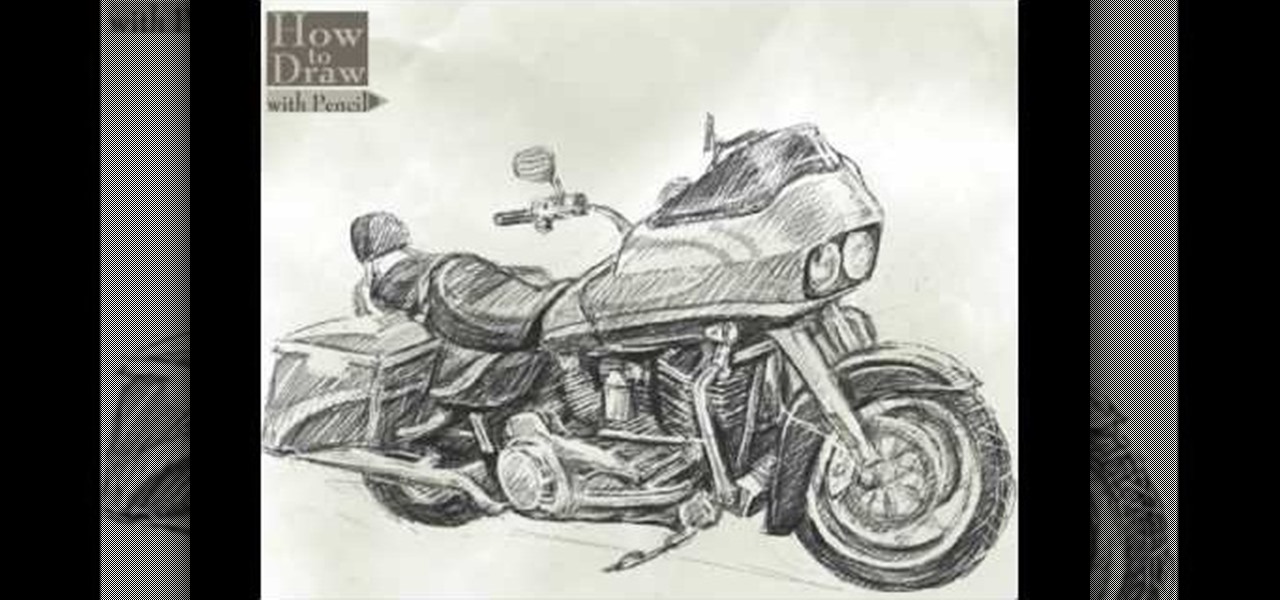
In this video, we learn how to draw a Harley Davidson Road Glide. Start off by drawing the body of the motorcycle as a rough outline. After this, start to fill in the different areas by making large sections of the bike 3-D. Draw in the wheels and the back of the bike, as well as the handle bars, mirrors, and lights. Draw the seat and back seat in, then start to add in further details. Apply shadowing to the car, making some parts darker than others. When you are finished with the drawing, co...

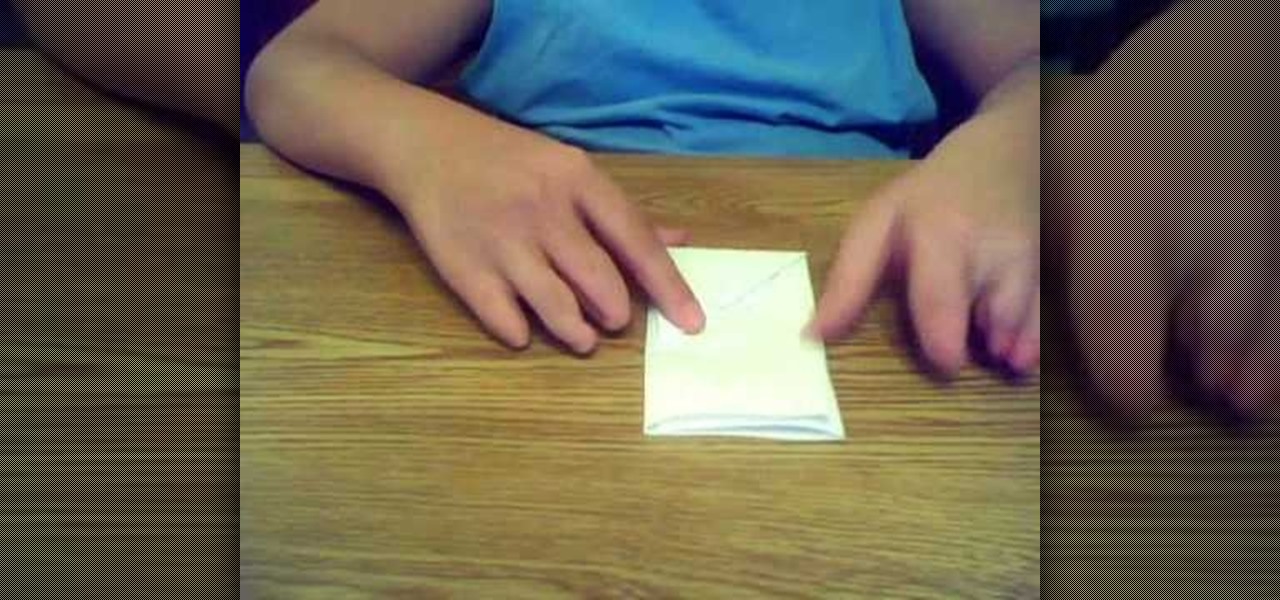
In this tutorial, we learn how to make a paper football for distance. First, take a piece of copy paper and fold it in half on both sides, then fold in half again, making a crease. Next, fold the bottom of the paper down into a triangle shape. Continue to fold this down, making a right and then left triangle until you reach the bottom of the paper. When finished, you will have a small strip of paper left on the bottom. Tuck this piece into the pocket that you created with the triangle pouches...

In this video, we learn how to scream sing properly through your stomach. A great method to do this is to fill your stomach with air and practice making a deep throat sound while you are breathing out. Make sure you are in the right mindset, then open up your throat and make a deep sound on it. You want to use the power of your voice and work hard at making the scream as deep or as high as you want it. It's hard to do this, so don't expect to do this over just one day. It takes several months...

If your salad isn't making you full, then you're probably making it the wrong way. Most people think there's really nothing more to a salad than iceburg lettuce, tomatoes, carrots, and some ranch dressing, but using only these ingredients won't give you enough protein or fiber to fill you up.

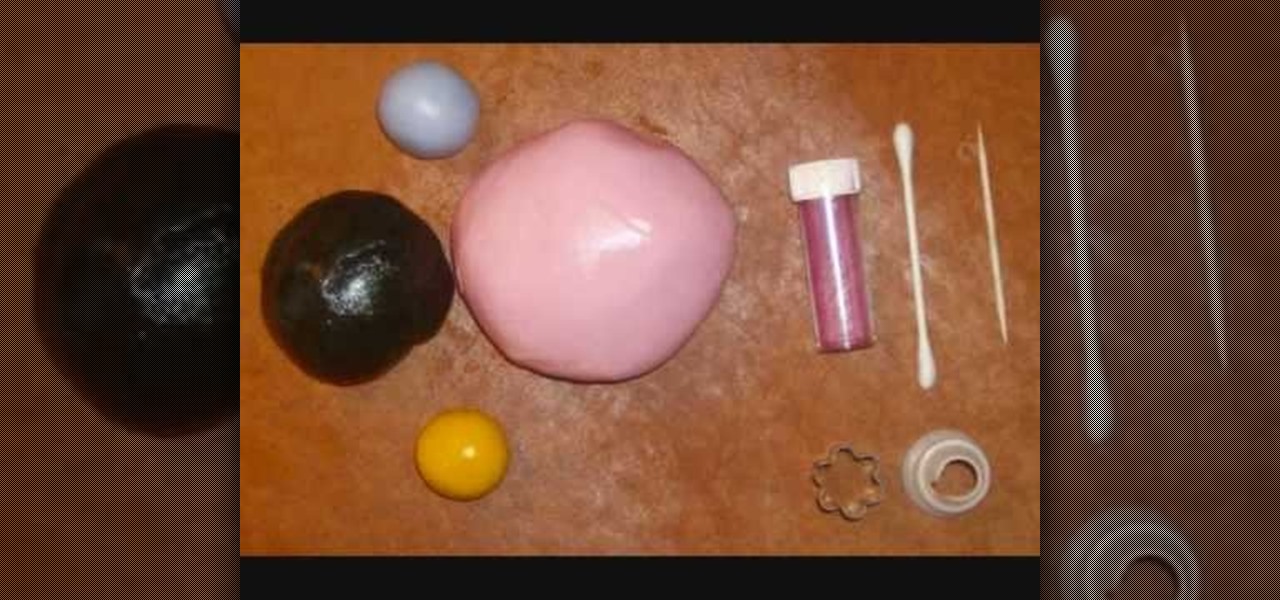
Got a baby shower coming up and want to surprise the mommy-to-be with something truly special and tasty? Then this fondant/gumpaste baby boy, which makes for a cute cake or cupcake topper, could be just the thing you're looking for.

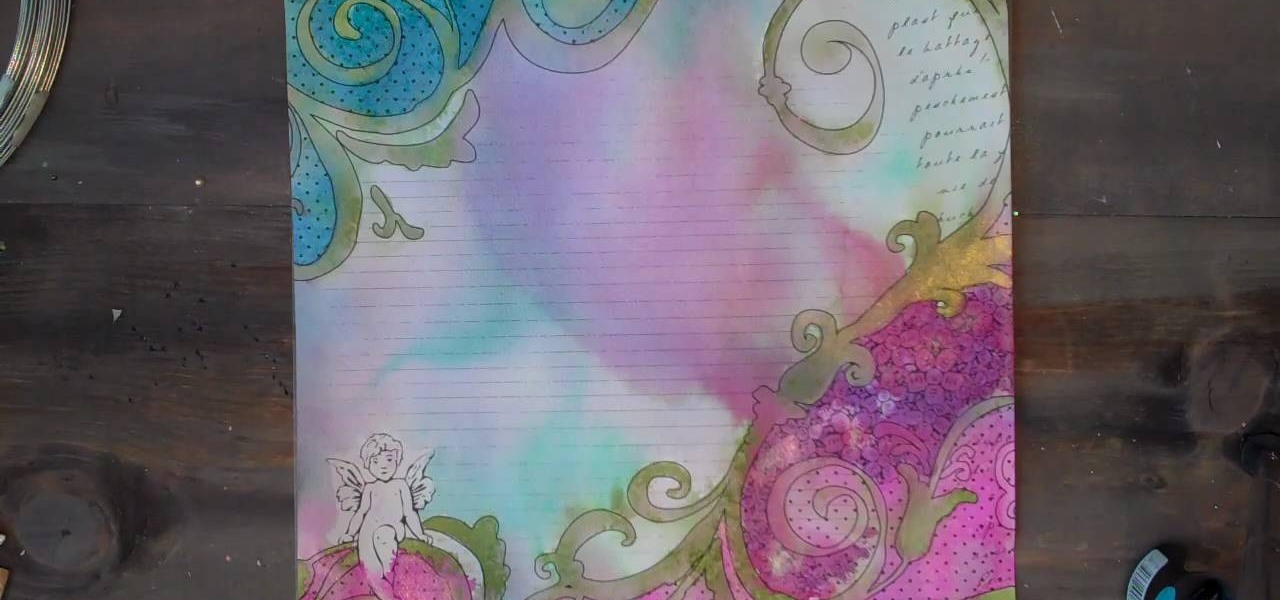
In this tutorial, we learn how to use Prima Paintables paper. These are meant to watercolor on and are very thick pieces of paper. You can take a paint brush and open up a bunch of different paint colors. Start to paint your picture, then allow it to dry. When finished, you can spray a water bottle on it to bleed the picture and make it look unique and your very own. This is something that is fun to do and makes it easy to paint your own creations using this paper that is made just for painti...

In this tutorial, we learn how to make a paper flower pot. First, fold your paper into a triangle then crease and unfold. Next, fold the paper in half to make a rectangle, then crease and unfold. Do this on the other directions, making creases for each. Now, flip the paper over and make a triangle, then crease and unfold. As you unfold, push the sides in, the squish down to make a square piece. Fold the open end of the square base to the opposite corner, then fold a triangle from the top in t...

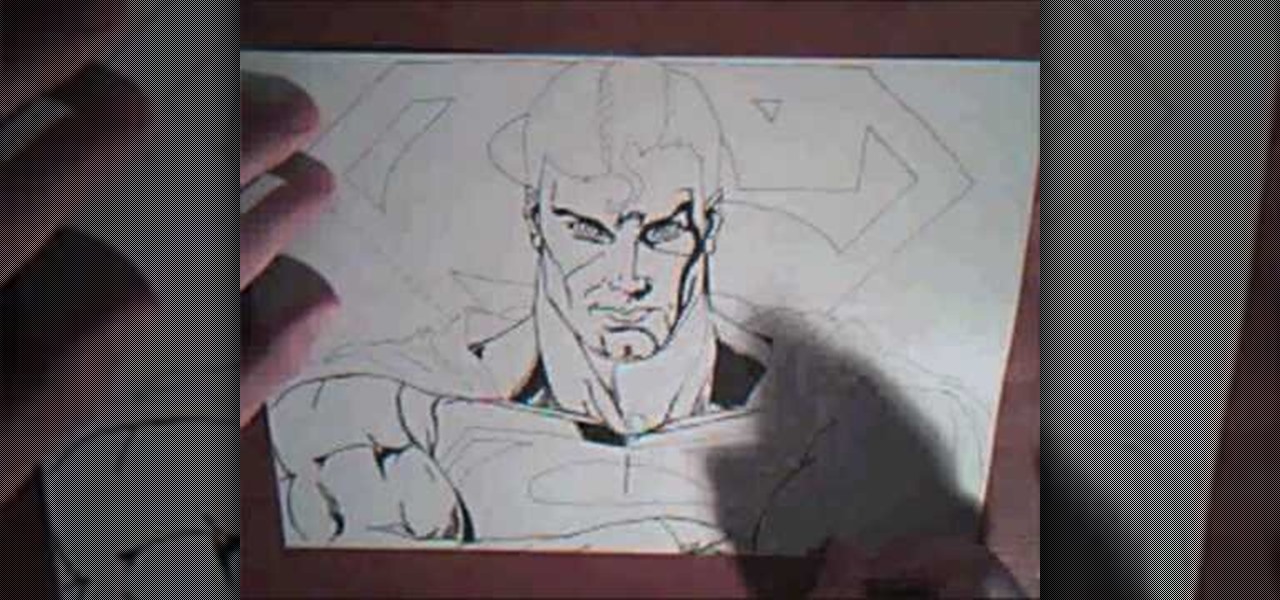
In this tutorial, we learn how to draw superman from DC comics. Start off by drawing the head and adding in the hair on top. Give the character a strong jaw line and eyes that look serious and focused. Continue drawing down, outlining the lips and nose, then making broad shoulders. Draw a cape over the shoulders and continue down making a line where the neck and breast plane connect. Draw the "s" sign on the costume, then continue by drawing the Superman logo behind the character. Now, star t...

Instead of picking up a Digiorno pizza from Albertson's tonight, try doing something a little different for a change. As many a good cook knows, fresh always tastes better, enhancing the overall flavor of your dish (not to mention offering heftier amounts of nutrients).

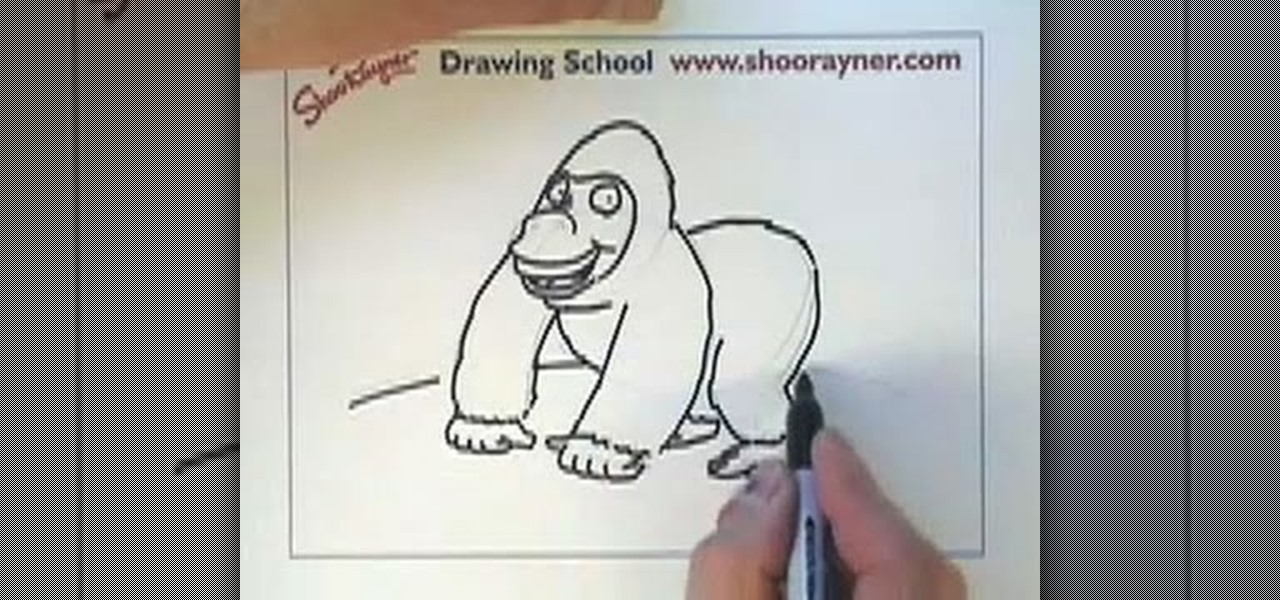
In this tutorial, we learn how to draw a gorilla. Depending on what type of gorilla you want to draw, there are various ways to change the look easily. To start, draw a bean shape that will be the body. Next, draw a smaller bean shape for the head on the side of the other shape. Now, draw the middle of the face, making eyes in the middle underneath the brow bone. Now, make the nose and mouth of the gorilla. After this, continue back down on the rest of the body and draw arms and legs for the ...

In this video, we learn how to make a triangular Japanese box for paper clips. You will need: 3 square pieces of paper and 1 glue stick. First, fold the square into a smaller square by making three triangles. Open up into a large triangle and fold the top down, then make a crease and open back up. Do this for all the pieces of paper, then apply the glue stick to the inside of one corner of the first square. After this, stick the next piece of paper onto this, then fold the bottom paper over t...

In this tutorial, we learn how to make a file folder organizer. First, you will need to apply double sided tape to paper, then apply a thicker cardboard paper over it. Now, cut most of the excess paper off, except around 1/2". After you have this cover made, apply tacky glue to some manila folders, and stick them into the cover you just made. After you complete this, you will be able to apply the backing to the folder as well. When you are finished, you can add different decorations to your f...

In this tutorial, we learn how to make a rose from a turnip. To start, cut at an angle all the way around the outside of the turnip. After this cut, cut a thin layer around the turnip just around the inside of the cuts that were just made. Continue to do this process throughout the entire fruit until you get to the top. Make sure to alternate from the middle of the petal, so they aren't all line up the same. When you get to the top, you will be making smaller cuts, until you finish. When you'...

In this tutorial, we learn how to draw Ryo Bakura Yu Gi Oh style. Start off by drawing the head, making a pointy nose on the front of the face. Next, draw in the eyes making eyebrows in and pupils. Also draw in the shapes on the head, then start to draw in the hair. Make two sides of the hair pointy spikes on both sides. Start to draw the neck and shoulders going down to the very bottom of the paper. Place a collared shirt, then start to add in shading on the picture. Draw in lines, then add ...

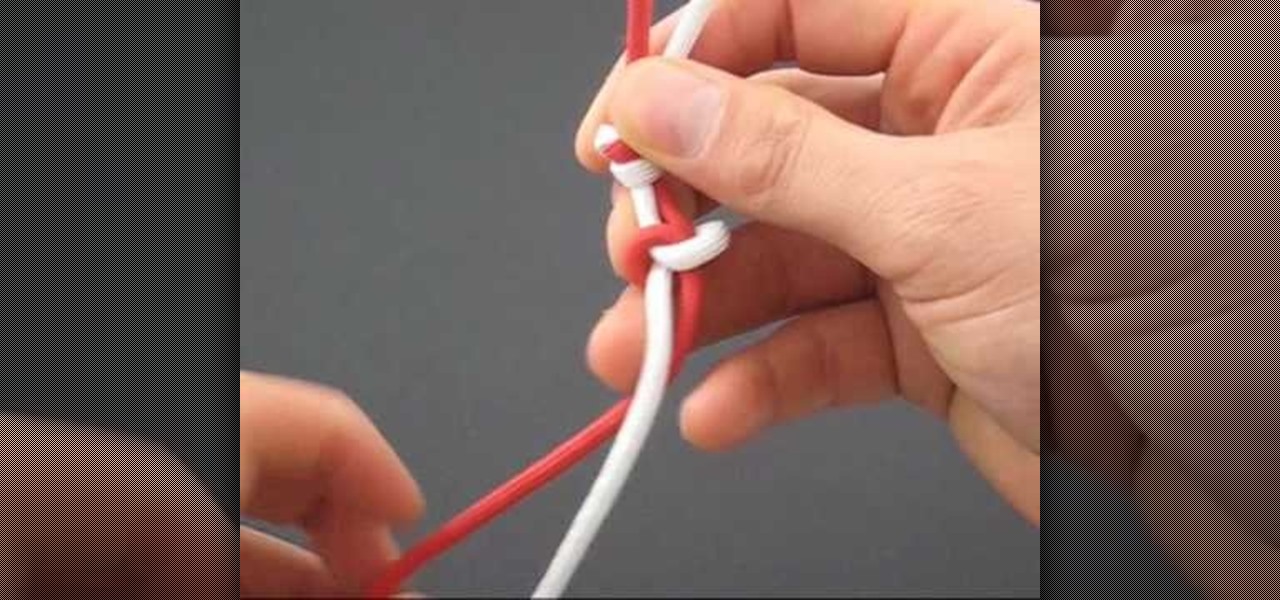
In this tutorial, we learn how to tie a paracord snake knot. Start out with a double overhand knot, by making a loop with two strings and tying it through. After this, start the snake knot by taking the left piece of string and wrapping it around into a loop. Then, take the other piece of string and place it inside the loop, then pull it to the left and wrap it around the other string, then push it through the loop. Continue to do the snake knot until you reach the bottom, then finish it off ...

So after much hard labor and patience, you've finally thrown your first vase, fired it carefully in the kiln, and let it harden to a fine finish. What to do next in your pottery making journey? While a beautiful vase is a beautiful vase no matter the finish or color, applying a glaze is like putting on makeup: sure, you don't NEED it, but having it on dramatically improves and accentuates your features, making cheekbones more sculpted, eyes wider and brighter, and lips more well defined. In t...

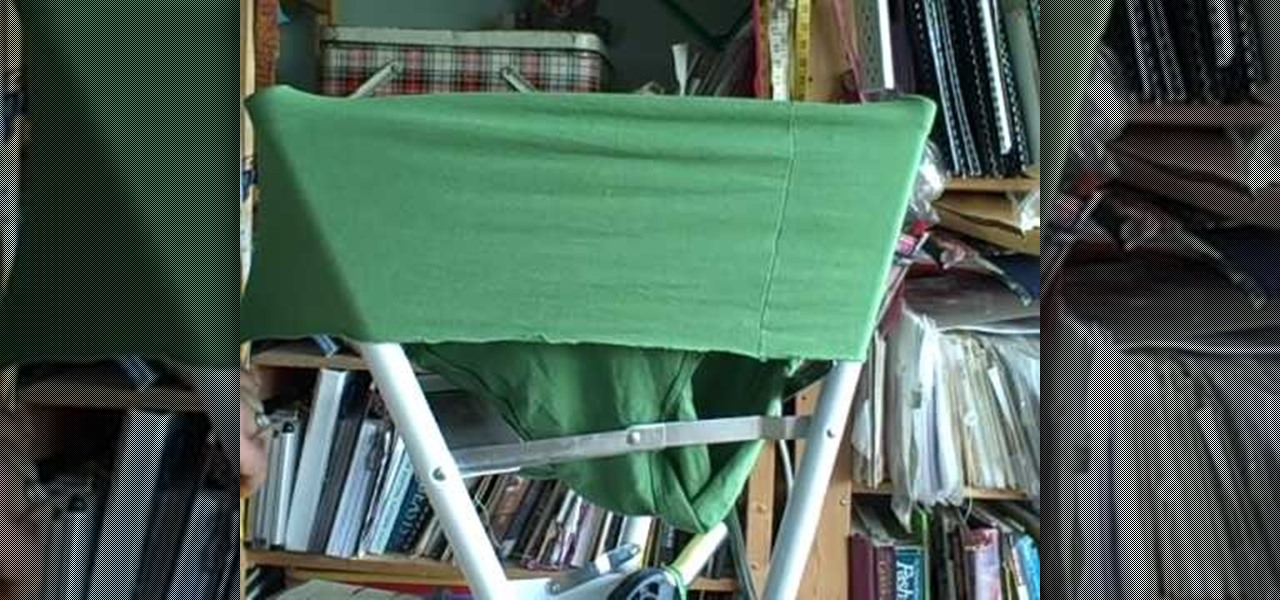
Got a bag of old t-shirts that have been with you too long that you don't want to throw them away, but are piling up too fast that you're tempted to toss them on the counter at the Salvation Army? Keep your old t-shirts by your side without compromising storage space by making tarn.

Thanks to Mrs. Betty Crocker anyone can proclaim herself a good baker, thereby confusing the line between actuall good bakers and those who rely on Mrs. Crocker's famous pre-made ingredients mixture. While anyone can bake a delicious set of cupcakes, though, making these cupcakes look professional is a whole other story.

Who doesn't love French vanilla ice cream? Watch this video and learn the secrets to making an ice cream that would make Ben and Jerry melt. It's easier than you'd think. So easy, in fact, that this free video cooking lesson can present a complete overview of the process in about two minutes. For more information, including the full recipe, and to get started making your own French vanilla ice cream, watch this video guide.

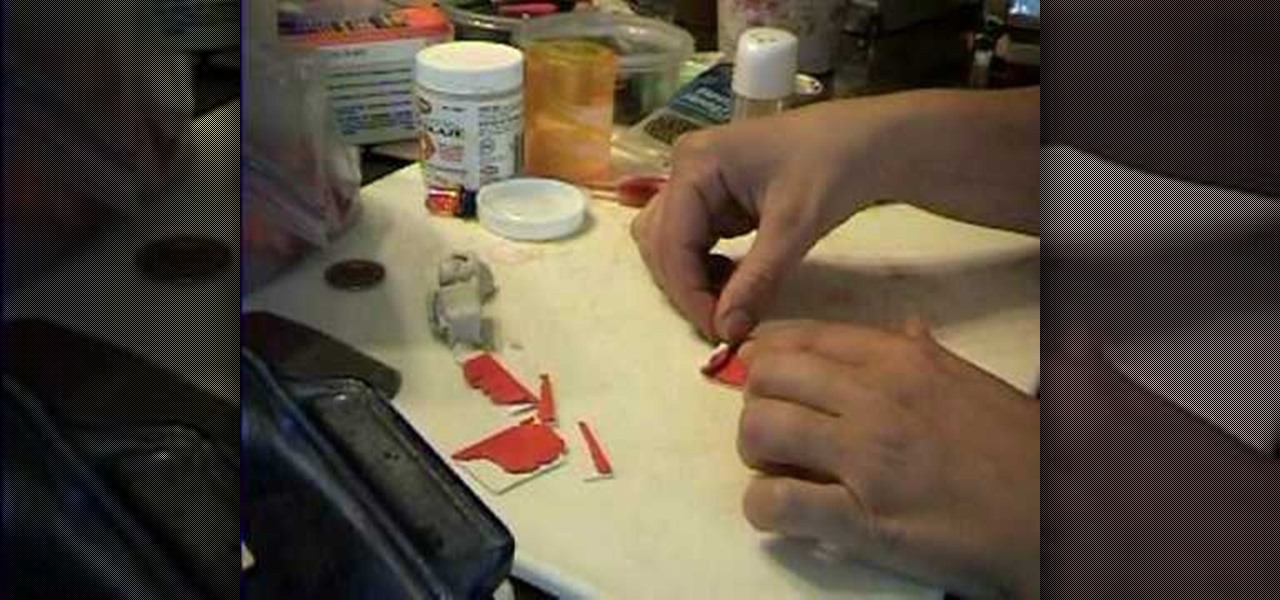
In this tutorial, we learn how to make a mini jelly roll. First, take your baby syringe and add in clear caulk then add in red food coloring and mix together with a toothpick. Now take some white and red clay and lay them on top of each other, then roll them out and square out the ends. Now, roll them together and cut them into small wheels so they look like jelly rolls. Add some of the jelly you made to the jelly roll and you're finished! You can place these on mini plates you have made and ...

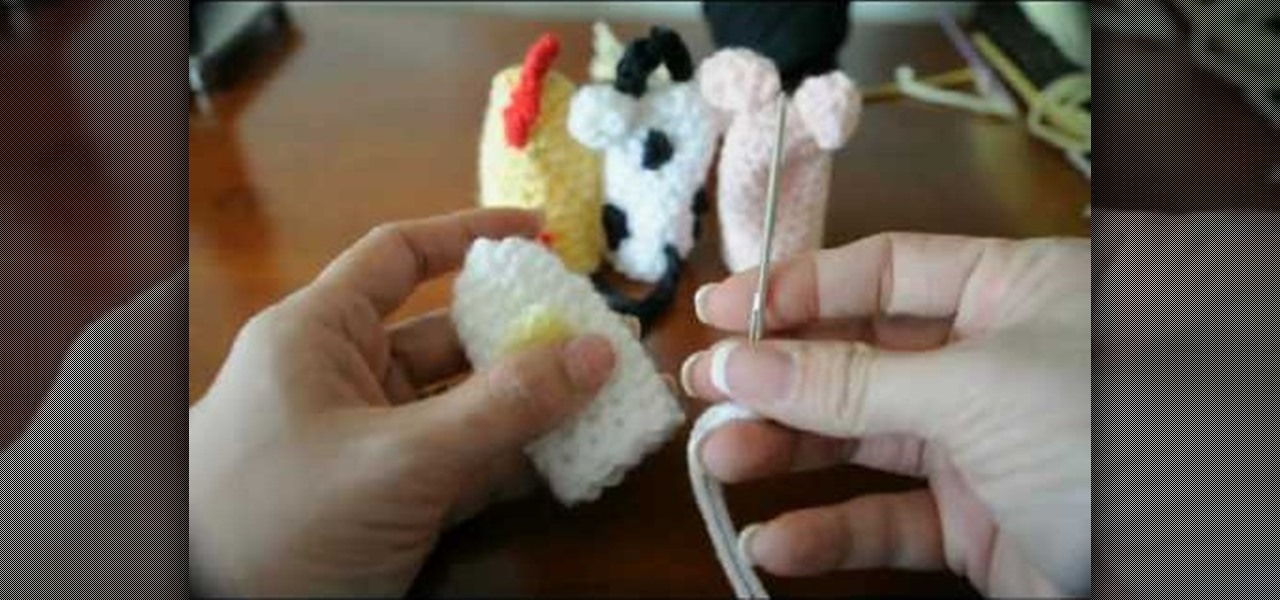
In this tutorial we learn how to crochet a duck finger puppet. In order to make the bill, start with three stitches on the front where you crochet a front loop to work with. Start with the open end facing you, and pull a loop up with your yarn, like a slip stitch. Now, chain one and single crochet into that on your first stitch. Single crochet in the next stitch and in the last one as well. Now, go into the center stitch and single crochet in that making a point at the beak. Now, slip stitch ...

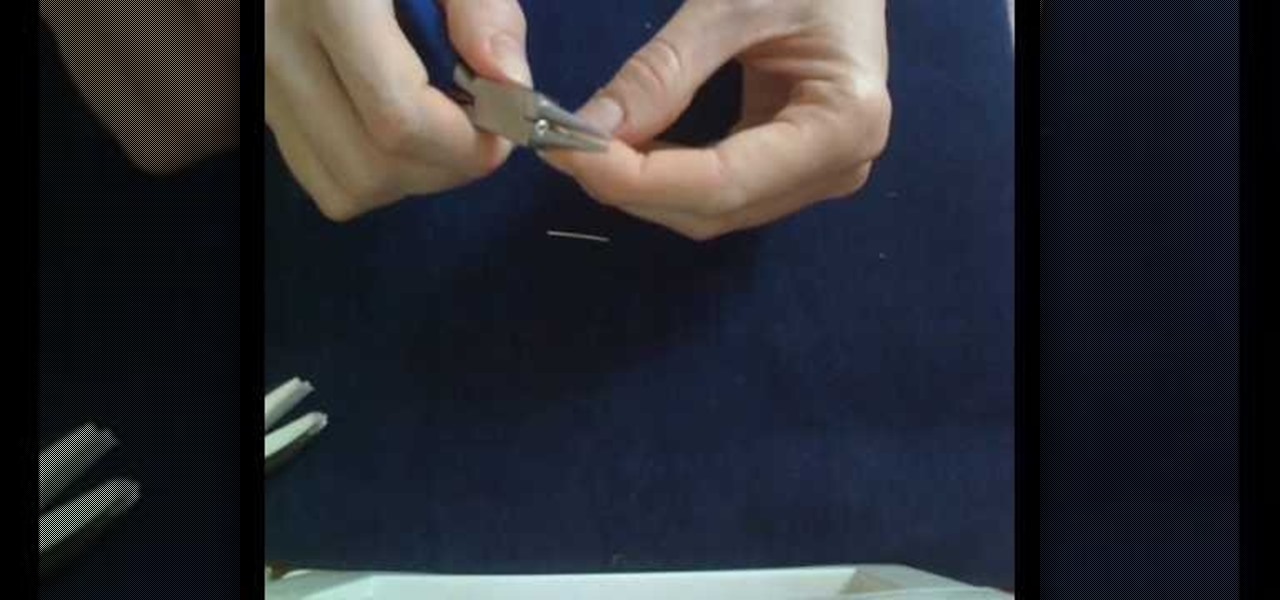
Jessica VanDen shows us how to make a hand forged silver clasp in this video. Start off with two pieces of sterling silver wire. Now make a simple S clasp with pliers. Then grasp the wire at the thick end and wrap it around until the long piece meets the curve you made. Next, wrap a curve around the end of the wire with pliers to make the clasp. You will need to put the chain through it to attach it. Make sure your chain can fit through the loop that you have made. Now you're finished and mak...

In this tutorial, we learn how to do a feather stitch while embroidering. To begin, you want to place your finger right next to where you are sewing so you are making a loop shape and helping guide your needle as you are doing this. You will want to chain the loops together, making the thread look like feathers as you continue. There should be no lines that are straight, all should be looped by placing the needle in between each circle and pulling it into the loop shape. When you are finished...

In this tutorial, we learn how to write a love song on the piano with Nate Bosch. Keys to writing a love song include making tenderness with a light sound and following through. The e-flat key makes a beautiful sound that is perfect for a long song. You can use the lighter twinkling sounds at the end to make a light sound that is also romantic. Go to an open octave to add a very light sound that will compliment your notes perfectly as well. Make sure you use sounds that will compliment vocal ...

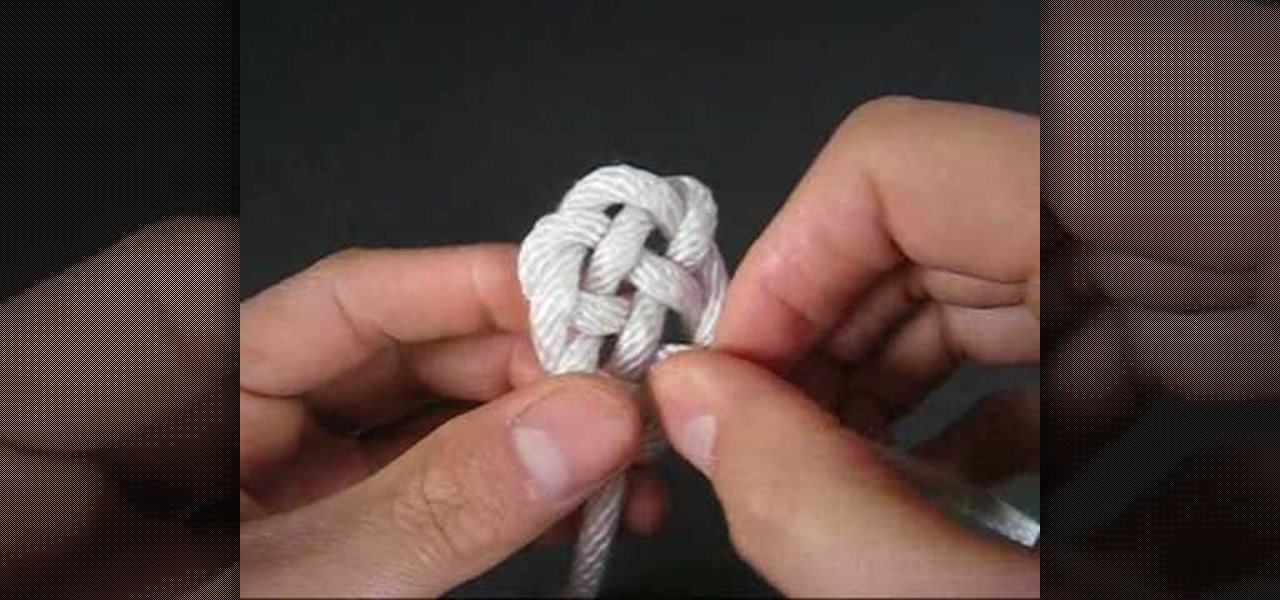
In order to create a Key Hole Weave Knot, you will need: rope or twine. Begin by making a loop. Then, make a second loop next to it. Cross the loops, placing one on top of the other. Weave a free end through the loops. Next, weave the other free end through the loop. Pull them both through carefully. Next, you'll need to shape your knot, by making sure that the spacing is even.


