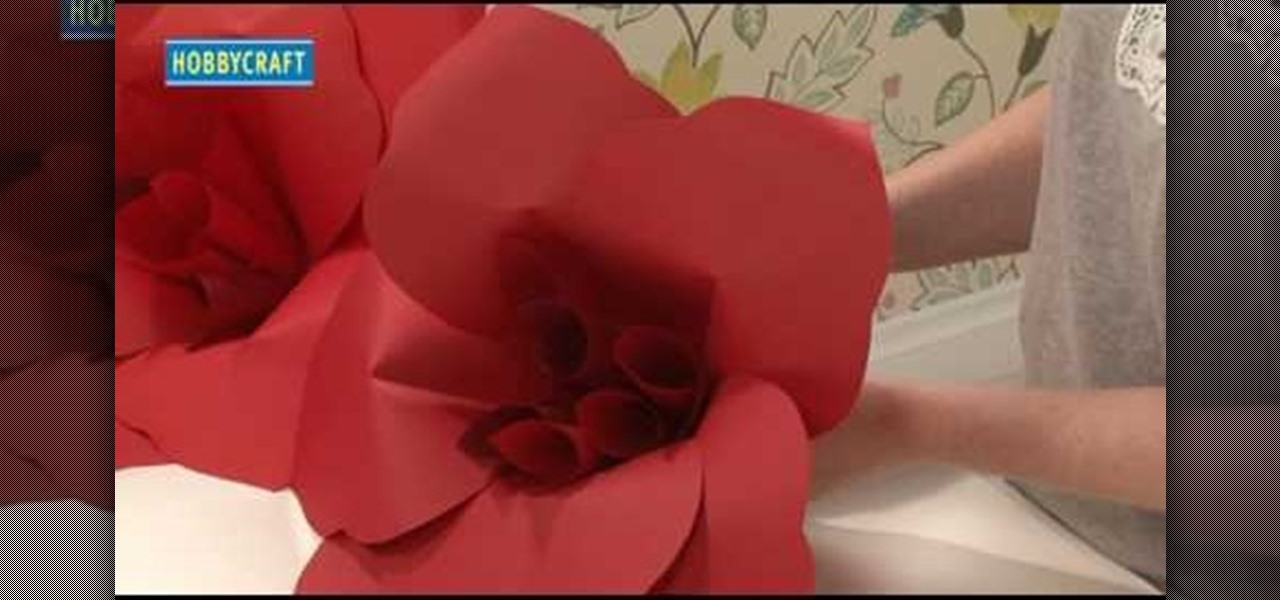
If you need to decorate your house fast for the holidays, then supersized decor is the way to go. Yeah, you could buy those tacky big Christmas ornament balls fastened with big red ribbons at the store, but if you're looking for elegant Christmas decor then making it is the way to go.
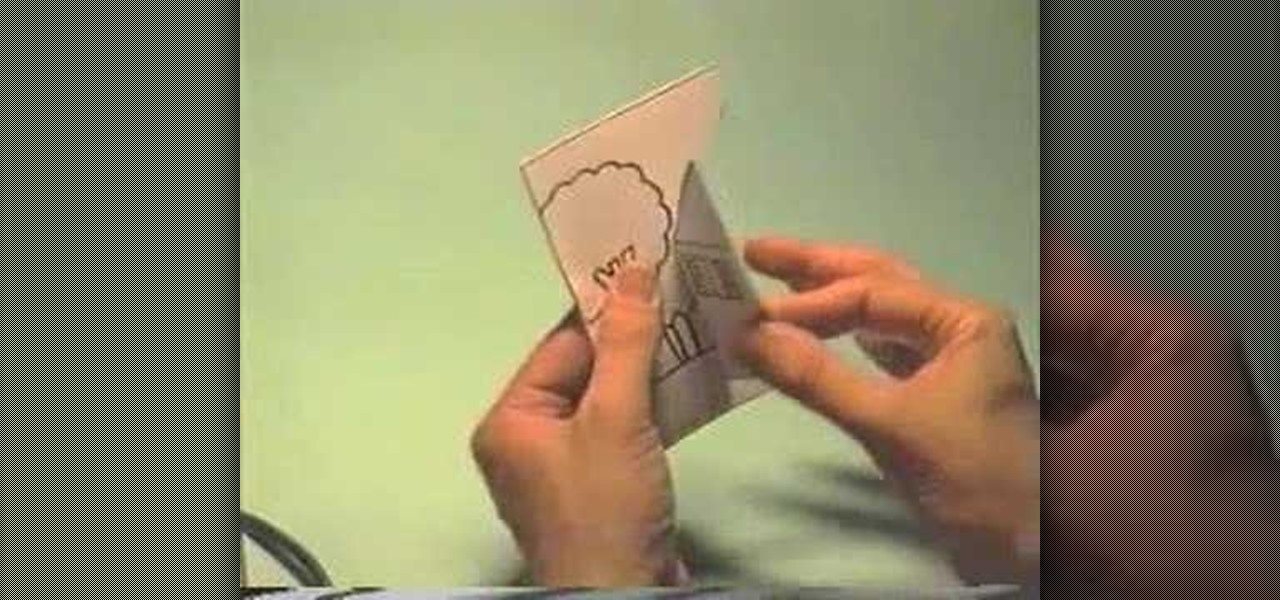
In this tutorial, we learn how to make a little house pop-up card. First, draw a cute little house on a flat plain with trees around it, then decorate the house! After this, fold it in half so the house shows on the outside and cut the paper along the roof and on the bottom, not on the sides. After this, bend that flap on both sides and then open up the card. Now, fold the card in so the little house pops out when you open it up! From here, put into your card and then color the entire thing t...
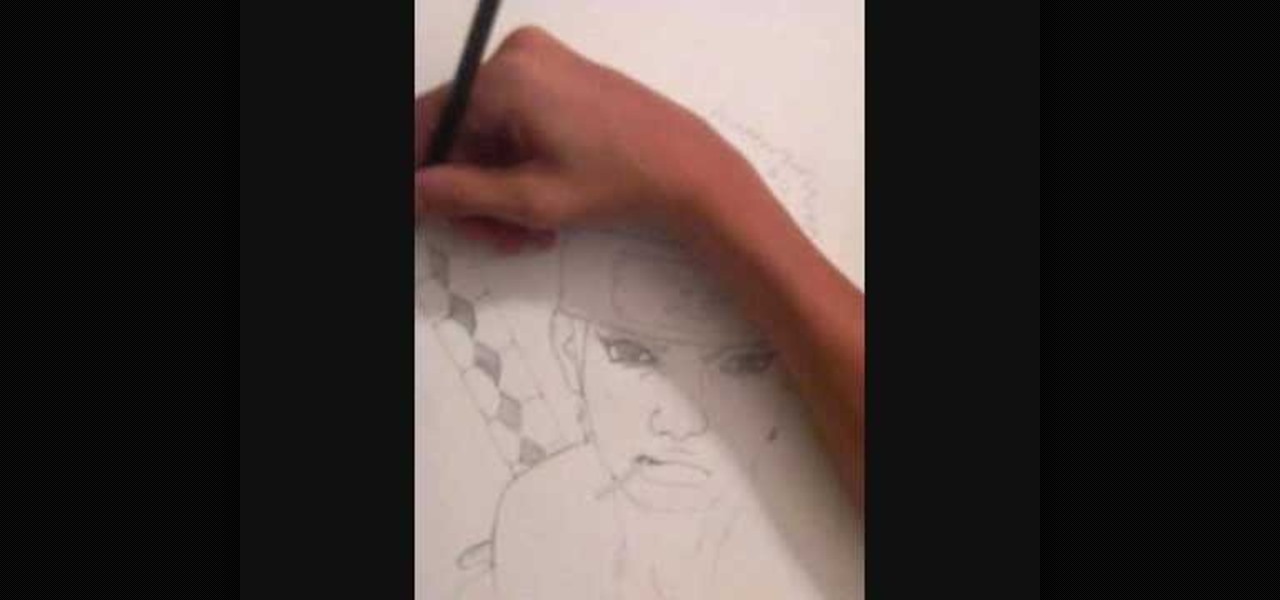
In this tutorial, we learn how to draw Omoi. first, draw the outline of the character with a thin pencil mark. After this, draw in the features of the face and include the details on the eyes. From here, start to draw in the bangs and the hair around the head. Next, you will draw on the headband on the forehead and then decorate the inside with the usual sign. Next, you will draw on the ears and finish with the details on the face. After this, draw on the upper body and then clean up any back...
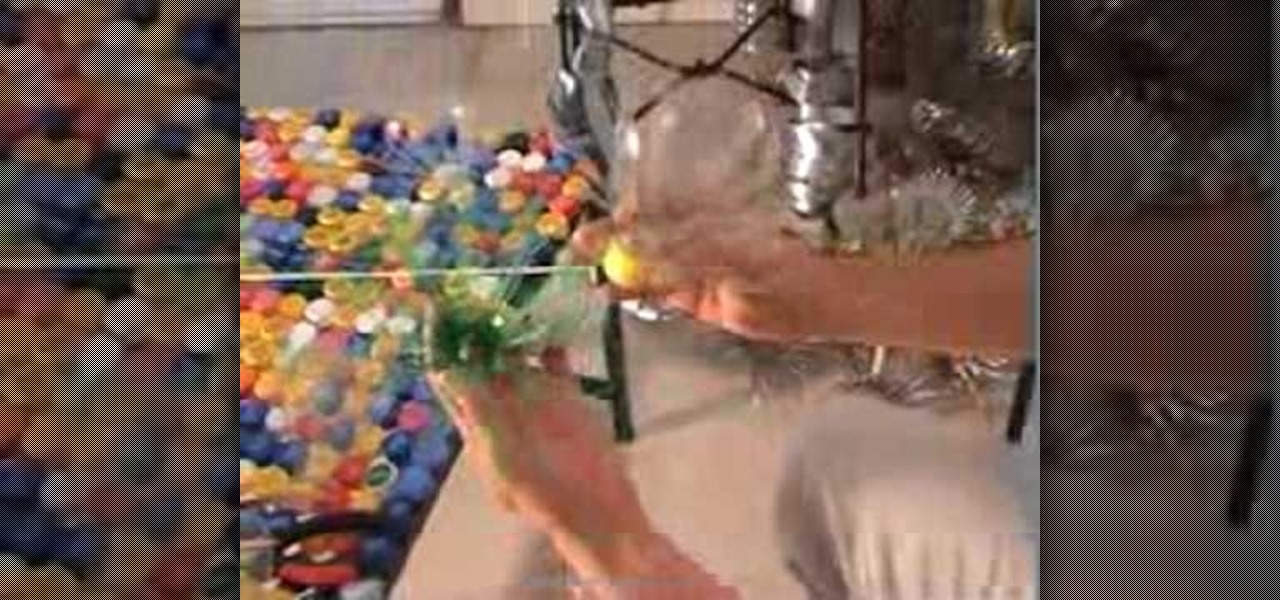
In this tutorial, we learn how to recycle plastic bottles and make decorative flower art. Start out by cutting around the cap of the bottle until the body is cut off. Then, cut small slits in the bottle until it's completely cut up. From here, you will spread these out so they are opened up like petals. Take different colored plastic bottles and repeat this process. When you're finished, you will then attach these together using heat and use them as decorative art for your wall! This is great...
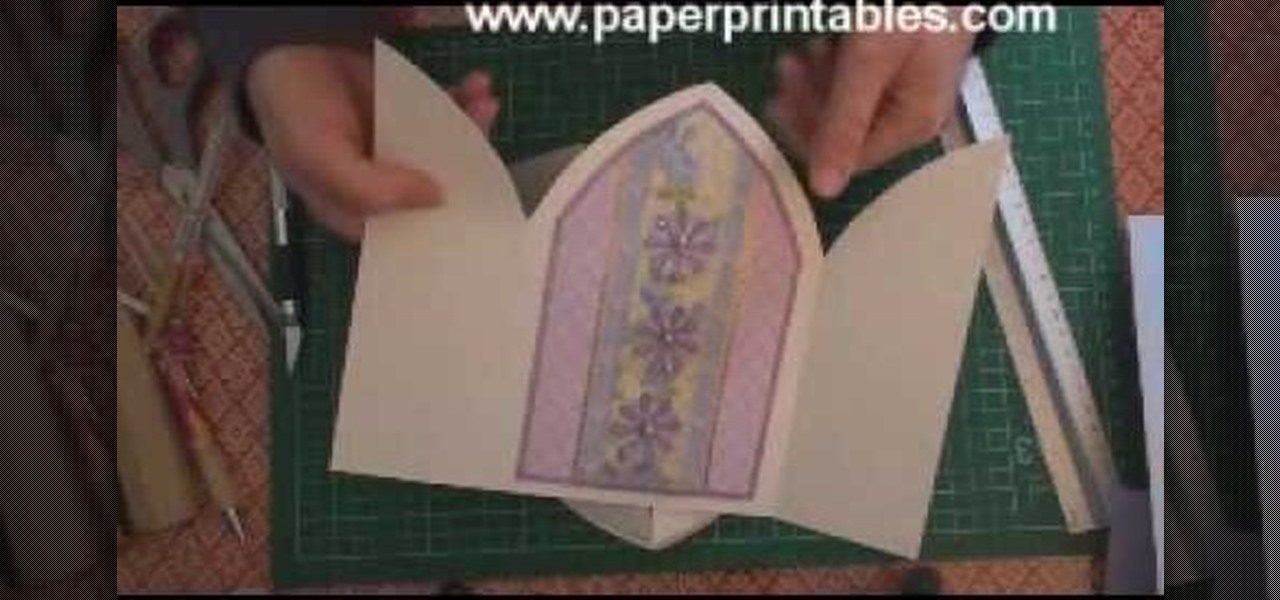
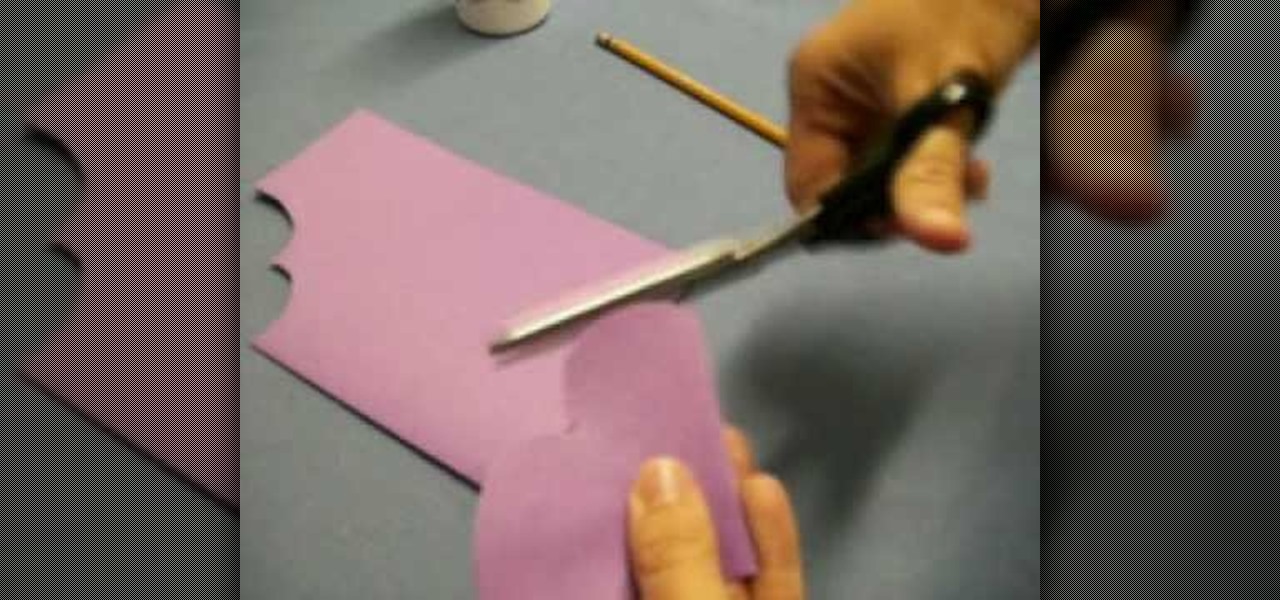
In this tutorial, we learn how to make a church door card. To start, you will need to take a piece of card stock and the template for the church door. After this, you will fold the template up using the paper, then cut it out. After this, write the message you want on the inside of the card. From here, you will decorate the front of the card and then tie a ribbon on the front. This will close the two doors and then when you upwind it, the person can see the inside. Make this unique and have f...

In this tutorial, we learn how to make an edible bird house with your kids. You will need: bird seed, 1/2 c flour, 2 tbsp corn meal, scissors, twine, paper plate, ice cream cones, 1 pint milk, raisins, peanut butter, nuts, and graham crackers. Now, poke three holes into your paper plate. Then, glue the milk carton onto it with the glue. From here, mix the flour with the peanut butter and then rub it on the crackers. After this, stick the crackers on the milk carton. From here, the kids can us...

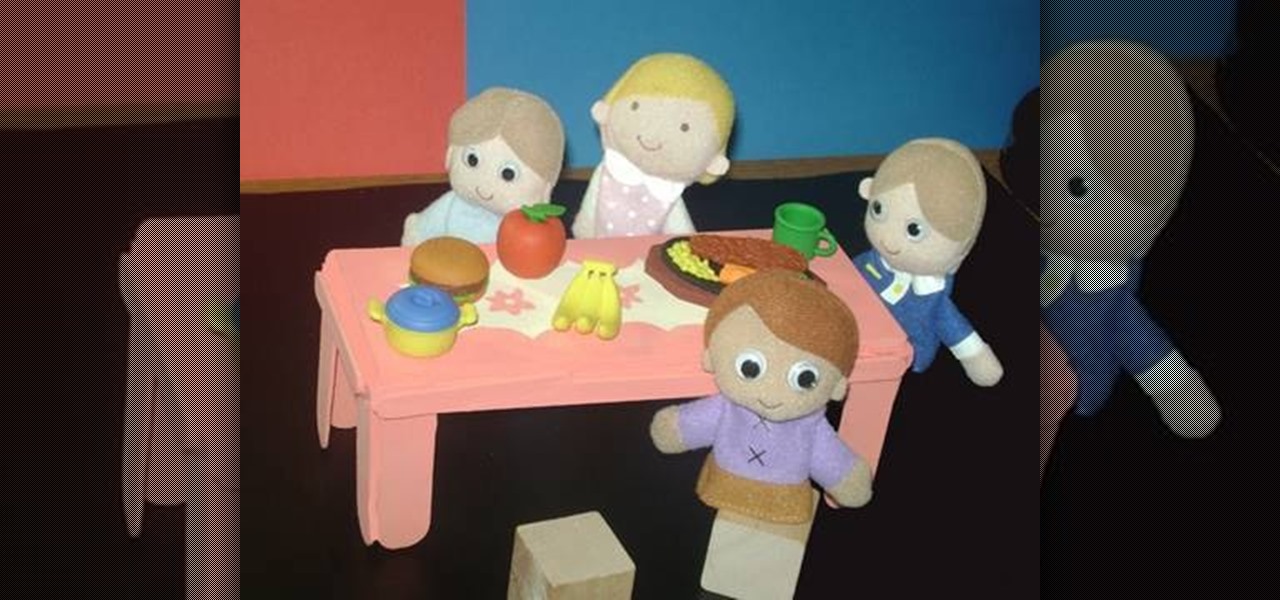
In this tutorial, we learn how to make a miniature table. Materials you will need are: a wood slat, 4 popsicle sticks cut in half, paint, paintbrush, and glue. Heat up your hot glue gun and then grab your popsicle sticks. Glue one stick to the side of every corner of the slat. After this, you should have two on each side of all four corners of the wooden slat. After you're finished placing them on, let the glue cool and then harden. To finish, you can paint this and decorate it and use it ins...
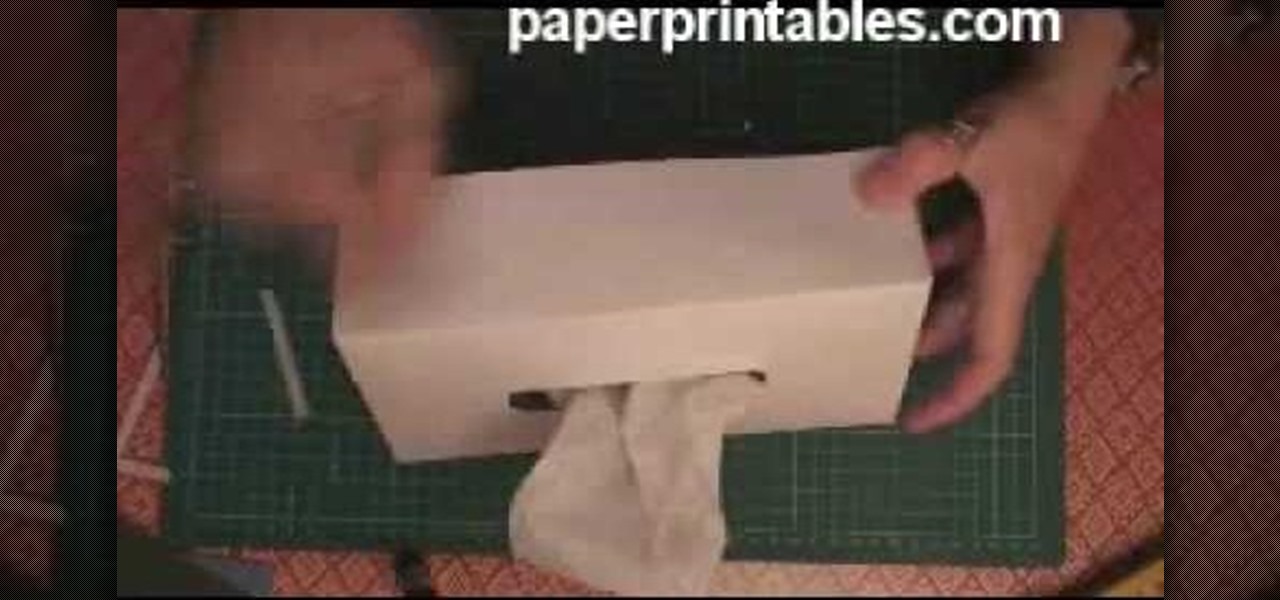
In this video, we learn how to make a decorative tissue box cover. First, you will need to get a piece of paper in your choice of color and set your tissue box on top of it. Use different colors of paper to trace out the edges of the box and then you will tape them all together. Make edges off the paper when you trace them so they fold over. When finished, you will put this onto the tissue box. You can also decorate this with any accessories that you would like to add a personal touch to the ...
In this tutorial, we learn how to do a Y braid on your American Girl doll. First, brush your doll's hair out and then put the hair in pig tails. From here, you will split the tail in half on both sides. Then, you will combine the two middle pieces and start to braid the hair like normal. Do this all the way down until you reach the bottom of the hair. When finished, tie the end with a rubber band to keep in place. This will finish the Y braid look for your American Girl doll, enjoy! Decorate ...
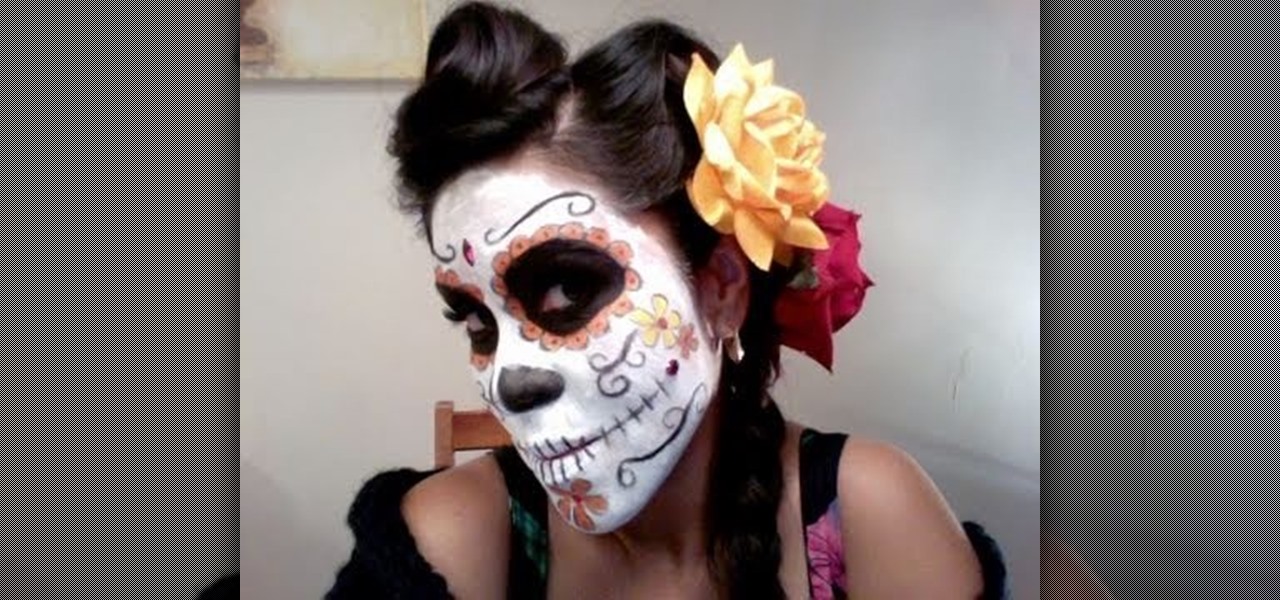
El Dia de los Muertos is a very colorful Spanish holiday which takes place on November 2nd, All Soul's Day. The festival involves bringing food and other goods to your dead relatives' graves and spending the night praying and remembering them. It's often a very communal, spiritual ritual that's also a fun activity for the whole family.
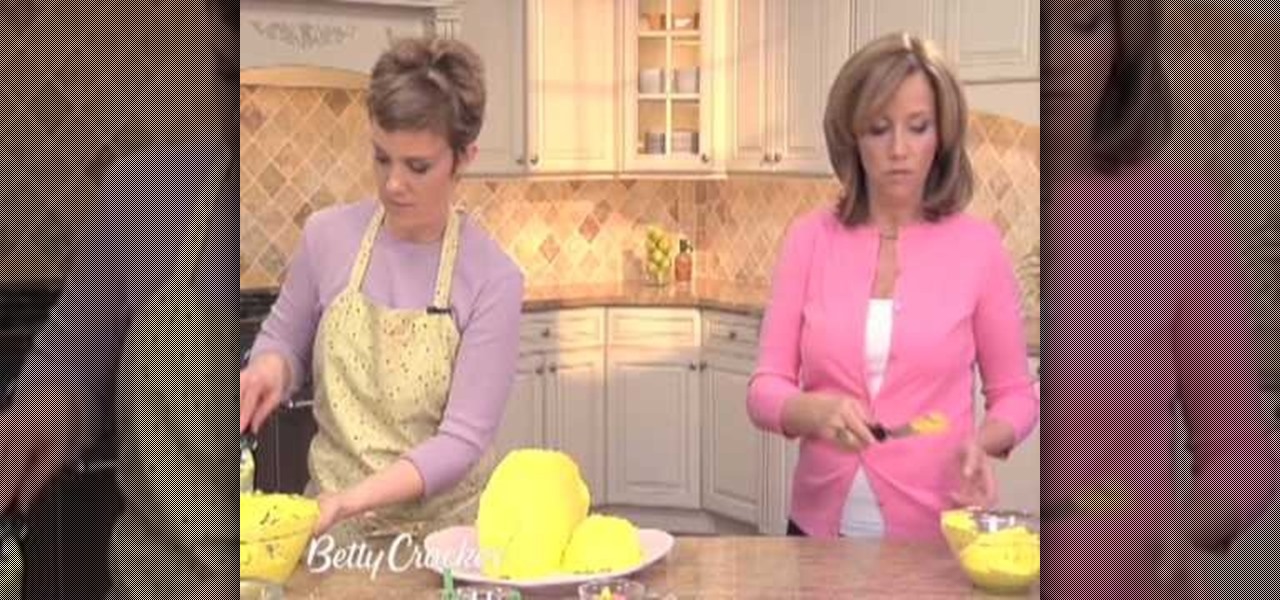
In this tutorial, we learn how to make a birthday cake in the shape of a purse. First, bake two round cakes and place them in the fridge. After this, cut off the edge of both the cakes that are the same size. Then, take some frosting and spread it onto the cake to adhere both together. Now, push the cakes together and have them stand up straight. Use the other pieces to make a mini cake and frost both cakes all over. Then, smooth out the frosting all over the surface. Now you can start to dec...
In this tutorial, we learn how to make 3D nails. You will need: nail glue, nails, glitter, nail polish, tools, and anything else to decorate. To start, paint the nail and then apply small ribbons to them at the top. You can also add in glitter if you would like. Glue the ribbons by using nail glue or super glue. For the rest of the nails, repeat the same process, making all of them look different by adding small pearls, different shapes, and glitter. Let these dry, then you can place them ont...
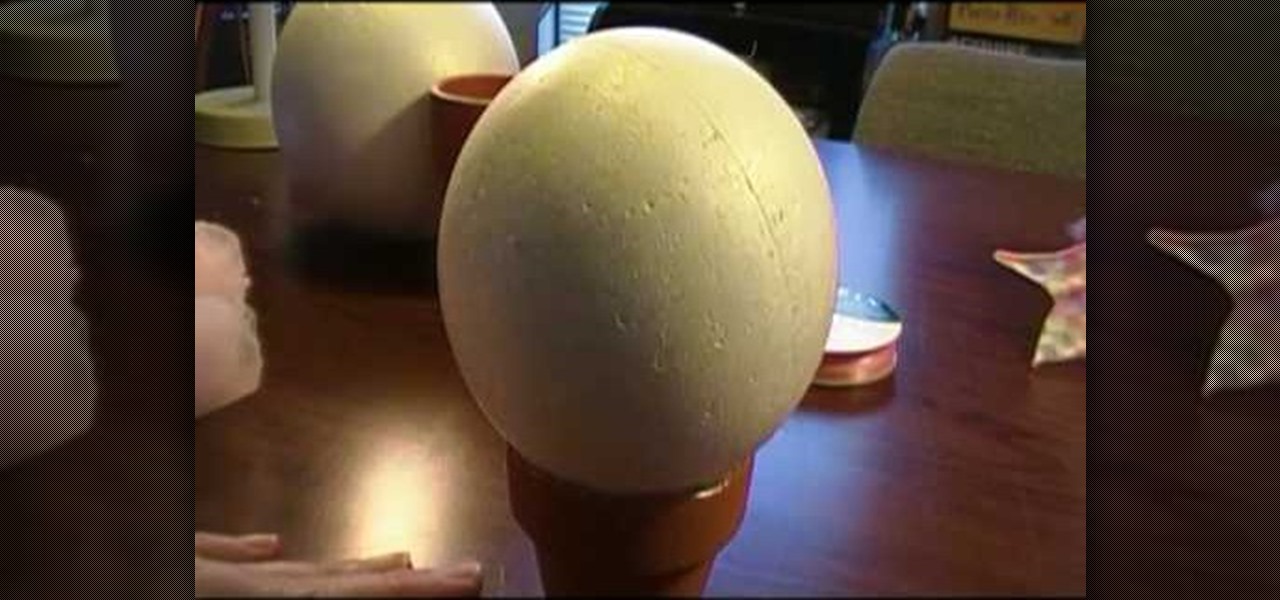
In this video we learn how to make a baby and child hat stand. First, you will need to purchase flower pots from the store along with Styrofoam balls. Use different sizes of balls to fit the size of hats that you are creating. Use marbles to weigh down the flower pots. From here, you will use a hot glue gun to glue the ball to the stand and then let it cool From here, you will be able to use this as a stand for your hat. This will help your hat set after you are done decorating it and display...
In this tutorial, we learn how to make Styrofoam and fabric Christmas ornaments. First, shape the Styrofoam into a ball and then grab the fabric you want to place around it. Place the ball into the fabric, then tie it at the top with a ribbon and some string. After this, you will be able to decorate the fabric with bows and glitter, whatever you want to use. You can attach a hook to the string in the middle if you would like to hang this on a string. Be as creative as you would like, just mak...
In this video, we learn how to craft orange-and-clove Christmas decorations. First, you will need to grab some oranges from a local supermarket, along with ribbon, and cloves. Now, grab the close and pierce it into the skin of the orange. This will release the smell of the orange and give you the scent of the clove as well. You can now make any design on the orange that you would like to! When you are finished decorating these, you can attach a ribbon to any part of them that you would like. ...
In this video we learn how to make an elegant paper hat. First, place the paper over the head and lay it down. Then, have the person hold the hat while you find their nose and attach tape from this and around the entire head. Once you are finished going around twice, then you can wrap up the excess parts of the paper towards the top. Use a stapler to staple down the sections of paper that you have rolled up. Do this all the way around the hat and then add on different items and accessories to...
In Minecraft, the key to survival is building proper shelter for yourself to survive the nightly attacks by the creatures that roam the land. But whose to say that you can't spruce the place up a little bit? Notch has included a feature in the game that allows you create paintings using a few sticks and a piece of wool. In this video you will learn how to craft the paintings and also how to put them up and some of the random paintings that you can get.
In this tutorial, we learn how to create a crafters tool caddy for your desk. First, you will need to gather a few pieces of chip board coasters and cut them to the specifications you would like your caddy to be. After you have done this, put your caddy together by locking them together using cut lines inside the middle of each of them. Once you have finished this, place additional pieces of chip boards inside to create different sections of the caddy. Once you are finished, place in your mat...
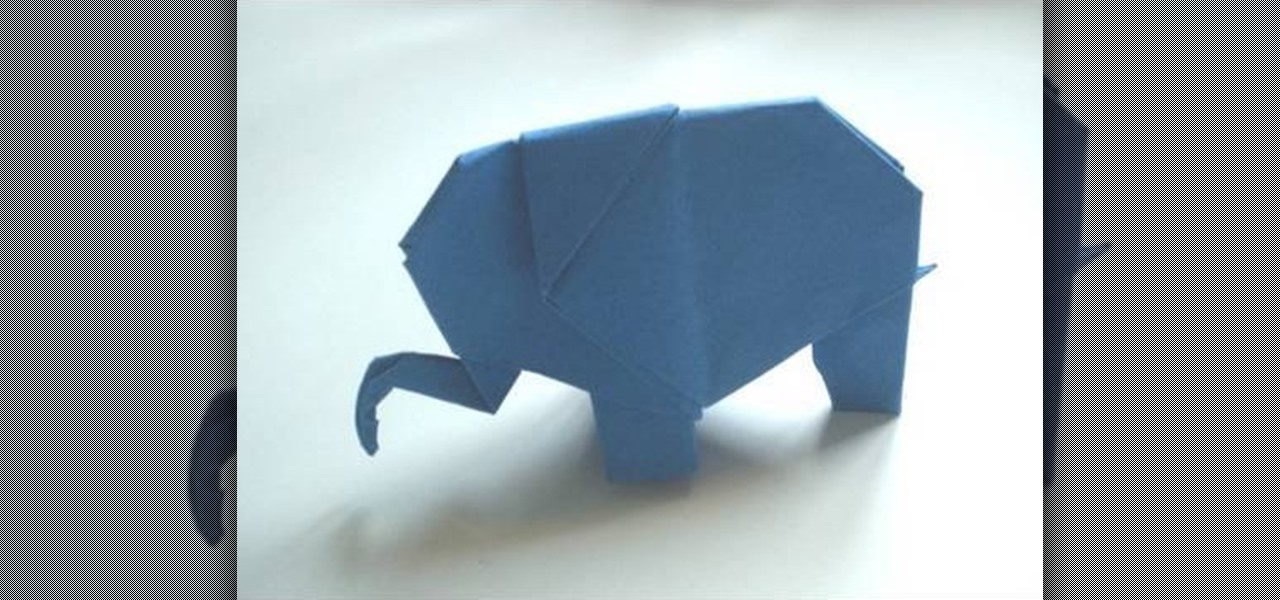
Is your best friend's baby shower speedily approaching and your mind out of ideas for a cute and cheap way to decorate the party? Then you've come to the right place. These tiny blue origami elephants would make great pieces of decor as centerpieces on the dining room table and placed on counters around the house to emphasize the baby theme.
When it comes to making food for special occasions, traditional American foods like bbq pork, hot dogs, and apple pies get old fast. While they're super tasty, it's refreshing to switch up your foodstuff line up every now and then. For a dessert that's delicious and very pretty, check out this lovely Lebanese knafeh na'ama dessert, a pie-like concoction made with very fine dough. Check out the video for the recipe!
To make a mini milk carton, you will need the following a big shot, Mini Milk Carton Die # 117310 (Occasions Mini) card stock, a clip, and sticky strip.
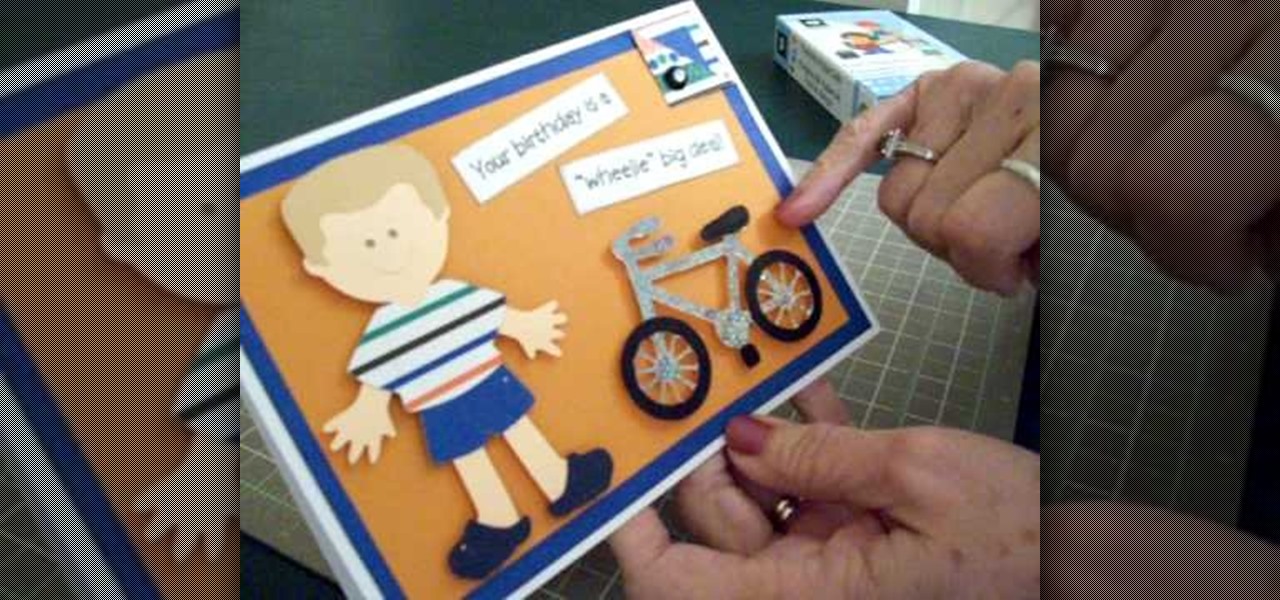
In order to make a Cricut "biker boy" birthday card for a young boy, you will need the following: Everyday Paper Dolls cartridge, adhesive, and card stock.
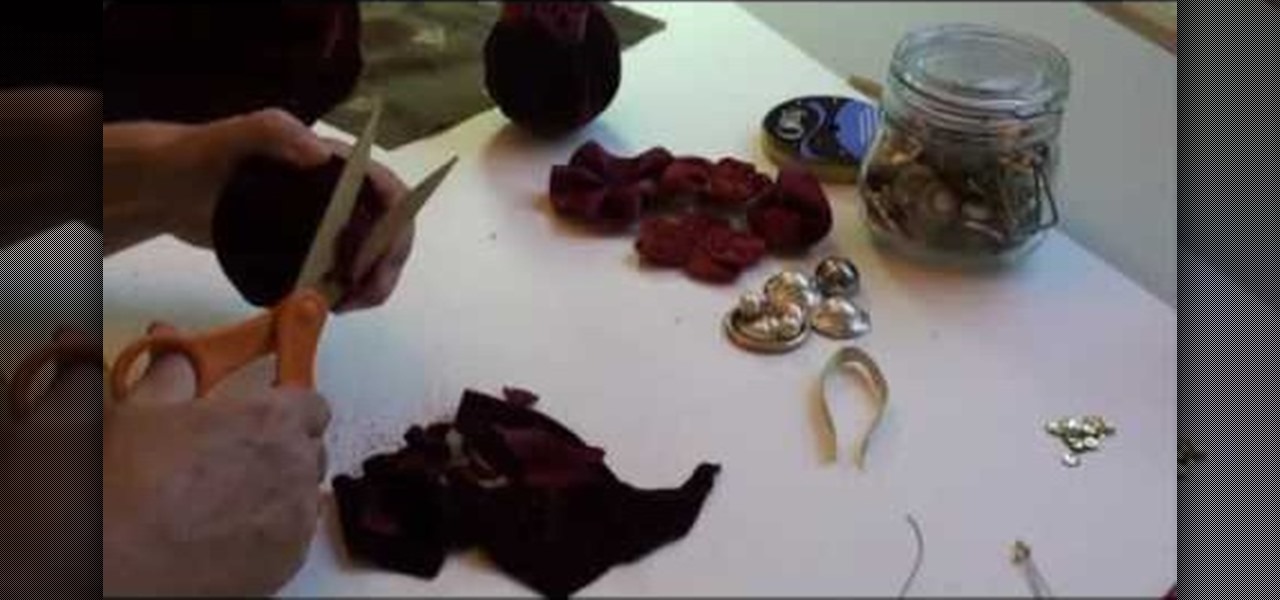
In order to make a ribbon tree, you will need the following: 50 2" pieces of ribbon, scissors, a hot glue gun, hot glue sticks, and a floral tree.
You know those sugary sweet jelly fruit slices you can get in little packets at every grocery and convenience store? Well, we've found a way for you to enjoy them without busting out of your belt.
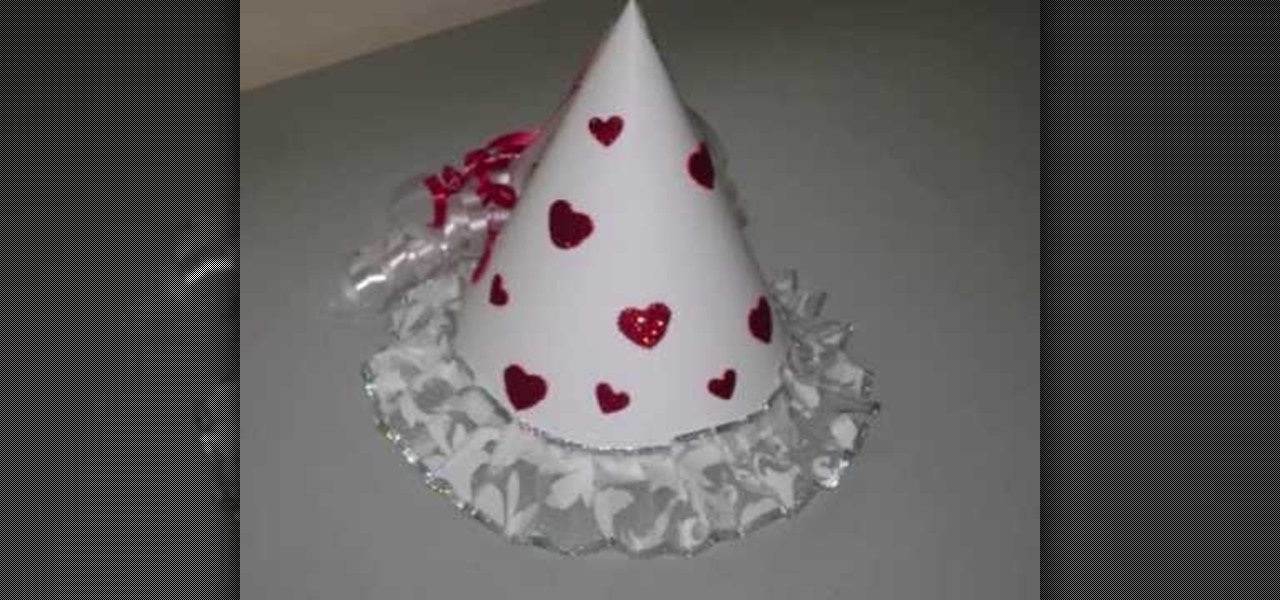
In this video tutorial, viewers learn how to make a fairy princess hat. The materials required for this project are: white cardboard/postcard, glitter stickers, glue, white lace/ribbon, red and white thin plastic ribbons and scissors. Begin by folding the white cardboard into a cone shape and glue it together. Trim the bottom of the cone. Then scrunch the lace ribbon to an accordion style fold and glue it to the bottom of the cone. Now decorate the cone with stickers or paint. Then glue the r...
In this tutorial, we learn how to make a window valance. If you have a drop down shade, a valance will help cover up the hardware that is located underneath it. Start out with your choice of fabric, then add in 1 inch to the top, bottom and sides. Next, line the fabric and place Velcro on the top. Now, use a wrap around and mark where you want to fold the fabric in at. After this, sew the valance and then use the Velcro to stick it onto the metal part of the drapes. When finished, enjoy your ...
In this video, we learn tips on how to prevent cakes from sticking to a baking tin. The best way to do this is to butter up a piece of bread and rub it onto the entire baking tin. Make sure you get both the sides and the bottom of it. If you want to be healthy, use margarine instead of butter so you won't get the extra calories. This is a great way to grease your baking tin and won't lead to cakes that stick on them and won't come off. This avoids messes and makes for terrific cakes that are ...
In this tutorial, we learn how to make a Victorian hat from a lampshade with Gwen. You will need: a lampshade, scissors, acrylic paint, paint brushes, glue, a compass, and cardboard. First, take the compass and make the circle as wide as you want your hat to be, then trace your lampshade on the cardboard. Now place the small end of the lampshade around the large circle that you drew. Next, cut these circles out of the cardboard. Leave extra room, don't cut it out exactly on the line. When fin...
In this tutorial, we learn how to build a cheap worm composting box. Start out by using a large plastic box that has a lid, a storage box works great. Also, grab two vents that you will place on the sides. Lay your vents down on the sides of the box and outline how large they are. Now, cut the box and place the vents on the sides with screw to keep it in place. This box is made to keep worms inside, so it doesn't need to look fancy or be decorated on the outside. Once you're finished drilling...
In this tutorial, we learn how to make a heart bookmark. First, take a sheet of paper and fold it in half, folding the crease. Now, take a pencil and draw two heart humps from one edge to the next. After this, cut them out, leaving the fold together. Trim any edges that aren't round, then add glue to the edge of the heart, and fold it over and let it dry. You can now decorate this will markers and ribbons. To use as a bookmark place your page in the center of the heart. This is a great craft ...
In this tutorial, we learn how to make a fall wreath for a door. First, find a basic wreath that has no decorations on it. Next, add leaves onto the wreath, around the entire circle, but don't fill it in the entire way. Now, add on fall leaves to the wreath with a hot glue gun or with pins if that is easier for you. If you need to cut the flowers, cut them from the base not from the stem, or you will have to purchase new flowers. After this, the final step is to add some fall flowers that mat...
Is your wedding coming up in a few months? If you're like the greater population of brides, whittling yourself away with all the planning, decorating, and selection of dresses isn't enough to match your standards.
Keep your favorite dessert or food item close to you at all times by making a foodstuff-shaped piece of polymer clay. From chocolate cupcakes to orange slices to donuts, polymer clay can be formed into almost any food imaginable. Plus, miniaturizing makes food look adorable, making it even more irresistable.
In this tutorial, learn how to ring in the new season with a classic, girly bonnet. These hats can be made at home with common arts and crafts supplies. You can wear these floppy hats for Easter, Valentines Day, or any other time you need a little shade from the sun and a little style.
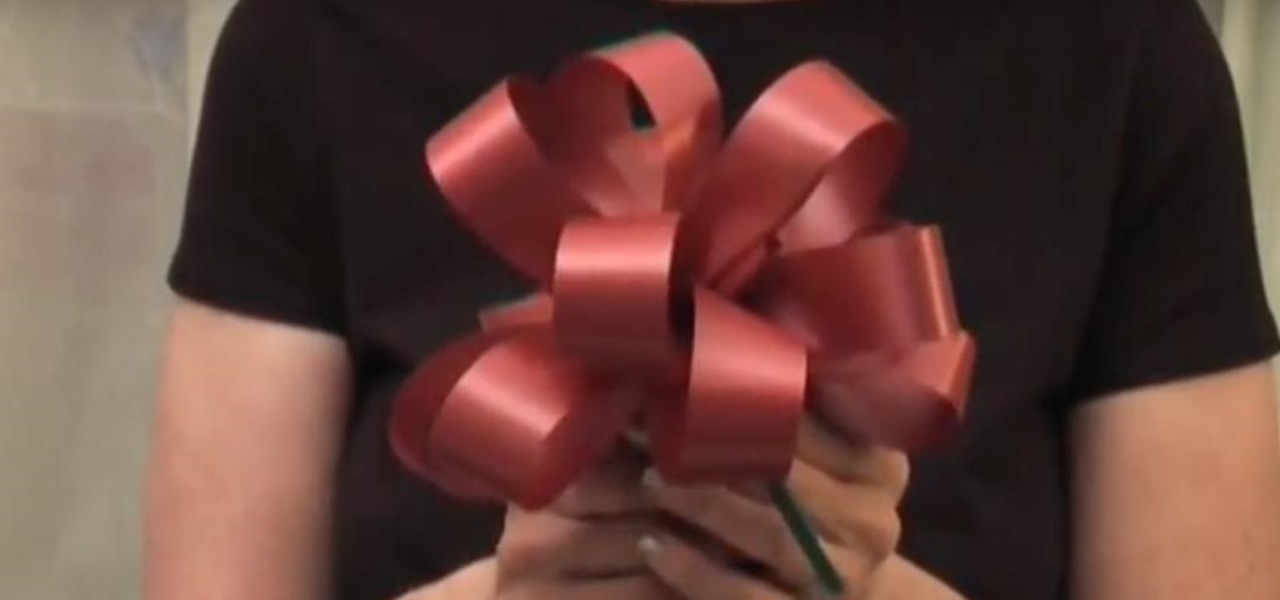
Looking to give your party a more decorative atmosphere? In this video, Judy of A-BnC Parties and More, Inc. shows how easy it is to make a decorative bow with ribbon, a sharp pair of scissors, some curling ribbon or a twist tie, and the knowledge held in this how-to. One can use these bows to decorate your wedding, place them on chairs, canopies, or even add them as an accent to gift baskets. Take your party decor to the next level with help from this free tutorial.
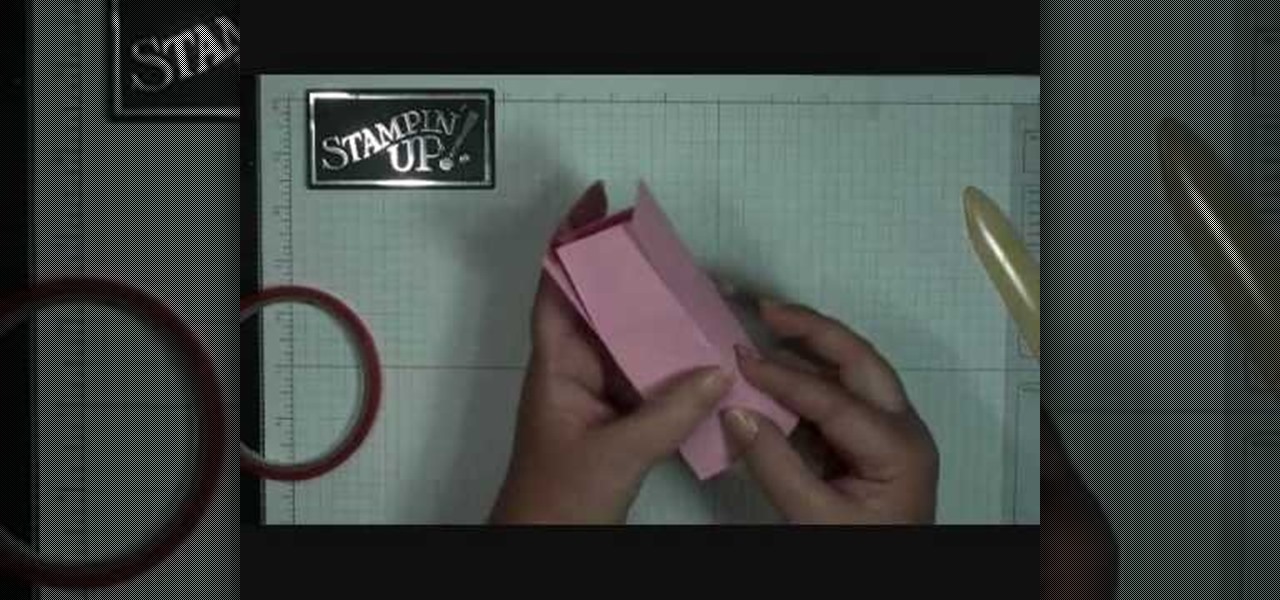
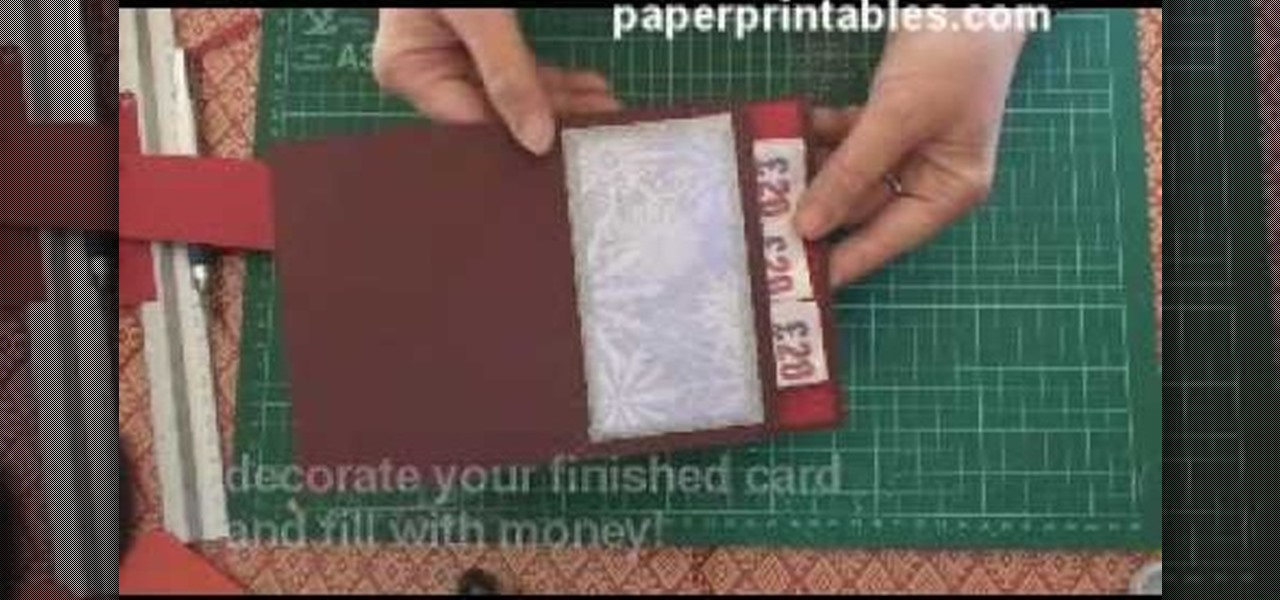
To make this pop-up card, you just need two sheets of card stock. This pocket pop-up card is made specifically to hold money, which works great for birthdays and holidays, especially Christmas. This super simple pop up pocket card is easy to make, and it doesn't just have to hold money… it can hold gift vouchers or plastic cards, also. Super base for decorating either with stamps or designer papers.
This is a video tutorial showing its audience how to link a button to external urls in Flash CS3. First create a exoscript 3 document with a rectangle textbox that says youtube. Next select your rectangular box and convert it to a button. Next name your button and click okay. Next give your new button an instance name, remember this name. Now click on actions and create your actions. Start with a stop action and then put the name of the button as an action. Next name your function that you wa...
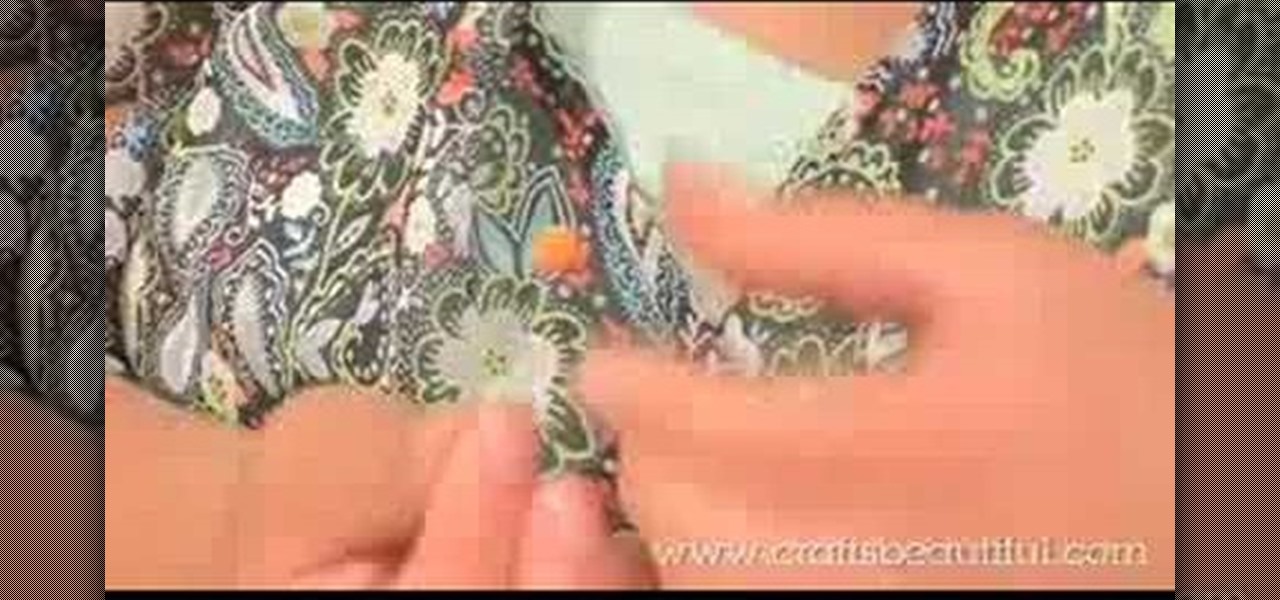
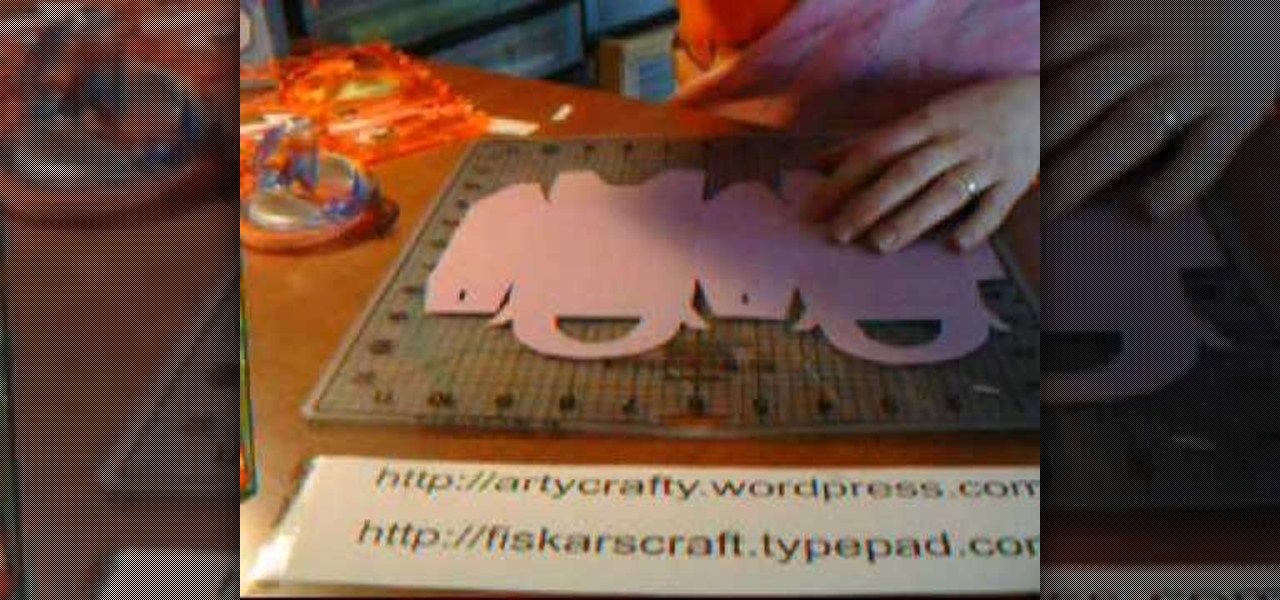
In this Arts & Crafts video tutorial you will learn how to make handmade treat boxes. Materials needed for this project are trimmer with scoring blade, PDF template, cardstock, scissors, Fiskars fingertip craft knife, Fiskars templates, Fiskars ultra shape Xpress, decorative scissors and embellishments. Download the PDF template from http://artycrafty.wordpress.com, print it out on a cardstock on the non-decorative side and cut out the shape along the thick line. Then score along the dotted l...
preparedpantry describes the process of covering sugar cookies with fondant.
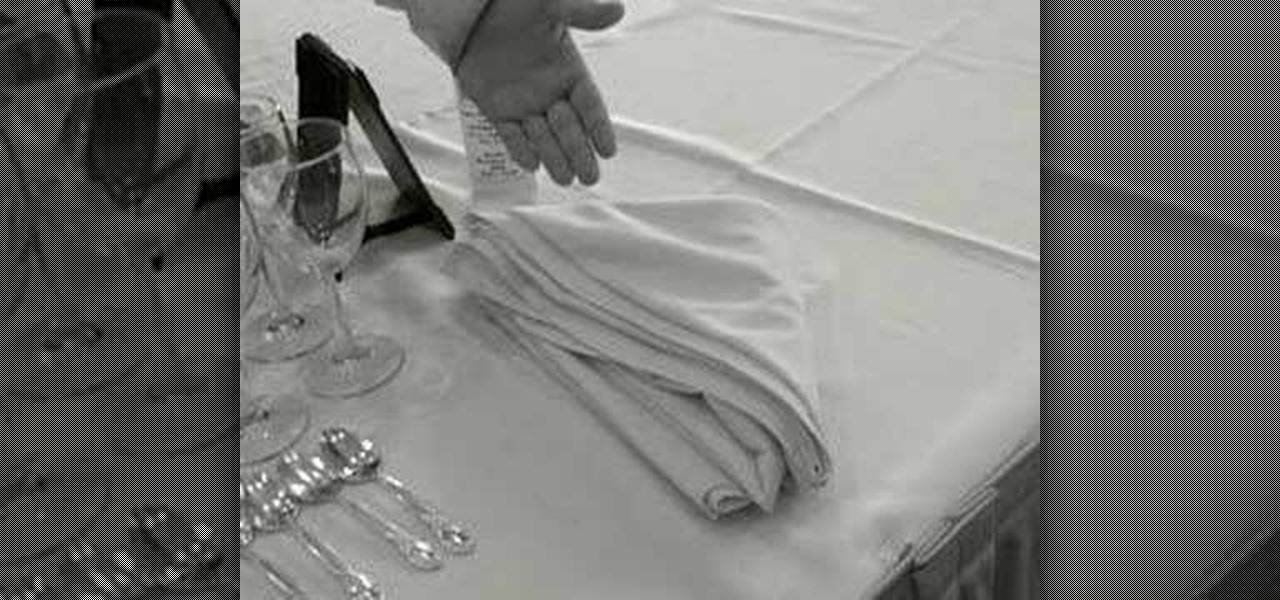
This video teaches us the way to properly set a table. You will require a couple of things for this purpose. These things include a table with a table cloth and napkins. These should be kept at one side of the table. Then take salad forks and dinner forks. Arrange these in the center. Take knives and spoons. Arrange these besides the forks on both the sides. Take bread and butter plates and arrange them above the salad and dinner forks. Put glasses above the spoons. Put bread and butter knive...