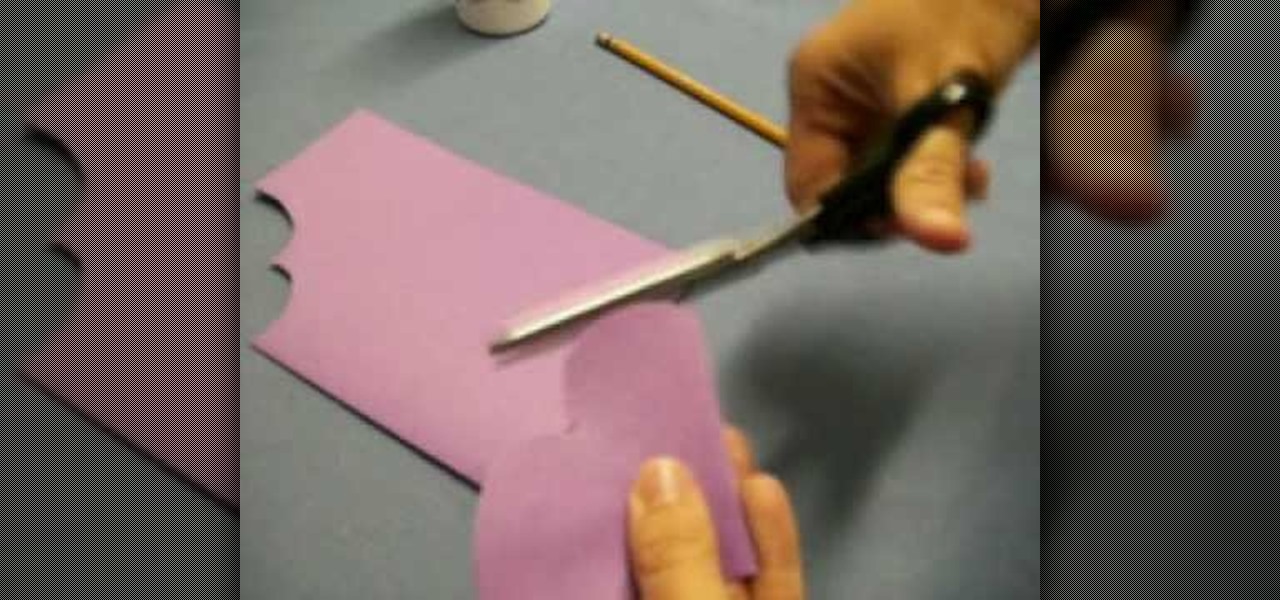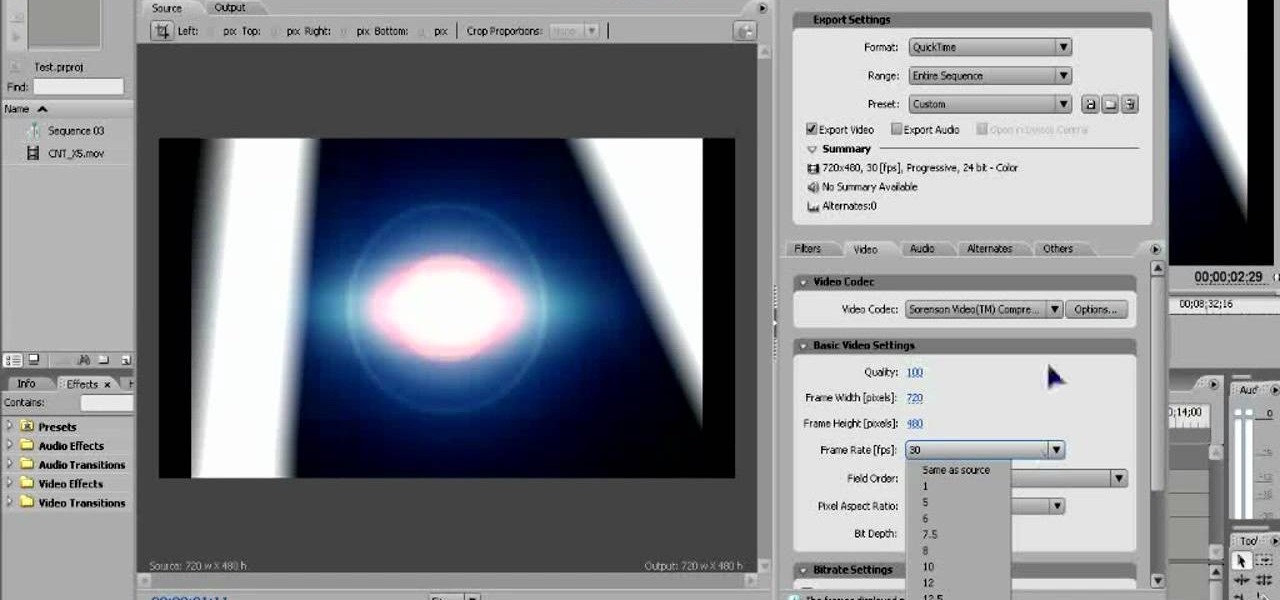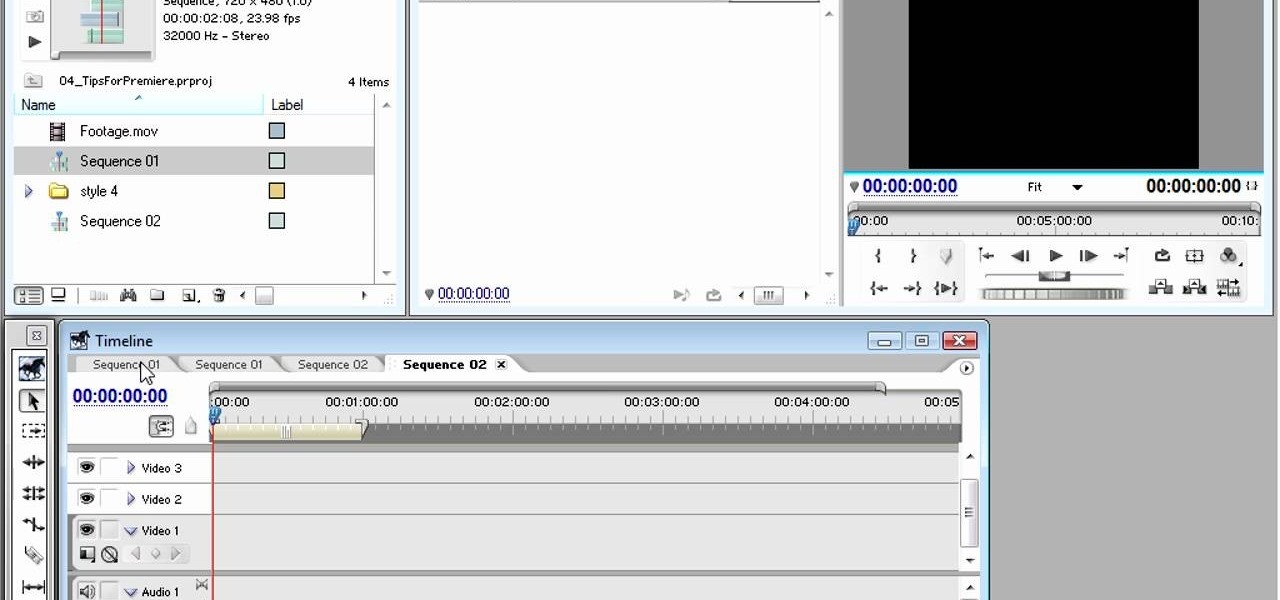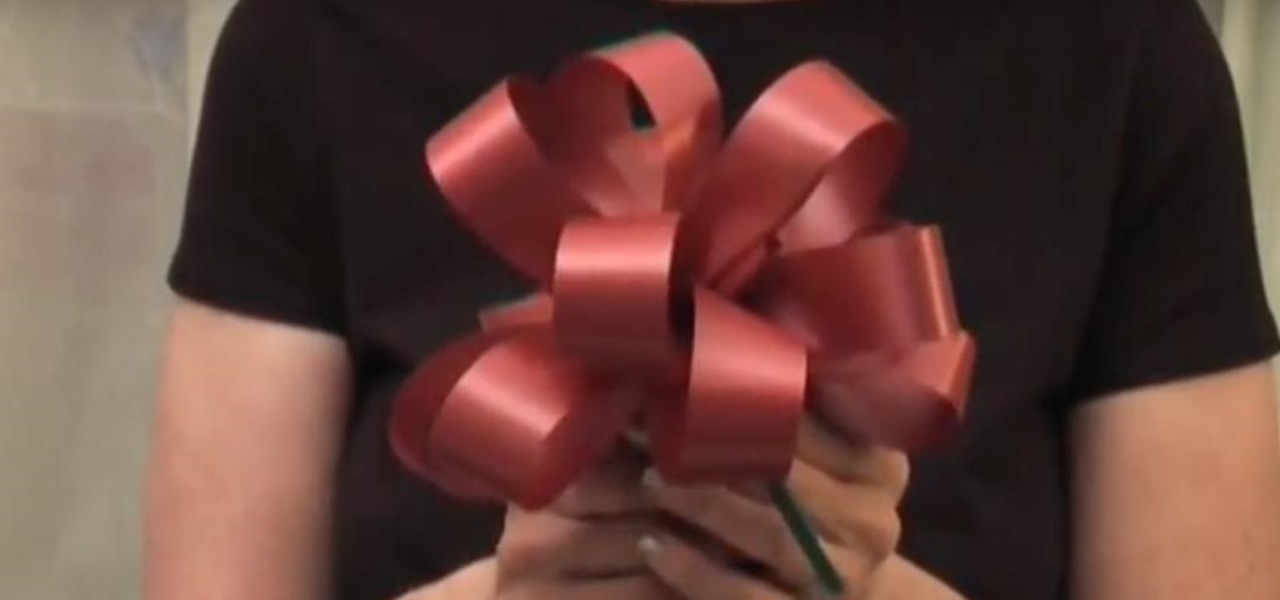
You know those sugary sweet jelly fruit slices you can get in little packets at every grocery and convenience store? Well, we've found a way for you to enjoy them without busting out of your belt.
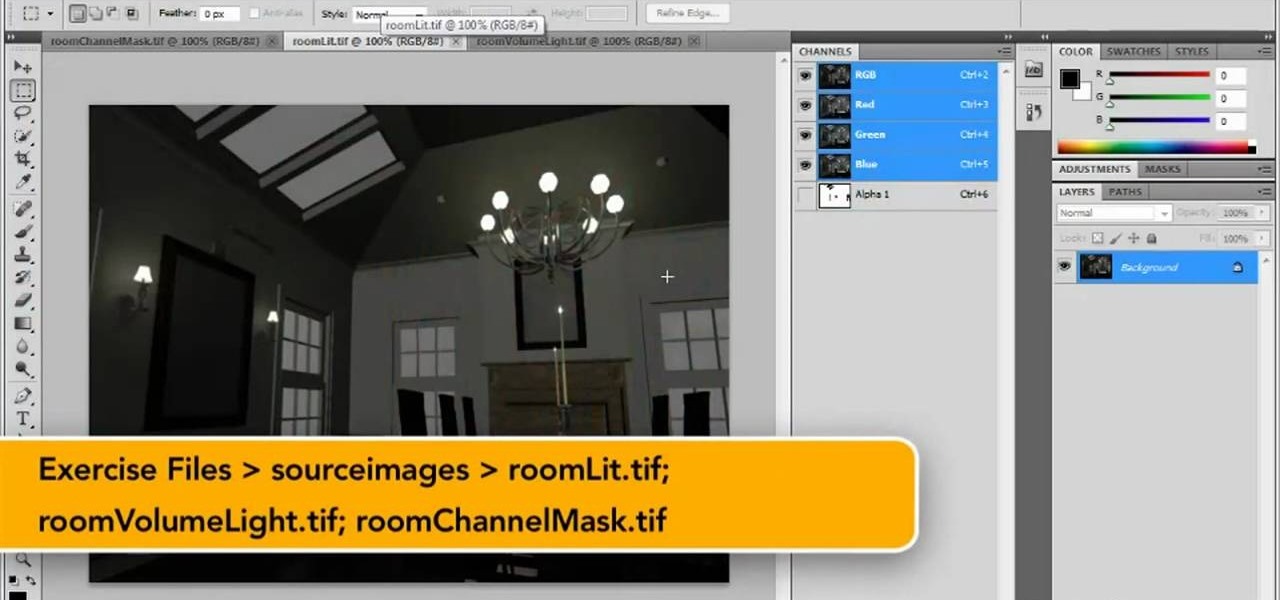
Learn how to use and work with render layers in your Maya 2011 projects. Whether you're new to Autodesk's popular modeling software or a seasoned 3D artist just looking to better acquaint yourself with the Maya 2011 workflow, you're sure to be well served by this video tutorial. For more information, and to get started using render layers in your own Maya 2011 projects, watch this free video guide.

In this tutorial, we learn how to make a window valance. If you have a drop down shade, a valance will help cover up the hardware that is located underneath it. Start out with your choice of fabric, then add in 1 inch to the top, bottom and sides. Next, line the fabric and place Velcro on the top. Now, use a wrap around and mark where you want to fold the fabric in at. After this, sew the valance and then use the Velcro to stick it onto the metal part of the drapes. When finished, enjoy your ...

Use this simple tip to automatically show file names of all elements in your project's timeline. Whether you're completely new to Sony's popular nonlinear editor (NLE) or are a seasoned digital video professional simply looking to pick up a few new tips and tricks, you're sure to be well served by this free video software tutorial. For more information, including detailed, step-by-step instructions, take a look.
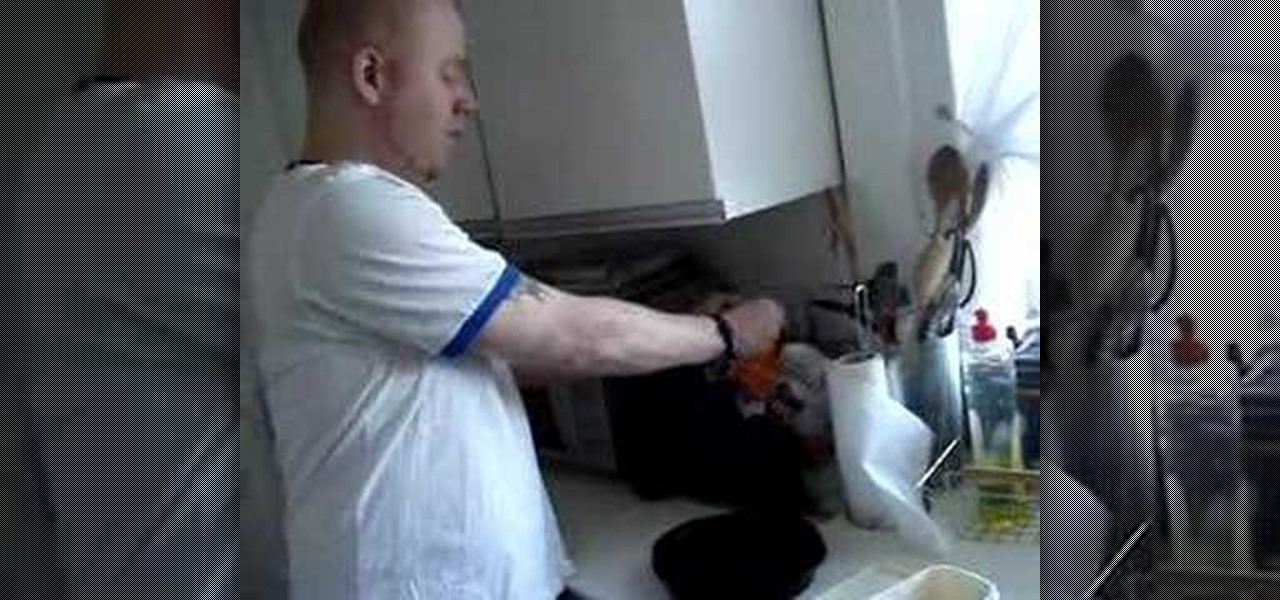
In this video, we learn tips on how to prevent cakes from sticking to a baking tin. The best way to do this is to butter up a piece of bread and rub it onto the entire baking tin. Make sure you get both the sides and the bottom of it. If you want to be healthy, use margarine instead of butter so you won't get the extra calories. This is a great way to grease your baking tin and won't lead to cakes that stick on them and won't come off. This avoids messes and makes for terrific cakes that are ...

In this tutorial, we learn how to make a Victorian hat from a lampshade with Gwen. You will need: a lampshade, scissors, acrylic paint, paint brushes, glue, a compass, and cardboard. First, take the compass and make the circle as wide as you want your hat to be, then trace your lampshade on the cardboard. Now place the small end of the lampshade around the large circle that you drew. Next, cut these circles out of the cardboard. Leave extra room, don't cut it out exactly on the line. When fin...

In this tutorial, we learn how to build a cheap worm composting box. Start out by using a large plastic box that has a lid, a storage box works great. Also, grab two vents that you will place on the sides. Lay your vents down on the sides of the box and outline how large they are. Now, cut the box and place the vents on the sides with screw to keep it in place. This box is made to keep worms inside, so it doesn't need to look fancy or be decorated on the outside. Once you're finished drilling...

In this tutorial, we learn how to make a heart bookmark. First, take a sheet of paper and fold it in half, folding the crease. Now, take a pencil and draw two heart humps from one edge to the next. After this, cut them out, leaving the fold together. Trim any edges that aren't round, then add glue to the edge of the heart, and fold it over and let it dry. You can now decorate this will markers and ribbons. To use as a bookmark place your page in the center of the heart. This is a great craft ...

In this tutorial, we learn how to make a fall wreath for a door. First, find a basic wreath that has no decorations on it. Next, add leaves onto the wreath, around the entire circle, but don't fill it in the entire way. Now, add on fall leaves to the wreath with a hot glue gun or with pins if that is easier for you. If you need to cut the flowers, cut them from the base not from the stem, or you will have to purchase new flowers. After this, the final step is to add some fall flowers that mat...

Once you've created and edited a project in Premiere Pro to your heart's content, it's time to export that video so you can watch it outside of your editing console. This video will teach you how to do just that in Premiere Pro CS3 quickly and easily. Make sure your video looks as good as humanly possible using these tips.

Adobe Premiere Pro is one powerful piece of software if you want to make your videos look professional. This video will teach you how to use preset styles with the software to create cool visual effects like those in the movie 300 and others. Download the project file to get the presets, then apply them to your films and see what you get!

Is your wedding coming up in a few months? If you're like the greater population of brides, whittling yourself away with all the planning, decorating, and selection of dresses isn't enough to match your standards.

When doing woodworking projects, it's important to know how to measure things properly. Not doing so, can result in crooked pieces and unbalanced projects. So in this tutorial, you'll find out how to measure stuff without using a ruler in woodworking. Good luck, enjoy, and always play it safe!

Keep your favorite dessert or food item close to you at all times by making a foodstuff-shaped piece of polymer clay. From chocolate cupcakes to orange slices to donuts, polymer clay can be formed into almost any food imaginable. Plus, miniaturizing makes food look adorable, making it even more irresistable.

In this tutorial, learn how to ring in the new season with a classic, girly bonnet. These hats can be made at home with common arts and crafts supplies. You can wear these floppy hats for Easter, Valentines Day, or any other time you need a little shade from the sun and a little style.

Looking to give your party a more decorative atmosphere? In this video, Judy of A-BnC Parties and More, Inc. shows how easy it is to make a decorative bow with ribbon, a sharp pair of scissors, some curling ribbon or a twist tie, and the knowledge held in this how-to. One can use these bows to decorate your wedding, place them on chairs, canopies, or even add them as an accent to gift baskets. Take your party decor to the next level with help from this free tutorial.

Get in touch with your creative side with help from Janice of Paper Beads! In this video tutorial, learn how to make paper roses out of a napkin... a perfect embelishment to any scrapbooking project or paper craft creation. Spend your afternoon making these adorable flowers to adorn all over your creative projects!

Are you an origami master? Add one more origami project to your impressive list of projects completed with help from this video. In this origami tutorial, learn how to fold an impressively fast paper airplane. Wow your friends with this speedy creation sure to outfly regular folded paper planes!

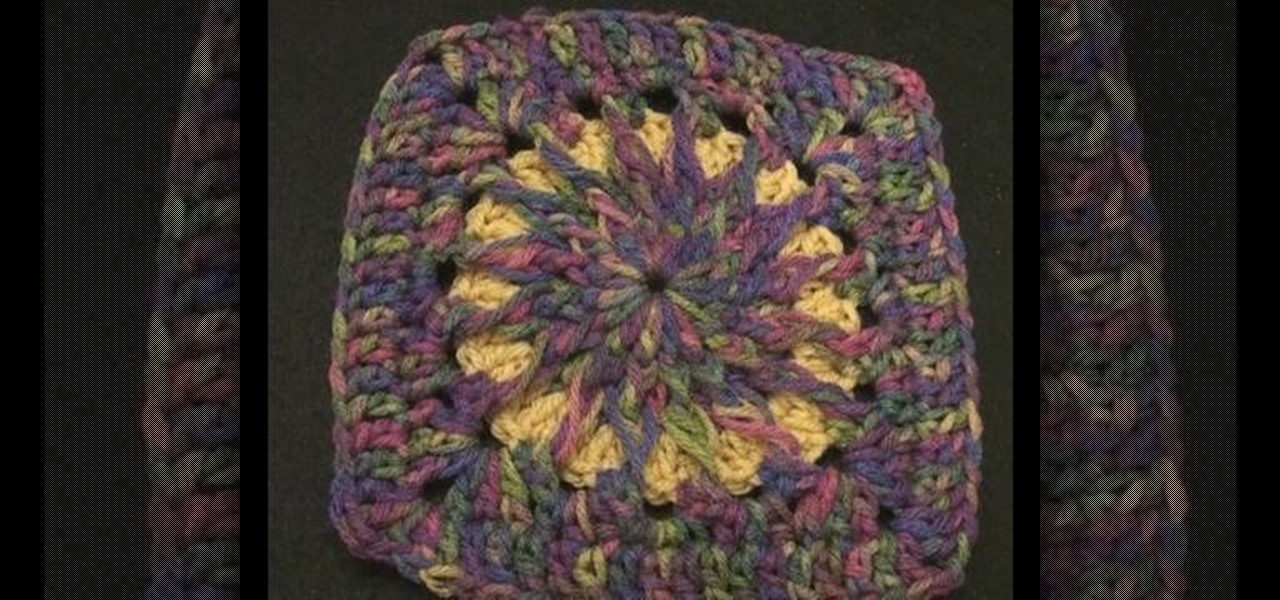
This tutorial shows you how to crochet a circle that eventually turns into a square. Other than being visually trippy (in a good way), these double crochet stiches build a very densely packed project and create cool looking shapes.

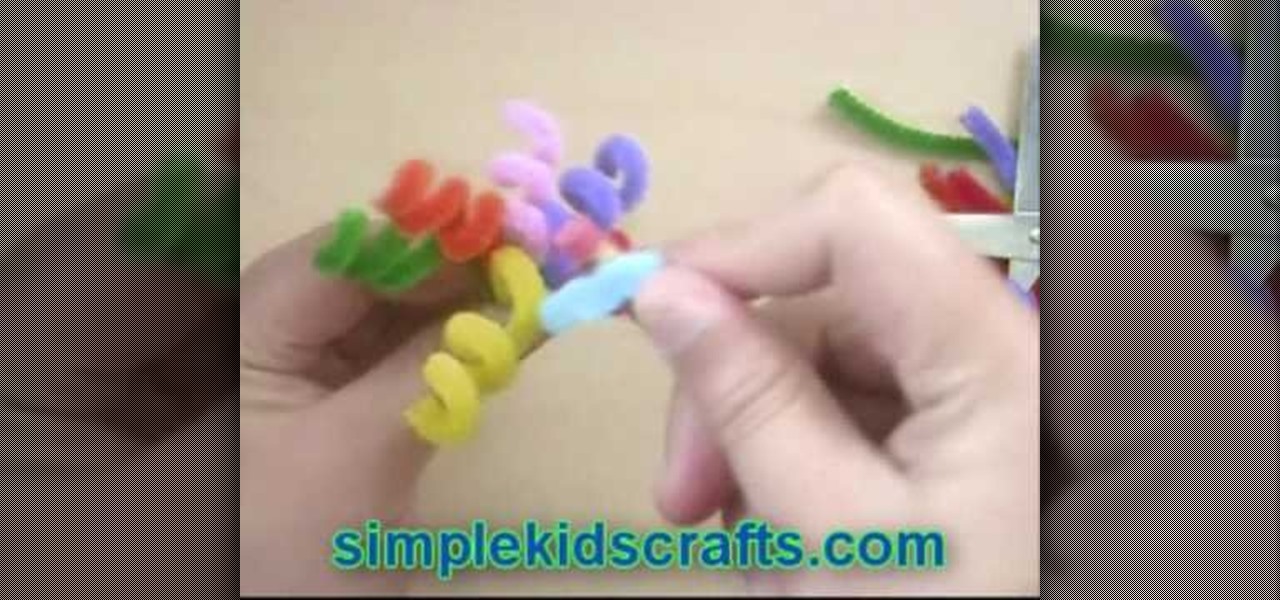
Get crafty this weekend with your kids by incorporating a fun arts & crafts project into the mix of weekend activities! In this Simple Kid's Crafts tutorial, learn how to make an adorable pencil topper out of pipe cleaners! This activity is perfect for children kindergarden age and up. Spend some quality time with your children and help get their creative juices pumping with fun arts & crafts projects like this one!

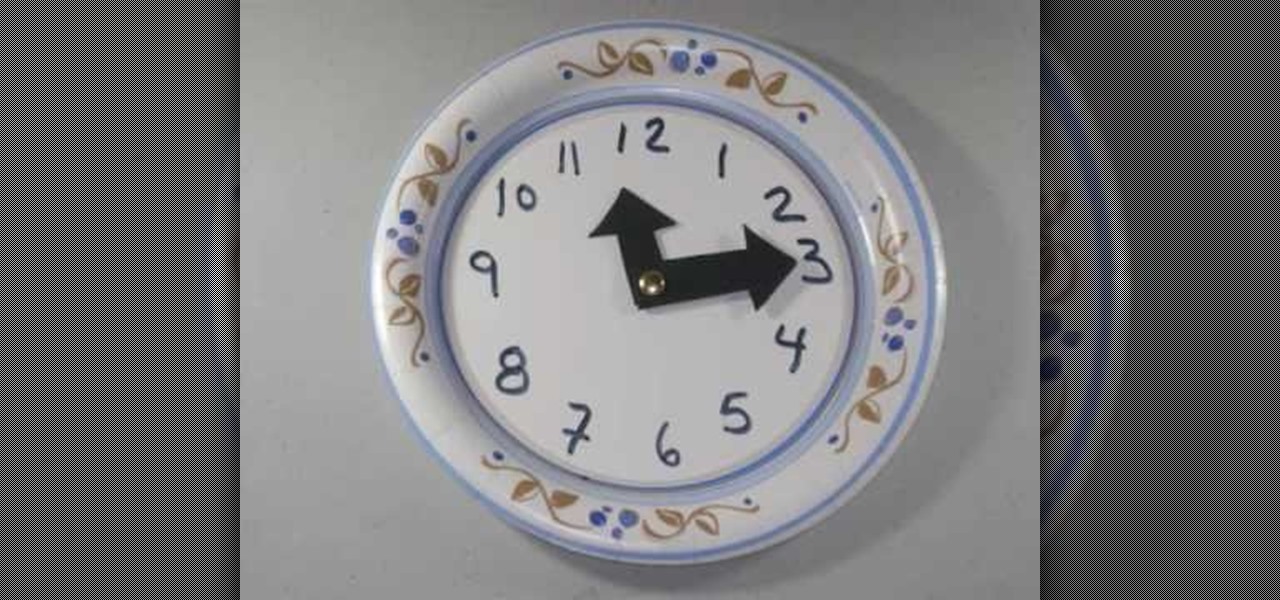
Teach your children how to tell time by infusing a fun craft project into your lesson! In this short tutorial hosted by Simple Kid's Crafts, learn how to make an easy paper plate clock for children ages kindergarden and up. Get your kids ahead of the curve through fun and educational craft projects like this one.

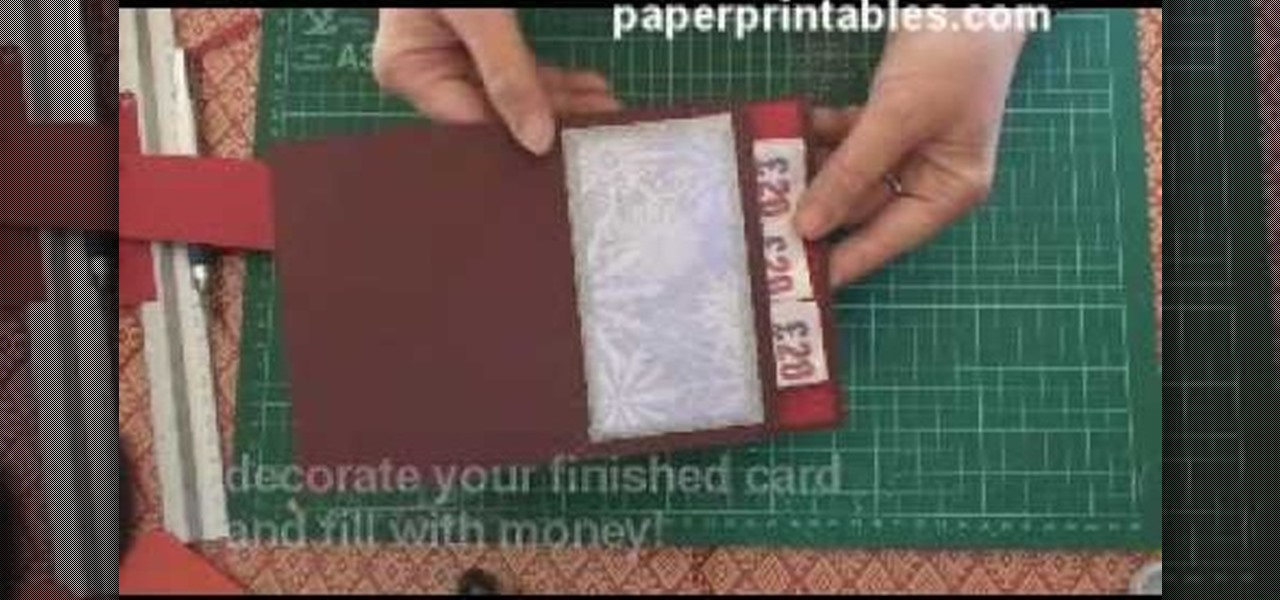
To make this pop-up card, you just need two sheets of card stock. This pocket pop-up card is made specifically to hold money, which works great for birthdays and holidays, especially Christmas. This super simple pop up pocket card is easy to make, and it doesn't just have to hold money… it can hold gift vouchers or plastic cards, also. Super base for decorating either with stamps or designer papers.

This is a video tutorial showing its audience how to link a button to external urls in Flash CS3. First create a exoscript 3 document with a rectangle textbox that says youtube. Next select your rectangular box and convert it to a button. Next name your button and click okay. Next give your new button an instance name, remember this name. Now click on actions and create your actions. Start with a stop action and then put the name of the button as an action. Next name your function that you wa...

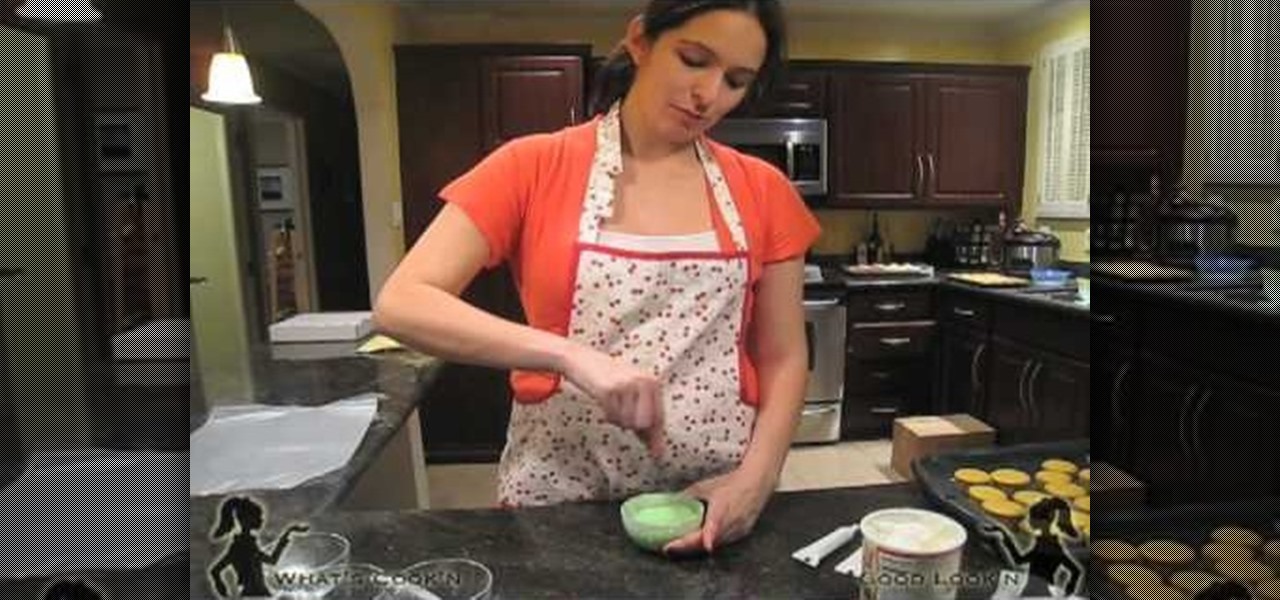
preparedpantry describes the process of covering sugar cookies with fondant.

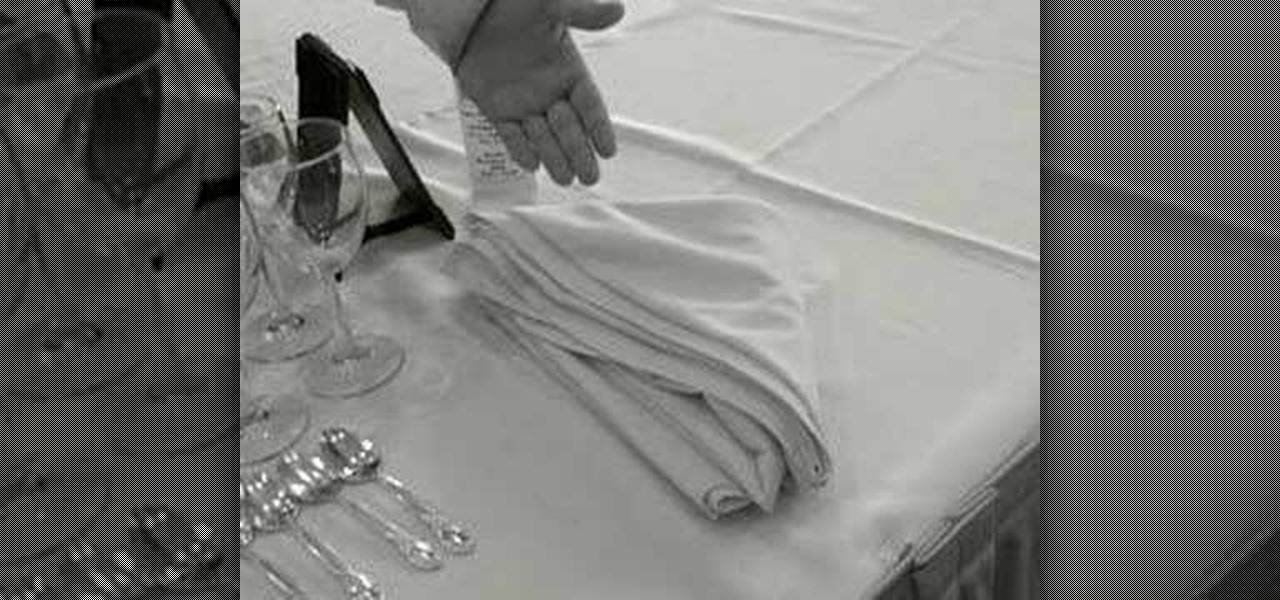
This video teaches us the way to properly set a table. You will require a couple of things for this purpose. These things include a table with a table cloth and napkins. These should be kept at one side of the table. Then take salad forks and dinner forks. Arrange these in the center. Take knives and spoons. Arrange these besides the forks on both the sides. Take bread and butter plates and arrange them above the salad and dinner forks. Put glasses above the spoons. Put bread and butter knive...

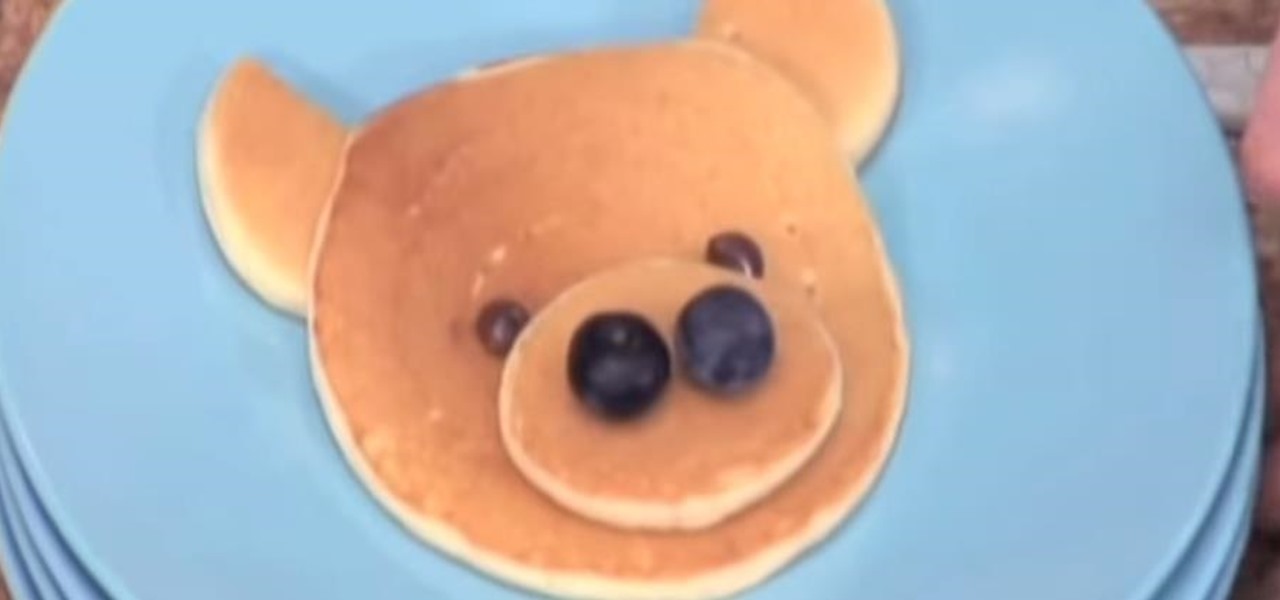
Liv Hansen with Betty Crocker TV demonstrates how to make pancakes in fun shapes that kids will love. Make sure to pour your pancake batter into a squeeze bottle for better control when creating your pancake shapes.

HolidayKitchen.tv shows us how to make a perfect pie crust. It's easy and costs just pennies. You will need a food processor and the following ingredients: 1 C flour, 2 tsp sugar, 1/4 tsp salt, 1/4 C chilled butter, 1 Tbls chilled shortening, one egg yolk, and 2 Tbls water. Follow the directions in the video for exact blending. When the mixture pulls away from the sides of the bowl and clings together, you can remove it to a new bowl. Cover and chill for half an hour. Flour your work surface ...

This is a video about how to make a greeting card in circle shape. First take the card and fold it into half. Next take the colluzle and place it on the card. Mark a circle using colluzle on the card. Cut the card on the marking and leave some space at the folding of card. Take the design paper to place on the card. Next cut the design paper in round shape. Make sure that the shape should smaller than the card you have already prepared. Next stick the design paper to card. Next take one ribbo...

In this how to video, you will learn how to make an Evergreen wreath. You will need pine cuttings, craft wire, a frame, and decorations such as pine cones. Each cutting should be about 8 inches in length and have a firm section that will attach to the base. They should also be very bushy. Wrap the craft wire around the sturdiest part of the pine cutting. Keep adding and attaching pine cuttings over the previous cutting until you go around the entire frame. Once this is done, add the decoratio...

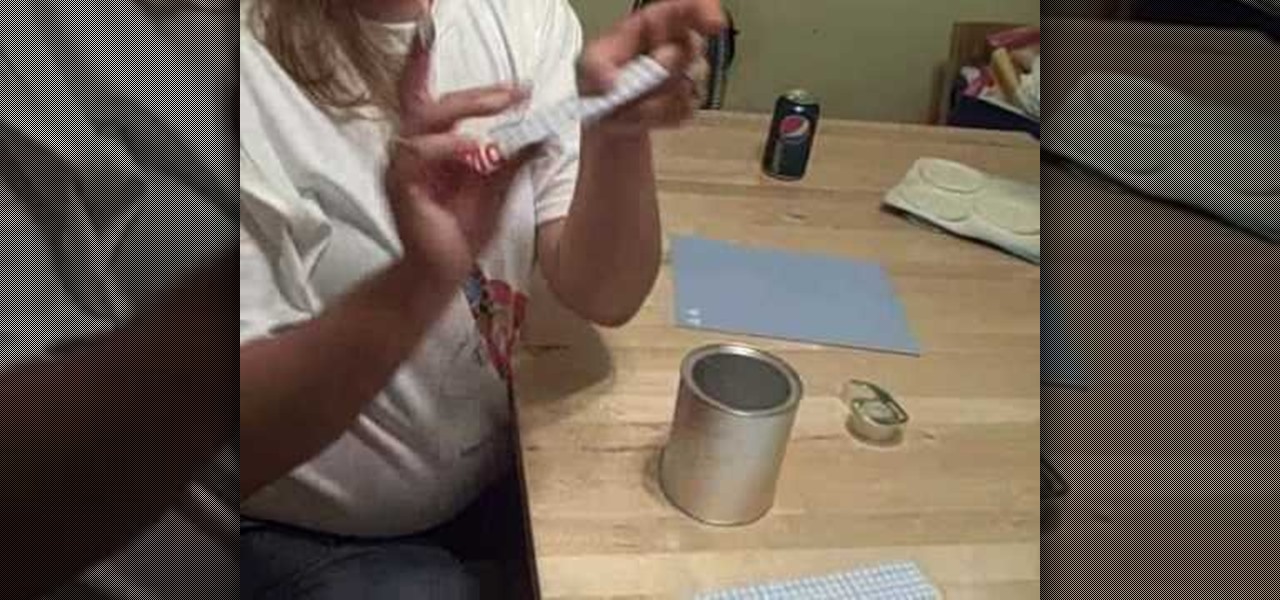
Box Tops are a great way to help your kids school generate more money. A formula can could help you keep your box tops neat and Tidy. Take paper off of can then tape paper to the side of the can. Then you can decorate as you please to match the decor of the room your putting it in. Scrap book paper works as a great paper. You can also use stickers to complete this. For the lid you can spray paint them but first you should cut a hole in the lid so the box tops can slide right in. You can make ...

Jen Spencer teaches how to save money by making a Ribbon Tree at home. You can create this by using some of your ribbon scraps. Cut them into two inch strips, you'll need scissors, a hot glue gun, and a green floral tree. They come in a variety of sizes and also white. Fold the strip in half making a loop. Add a dab of glue on the end and close it. Jen warns be careful with the glue gun. Do that with all the ribbon strips. Place a little glue on the tree and glue the strips on. On top you can...

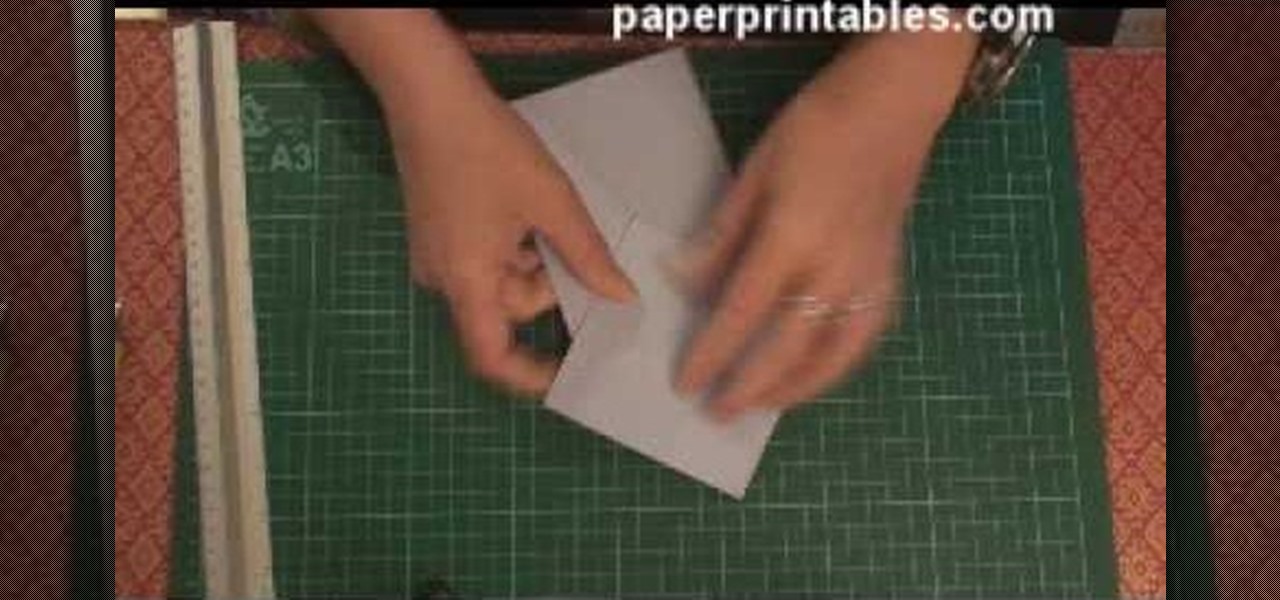
This is a demonstration of how to make a harrier paper airplane. First fold the paper in half lengthwise, making sure the corners line up. Unfold it and fold the corner toward the center line. Fold the top triangle down almost to the bottom of the paper. Fold the top corner in to the center line again. Fold in the first point. Fold the plane in half lengthwise. He demonstrates how to fold the wings in the right place so that the plane looks like a harrier. The plane can be customized and deco...

Stephannie teaches us how she prepares her "not so famous" mini cupcakes for a nephew's birthday party. After mixing up the yellow cake mix and putting it into a large plastic bag, you cut the end off the bag and squeeze the batter into cupcake cups within a pan. You should then proceed to cook them at 300 degrees F for 15 minutes until they are done. With a bit of humor Stephannie shows us how to mix food coloring into white frosting and a neat icing trick. By placing it in the microwave aft...

This video explains how to paint your nails in a red, black and silver art theme. The instructor begins by showing off her finished nails and the different colors she had chosen to use for her own nails. The instructor asks the user to choose the solid color and highlighting color to use, it is also necessary to choose various types of glitter to use as well. The color red is first used to color just the part of the nail away from the finger and then rhinestones are then used to decorate the ...

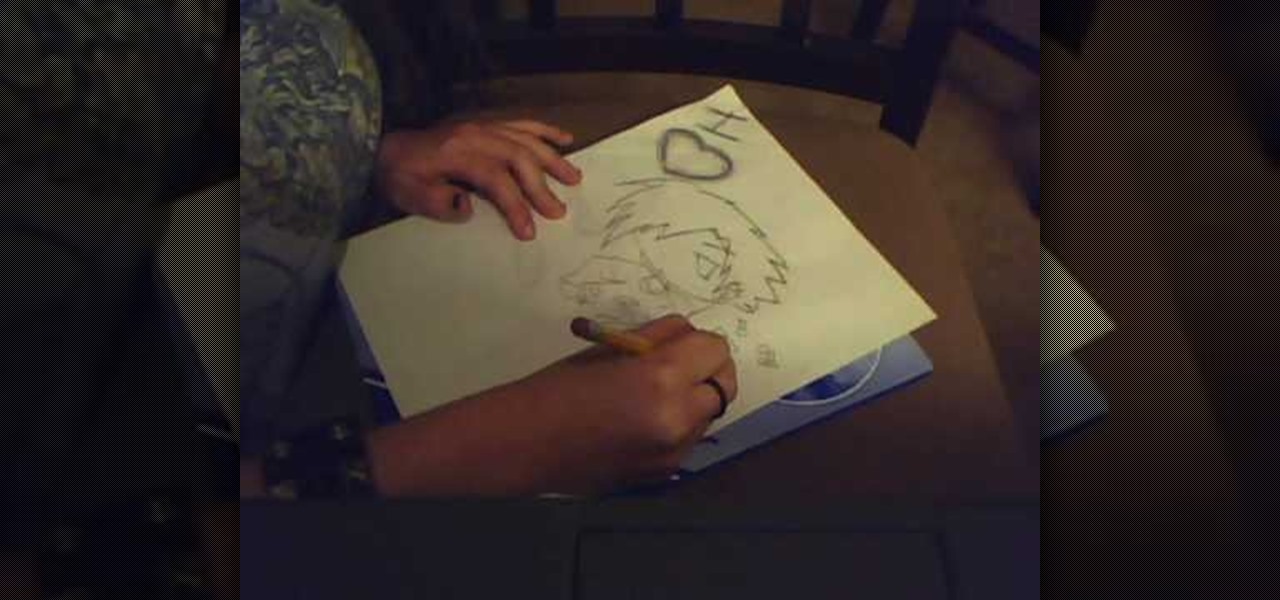
Sasukeisahotie shows you how to draw an Emo Chibi. Start by drawing a prominently spiky, asymmetrical, "emo" haircut, wider than tall. Then draw a line making the outline of the face from the right bottom of the haircut, to the left clump of hair, again this should be wide. Draw one eye on the face (where the other eye is, it should be hidden underneath hair). Draw in the shirt/jacket/top half of the character underneath the head, but make this smaller than the head. Decorate the shirt with s...

Watch this video to learn how to make a stunning diamond topped 3d card from a single sheet of A4 paper! 1. You'll need one A4 sheet of paper and some printed papers to decorate. 2. Score at 10. 5cm across length and 10. 5cm from one end. 3. Crease both scores in the same direction (mountain folds). 4. Turn card over mark 13cm from top on centre line an 17. 5cm from top on both edges. 5. Score from central 13cm mark to 17. 5cm mark on each edge. All printed papers used in this tutorial are av...

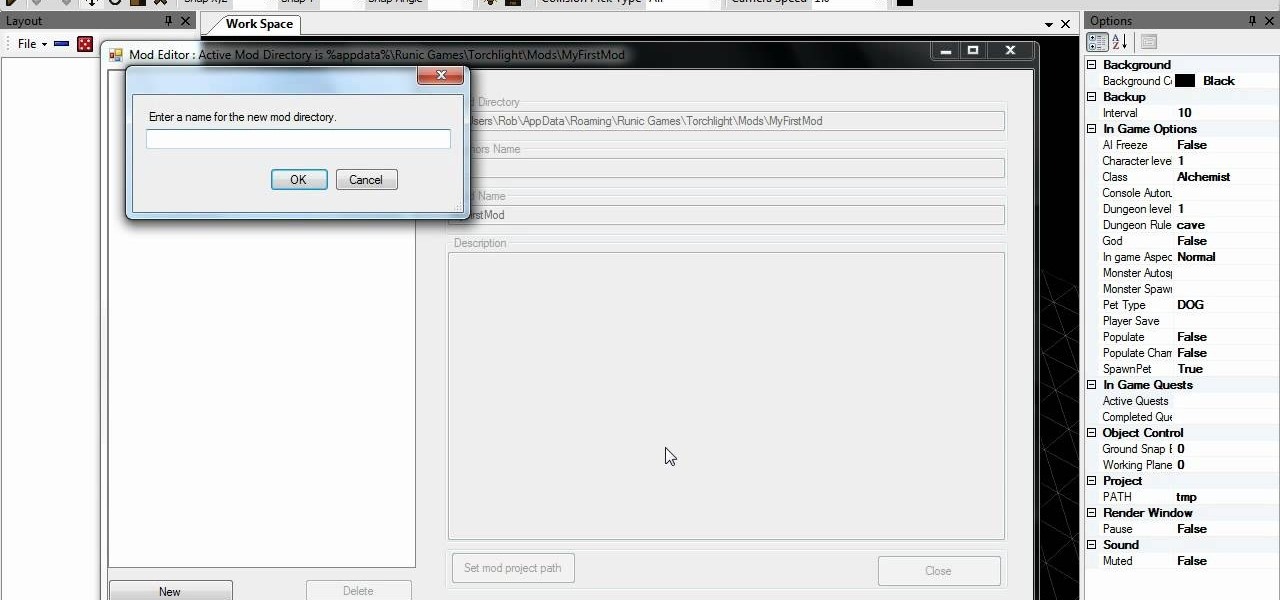
This is a three part vocal tutorial, using Torchlight Editor. Explaining how the editor works step by step, including mapping and scripting. Showing you how its done and how you make good rooms and decorate them. You'll find this detailed yet relaxed and easy to understand tutorial very helpful.

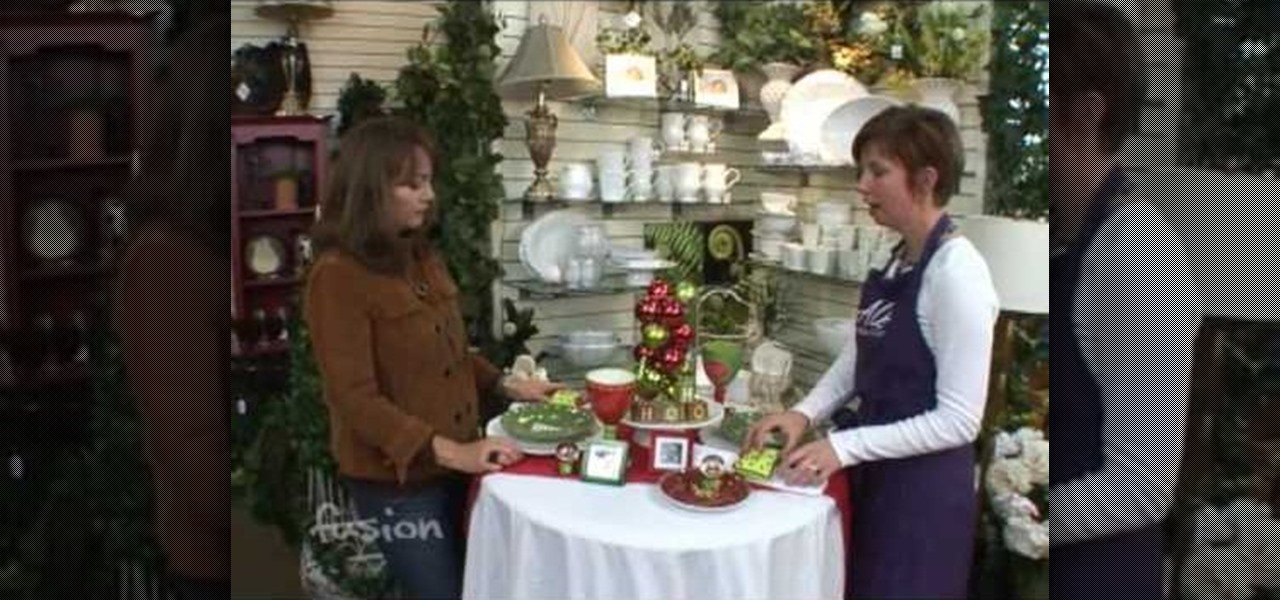
This video helps the holiday table settings add a fun and colorful theme to each holiday. Using white plates and table cloths, along with clear glass settings, will help to bring out the colors and details of the decorative additions to the table. Having scented candles or other types of fragrances will highlight and compliment the holiday table theme you have set. The table decorations you will see don't need to match, they only need to flow in with the theme you have arranged. This video wi...

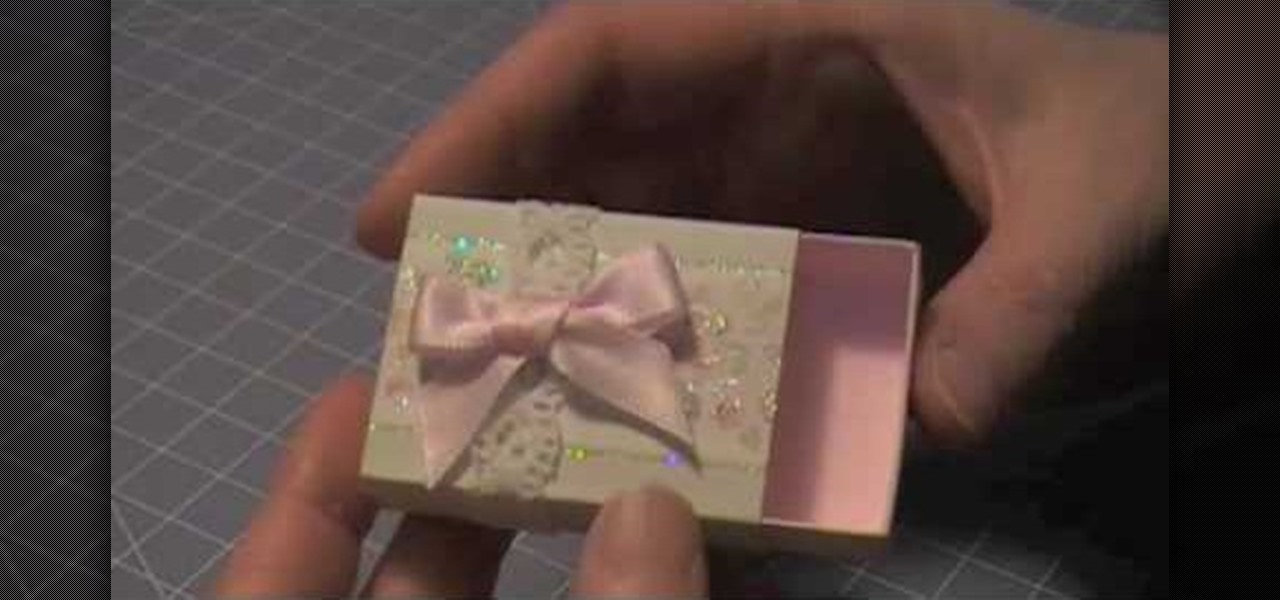
The Artful Paper Doll demonstrates how to make a Marie Antoinette inspired matchbox. Trace the matchbox template onto a piece of decorative paper. Score the template on the creases and then cut the template out of the decorative paper. Fold the creases up. Affix the creases into a square basket shape with dabs of glue to hold the flaps closed. Fold and glue the ends of the box sleeve together. Slide the basket into the sleeve to form the matchbox. Embellish the box as desired. The box can be ...

To make a carnival themed paper doll follow these steps. First cut out all of the body parts for your paper doll. You may use any type of patterned paper that you would like. Next decorate the paper by adding more paper, sequins, drawings, etc. Next punch holes into the body parts so that you can put them all together by using string. Next you can make the dolls clothes out of paper, small flowers, sequins, glitter, etc. Finally you should add the clothing to the finished doll body and finish...


