Royal icing is essential when it comes to cake decorating. This how-to video is a step by step guide on how to make royal icing for cake decorations. All you need for royal icing is merengue powder, powdered sugar, and water,

Wondering how to shape the fondant into a beautiful rose you can decorate your cakes with? This how to video is step by step demonstration on how to make the center and the the leaves of a fondant rose.

Cutting out letters from modeling paste or gumpaste can be very awkward. This how to video shows you how to use letter cutters on fondant with some ease. So watch, learn, and start decorating.

Learn how to make fondant monkey cupcake toppers to decorate your cupcakes. Cool sugar art video!

With the quick flick of a spatula, your cake will have textured swirls. Tuck parchment paper under the cake to keep everything even. Work frosting with a spatula to warm it up before you spread it. Make sure swirls go all the way to the edge. Always use fluid motions.

Watch this video to learn how to finish seams on a multi-tier cake for weddings or other events.

Learn how to make a papier mâché mask. Make a papier-mache mask for Halloween, a masquerade party, Carnival time, or anytime!

Knitting with the wrong needles is like playing soccer with a bowling ball –you’ll end up frustrated and disappointed.

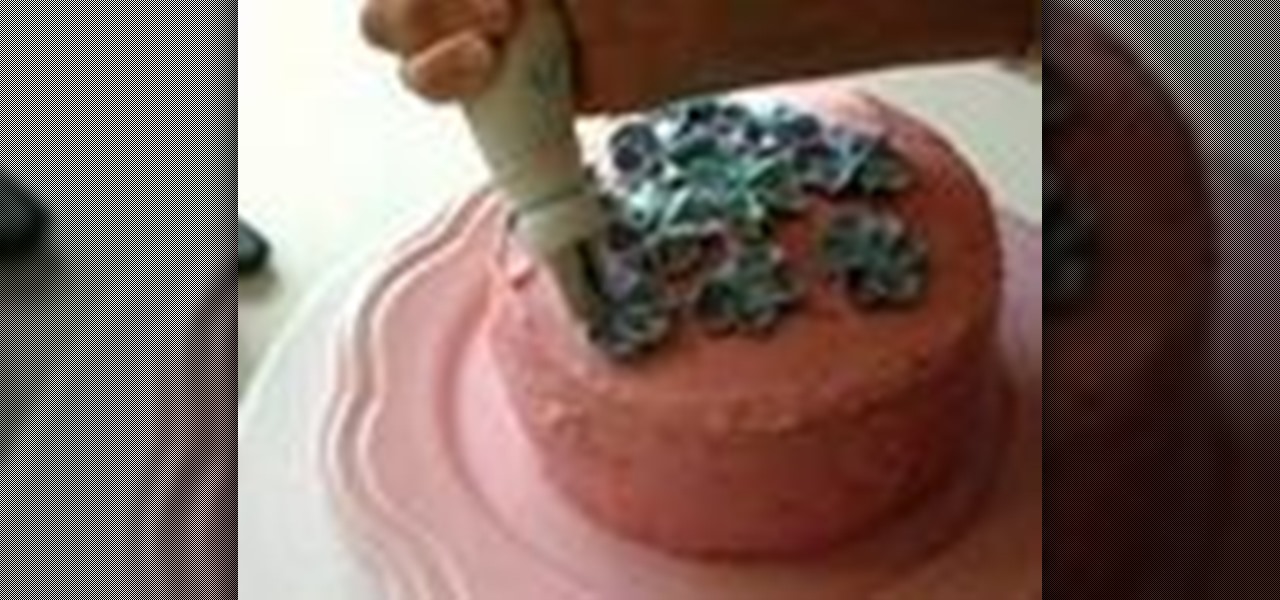
This quick how-to video is a demonstration on how to decorate an iced cake with butter cream blossoms. Grab your piping bag and start making some flower petals with some butter cream.

Check out this video to learn scoring techniques of joining two pieces of stiff leather-hard clay. Following are some steps you will see demonstrated

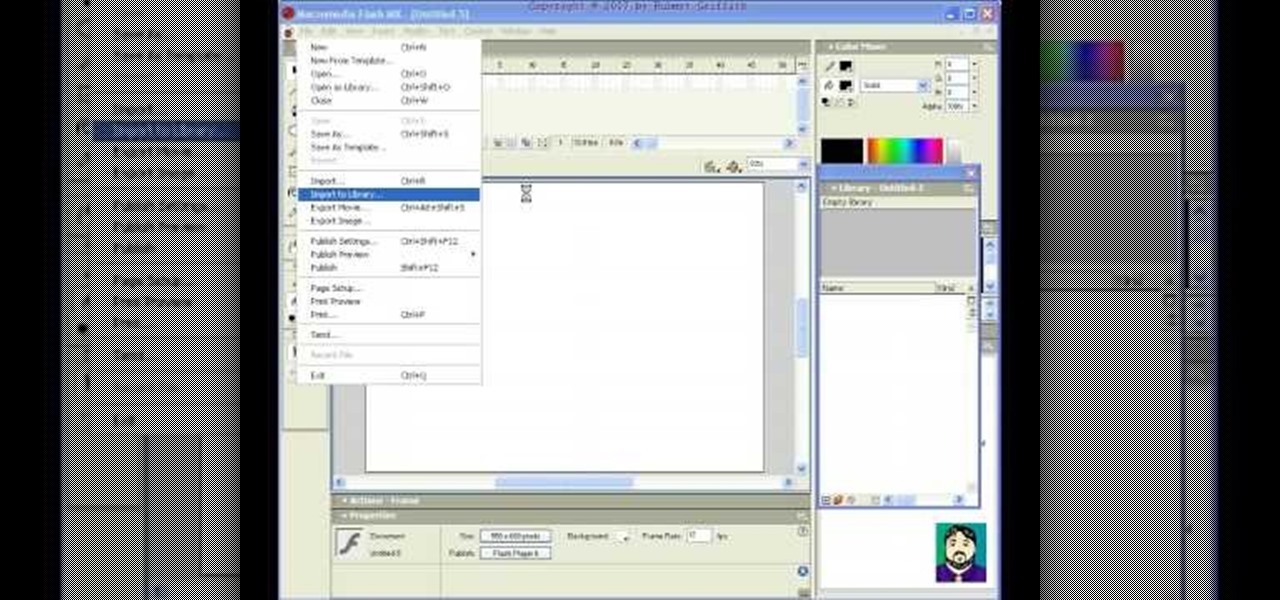
Learn how to incorporate animated GIFs into Flash projects.

Looking for a fun, simple project to do with your kids this winter season? This cheap and simple art project won't cost you a dime. Learn to make Christmas snowflakes with paper, and pretty soon you'll have great decorations to hang up on the windows.

In this video, we learn how to build a tipi. First, measure poles to make sure they are the same size, around 23 feet long. After this you will use a rope to tie the poles together so they are flat. To build the tipi, use the middle wooden pole to prop up in the very center. Make sure the rope is woven through the poles tightly and they are spaced apart. After these are secured together, you can bring them up into the air and set them against other poles to stand up. From here, decorate and u...

In this video, we learn how to make a cover for a tipi. First, put windows all around the bottom of the tipi. Then, take a tarp and cut out the top of it to make it into a circle shape. Then, cut out a hole from each side and put a rope in it for the top of the tipi. Wrap this around the sticks that you made the tipi with and then cover up the top of it with an additional tarp. This will protect you against water and other natural elements! Enjoy decorating and have fun making your tipi!

In this tutorial, we learn how to draw a vintage car. This car will take a lot of detail, so make sure you take your time with it. Start out by drawing the hood of the car, then work your way to the back of it. Once you have the basic outline of the car finished, add in the details! Don't forget the windshield, side mirrors, paint, wheels, tires, etc while drawing. To finish this up, start to shade with the pencil and then use the eraser to create a shined appearance as well. Add in colors if...

In this tutorial, we learn how to construct a mouse trap car. You will need: wood, string, wood glue, duct tape, scissors, markers, a mousetrap, wheels, and a drill to do this. To start, you will lift the mousetrap up and tape duct tape around it along with a long stick. Then, tape this to a piece of wood. From here, you will glue together two sticks and then put wheels on the top and bottom of it. Next, you will lay the mousetrap on top of this and then push it. Then it will roll away! You c...

In this tutorial, we learn how to mix and make paper mache. To do this, you will need: flour, water, and a large mixing bowl. Start off by pouring the flour into the mixing bowl, then adding in warm water in the same amount as the flour. After this, mix it together until you have a thick consistency. It should not be like water, more like a thick soup. Add more of the ingredients until you have this consistency. After this, dip your strips of paper into the mixture. Use them to place on your ...

In this video, we learn how to make a pi–ata, step-by-step. First, you need to soften up the balloon and then blow it up until it's the size that you want it to be. After this, set the balloon aside and then make the glue for the pi–ata. Take flour and put it in a bowl with warm water. Mix this together until it's well combined and is a thick liquid. Next, grab a newspaper and use strips of it to dip into the liquid and paste onto the balloon. After this has dried, decorate the paper by paint...

In this tutorial, we learn how to remove vinyl wallpaper. First, take your putty knife and slide it underneath the wallpaper. Once you do this, you will be able to see the paper and put water on the wall to help remove the paper. Tear the wallpaper down in large chunks until it's all completely gone from the wall. Make sure you wet the wallpaper as well, because this will help it come off more easily. Let the wall dry before you paint it or add on new wallpaper, then you can decorate how you ...

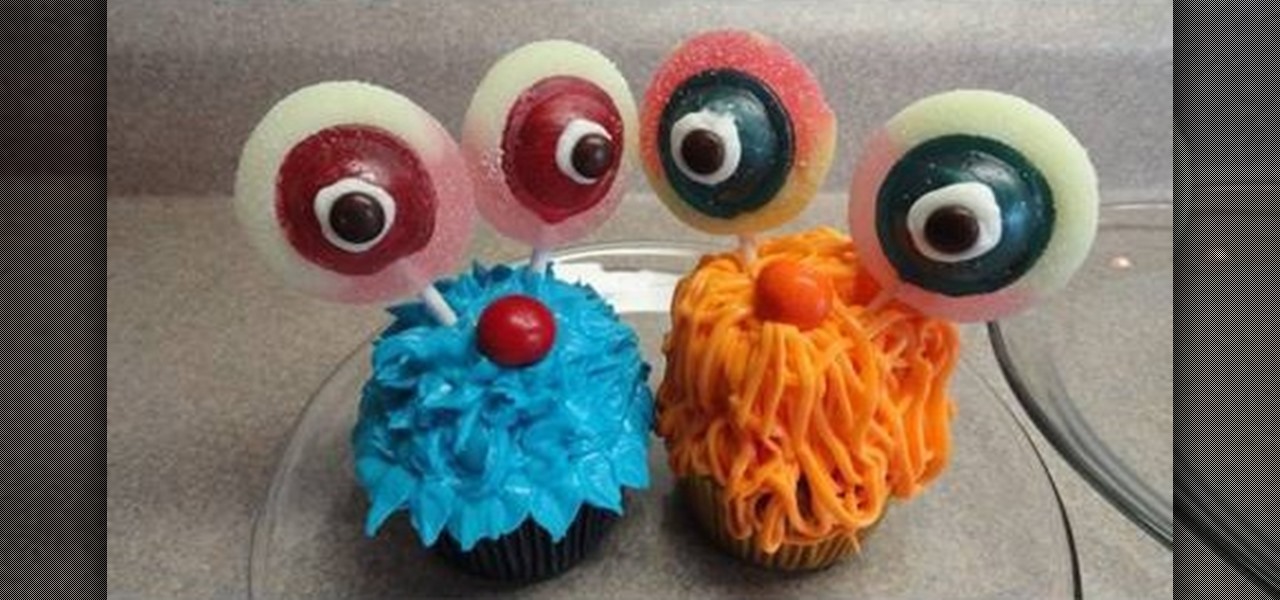
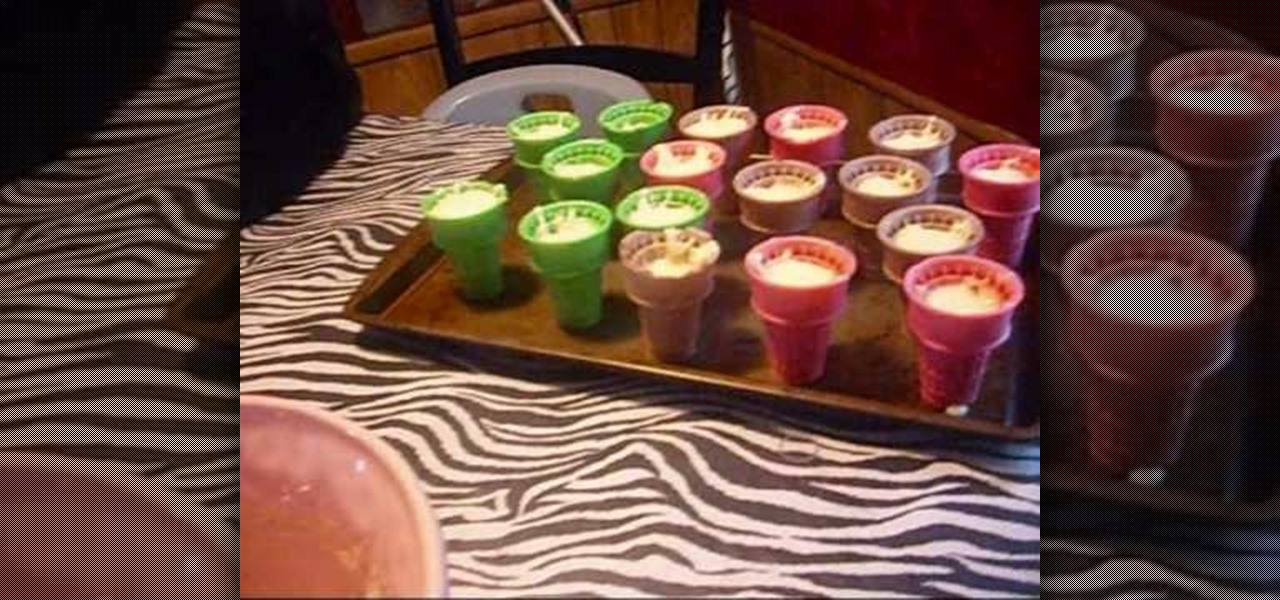
It seems that cupcakes are the designer foodstuff of choice these days. They're really not all that different from cakes (they're made from the same dough, after all), but their miniature size makes them individually portioned for convenience and also a great base for adorable decor.

Cupcakes are really quite good as they are - we don't care if they're iced or have a cute little sugar daisy on top for decor. In the end, they're just yummy. But if you love dressing up your cupcakes to make the package look as appealing as the taste, then check out this fun cupcake decorating tutorial.

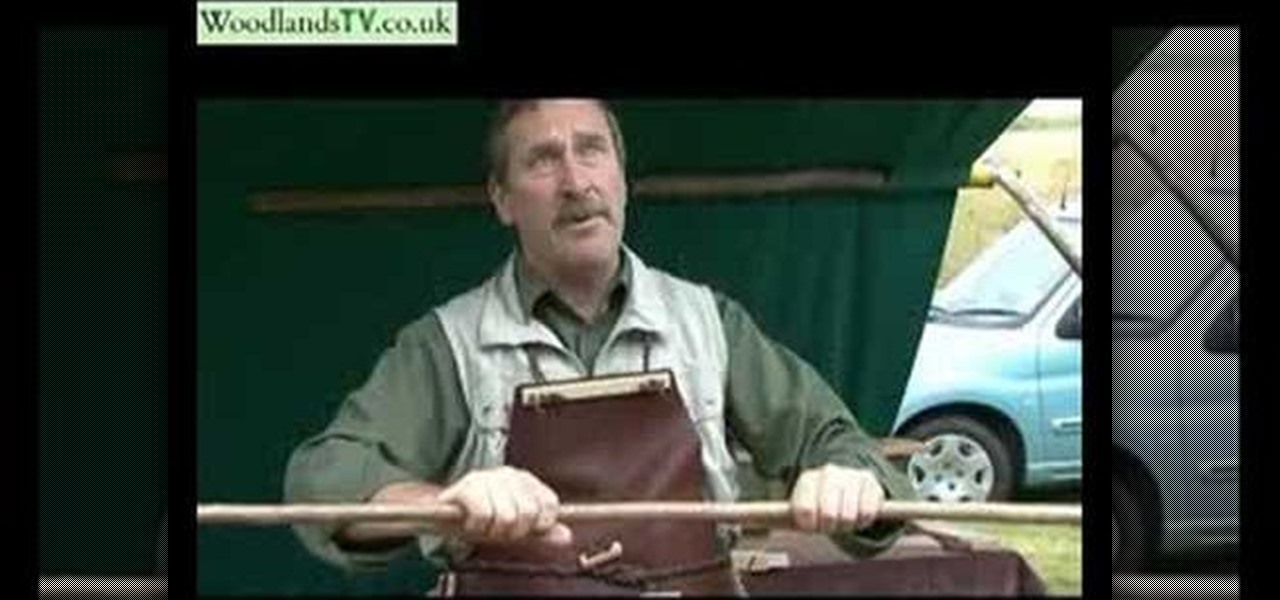
In this tutorial, we learn how to choose and use a walking stick. Find a large and firm stick that you find, then make sure it's dried out. Next, you will shave down the wood so that it doesn't give you blisters on the inside of your hand. After this, you will use hot air to bend the stick so that it is straight instead of crooked. Cut the stick to the size you need depending on how tall you are. The top of the stick will be jointed and have a cover over it so it's comfortable to grab. You ca...

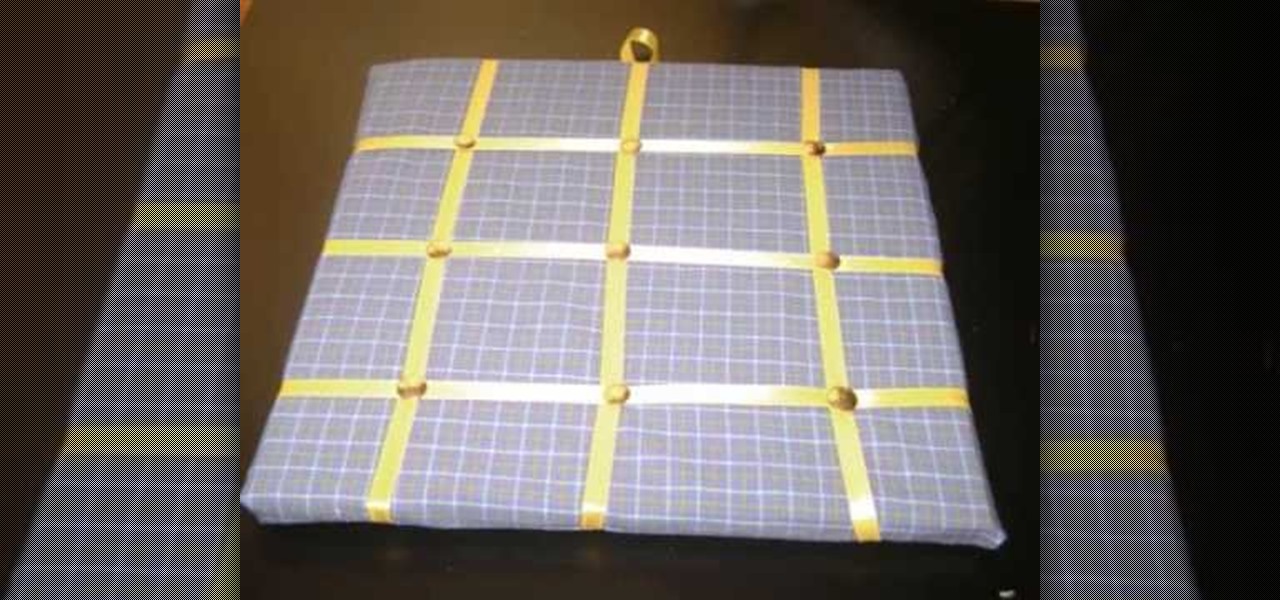
This project may be more for you than your kids, but that doesn't mean your children won't have fun constructing this awesome crafts project! You can teach your kids about recycling, and build something wonderful and useful. A notes organizer is also a great idea for getting organized in life. To make this, you"ll need:

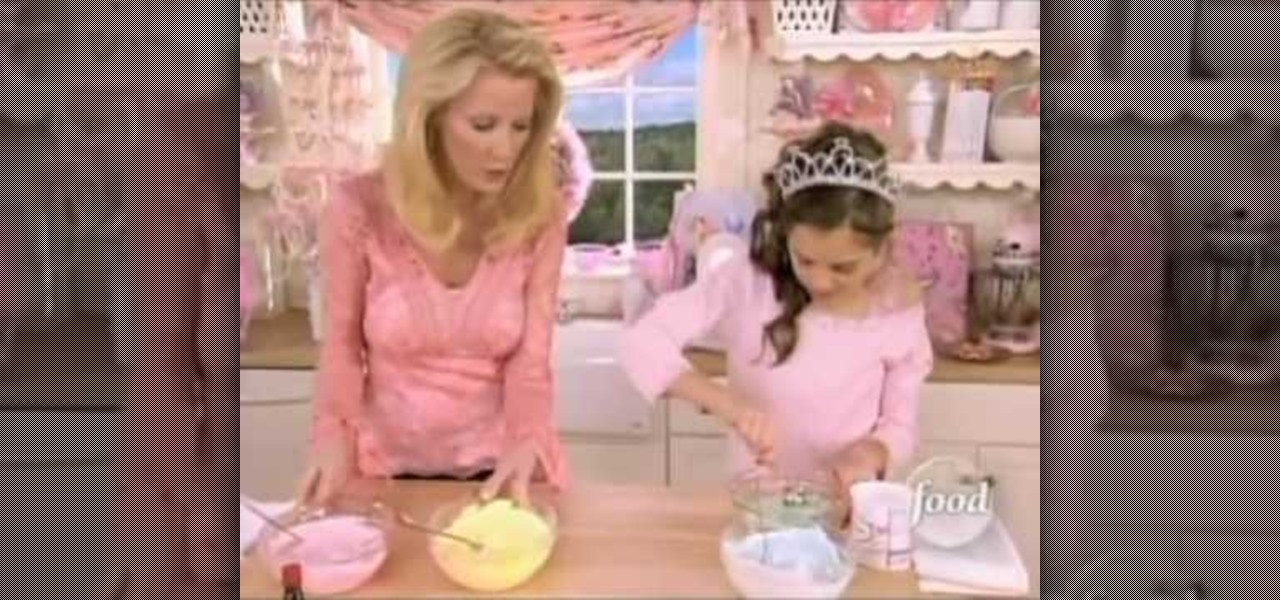
As a young girl, there's nothing not to love about tea parties. With frilly confections of dresses, delightful and whimsical tea cups that recall the "Alice in Wonderland" tea party, and pastel-hued pastries that look as sweet as they taste, a tea party is the ultimate girly amusement.

In this video tutorial, viewers learn how to make a 3D flower pop up card. The materials required for this are 5 pieces of paper, scissors and glue. Begin by folding the paper in half 3 times and then fold down the sides to a triangle. Now fold a bit of the triangle flap up to make a slimmer triangle. Then cut around the top with a half circle shape. When opened, it will be a flower shape. Cut one of the pedals off and decorate it. Make 7 more flowers and glue the points together. Now take a ...

In this video hosted by Paper Cat Designs, learn how to make adorable miniature paper roses to add to your spring arts & crafts projects. Apply these little paper roses to your scrapbooks, mini albums, favor boxes, journal pages, or even as wine glass charms to add a small touch of beauty! Get creative this spring with help from this video demonstraton.

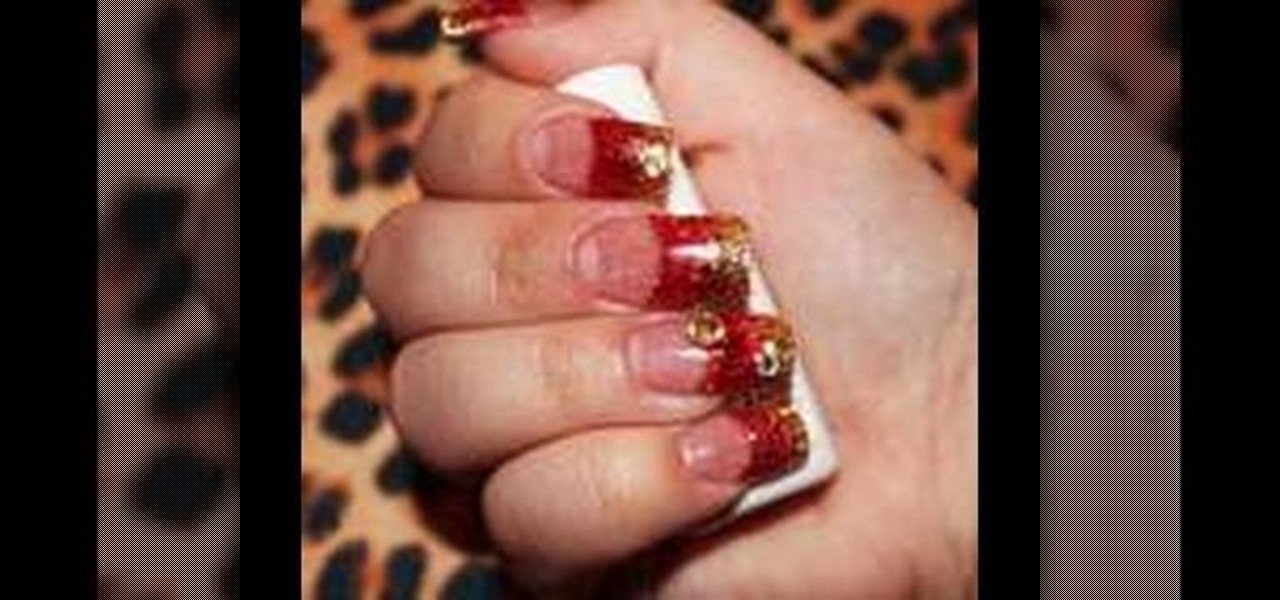
To create red and gold acrylic nails start by prepping a sanitizing your finger nails and applying the tips. after you have trimmed you nails to the desired length apply primer to you nail bed. With your brush gently apply the gold glitter to the tip of you nail and brush downwards toward your nail bed. Apply your red glitter the same way under your gold glitter. With your brush create what Jennisse calls a smile under the glitter to your liking. Cover your nail evenly with a thin layer of pi...

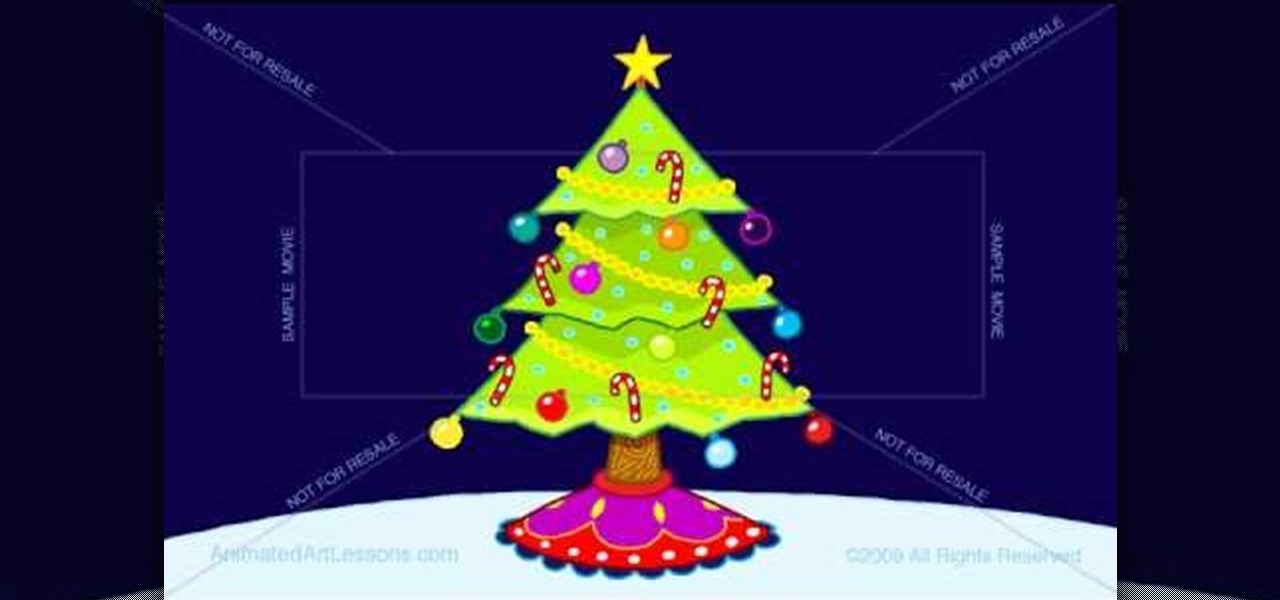
Start by drawing a triangle at the top of the tree. This will act as your first part of your tree. Then draw the second part of the tree. To do so draw another triangle that is bigger than the first. Then you will need to draw a third and final triangle for the bottom of your tree. Make sure that this triangle is bigger than your first and second triangles. Make the bases of the triangles wavy so that they resemble branches. Add the base by adding a small rectangle and a circle for the stand....

In this video, he takes us through the process of preparing the Santa Fe Spring Rolls. The recipe was done from the Hard Rock cafe, New Delhi. The video contains the explained way about how to prepare the Spring rolls step by step.

ITStaff teaches you how to design casino chips in Adobe Photoshop. You start off with a white or grey circle which will be the chip itself. You need to start decorating this so you create five trapezoids and space them equally from one another. Give them a dark red color. Next you create a red circle in the middle, touching the bases of those trapezoids. Add a crown or a symbol created or from the Custom Shapes menu. You also need to create a value so type in a number and add the dollar sign ...

Michael, a graphic designer, teaches us how to draw a cartoon girl's clothing. He draws this image in some light shaded pencil. He draws her hair, ear and the basic outline of her face. He then draws her basic build which is her chest, her arms and her legs. He uses a marker to highlight his strokes. He uses clean, precise, straight strokes and when drawing cartoon figures, this type of drawing technique is highly recommended. After drawing the girl, you can go ahead and decorate her clothing!

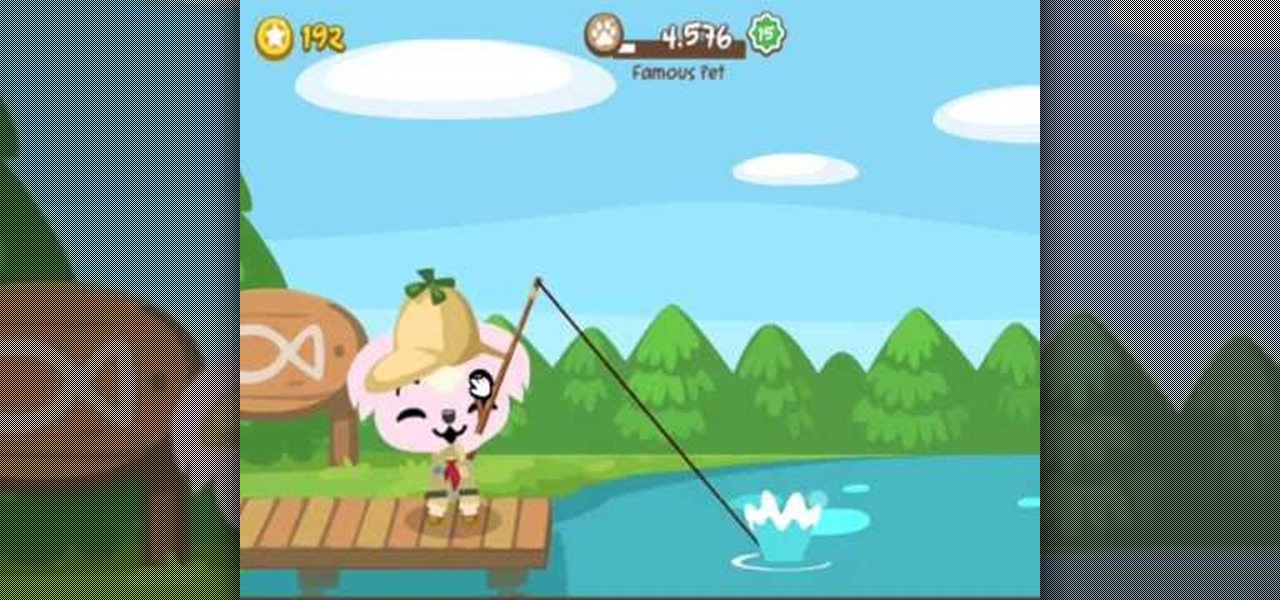
See how to hack Pet Society from Playfish! Pet Society is the popular online game where you can design and take care of virtual pets. Check out this video tutorial to learn how to fish in Pet Society (11/15/09).

In this video tutorial, go into the world of Harry Potter and learn how to make your own Harry Potter magic wand. For this magic wand project, you'll need an LED, copper wire, colored markers, plaster, and a straw. Sure, it's not the best magic wand ever, but it's nice and cheap and easy to make... a good project for the kids.

Fashionable and luxurious, leather embroidery will expand your project ideas to an exciting new level. This leather embroidery instructional video discusses design choice, needle choice, stabilizing, and hooping tips. Plan your next project, whether it be an embroidered leather purse or pair of shoes.

Twist up the fun with Crayola Twistables Slick Stix crayons. Crayola Super Smooth Twistables require no peeling or sharpening. When the tips get worn down, just twist them up and you're ready to keep on coloring. This how to video gives some great arts and crafts projects to use your Crayola Slick Stix crayons.

This tutorial demonstrates how to project and empower your voice without going hoarse. These exercises are an easy way to improve your singing voice. With the tips from this video and you will be able to sing louder and with better tone.

Learn how to turn your patio into a Texas themed hangout with the help of this free video on Texas style decorating and home decor.

Open work makes a project go really fast. You might not be the warmest on a cold winter night, but it still looks nice. An open work stitch is basically a three to two configuration. This is the perfect beginner's project. These crochet blankets will keep you warm but won't stifle you.

Remodeling your home and backyard can be expensive, but you can save some money by doing it yourself. If you are re-doing your backyard you can mix the mortar for a tile project yourself. In this Home & Garden how-to video you will learn how to set up the correct mortar mix.

Are your hobbies building model trains? Well, I hope you are building your own model sets the way you want to, but if you're stumped in the model railroading process, check out this nine-part video tutorial to see how to model railroad scenery using extruded foam. If you aren't into miniature rail transport systems, you will be now. Your landscape has to look good for your trains, doesn't it?


