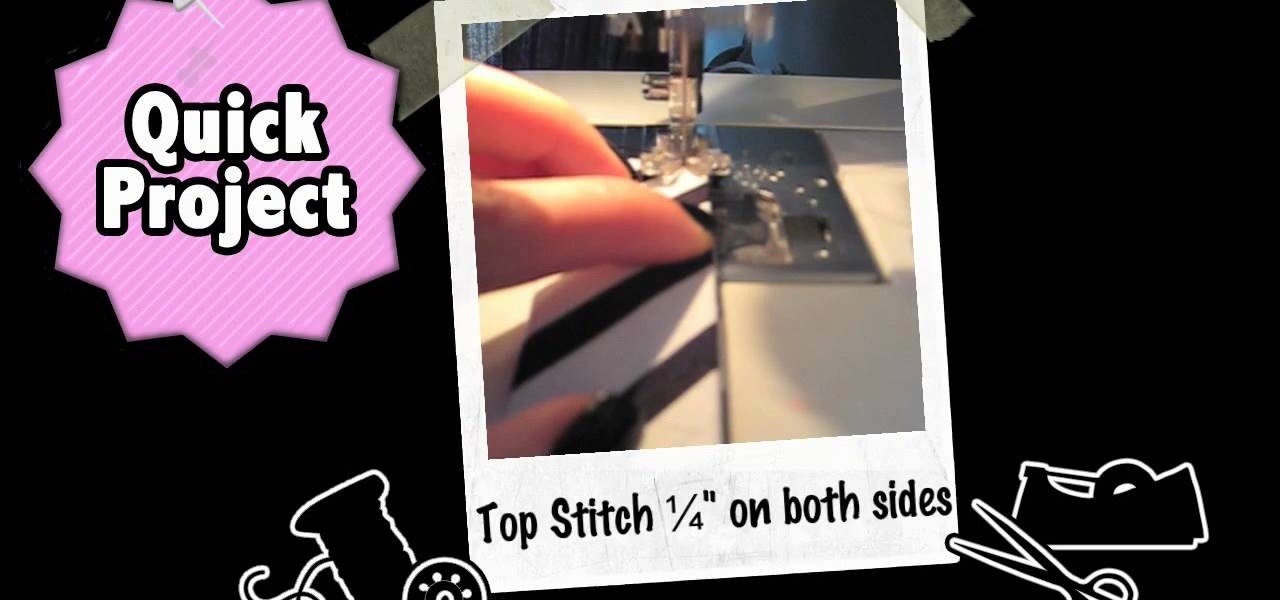
If you need to add some decoration to your keys, a key fob is the way to go. Key fobs are decorative items that many people carry with their keys. There are many different ways to go when creating a key fob, but one of the best ways is to make your own using fabric from the store.
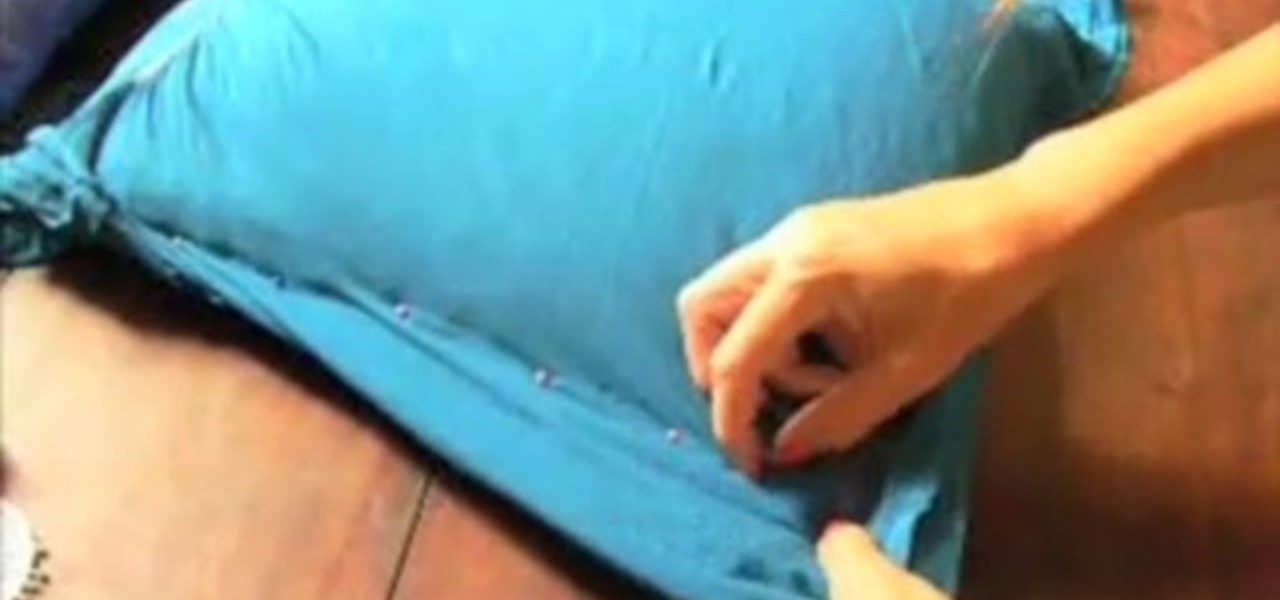
In this video tutorial, viewers learn how to turn a t-shirt into a pillowcase. The materials required for this project are: a pillow, a shirt (that fits over the pillow), pin, needle, thread, decorative trim and a sewing machine. Begin by flipping the shirt inside out and slip in the pillow. Position the pillow to how you want it and pin down along the sides to hold it. Now stitch the shirt together along the pin points. Trim off the extra fabric, leaving a 1/2" at the seam. Fold the bottom a...
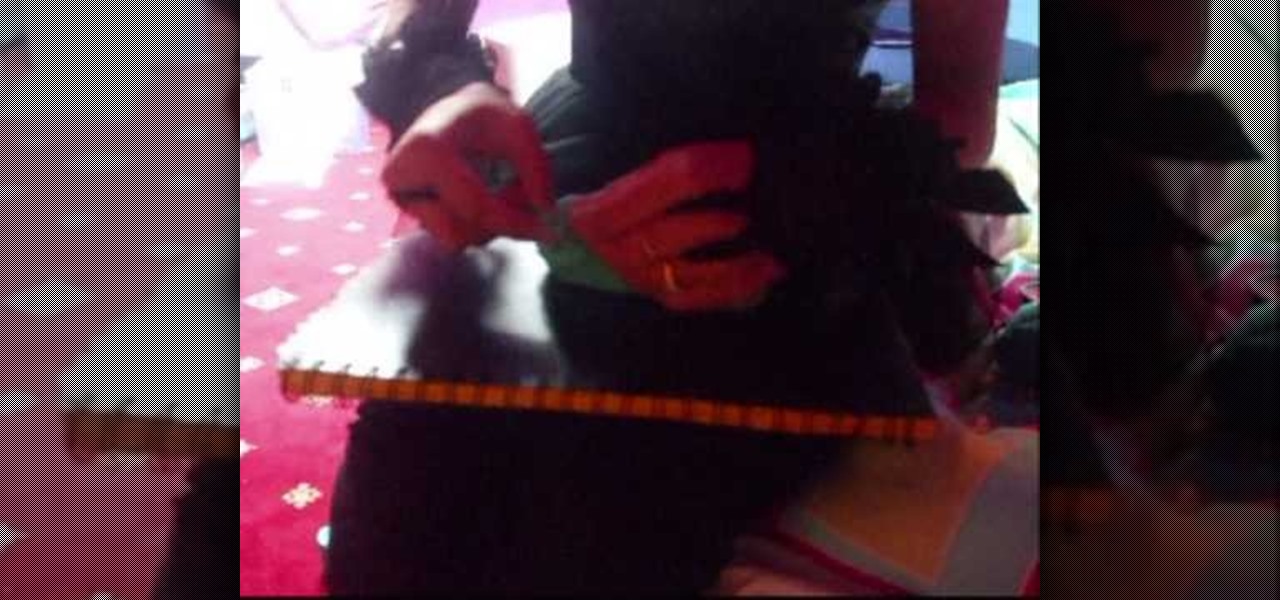
In this video tutorial, viewers learn how to make a beaded watch band with a non-loop watch face. Begin by cutting 2 pieces of the stringing materials to approximately 10 inches. Then put one end of the string through the hole of the watch face and pull it to about halfway. Now users will have 2 strands to work with. Users may choose to making a double strand watch band by putting beads on both strings, or a single strand watch band by running both strands of string through a single bead. Fin...
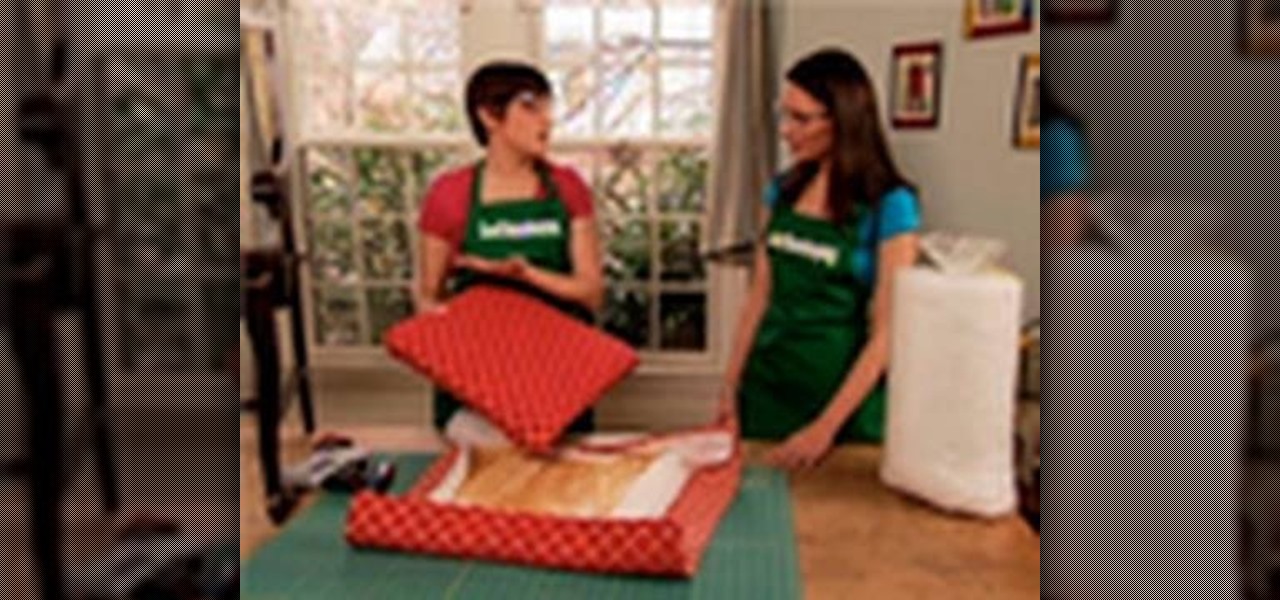
In this video tutorial, viewers learn how to reupholster the seat of a chair. Begin by taking the seat off the chair and remove the staples on the back of the fabric. Remove the fabric and cushion, leaving you with the wood base. With polstry foam, cut the foam out 1/8" larger than the board. With wool batting, cut the batting 4" larger than the board and then staple it to the board. Finish it by covering it with some decorative fabric. Cut the fabric 4" larger than the board and staple it on...
This is a video produced by KazzieHeart on Youtube explaining how to make a puffy hairbow from a t-shirt. Choose a t-shirt and cut two equal-sized rectangles approximately 8"X4". Placing the two pieces facing inward, three sides are sewn together. It is then turned right side out and evenly stuffed with soft stuffing. The end of the remaining side is folded inward and sewn shut, forming a small pillow. A smaller rectangle approximately 5"X2" is cut from the same fabric. The pillow is sewn thr...
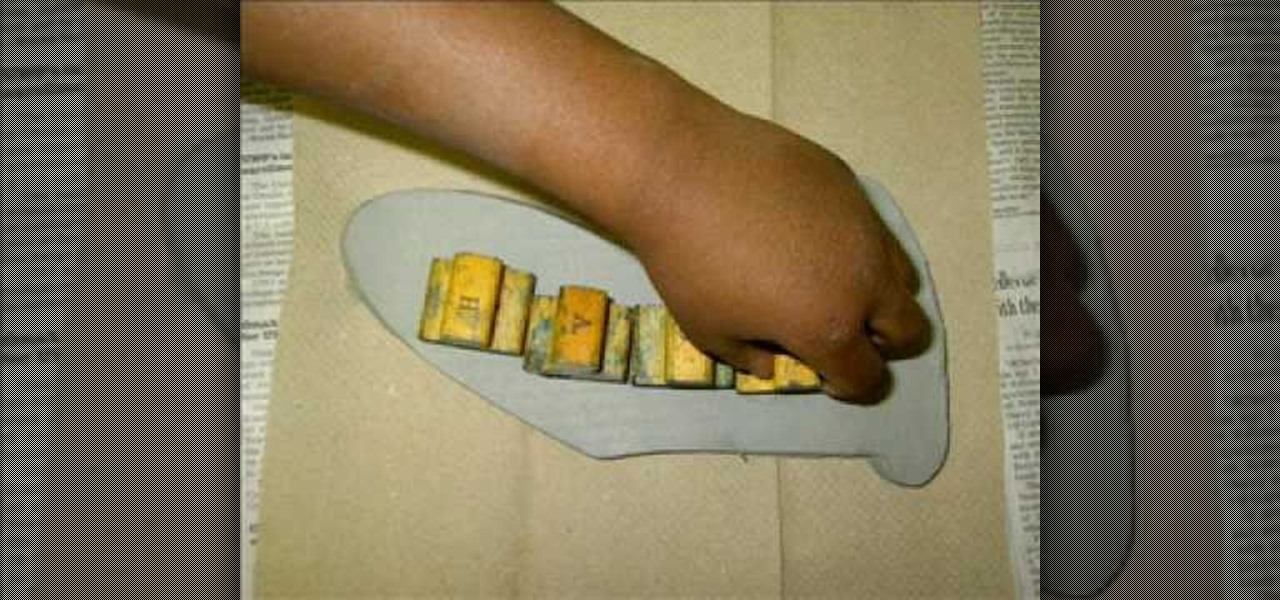
Following are the steps to describe how-to make small decorative bowls using polymer clay at your home:

This video teaches us the way to properly set a table. You will require a couple of things for this purpose. These things include a table with a table cloth and napkins. These should be kept at one side of the table. Then take salad forks and dinner forks. Arrange these in the center. Take knives and spoons. Arrange these besides the forks on both the sides. Take bread and butter plates and arrange them above the salad and dinner forks. Put glasses above the spoons. Put bread and butter knive...
In this tutorial, Bonnie shows you how to make a super fun new craft project for use in your home or dorm room. For this video, Bonnie makes a super cute little bulletin board with a twist. This board is magnetic! No need for push pins, now you can simply display messages and important papers with magnets and avoid all the holes.
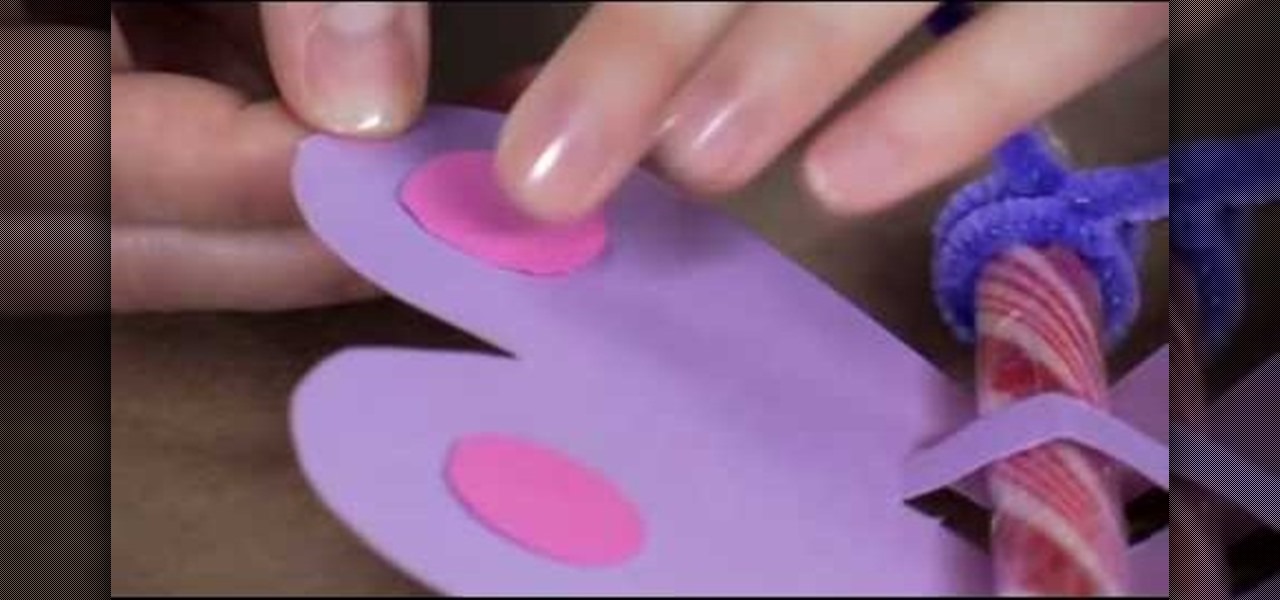
To make a butterfly Valentine card, you need scissors, coloured pencils or candy stick and pipe cleaners. The first task to do, is go to Family Fun and print the butterfly template, which you can find on the site. Print your template into coloured cardstock. You can find cardstocks in the scrab-booking section of your craftstore. Cut out your butterfly from the template. Cut along the dotted line to create a slot for your pen or candy stick. Next we rap the pipe cleaner on the top of the cand...
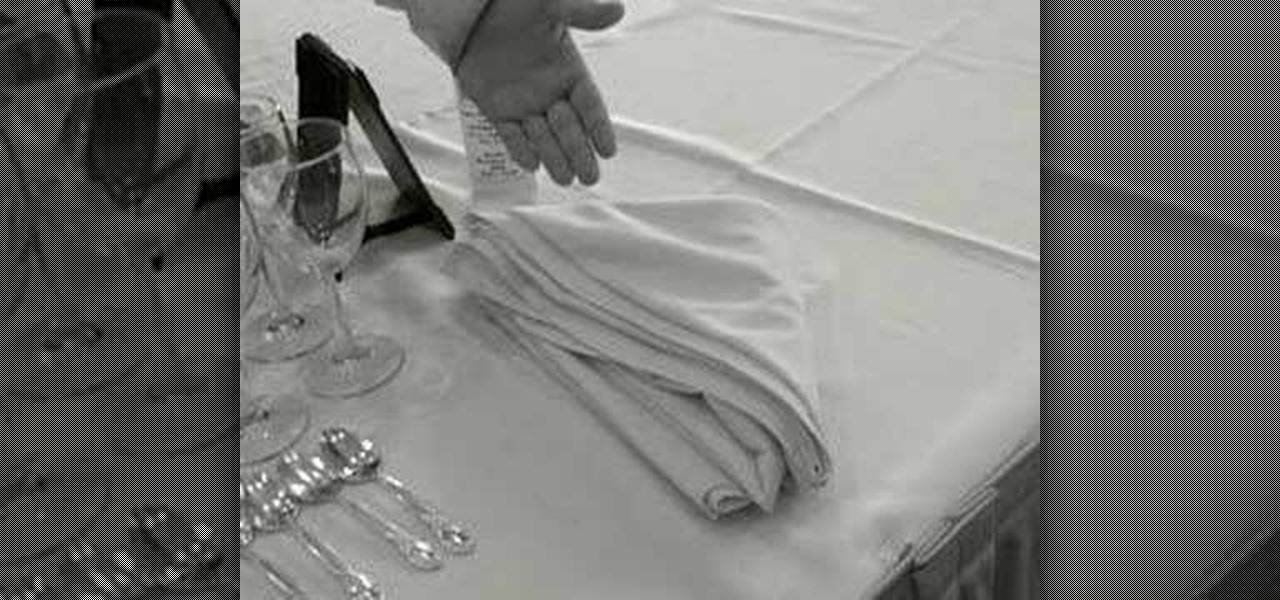
If you’re in need of a fancy napkin setting then try this pleated standing fan design. It only takes seconds to make. Start by folding on inch folds back and forth. Then fold the pleating in half, flip the mess over and let it spread out naturally. You’ll need cloth napkins and it often helps to have starched napkins when doing decorative folds. This will really dress up that dinner table.
To make a Clay Christmas stocking you need to slice a slab from a block of wedged clay using a wire and two rulers. After you slice the slab trace the shape using a needle and a template. If you want you can add the child's name using stamps. Add decorative stamping. Using a clay extruder, squirt out a clay rope to accent the opening of the stocking. Glue down with slip. Punch out two holes with a straw for hanging. Now you are almost done with your Clay Christmas stocking. You can vary the p...
Bob Harris of decorative concrete institute explains how you can remove your tiled or carpeted flooring for a concrete substitute. He suggests when your removing carpeting that it can be very heavy and advises you to hire someone who can lift and carry it out, or rent a dumpster for easy take away. He states that after the carpet is removed you'll need to remove the adhesive from the floor. You can do this by stripping or grinding, and at other times the use of harsh chemicals may be needed. ...
YouTube contributor, Sommerwetter, demonstrates how to make a paper lantern (also known as a luminaria or farolito) using only scissors, a glue stick and a standard sheet of paper (and a candle or the recommended tea light, of course.) Multiple symmetrical folds in origami-like construction and some well-placed slices in the paper create decorative cube or accordion style lantern. She notes that the process is very easy but you must follow it exactly. The author notes that the last several se...
The video demonstrates how to sketch the cartoon character of Luigi on a snow board. First the character is drawn with a soft pencil using faint lines. The action of the character on the snow board are detailed ,even the minute details like the hand ,legs, eyes and its expression are slowly etched out. Once the faint sketch is complete the features are highlighted with a dark pencil or sketch pen. A depth to the sketch is given by shading the parts and giving it third dimensional feeling. A d...
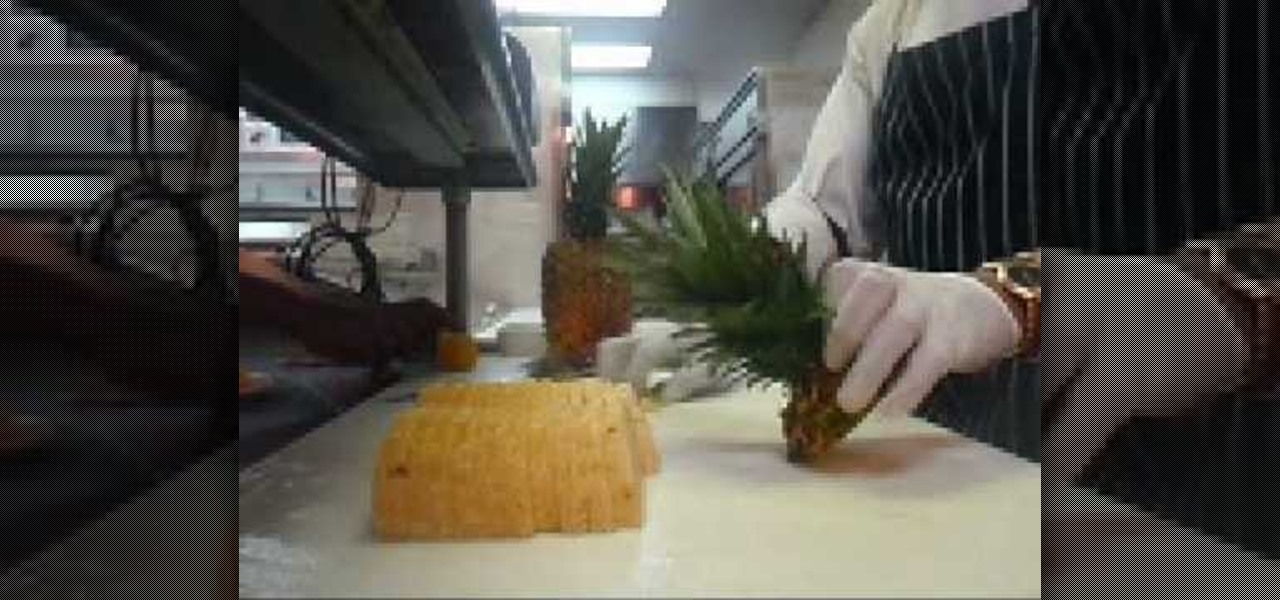
Rene S Frivaldo the "Chefingala" shows us how to cut and display two pineapples on a platter in less than 5 minutes. The top and bottom sections of a pineapple are first chopped off. The pineapple is then halved. The center on each half is then removed by cutting out a v-shaped wedge. The skin together with the eyes are then remove. Both the pineapple halves are then sliced into sections and placed decoratively on the platter. The pineapple crown is sliced lengthwise and placed as a decorativ...
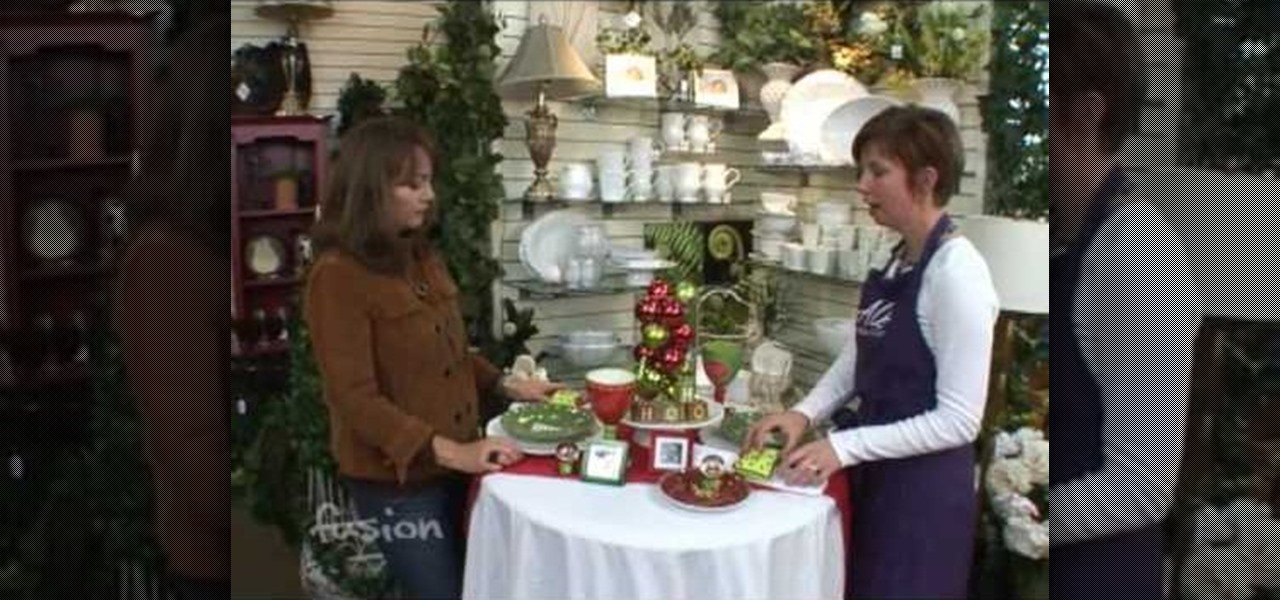
This video helps the holiday table settings add a fun and colorful theme to each holiday. Using white plates and table cloths, along with clear glass settings, will help to bring out the colors and details of the decorative additions to the table. Having scented candles or other types of fragrances will highlight and compliment the holiday table theme you have set. The table decorations you will see don't need to match, they only need to flow in with the theme you have arranged. This video wi...
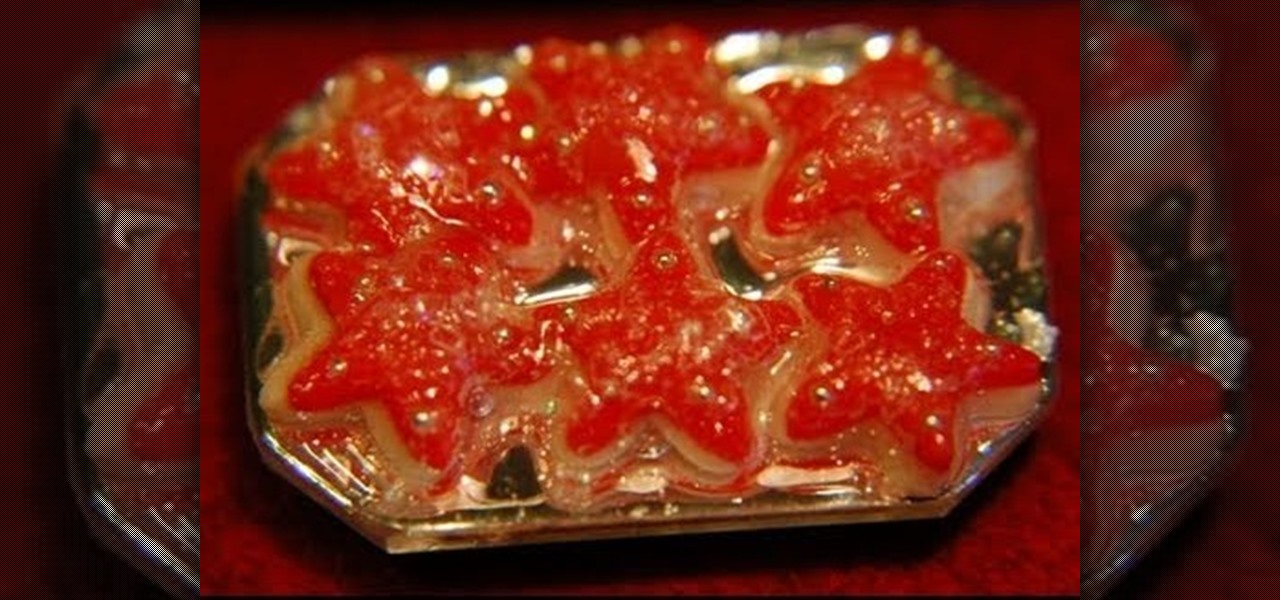
This video shows how to create mini decorated Christmas cookies using polymer clay. They are about the right size for a dollhouse. She shows the process of cutting the clay out in both colors, using a star stencil for the cookie shape and also the frosting. Make sure to have the frosting piece be a little bit smaller than the cookie so that it appears to be sitting on top. She also shows how to place the decorative silver pieces onto the clay. She explains how long to bake these pieces, and a...
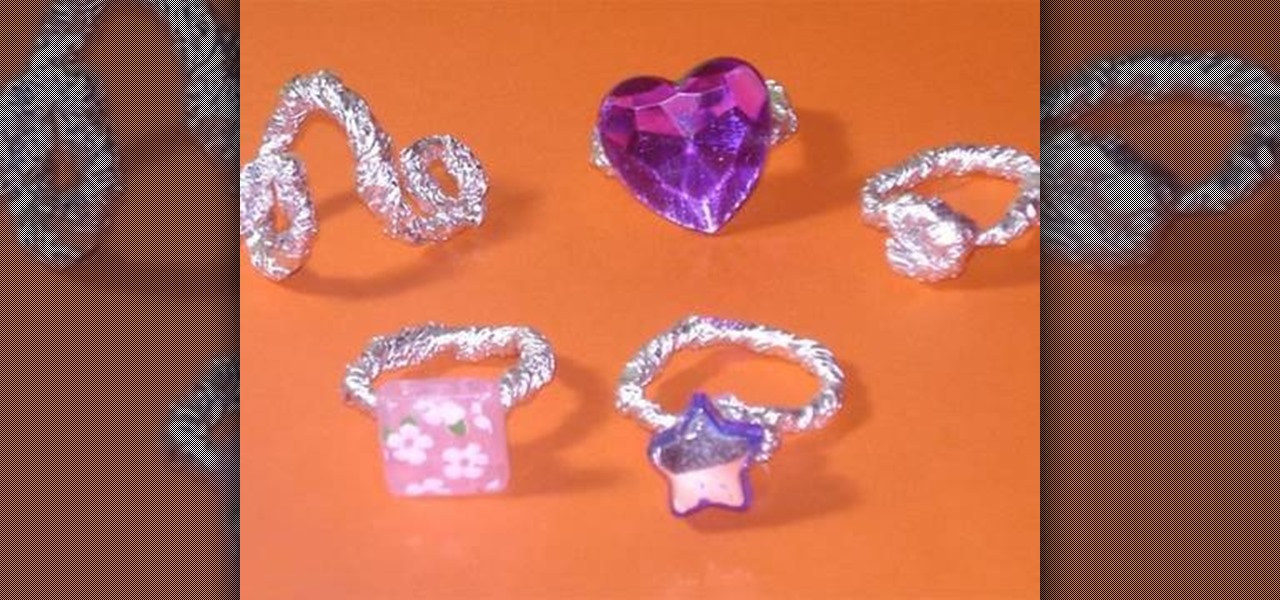
In this video tutorial, viewers learn how to make aluminum paper rings. This video provides all the materials required to make the rings. The materials required include: aluminum paper, glue, plastic gems, beads and the bottom of any decorative element for the top of the ring. Begin by folding the foil into a thin line and twist it. Now bend the foil around your finger to shape it into a ring. Then tie and wrap up the top. Put some glue on and add the bead or gem to the center. This video wil...
This video, for simplekidscrafts.com, tells us how to make an origami necktie. This is a very easy crafts project, suitable for kids and adults alike. It doesn't require a long list of materials, only a sheet of origami paper is needed. The sheet of paper is then folded ten times to transform it from just a square of paper into a decorative origami necktie. The video has no audio instruction, but encourages you to follow the folding technique exhibited by the child in the video. The camera is...
She's doing it again; turning the ordinary into the extraordinary! Carolyn Braden is taking sea shells collected from a recent vacation and incorporating them into a decorative wreath. Using a hot glue gun and thick satin ribbon wrapped on a Styrofoam ring, a simple inexpensive wreath can be created with anything you can find attached. Don't be afraid to be creative. Using thick ribbon will help create a lovely pattern behind whatever you choose to glue on the wreath. The other idea Carolyn h...
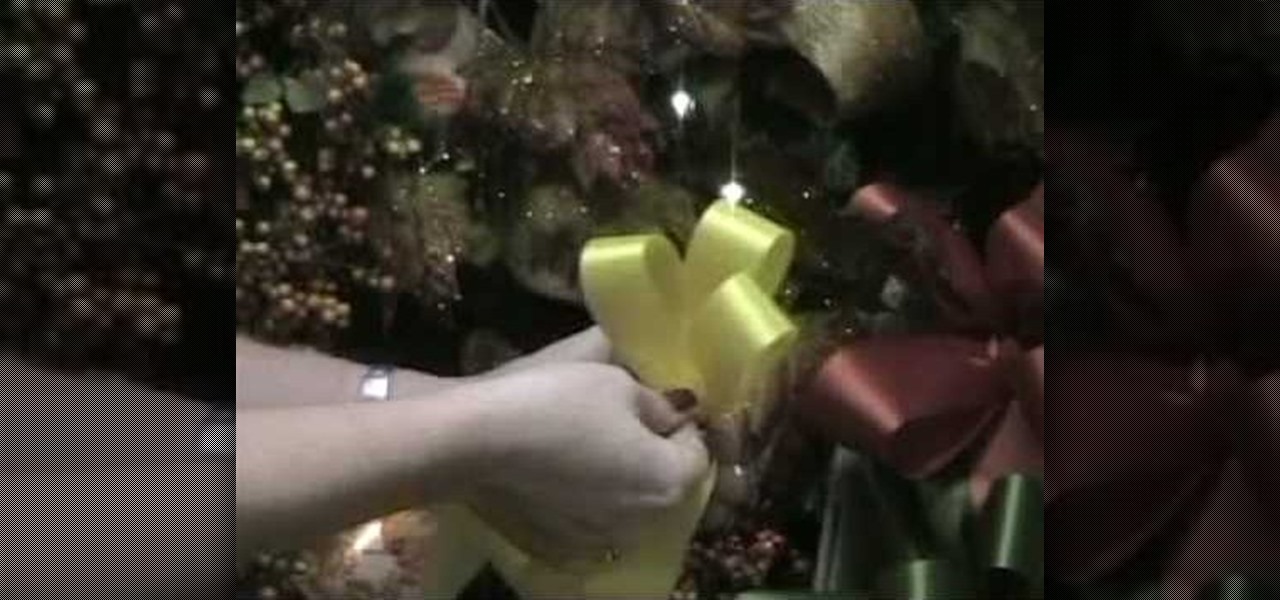
There's no better time than the holidays to whip up a batch of beautiful decorative bows. This instructional video teaches you how to tie your own bows for embellishing any holiday themed item. Once you've mastered this technique feel free to experiment with other sizes and styles. These are the bows that we use to attach to wreaths, garlands, centerpieces, swags, potted plants, and a variety of other floral arrangements. Learning how to make your own professional crafter's quality bow like t...
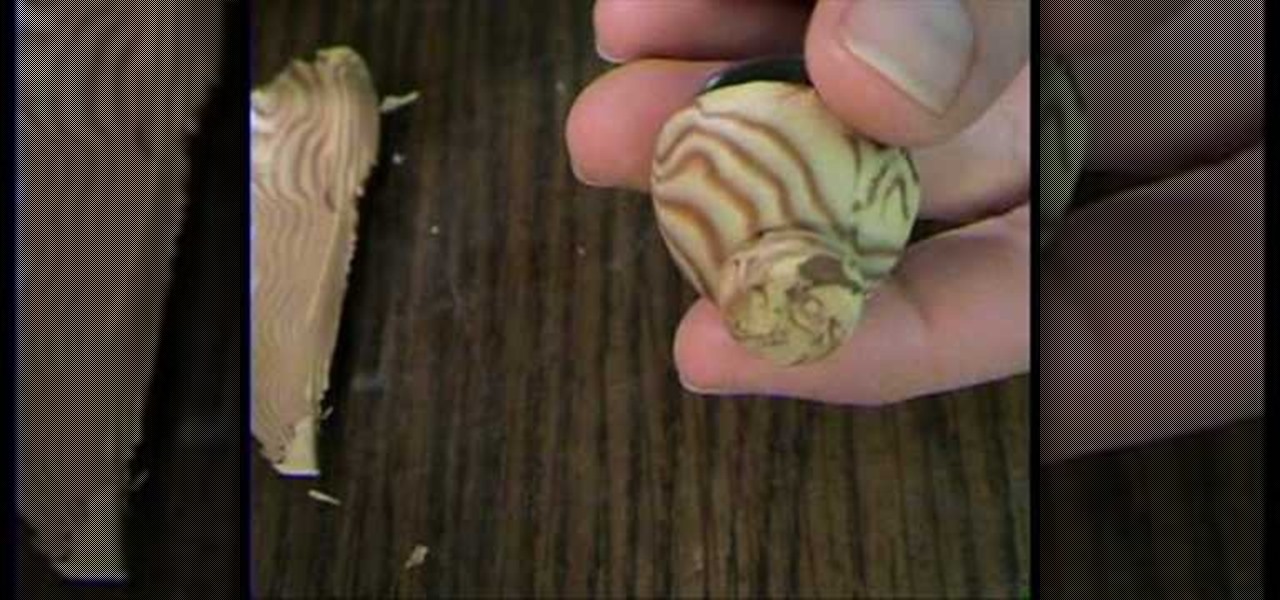
Ever find yourself short on material and that one board you really need has a nice open knot in it? You could always go out and buy more material, but sometimes its just easier and faster to stabilize and repair the knot. And instead of trying to hide the knot, sometimes it's just better to embrace it and make it look look resinous and natural. And that's the goal here. Our guide uses an epoxy/dye mixture to create a stable and decorative knot. With a little elbow grease, and this video from ...
In this video tutorial learn how to make a jointed flower fairy paper doll sitting on top of a trinket box. You will need three strips of paper and two circles cut out of paper. To create the box, curl the strip with a pencil. Then adhere scotch tape to the strip and tape the strip to the circle to create a box-like structure. Cover the perimeter with a larger strip of paper in whatever design you want to use. Follow these same steps to create a larger box. Fit these two pieces together and a...
How to make decorative roses out of baby socks. All you need is a baby sock and some floral wire and green floral tape. Watch the video to learn how to wrap the sock to look like a rosebud around a wire stem, and then tape the base of the sock well with the floral tape. Continue to wrap the tape all the way down the wire so it looks like a nice green stem. Makes a great gift for expectant mothers as it's not only cute but they can also unwrap them and use the socks for their new baby boy or g...
Cardcrazy09 teaches you how to make a thank you card using Cricut. You will need the Walk in my garden cartridge for this. The card itself is a Martha Stewart piece of double sided cardboard. You will need different types of punches to create the white decorative part and the text card. That will be printed with black text. The flowers and the pot are created using Cricut. The pot is placed on top of the flowers and each of them are individually stuck onto the card. Also make sure to add a so...
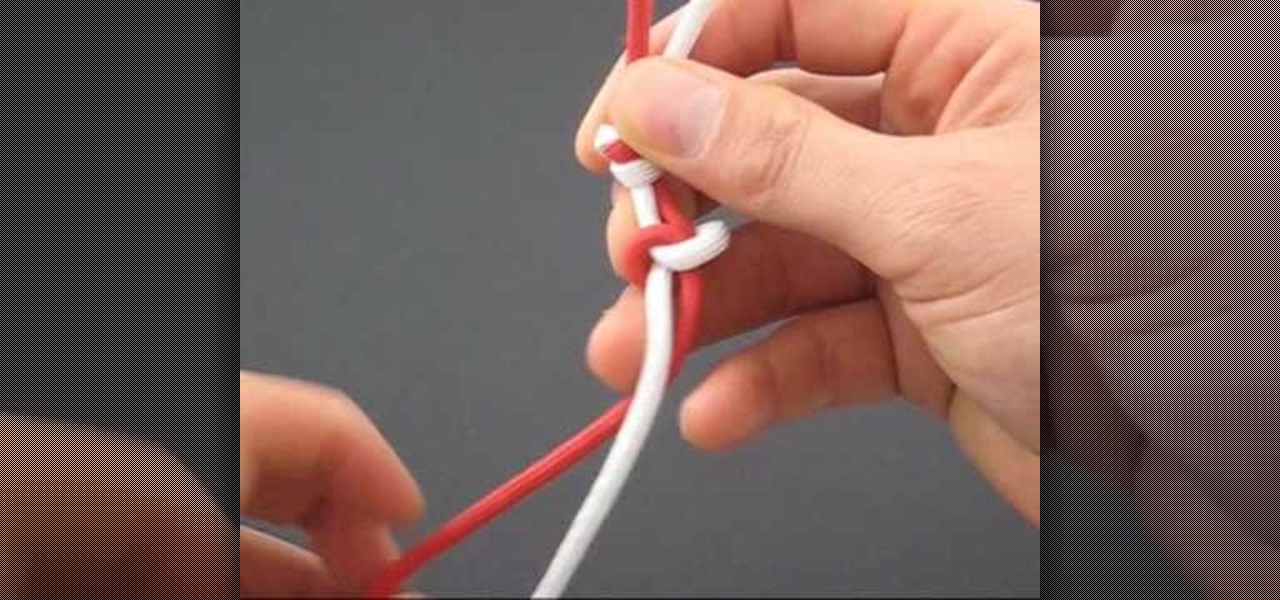
The Chinese snake knot is a considered a representation of good luck, or its considered as an embodiment of the Snake in the Chinese Zodiac. This Paracord Snake Knot can be used as a bracelet or another decorative piece. This snake knot technique would make a great time passer to have some fun in your leisure. In this video you will learn exactly how to make a Chinese paracord snake knot, and if you were born in '89 you should make one too.
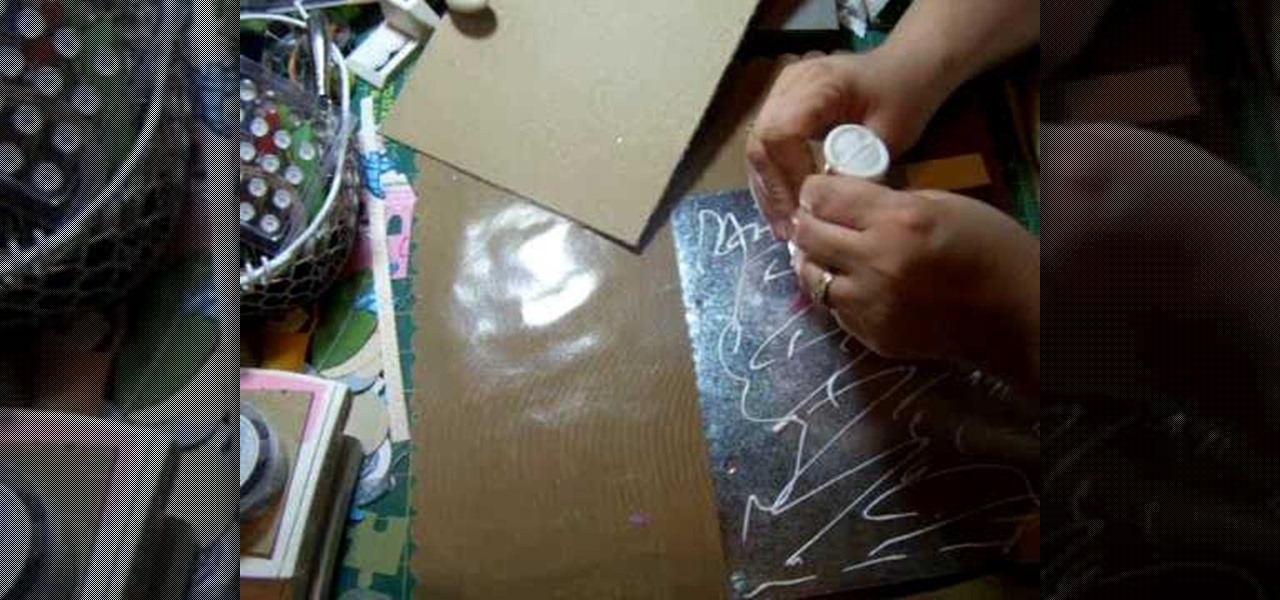
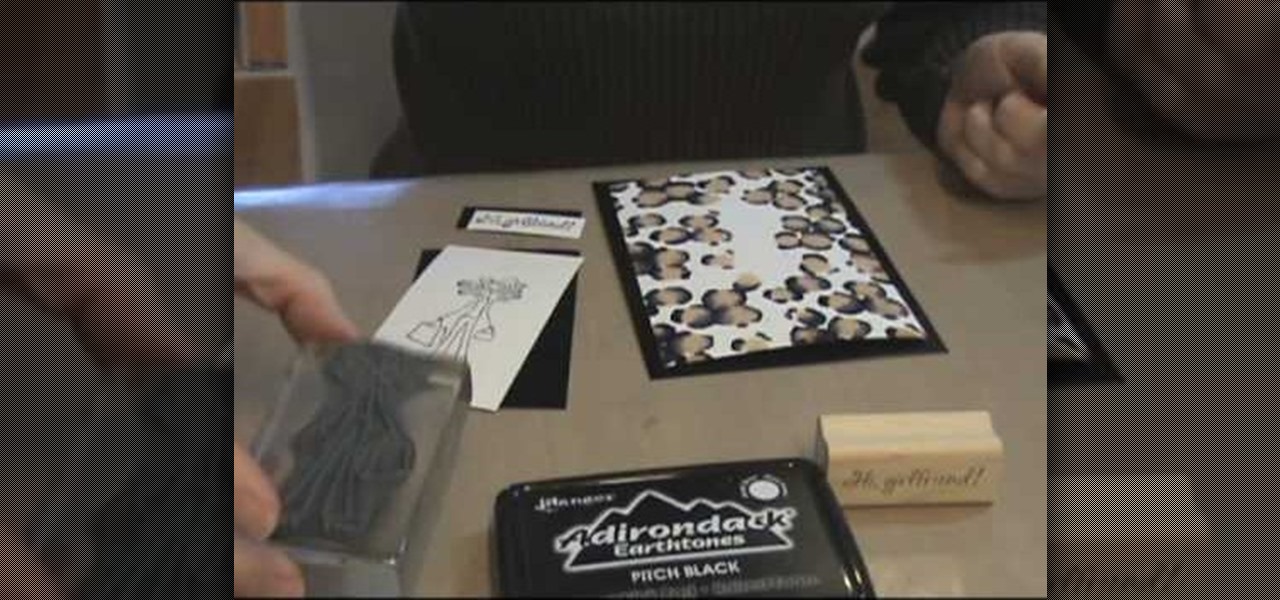
Create some great leopard prints with Ranger's Alcohol inks. The needed items are: 1. 5" Gloss sheets in white and in black color
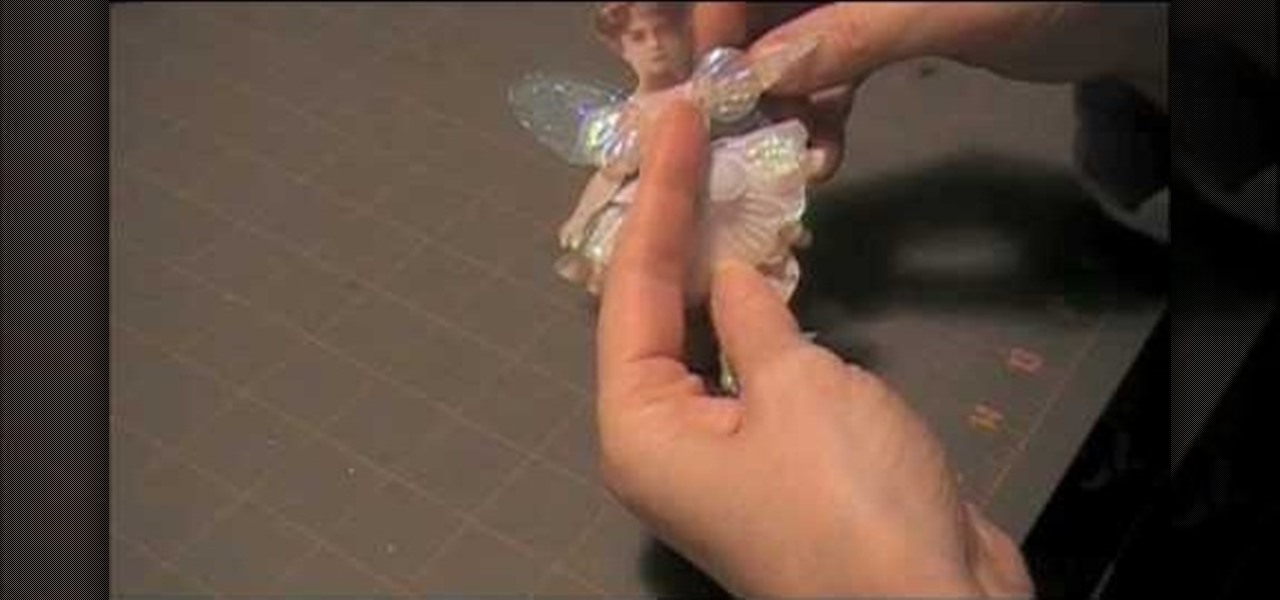
Ever hear of fantasy film? No, not the weird fantasy movies, but the decorative colored paper. It's great for making any arts and crafts project. In this video, see how to make a glittery dragonfly out of Fantasy Film and opals. Barbara Trombley shows you how to make this simple project in minutes. You will be amazed when you see the film change colors right before your eyes. This dragonfly is perfect for any card or hat or lapel.
This is a tutorial on creating graffiti letters from duct tape to decorate and stick anywhere you like. Not your everyday graffiti, but if you have a lot of duct tape lying around the house, this project's an interesting way to spend an afternoon and stay out of trouble. Starting with graffiti letters from GraffitiGen and GraffitiCreator, this tutorial takes you through the steps to make your own graffiti duct tape letters to decorate just about anything.
You've organized your materials and chosen your book. Now it's time to get down to brass tacks. . . and tapes, stamps, stickers, cardstocks, markers... Watch this how to video to learn how to make your own scrapbook.
Commercial air fresheners just make your home smell like a public restroom, but there is a simple—and natural—way to keep your house smelling sweet for weeks. Watch this howcast video to learn how to make an all natural air freshener.
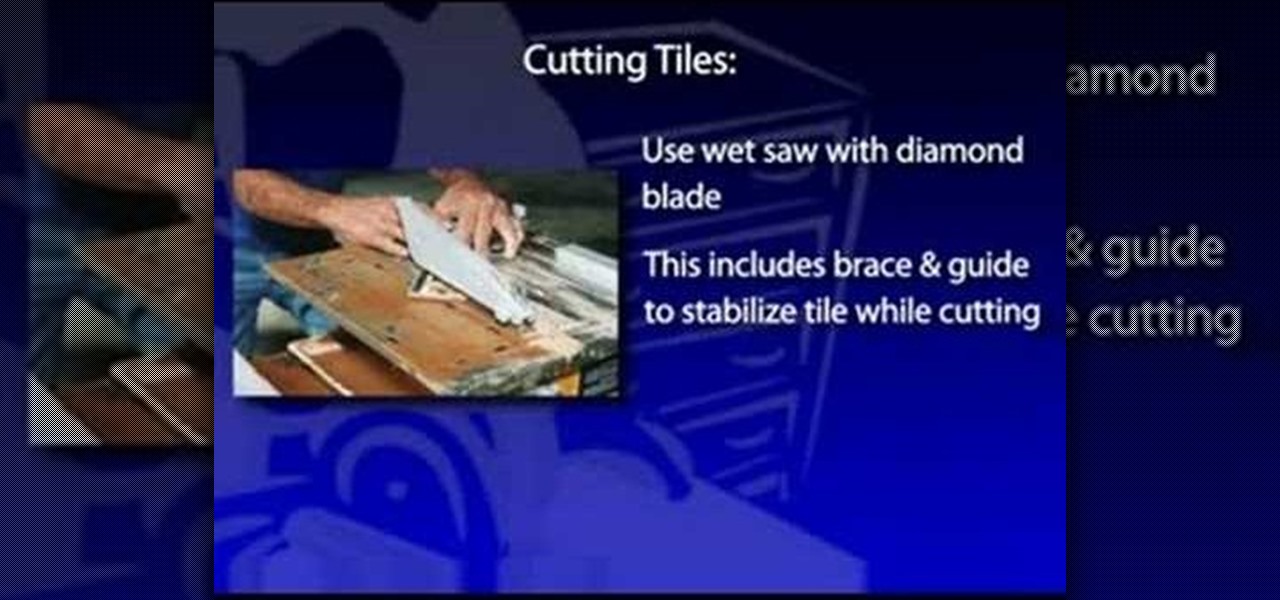
Installing wall tile is basically the same procedure as installing floor tile. And it offers the same advantages: flexibility of design; a wide range of colors, materials and patterns; and if installed correctly, years of durability. Ceramic or porcelain tile makes an attractive backsplash behind sinks and stoves, or encasing a bathroom or shower. It's a strong and easy-to-clean material that offers great decorative advantages for areas exposed to water, while resisting moisture intrusion and...
Tired of boring and ugly slippers? Learn how to make decorative slippers with fabric, ribbons and silk flowers, in this free clothing and accessories video series.
Steal the shower curtains from a hall's community shower, then put them out on the dorm's balcony and cover them in water when it's going to get below freezing. They try to get the curtains in the morning but they're frozen with sheets of ice, hah! Use this as inspiration for one of your April Fools Day pranks!
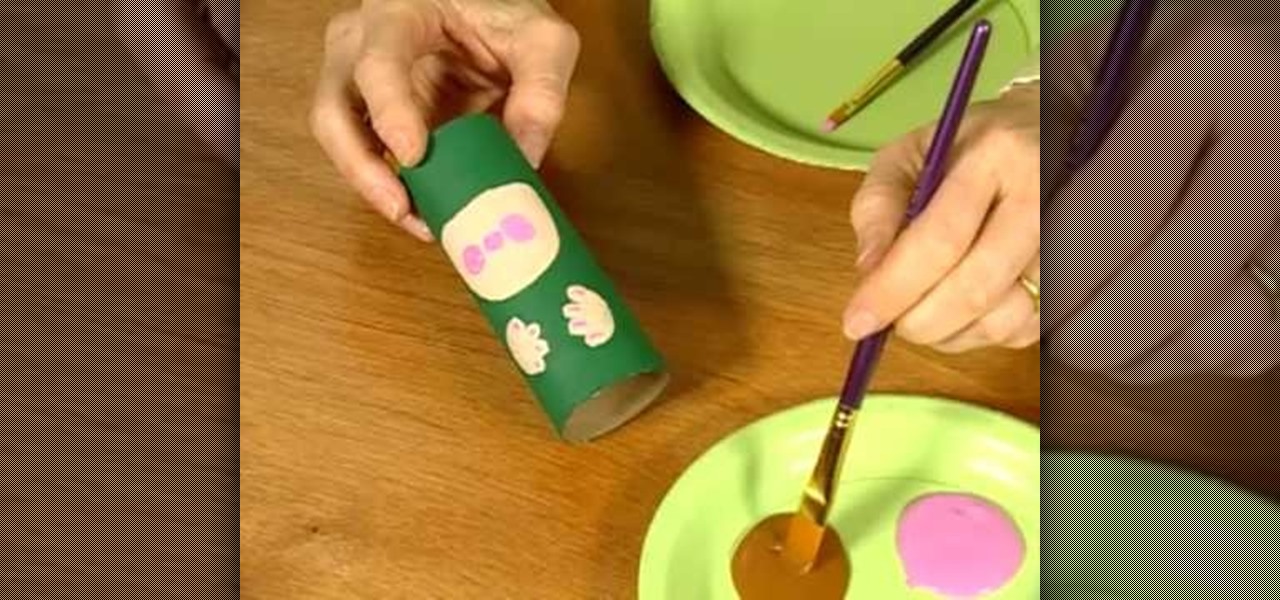
Family Fun Video demonstrates how to make a leprechaun craft project. To make the leprechaun, you'll need a small paintbrush, a ruler, green craft foam, green paint, pink paint and a skin tone acrylic paint, a black permanent marker, tacky glue, a toilet paper glue, a decorative button and four brown pipe cleaners. Trace a circle onto craft foam with the toilet paper tube and make a larger circle for the hat brim. Cut them out and set them aside. Paint the tube green and then add face, hands,...
Tired of the same old flower corsages? Check out this video on how to make a one of a kind candy corsage for your next outing! These make a great gift for prom, holidays, even birthdays for that special little girl in your life.
Throughout this video, The Cupcake Special, with Realizing Nuala, you listen to the song "Happy" as you watch a young woman demonstrate the correct and incorrect methods of baking and icing cupcakes. She begins the video by baking several dozen chocolate cupcakes in small paper cups. Then moves onto beating the icing, starting with orange, and then chocolate, and continues on making several other colors. Amidst the creation of the icing, you are shown other decorative features made for the cu...
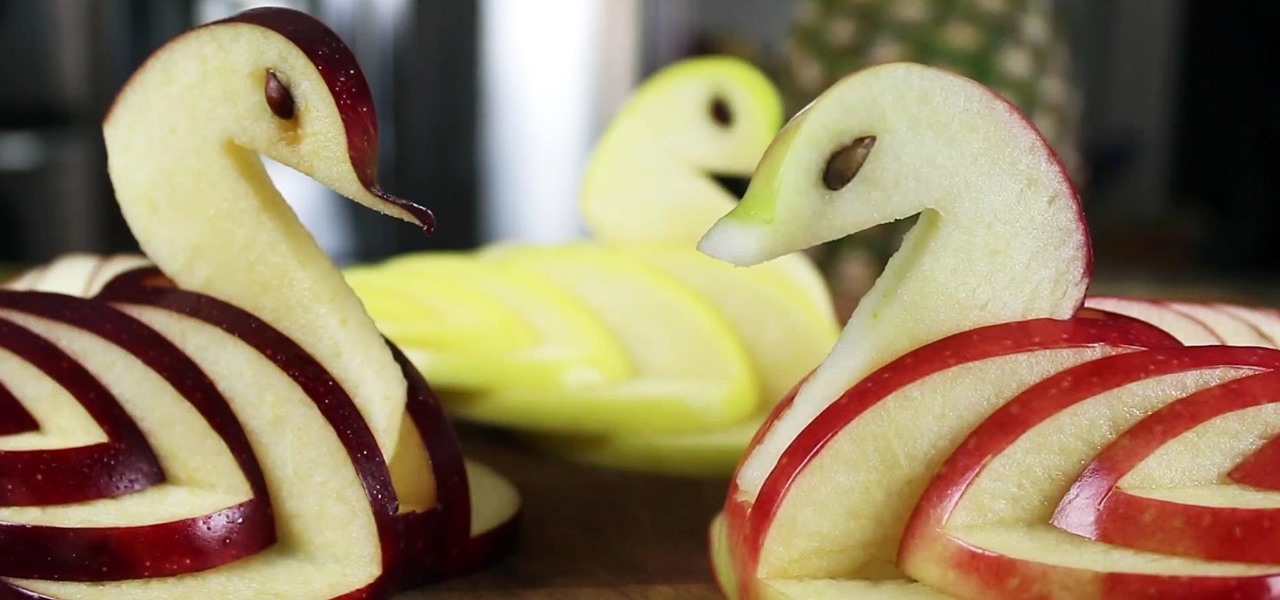
The next time you come across a basket of fruit, don't just eat it—have fun with it. In this guide, I'll be showing you how to turn ordinary apples into exquisite-looking edible animals. More specifically, I'll be showing you how to cut an apple into a tasty, decorative swan, a design that has a few modifications to the original idea.
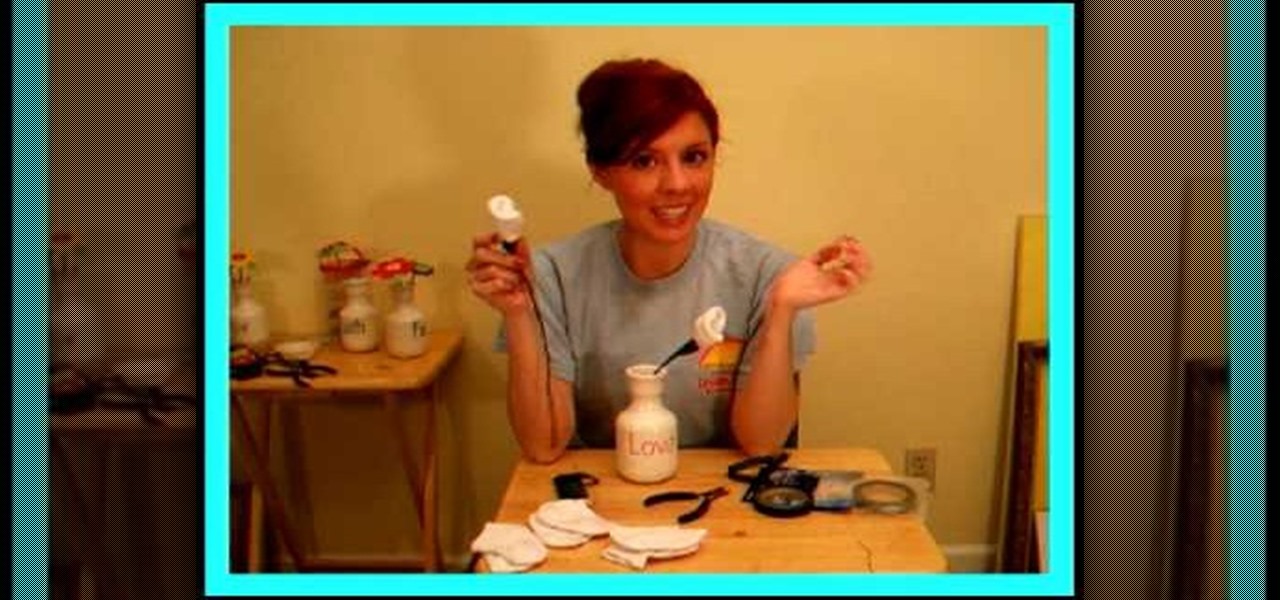
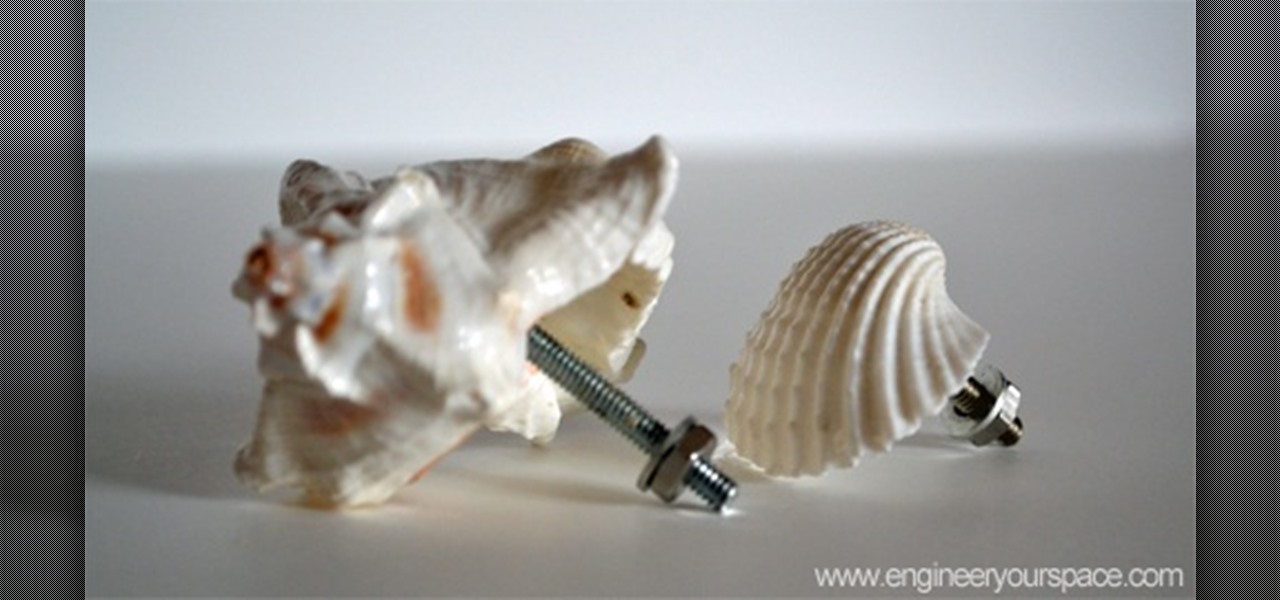
A quick way to revamp an old dresser is to change out the knobs for some new decorative ones. Here’s an easy and budget-friendly way to make your very own DIY dresser knobs using shells – perfect if you’re looking to add a little bit of the beach to your decor: What you’ll need: shells (I got mine from the Dollar Store), nuts & washers, bolts (about 1 to 1.5 inches longer than the thickness of the shell), scrap rigid cardboard, rubber bands and epoxy glue.
Learn how to make decorative seasonal napkin holders for all four seasons in this free video series on entertaining and dinner crafts.