In this video we learn how to tie a half Windsor knot. First, bring the tie around your neck and position the small side by your belt. Next, bring the big side over the little side, then bring it underneath the little side. After this, take the big side through the gap on the right side only. Take the big side back over the top of the little side and bring the big side through the gap once again. During this, make a little hole with your right hand and tuck the big side into this hole. Push t...
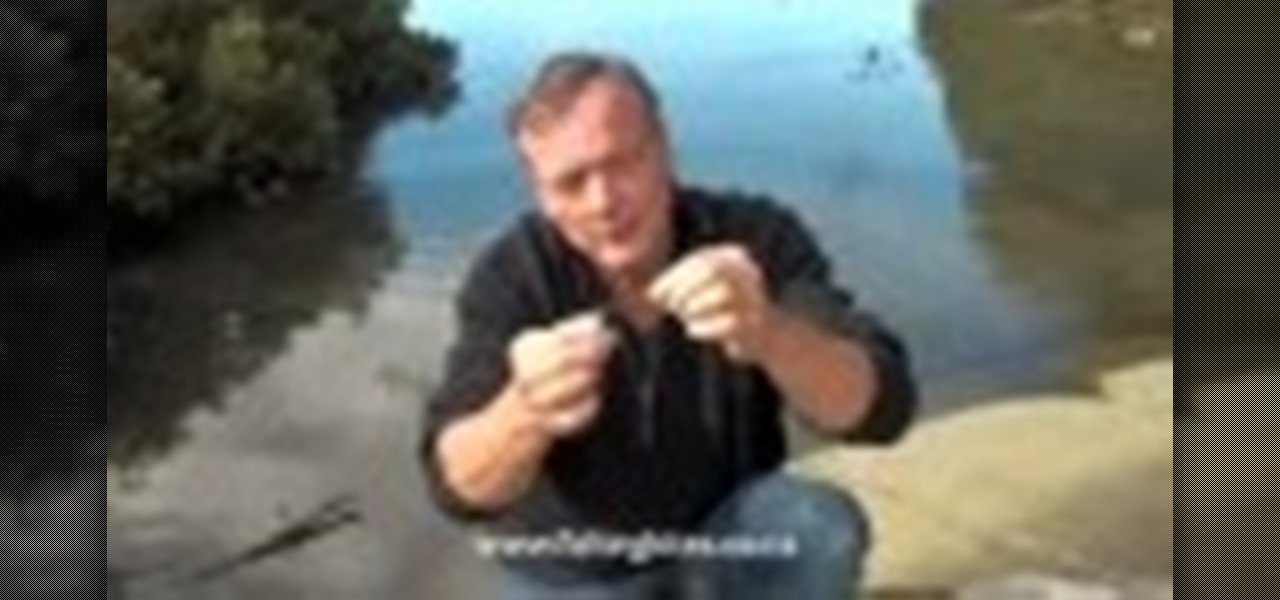
This is a video tutorial in the Outdoor Recreation category where you are going to learn how to tie a snell knot to a fishing hook. This knot is different from the usual ones and is one of the strongest fishing knots for tying a fishing hook to fishing line. It is also the easiest to tie. Take a fishing line about a meter long and a number 6 tuna circle hook. Pass the line through the eye starting from the front and coming out at the back. Hold the end of the line and the hook together, wrap ...
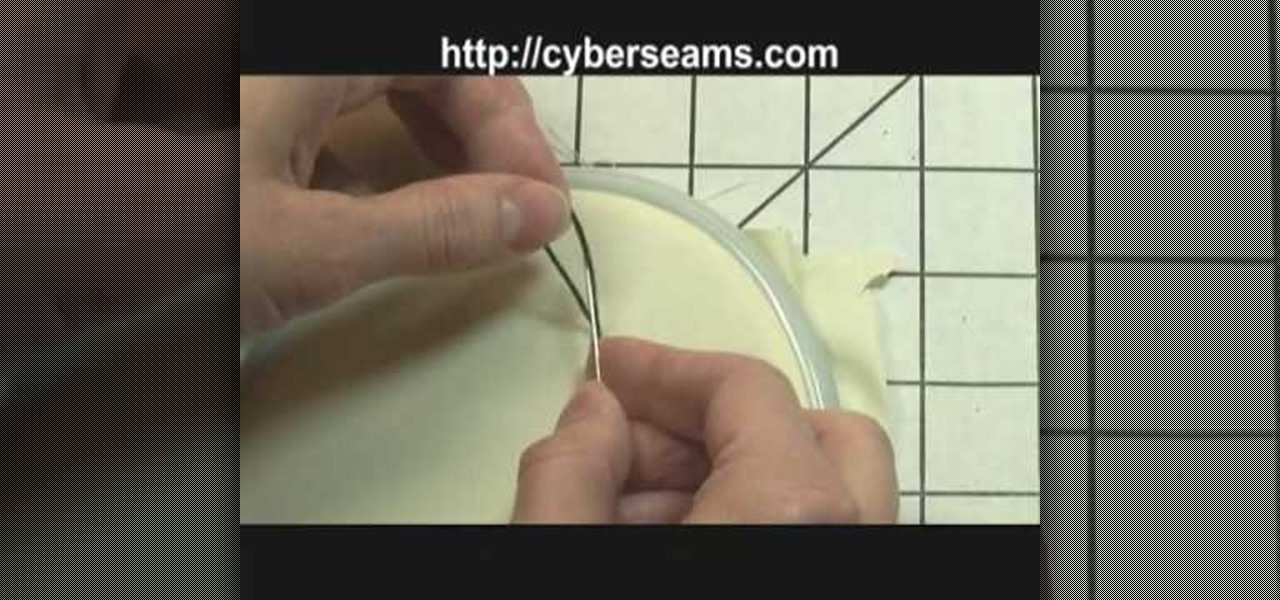
In this video, we learn how to tie off when sewing by hand. First you want to sew your fabric and complete your desired project. Next, you will push the needle into the bottom of the fabric where you won't be able to see the tie off from the front. Now, loop the thread and push the needle with thread through it, before you finish, push the needle through one more loop. Now, pull tightly until there is a tight knot at the bottom of the thread. Now, take your scissors and cut tightly next to th...
In this video, we learn how to tie the basic knot design of a cargo net. First, tie a double overhand knot on a rope bent into two. After this, make cow hitching on the first loop that you created. Next, make a second double overhand knot followed by cow hitching the second loop. After you do this, you will be able to size up for use! To make this, you must have some prior knowledge of how to tie different knots. If you don't, you won't know how to make the shapes. Use a picture as a referenc...

If you are interested in tying knots just for show and are looking for a challenge, this next tutorial might be what you need.

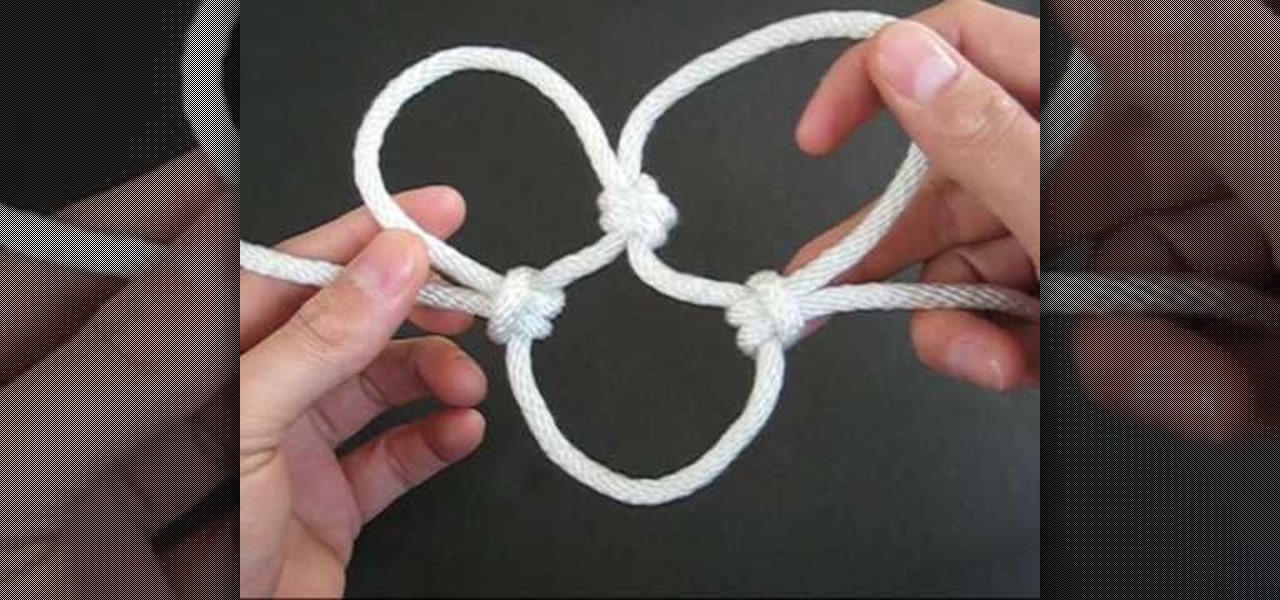
Tying it All Together shows how to do double loop knotting in this video tutorial. The tutorial outlines two different types of knots that can be done using two uncommon ways of tying the knots. The double coin know requires you to fold a piece of string in half laying the two sides of the string side by side. With a series of twists, turns, and coils you can create the coin knot. The second type of knot, cross knot, requires double loop knotting to create a squared-looking knot. As an additi...

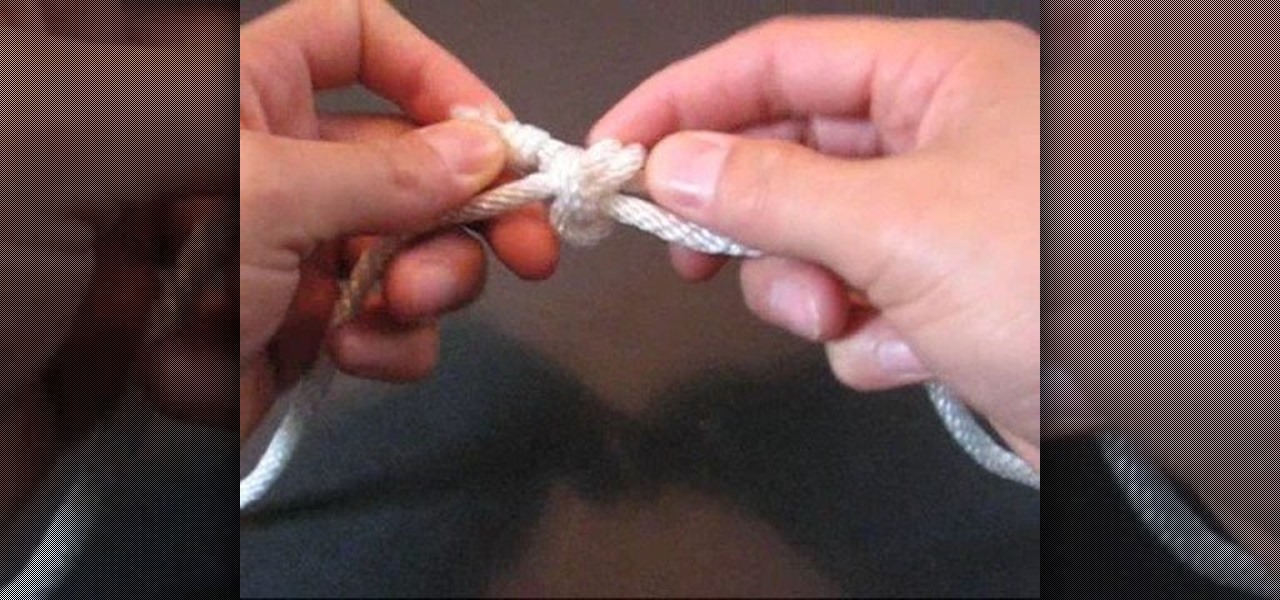
In this video you will learn how to tie a knot known as the "Hunter's Bend". A "bend" is a type of knot used to join two ends of a rope together. Generally, it should be possible to untie this type of knot, once it's usefulness has passed. This knot was originally created by a man named Phil D. Smith during WWII, at which time he dubbed it the "Rigger's Bend". An English physicist, by the name of Edward Hunter, rediscovered the knot in 1978, and popularized it's use, leading to it's current n...
In this video tutorial, viewers learn how to tie a scarf into a bow. Begin by finding a long rectangular scarf of your choice. Now slightly twist it up a bit. Then put it on the neck and wrap it around from the back once. Finish the procedure by tying the ends into a bow. To make a bow, create 2 loops and cross them over each other. This video is very simple, easy and fast to do. This video provides step-by-step instructions for viewers to easily understand and follow along. This video will b...
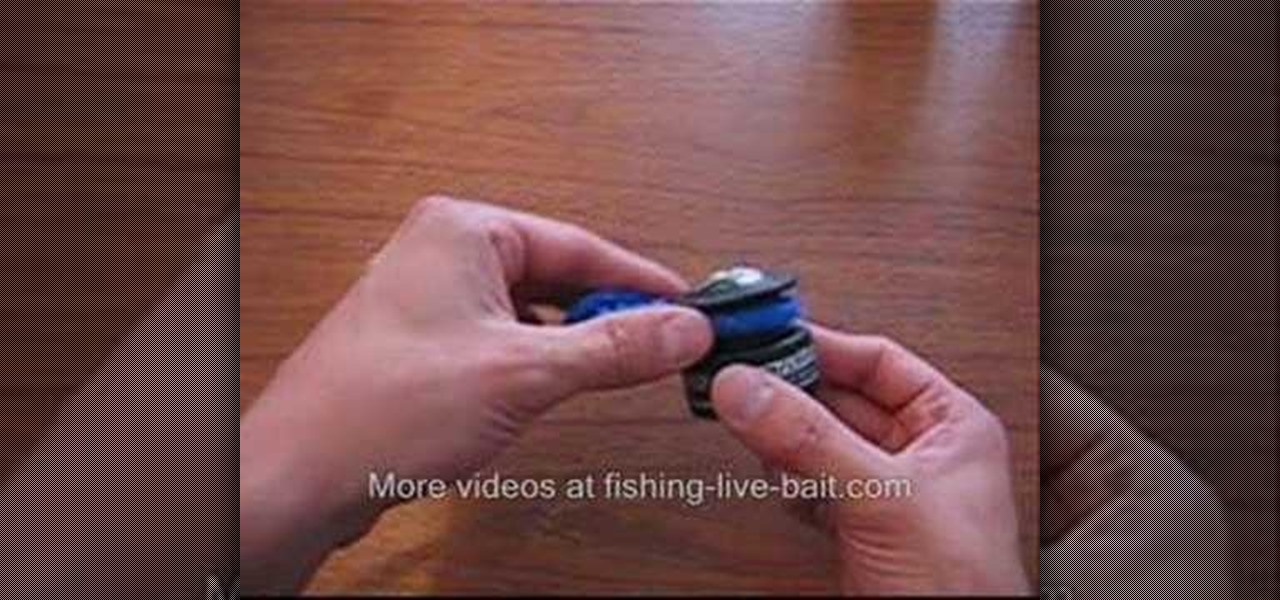
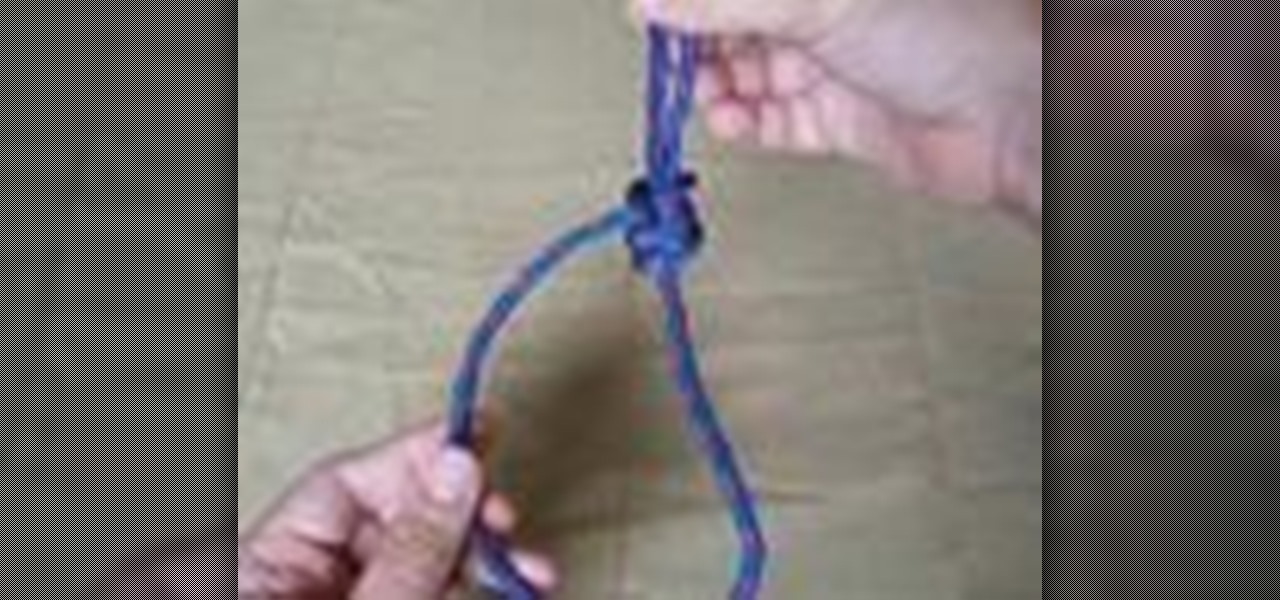
In this video, you can learn how to tie a uni knot. He uses a snap-hook and a blue rope to demonstrates. He pulls the rope through the hook and makes a loop that crosses over the two pieces of rope. He pulls the rope through the hole six or eight times. Then pull on the hook to tighten the knot. When you pull the rope, the knot slides up to the hook. He explains that the uni knot can be used to loop a fishing line onto a hook or over a reel. It can also be used to tie two lines together makin...
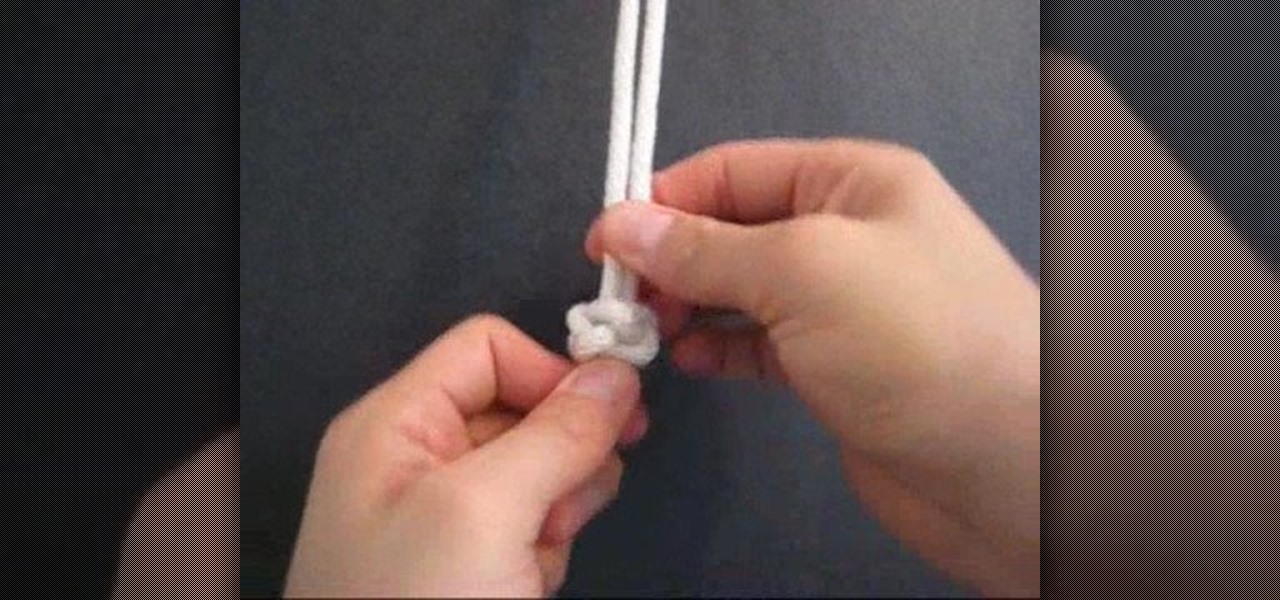
In this video tutorial, viewers learn how to tie a diamond ring knot. The name refers to the similar appearance of an actual diamond ring. The Diamond Ring knot is the fusion of an Overhand Knot and a tying technique called circling. Begin by making a loop; put one end of the string through the loop and pull it to form a pretzel shape. Continue putting one end the string through the loop. Eventually it will build up and it will just need to be tightened. This video tutorial will benefit those...
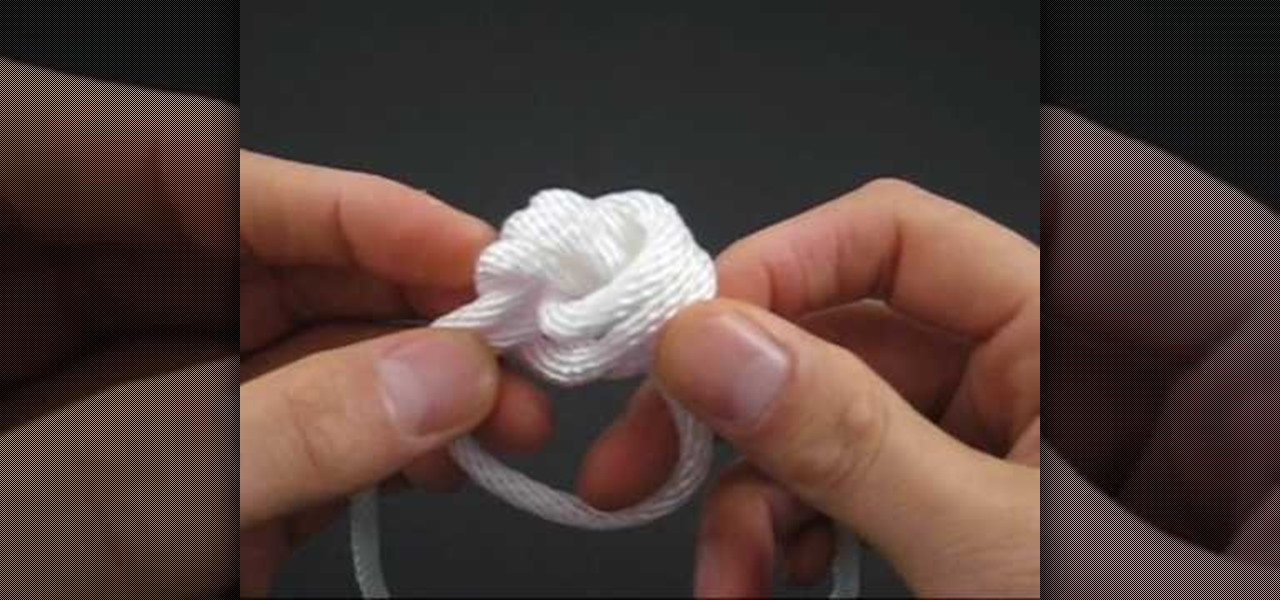
"How to Tie a Decorative Diamond Knot: Tying It All Together" explains how to tie a decorative diamond knot. The diamond knot is a decorative cylindrical knot, which is also known as the lanyard knot and the knife lanyard knot. Make a loop with one end of the string, and fold the other end parallel in the center of the loop. Feed the end of the right string over the left string and pull down. Fold the right string over and feed through the left side of the loop. Pull a second loop behind the ...
Agnes from My BF Closet takes us through a few ways to use your boyfriend's ties to compliment your own wardrobe. A trendy and young look for women, a necktie may be just the right accent and bit of flair for you. Agnes teaches us first, using herself as a model, how to tie and wear the tie in its traditional form, around your neck. Moving on, and with a great sense of humor, she shows us, in a montage, various other uses. As a belt, for instance. And as a headband. With this video, Agnes sho...
Today we teach you how to tie a tie! Tieing a tie is So Easy a Guy Can Do It!
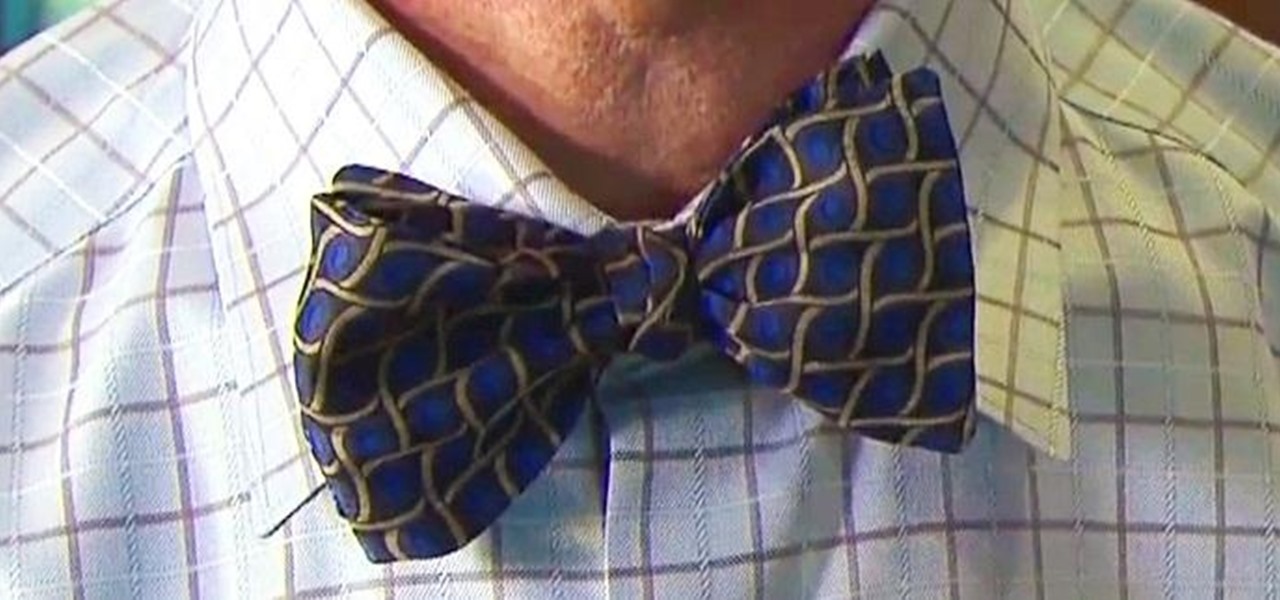
Tying a bow tie seems to be a lost art, but if you're a fashionable intellectual, there's no better way to dress up a shirt. So, if you're looking to improve your wardrobe without losing your geek-cred, take a lesson from The Science Guy himself, Bill Nye, on how to tie one stylish bow tie.
Windsor knots are among the most well-known type of knot. They look wonderful and they just seem to radiate talent and professionalism. However, the process is painless and takes only minutes to learn. You should watch this if you want to learn how to make Windsor knot. 1. Drape the tie over your shoulders (the same way that you would an Honors cords at a graduation) with the wide end hanging down roughly a foot over your right shoulder. 2. Take the wide end of the tie and cross it over the n...
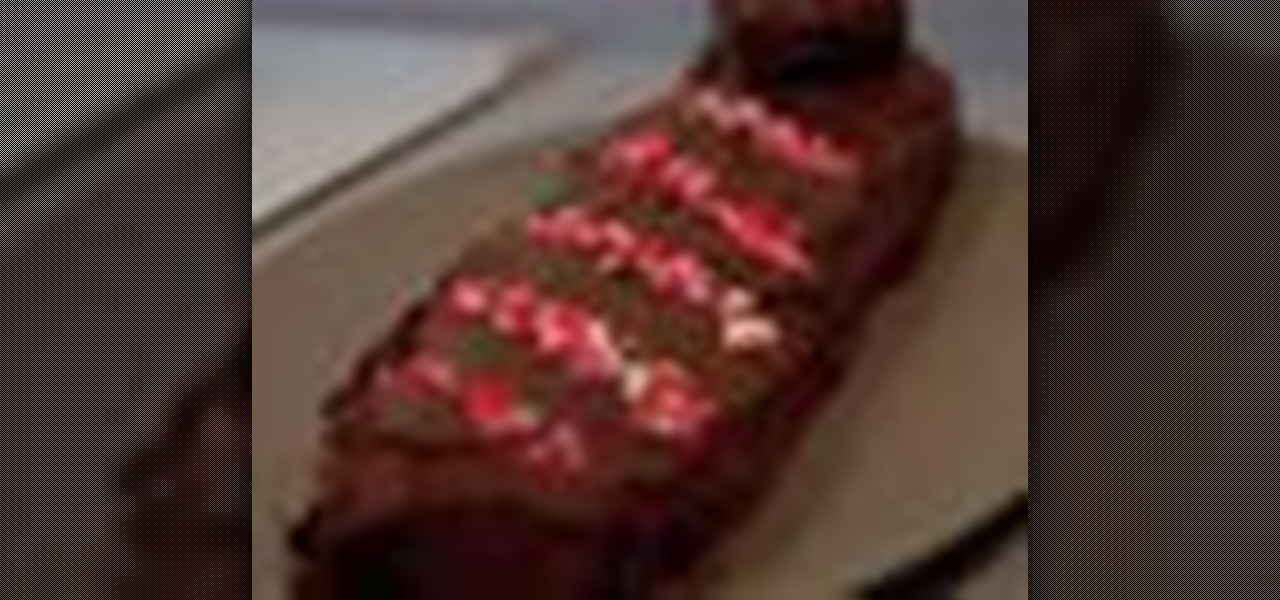
If your dad is a suit-and-tie type of guy, why not celebrate that on Father's Day by making him a delicious Tie-shaped cake? This video will teach you how to make a chocolate tie cake that will make the whole family weep with pleasure.
Express your colorful personality with the power of tie die! Turn your boring plain colored t-shirts from solid colored to multi-colored by tie-dying your way to becoming a fashion plate! In this video, learn how to tie dye your clothes to make something new, from something old.
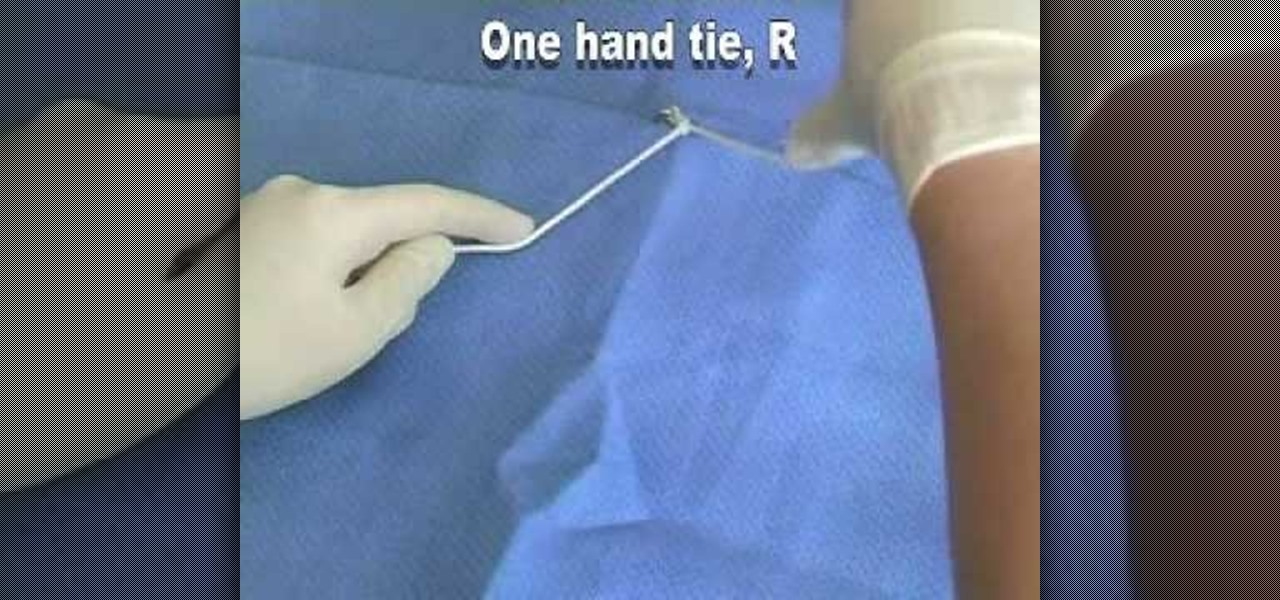
Gloved hands show how to perform several veterinary suture ties. This video shows the one hand tie with the right hand. It repeats the tie several times in slow motion to allow you to follow it and manage to copy the suture and learn to do the hand tie yourself.
Chances are, unless you go to a large number of formal events, you don't know how to tie a traditional bow tie. Bow ties are classic pieces of fashion, and every man will wind up wearing one at one point or another - whether it be for a wedding, gala, or other type of special event. You don't want to be caught with your tie unraveling, so check out this tutorial and learn how to tie a bowtie, step by step. Pretty soon you will look sharp and confident, wherever you go!
This tutorial is an awesome tie dye how to video by Cowboy Hippy from Happyhippie.com. Cowboy Hippy shows you step by step of the tie dye process, how to create cool designs, all while providing insightful commentary. Learn how to make your own dye, and how to process your shirts. You don't have to be a hippie, but it helps! Check out this video lesson and start tie-dying your clothes.
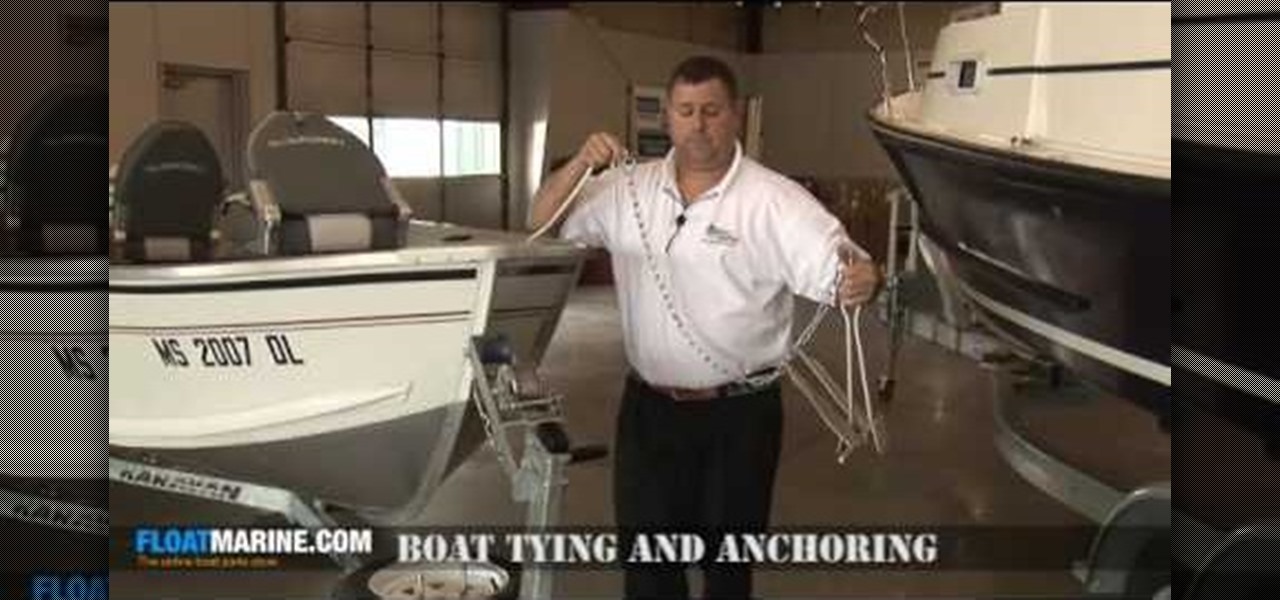
This video is some real basic stuff about boat tying and anchoring. Watch to see the right way to tie and anchor your boat.
The Double Bowline has the same strength as a figure eight knot but is simpler to tie. This variation of the double bowline knot differs from the original in that the end of the rope doubles back to go the same direction as the length, instead of hanging down into the loop. Watch this video knot-tying tutorial and learn how to tie a variation of the double bowline knot.
The Double Bowline has the same strength as a figure eight knot but is simpler to tie. As the rope wraps around twice, the double bowline knot is more secure than a regular bowline knot. Watch this video knot-tying tutorial and learn how to tie a double bowline knot.
While the clove hitch is not a particularly secure knot, it's useful in situations when the knot requires a little bit of give. The steps to tying this knot are demonstrated in this how-to video, and are shown at a fast pace so you can see how quick and easy it is to do. Watch this video knot-tying tutorial and learn how to tie a clove hitch knot quickly.
This high load pole hitch, as demonstrated in this how-to video, is useful when a skyhook is needed. Very useful when lifting an outboard motor over the transom. Tying this same knot in the bight is a useful option since it gives a tensioning loop. Watch this video knot-tying tutorial and learn how to tie a pole hitch.
The bowline knot can be furthered strengthened by tying an additional backup knot. As knot-tying reduces the strength of the line, it's advisable to back up knots if the rope will be enduring some weight. Watch this video survival training tutorial and learn how to tie a bowline backup knot.
This video tutorial shows how you can tie a shemag or shemagh with this funny tutorial. A shemag is a desert style head scarf worn to keep the face safe from the wind, sun and sand. With this how to video you can be tying a shemag head scarf in no time. While these traditional scarves have recently become a trendy accessory, this instructional video shows the traditional way to tie it.
Here is a how to video tutorial on how to tie the laces on ice skates. Learn the proper way to tie figure skates or hockey skates for the sport of extreme ice skating.
Watch this how to video to learn to make polyhedra using hanger tape paper and zip ties. This step by step tutorial will teach you to make a cuboctahedron.
If you're heading to an Indian, Sri Lankan, Nepalese, or Bangladeshi event, you may need to wear a sari. This video from Watchmojo.com will show you one way in which you can tie a sari.
This video is presented as seen in a mirror. This video will teach you how to tie a tie in the Windsor knot style.
Video shows how to tie a tie using a Windsor knot. Each step is explained and demonstrated carefully in this video. Watch for best results.
In this tutorial, we learn how to weave ribbon into your American Girl doll's hair. First, grab the hair in the front of the head on just one side. After this, you will tie it with a rubber band. Next, repeat this same process on the other side of the hair. Then, do this again behind the first rubber band on each of the sides two times. Tie these together in the back, then tie in with a ribbon of your choice. Make a bow and then use another piece of ribbon to tie into the hair, finishing at t...
In this video we learn how to do a ponytail veil on your American Girl doll. To start, you will take the top front section of the hair, then brush it back. After this, you will tie it in a rubber band and then repeat these steps on both sides of the head. Then, you will take the hair that's in the ponytail of each one and split it into two. From here, you will tie these with another piece from another side and then tie together with a rubber band. do this once more on the very back and then t...
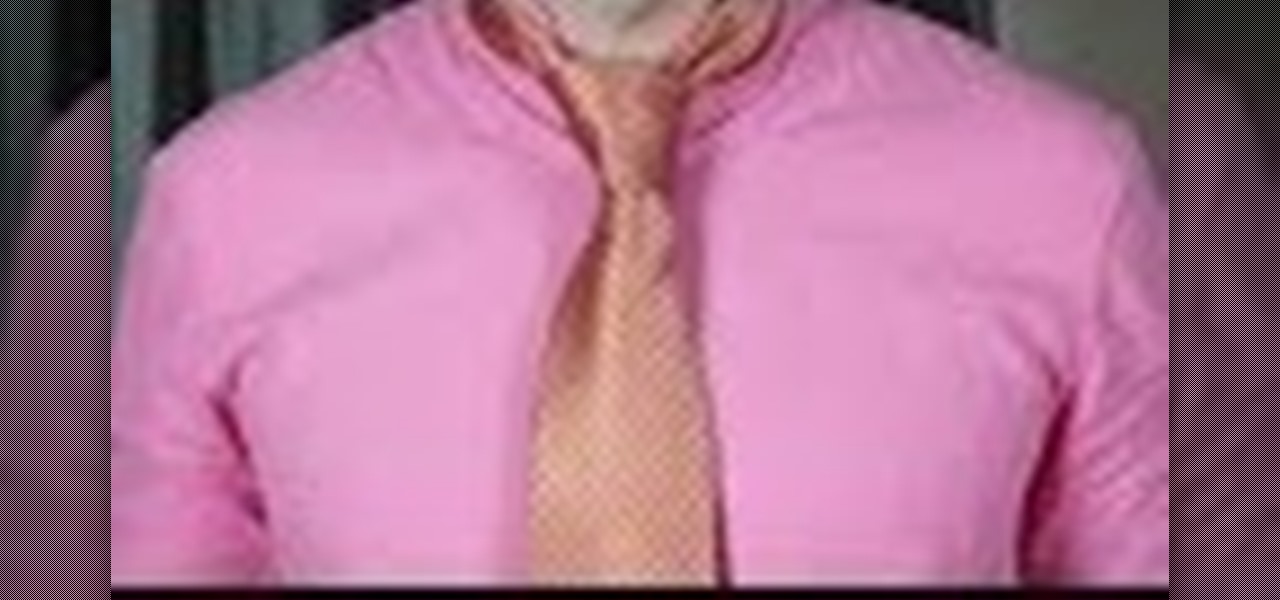
In this video we learn how to tie a skinny necktie in a Half Windsor. First, take the wide end over the thin end and then go over and under the loop. From here, take your wide end over the knot and then under and through the hole. Now, adjust your knot up to your neck where it's comfortable. Place your collar down and then you will be finished with the half Windsor knot. This is a very easy way to tie a tie that a guy can do on himself or have someone else do to him. Practice this to get good...
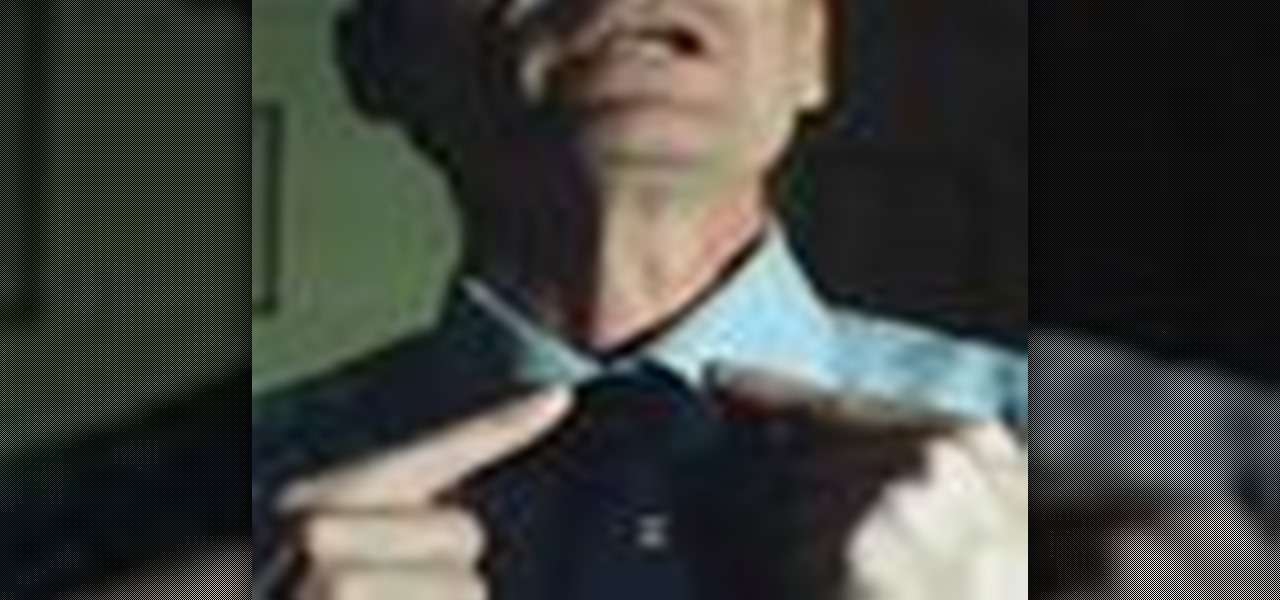
In this tutorial, we learn how to tie a necktie on someone else. First, pop the collar and drape the tie around the neck with the wide end on your right. Then, tug the wide end down, so it hangs 12 inches below the narrow end. After this, cross the wide end over the narrow end, and bring it up through the neck loop and down the front. Swing the wide end to the right, pass it under the narrow end, then cross it back over the right. After this, push it up through the neck hole. Now, tuck it thr...
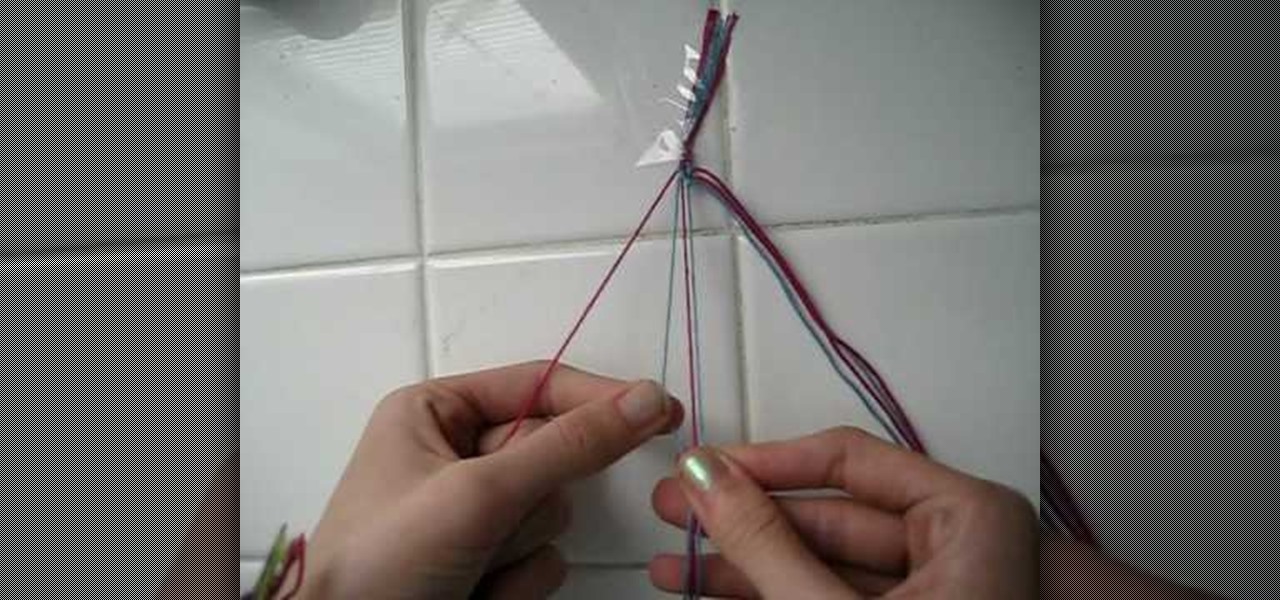
In this video we learn how to make a friendship bracelet with vertical hearts. First, tape your strings to a wall, they should be two colors with four of each. Arrange them so they are alternating colors until you reach the other side. After this, grab the first string and set it aside. Then, take the next two and tie them in a knot at the top. Tie the third string with the fourth at the top as well. Continue to do this until you reach the seventh string. Continue to tie the strings until you...
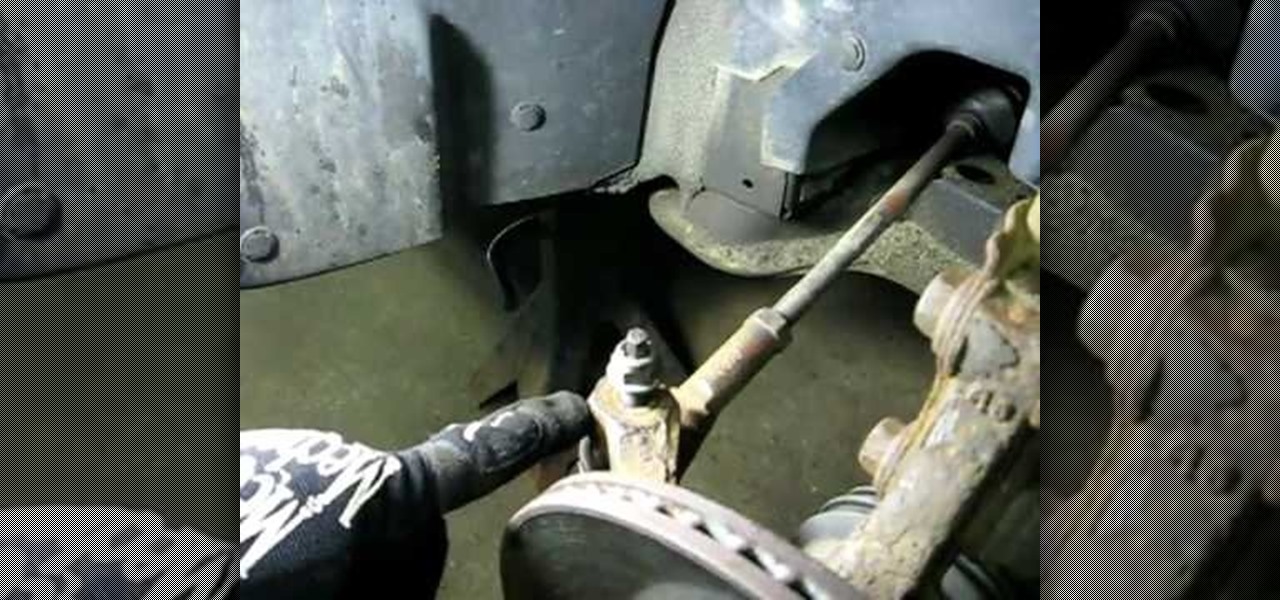
In this video, Rich Pin teaches us how to replace an outer tie rod end on a vehicle. First, get the vehicle in the air supported on jack stands, and remove the tire wheel assembly. Next, put a mark on the top of the tie rod shaft so you know where to line it up when you replace it. Next, loosen the jam nut from the rod, remove that and the nut. Remove the tie rod end after this by shocking it with a hammer. When it is removed, replace it with a new part and then attach all the bolts and nuts ...
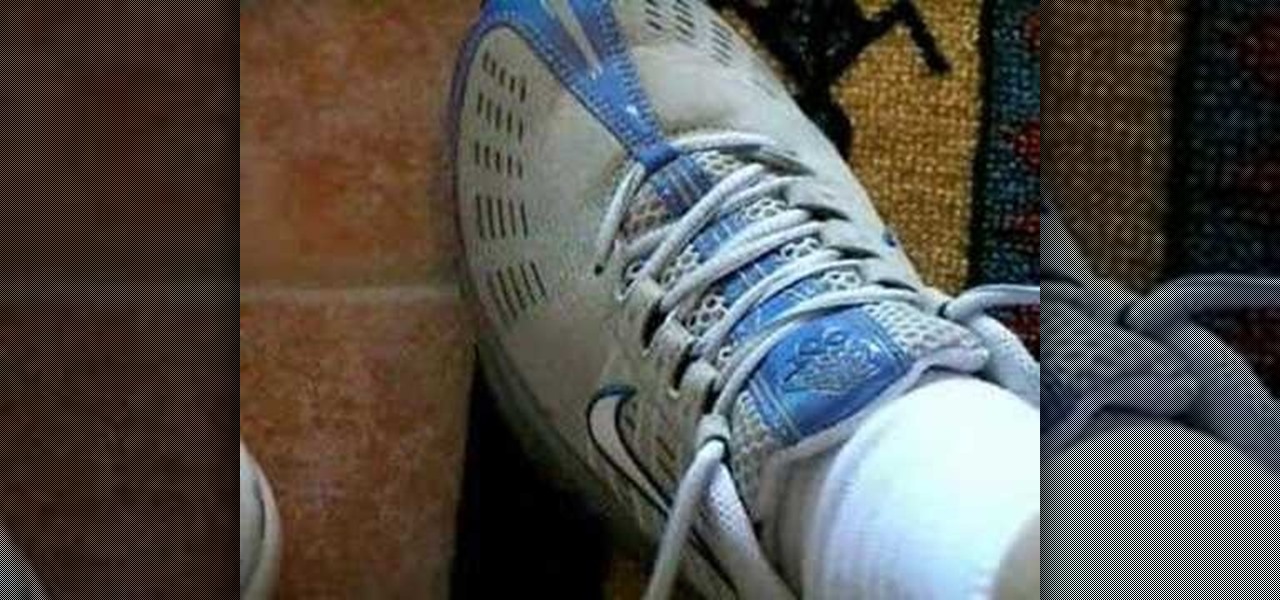
In this video, we learn how to tie your shoes. First, tie a knot at the base by crossing the laces over each other. Then, make a loop with one lace and wind the other one over it. Come underneath with a loop and then grab both loops and pull. To do this with the other hand, you can do the same thing just use your dominant hand to make the loops. This is only one of the many different ways to tie your shoes. It will take practice, but it can be done and once you do it it's very simple!
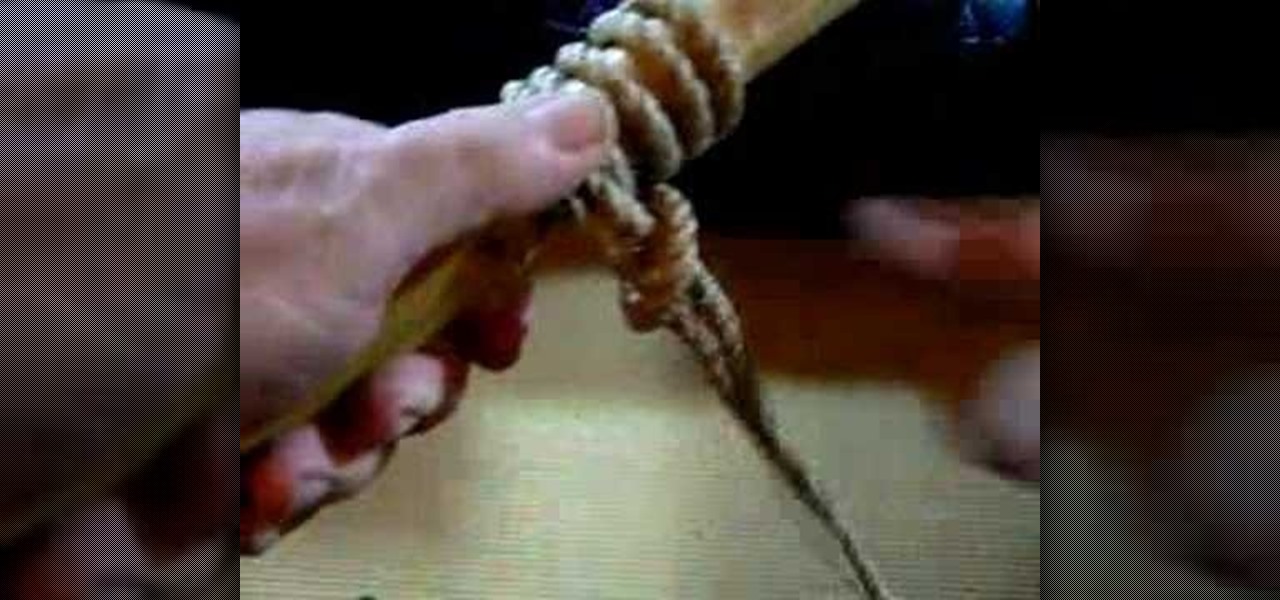
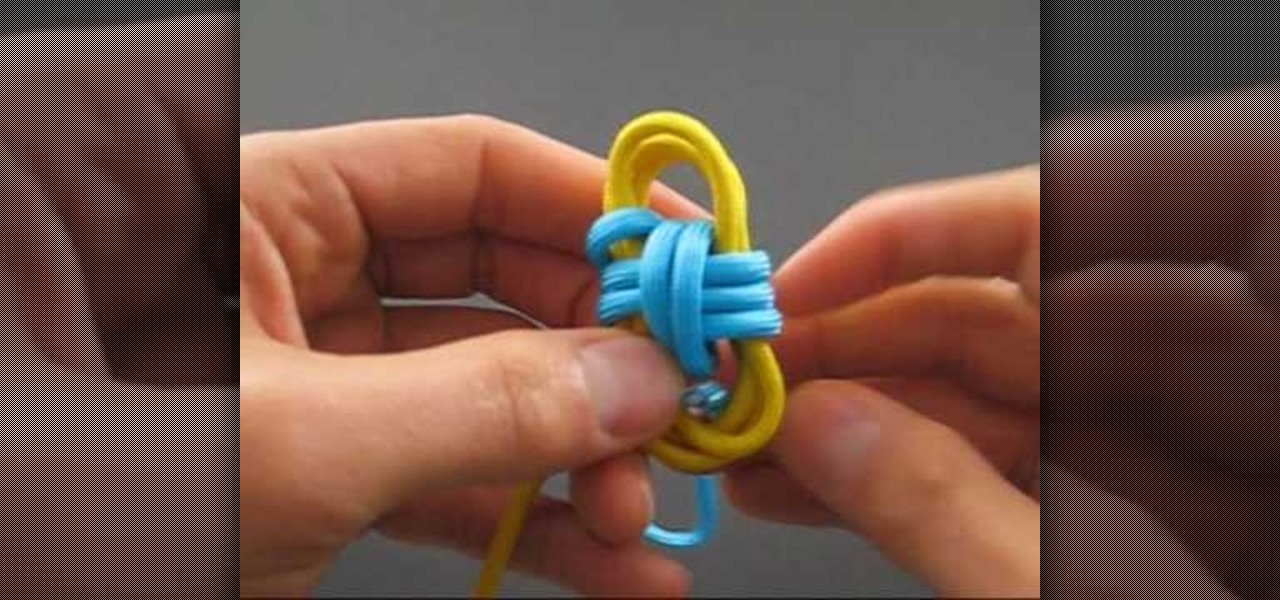
In this tutorial, we learn how to tie the two color monkey's fist knot. First, make a double overhand knot, and snip the edges off. Next, create the monkey's fist by taking one of the ropes and looping it around the fingers several times. After you do this, push the knot through the fingers and tie the other string around the entire loop several times. Push the string through the loop, then continue to tie on the opposite side around itself. To finish this up, Pull the two outside strings tog...