

How To: Tie the lizard tail sinnet
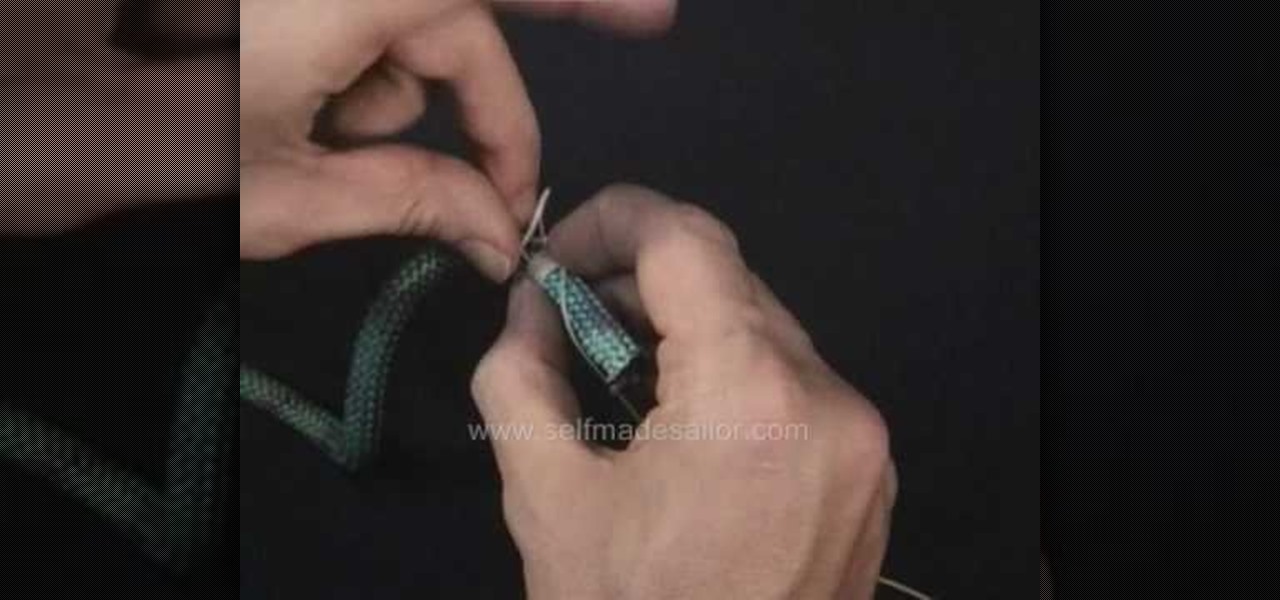
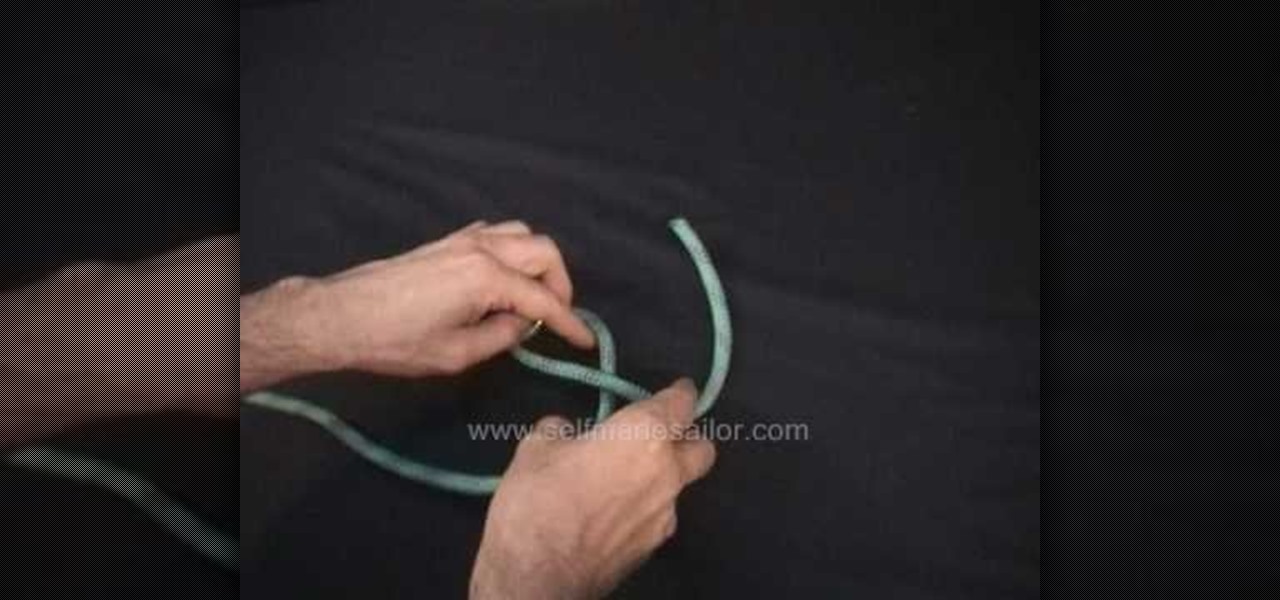
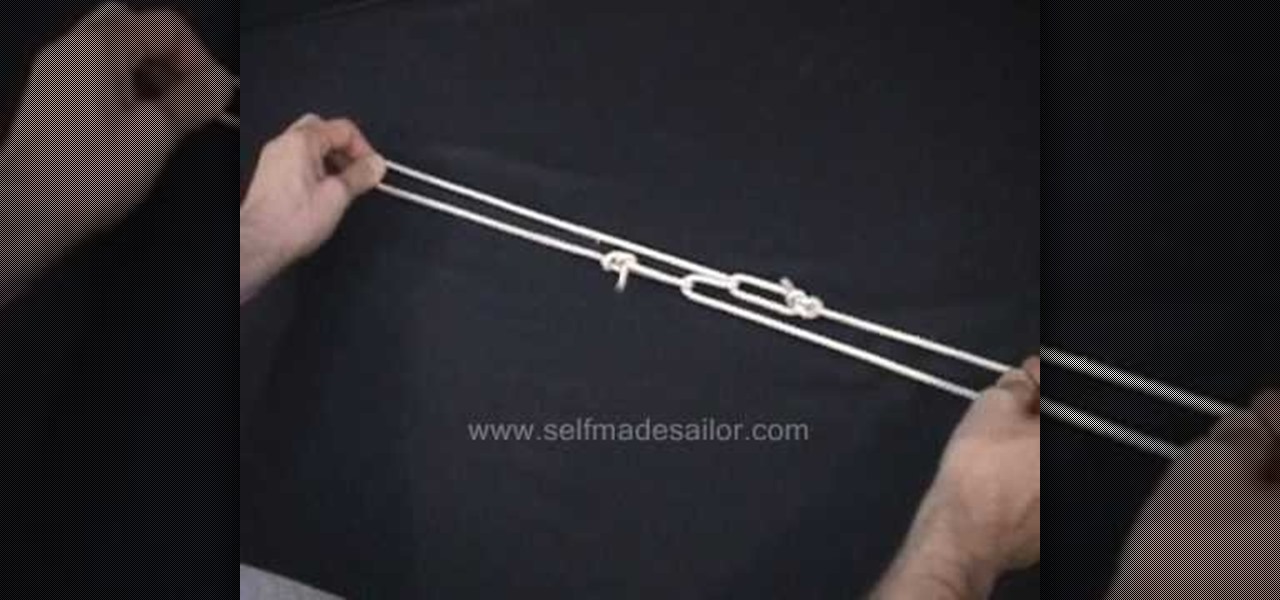
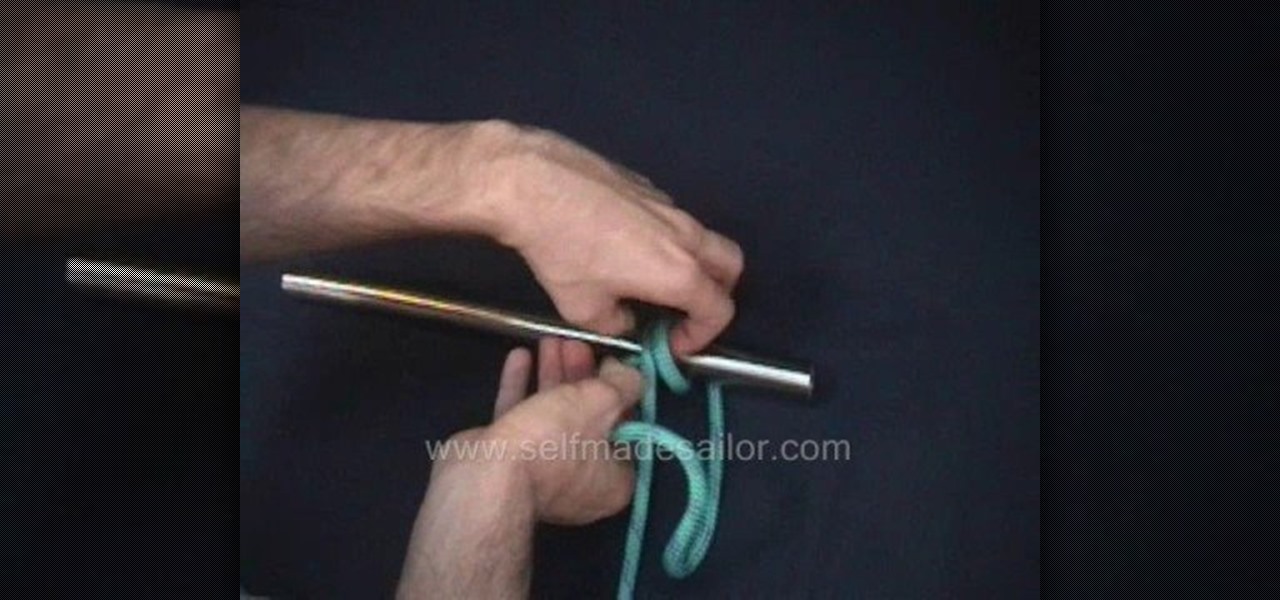
In this tutorial, you'll be finding out how to tie the lizard tail sinnet. It's basically

In this tutorial, you'll be finding out how to tie the lizard tail sinnet. It's basically
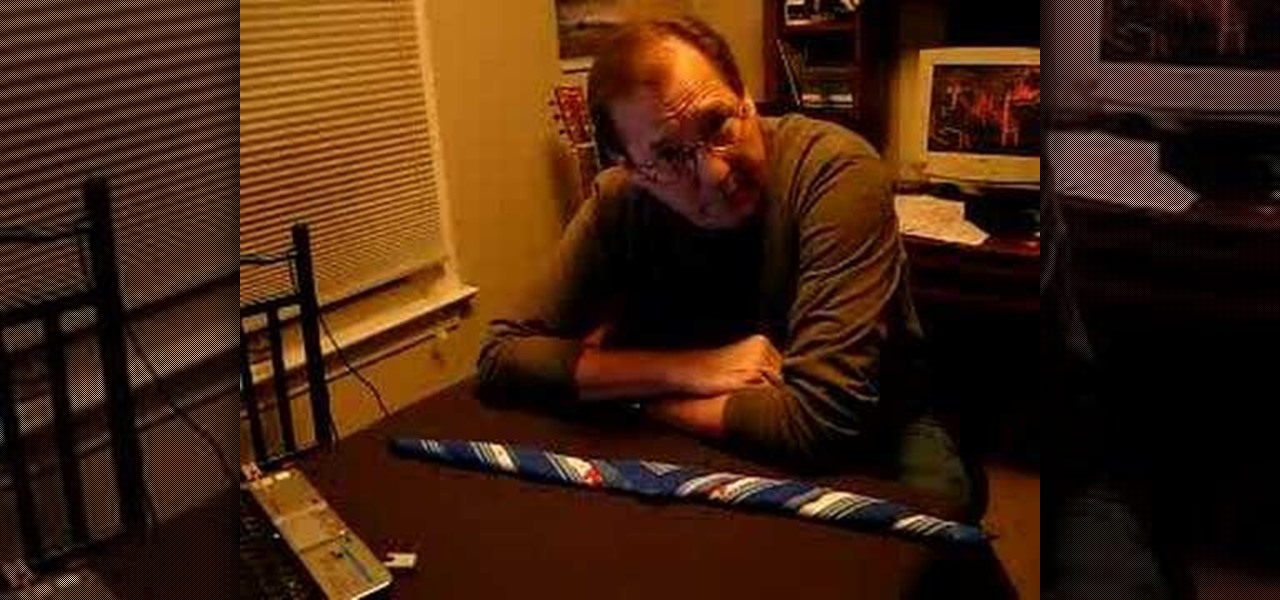
In this tutorial, learn how to trick people in a bar or at a party. This trick requires only a small piece of cloth like a napkin or bandana. You ask an opponent to try and tie the cloth in a knot without crossing their arms or letting go of the ends of the fabric. This may sound impossible but with a simple slight of hand you'll be able to tie it and win your bet!
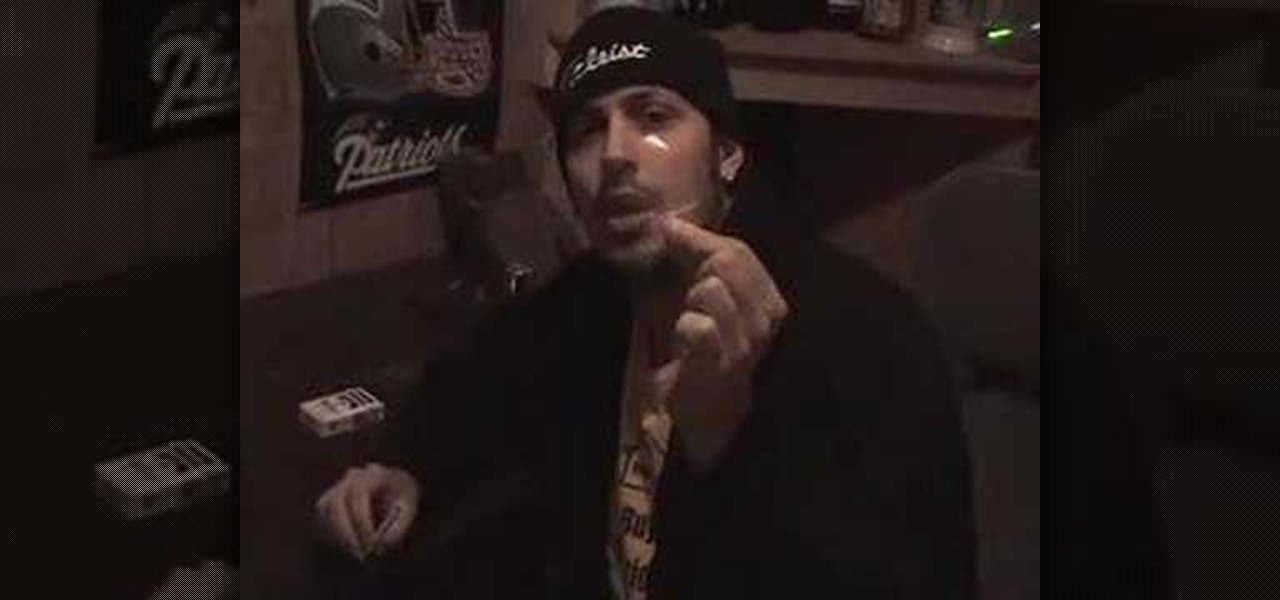
This tutorial is a great way to fool your friends. In this video, learn how to basically beat up your cigarette and still be able to smoke it.
New to Microsoft Excel 2010? Looking for a few good tips and tricks? In this free video tutorial from everyone's favorite MS Excel guru, YouTube's ExcelIsFun, the very first installment in his series of Excel 2010 video tutorials, you'll learn how to use use the RANK.AVE function to average rank scores in the event of a tie. See the new Excel 2010 RANK.AVE and RANK.EQ functions.
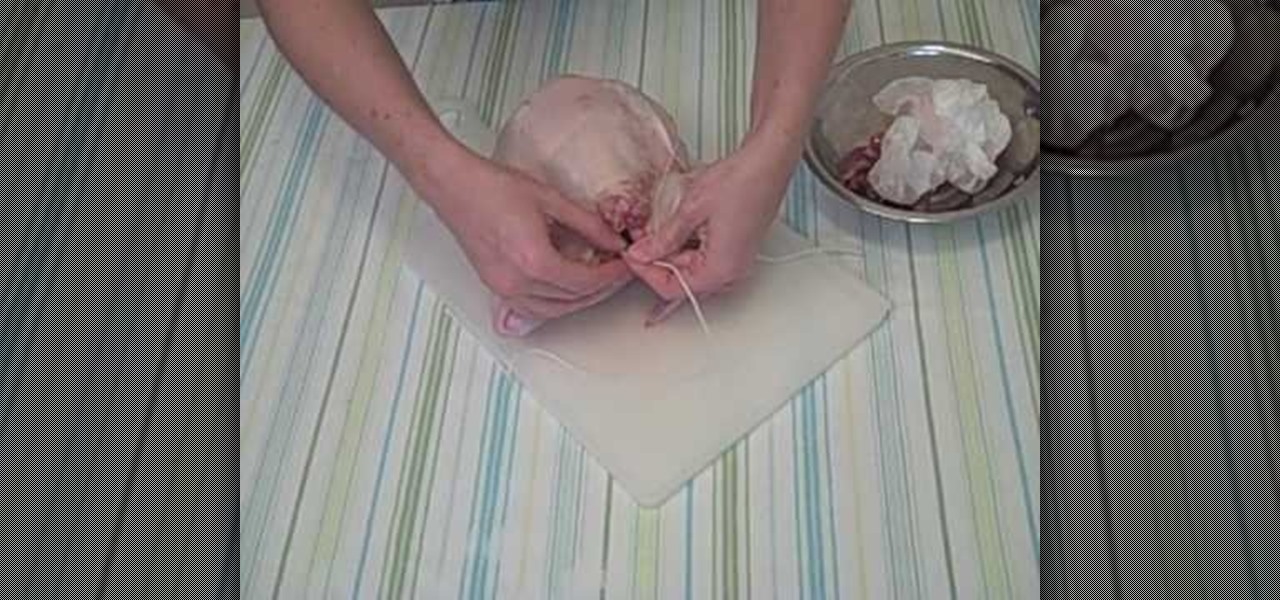
Trussing a chicken can be a tedious task but YouTube user EasyAsPieRecipes is here to show you how to Truss a chicken the easy way. First put the chicken on it's back. Notice that the wings are sticking out, your going to want to tuck them into its sides as demonstrated. Next, you want to have a piece of twine to tie it around the chicken, and the way your going to want to tie it under the legs(or drumsticks) and make an "X" and then pull it back down and pull it under the legs so it'll actua...
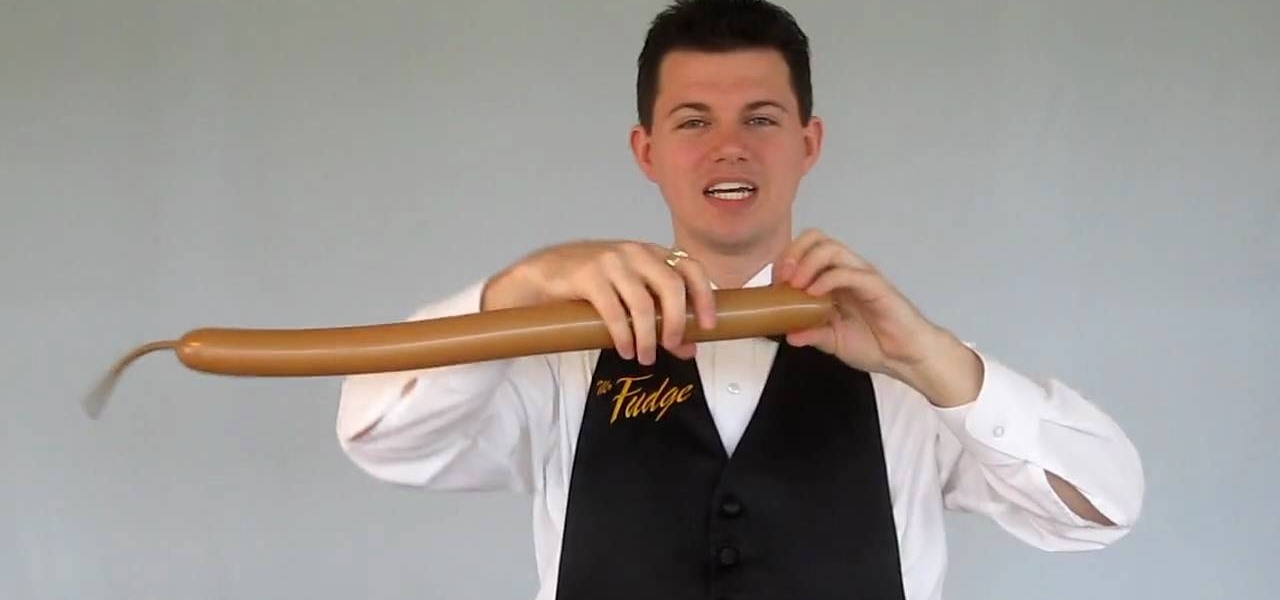
In this free balloon art tutorial, learn how to twist and tie a simple balloon snowman - perfect to present to a crowd during the winter holiday season! Your Balloon Man, Mr. Fudge, is full of balloon tricks! Be sure to find other balloon videos on WonderHowTo from Mr. Fudge teaching everything from animals to planes! In a few twists and a few ties, you'll be an expert balloon artist in no time!

In this Outdoor Recreation video tutorial you will learn how to tie a Prusik friction knot. In case someone has fallen into a crevasse or you want to get back on a rope, Pruisk knot is required. It is used to tie two ropes of different diameters. It basically puts a loop of cord around another rope. It is named after the Austrian mountaineer, Karl Prusik. For making the knot, take the fixed loop made on one rope and pass it around the other rope and back through the fixed loop itself. Then lo...

Several Tanzanian girls demonstrate how to tie a kanga (an African sarong). The first method is to wrap the kanga around the waist and tuck the end in at the waist to secure. The second method is to wrap the kanga into a cylinder to use it as a base for carrying a parcel on the head. Another way to wear the kanga is to wrap it around the neck like a shawl or wrapped under an armpit and tied over the shoulder for a fancier look. To wear the kanga as a scarf, fold it into quarters the long way,...
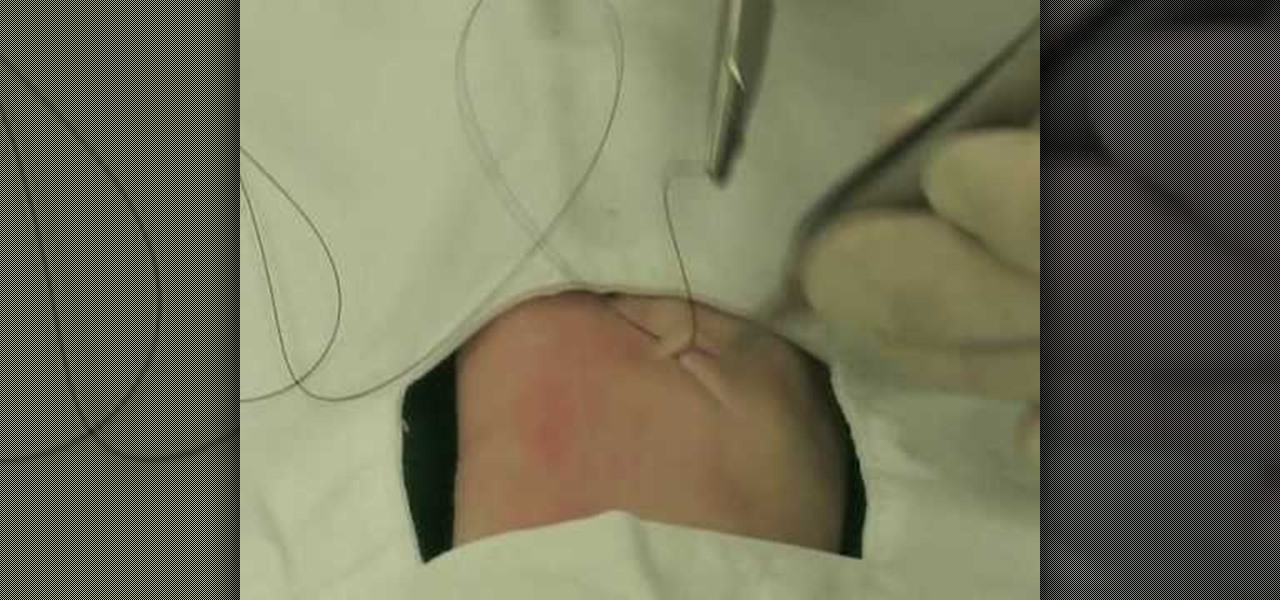
Lee T. Dresang, MD of the University of Wisconsin School of Medicine and Public Health from the Deaprtment of Family Medicine give a discussion and demonstration of suturing techniques. Before beginning a procedure, you will need consent. One should irrigate lesion before beginning. A simple interrupted suture is easy to learn and fast, but unable to withstand stress. Vertical mattress sutures provide a good eversion of skin edges, closure of dead space, and strength, but also lead to scarrin...
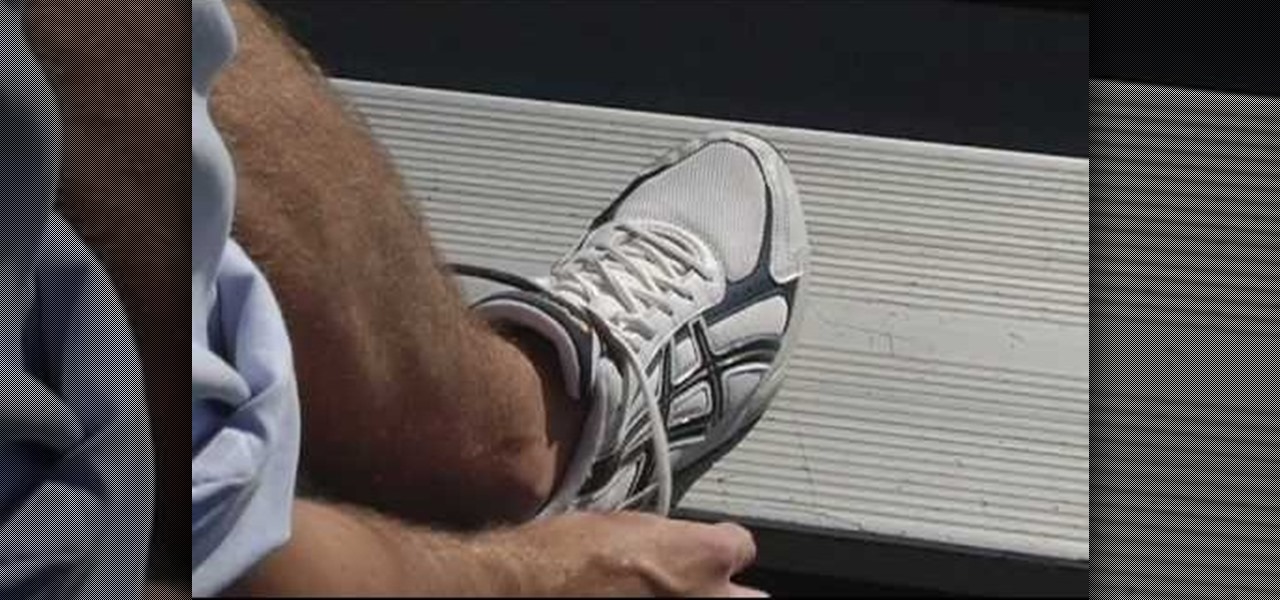
Chris from Hack College shows us the fastest way to tie our shoelaces. He starts with the regular twist-around knot on a shore. The key is to take two loops - one that crosses on the inside and one that crosses on the outside. Then put the loops through each other so that they switch positions and pull the loops to tighten the knot. A better description is to make two arches (loops) - one towards him and the other away from him. Then switch them in the middle and pull. Since practise will mak...

In this how-to video, you will learn how to tie a pareu or sarong. First, put your hands up as you wrap the cloth around your back. Now, make sure one side of the cloth is shorter than the other. Bring the long half around the side and over the shoulder. The short side should come around the back to the front. Lastly, tie both of the ends together so that it rests on top of the shoulder. Once this is done, the pareu is complete. This video shows you just how easy it is to wear a pareu or sarong.

In this tutorial, Kandee shows us how to tie a wrist bandanna. First, roll up your bandanna and lay it on your hand. Wrap it around your wrist several times and tie at the bottom of your wrist! This is not only a cute way to make a fashion statement, it can also be used for when you're doing your makeup! If you mess up, it's an easy way to clean up any messes. You can choose different colors and designs for your bandanna and match them to your different outfits. You can also wear bracelets an...
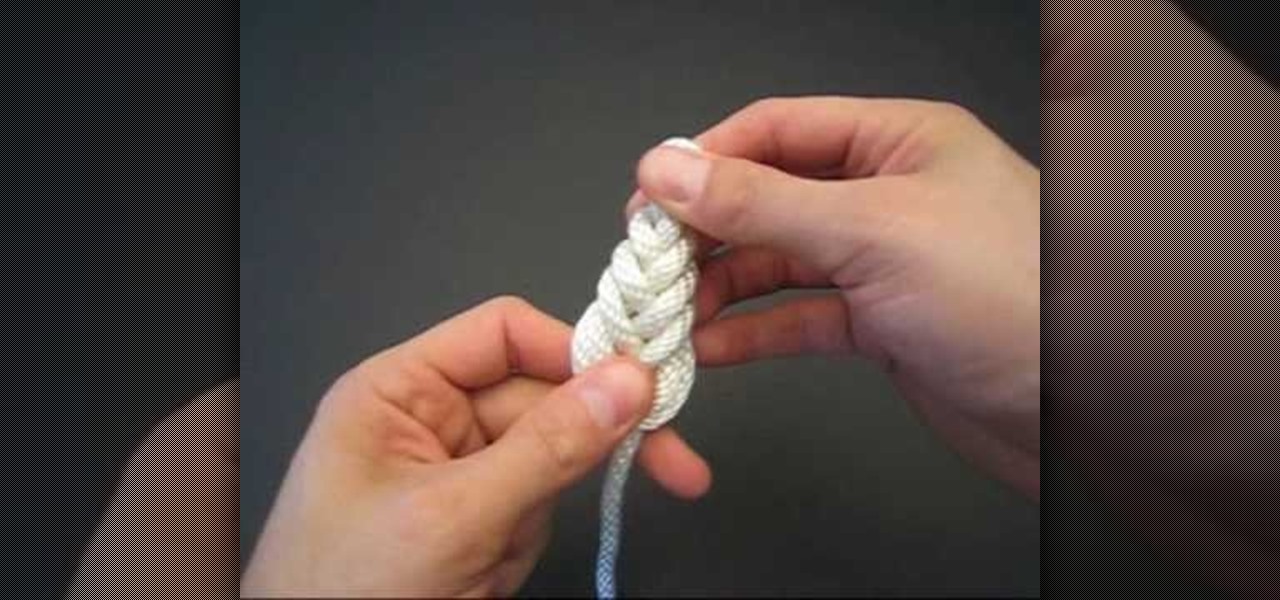
In this Tying It All Together video tutorial, you will learn how to tie a decorative pipa knot. To begin, take a piece of rope and fold so that you have two strands. Create a loop and take the left strand and loop it around the original loop. Continue doing this until you have layers of loop-like structures, gradually getting smaller and folding into one another. The effect is a woven-like structure. To actually secure the knot, fold the end strand into the last loop and then pull this end st...

This video will show you how to tie a thick string or cord into a snowflake-like knot. Be sure to take your time, as there are a lot of loops to make. Also, you'll have to lightly pull the knots into shape a few times to retain the snowflake style. The instructor takes extended pauses to ensure that you can follow along easily. Near the end of the video, there is also a variation on the last few steps to make a slightly different knot. Whether you're a pro or novice at knot tying, you'll be m...

If you have ever wondered how to create a Rorschach knot, this tutorial will show you how to do it in no time. A Rorschach knot is indicative to the blotchy silhouette of Rorschach inkblots, which are primarily used during psychological evaluations. A subject's perception of inkblots are recorded using these. This video is going to be walking you through the process of tying your Rorschach knot, as well as the ways in which it needs to be adjusted while being tied. You will also learn a bit m...

This video describes how to tie a bowline knot in a few easy steps. To start, take a loose piece of rope in your right hand and make a loop about a foot away from the end. Then, take the loose end, bring it up through the loop you just made. Immediately after, wrap the loose end around the rest of the rope, and then bring it back through the loop and pull tight. Think of the loose end as a "bunny." Bring the bunny out of the hole, around the tree, and then back through the hole. Once you pull...
This video teaches you how to tie a blood knot which is used to tie two lines together in a very strong knot. Fly fisherman use this knot for making their own fly leaders. Wrap the right line around the left line five times. Take the end of the right line and put it in between the left wrapped line and the back of the right line. Wrap the left line around the right line five times, repeating the earlier procedure. Make sure you bring the line up through the hole that is created in front of th...

This video from Tying It All Together demonstrates how to tie a river knot. Holding the rope in your left hand, make a loop to the right and bring the rope down so it lies over the loop. Bring it up behind and pull it through the loop. This makes a loose knot with three overlapping loops. Make another loop on the right and pull the end through the lower part of the right loop. Then make another loop on the left and pull it through the lower part of the left loop. Take the rope from the left s...
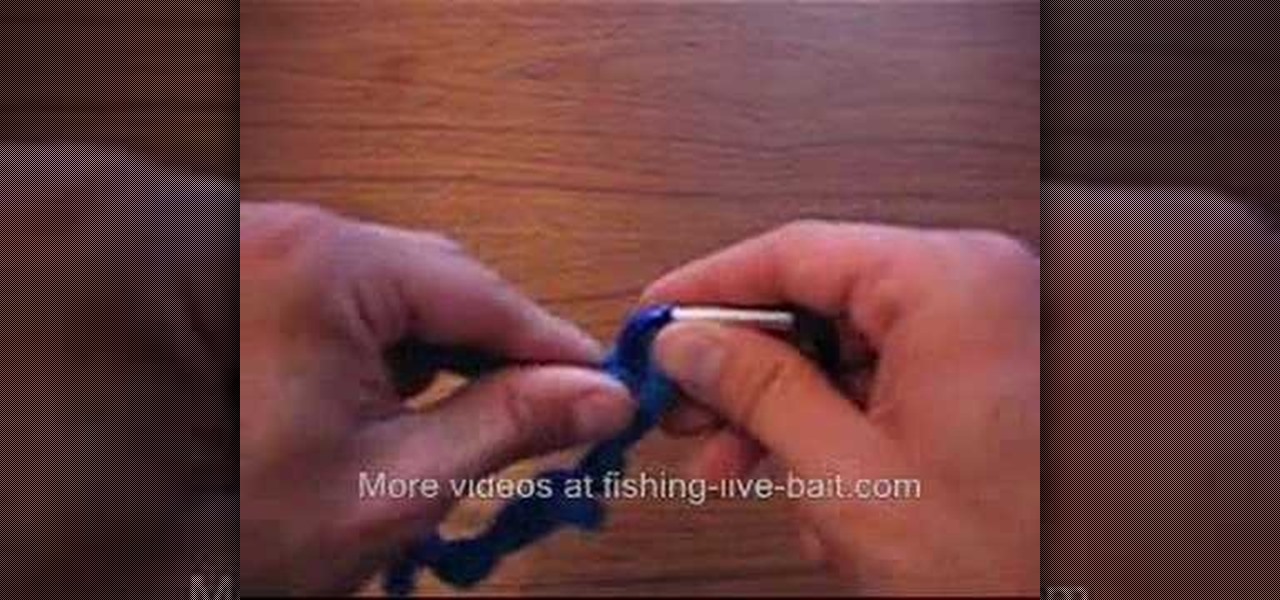
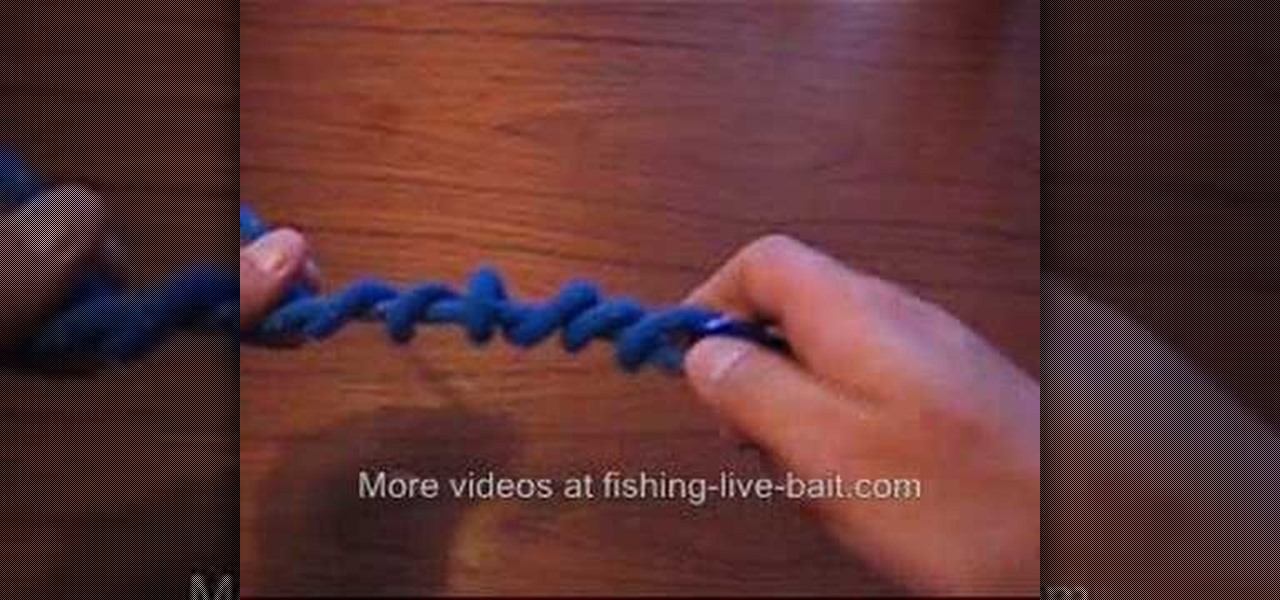
Fishing-Live-Bait shows how to tie an improved clinch knot, combining basic knowledge of how to tie a regular knot with an improved technique to make the knot even stronger. You begin by putting the line through the hook and then wrap the end of the line around the main line a total of six times. Wrapping the line that many number of times ensures the strength of the knot. The end of the line goes through the loop next to the hook. The difference between a normal clinch knot and this improved...

This video teaches how to tie the Dropper Loop fishing knot. The presenter explains the uses of the Dropper Loop, then begins the instructions. First, make a loop in your line, remembering that the size of this loop will affect the size of loop you have when the knot is tied and sizing accordingly. Take the end of the line and make another loop that goes inside of the big loop and then wraps around the line 4 times. Now you have a big loop, and a length of wrapped line with a hole in the midd...
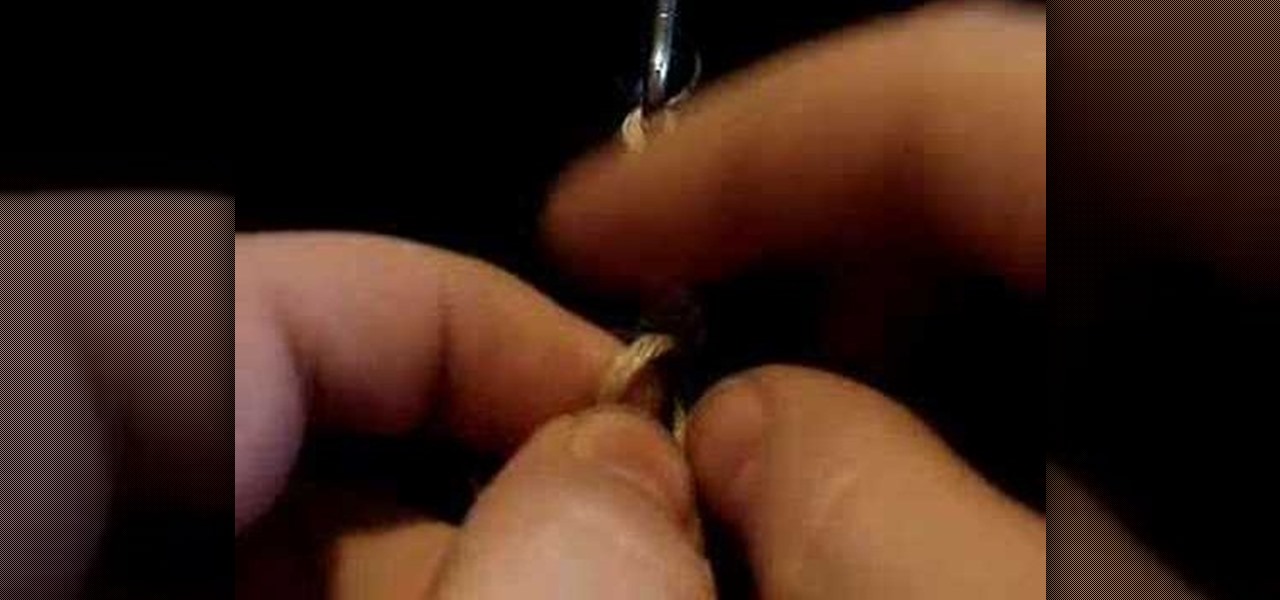
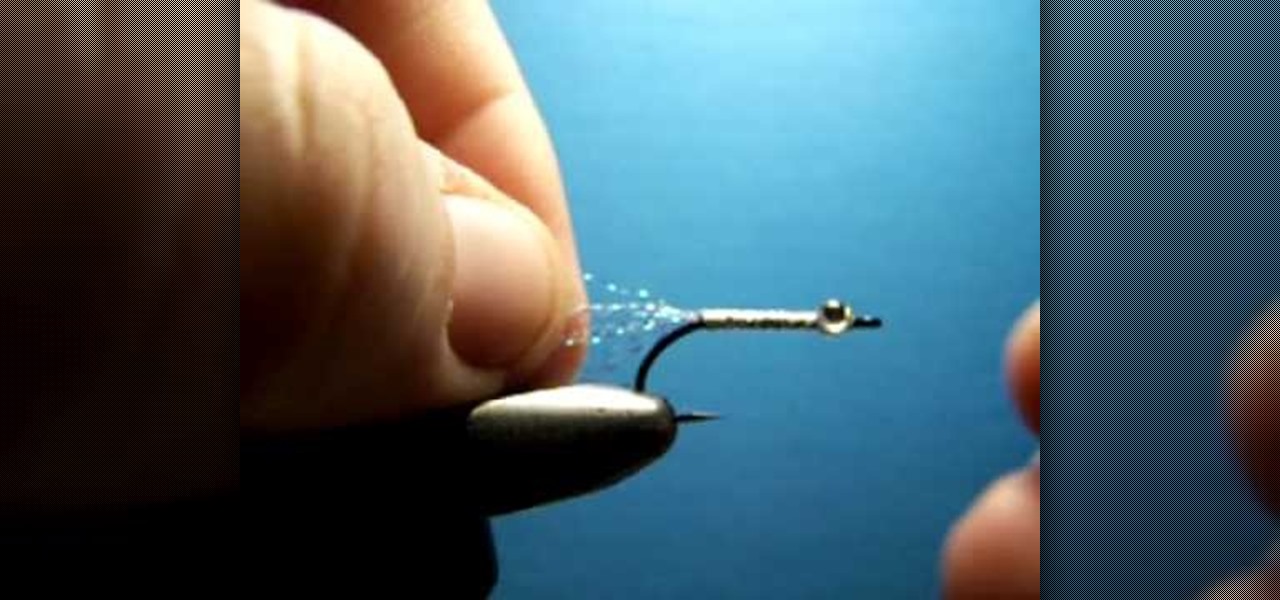
The Clinch Knot is used to secure your fishing line to your fishing lure. In this video, learn how to tie a secure clinch knot, step by step. You can't fish without a sturdy lure, so watch the video and practice until you master the knot on your own. Once you've got it, attach your bait and you are on your way! Happy fishing!

If you're into arts and crafts then you know that there is more that you can do with a long piece of string than just tie your shoes. On this TyingitAllTogether video you have the opportunity to tie the teacup decorative knot using one long piece of string folded in half. The author of the video first shows you what the end product will look like then methodically begins to walk you through setting up the string in Y-configuration to "crossing each bights crook" which involves overlapping and...

A scarf can add a unique, girlish touch to an otherwise dull outfit. In this tutorial, Kassandra will show you how to tie your scarf in different ways and jazz up your outfit. Follow this tutorial and you are sure to stand out, whereever you go.
In this video, we learn how to tie a left half knot spiral for hemp jewelry. First, get two bead carriers in the center and have one strand in each hand. Then, take the left hand and place it over the bead carrier. Then, take the right hand and go over the cross section. Tie these up to the top loop tightly and then repeat doing this. This will make the spiral shape once you have created enough of the knots. As you are working it, you will have to spin it a bit in order to keep it curving rig...
Flashback Max from Alaskaflyfish.net demonstrates how to tie an odd-looking little thing called the Plasti Dip fry. Plasti Dip is a product that can be used to make a rubbery surface. It doesn't run like epoxy, and sets up quickly. As Max puts it, "Dead-drift that puppy, and see what ya get!"

Don't let your roast flop about untied. Tie a chicken properly so that it roasts to perfection. This skill is very useful to start with and transition to larger birds like the Thanksgiving turkey.
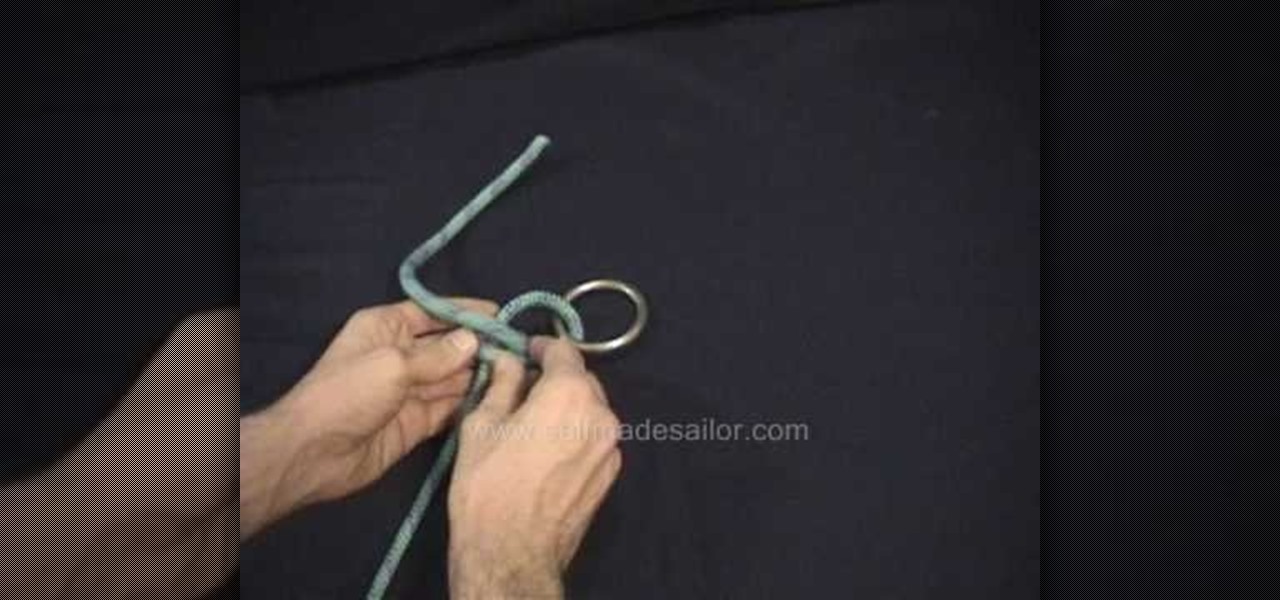
Learn how to tie a Tarbuck Knot - a handy hitch for attaching a line to a ring, post, or other fixed object. This is a fine knot for camping, climbing, sailing or Boy Scout training.
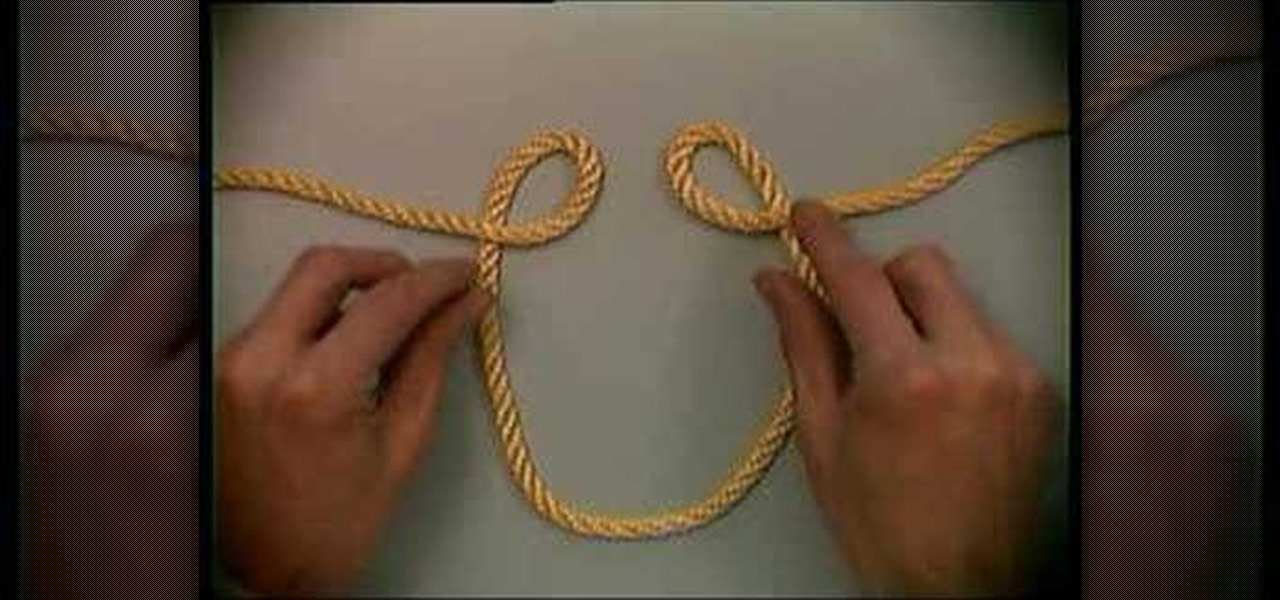
Learn how to tie a Japanese Knot or Square Knot - a decorative knot that forms a square shape. This is a fine knot for camping, climbing, sailing or Boy Scout training.
Learn how to tie a Heaving Line or Franciscan Monk's Knot - a practical and decorative knot used to add weight to the end of a heaving line, or to finish a Monk's belt rope ends. This is a fine knot for camping, climbing, sailing or Boy Scout training.
Learn how to tie a Cat's Paw - a handy way of forming a loop in a bight of rope to attach to a hook or other object. This is a fine knot for camping, climbing, sailing or Boy Scout training.
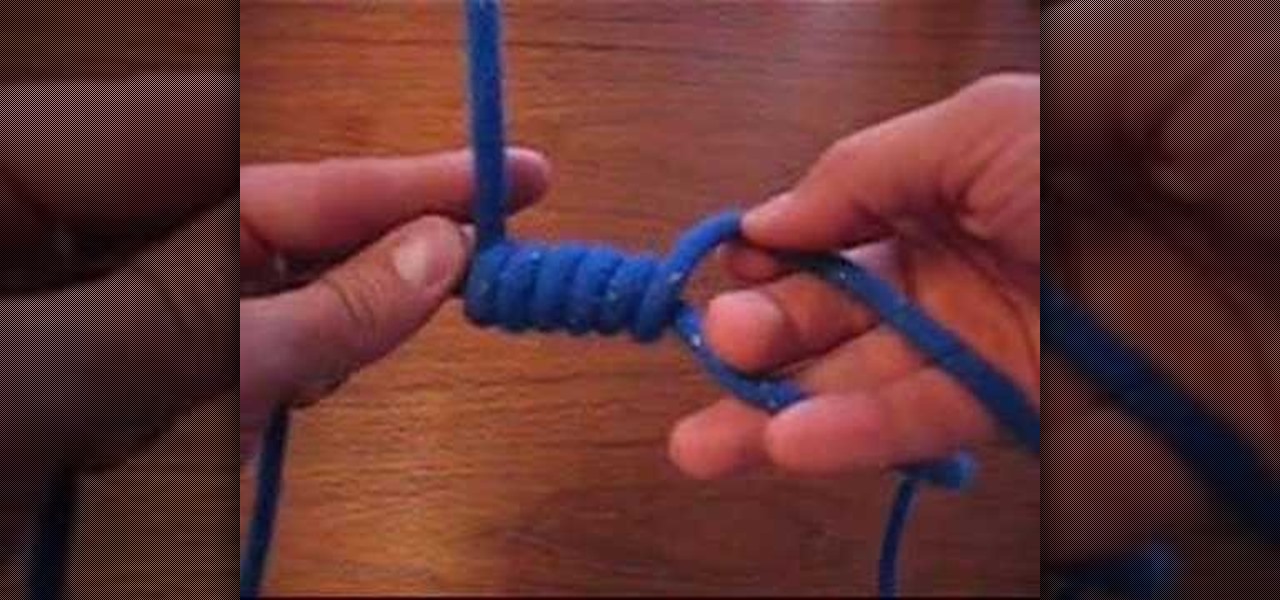
Learn how to tie a Whipping - How to apply a whipping to a line to protect it from unraveling or to form an aglet at the end of a rope. This is a fine knot for camping, climbing, sailing or Boy Scout training.
Learn how to tie a Tack Knot - a secure way of attaching a rope to a fixed object such that it won't come undone even if shaken and flogged. This is a fine knot for camping, climbing, sailing or Boy Scout training.
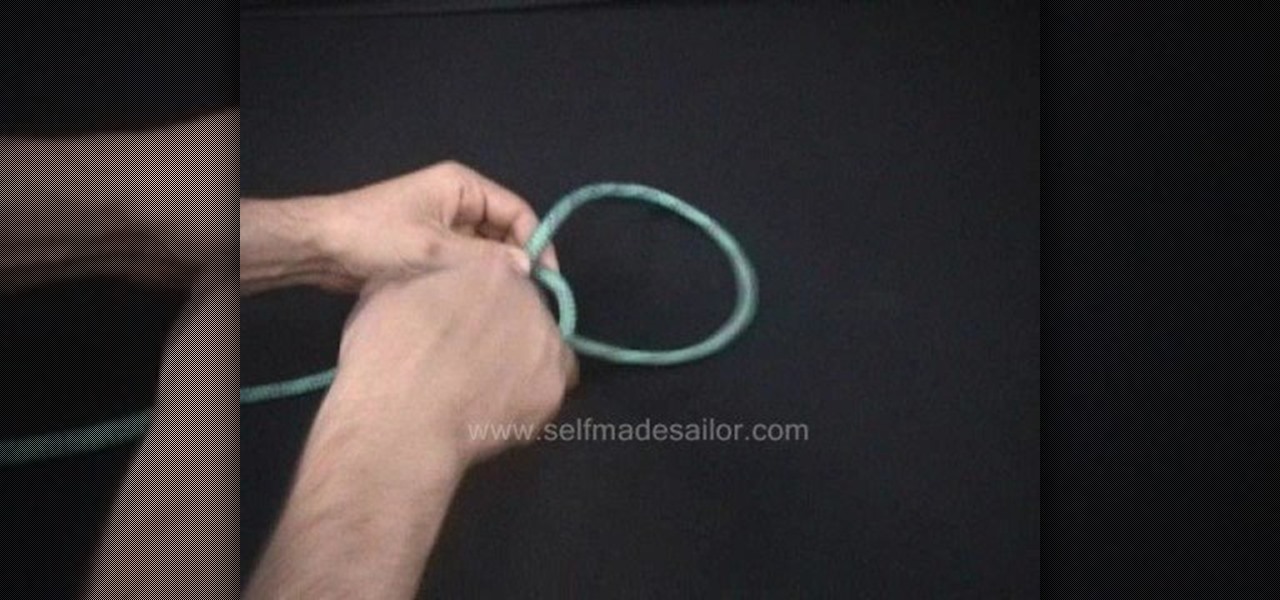
Learn how to tie a Poldo Tackle - A clever arrangement using two interconnected bowlines to form a stable tackle.
Learn how to tie an Anchor Hitch (also known as a Bucket Hitch) - A very secure means of attaching a rope to an anchor or any other object that you can't afford to loose (like a bucket down a well, I suppose - thus the alternate name). I actually do use this hitch for temporary anchor attachment (preferring to permanently splice instead) as well as for my bucket lanyards when washing down my boat's deck.

Learn how to tie a Man Harness from a Tom Fool's Knot - used as an emergency harness for hoisting a person. This knot can be used in sailing, boating, general use, camping and bondage.
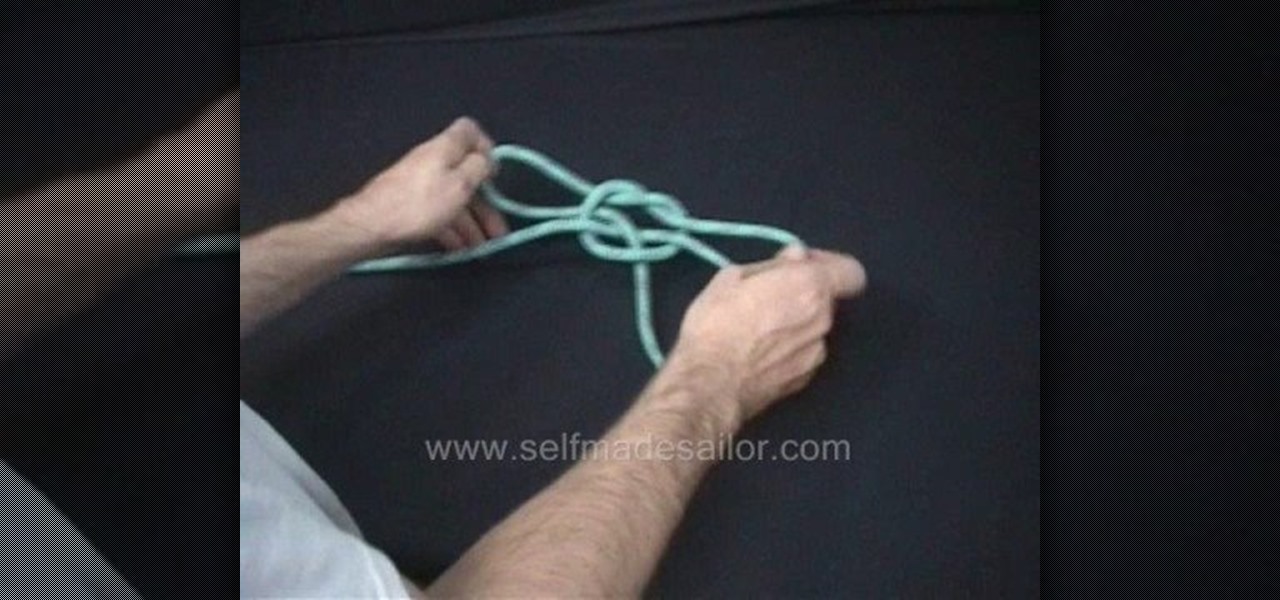
Learn how to tie a Handcuff Knot. This is a handy knot for those times when an emergency set of handcuffs are needed :) Firefighters also use this knot, coupled with a half hitch over each loop, as a man harness. This knot can be used in sailing, boating, general use, camping and bondage.
This will show you how to tie a Portuguese Bowline - similar to a normal bowline but with an extra turn in the loop portion, making it more chafe resistant. This is used in sailing, boating, general use, camping and bondage.
An amputee shows the way to tie shoe laces with one hand or one arm. He has no prosthetic help meaning he doesn't use a hook. This can be a huge challenge in life for persons with missing limbs or in need of adapted living situations. Shoelaces are tough enough with two hands, let alone one. This is a great first hand account of the strategy in tying one's shoes without a prosthetic. This is an adaptive equipment tutorial for handicapped, disabled or individuals that have lost limbs to amputa...

The bowline on a bighte knot is very similar to a French bowline knot. The bowline on a bighte knot is often used over the side of a ship, or in rescue work. Follow along with this video survival training tutorial and learn how to tie a bowline on a bighte knot.
The Alpine butterfly knot is very similar to the Lionsmen's knot, and is often used in mountaineering. It's great for making a foot hold in the rope line. Follow along with this video survival training tutorial and learn how to tie an Alpine butterfly knot.