This video tutorial shows you how to use a long wrap product to dress yourself while creating a secure carrier for your baby. The long wrap is brought forward from back to front and round your belly button, criss-crossed over your back and brought forward and criss-crossed once more, then tied. The two criss-crosses (in the shape of an X) help hold the babies legs, as the pass through the criss-crosses and support the baby. You should then try to bring the fabric down as far as possible to su...

In this three-part video, learn about the events surrounding the newspaper article in Roswell New Mexico 1947 regarding crashed flying saucers. The story has to do with nuclear weapons, the second world war, government lies and the movement of sound waves. See how the evnst of Roswell tie in with physics of waves with help from host, Professor Richard Muller of Berkeley University.

How to Watch Hulu on your Xbox 360. The problem is HULU doesn't look good on some old PCs. Fix this by running it on your TV or projector. This uses the program PlayOn to run Hulu through your XBOX 360. This will tie it into your Media Center. This will make YouTube, Hulu and Netflix on your XBOX video game console. Go to Video Library and access you PlayOn server.
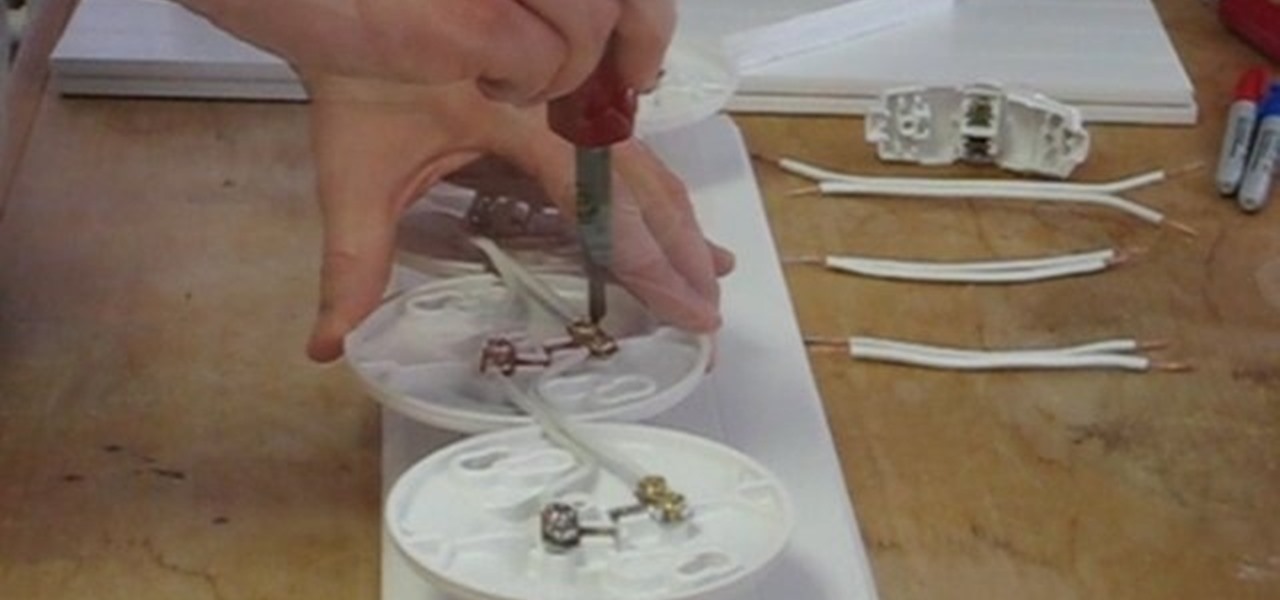
Bring a little life to your films, or maybe a little "light". Watch this video to see how to make your own 400-watt video light for film or photography. You can make this video light with mere parts from the local hardware store, such as plastic paneling (which is cheap, easy to cut and non-conductive), zip ties, 4 plastic bulb sockets, lamp cord (like Romex), a cheap plug, and good and cheap diffusion. With all of these materials, you'll have your own homemade light for any film or photo pro...
Anyone can set up their own wireless network. All you need is a little know-how. You will need a computer with wireless capability, a high-speed modem, a wireless router, and a broadband internet connection. Don't get tied to the wall; a wireless connection will allow you to move the computer freely around your home and still get an internet connection. Watch this video tutorial and learn how to hook up a wireless network at home.
Who knew some plastic, water and air would be so much fun? If you like rockets and explosions, you probably knew. And so did this guy, who shows you how to make an awesome water rocket that can shoot over 200 feet! Before you try following along with the rocket build, you should gather the materials—5' long piece of ½" PVC, small length of 1½" PVC, glue, ½" PVC "T" fitting, 2 PVC caps (½"), ¾" hose clamp, 7" zip ties (9 of them), duct tape, 2-liter plastic bottle, and a bicycle pump (or air c...

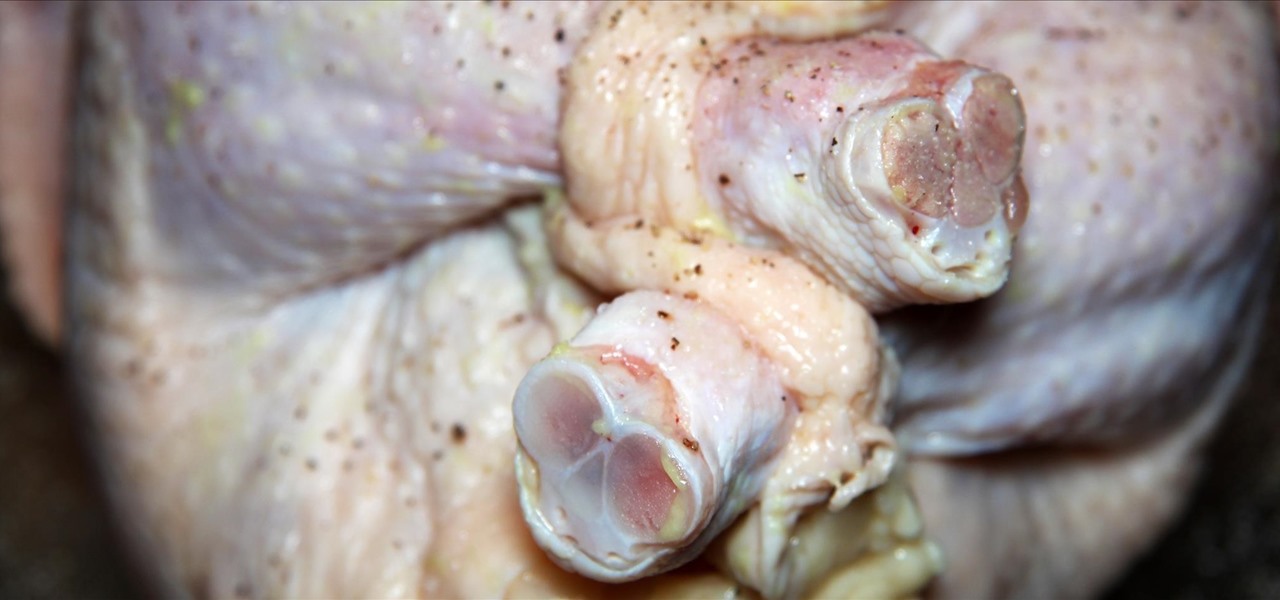
You've probably seen someone in your family truss the turkey on Thanksgiving before roasting it, even if you don't recognize the word. To truss a bird or roast just means to wrap it up as compactly as possible before placing it in the oven, and it's usually done by tying it with string. Trussing a bird is a tradition that's been around for a long time, and a lot of home cooks do it religiously even if they don't know why. It's a highly debated topic with fierce supporters on both sides, but f...
When it comes to quirky homemade DIY, cords - made from rope, twine, or other materials - aren't usually used in many projects. Other than tying nautical knots, it seems they're quite defunct.
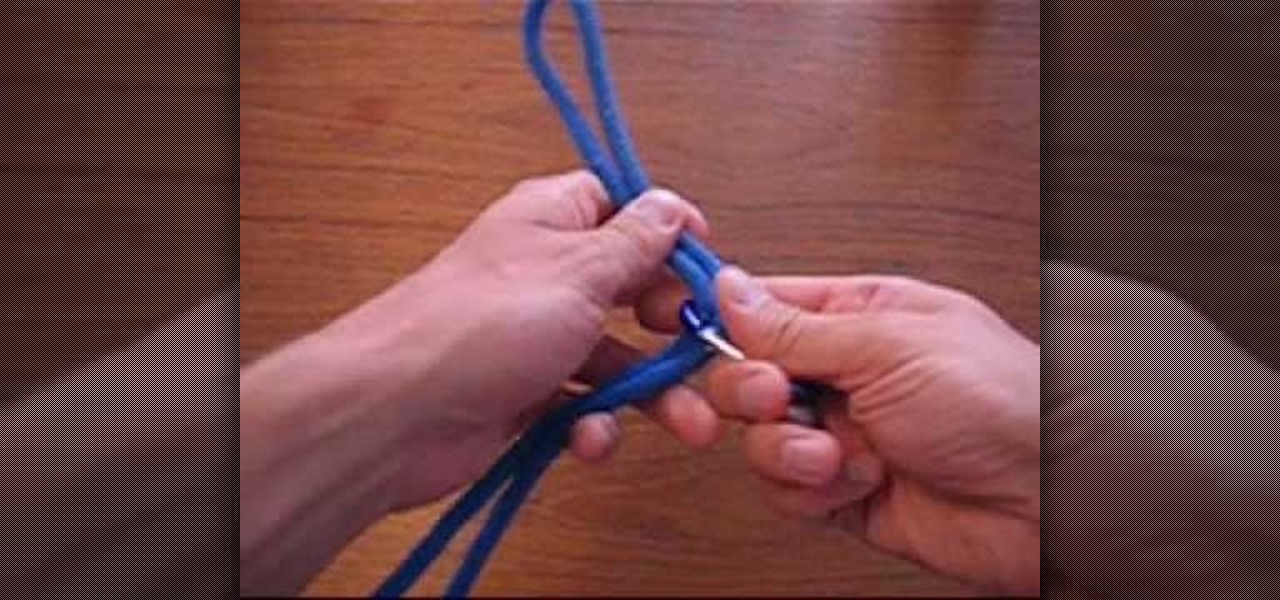
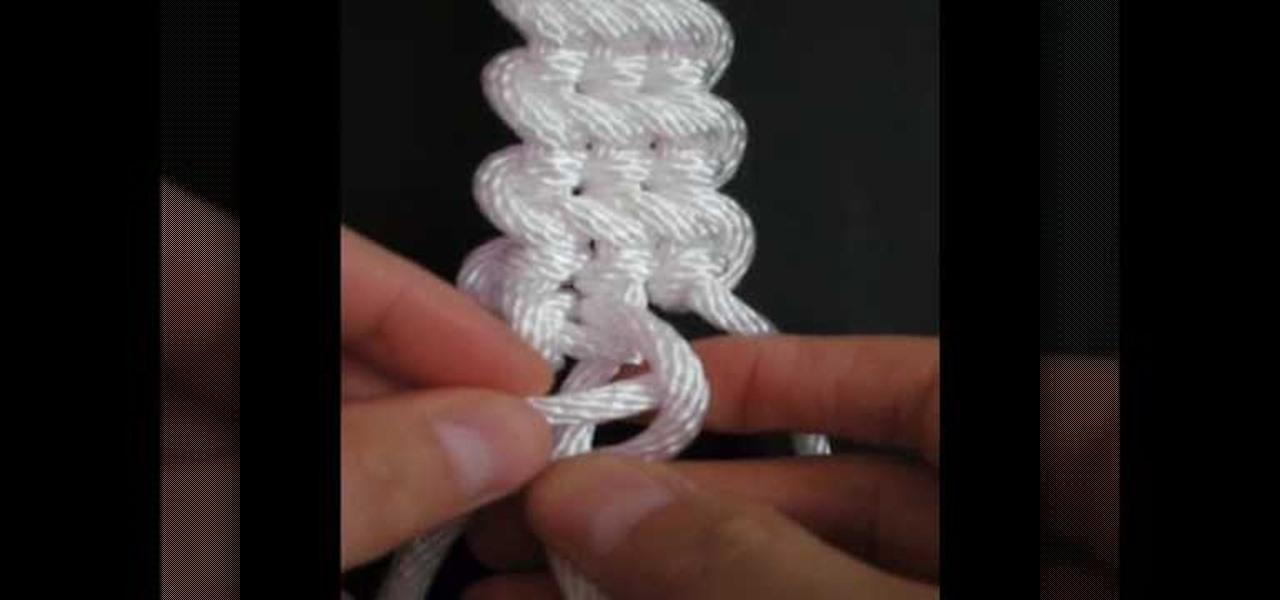
The world of decorative knots is full of twists and turns and this instructional video is no exception. In this clear and concise, step-by-step guide, we see how to create the beautiful, Striped Crown Sinnet. Makes a great key fob!
In this tutorial, we learn how to make a hair bow with and without a tail. First, take a long and thick ribbon in your choice of color and a thin ribbon in your choice of color. After this, grab a needle and thread and set it aside once it's threaded. Then, take your thick ribbon and fold it into a bow shape. From here, take the needle and sew the ribbon down the middle of the bow. After this, take the smaller ribbon and tie this in the center of the bow. When finished, you will glue this to ...
In this tutorial, we learn how to fireproof a balloon. Usually, if you bring fire to a balloon it will pop, but there's a way to avoid this! First, get your balloon and place it around the nozzle of your sink. Then, fill it up with water until you have a decent amount of water. Now, blow some air into the balloon and tie at the end. From here, put your balloon to the test! Place a lighter underneath the balloon to see how it reacts. It should not pop like it did before. The water will absorb ...
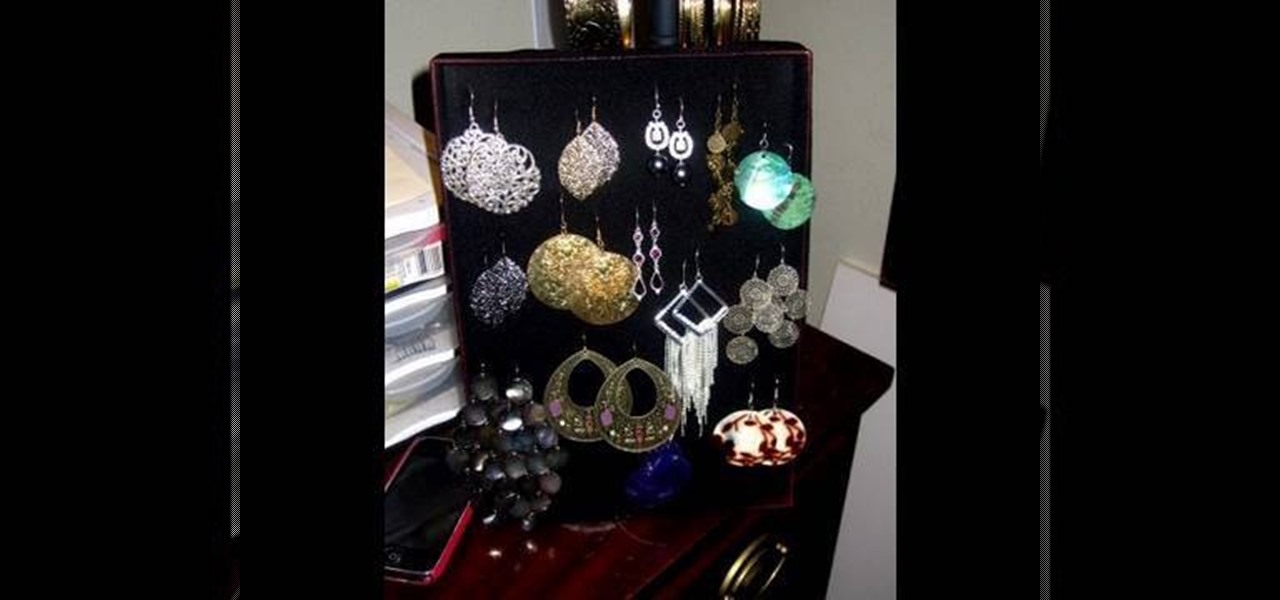
In this tutorial, we learn how to make an earring holder with everyday materials. first, you will need a box lid from a shoe box or a scrapbooking box. After you have this, slide a black piece of nylon over the top of the box and then tie the feet and top together on the back of the board. Cut off any excess nylon that is left over. After this, you can stick your earrings into the nylon and they will hang there securely! This will only work for hook on earrings because there's no back to it, ...
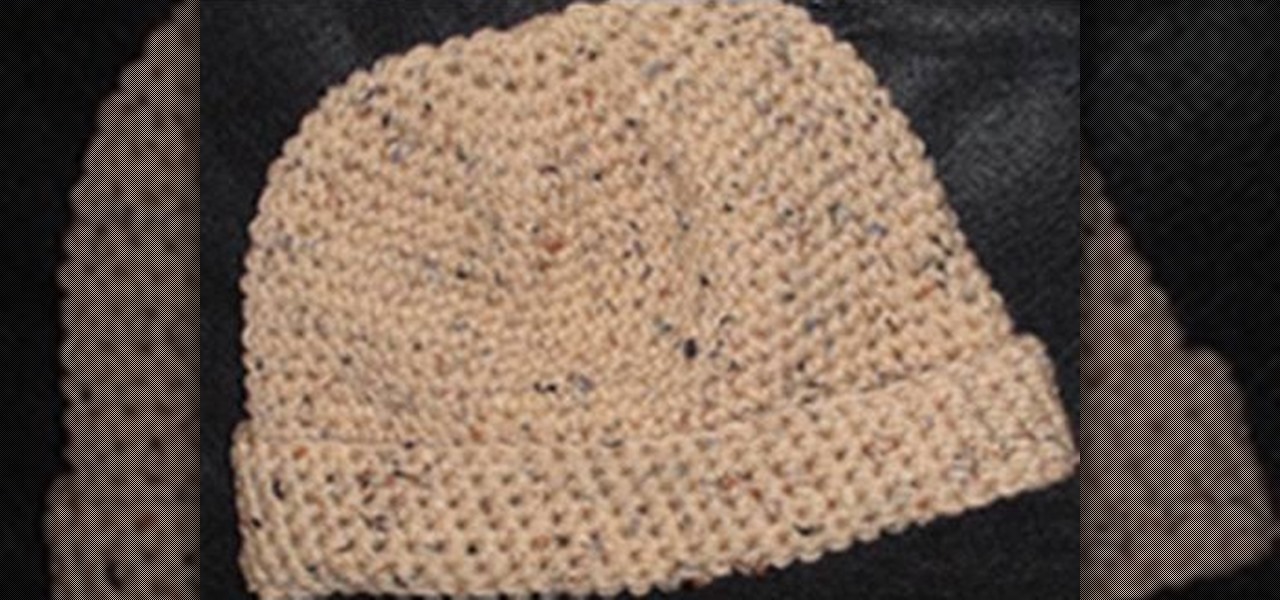
In this tutorial, we learn how to crochet a left handed large size beanie cap for a man. For the first round, you will work 10 single crochets through the loop, not joining. Then the cap will be worked into a spiral or round shape. Next, you will work in two single crochets in each single crochet. Then, you will do 20 single crochets total. For round three, you will work one single crochet for 20 more total. For round four, you will do the same for fourty more single crochets. For round five ...
In this tutorial, we learn how to make embellished tights. First, you will need to grab some beads and jewels and then grab your choice of tights. Make sure you have some tights that have texture on them, so when you sew them you don't break the surface and ruin them. Now, take your needle and thread and place it into the bead, then start to sew it into the tights. You can make different designs or just put the beads all over. You can also use small jewels to make it sparkly. Tie off each sec...
Use 12 inches of fishing line and a fishing hook. Make a large loop, folding the fishing line in half and put the fishing hook through it about a quarter of the way down the fishing line. Take the loop under the hook, draw it through the hole that was created. Pull to tighten. Next, take the small, loose end of the loop and place it around the fish hook. Pull the fishing hook through. Pull the end of the fishing line tightly so that the knot is firm and secure. Watch the video for more inform...
In this tutorial, we learn how to make a double point needle holder. First, you will need to grab four of your needles, two small objects that have holes in the bottoms, stretchy bead cord, crimp beads, and pliers. Then, you will drill the holes in the bottom of your objects if they aren't already taken out. After this, poke a hole through them and thread the stretchy bead cord through the ends of one and around the other. This should make a circle. Then, you will tie a knot and use a crimp b...
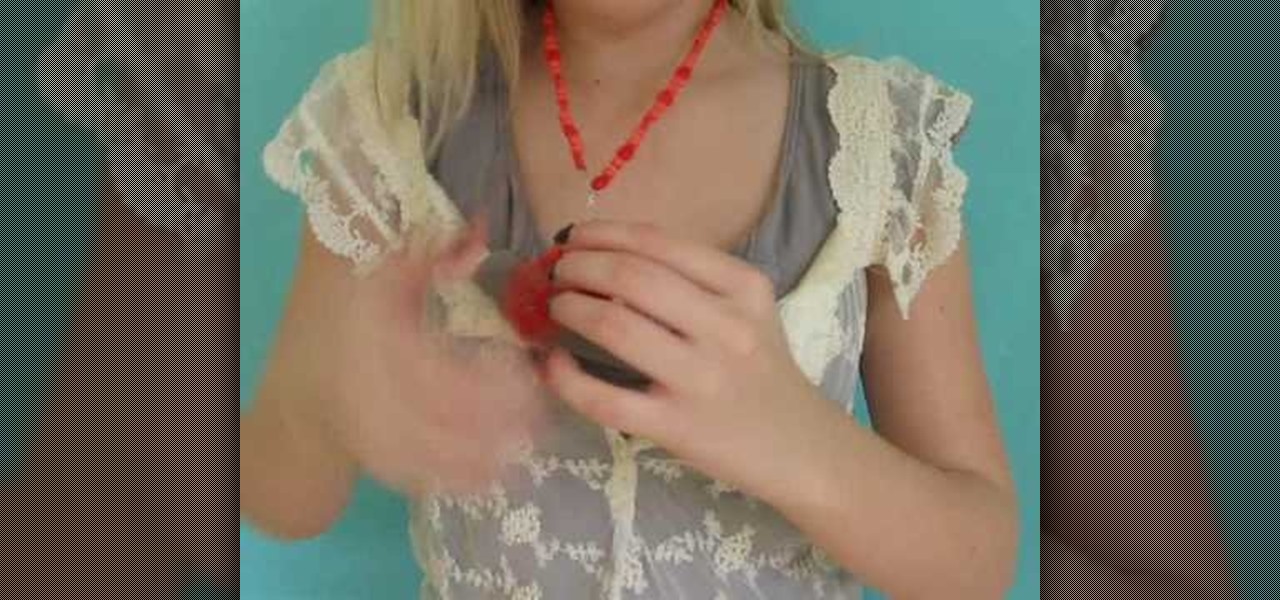
In this video, we learn how to make a lariat necklace. First, cut your wire so it's 20" long. Then, make a loop at one of the ends and attach a small chain to it. After this, put on the crimp bead and make a loop through the bead. Once finished, take your pliers and clamp it down. Now attach your chosen beads to the wire until you reach the end where the chain is. After this, cut out three pieces of wire and attach them together in a slight v shape. After this, apply beads to them, then tie t...
Balloons in skilled hands can be used to model your favorite cartoon characters as well. Watch this video to learn how to create the leader of the Autobots Optimus Prime with balloons.
In this tutorial, we learn how to make a tubular peyote bracelet. To get started, string your beads onto the string and leave a 10 inch tail. Then, bring it into a loop and tie it into a square line. After this, use a needle to sew more beads through the beads that you just strung on. As you do this, skip beads so that you have interchanging colors around the circle. You will have a total of four beads on top of the eight that you started with. Continue to do this until you reach rows that go...
We don't know about you, but anything that says "Greek goddess" in the label gets us instantly interested. In this tutorial, you'll learn how to look like a Greek goddess by making a knitted headband composed of three strands that tie at the back.
In order to make a sorcerer hat out of balloons, you will need the following: six (6) balloons, which will need to be partially filled with air and two (2) uninflated balloons, which will be used as the straps, holding the hat onto your head.
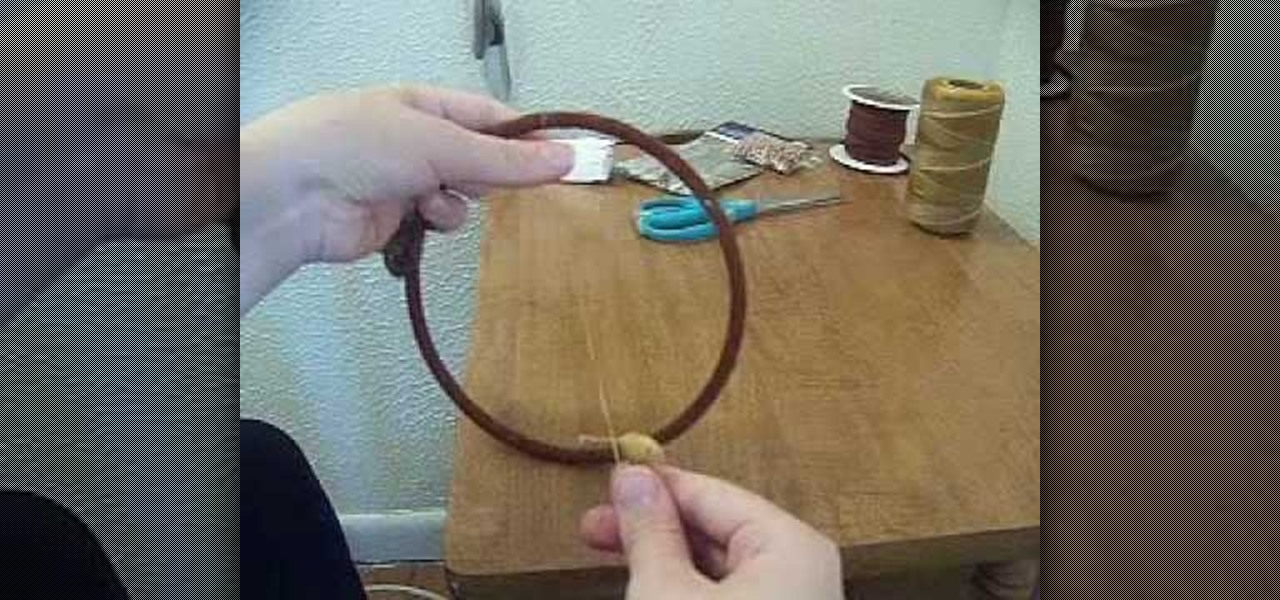
In this tutorial, we learn how to make a dream catcher. You will need: 1 metal ring, leather, sinew, decorations, scissors, and a clothes pin. First, wrap the leather tightly around the ring. Clip the clothes pin on the top so you don't have to hold it as you go around the circle. After this, remove the clothes pin and cut the leather off. Then, tie it at the bottom with a double knot. Next, measure the sinew to 3 yards, then pull it apart. You will be left with very thin strings. use a folde...
Tic-tac-toe is one of the easiest games to play and most difficult to win. Most games end in a tie, boredom, and frustration. But do they have to? This video will show you how to predict the winner of a tic-tac-toe game by forcing it to go the way you want with strategic moves. Try using this prank to win you free drinks the next time you're out at the bar.
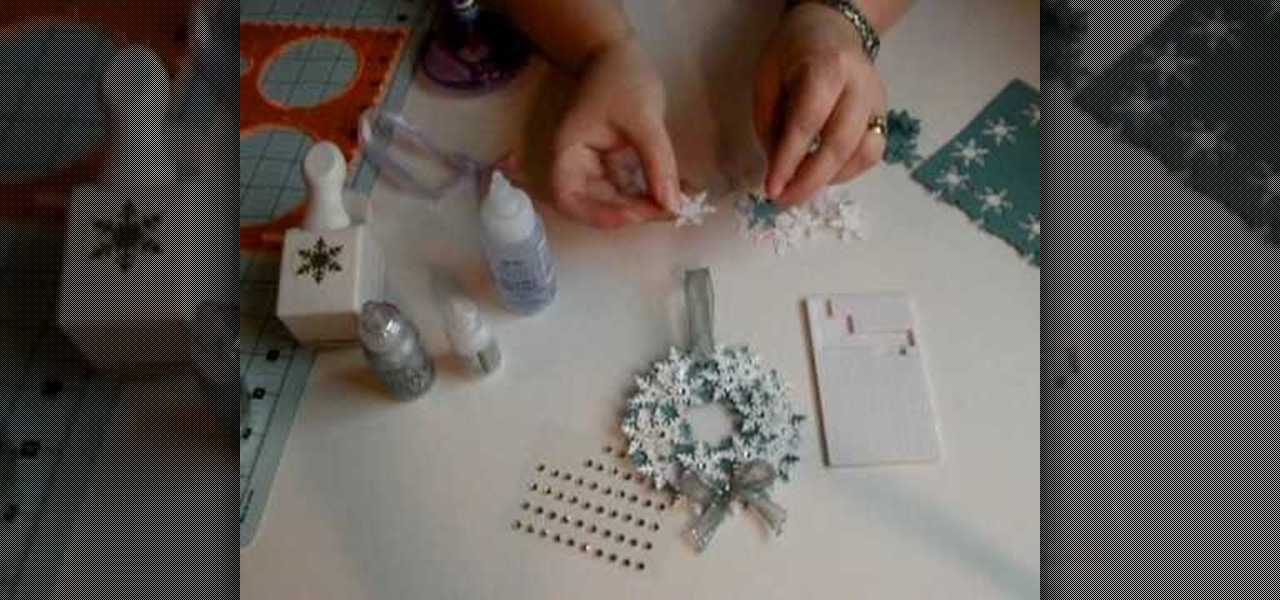
In order to make a snowflake wreath ornament, you will need the following: a snowflake punch, adhesive, foam, rhinestones, card stock, a hole punch, a circle cutter, scraps of paper, and ribbon.
In this video, we learn how to make a flower hair accessory from shopping bag tissue. First, grab your tissue from any shopping bag and fold it down until you have a rectangle, then cut on the sides to make several different rectangle shapes. Next, start to accordion these together until you reach the end of the papers. After this, grab the middle of the tissue paper and tie a rubber band around it. Next, start to push up the tissue from both sides until you reach the bottom. After this, you ...
In this video, we learn the basics of Irish dance. First, you need to tie your shoes onto you tightly, then make a cross and go underneath your foot with the strings. You will see a lot of pointing with the toes when you are dancing, and you should never be able to see in between the legs. Your arms should be right by your side and not flared out. When you lift, bring the other right in front of it immediately. Another popular movement is to do a skip with a hop and a jump in between. After y...
In this tutorial, we learn how to make a snowflake with beads. You will need: clear crystals, beads, and thread. First, string six beads onto the thread. After this, string a crystal next to the beads. Now, tie this and start to repeat the process on the left side of the beads. Continue to do this process until you have created a shape that looks like a snowflake. You can do as many or as few of these as you would like. This creates a beautiful necklace, or you can use it as a bracelet if you...
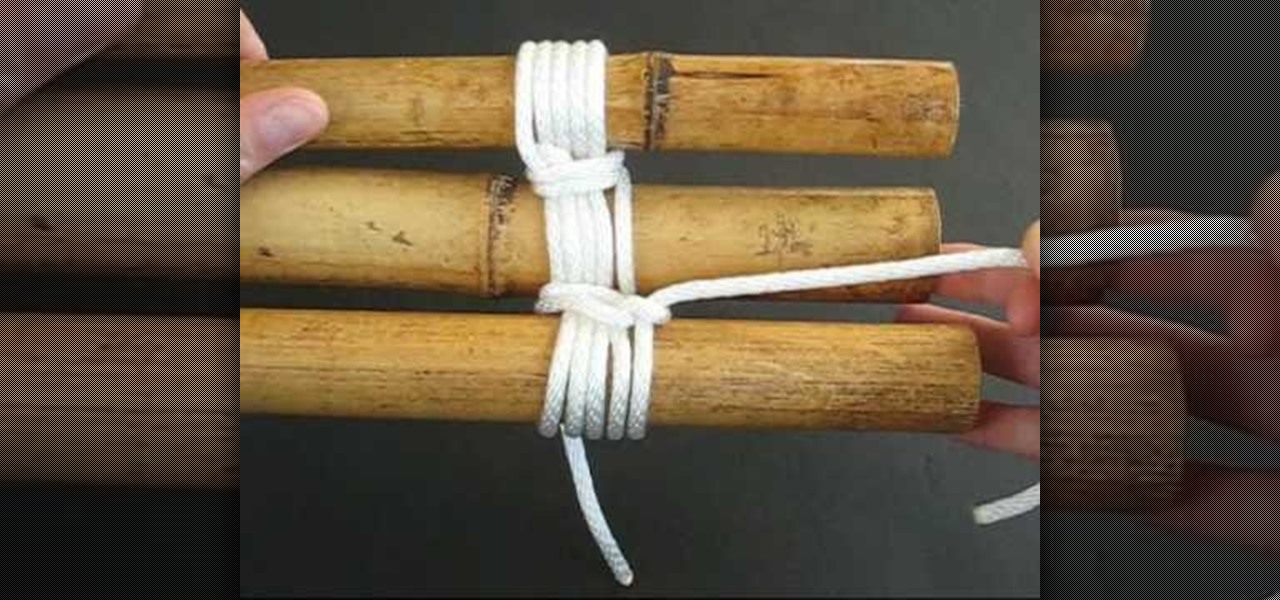
In this tutorial, we learn how to lash a bamboo tripod. First, you will tie a clove hitch by taking one piece of bamboo and wrapping the rope around it, then crossing the two sides of the string together to make a hitch. Next, you will secure the clove hitch around the third piece of bamboo. Now, you will rap all the pieces of bamboo together with the rope. Continue to do this until all the pieces feel secure together. Wrap the rope several times around each of the pieces, then wrap it in the...
In this video tutorial, viewers learn how to suture. Begin by lifting up the skin on the far side of the laceration with the tissue forceps and insert the needle with some distance far away from the wounded edge. Then lift up the skin with the near side laceration and mirror the course of the needle. Now move somewhat to the right of the subsection of this stitch, parallel to the incision line. Place the second subsection of the horizontal macro-suture like the first part. But this time from ...
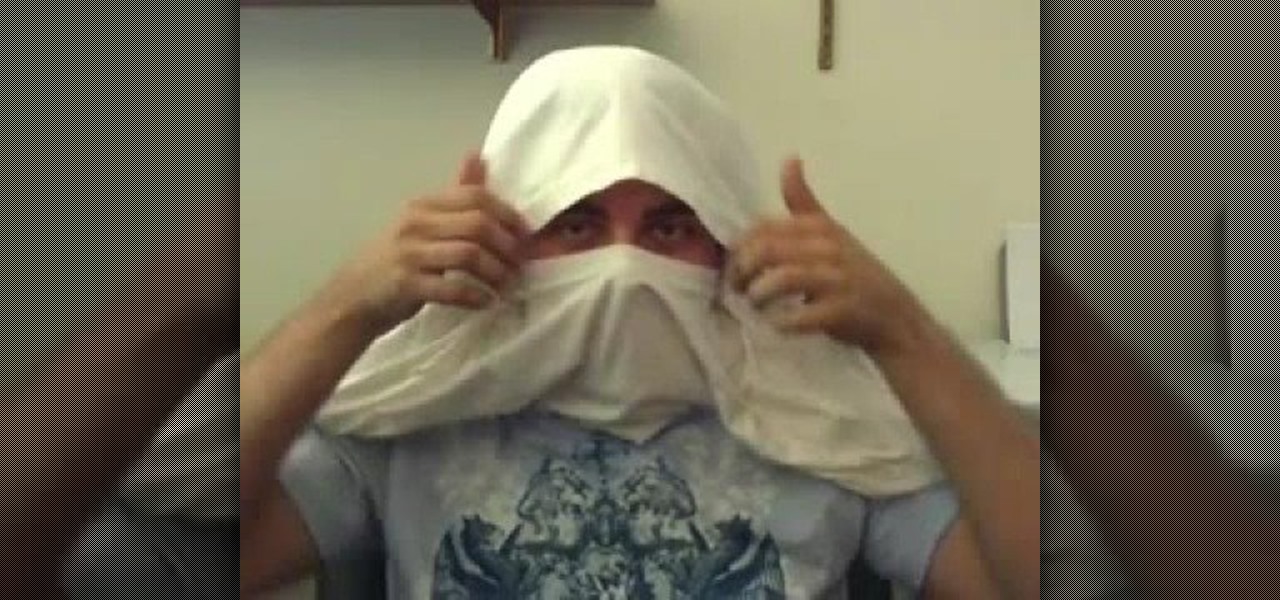
In this video, we learn how to make a ninja mask out of a t-shirt. First, grab your t-shirt and then roll it up until you get to the head opening. Now, stick your head through the hole and take your sleeves out. Now, take the back of the shirt and roll it over the top of the head and bring the top of the shirt up to the top of your nose. Now, tie the sleeves behind your head and tuck the rest of the shirt underneath the top of the shirt you're wearing. When you are done, you will have a ninja...
In this video, we learn how to make the guitar bar decorative knot. First, set up the bard then cow hitch two strips of rope side by side. Next, measure each bar to 12 inches long and make sure you have 12 feet of rope. After this, build the frets of the bar, and while you are doing this you will flip the bar over and start to half hitch. Continue to do this, tying all of the ropes together into the knot. Next, turn the knot over and continue on the other side. When you are near the end of yo...
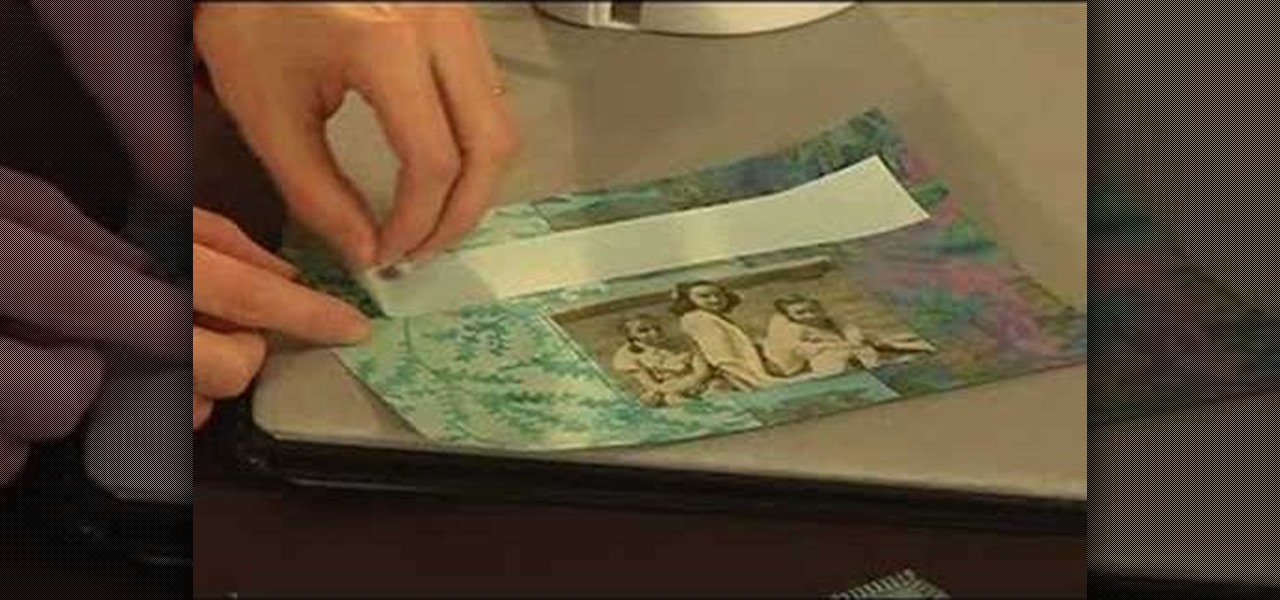
In this tutorial, we learn how to create fiber art journal pages with Elin Waterston. First, think about the theme of your book then layout what theme you want for your book. This will carry out through your entire book, so choose something that works. Stick text onto the fabric, then add stitching to help the fabrics to stay together. This journal is a fun project to do by yourself or with other artists. Make sure you unify your book with the subject and take your time in making the theme ti...
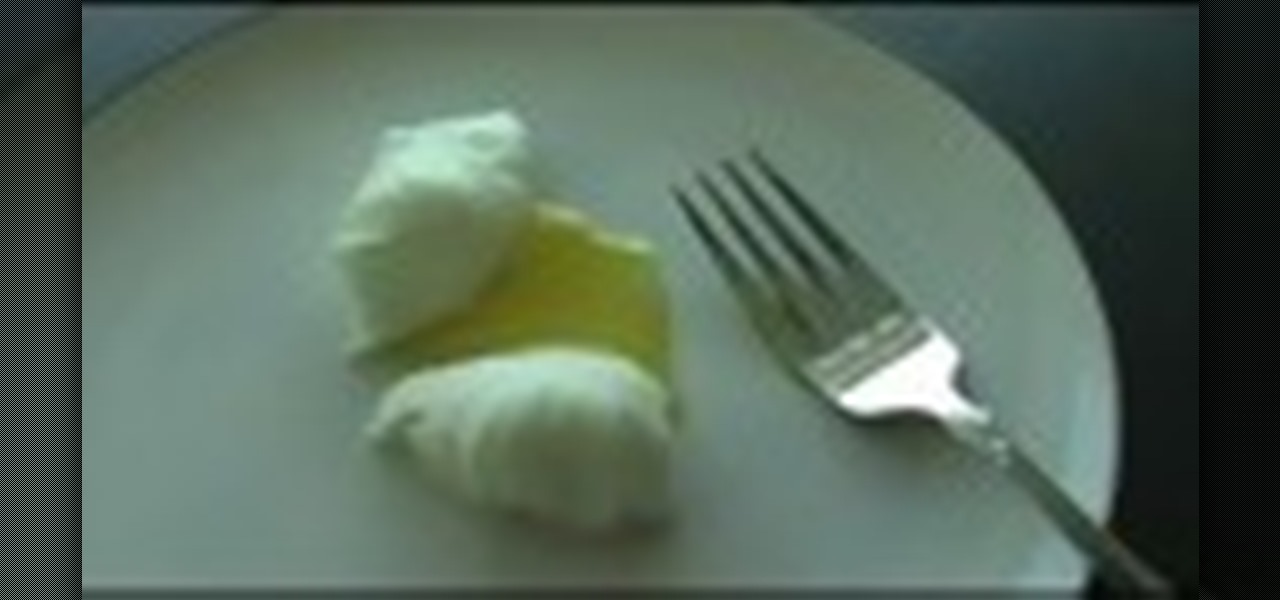
In order to poach an egg, using plastic wrap, you will need the following: eggs, a bowl, plastic wrap, and a saucepan.
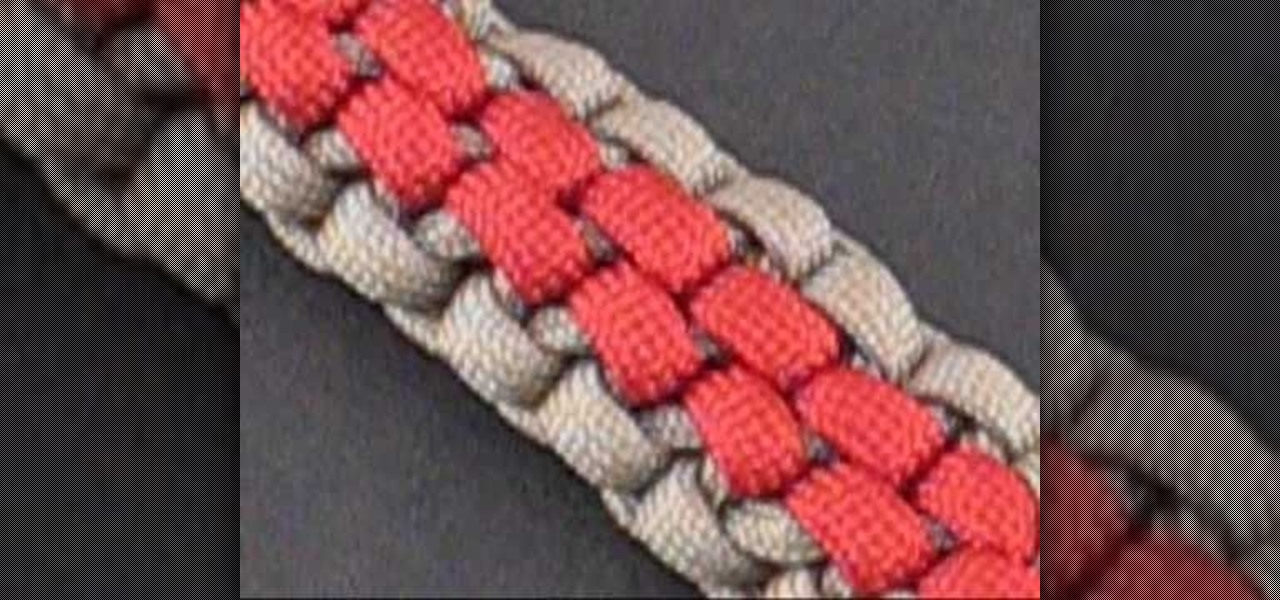
If you like tying different things just for show or to use, then you're going to love this next tutorial. This video will teach you how to easily make a paracord ladder strap. It looks really cool and seems easy to do, but it could take some time to finish. It's created using a variety of different colors and is sure to make others go, "Wow." So check it out, pay attention, and good luck!
Cut an old sheet of news paper at about five inches in width. Roll it down to create a thick stick of newspaper. Get a roll of string that is specifically made of cotton or use a natural fiber string. Tie the string around your roll of newspaper to make sure it stays together or that it will not unroll. Submerge the rolled newspaper/s on a pot of hot and melted old candles. Let it sit for at least a minute or more as needed. Remove the rolled newspaper/s from the pot and let them dry out for ...
T-shirts are practical and unfailingly comfortable, but not particularly known for looking either sexy or fashionable (they're more, shall we say, frumpy, than anything else). But did you know that within the ugly duckling that is your blank gray T-shirt is a beautiful swan of a tank top just waiting to get out?
If you sew a lot, your probably have a massive quantity of old fabric scraps lying around. This four-part video will teach you how to recycle those strips into all sorts of fun textile projects. These include a quilt, tie-dye strips, and notebook covers for your children's (or your) books for school. No matter what your tastes, there is probably a cool fashion recycling tip for you in here.
This video shows the method to style a heart shaped hair on a little girl. In the first step, do a zigzag part on the hair and pulling the sides to a pigtail. Part the hair till the ear before tying the pigtail. Wet the pigtails and put some pomade on it to make the pigtail stiff. Take a pigtail and divide it into half. Make sure that they are stiff. Twist the two parts of the pigtail and make a heart shape. Now clip the hair at the base using a pigtail holder. Repeat this process for the oth...
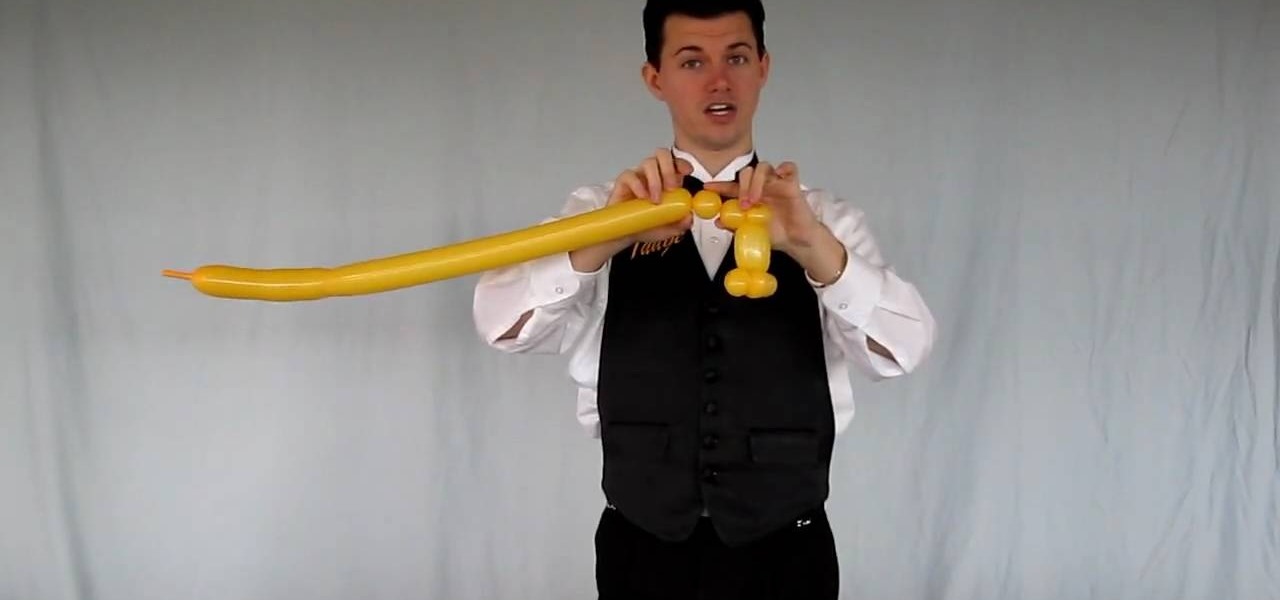
Learn how to make a simple balloon cat in a few twists of a balloon in this free ballooning tutorial. For cat lovers and children of all ages - This balloon creation is sure to please. Your Balloon Man, Mr. Fudge, is full of balloon tricks! Be sure to find other balloon videos on WonderHowTo from Mr. Fudge teaching everything from animals to planes! In a few twists and a few ties, you'll be an expert balloon artist in no time!
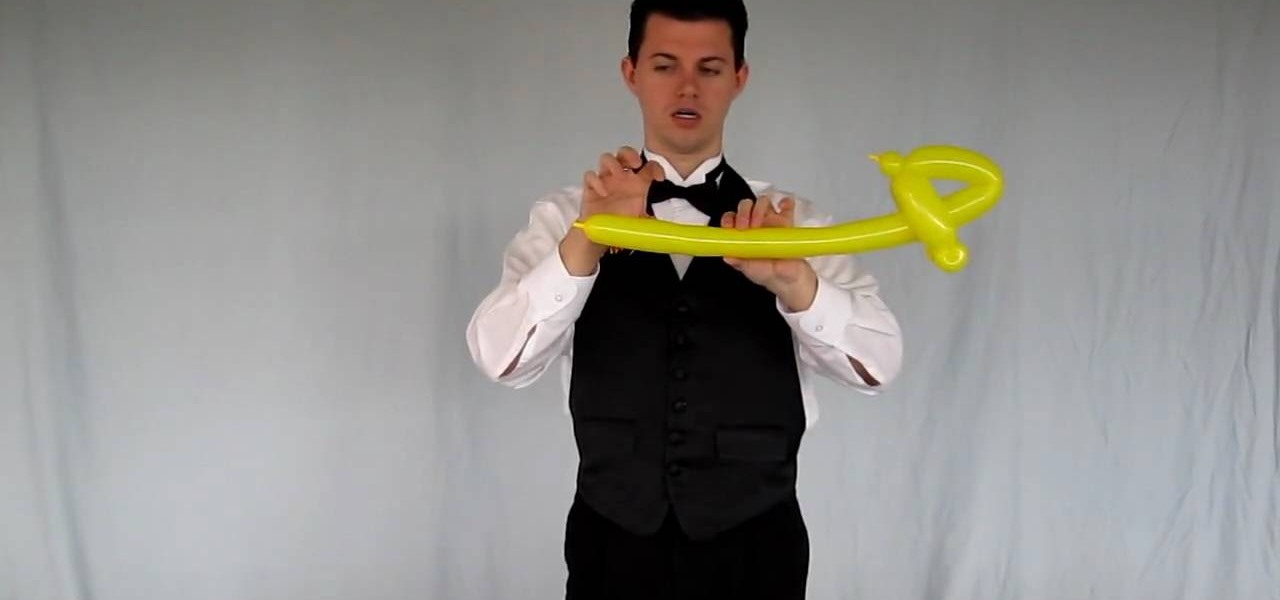
In this free ballooning tutorial, learn how to make a simple balloon helicopter by twisting two ordinary balloons. A must for a ballooners repertoire, take this balloon creation to your next party to impress! Your Balloon Man, Mr. Fudge, is full of balloon tricks! Be sure to find other balloon videos on WonderHowTo from Mr. Fudge teaching everything from animals to planes! In a few twists and a few ties, you'll be an expert balloon artist in no time!