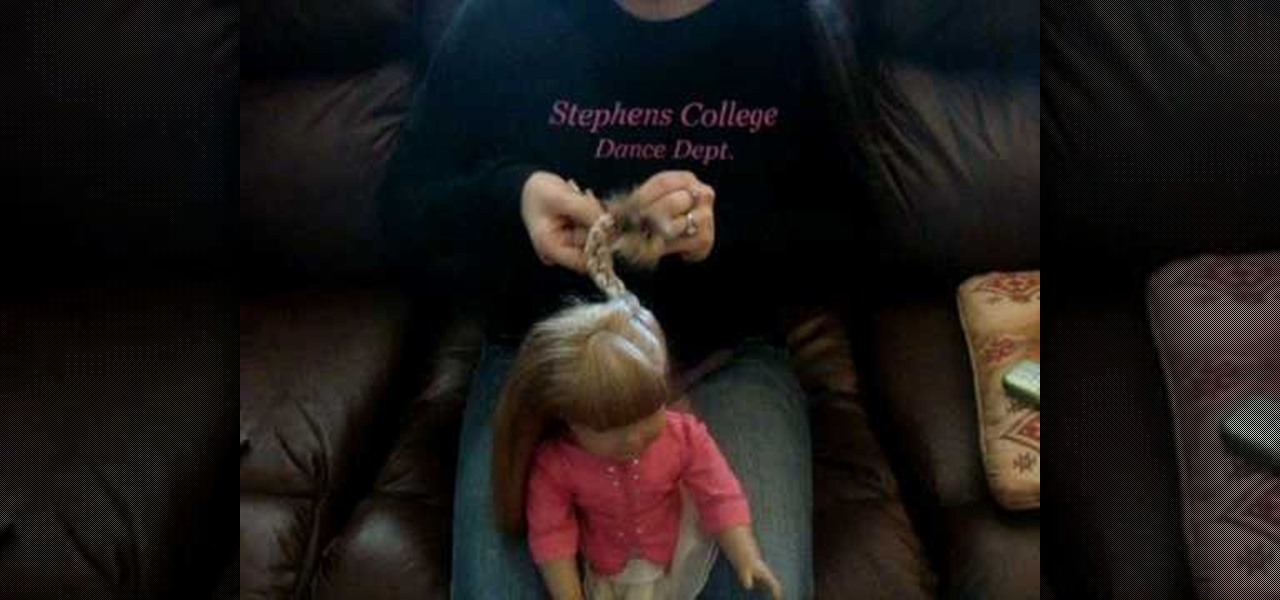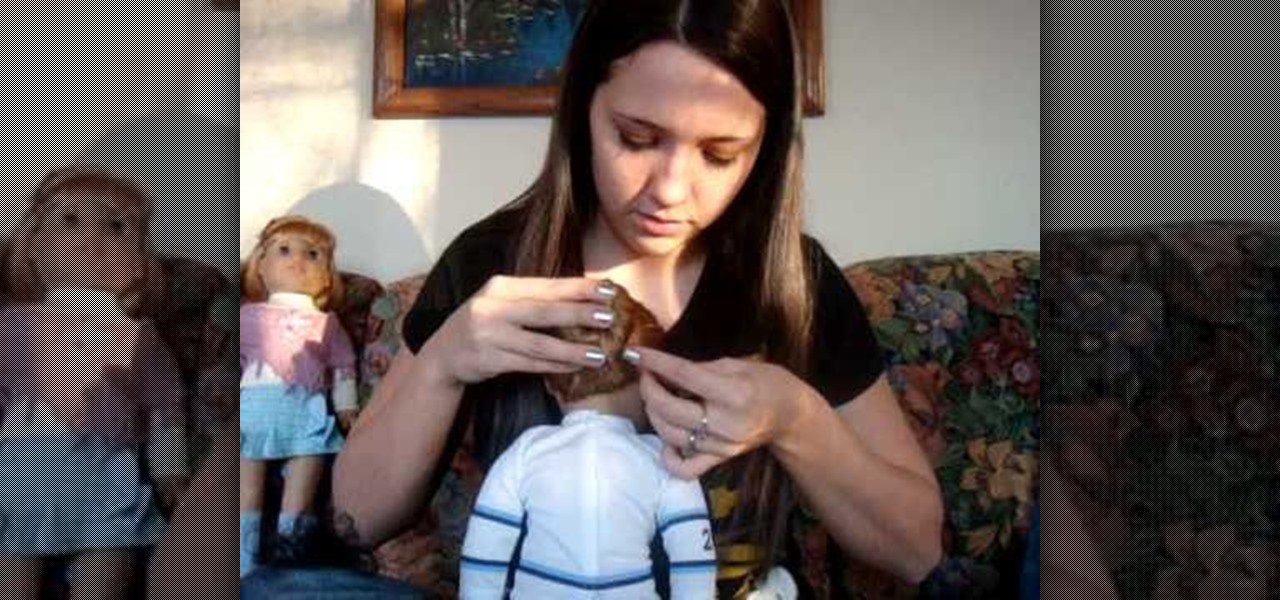
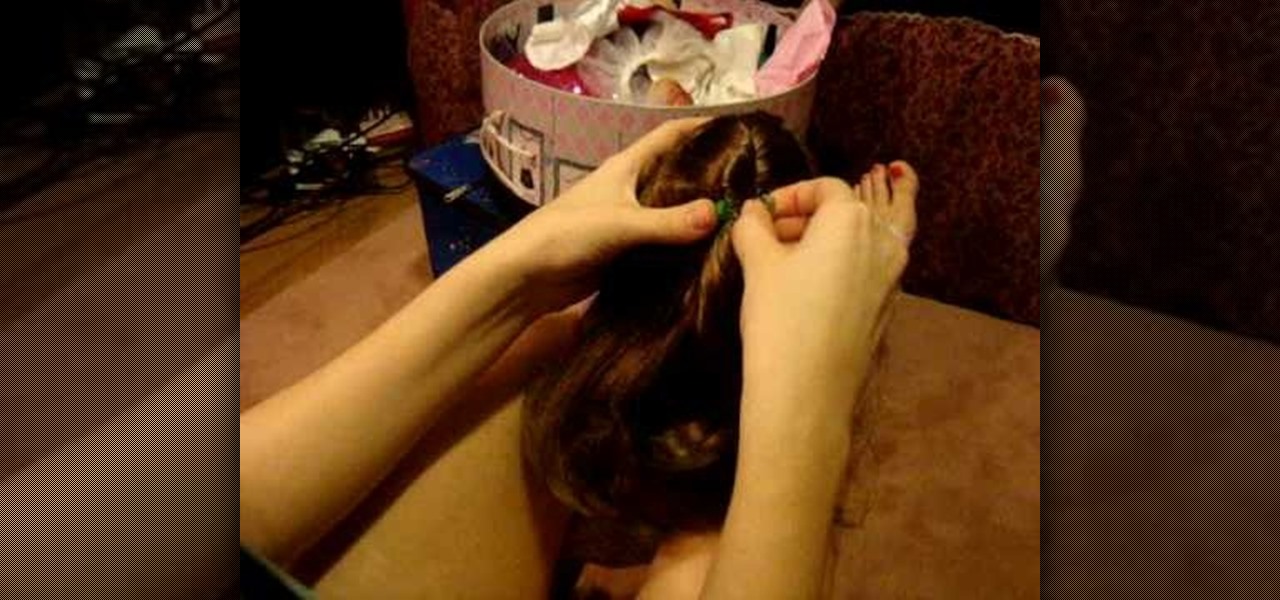
In this video, we learn how to do your American Girl Doll's in a ballet bun. First, you will need to brush out your doll's hair and put it into a low pony tail or high, depending on where you want the bun on the head. After this, take the hair and twist it around the rubber band base and then take a thicker rubber band to tie around the bun to keep it in place. You can then place another rubber band around for decoration. This will finish the simple bun, which will be easiest to do on a doll ...

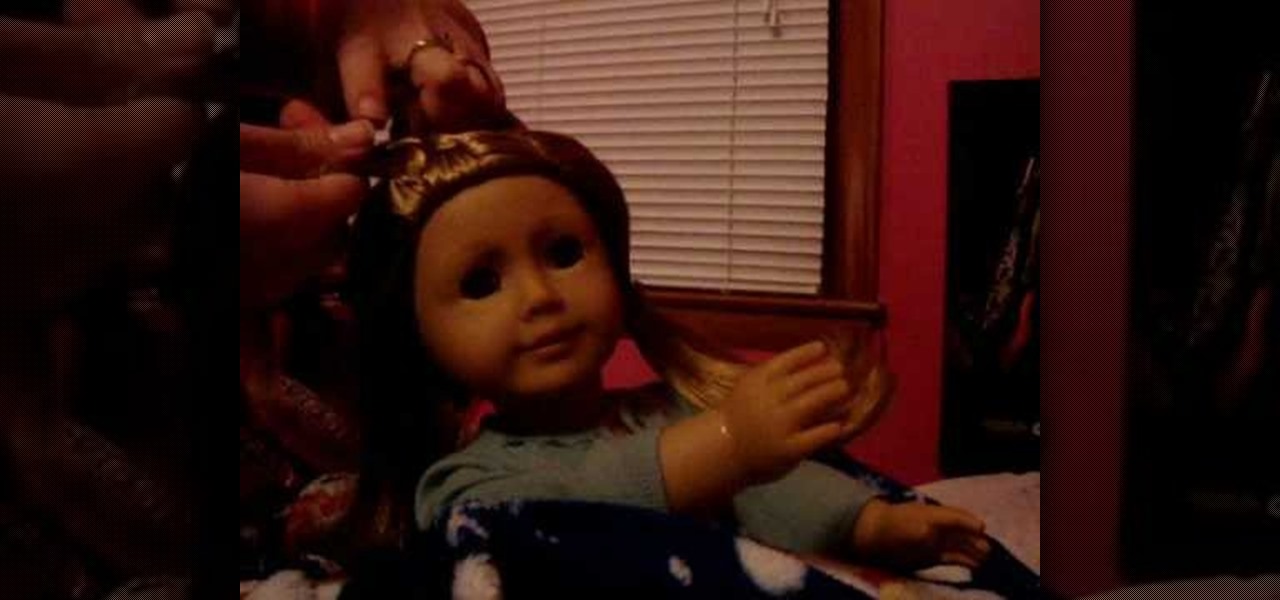
In this tutorial, we learn how to do a cute Easter updo on your American Girl doll. To do this, you will first take the hair from the top of the head and section it off into smaller pieces. Then, repeat this same step throughout the head of hair until you have a bunch of different ponytails. From here, you will need to braid these together using three of the ponytails. When finished, you will tie the ends with rubber bands. This will complete your cute Easter look for your American Girl Doll!...
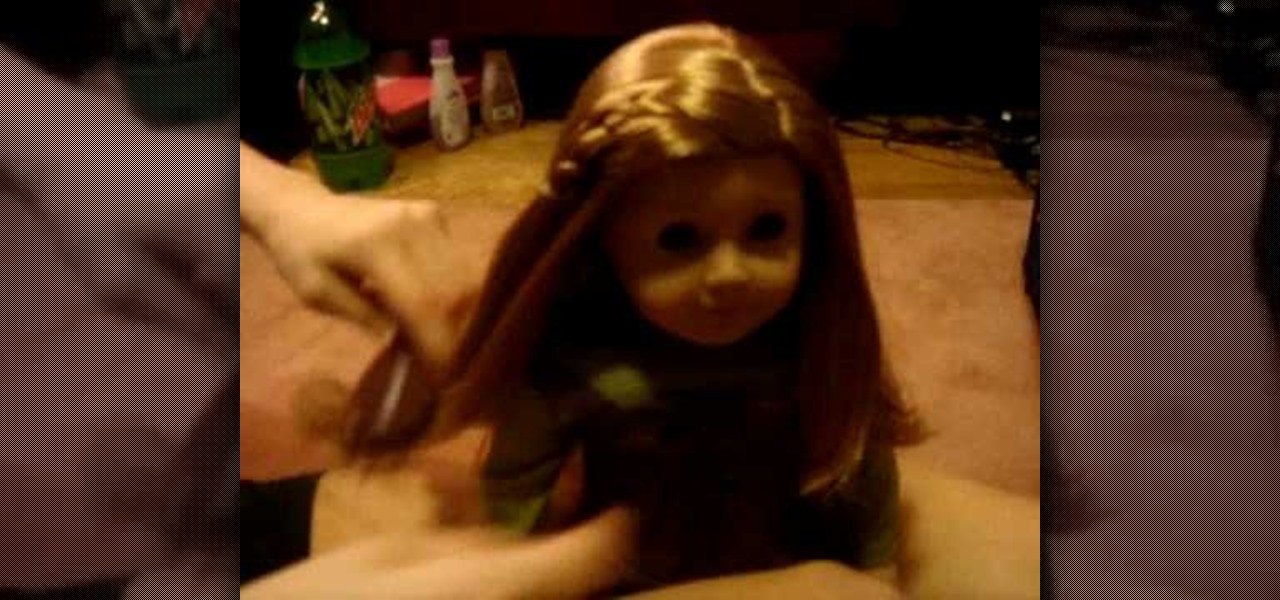
In this tutorial, we learn how to do a really cute hairstyle on your American Girl. First, brush the hair out and then pick up the hair from the top of the head. Brush this and then twist the hair and push it up so it creates a poofed effect. You may have to do this several times to get it right. Then, clip the hair into place and grab the right side of the hair. Twist this until you reach the base of the neck and tie it into place. Do this on the other side and then combine both sides togeth...
In this tutorial, we learn how to scrunch your hair by starting with braids. To start, you will first need to get your hair damp. Then, you will braid your hair one each side of your head so you have two braids. Tie it off with a hair band and then go to sleep and leave the hair like this. When you wake up, take your hair out of the braids. Then, you will spray in hair spray to your hair and scrunch it up with your hands. When finished, you will have beautiful wavy hair perfect for a casual d...
In this video, we learn how to do a reverse French braid on your American Girl doll. First, part the hair in half and put one half to the side. Then, take a piece of the front on one section and split it into three. From here, you will go under the hair instead of over like a regular braid. Then, start to pick up pieces from the sides on the left and right. Put it underneath the whole braid and then go under with it to the other side. Continue to do this until you reach all the way down the h...

In this video, we learn how to do a fishtail on your American Girl doll. You will need a doll with longer hair to do this correctly. Brush the hair out, then grab two rubber bands and set aside. Start out by putting the hair into a ponytail with the first rubber band. Then, section the hair off to create a double braid in the hanging hair in the back. This will create a look like a fishtail braid. Continue to do this until you reach the bottom of the hair, then tie it with a rubber band. Enjo...

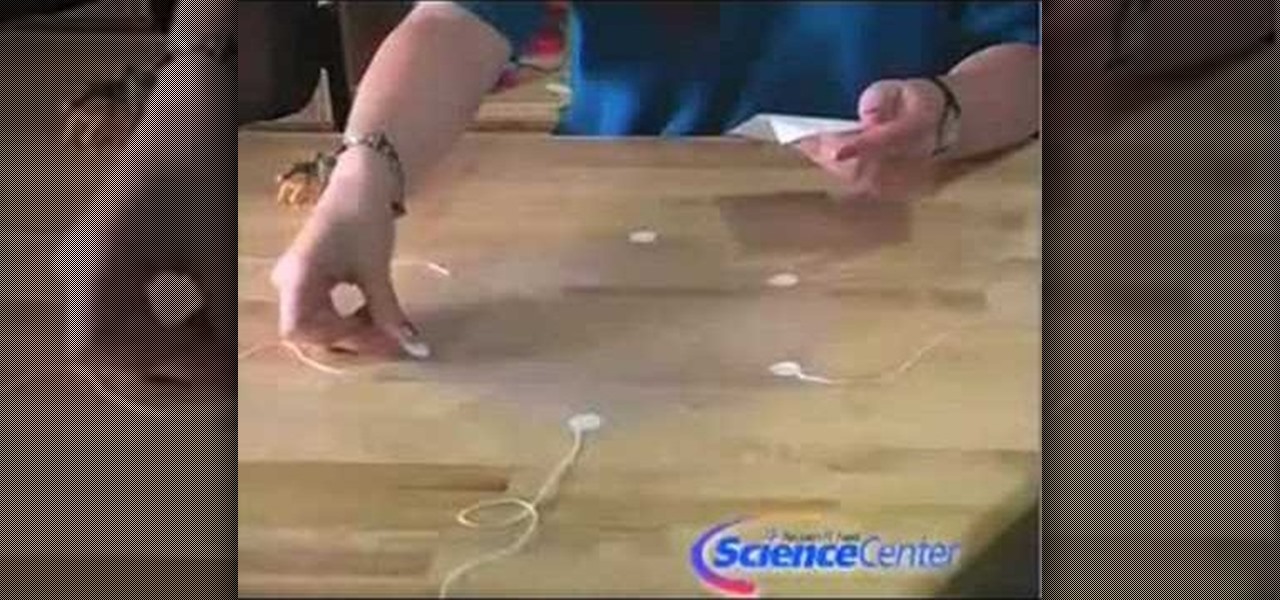
In this video, we learn how to build parachutes with household materials. You will need: a long string, Mylar, mesh, plastic, scissors, tape, and a weight. To get started, you will first cut your plastic or mesh into a circle or octagon shape. Then, take your string and cut it into several pieces. Then, tape the strings onto your material all around. After this, tie your weight to the strings so it's fully secured. Now, go to somewhere high and throw down your item! The parachute will help ke...
In this video, we learn how to do a cute easy hairstyle on your American Girl Doll. To start, brush your doll's hair and then part the hair in the middle. After this, break the side of the hair into three pieces and then start to braid it from top to bottom. After this, repeat the same process on the other side. Tie the bottom with rubber bands and then you will be finished with this hair style! It looks really cut on a doll that has long hair with bangs, but can also work on short or layered...
In this tutorial, we learn how to double French braid your American Girl Doll's hair. First, part the hair right down the middle so you have the left and right side. After this, pull one of the sides into a pigtail. Next, go to the other side and grab a small section from the top. Brush this out and then divide into three pieces. Start it like a regular braid, then start to grab hair from the bottom on each side, crossing it over the middle. Continue to do this until you reach the bottom of t...
In this tutorial, we learn how to do twist braid pigtails on your American Girl doll. Start by brushing the hair out and combing it in the middle. Then, take a small section in the font and split that in half. Start twisting it towards her face and then twist them together away from her face twice. Then, pick up a piece from the bottom and twist it into the braid. Continue to add in hair from the bottom until you have all the hair inside the twist braid. When finished, tie off at the end and ...
In this video, we learn how to do a cute hairstyle on an American Girl with layered hair. First, brush the hair back until it's smooth. Then, pull the front section of the hair back, going off from where the eyes end. Then, you will pull it up into a ponytail. After this, you will take a section from the side of the head on both sides. Then, you will bring these together in the back of the head and tie together with a ponytail holder. Now, take another section lower down on the had and repeat...
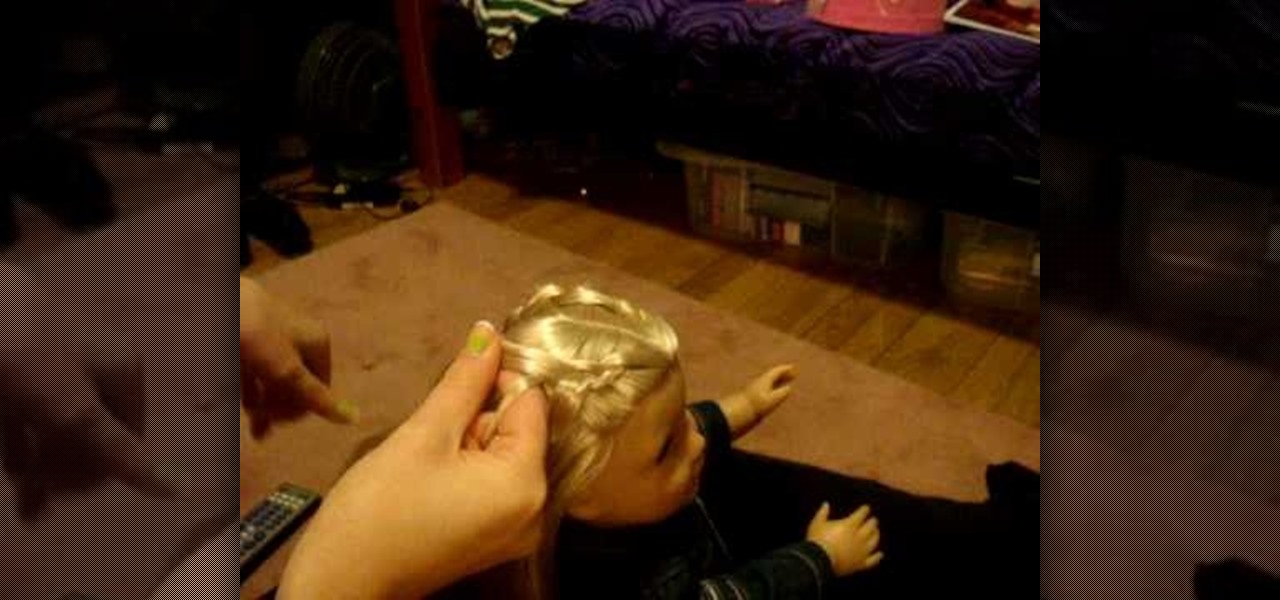
In this tutorial, we learn how to redo American Girl doll, Mia's, braid. First, you will need to brush out the hair for the doll. After you do this, you will take a little section of the hair from the front and split it into three. Then, take another little section from underneath this and clip it away. From here, you will start to braid the hair, clipping off the sections underneath separately so they don't get mixed together. Then, you will take the rest of the hair and put it into a ponyta...
In this tutorial, we learn how to do a Y braid on your American Girl doll. First, brush your doll's hair out and then put the hair in pig tails. From here, you will split the tail in half on both sides. Then, you will combine the two middle pieces and start to braid the hair like normal. Do this all the way down until you reach the bottom of the hair. When finished, tie the end with a rubber band to keep in place. This will finish the Y braid look for your American Girl doll, enjoy! Decorate ...
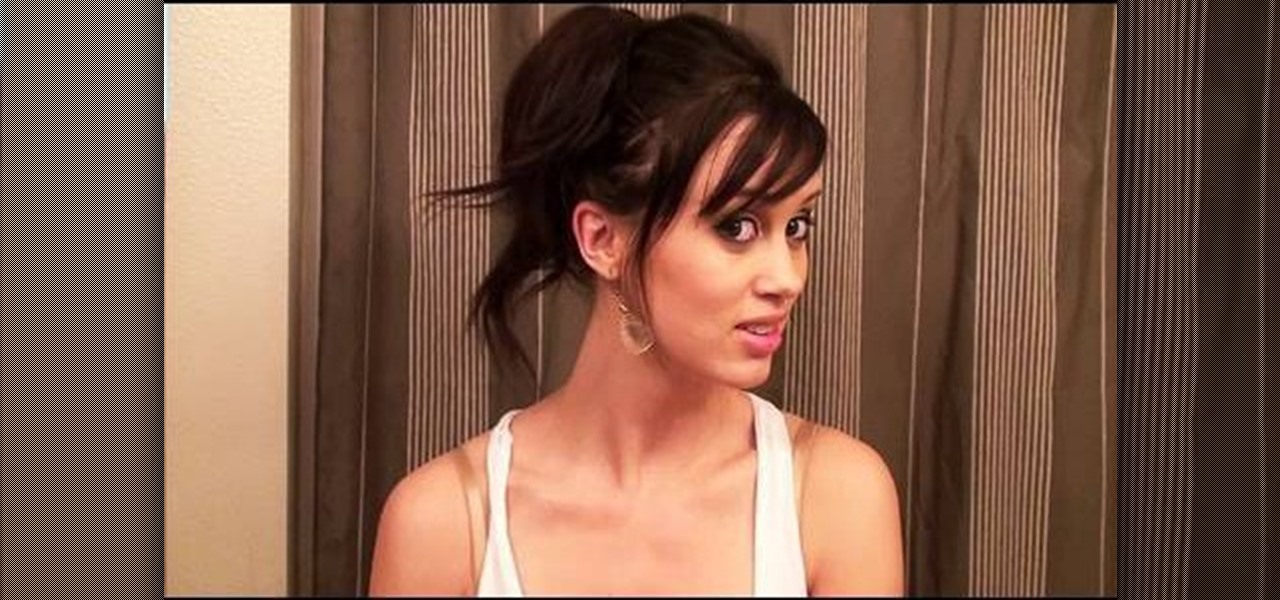
A bun is usually thought of as severe and uptight, but it can be quite sensual and carefree if you style it right. Take a look at this hairstyling video to learn how to create a very easy yet impactful low side bun for school.
In this tutorial, we learn how to make dogbane cordage. Dogbane is also known as Indian hemp, which is a plant which is used to make cordage. Once you identify the plant outside, you can process it into a raw and finished product. First, you will simply peel the bark off of a branch of the dogbane. After this, you will squeeze along the inside of it and start to peel the layers back. You will then get a bushy type of wood that looks like it's hair. After this, you can tie these together or br...
In this video we learn how to make Christmas bows. First, take the ribbon and then tie it into two separate one sided bows. Connect these together at the bottom and then continue to make these shapes and connecting them to the same brad. Once you are finished, put double sided tape on the bottom of it and then you will be finished with the bow! You can do this several times to make a whole bunch of bows or you can make it larger to create a huge bow. Have fun making these and use your own sty...
In this video, we learn how to make a balloon basket. This will be a square anti-prism made of white balloons and pink balloons. But, you can change the color if you would like. Start out by creating large and small bubbles inside the first balloon. Then, tie this with the other balloon and connect them both together. After this, you will have the bottom of the basket. Create a bunch of bubbles connecting both of these and attach it to other bubbled balloons to create a large top above the ba...
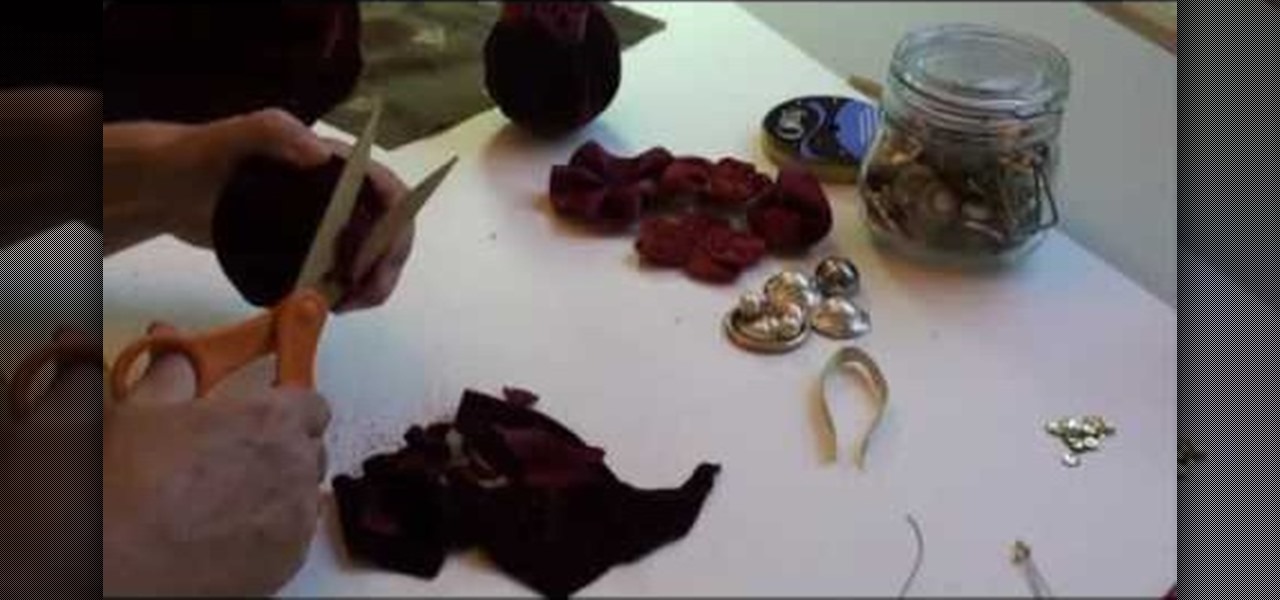
In this tutorial, we learn how to make Styrofoam and fabric Christmas ornaments. First, shape the Styrofoam into a ball and then grab the fabric you want to place around it. Place the ball into the fabric, then tie it at the top with a ribbon and some string. After this, you will be able to decorate the fabric with bows and glitter, whatever you want to use. You can attach a hook to the string in the middle if you would like to hang this on a string. Be as creative as you would like, just mak...
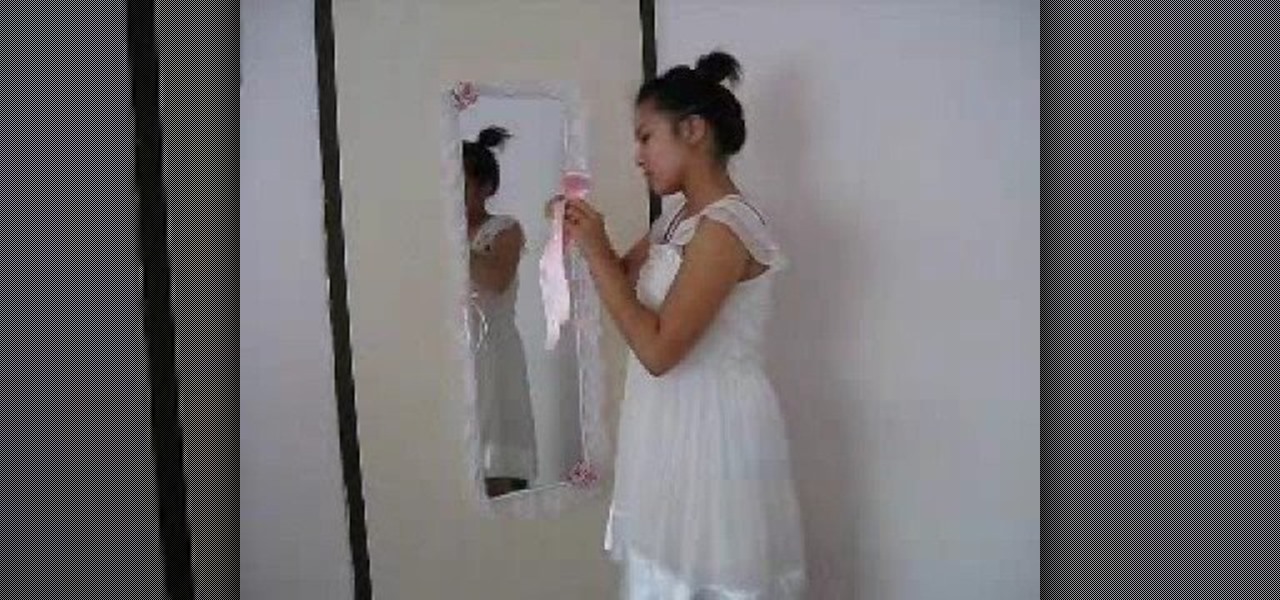
In this video we learn how to makeover your mirror with accessories. First, grab lace, string, ribbon, fake flowers, and anything else decorative that you want to hang around on your mirror. Once you have all of your supplies, get to work! Use double sided tape to stick to the sides of the mirror so you can safely stick on all of your accessories. Start out by taping some lace or ribbon around the mirror. You can also tie some ribbons and place those as on as well. If you have fake flowers, t...
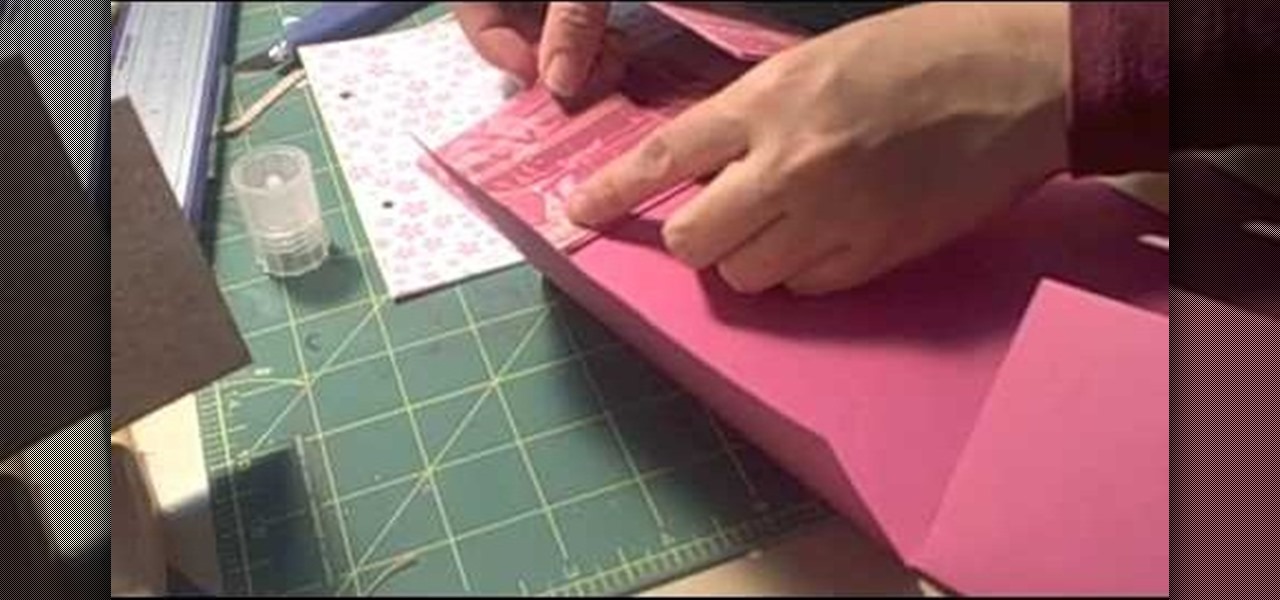
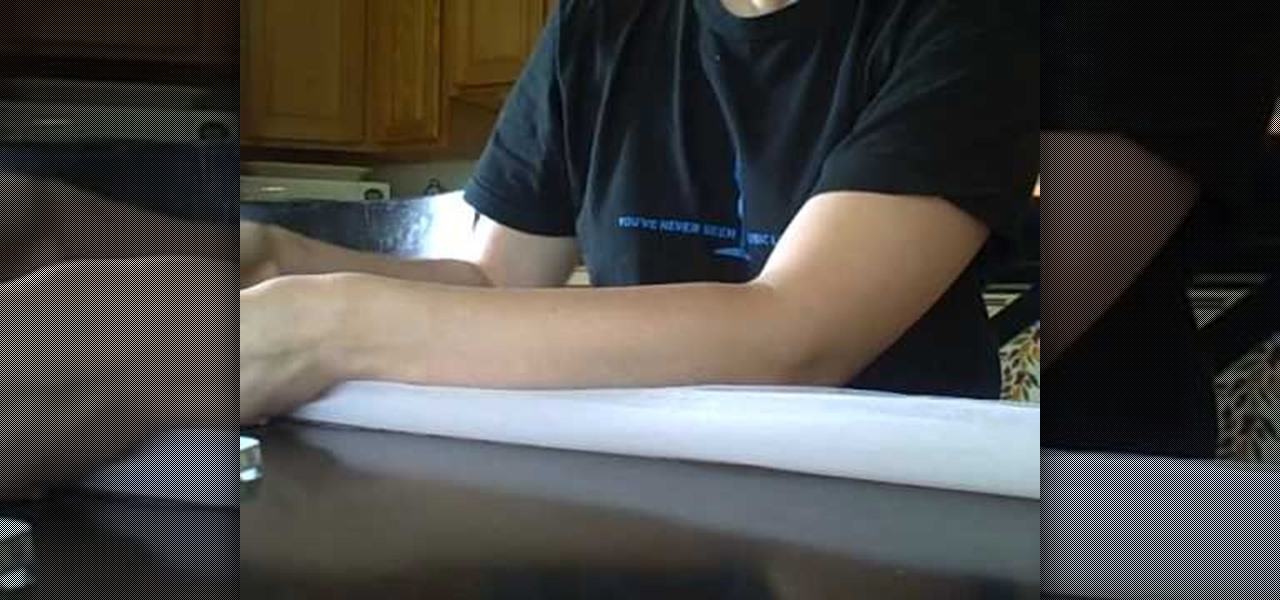
This video tutorial is in the Arts & Crafts category which will show you how to make a flip square album. Take a 12 x 12 inches square cardstock and make a score line at 3 inches on all 4 sides of the paper. Now cut along the score line at the top and bottom of the paper up to the 3 inch line. Next you fold along all the score lines inwards and you have all the flaps ready. Then mark along the edge of the center part of the sheet and punch two holes for tying the album as shown in the video. ...
In this tutorial, we learn how to knit a scarf for an American Girl doll. First, make a slip knot on one knitting needle. Next, case on the stitches. You may do this as many times as you want to create a thicker scarf. Do this by grabbing the loose yarn, wrapping it around your finger and needling through it once. Then, pull one on your finger and then up and over the needle. Repeat casting on the stitches as much as you need to. Do this for each of the stitches, then when you are finished ti...
In this tutorial, we learn how to crochet a fringe on a scarf. Start be going to the end of your last row with your hook. Then, chain one and pull it tight. Next, decide how long you want your fringes to be and pull your thread that long. After this, cut it on the bottom and pull the loop out of the chain. Now, take your hook under the first stitch and fold three twelve inch strands in half. Then, hook these onto the crochet hook and catch the tail with the strands. Continue to crochet the fr...
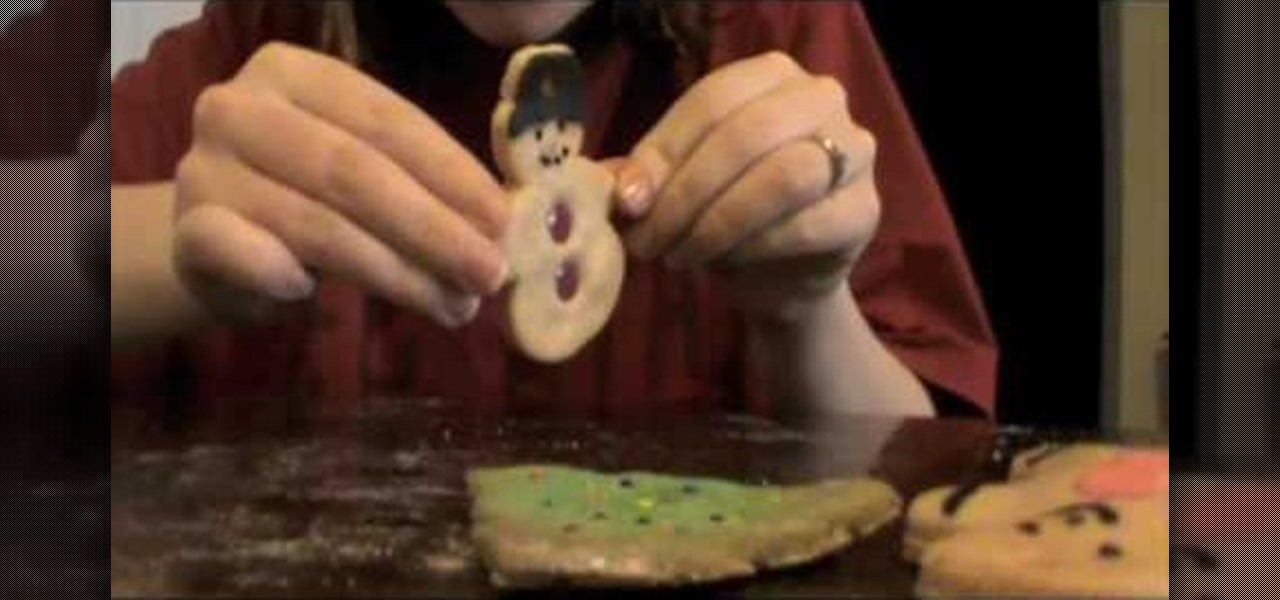
In this tutorial, we learn how to make models and ornaments with salt dough. First, grab a baking sheet and place aluminum foil over it. Now, grab some gloss sealer, salt, food coloring, flour, ribbon, glitter, cookie cutters, and buttons. To make the dough, combine flour with water and salt. Mix this together until you get a dough shape, then roll out and cut into shapes with cookie cutters. Cut a small hole in the top of it, then bake until golden brown in the oven. Tie a string in the hole...
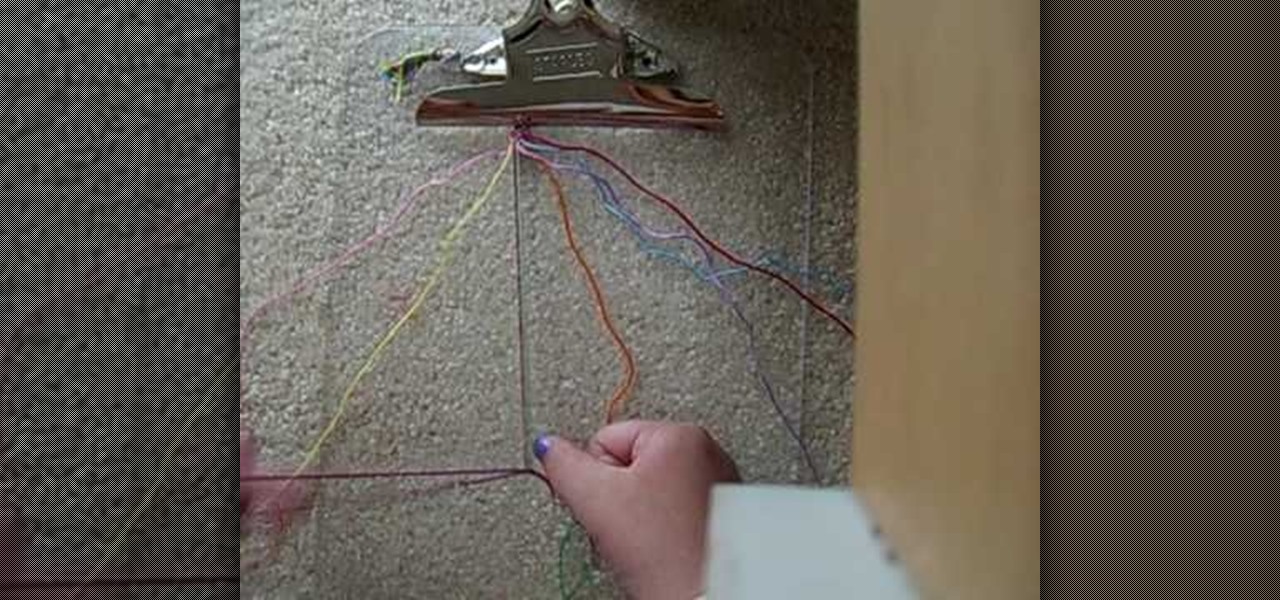
In this tutorial, we learn how to make friendship bracelets: the rag rug. First, grab eight different colors and arrange them all spaced out. Clip them to a clipboard at the top, then take your first strand and make a knot around your second strand twice. From here, you will take your third strand and tie it around your fourth strand. Continue to do this until you reach the rest of the colors that you have twice. Next, take the seventh and sixth strand and make a backwards knot. Then, do the ...
In this video, we learn how to make a tutu for Halloween. First, take your pink fabric and lay it out flat. Next, use your scissors to cut down a folded edge on the top of the fabric. Now you will have two pieces. Next you will roll the fabric down until you reach the end, then you will cut strips out of the fabric. Now, take your elastic piece and tie the strips of fabric onto it. You can use any colors you would like to make this. You can use pinks, oranges, blacks, whites, and any other co...
In this video, we learn how to easily make a tutu. First, you will need to gather all your materials, then cut the length of the ribbon or elastic you need. Then, grab your materials and cut out strips of it to place onto the elastic. After this, tie the tulle onto the elastic going from color to color as you continue. Once you reach the end of the skirt, you will have a cute tutu that is ready to wear. Making this yourself can save you a lot of money, and it can make several rather than just...
In this video, we learn how to make friendship bracelets: The Wrap. First, clip your strings to a clip board at the top. Then, separate them into three colors, two strings for each color. Then, wrap the other colors around one color until you reach the end, then push it up to the top and continue to do this. Once you reach down the top of the bracelet, switch the colors and start to wrap the other color doing the same process. Then, switch to the last color and continue to do this until you a...
We're all into modern hairstyles, but sometimes a retro 'do helps take us from blah to positively glamorous in just a few minutes, which, well, we don't mind. Check out this hairstyling video to learn how to create a rockability hairstyle inspired by pin ups and women of the 1950s.
In this tutorial, we learn how to crochet a round shell Catherine's Wheel left-handed. For the first round you will start by doing four single crochets after the slip stitch. After this, do seven double crochets, then a single crochet followed by seven more double crochets. Make two more chain stitches, then a single crochet and three double crochets. After this, start the next row which will be a chain stitch, then three double crochets. Next, you will do seven double crochets, followed by a...
In this tutorial, we learn how to make a beaded bookmark or "book thong". First, take a wire and add on a small horse shoe shaped bead. After you do this, use pliers to help bend the wire around this pin to keep it in place. Next, add on a peace sign pendant, then tie the wire around and push the wire into a cylinder bead. Continue to add on more beads to the wire until you reach the end. Use different types of bead to make it more unique and completely your own design. To finish, apply a cla...
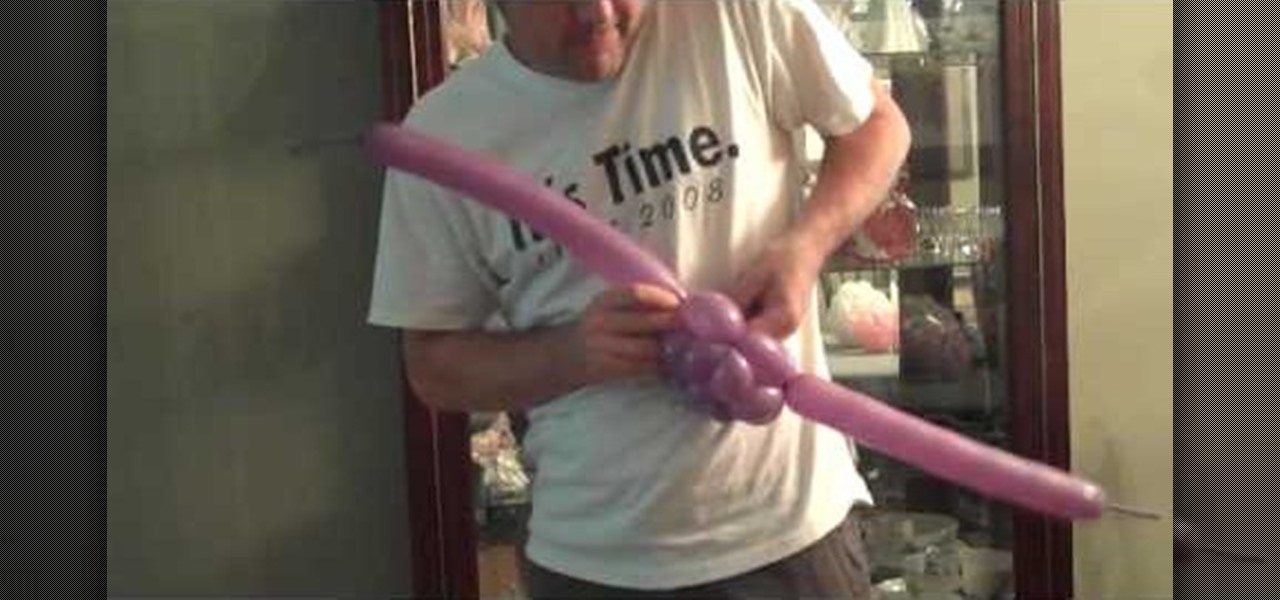
Balloons are not just a way to entertain kids. Watch this video to learn how to use balloons to mimic complex real life objects. In this video the presenter makes a four lead clouds using only balloons.
In this tutorial, we learn how to rig a counter weight trap. This is great as a fishing trap but can be rigged to be used as a tree trap. First, you will need to take a rock and wrap around it to create a counter weight. After this, bring the rope high over a branch, then down onto a lower branch. From here, wrap the rope around the trap and leave the rest of the string hanging. Now, the rock should be hanging high in the air and there should be a stick tied to the bottom of the rope to keep ...
In this tutorial, we learn how to make an elastic Bali bead & crystal ring. First, you need to get all of your supplies together, which include: elastic cord, crystals, glue, beads, and scissors. Start by cutting a 6 inch piece of the elastic cord, then string a bead to the middle of it. Then take a crystal and string it onto one side along with another bead and a silver bead. After this, place more beads around the other side of the middle bead then put it around your finger to see if it's t...
In this video, we learn how to perform a cable cast-on. Start this with a slip knot, then grab your working yarn and create your first stitch. After this, go between the two stitches with your other needle, then tighten the last stitch that you just made. Now, go in between the last two stitches and tighten up the yarn again. Continue to do this by making different stitches and as you go down you will have a cable cast-on. As you finish, you will have a longer and longer row, so tie off when ...
In this video, we learn how to make a beaded 7 petal faerie flower pendant. First, string 14 beads on an 18 inch piece of string. Next, create a circle in the beads, then tie it off. After this, add three blue beads to your first pico stitch, then go through two more beads after this. Continue to do this all the way around the bracelet until you reach the other side. After this, go through the first pico stitch and add one red bead, followed by blue and red beads to make petals. Continue this...
We've always had the impression that the only women who wear pearls are those who also own McMansions and tie cable knit sweaters around their shoulders at yacht club soirees. But now that we've seen this jewelry craft - a pair of chunky blue green glass pearl earrings - we're taking a second glance at these pearl things.
If you're anything like us, then you try to take the easiest route possible when styling your hair in the morning before work. You know: Wake up, brush your teeth, and then wearily comb through your hair a few times with your eyes closed.
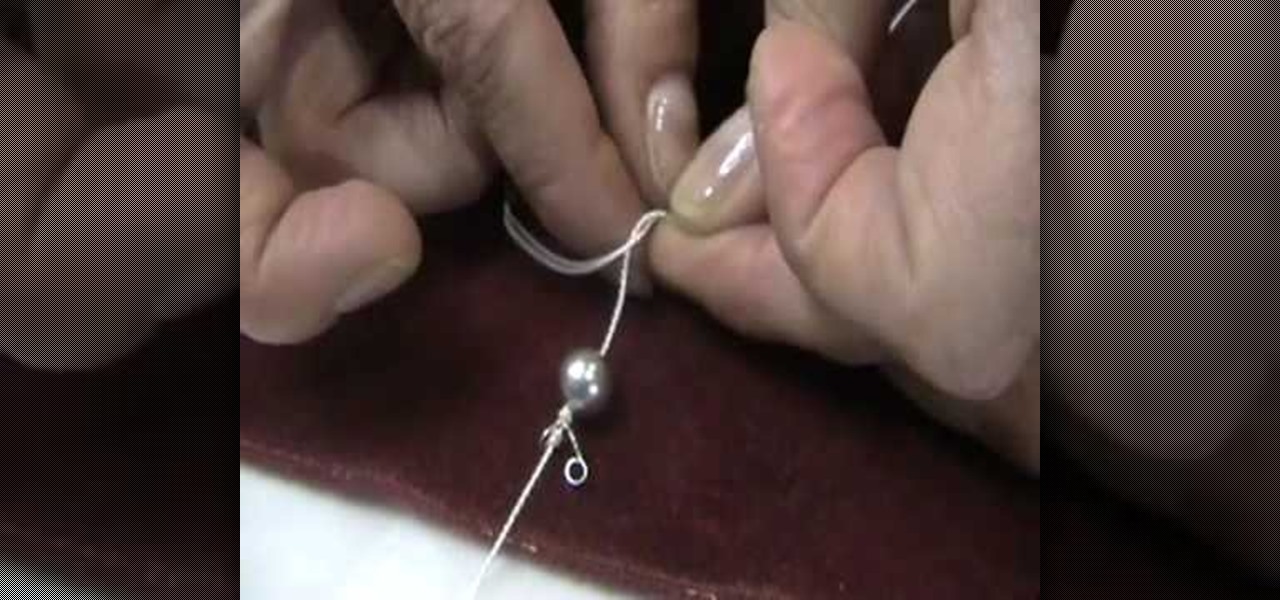
This video tutorial is in the Arts & Crafts category where you will learn how to knot pearl beads from Brenda. Pearl knotting is making a simple knot between each pearl on a strand. They not only give a professional look, they also keep the pearls in place and prevent them from rubbing against each other. After you have strung the clamp to the end of the string, tie a double over head knot and string your first pearl. Make a simple knot on the string behind the pearl. Grab the string with a t...
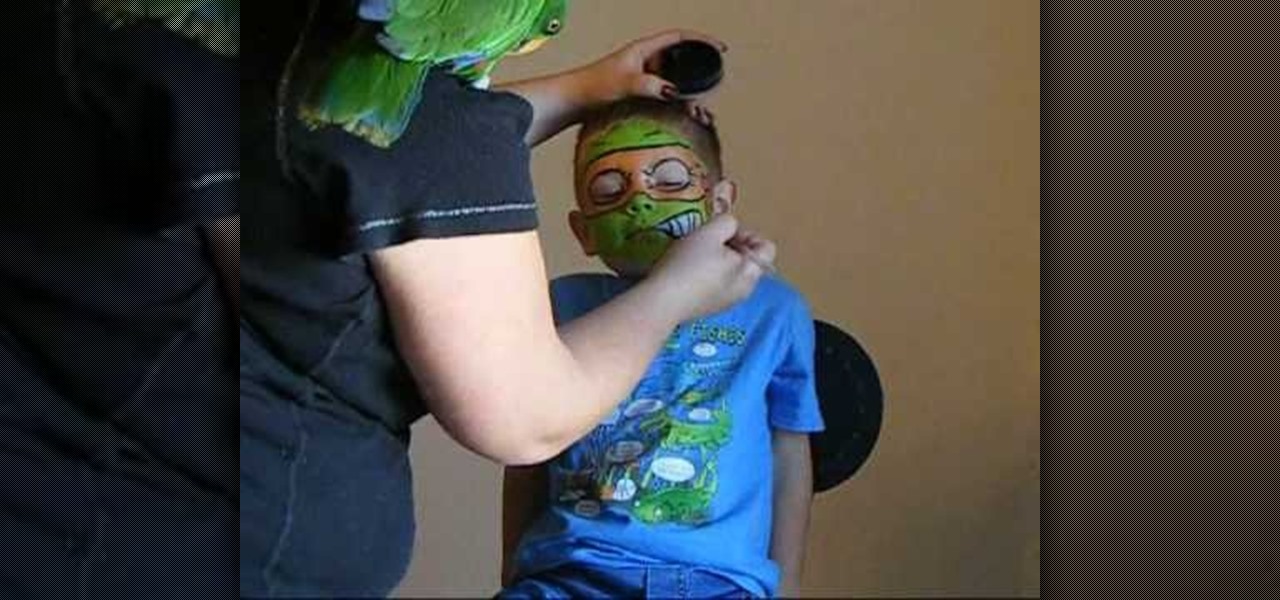
We are painting the ninja turtle-Michelangelo. Use orange metallic to cover over face. Put orange metallic around the eyes and ears. Use green metallic on forehead and across the nose, chin, mouth and cheeks. Use white close to the mouth for smile and teeth. Take black paint and give a bandit face. Outline the eyes, forehead. Place wrinkles around the eyes and make knots on the side of the face to make it look like a tie. Make the ninja turtle mouth smile.
In this tutorial, we learn how to make mozzarella cheese. First, add sea salt to water, then add in cheese curd. Now you will need to work the cheese with gloves over your hands. Start to knead your cheese until you form it in ball shapes and it feels like it's elastic. After you do this, rub the cheese and get any bumps out that are still inside of it.To store this, stretch it onto a piece of plastic wrap, then tie a string around in small balls to cut out smaller pieces of the cheese. When ...