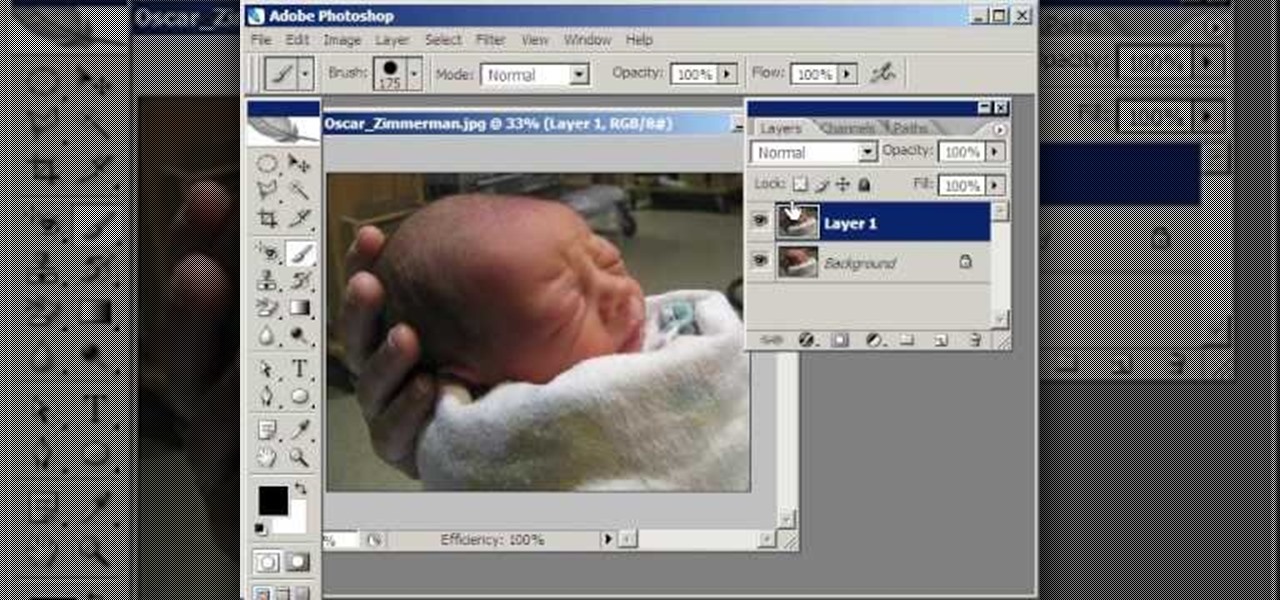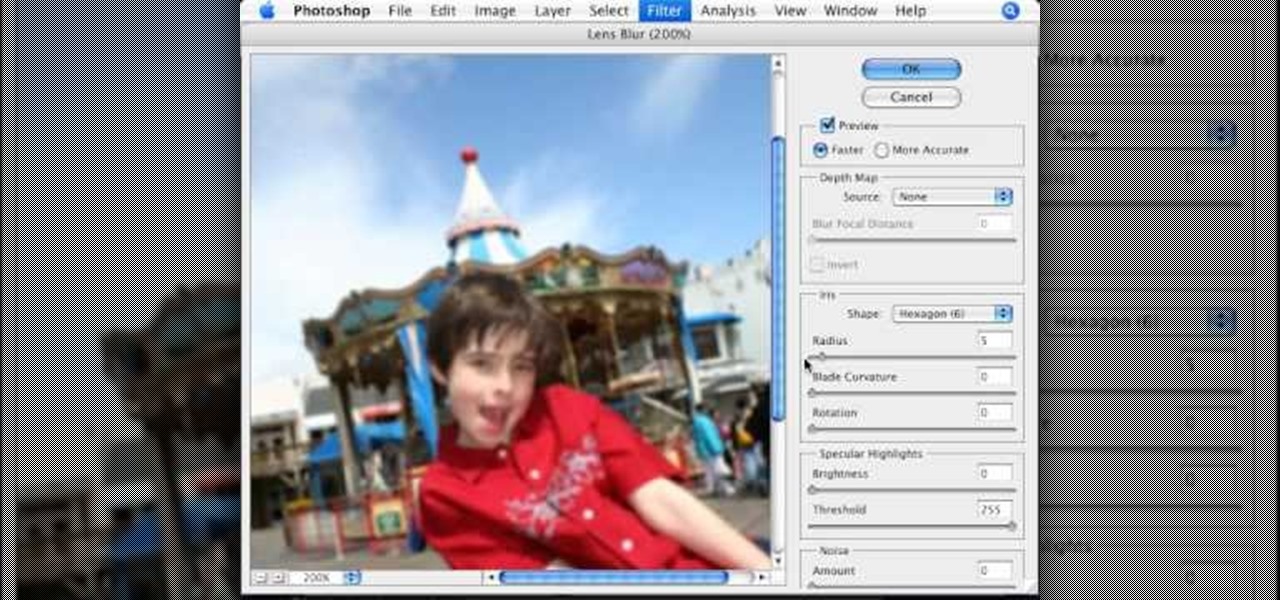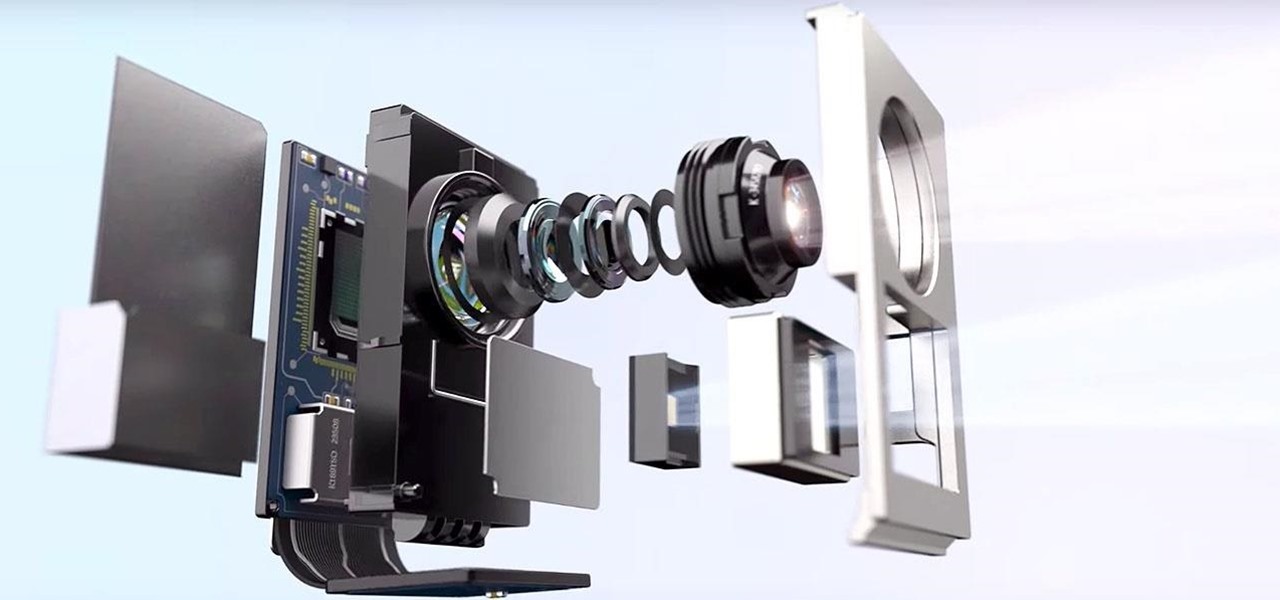
Want to blow out everything behind a foreground object but don't have $500 to drop on used DSLR camera? Then the filter trick outlined in this 17-minute Photoshop CS4 tutorial is for you. Using lens blur, one can create convincing depth of field reminiscent of a view camera or a wide-aperture lens. This technique is complex and requires some real observation and thought, but can produce beautiful results.
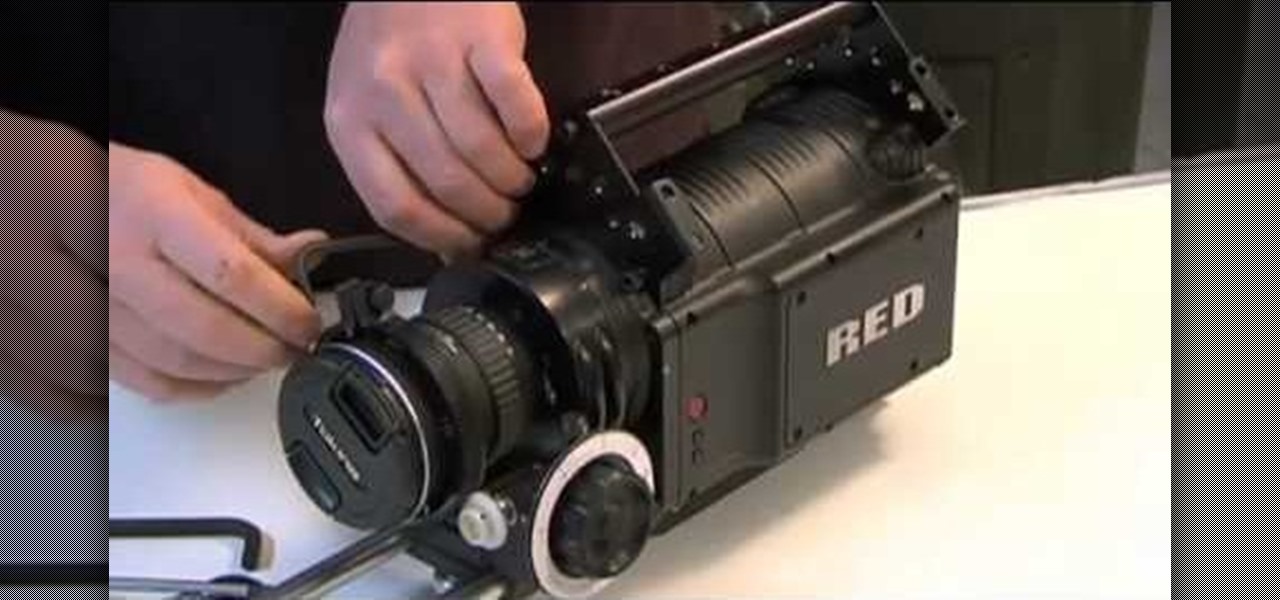
Here's a new handle system for the RED ONE Camera. Allows multiple mounting points as well as an isolation plate for RED DRIVES. It's extremely robust, versatile, and inexpensive.
This motorcycle modification tutorial shows you how to install a doohickey (bouncer level tensioner) upgrade on a Kawasaki KLR650 motorcycle. Watch and see how to do each step of this KLR650 bouncer level tensioner upgrade and if you get lost, the creator site has written instructions to follow as well.
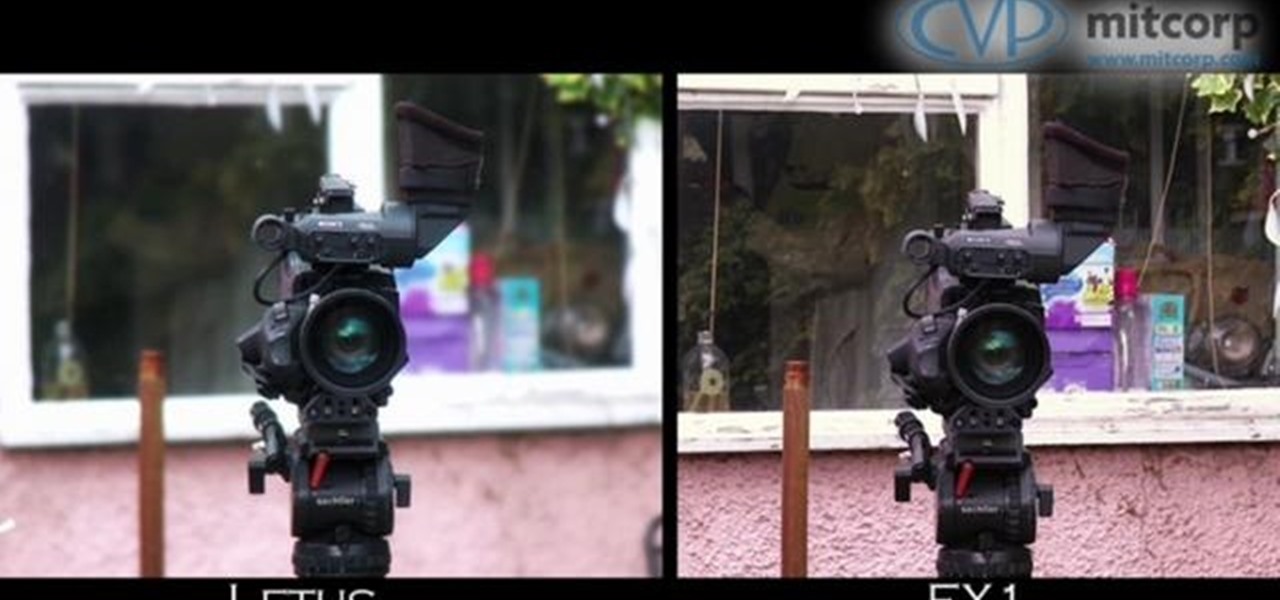
See how to use the depth of field adapter, the Letus Extreme, for your digital camcorders. Also see 35mm adapters for your digital cameras. Great for that professional look you need in your film.

Apple's ARKit has built a considerable lead in terms of features over Google's ARCore, but Google's latest update to ARCore adds a capability that makes the platform a bit more competitive with ARKit.
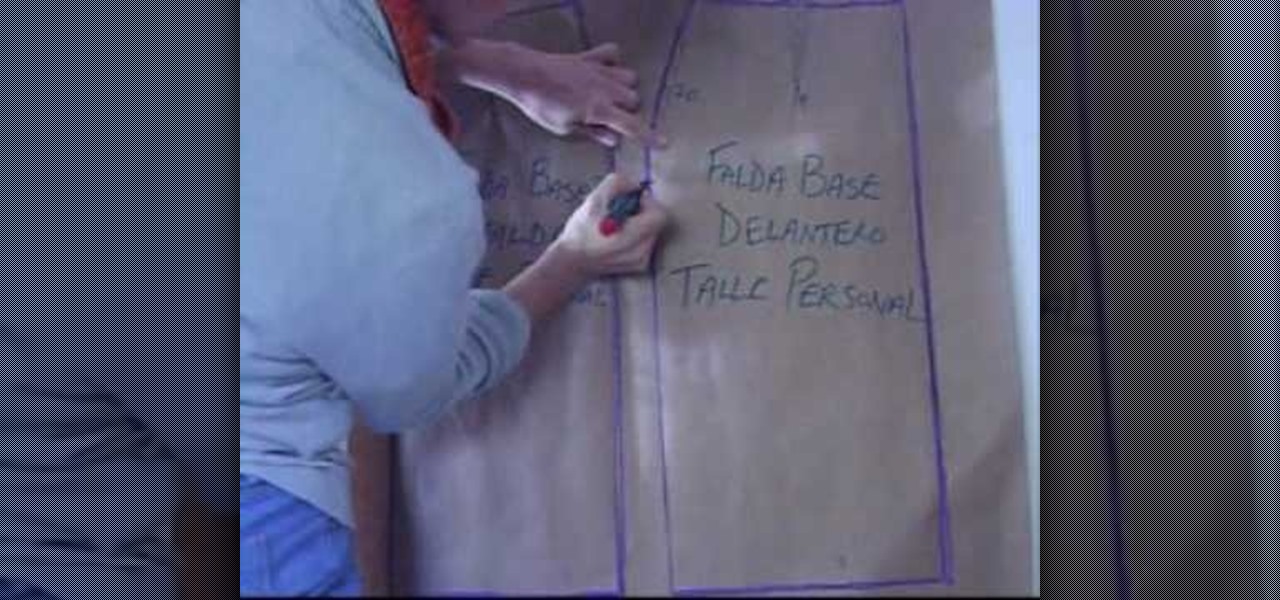
This tutorial starts off by showing you how to sew a basic skirt by using just your measurements - no pattern needed. Then, once you've mastered that, turn your basic skirt into a classy pencil skirt with just a few modifications.

Make every Christmas a personalized one. This tutorial shows you how to start with some basic clear glass ball ornaments, and then add a few different modifications, decorations and crafts to turn them into your own personal Christmas tree ornaments.

You can make an inexpensive and effective microphone boom pole just by using a extensible paint roller handle. Add a few modifications (all you'll need is a few pieces of basic hardware), and you will have your own DiY microphone boom.

Start with a Targus Monopod, and then follow along with this tutorial to create a BodyPod - a body harness that will let you 'wear' your camera. This modification costs less than fifteen dollars, and lets you cut down on the gear you'll need when filming.

While safety belt warnings are there for a reason, the constant sound of "ping, ping, ping" can get pretty annoying. If you'd rather not deal with the constant reminders, check out this video to learn how to disable the warnings on your 2010 Chrysler Town & Country. Be warned - this modification may be illegal in your state, so proceed with caution.

In this video from clickherephotography we learn how to take great photos by using depth of field. In a picture of a bird he used an aperture of about 5.6 which increased the shutter speed on a 300mm Canon lens. With depth of field you can blow your background out. If you used a higher aperture, a lot more of the bird would have been in focus and a bit of the background would have been in focus. By using an F-stop and this aperture, you really bring the bird or whatever object is in the foreg...

If you just happen to own a Yamaha PortaSound PSS-80 keyboard (1989), why not try something a little out of the ordinary— like circuit bending? Circuit bending can help you create a new musical sound via your keyboard, and this video tutorial will show you 10 different ways to circuit bend.

Isn't it weird that only 30 years ago hoodies were not very popular? Since then the hoodless sweatshirt has all but disappeared, and most people have more hoodies than they know what to do with. Watch this video to learn how to turn one into a cute laptop bag with no sewing or modification of the sweatshirt required!

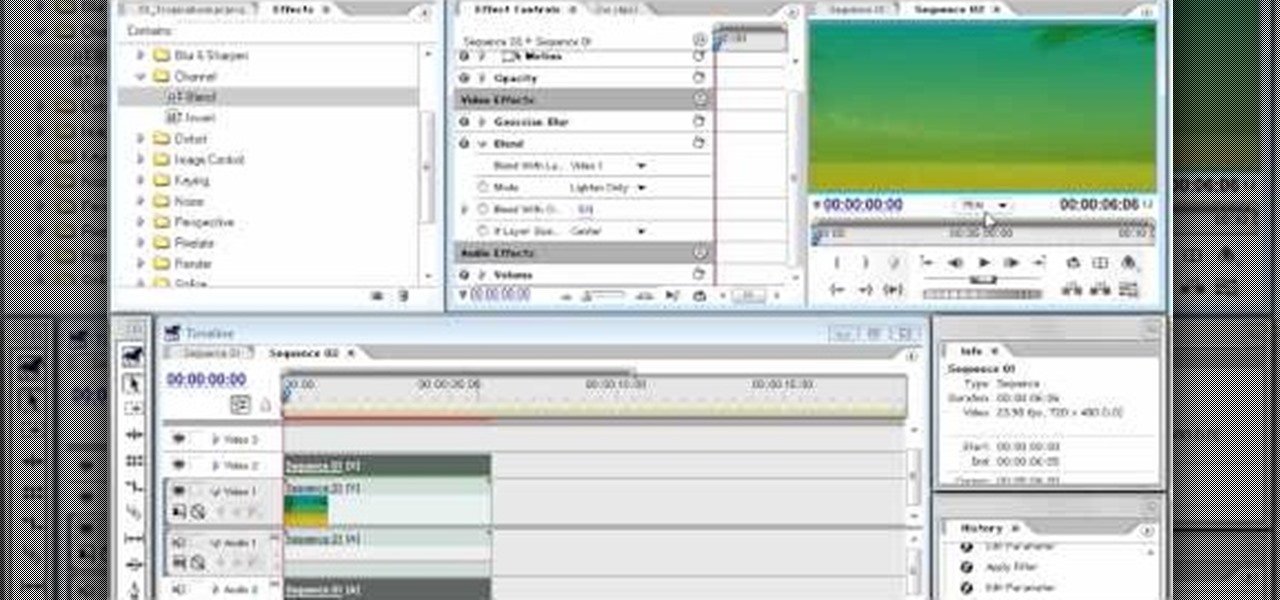
You might think that an idyllic shot like the one of the Bahamas in the thumbnail for this video doesn't need any modification to make it look tropical. You would be wrong! This video will teach you how to use Adobe Premiere Pro to give a tropical photo a more tropical look by adjusting the colors, the brightness and contrast.

The great thing about photography is that you're able to capture a moment that will be frozen in time forever. There are many different techniques that can be applied to capture specific moments in time, you just need to know which one works best for you. This tutorial describes the depth of field in photography and how to take advantage of it. Enjoy!

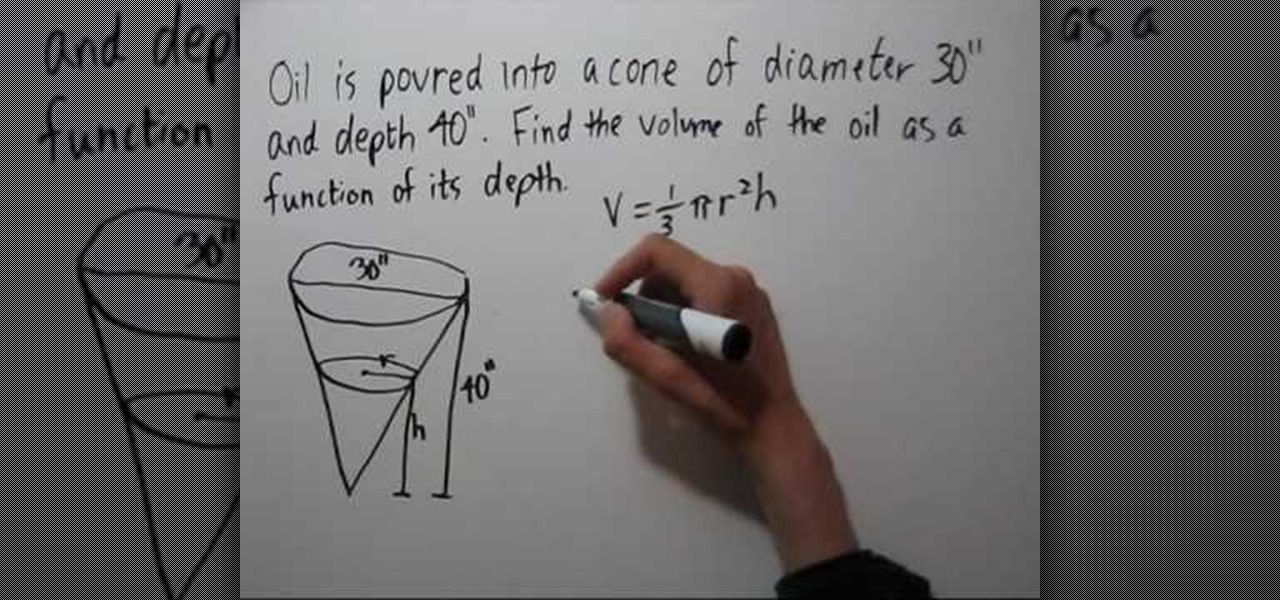
This is a very interesting instructional video on how to fill a cone. Pour oil into a cone of diameter 30 inches and depth 40 inches. Now find the volume of the oil as a function of its depth. Volume = 1 over 3 phi rsquare h. We don't know the height and depth of the oil poured into the cube. Draw similar right angled triangles. In one right angled triangle the height is 40 inches and in the other triangle it is h. Similarly the height is 40 inches and h respectively. Now rover h =15 over 40....

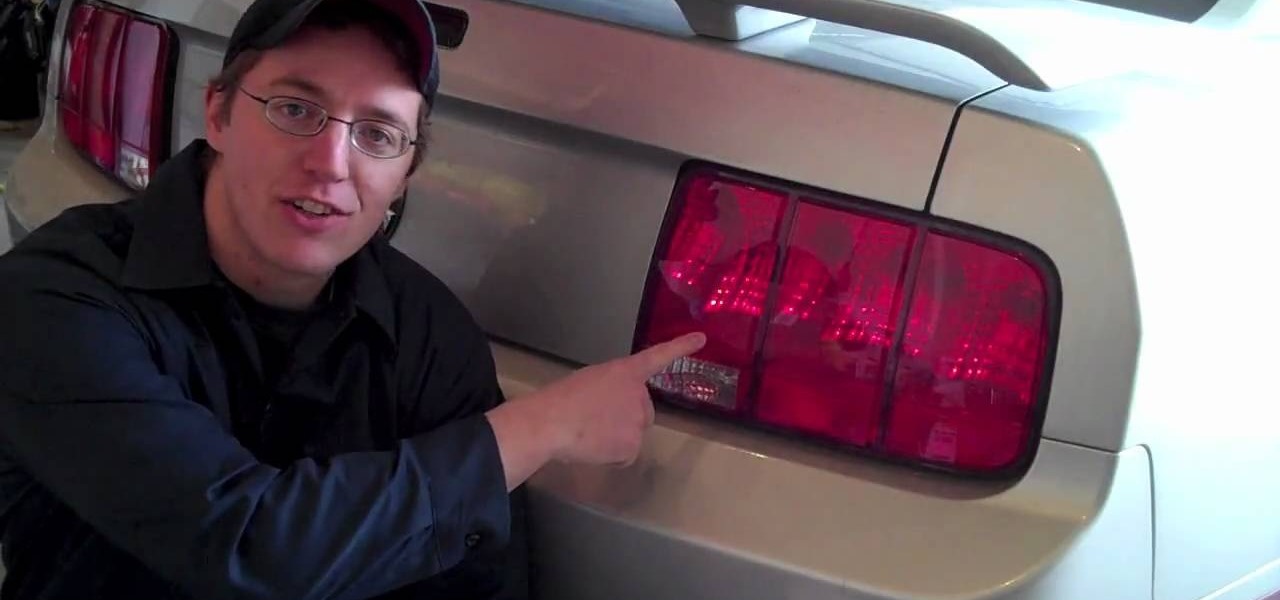
Customize your Ford Mustang. Impress the best with these simple modification from US Muscle Mods. If you're looking for a new feel for your Mustang, then Mustang lighting will give you that different feel.

If you're bored at school, this trick will be sure to amaze your friends and give you something to do. With only a few slight modifications to the pen, you can give the illusion that you are making a penny appear out of nowhere.

Want to take flash photos with your Diana+, but don't want to drop $100 on a DianaF+? Here's how you take flash photos with your standard Diana+. You can use a simple two battery flash unit and flash bracket to hold the flash to the camera. Note well: There's a trick to making this camera modification work, so pay attention to this instructional photography video.

This video tutorial offers a demonstration of how to install a Mojo pre-wired guitar assembly on a Gibson SG guitar. The installation will show how easy the Mojo assemblies drop in without modification.

Here's an instructional DIY video on how to extend your I/Os using 74HC595 chip and CUBLOC CB280. The input/output of a computer's memory can be enhanced with a modification using a microprocessing board and a mini-board. Watch this video computer-circuitry tutorial and learn how to extend I/O on a computer using a 74HC595 mini-board and a CUBLOC CB280.

This motorcycle customization tutorial shows you how to modify the rear mud guard in the wheel well of a Kawasaki KLR 650. This is for riders who have installed an aftermarket exhaust that is rubbing on the wheel well. If you have the stock exhaust, you shouldn't need to do this modification, but if you have rubbing issues, watch the video and learn to modify the rear wheel well of your KLR650.

This is an instructional video on how to remove the fairings from my Ninja 650R. The fairings are essentially the Ninja motorcycle's plastic body. Removing these can allow you to put a custom body on, or make modifications under the fairings. Pretty soon, your Ninja 650R will be the best motorcycle around!

A brief explanation for newcomers to the art of photography to help them understand depth of field, an important aspect of the craft.

Many repairs and modifications require you to work under your car. If you are fortunate enough to have a lift skip this video! For the rest of us, we need to make sure we raise our cars safely—this video gives an overview of steps applicable to most cars.

Mark and Andrew demonstrate how to crunch the depth of field to achieve two camera tricks. By crunching the field of view it makes the action closer than it really is. Often used when filming fight scenes or being "hit by a car" scene.

Use the lens blur filter in Photoshop to create depth of field in an image, which is a technique used in photography to focus attention on a particular subject

In this tutorial you are going to learn how to create the illusion of depth that is necessary for 3D text. This would be useful for creating a 3D sign like something you'd see above a building.

Israel Hyman is a weekend videographer headquartered in Mesa, Arizona. In this video, he demonstrates how to use “Depth of Field” to make your digital video look better. Yes, learn how to achieve "dreamy" and film-like quality on your video!

Whenever you would use "Portrait Mode" in iOS 10 on your iPhone 7 Plus, the camera would save both a regular and depth effect version. If you were low on space, you could always opt to save the depth effect version only, but this setting is now gone in iOS 11. While at first it seems like only the depth effect version is saved now, the normal version is still there, whether you like it or not — it's just hiding.

DSP Manager, Dolby Atmos, ViPER4Android — how are you supposed to pick just one from the wide variety of Android equalizers? Depending on your OEM, your phone may have come with a stock equalizer, but they're usually not enough. Combine them with a third-party equalizer, and then we're getting somewhere. However, installing multiple equalizers at the same time has always seemed to cause audio glitches — until now.

Toilets are one of the greatest boons to public health of all time, but they do use a ton of water when they flush. If the old adage "If it's yellow, stay mellow. If it's brown, flush it down," disgusts you, but you still want to find a more green way to flush, then watch this video. I will show you how to modify your toilet at home, making it use less water without sacrificing flushing efficiency. Don't waste money on a low-flow toilet or destroy the planet. Watch this video.

In this tutorial, learn how to do the popular Zippo trick, "The Twilight Zone". Basically, you will need to make a simple modification to your wick so that your flame looks extra spooky. With this effect, you will be able to "light" and "put out" your flame using only your fingers. You will appear to be taking the flame away and then putting it back. This illusion is very fun, so have a look and give it a try.

Normally, when standing outside your local regional airport, you'd need a special radio or scanner to pick up the transmissions coming from that Air Traffic Control tower. Well, not anymore.

Straightforward ab work with modifications for beginners and experts are shown in this pilates how-to video. Practice doing single leg lifts and changes with this pilates core workout. These pilates single leg lifts are sure to help tone and strengthen your abdominals in now time.

This tutorial shows you how to add a depth of field effect to footage in Sony Vegas. This focus effect example is of a train.

Want to add a little variation to the plank position? When you are ready to take it up a notch, lift a leg. Watch this video first, to see what it looks like.

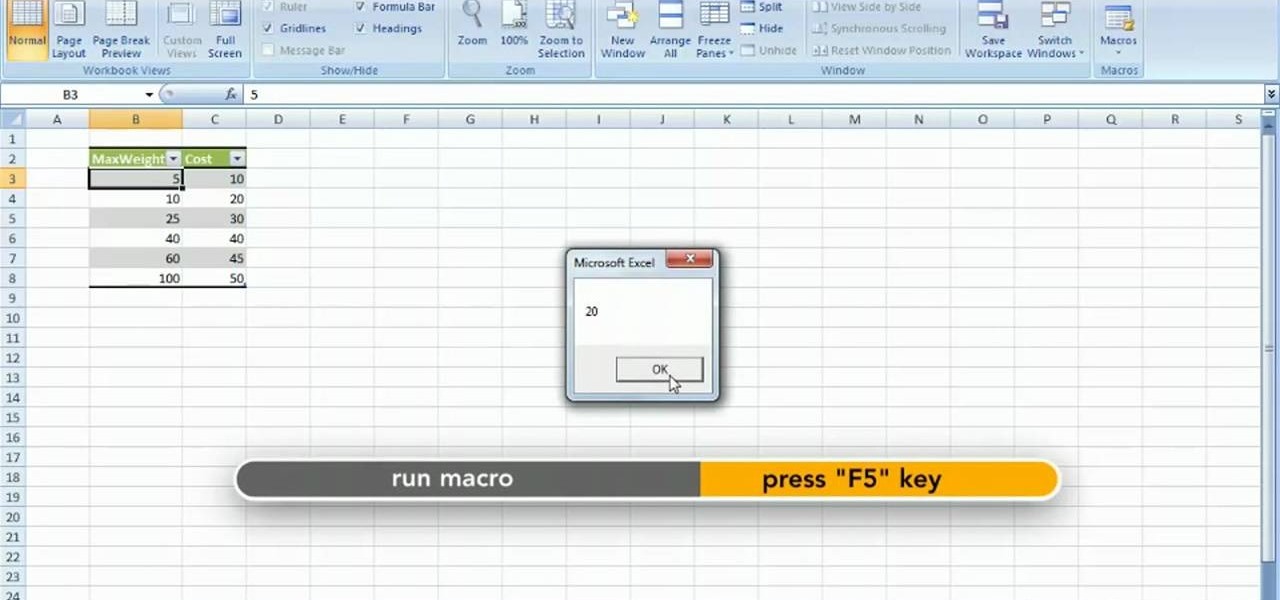
Repeating a task using a For...Next loop : Excel: VBA in Depth from lynda.com Watch the entire course at http://www.lynda.com/home/DisplayCourse.aspx?lpk2=62906&utm_source=youtube&utm_medium=viral&utm_content=youtube&utm_campaign=youtube

This video tutorial, by photoshopuniverse, shows you how to reduce the depth of field after a photo is taken using Photoshop. This enables you to ensure that your main subject is clearly in focus while the background is out of focus or blurry. First duplicate the layer using the short cut that was mentioned and apply the filter lens blur to the new layer and adjust the radius so that an adequate amount of blurring is achieved. Add a layer mask and bring the subject to focus by selecting the b...

The mobile augmented reality war for dominance between Apple and its Asia-based rivals is in full effect.


