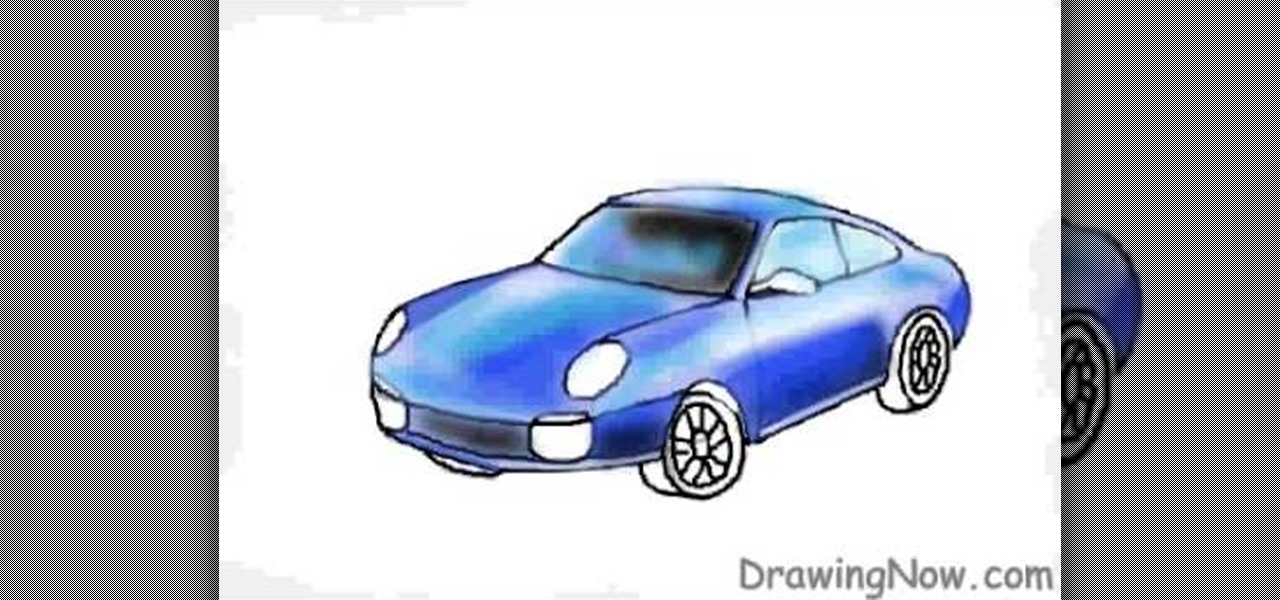
In this video, we learn how to draw a Porsche sports car. Start off by drawing an oval type of shape with lines to make the top of the car. Then, draw in the rest of the outline of the car and add on the wheels and the front of the vehicle as well. From here, you will start to add on the details to the front and sides of the car, as well as on the bottom. Use crosshatching and shading to make it appear realistic. Once the details are on this, use color to add a more in depth look to the car. ...

In this tutorial, we learn how to insulate your attic with Eric Johnston. To figure out if you have enough insulation, you need to measure the depth of the insulation that you have. Generally, you should have around 22" of insulation in attics. The highest percentage of energy loss is through the attic, even if it's a new home. You can use a blown in insulation system that is easy to install and will not cause a huge mess. With this, you will be able to have your home be much warmed and you w...
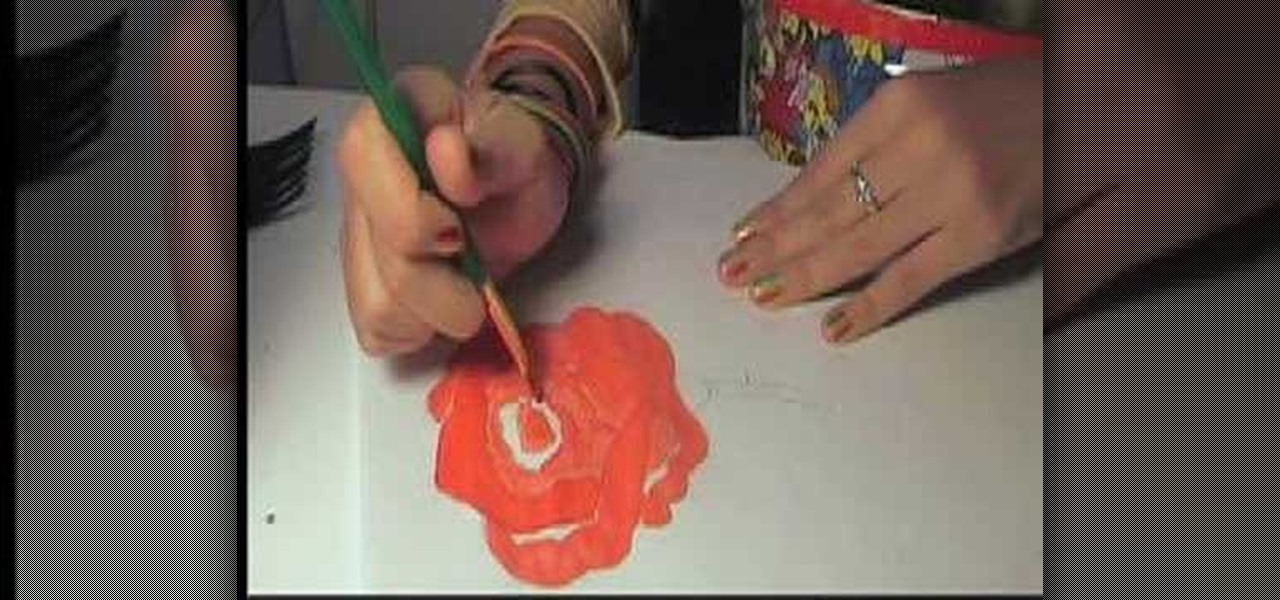
In this tutorial, we learn how to paint a red rose. First, you will add some red paint to your brush and paint along lines of a rose outline. Use an angled brush so you can get a better accuracy while you are painting. After this, continue to paint around the petals until you reach the entire area of the rose. Then, paint the inside of the rose. You will then mix the red together with darker colors and whites to add depth to the flower on the paper. Once finished, you will have a gorgeous red...
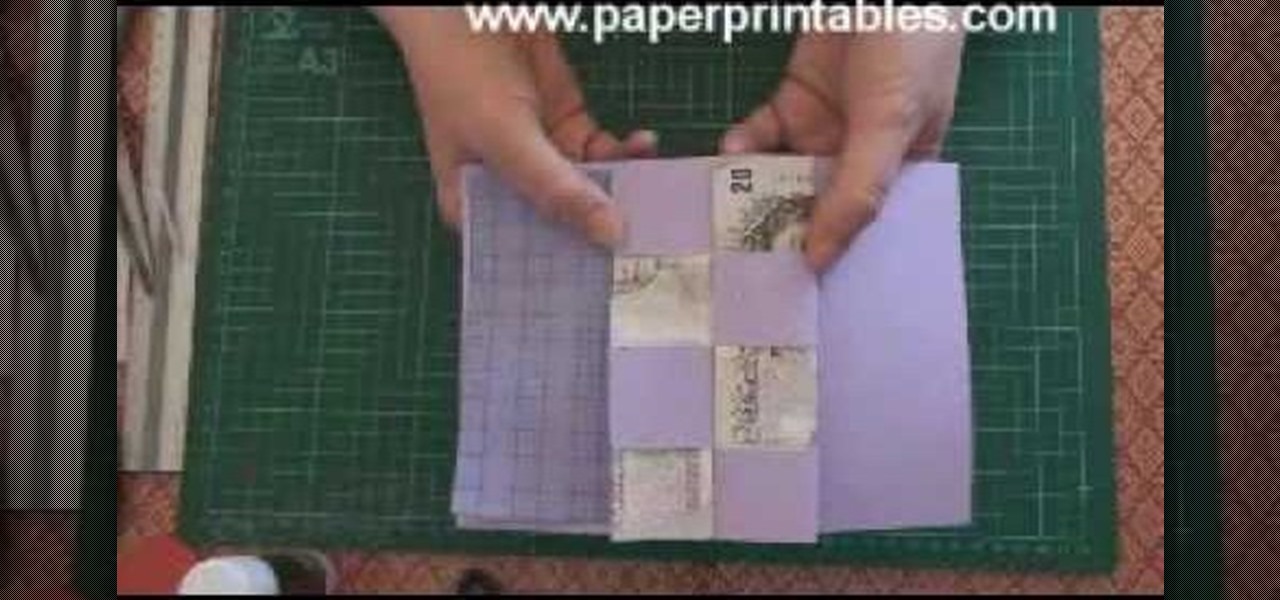
In this video, we learn how to make a pop-up concertina money card. To start, you will first need to take a piece of paper and measure your money on the inside of the paper. Then, cut this out in a strip and cold your money in half lengthwise. After this, measure the depth out from the center using a ruler. Then, fold the paper in half and on the sides where you marked. Then, you will cut three holes in the middle of the paper and these will hold the money in. Stick the bill in the middle of ...

In this tutorial, we learn how to draw Danzo. To start, you will draw the outline with the light touch of the pencil. After this, draw in the final outline darker and then erase the background lines. Next, you will add in the details around the character and then add in lines to show creases and make it look more realistic. From here, you will add in shading to make the drawing have some more depth. After this, you will finish up by cleaning any stray lines with an eraser. You can also use th...
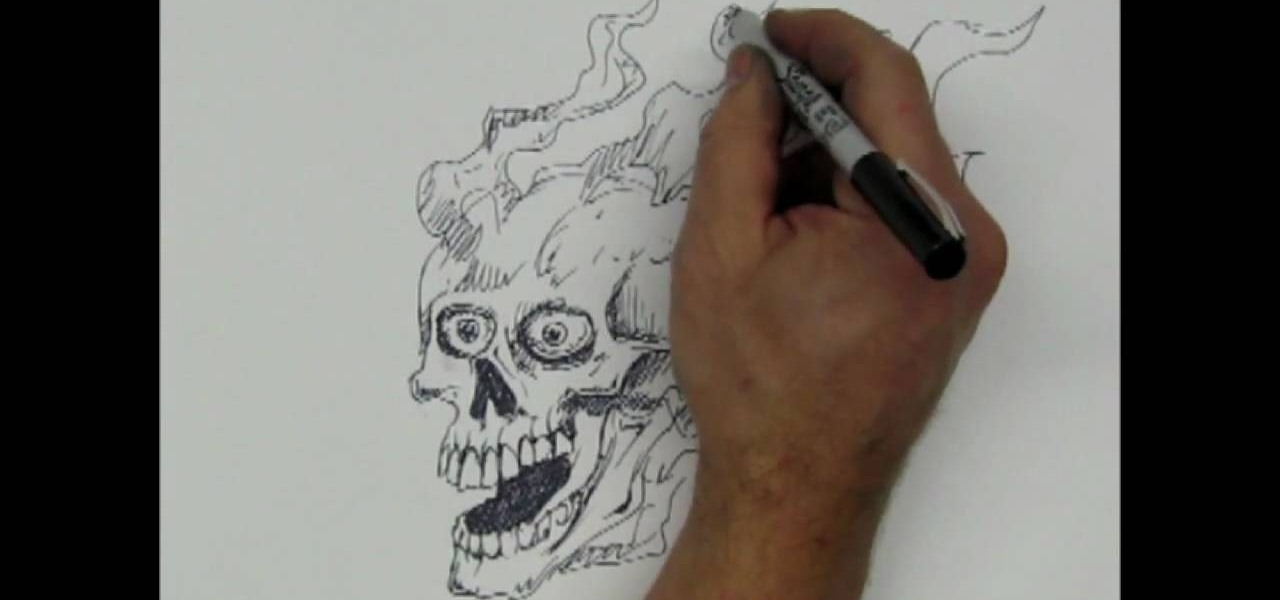
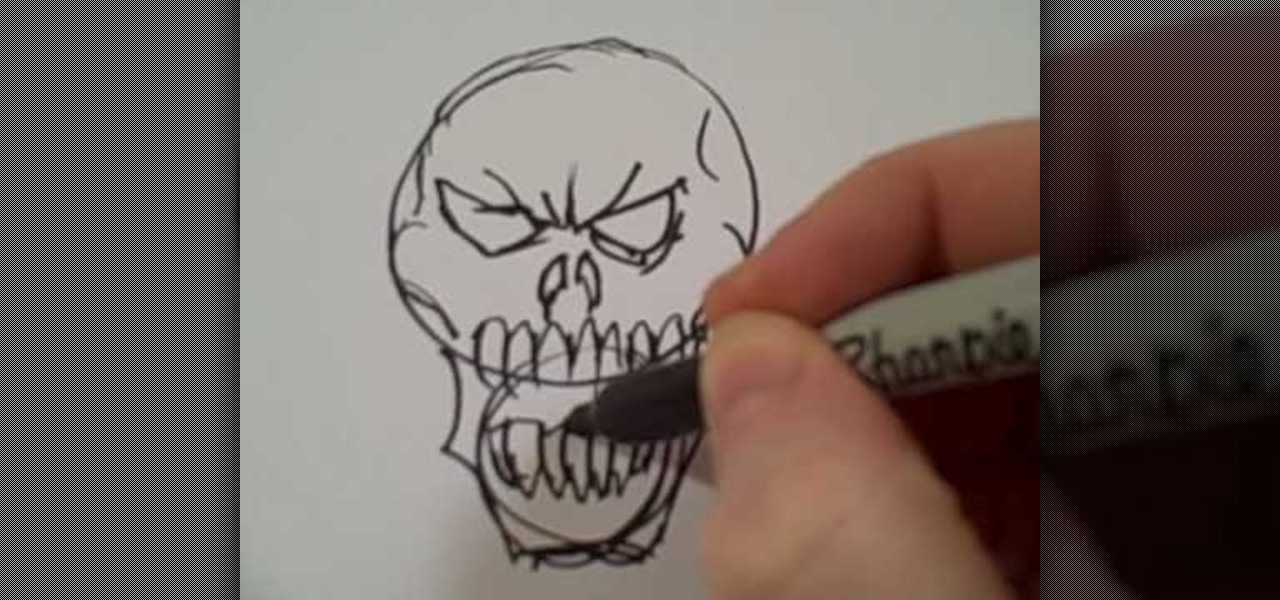
In this tutorial, we learn how to draw a skull with a Sharpie. First you will draw the eyes, make sure to draw lots of little lines around them then cross them to create depth. From here, draw the outline to the head and then the nose and the teeth. Make sure to add lines in around the head to show cracking and marks around the head. Use shading to create darker lines along the head and then add in additional details. Make this unique to you, it doesn't have to look one certain way. When fini...

In this tutorial, we learn how to create a nice drawing composition. First, use your pencil to sketch a light outline of the still life objects that you're drawing. After this, you will add in lines on the side of them for their shadows, then shade the area in between the lines in. Next, you will darken up the sides of the shapes to make them appear more in-depth and make them look more real. Use your pencil to blur the pencil markings and make everything look more realistic. When finished, y...

In this video we learn how to entice more opportunities with feng shui at home. First, find your focus room with an energy map to find the career area. This room is from the front door walking in. Use water, because this is the element for positive career changes. Put a painting of depth that makes you feel like the wall is not right in front of you. Also, add a table with rounded corners and musical instruments or something that you need for your career. This will ensure that you walk into a...

In this tutorial, we learn how to draw skulls the easy way. First, draw a round circle on the page followed by a smaller one connected at the bottom. From here, draw in two sideways triangles on the middle of the large circle. Then, draw in lines on the face and create the section of the nose. After this, draw in large teeth on the skull and then connect lines around the circles to make the jaw line. After this, draw on lines around the skull to make it look like it has depth. Then, shade in ...

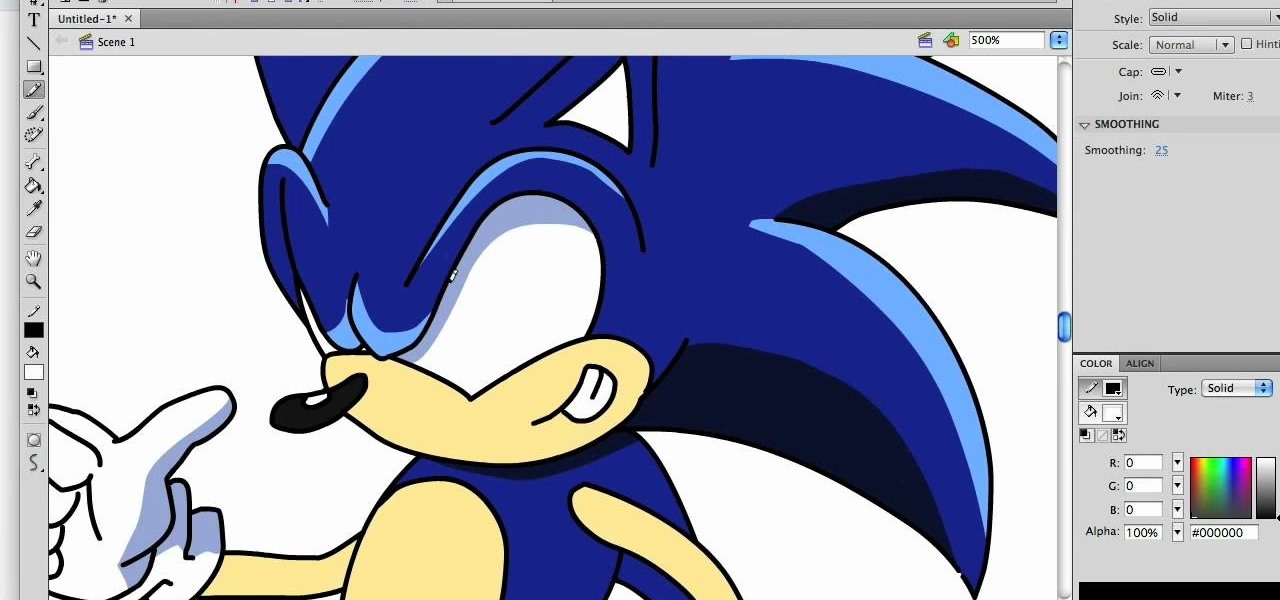
In this tutorial, we learn how to draw a hyper-stylized Sonic the Hedgehog. To start, you will draw the outline of the entire body of Sonic. Make sure you draw in the huge spikes for the hair as well. Next, you will draw in the eyes, muzzle, and nose on the face. Then, you will draw in the stomach area, the feet, and the hands. After this, clean up any background lines and color the character in completely. Next, shade in darker colors on the sides of the body to give Sonic more depth and mak...

In this tutorial, we learn how to draw the 8-Tails Jinchuuriki, Killerbee. Start out by drawing the outline of the character. You want to make sure you draw reference lines on the head so you know where to place the eyes, nose, and lips. Next, you will start to draw in lines to show wrinkles on the face and then the headband on the top of the head. After this, add some shading into the face to add some depth. From here, you will draw in the hair and the band around the head, giving it more de...

In this tutorial, we learn how to draw curvy steps using pencil. To start, you will draw a thin horizontal line with a small point on it. After this, you will draw lines out from this, using a ruler to keep them straight. From here, draw your steps on the bottom of the page using the lines to keep them proportioned and in place. Draw them in a triangle wedge shape and then color them in. Shade the bottom and the sides to give them depth and dimension. After this, draw in the area around the s...

In this video, we learn how to draw Sonic the Hedgehog in his soap shoes. First, draw his muzzle and nose. After this, draw in angry teeth in the mouth and then draw in the eyes and the ears. From here, you will draw in the rest of the spiky hair around the head. After this, draw on the arms and legs, as well as the feet and shoes. The shoes should be larger than the entire body and have lots of details on them. When finished, add in shading around Sonic with the side of the pencil to give hi...

In this tutorial, we learn how to draw a human skull. To start, you will use your pencil to draw a light outline of the skull on your paper. After this, you will start to add in more shading and lines throughout the face to make it look like it has depth and contours. From here, you will draw in the teeth and then create the nose and the pits for the eyes. After this, you will start to shade in the sides of the skull darker and then add in any additional details like small cracks on the face....

We have nothing against posh, elegant romantic curls or modern pin-straight hair, but don't you ever miss the days when you were just a kid experimenting with her mom's drawer of hair goodies? Creating crazy styles was so fun and the results were always unpredictable.

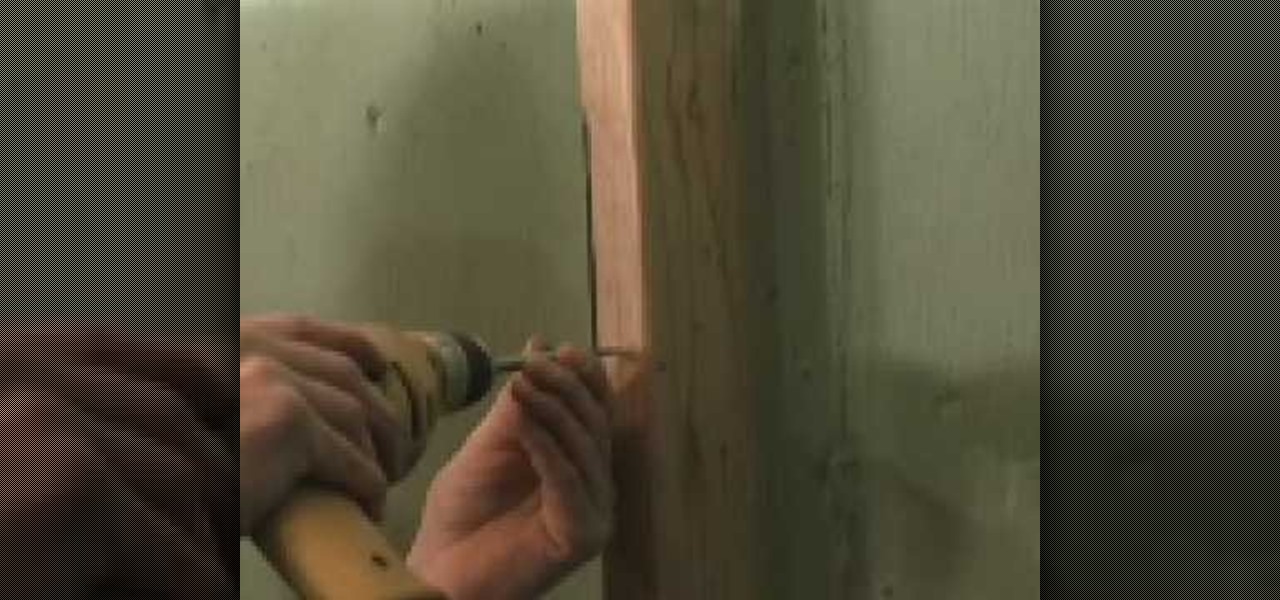
This is a video tutorial in the Home & Garden category where you are going to learn how to deal with a hollow door when installing bath fixtures. Bob Schmidt shows you how to do this while installing bath accessories such as robe hooks, towel bars or towel rings. The product that you need to do this is called easy anchor. It is a metal anchor specifically designed for the right depth for a hollow core door. Take the anchor and drill it down the door until it is fairly close to going in fully....

In this video we learn how to remove door material to install a mortise lock. If you live in an older home where you have to take out a chunk of the door to change the lock, there are ways to prevent doing this. First take a spade bit and slide it over the lock. After this, take the mortise lock and hold it so it's flush with the door. Go below the hole and above the closest obstruction and put a mark. On the back measure slightly beyond what it would take for this to bottom out. Once you hav...

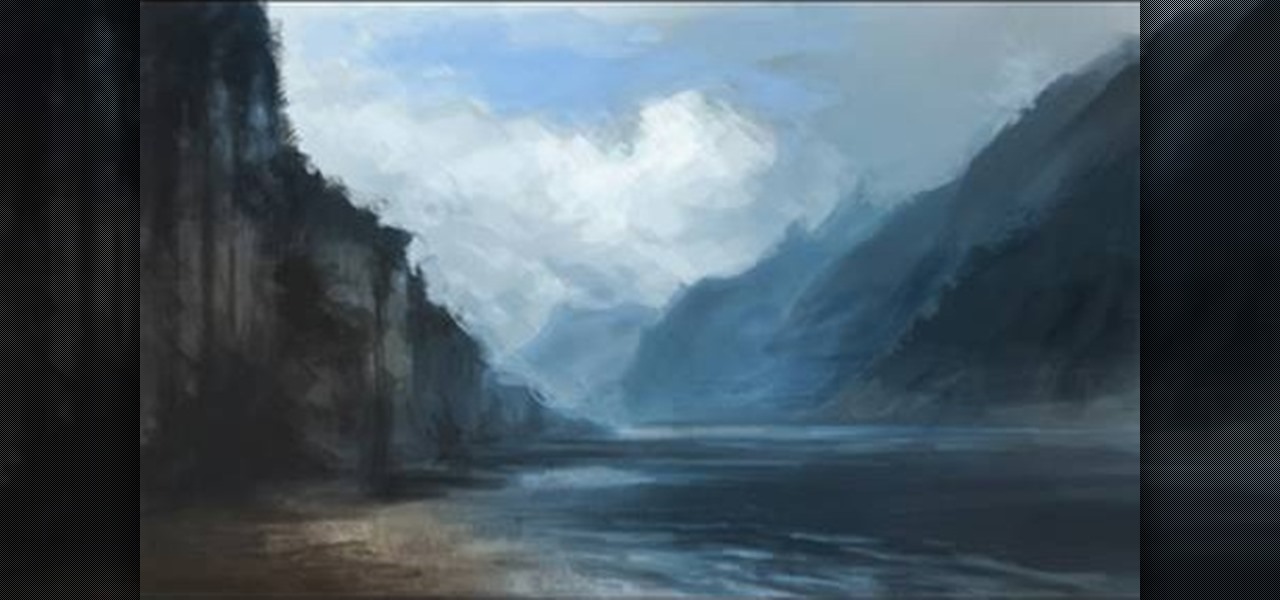
Want to draw a quick scene in Photoshop that contains mountains, clouds and water. Just watch this video.

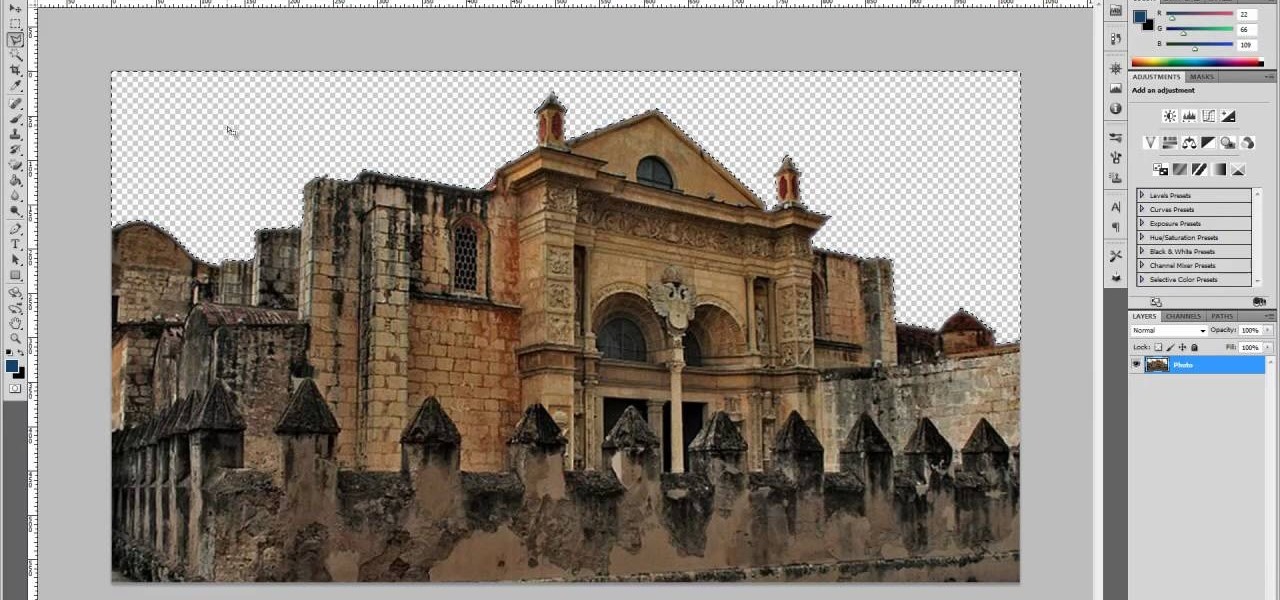
This four-part Adobe After Effects tutorial from Laurence Grayson shows how to take an ordinary photograph of a building (in this case, a cathedral) and turn it into a spooky looking house from hell. The majority of the work done uses the standard toolset in After Effects CS3, CS4, and CS5. Adobe Photoshop is used for the sky replacement section. Create hellish clouds, eery flickering windows, sheet lightning, color correction, 3D motion and depth of field effects for your next Halloween spec...

Add depth to your 2D pack shots with the After Effects Vanishing Point tool! This video will teach you everything you'll need to know. Whether you're new to Adobe's popular motion graphics and compositing software or a seasoned video professional just looking to better acquaint yourself with the program and its various features and filters, you're sure to be well served by this video tutorial. For more information, including detailed, step-by-step instructions, watch this free video guide.

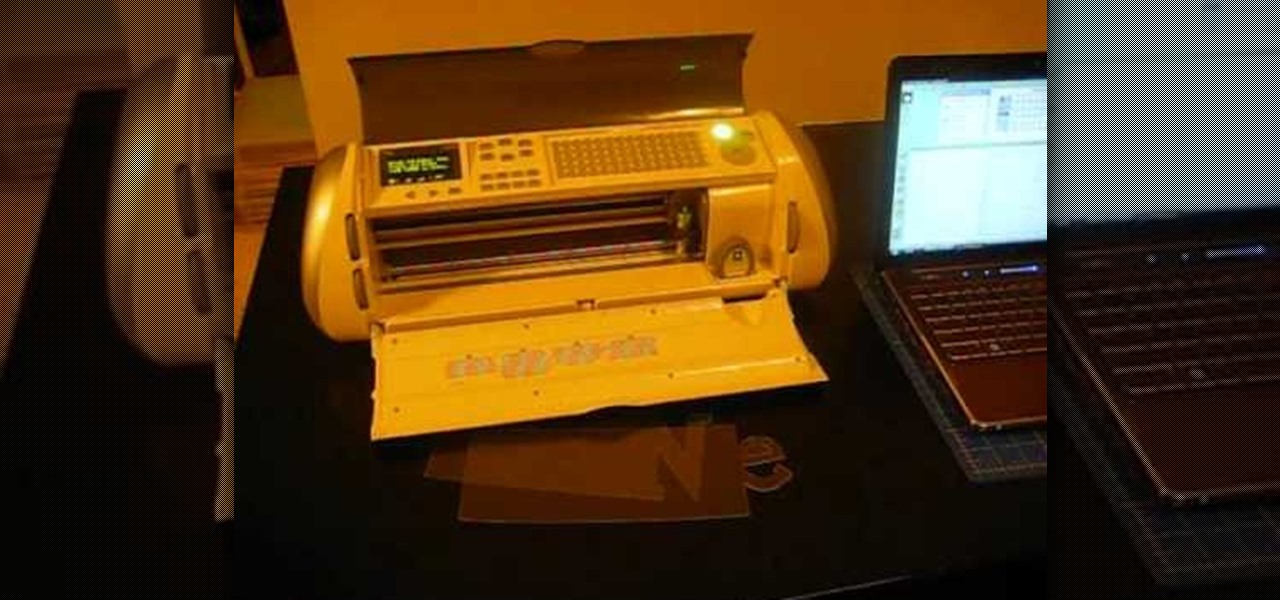
In this video, we learn how to cut acrylic on the Cricut Expression. First, you will need to have an acrylic cutter installed on your Cricut Expression. Now, place the acrylic on the mat and insert the mat into your machine. After this, choose the type of cut you want, then make sure the blade depth is at six and the pressure is at maximum. Now you can start to cut the acrylic, and when it's finished, it will pop back out of the machine and be finished! You can then use the acrylic for what p...

Even, natural-looking foundation that covers up redness and flaws but doesn't look caked on or fake is the desired basis of any makeup look. But it just so happens that the rudimentary skill of applying foundation evenly is one of the hardest for women to master.

We usually categorize exercise into two categories: cardio and strength training. You'll hear fitness experts espousing that you have to combine both to effectively burn fat and build muscle. But there are several other abilities you should adapt if you want to be lean all over.

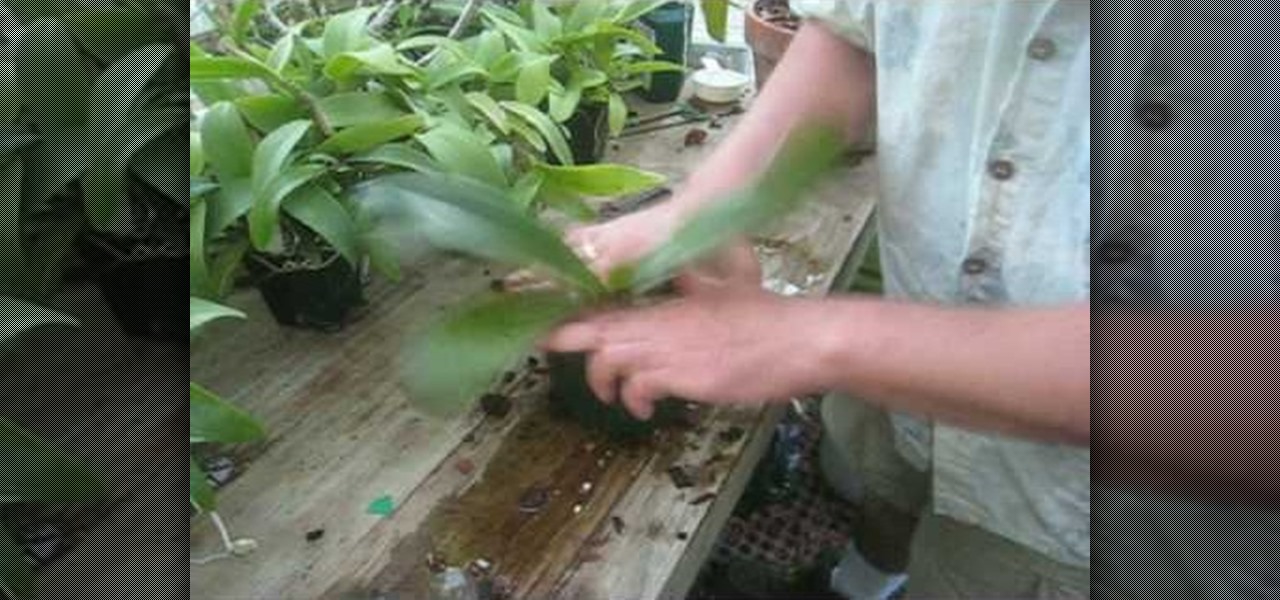
In this tutorial, we learn how to repot a phalaenopsis orchid in a bark mix. First, take out all the moss from the plant and wash off the roots. After this, get the plant ready for trimming and trim it at the very bottom of the roots. Measure the depth of the pot to make sure the roots aren't too long. Now, gather the roots and place them down into the pot with packing peanuts and soil inside of it. After you do this, pack in soil around the sides of it and keep it watered so it doesn't die out.

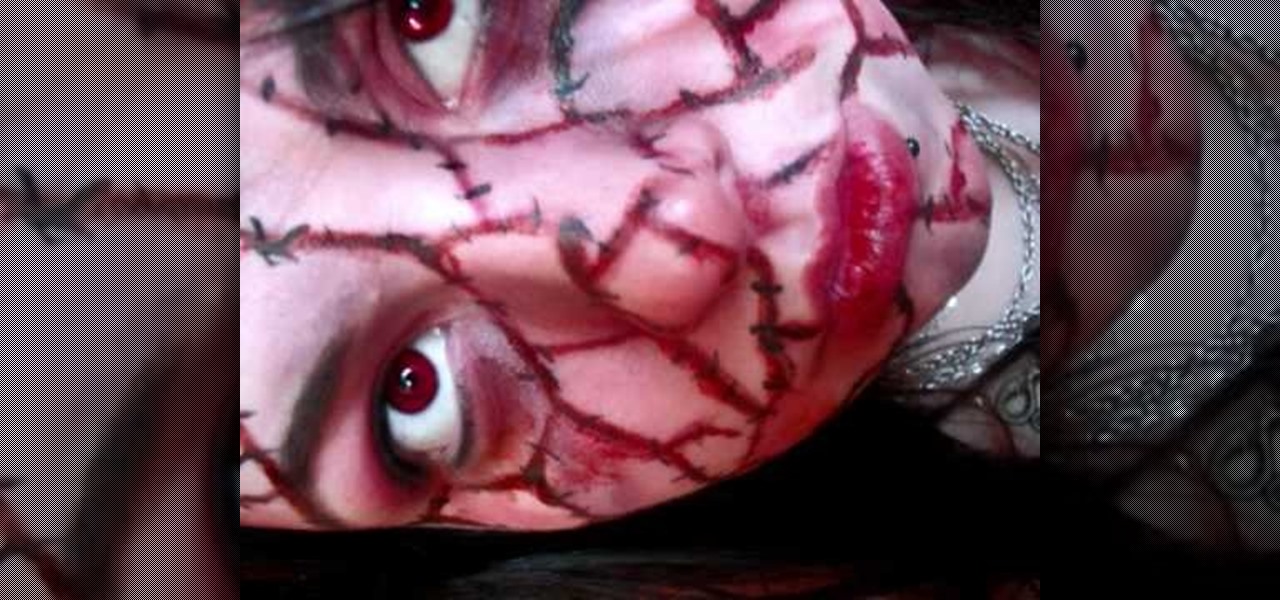
In order to do a bloody makeup look for Halloween, you will need the following: deep red blush, deep shadow Mac paints, eyeshadow, contour shadows, theatre blood, and eyeliner.

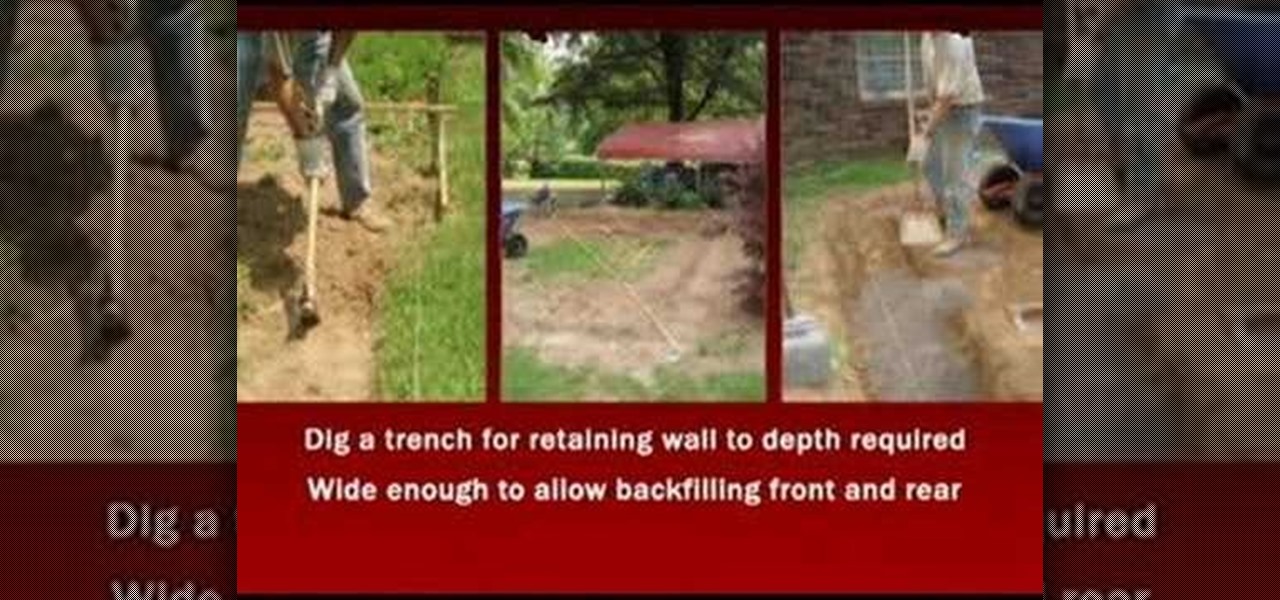
In this tutorial, we learn how to build a backyard patio. First, determine the location keeping in mind other buildings and landscape features. There should be a retaining wall around the patio so measure out all the different dimensions. Position a cap block at the highest center location. Then, use a level to transfer the patio height over the proposed location. You will then have to figure out how many blocks you need. When you calculate your digging depth, take into account your foundatio...

Themadcowmoo continues to show us how to create a shatter & disintegration effect in Adobe After Effects. In the second part of his two part video series he begins by getting rid of the extrusion depth in the shadow by changing the value to 0 (0.00). He then instructs on how to accomplish and even smaller disintegration effect by selecting the 'Shatter Map' tab, going to the fractal layer, choosing 'Fractal Noise' in the top right panel and then selecting '10' as the value within the 'Transfo...

If you're into making clothes from scratch and need help with sewing a flat-felled seam, then this video is for you. In the tutorial, you'll get an in-depth explanation for how to sew one using your machine. This seam s generally used on jeans and it's usually not visible on the clothing. It's a very strong seam and requires some work in completing. So check out the video above and good luck!

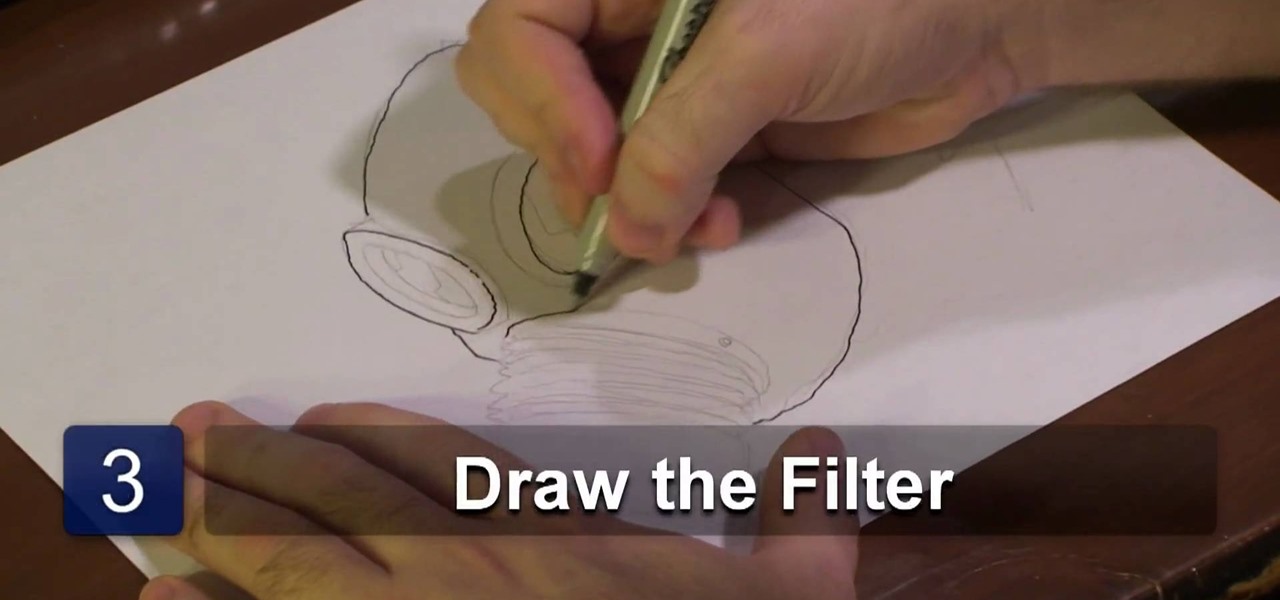
In this video tutorial, viewers learn how to draw a gas mask. Begin by drawing to oval shapes for the frames of the eyes. Then start drawing the base of the mask. Towards the bottom of the mask, draw an accordion-styled tube and attach it to a short cylinder to represent the filter. Now add more details to the eye frames by adding an inner and outer circle to show depth and detail. Then add more detail to the filter by adding lines to the tube and adding holes in the cylinder. This video will...

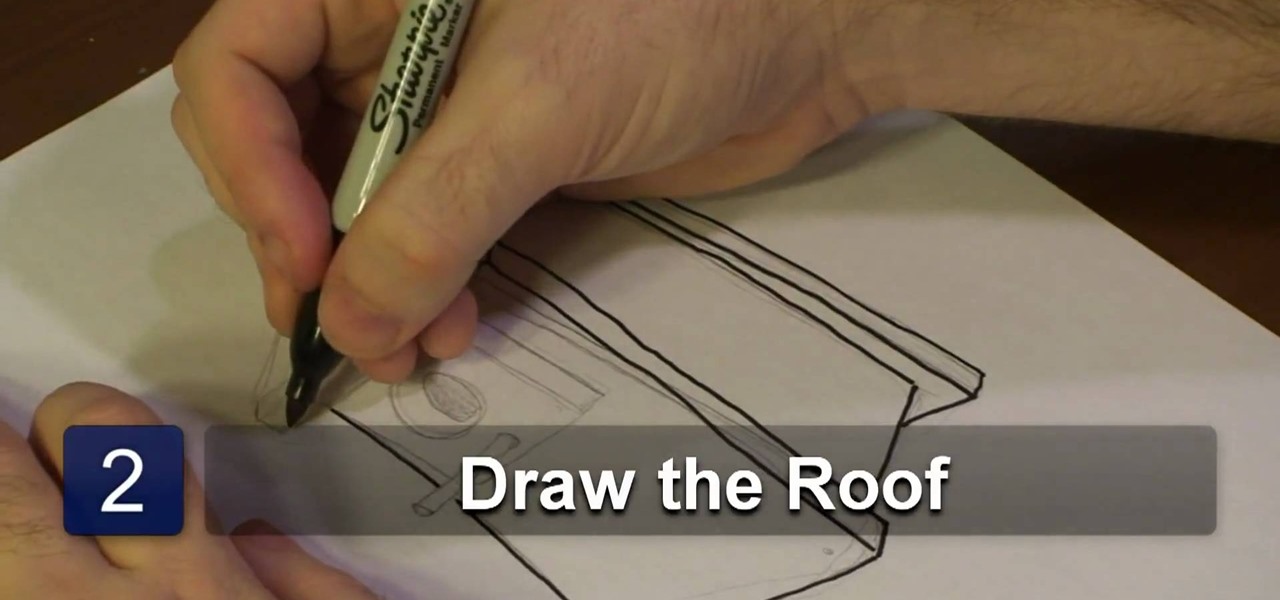
In this video tutorial, viewers learn how to draw an animated birdhouse. The materials required are paper and a drawing utensil. Begin by drawing a rectangular base. A bird house is usually geometric, show the base should only contain rectangle and square shapes. It is recommended to use a ruler, instead of drawing the lines free handed. Add a rectangular roof on top and an entrance in the front. Draw a circle to represent the entry way and add a post. Draw another circle inside the entry hol...

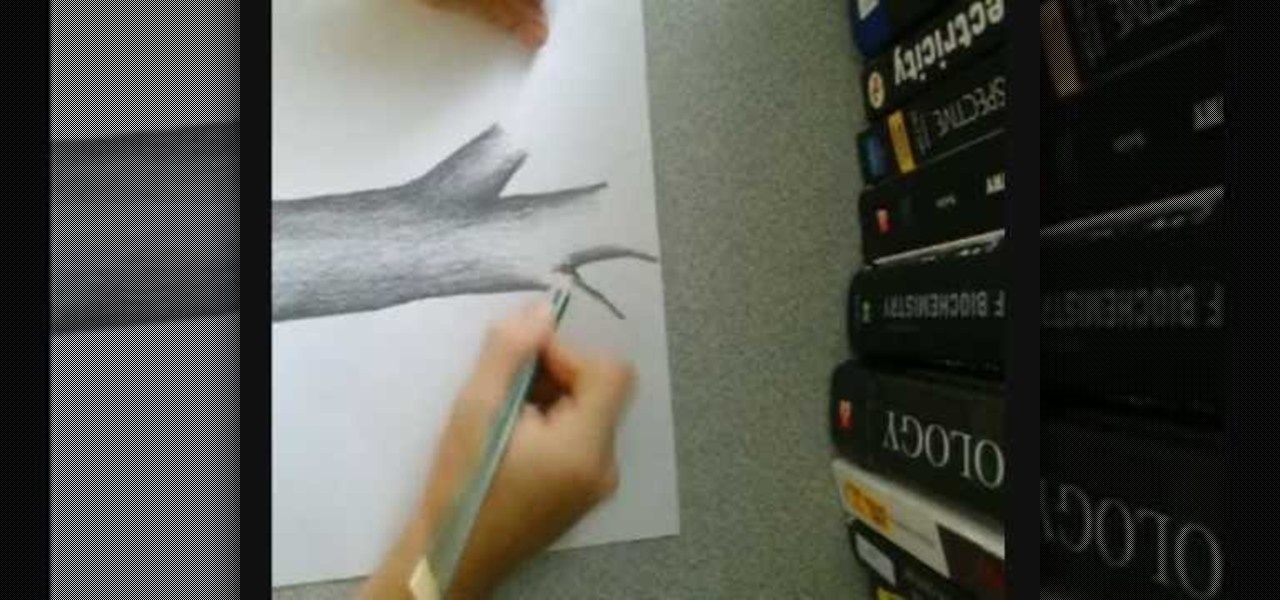
This video demonstrates how this artist draws a tree using a pencil and paper. After creating the outline of your tree trunk, darken the line and add shading as necessary throughout the tree to add dimension to your drawing. The darker shading is focused on the outside edges of the trunk, lightening as you go towards the center of the trunk. Sharpen your pencil as necessary, since it is easier to add detail to your tree with a sharp pencil. Add further branches to your initial trunk and creat...

Viewer be warned! This video series is not for the faint of heart! If you think you can handle the contents inside, then you're about to get an in depth lesson on the proper way to skin a squirrel. This three part video series will show you how to skin a squirrel.

Dave Epstein talks about adding a foundation plant to a home. He is planting a Lavender Twist, a weeping redbud also known as Cercis Canadensis 'Covey'. You will see how adding a foundation plant to your home can make a big impact. You will see a before view of a home to get an idea of what you can do with the space you have available. Also you will get a tip on carefully placing the plant on the side of your home as to not block any windows but also add depth to your home and make it seem bi...

For those who may not know what the device in this tutorial is, it's a vernier caliper. It's basically a scale that measure certain thins, but this one is more precise than others. They can measure internal, external and sometimes depth. This devise is used to obtain a precision measurement. It can be a bit confusing to use, but can be helpful in certain situations. So sit back, pay attention, and enjoy!

If you've ever had a friend who was unable to make a birthday party or graduation due to scheduling, sometimes it can depressing. Especially if you always take pictures with each other for any occasion. Well in this tutorial, you will find out how to Photoshop a person into a picture easily. It's just a cheap, easy way to show that no matter what, nothing can seperate you two. Enjoy!

Photoshop is full of clever, cool little tricks that it can take quite some time to fully experience them all. One of the cleverest tricks comes in the Photoshop CS4 and allows you to combine different images of the same object and combine the areas of sharpness. By doing that you would be creating a focus stack and increasing the depth of the field in the photo. So sit back and find out how to create a focus stack using Photoshop. Enjoy!

Bobbers are great fishing tools. Not only do bobbers keep your line above water, they also bob up and down in the water when you've caught something, so you know when to reel it in. In this tutorial, you will learn how to attach and use a bobber. Bobbers, or floats, have buttons on top that can be depressed and attached to the line by a hook. In this video you will learn to adjust the depth when using a fishing bobber with help from a commercial fisherman.

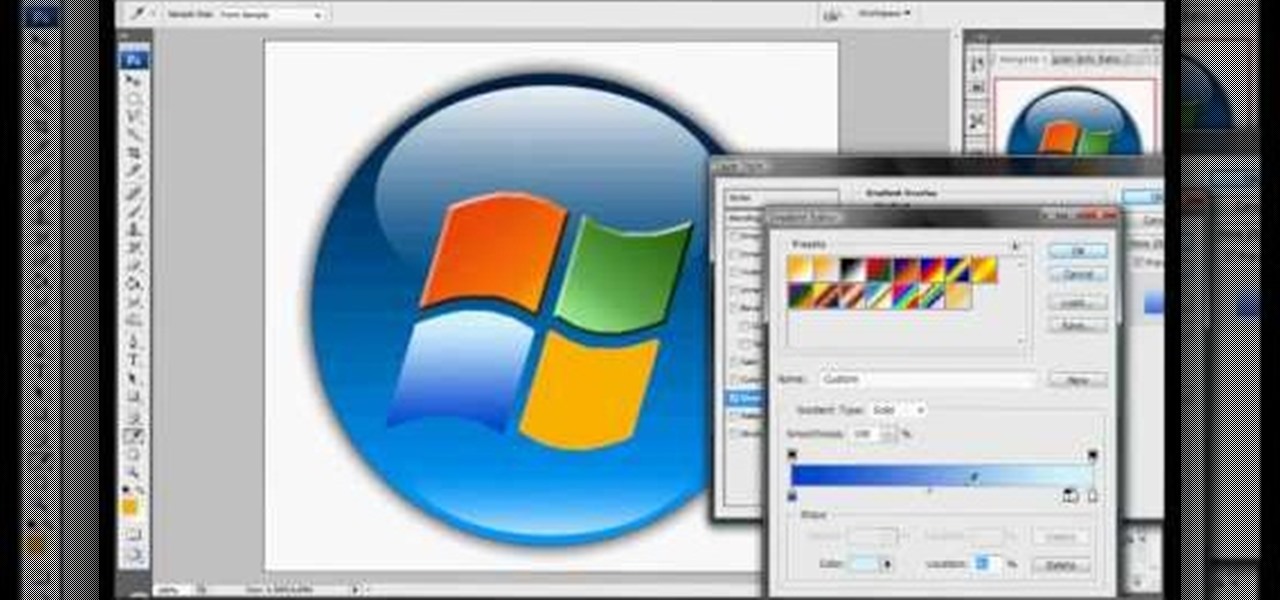
A compelling and quick moving tutorial on making the Windows Vista logo with Adobe Photoshop. The logo can be made quick without going too in depth into some of Photoshop's more advanced features. Starting with a circle a gradient shade is layered over the shape. Two circles are cut out and shaded white to give the circle a 3D feel. Then adding a drop shadow to the entire shape really gives it the logo's appearance. The windows themselves within the logo are cut to shape and copied and moved ...

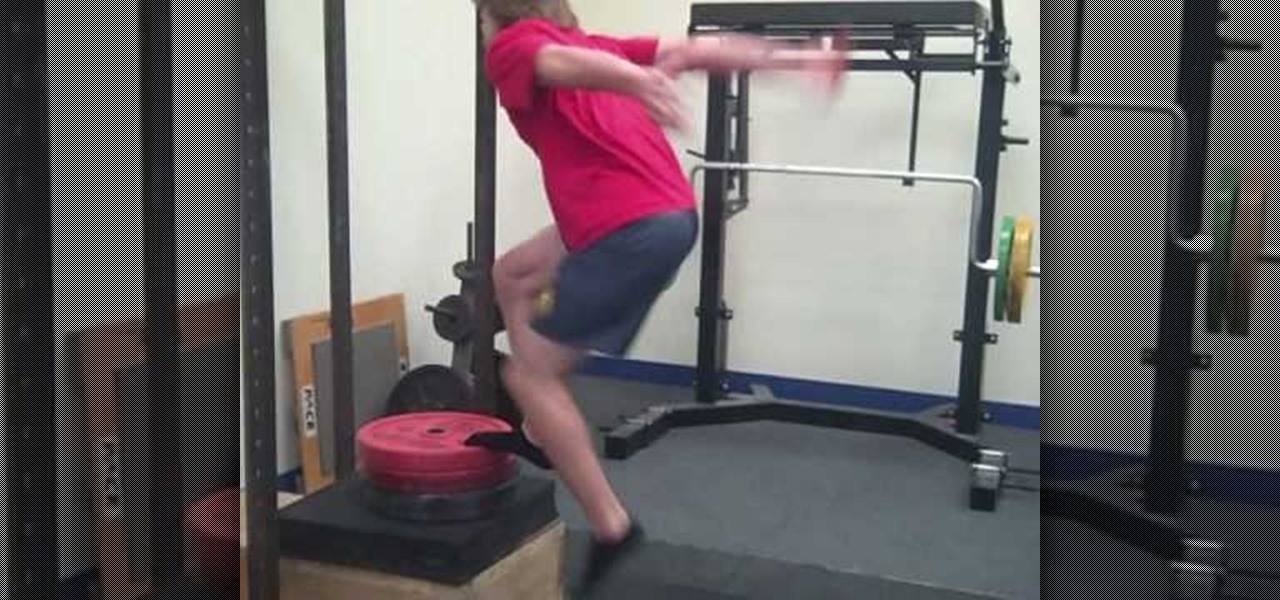
If you are having trouble with your vertical jump, check out this tutorial. In this video are two exercises that will increase your vertical jump. We start off with Hand MB Depth Jump which when landing off of the box overloads your body eventually helping you to gain more power in your vertical jump. The second exercise is the Box Jump which is simple and will also increase your vertical jump. Remember to keep the rep range low so, you can give maximum effort with each jump.

Save some money on your energy bills by making an attic stairway box. For less than twenty five dollars, all you need is caulk, UL181 masking tape, insulated sheathing, and rubber foam sticky tape. Measure the width, the length, and the depth of the attic stairway opening. Lay the insulated sheathing down on the floor and get a straight edge. Take those measurements and create a rectangular box. Mark out six pieces to create the parts of the box – two large top pieces, and four shorter side p...


