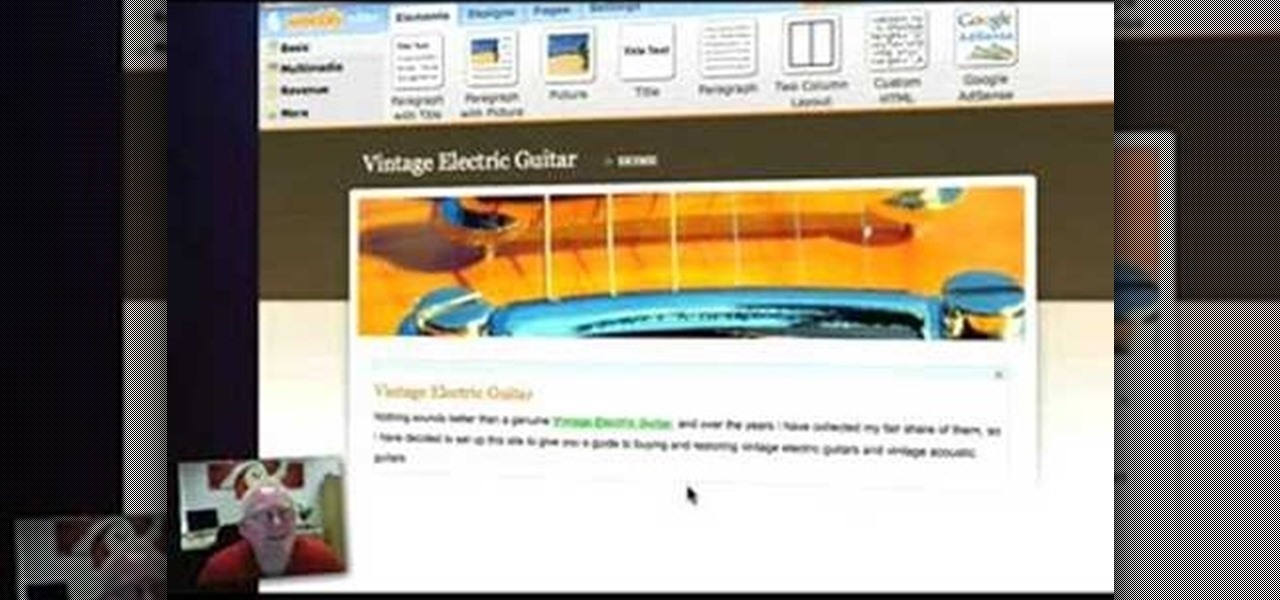
In this video, we learn how to set up a Weebly website. This can be used to build a complete site with multiple pages. First, go to Weebly and enter in your information under the sign up now text. Next, click the sign up button and enter in the Captcha phrase. After this, title your new site and continue on until you see the tabs at the top of the screen. Elements, designs, pages, and settings will all be listed. Go through the designs until you find one you like, then settle on that. Once yo...

In this video, we learn how to transform into a witch doctor for Halloween. Start by using a white foundation all over the face, avoiding the eye and eyebrow areas. After this, apply bronzer to the cheekbones. Next, apply a black or dark brown color on the entire eyes, smudging it on the edges. Next, apply brown lipstick on the lips and mark lines with black paint on it. When done with this, start to draw a tribal design on the chi, then underneath the nose. Define the cheekbones further with...
This is silk screen production, the cheap and easy DIY way! In order to make this easy silkscreen for making cool T-shirt logos and designs, you'll need some acrylic paint, paintbrushes, cheap net curtain (patterned or plain), vinyl sign sheets, blackboard (or cork board), and some fabric paints to paint with. Also, you'll need a CraftROBO precision cutter. Soon, you'll have your very own screen-printed tee shirt, thanks to your very own homemade silkscreen.

In this video, we learn how to create a white, purple, and black swirl nail art. Start off by applying purple glitter to the side corner of the nail. Next, draw on a black thick line underneath the purple, followed by a swirl at the end of the line. Then, take white nail polish and make the same line underneath the black line. Make sure you let the black dry before you paint the white on underneath it. When all colors are dry, apply a clear coat of nail polish over the designs. Now your swirl...
In order to make a scallop square card with Stampin' Up, you will need the following: a big shot, a large scallop square # 115950 Bigz Clear die, stamps, adhesive, design paper, mini glue dots, decorative ornaments, and card stock.

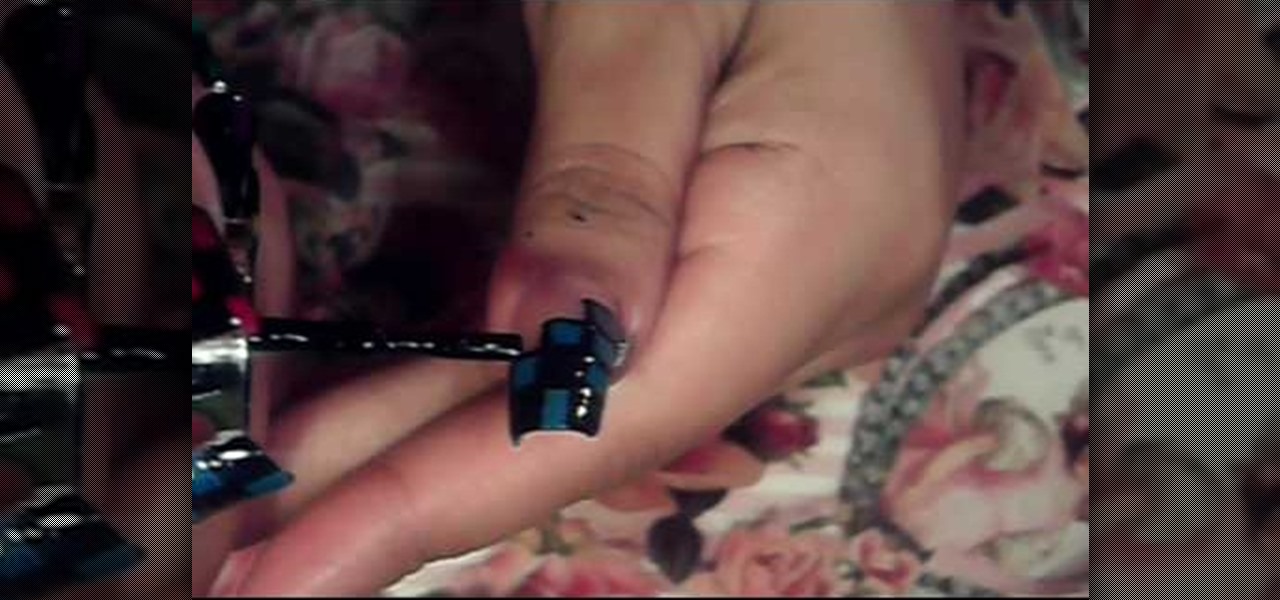
In this tutorial, we learn how to paint your nails with blue glitter and black nail polish. You will need: blue nail polish, clear nail polish, blue and black acrylic paint, chopped thin brush, glitter, dotting tool, and a small flat brush to do this. First, paint the tips with blue polish, then use the small brush to stick the glitter onto the nails, patting it on thick. Next, add a clear coat and let the nails dry completely. Now, put the chopped brush into black acrylic and make a swirl de...

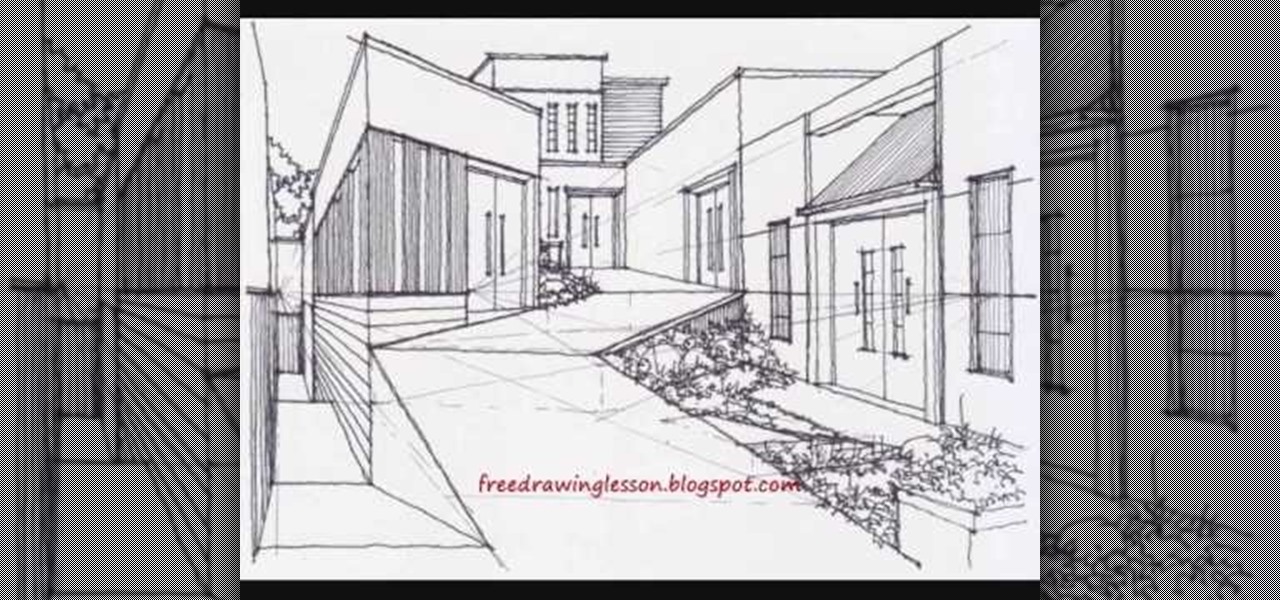
Have you always secretly harbored a love for urban design or architecture but your parents made it clear to you that they would only financially support you through school if you studied pharmacy? We know your situation sucks, but just because you can't get a degree in urban planning doesn't mean you can't sketch out designs of beautiful cities.
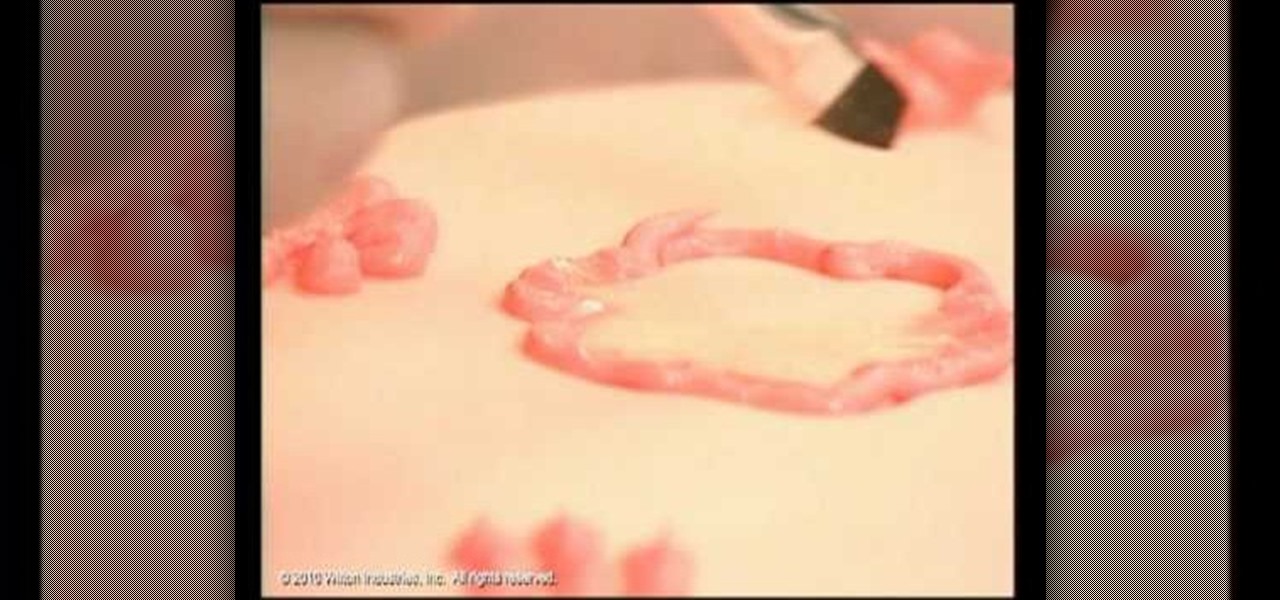
As you'll quickly learn in cake decorating, the outcome and success of your designs stems entirely from the type of tip on your icing bag. Tips range from star shaped to round to square and everything else imaginable, all to give you a limitless variety of ways to decorate your cake or cupcake.
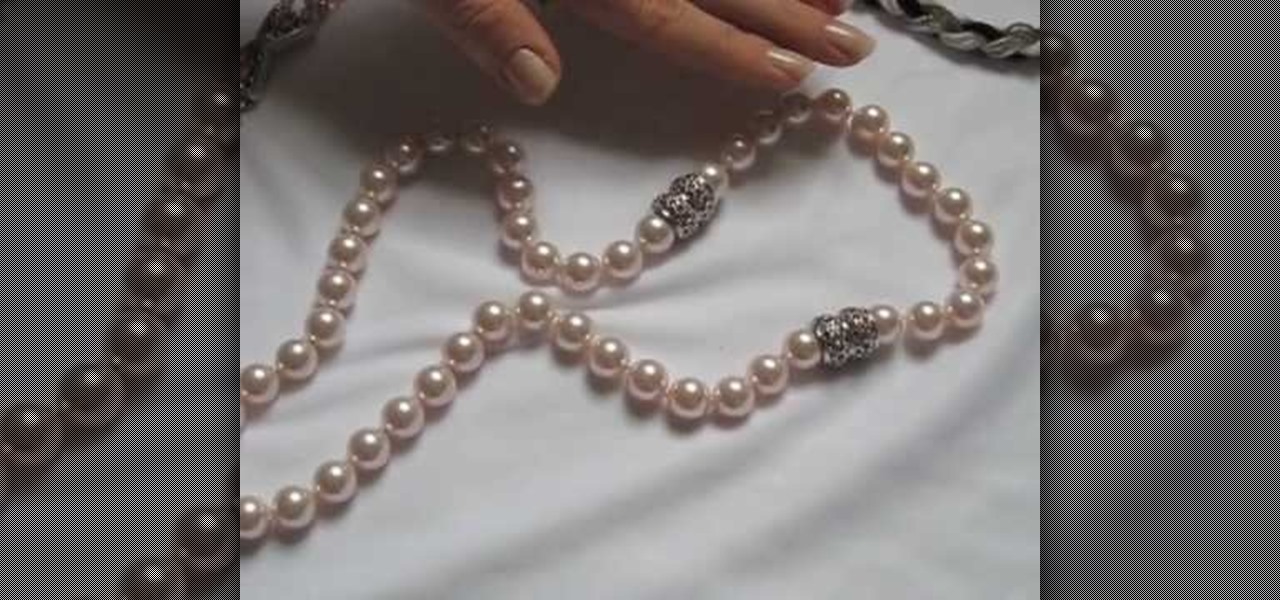
Jewelry clasps don't seem all that important, right? After all, when compared to the shape of your beads and the color scheme of your jewelry piece, a clasp is merely the finisher, something that helps close off your necklace.
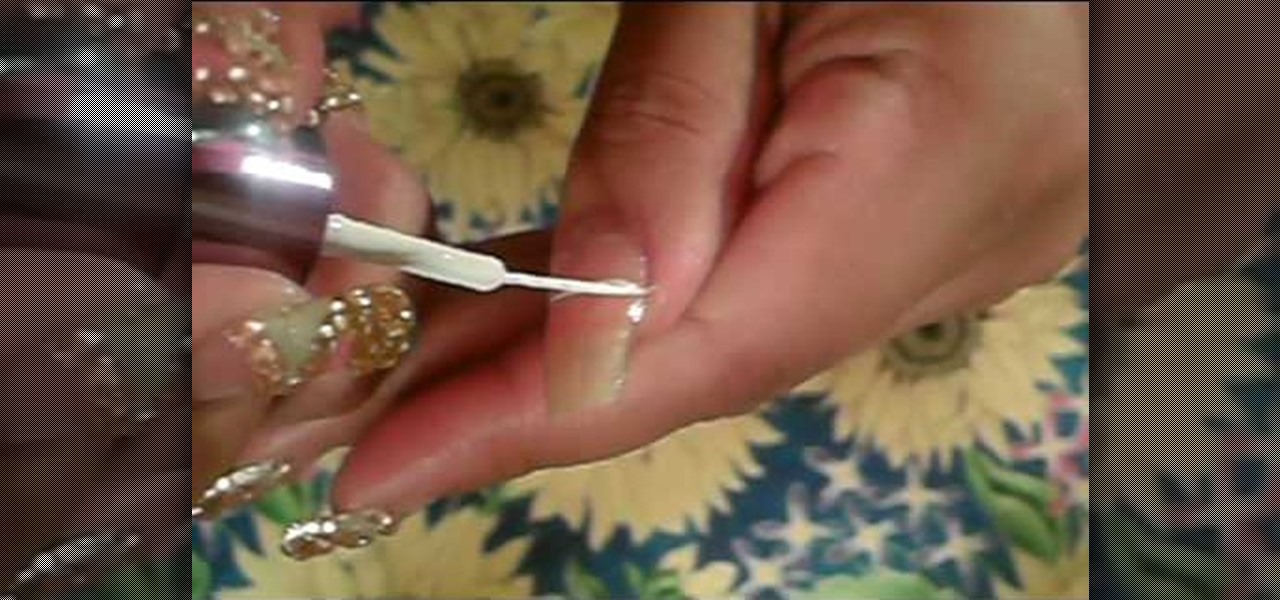
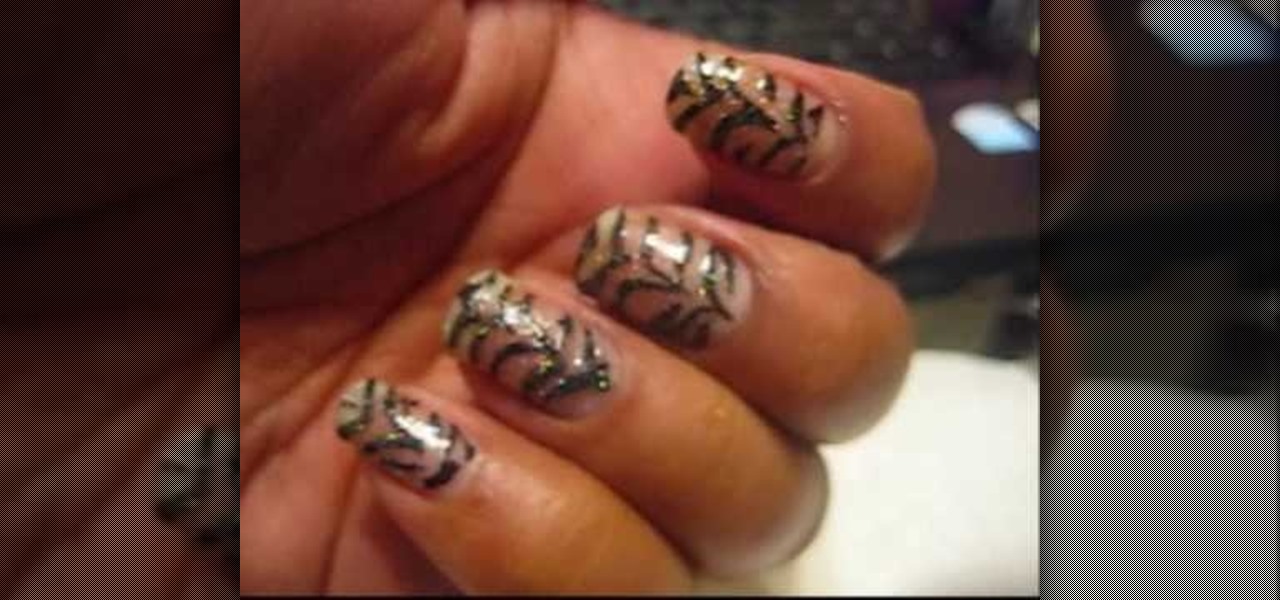
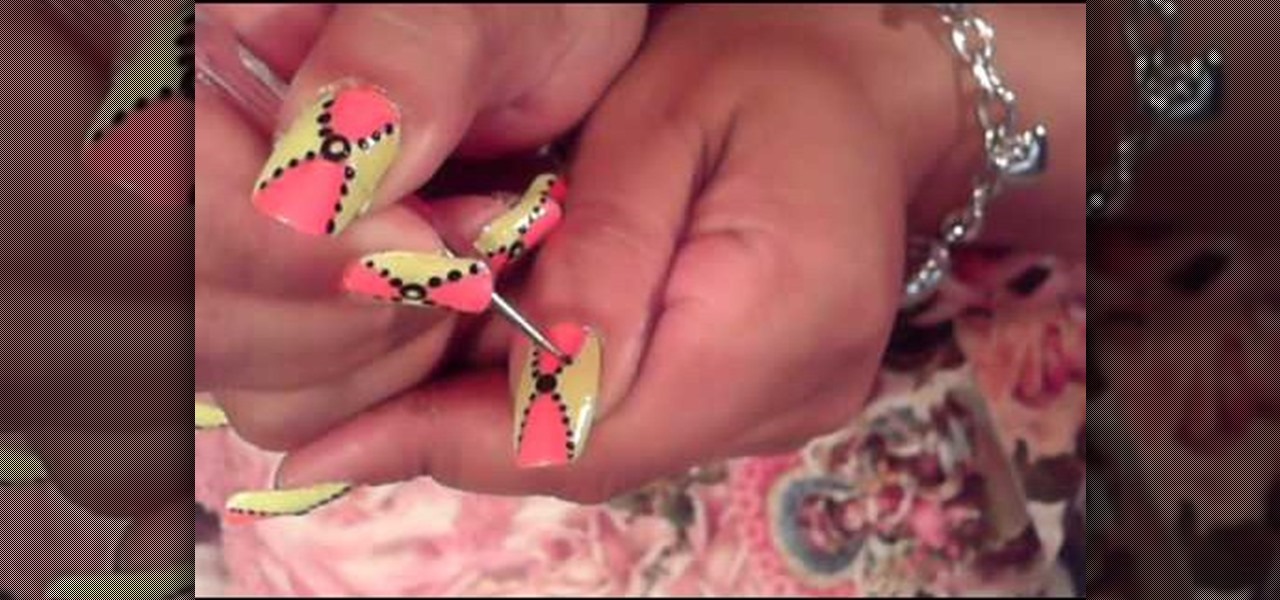
In this tutorial, we learn how to paint nail with a gold and blue rhinestone design. First, start off with your acrylic nail, then paint a white zig zag line throughout the entire nail. After this, apply a green nail polish to the top triangle of the nail. Next, apply a gold/pink nail polish to the triangle underneath the green. In the triangle underneath, apply a light green nail polish, and paint a pink nail polish underneath that. Add glitter to each of the different colors to match which ...
In this tutorial, we learn how to display a custom-designed Google logo on your Mac/PC. First, you will want to download GreaseMonkey as a Firefox add-on. After you have installed this on your Firefox browser, type a search in Google for "how to change Google using greasemonkey". After this, click on the first page that come sup and download Java for Greasemonkey. Next, go to your Google page and you will be able to change what the "Google" logo says to say whatever you would like! This is a ...
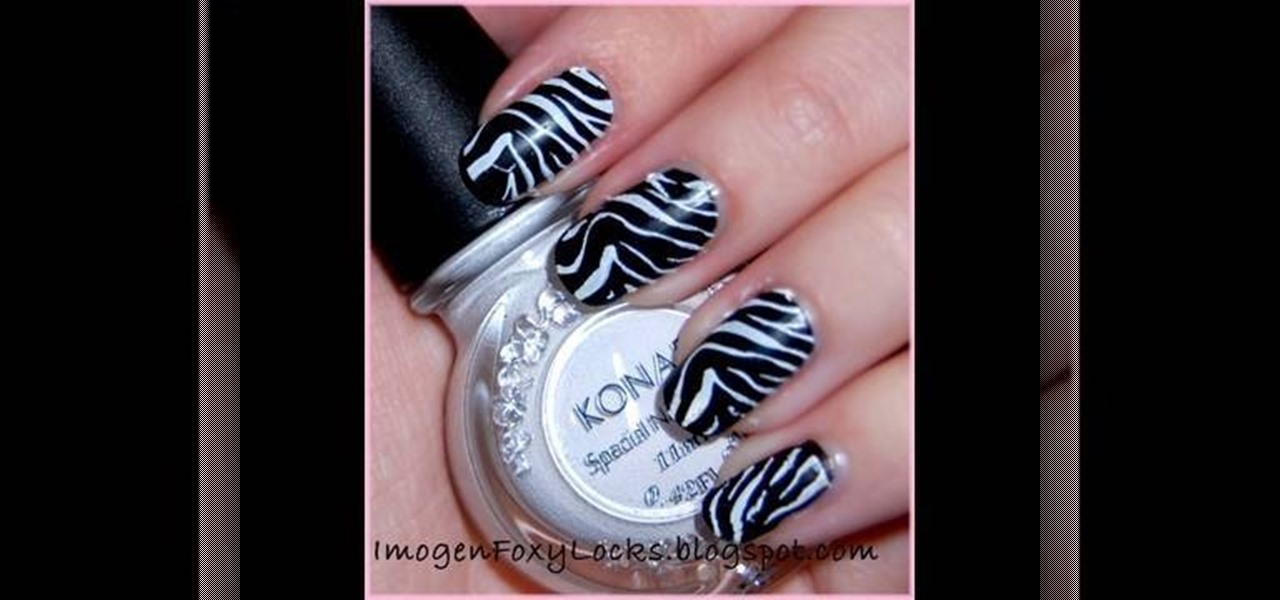
In this tutorial, we learn how to do a Konad zebra nail design in 5 minutes. You will need: Konad white nail polish, stamper, zebra stamp, and scraper plate. First, place white nail polish onto the zebra stamp until it's all over the stencil. Then, use the scraper to remove the excess nail polish. Now, stamp the stamper onto the stencil and then stamp it onto your nail. You can clean up the excess white nail polish with nail polish remover on top of a Q-Tip. Before you begin this, you will wa...
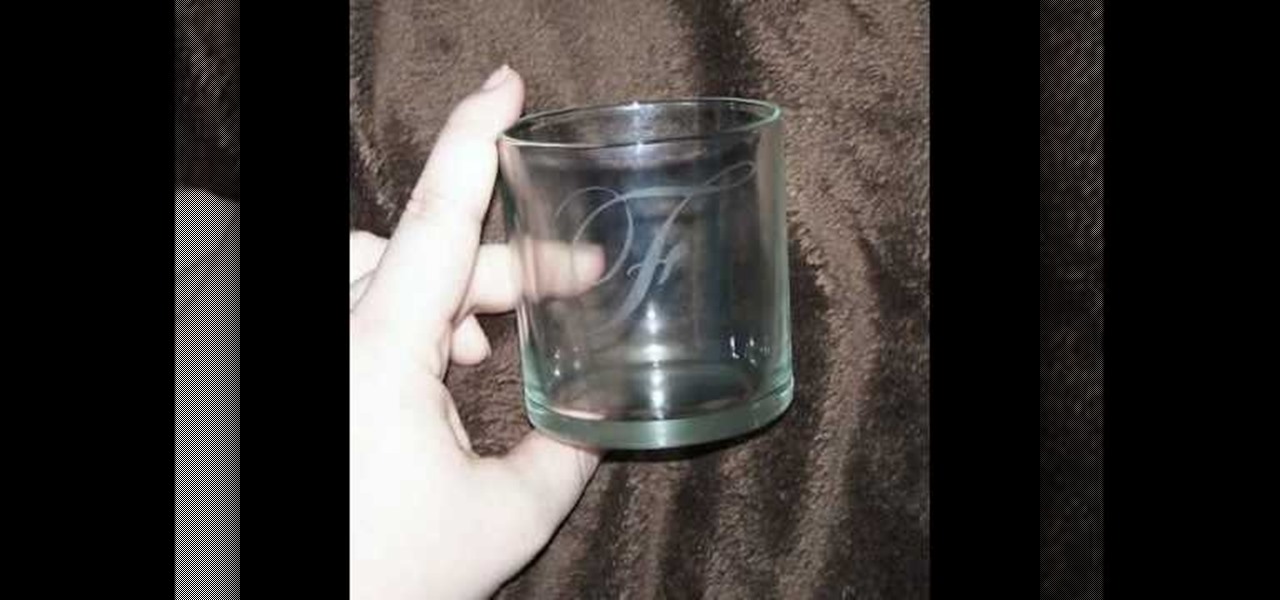
In this video tutorial, viewers learn how to etch glass in 5 minutes. The materials needed for his procedure are: contact paper, Armour Etch and a paintbrush, glass and a sink. Begin by cutting the contact paper face up on a circuit mat. Cut it on medium speed and pressure. Then put the contact paper on glass. Work carefully to prevent any wrinkles and bubbles in the design. Now put the etching cream on in a dabbing motion. The etching cream will not run into areas that are not stuck down. Fi...
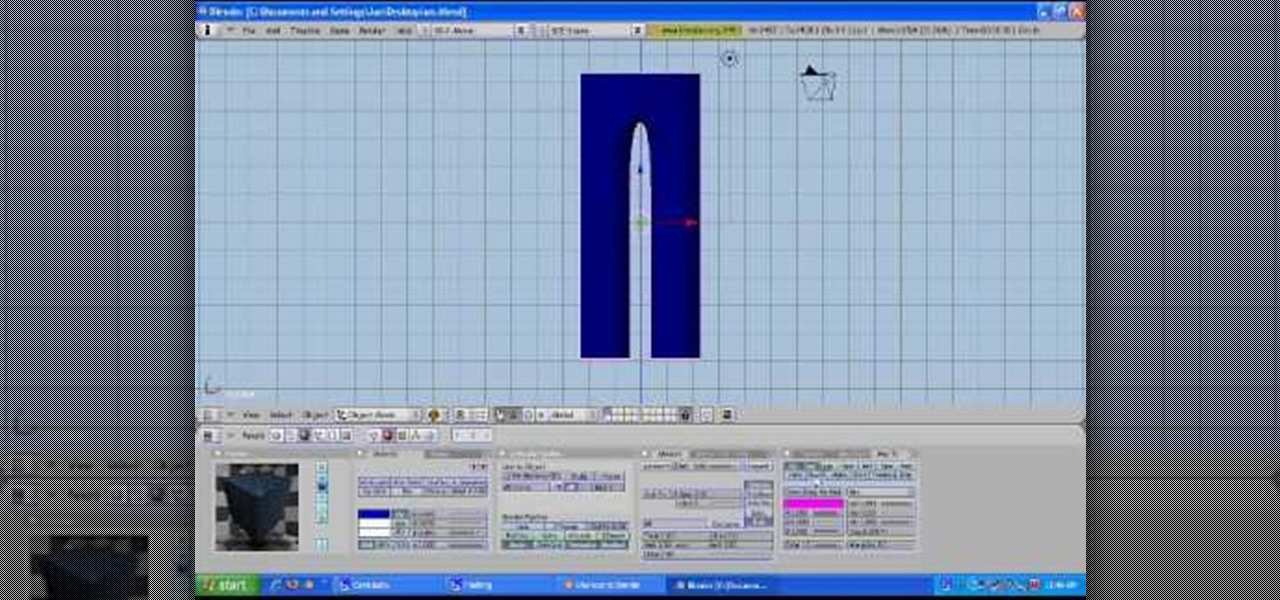
Designing 3D graphics is one of the most challenging and lucrative fields of computer design. This video for beginning 3D graphics artists features a tutorial on how to make materials and textures in Blender, one popular 3D modeling software suite. Making this pair of pants will have you well on your way to making more elaborate images.
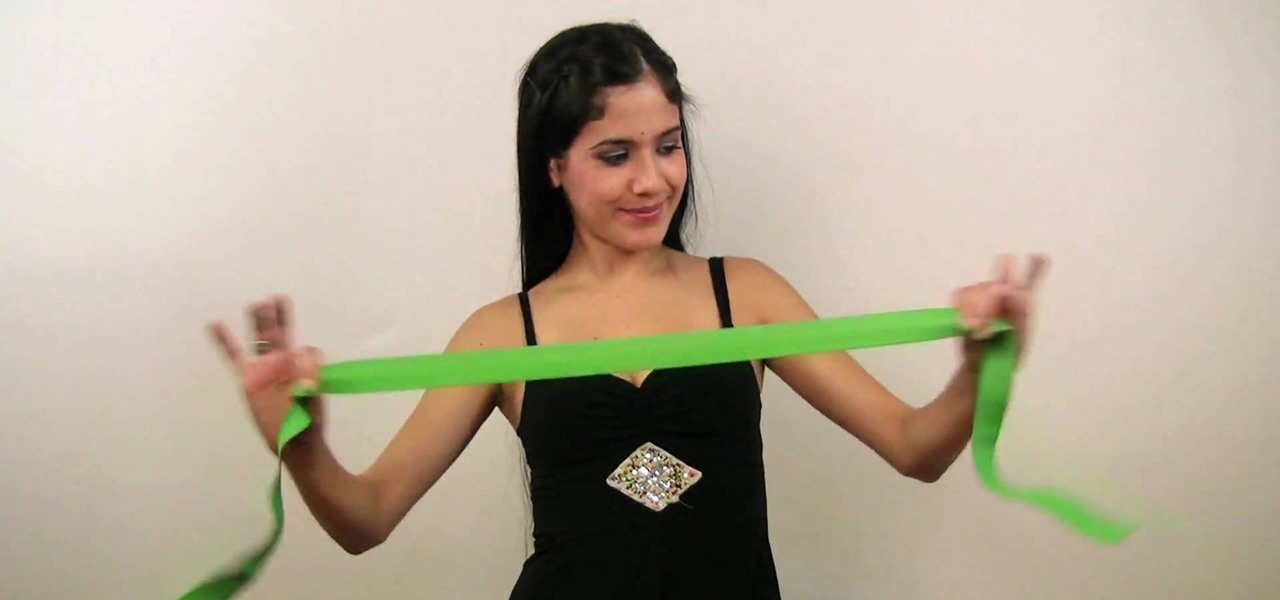
Nothing says chic like DIY. With spring and summer just around the corner, this breezy and elegant tube dress is all you need to stay cool. See how to make a DIY chic tube dress in this video from GiannyL.
Keep your favorite dessert or food item close to you at all times by making a foodstuff-shaped piece of polymer clay. From chocolate cupcakes to orange slices to donuts, polymer clay can be formed into almost any food imaginable. Plus, miniaturizing makes food look adorable, making it even more irresistable.
Ombre and zebra prints are two of the hottest fashion trends this season, but you'd never see the two trends mishmashed together on on person. Until now.
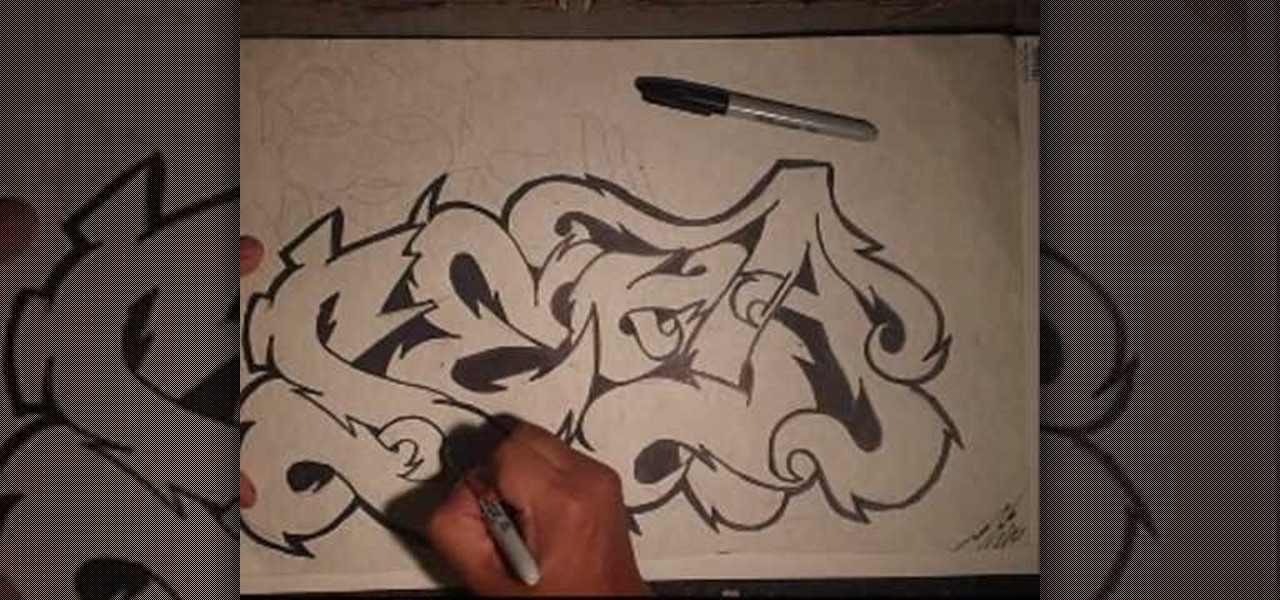
This video demonstration shows established graffiti artist Wizard creating a tag of the name SESA. It features a figure in the background sticking his middle finger thorough the second S in the name. The elaborations around the letters and the types of curves he used in this particular design have little bit of a Japanese flair to them, a different sort of style for Wizard, but one that this master of graffiti tags handles with the same skill with which he handles all of his other tag designs.
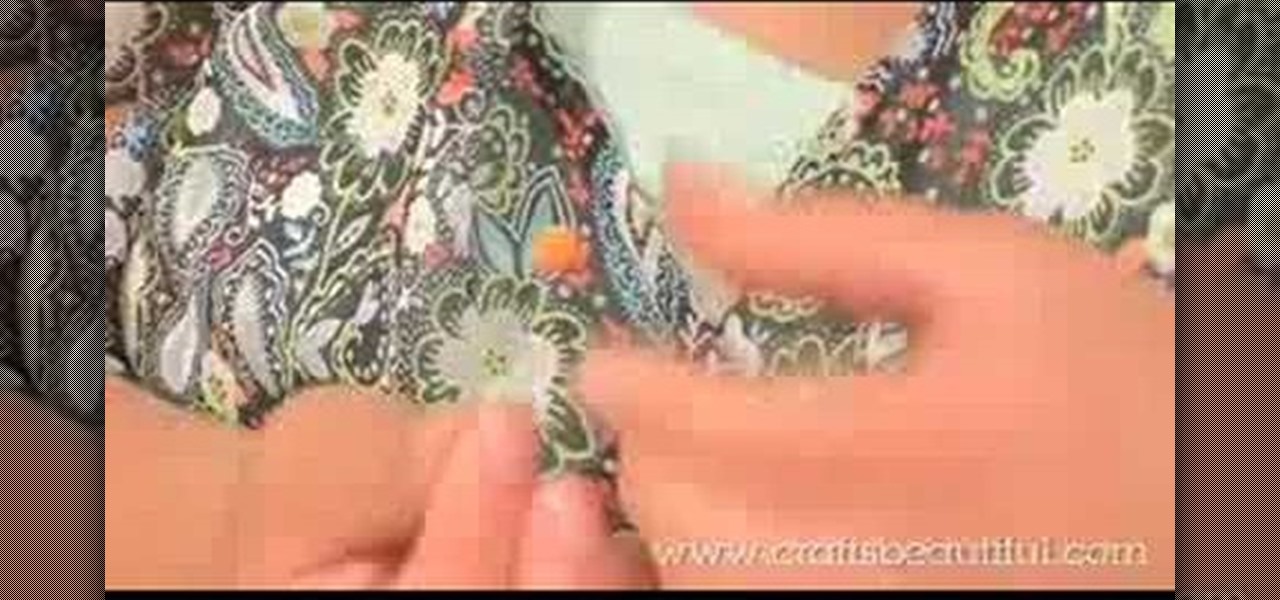
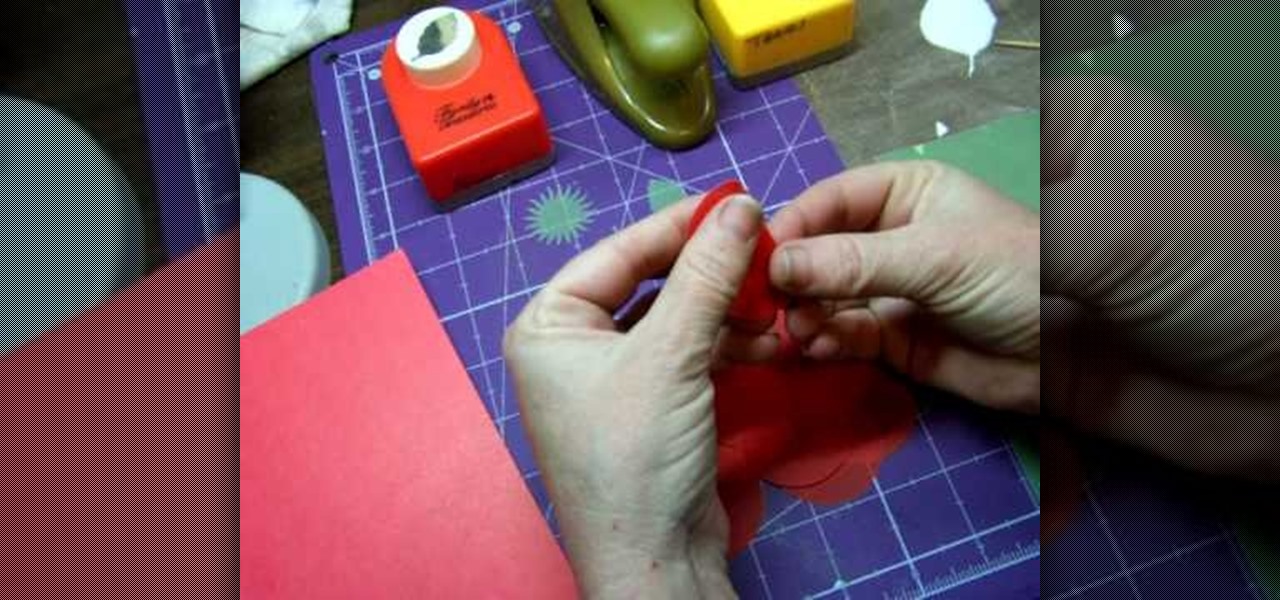
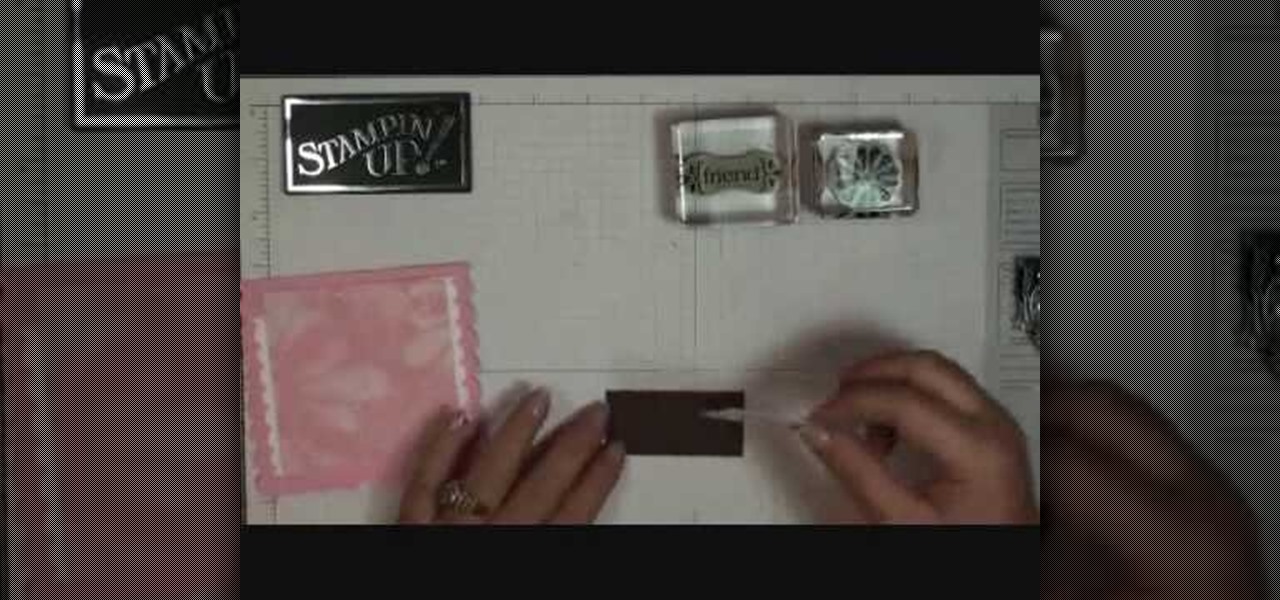
Stampin' UP! punches make just as fun designs as their line of stamps. In this tutorial, learn how to fashion basic flowers out of punches. These flowers make great additions to your scrapbooking or greeting card crafts.
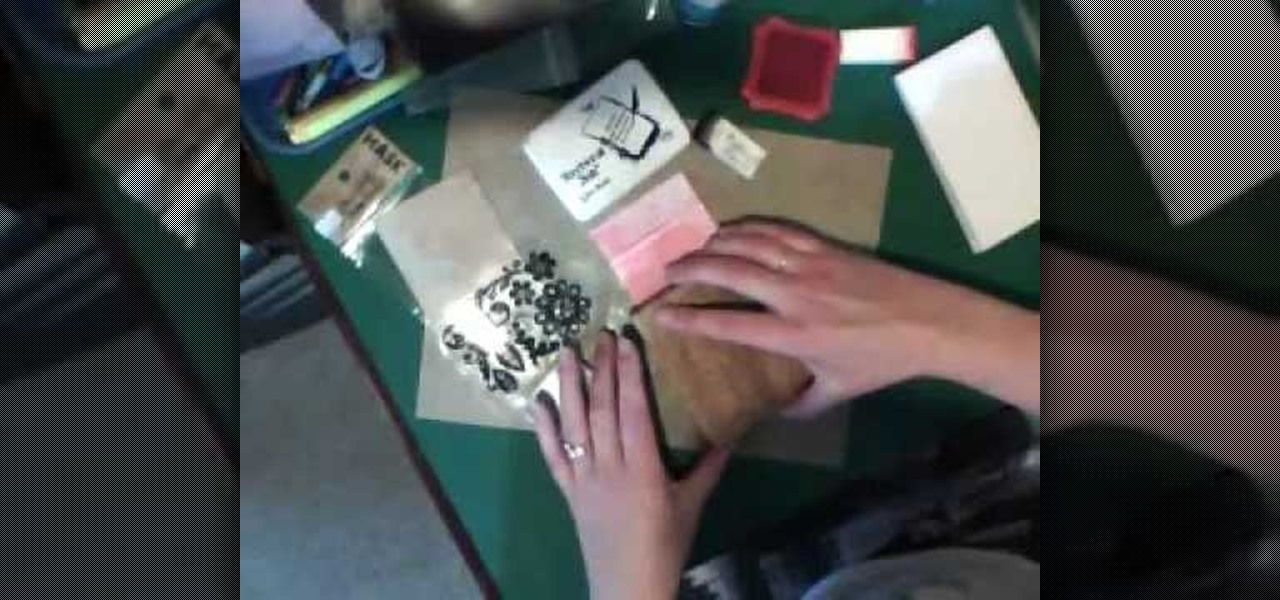
In this Arts & Crafts video tutorial you will learn how to make a stamped notepad cover. Put the note pad on the edge of a bigger sheet of paper, draw the outline and cut the paper along the lines. The paper should be longer than the notepad. Put the note pad on top of the paper aligned with one end and fold the other end of the paper. Remove the paper and crease it properly along the scoring lines. Depending on the theme you want for the cover, apply the required ink with sponge on the paper...
This video shows how to paint your nails with a very attractive red and yellow nail art design. Using a glitter nail polish, dip it in yellow glitter powder. Pat it on the nail, rather than brushing it on. Then apply large glitter shimmers randomly all over the nail, and this forms the background.
In this video tutorial, viewers learn how to ice cupcakes. In order to ice a cupcakes, users will need a piping bag, tips, coupler and a spatula. Screw the coupler at the end of the piping bag and select a tip to put on the end of the coupler. Fold the bag 2-3 inches downward and place it into a cup to hold it. Now scoop some icing with the spatula and place it inside the bag. Squeeze the bag to bring the icing down and tie an elastic on top to close it. Viewers will learn how to 3 different ...
In order to make an accordian- fold style greeting card, you will need a piece of card stock, glue or adhesive, scissors, markers, and stencils/stamps. Cut the cardstock in a diagonal. Fold the card into 3rds, lengthwise. Cut a 5 x 3 ¼” panel at an angle. Use Masking Magic and stamp the excess card stock. Cut out your stamp designs. Color in your designs with Sharpie brand permanent marker pens. Glue the 5 x 3 ¼” cut piece to the card, or you could use 2 sided tape. If you have addition...
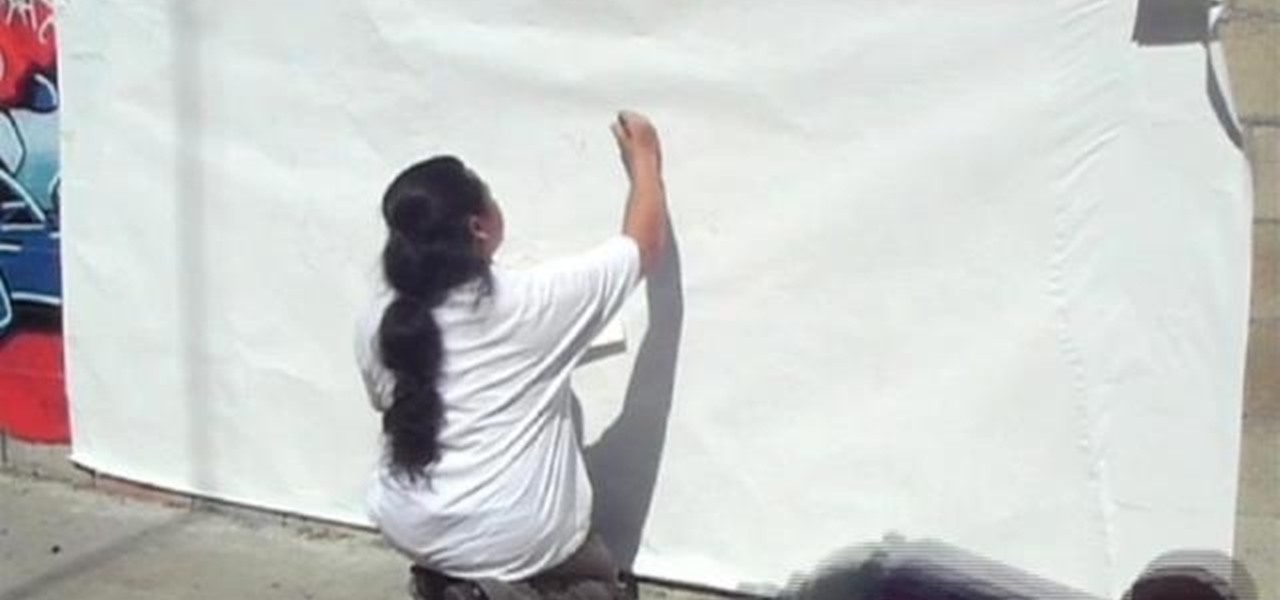
This is your basis step by step on how to do graffiti on walls - in your house for decoration, of course, not on the streets for vandalism! The best spray paint is made with krypotnite added into the paint. While you will want to paint directly on the surface, you don't want to be exposed to excessive winds or temperature when doing your graffiti, so you may be somewhat at the mercy of mother nature. Start by sketching your design with pencil, making sure that it takes the maximum amount of s...
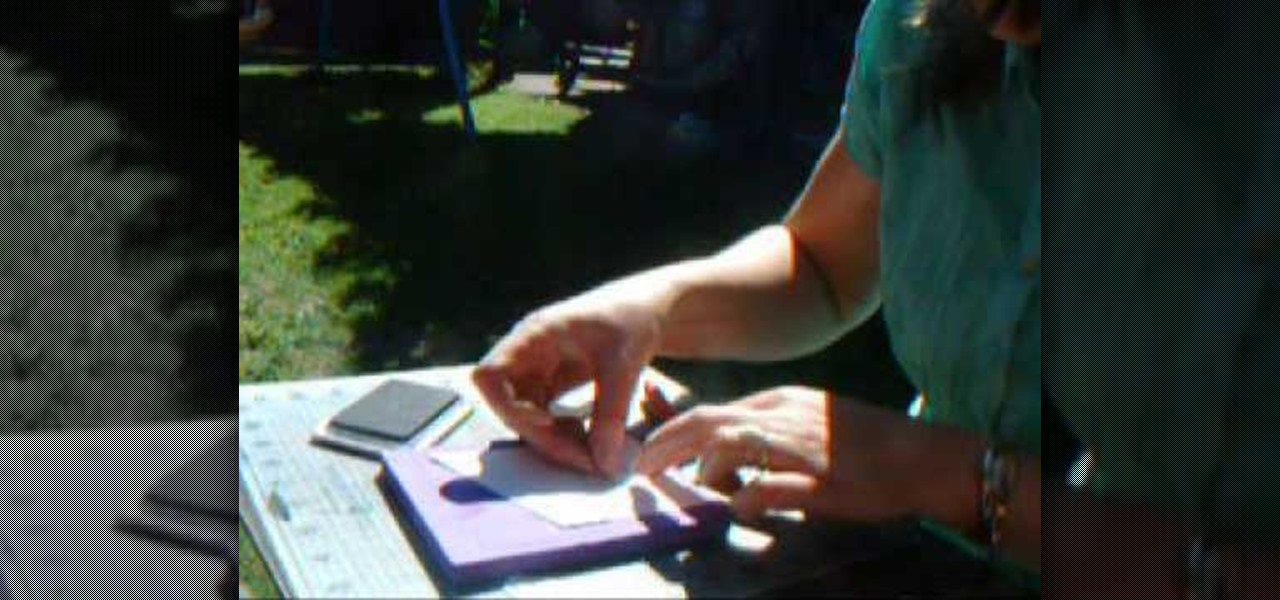
In this Arts & Crafts video tutorial you will learn how to use clear stamps & make a card. You will need acrylic stamps for this project. The products used in the video are from papertrayink.com. The stamps are clear and have a sticky back with which you can attach them to an acrylic base to make the stamp block. Then ink the stamp and stamp it on the paper. Since, it is clear, you can ass and align it properly on the paper. The other cool thing about acrylic stamps is that you can take more ...
In this video, Karen shows us how to decorate cupcakes in different ways. You can use McCormick frosting in a bowl, add neon green food coloring and mix this together. Put some frosting on the cupcake and smooth it out onto the cupcake. Another great thing is to put frosting into a small plastic sandwich bag, cut the corner of the bag and you now have your own icing bag! You can use this to make any design you'd like on your cupcakes. Make the clip on the corner bigger or smaller, depending o...
Love4Nails shows step by step tips for achieving this look. Begin by choosing a background color. On top of the base, apply white polish. Then apply a smile line on the top portion of the nail as you would when doing a French manicure. Then fill in the nail. If its not perfectly straight its ok because it will be covered. Next, apply glitter polish on the white area of the nail. With the white polish make three dot and use a dotting tool to extend them, creating flowers. With the original blu...
This video shows us the method to reconstruct your t-shirt with a fringe design. You will need a long fitted t-shirt, scissors and a sewing machine which is optional. Cut off both sleeves of the t-shirt. Now cut the middle of the shirt on only one side. Cut off the collar. Hem both sides of the cut so that you have a clean finish. Now take the scissors and start cutting the fringes. Open the t-shirt so that all the fringes are even. Mark the length of the strips and start cutting. Once you ha...
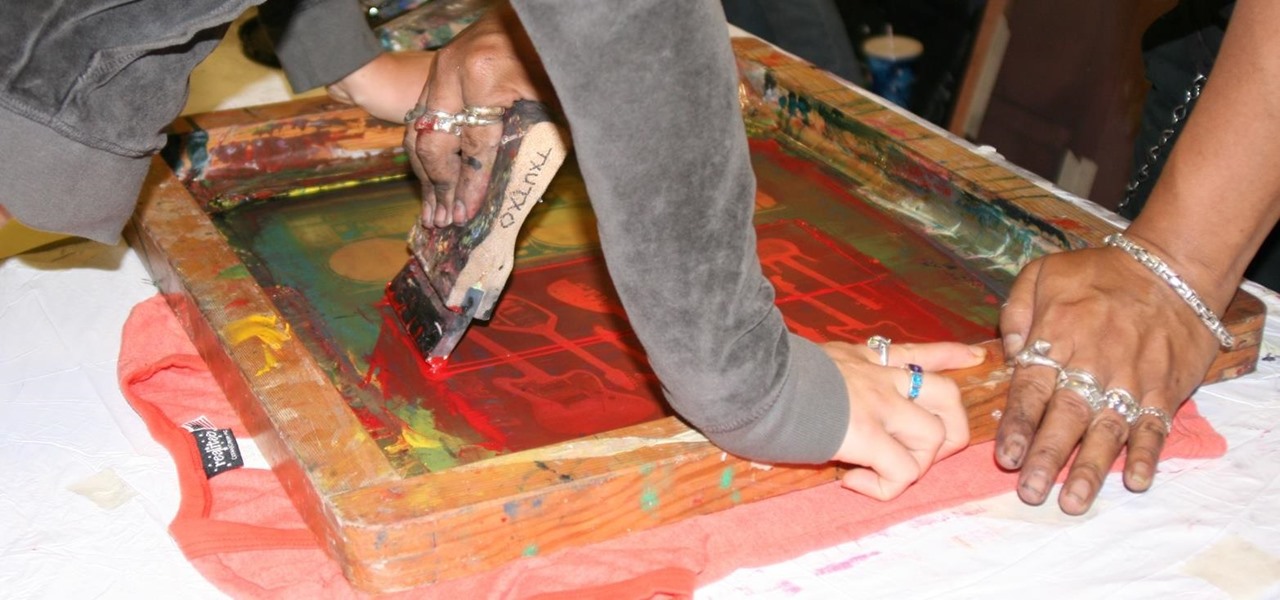
This video, which was made at Peopleprint Community Media in Rochdale, teaches how to easily silk screen print a t-shirt in only four minutes! First, design the artwork to be used for the print, then print it on acetate. Next find a clean screen. Put some emulsion in a coating trough and slowly and steadily coat the screen in emulsion. Then dry the emulsion in a dark room and expose the screen to light. Next wash the screen with water and the artwork should become visible. Mask the exposed ar...
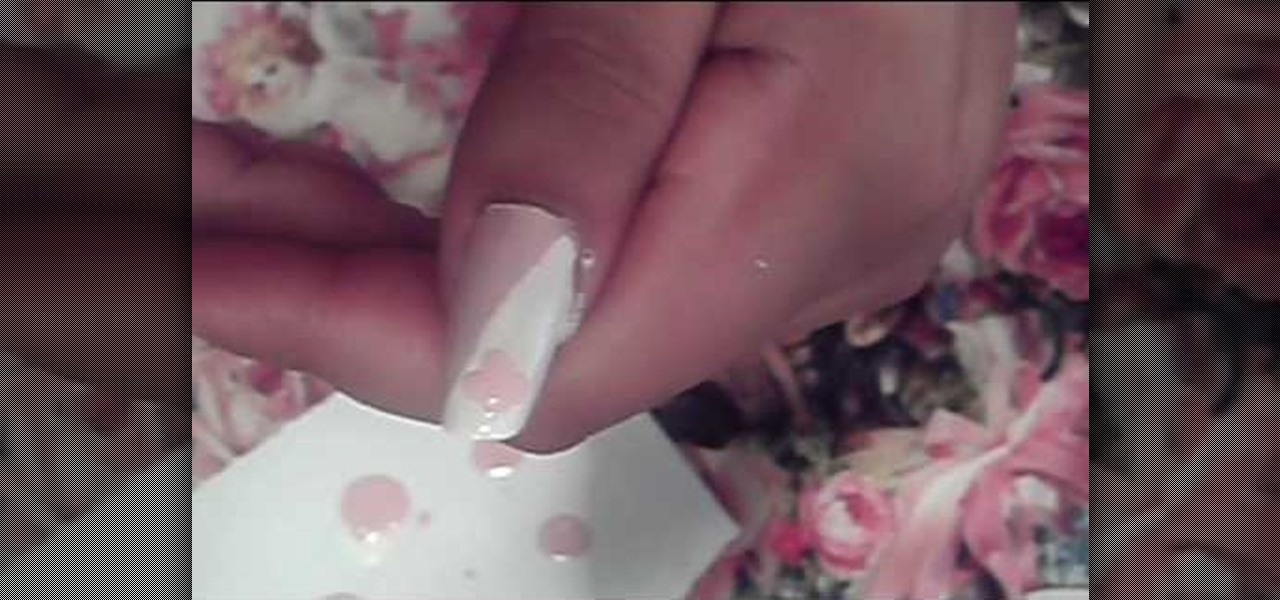
Love4Nails demonstrates how to paint nails with a pink and white sparkly design. First, apply a hydrating base coat. On top of the base coat, apply the color of your choice like a light pink color. Then, create the side swipe which is about half of the nail. Create a straight side swipe in a white color. You may need to do two coats. Then, create a flower with the background color on the white polish. Add a pink rhinestone to the flower. Repeat the technique making a white flower on the pink ...
A small section of the hair is taken and separated into three parts. It is then braided nearest to the end. The centered hair of the three is held. Then there is the pushing up of the other two side hairs. This creates a design. Hair pin is used to attach the designed hair to the side of the head, leaving the end not platted. The remainder hair is grabbed into a side bun. The bun is loosely platted and crossed with hair pins until held firm. Parts of the bun are slightly pulled to create a me...
This video will illustrate us how to paint our nails in neon yellow and orange art design. Here are the following steps:Step 1: first off all take nail paint remover and rub your nails with it to remove any previous application .Step 2: Now take the neon yellow paint and apply a very thin coat of this paint on all the nails. Now let it dry.Step 3: Again take the yellow paint and apply the second coat.Step 4: Now take the orange paint and apply polka dots of ths pain t on all the nails. Let it...
Make sure you nails are already clean and dry. Choose you colors. Add the lightest color first. Using a makeup sponge works great to apply the fading effect. Apply to French manicure area not straight. Reapply pink polish just at the tip of the nail. Apply glitter polish over the pink on the tip of the nail. After applying the shimmer get the nail art polish and make your deign. Make sure your brush is thinned out. Add your design then you can add your gem stones and finish it off with some c...
Childcareland demonstrates how to make a cupcake shaped book in this video. First, make a pattern page from a regular piece of paper. It should be designed like a cupcake. Place the designed pattern on top of a thicker paper like construction paper or card stock. Place five pages of regular paper behind the thicker page and finally place another thicker page at the back of the stack. Glue the cupcake pattern to the top, thick page, slightly to the left side. Then staple down the length of the...
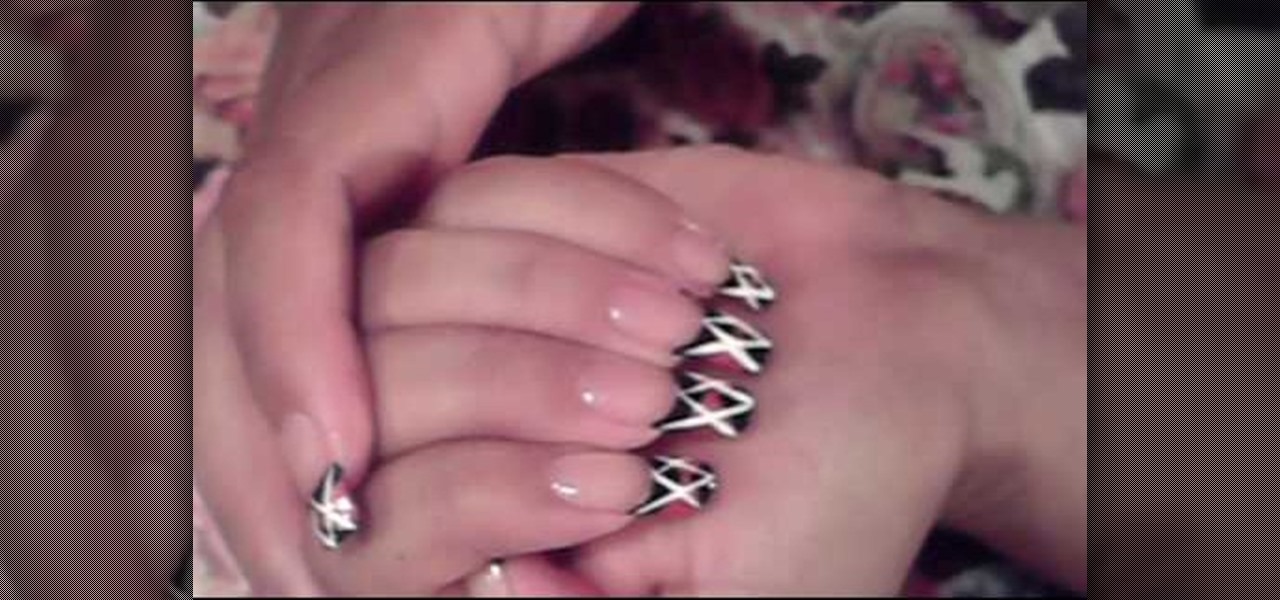
this short video shows how to paint nails in a black, pink, and white art design. The steps are simple and easy to follow. The first thing to be done is a regular black, French tip manicure. Once the black French manicure is completely dry, a pink thin tip nail polish is taken. From the middle of the nail , on the black tip, draw a V mark facing sideward on both sides. The next step is to fill the two "V"s, inside with the pink color. Once dried, with the white thin tipped nail polish, a line...
This video is about how to paint your nails with a colorful checker art design. The first thing that you will have to do is to apply the hydrating base coat on your nail. After putting the hydrating base coat on your nail, get a piece of paper for you to place the black nail polish. After placing the black nail polish on the paper, use the dotting tool and place a series of zigzags on the nail. The next step is to fill in the zigzags depending on the color you want. After filling in, make a s...
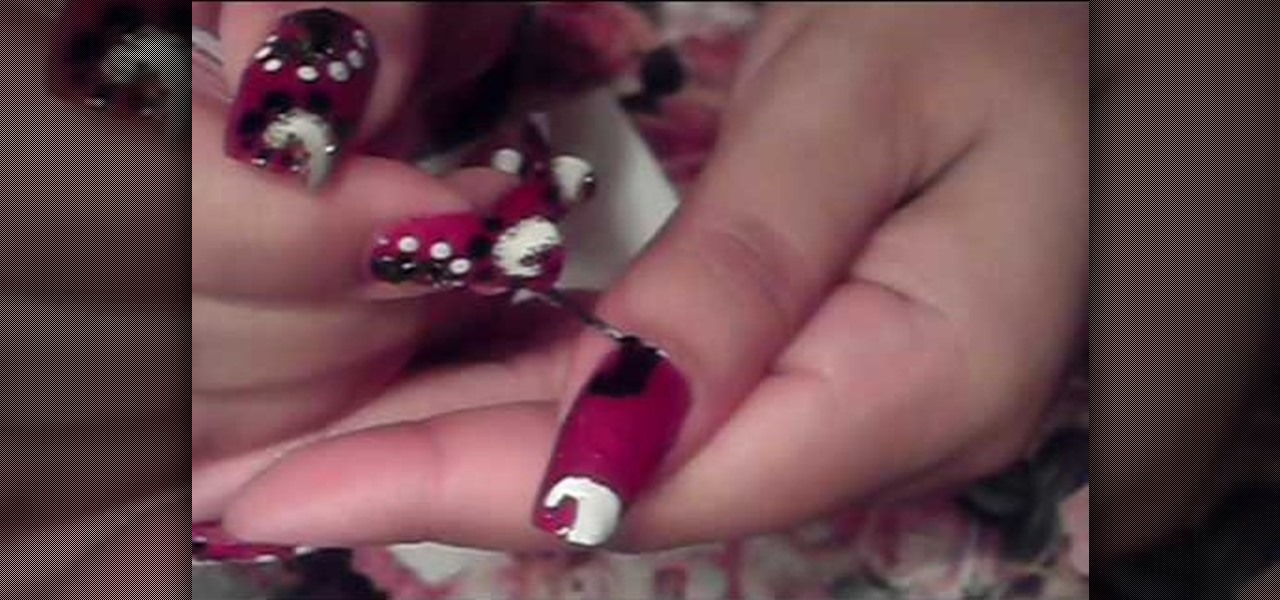
Love4Nails demonstrates a nail design consisting of black and white swirls and dots on a red background. She has already applied a base coat and two coats of red polish. The first step in making the design is the white swirl on the tip. Using the pointed end of a nail dotter, she dips it in the white polish and draws the outline of the swirl, and then fills it in. Next she does the black swirl at the bottom in the same manner.
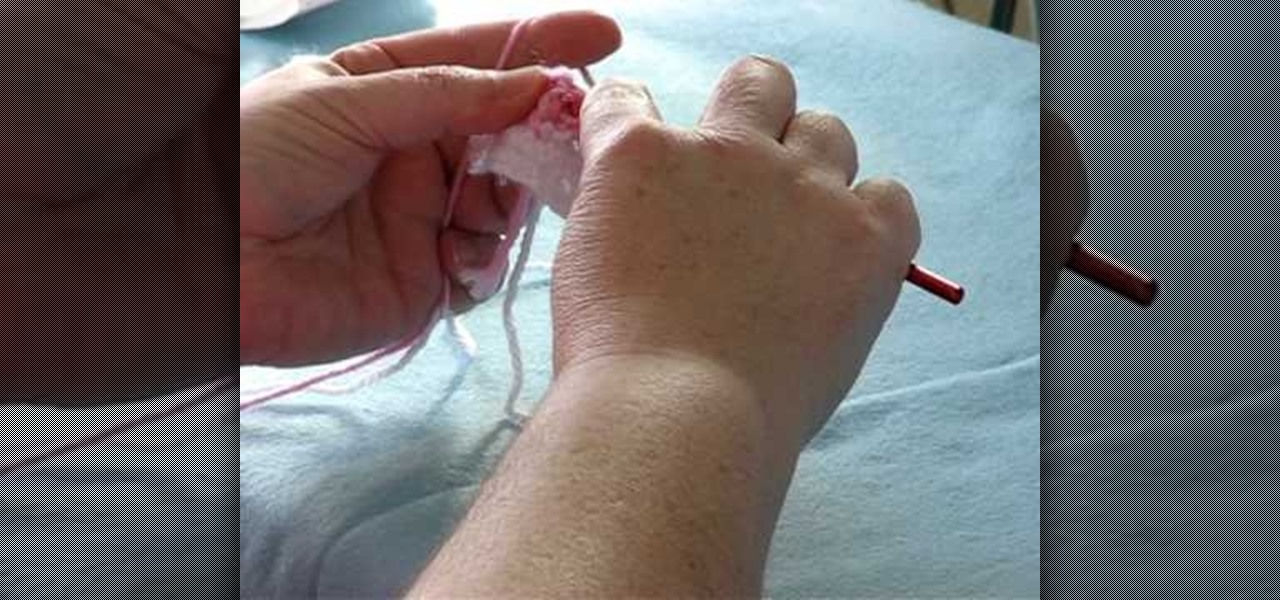
Donna teaches how to do a front-post, back-post crochet stitch. First of all you'll need yarn and a hook. Start with a single crochet. Donna uses white to create the single crochet and to create a heart, goes over the single line with pink to create a double crochet. To create the double line, go around and through. from front to back, through the single post. Always have the yarn going through the same side. The basic method using the pink, is to make the design in a "V" shape. Using this me...
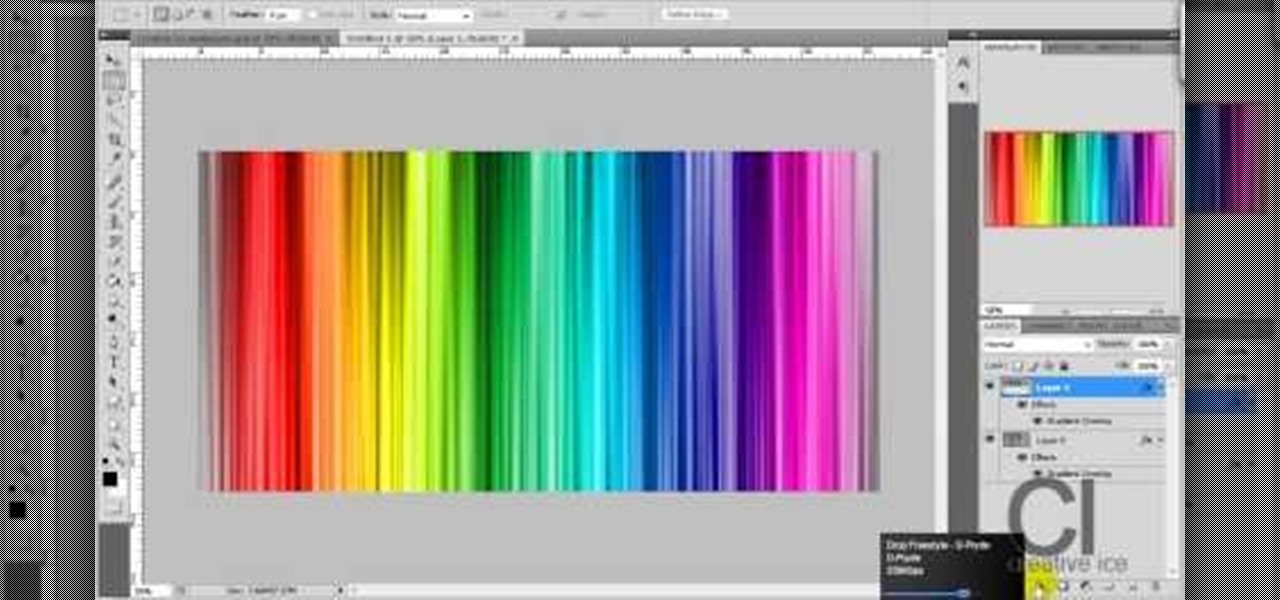
Adobe Photoshop CS4 lets you create images and graphics that represent your personality. This video tutorial demonstrates how to make a quick, cool, and easy wallpaper design for your personal computer desktop. Either copy the provided example, or make your own tweaks and come up with a cool custom design.
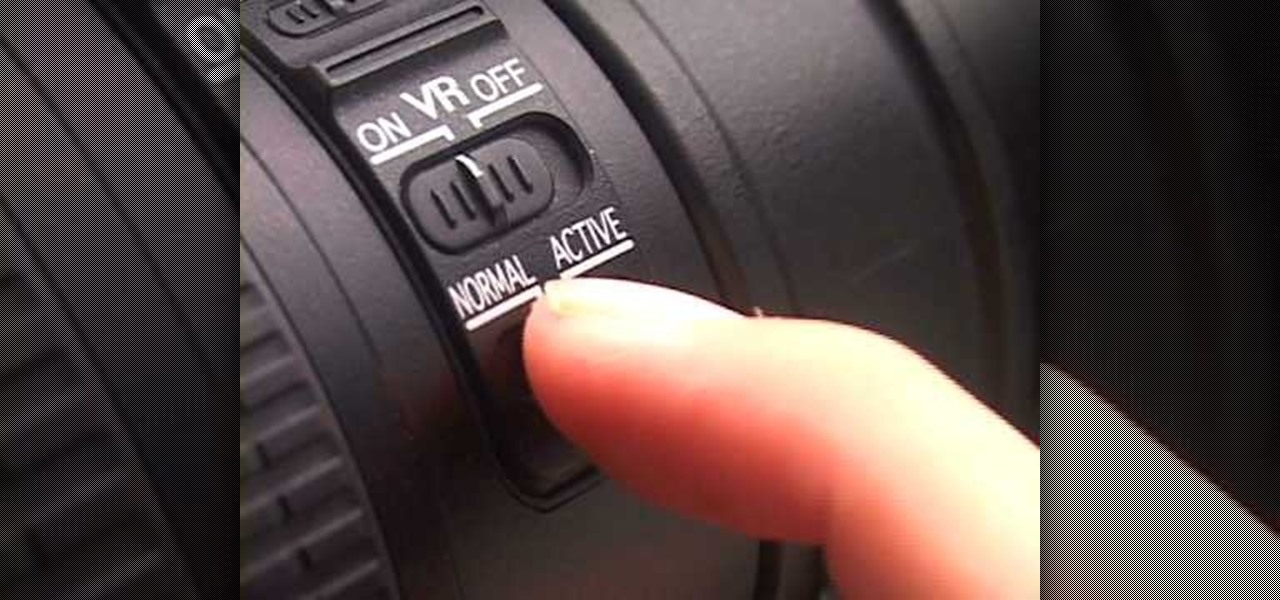
In this video tutorial, viewers learn how to use Vibration Reduction (VR). Vibration Reduction is the name if an image stabilizer engine that helps estimating unwanted blurriness when using slow shutter speeds or panning shots. VR has two modes: Normal and Active. Normal mode is designed for hand holding or panning shots where it estimates camera shakes when holding at a slow shutter speed. Active mode is designed for using on rapid moving surfaces. This video is very descriptive and gives gr...