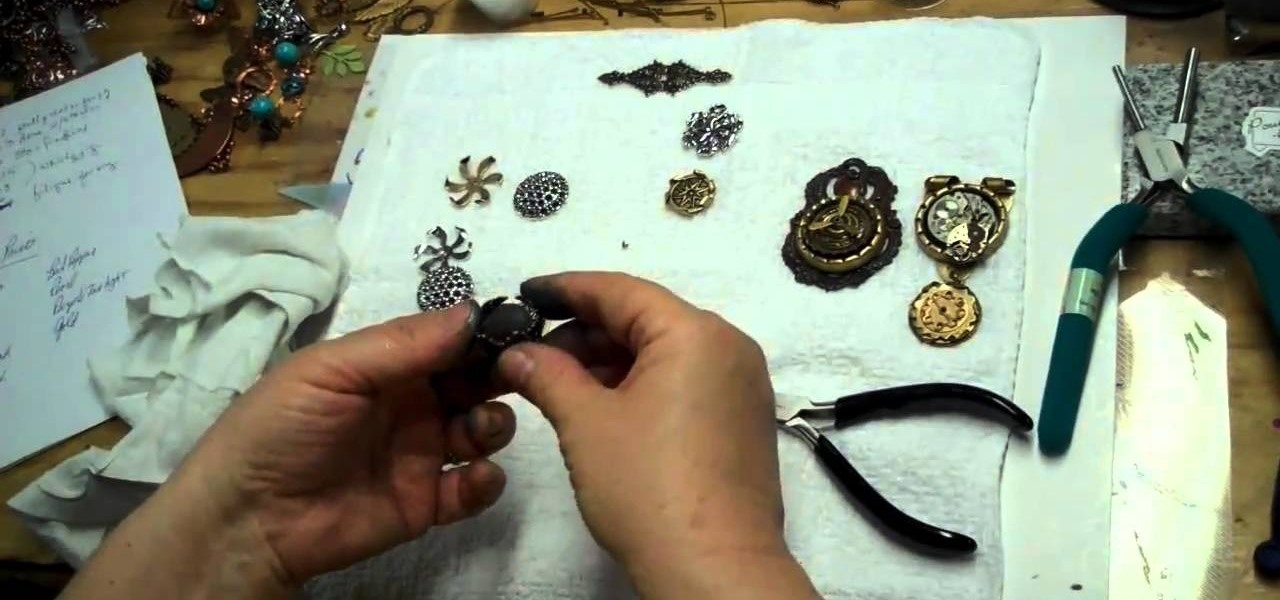
If you haven't heard of Steampunk, then you've obviously been living under a rock for the past couple of years. Steampunk style, which is an ironic style composed of designs that fuse anachronistic technology (proppellers, watch parts, etc.) with Victorian style.
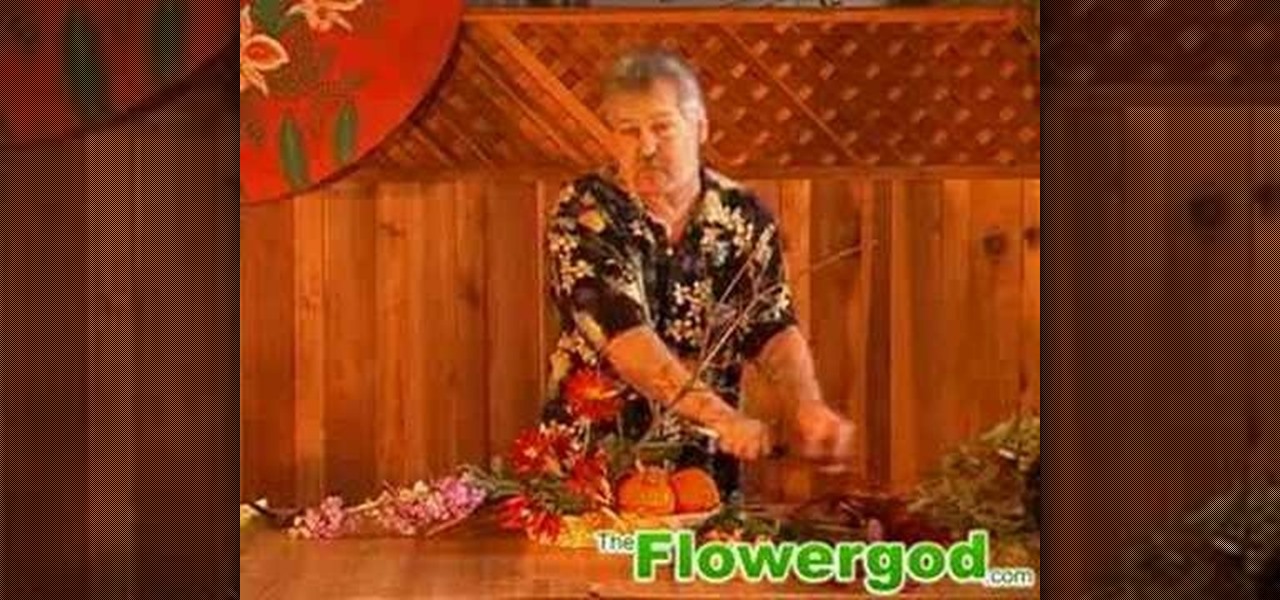
In this tutorial, we learn how to design a fall table centerpiece with mini pumpkins. First, place three mini pumpkins on the side of a basket. Then, place peppers around them and throughout the basket. Take a bare branch and stick that in the middle of the centerpiece. From here, take some fall type of flowers and place them on the other side of the basket to decorate with. Use different colors with oranges, purples, and greens to make it look more like fall. From here, add in some fall leav...

A cardigan is greet for the winter months, but not very stylish, unless… you make one that's draped. Stay warm while looking trendy with this DIY draped cardigan idea from GiannyL.
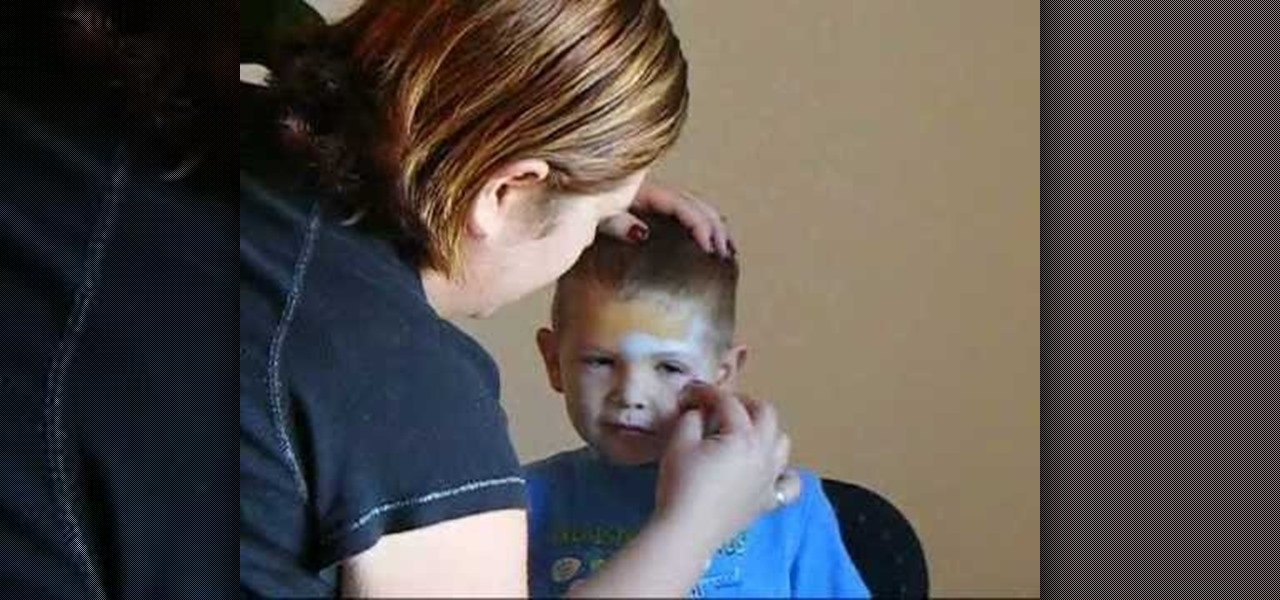
In this video, we learn how to do Batman face paint. First, you will need to apply a metallic silver paint to make a mask Batman design around the eyes. Next, use a fine tip brush to paint black for the outline around the Batman design. You may need to have the logo printed out by you so you know how to paint it. Next, draw a circle around each of the eyes, then you will have the completed Batman face paint! This is great for children and is extremely easy to do. This is great for parties and...
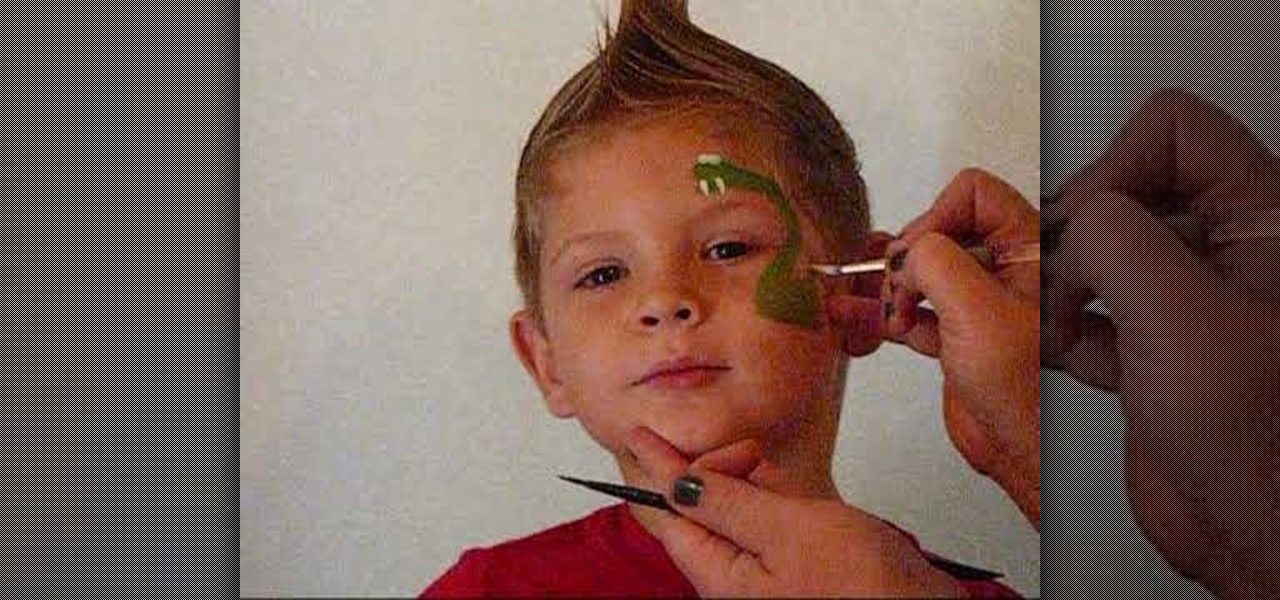
In this video, we learn how to face paint a snake design. First, dip a paintbrush into dark green paint and place it on the forehead. Bring the brush down in a snake shape until you reach the cheek. Make a lump at the bottom of the snake followed by a small line for the tail. After this, dip a different brush into white and make a small dot on the face to make eyes, then make two teeth fangs. Also fill in the bottom to make the rattle on the bottom of the tail. Next, use red to make a snake t...
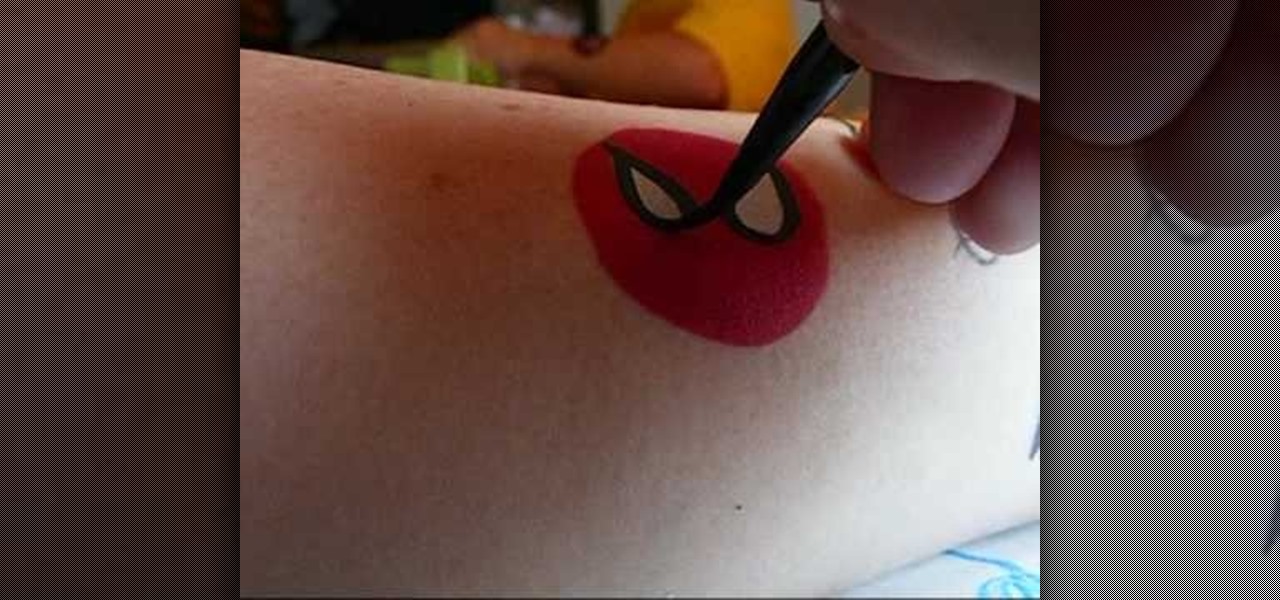
In this video, we learn how to make five easy face or body paint designs. First, to make a shooting star, grab a sponge and apply your paint to the edge of it. You will want to paint three colors next to each other on the edge of the sponge. Now, drag this across the skin and make a point at the end, then paint on a star. Next, to make a flower you will paint four hearts that are all touching with their points in the middle, then paint on leaves by swiping the brush sideways. To paint Spiderm...

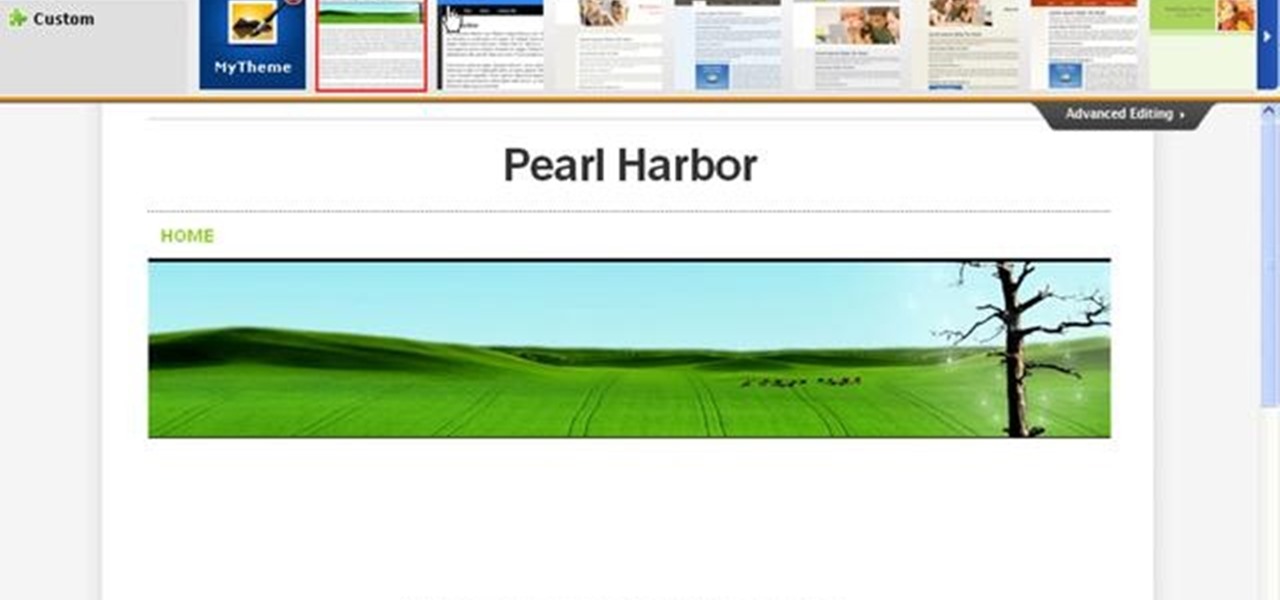
In this video, we learn how to create a free Weebly website. First, type a title in that you want for your website. After this, you will be brought to a new page where you can change the elements and designs. The design can easily be changed until you find one that works for you. After this, you can start to customize the template that you have chose and add in new paragraphs, columns, pictures, and more. Next, you can change the pages and add in links and more information. Adjust the setting...

In this video, we learn how to make a ceramic slab plate. First, roll out the ceramic. After this, place the clay on butcher or newspaper and smooth it out with a plastic card. Repeat this on the other side. Next, use a paper template to help cut your design or use a circular object. Cut slits to help remove the surrounding clay. Use the excess clay to build support pieces then curve the edges of the plate up and place the support pieces underneath. Use a piece of leather to smooth the edges....

In this tutorial, we learn how to design a fall centerpiece in a watering can for a home. Start off by cutting branches off of a willow and placing it into a watering can. Next, arrange Japanese lanterns around. After this, cut alstromeria and seeded eucalyptus and place them around the can where you feel they fit best. The best part of this arrangement is that you can arrange it however you want! You can add different types of fall flowers and add more or less of flowers you prefer. When fin...

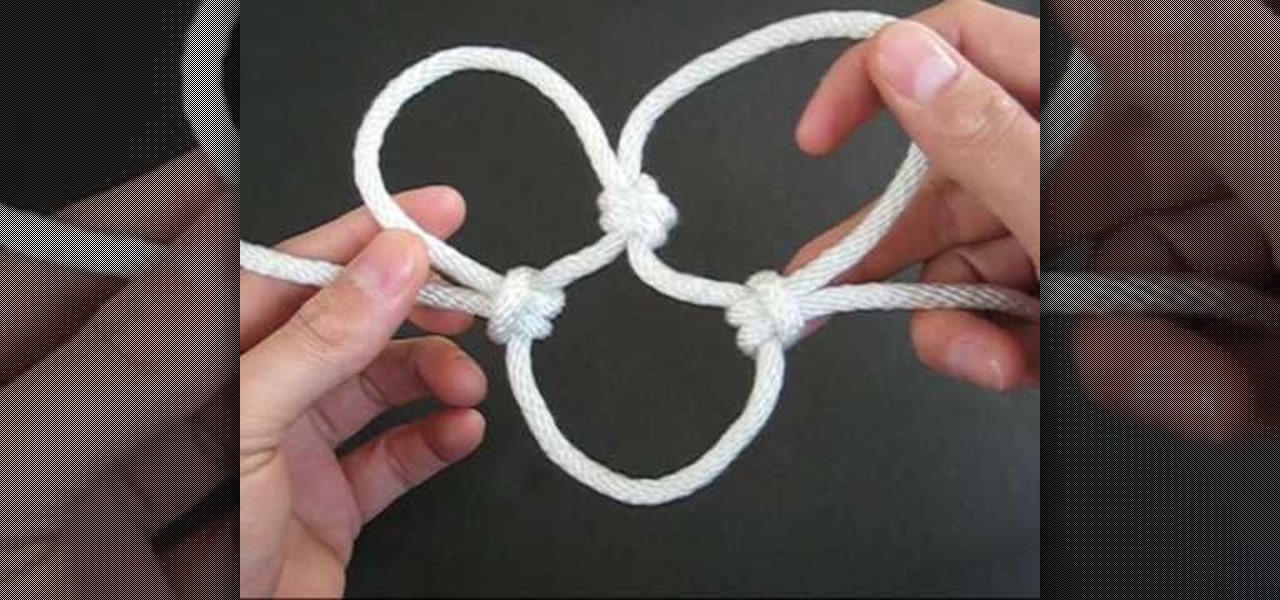
In this video, we learn how to tie the basic knot design of a cargo net. First, tie a double overhand knot on a rope bent into two. After this, make cow hitching on the first loop that you created. Next, make a second double overhand knot followed by cow hitching the second loop. After you do this, you will be able to size up for use! To make this, you must have some prior knowledge of how to tie different knots. If you don't, you won't know how to make the shapes. Use a picture as a referenc...

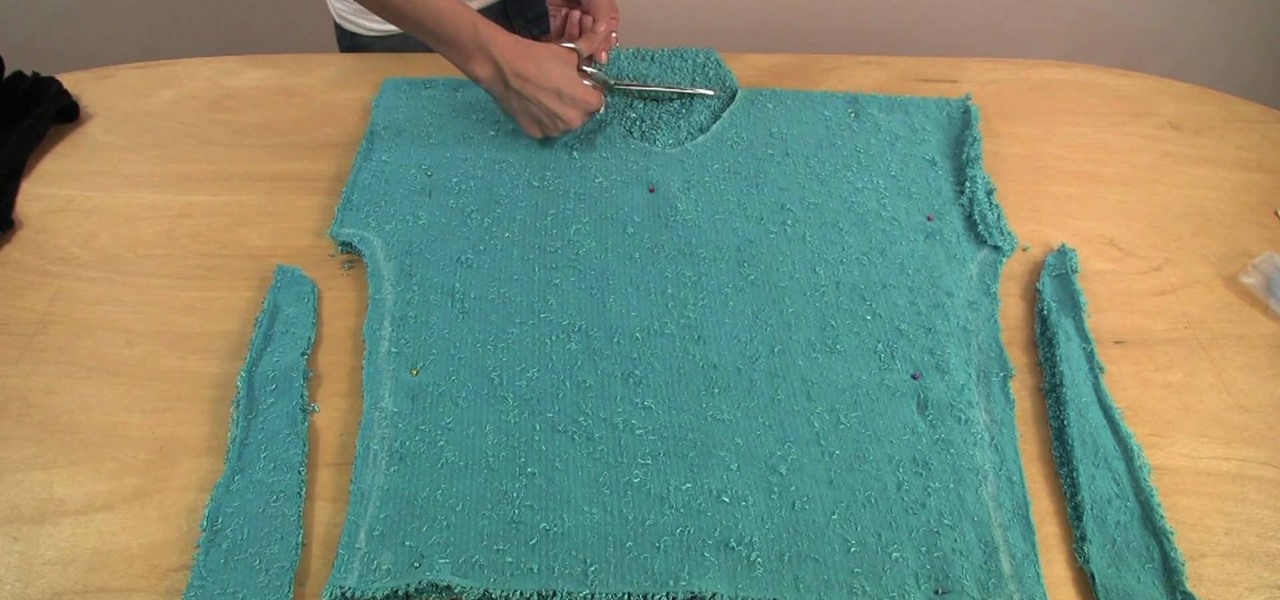
With the weather getting colder and colder this winter season, you may need to update your winter clothing with some new, warm sweaters. If the weather is just a little too chilly for your taste, then layer yourself up with this fashion tip. See how to make a lux short-sleeved sweater in this video from GiannyL.

The alluring and stylish GiannyL is the DIY fashion design guru of the web. Do-it-yourself has never been so sexy before. Her fashion design video tutorials make new outfits not only hot, but cheap and easy. And recycling and reusing old clothing is not only practical, but eco-friendly.

In this brief instructional video, you'll watch as a nail expert shows you one of her best custom designs finished by using foil wrapping paper. This is great for people looking for something new and trendy that will add a little bit of pop to their already polished look. Be sure to pay attention to the many tips and tricks that this nail designer drops, otherwise you'll be headed for disaster! Remember, to make this nail-art work, your foil wrapping paper will have to be cut into very thin s...

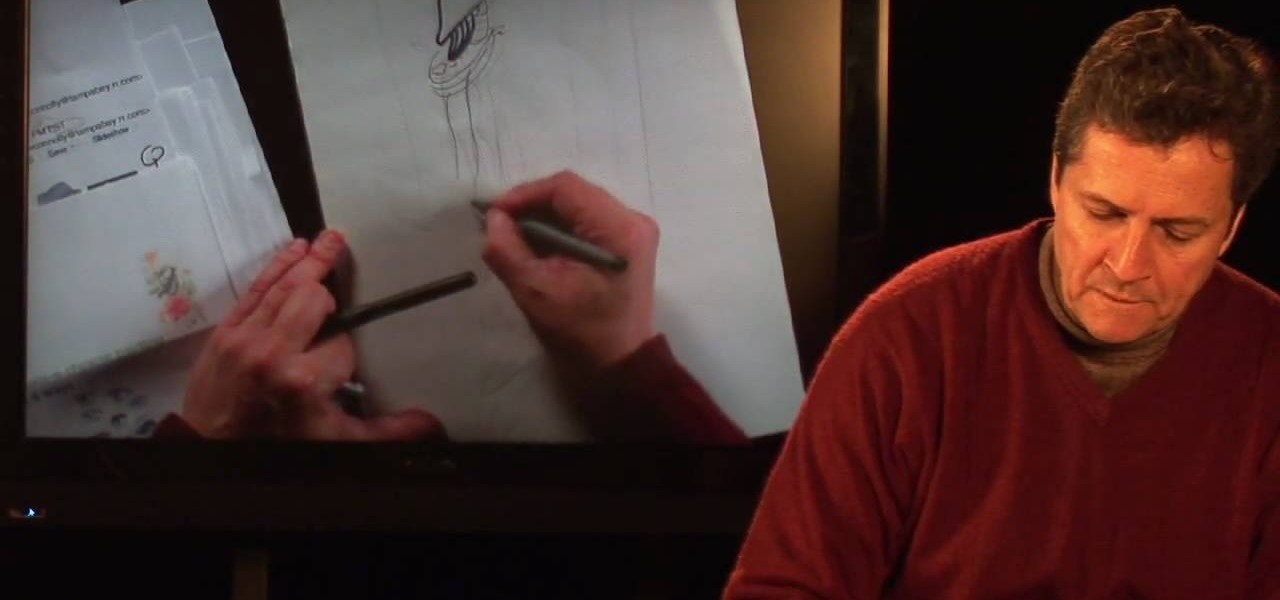
This video shows us the method to draw a fashion concept sketch. You must show the figure of the person you are drawing. You can draw the figure wearing a scarf you have designed. You can draw the flowers on it. A lot of sketches are very long. There are a lot of vertical lines and plates in the sketch. There are long legs at the bottom of the sketch. The parts of the body are not in human proportion. You can draw bracelets and a purse in the sketch. The sketch would be finished with color, v...

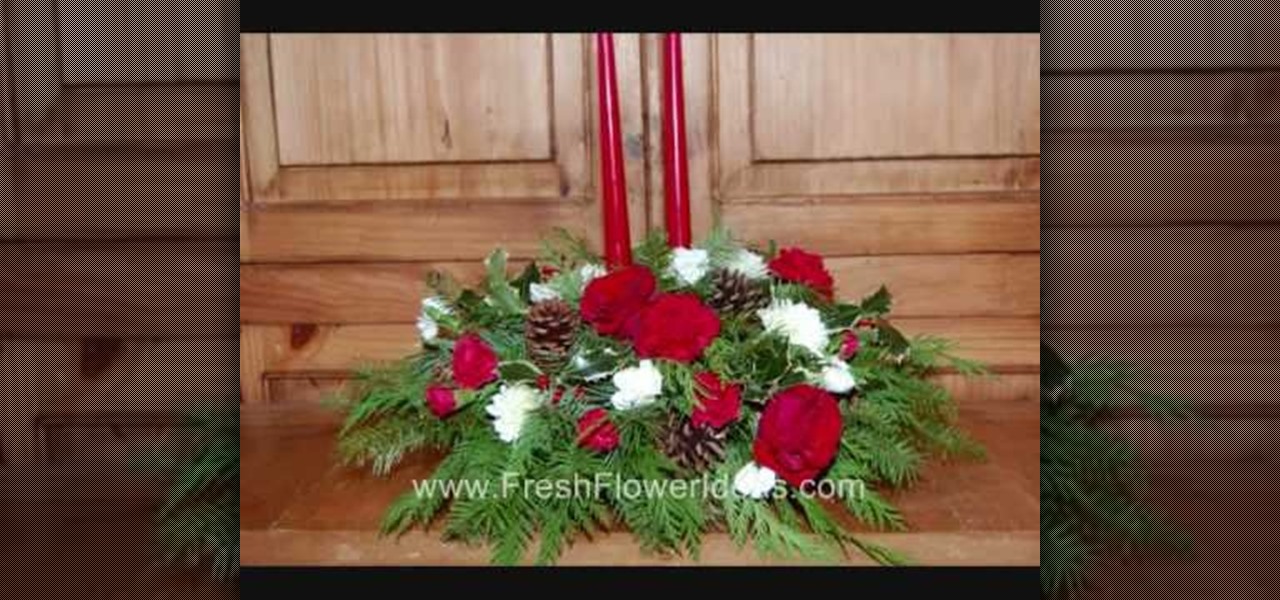
This video will help you to make a Christmas centerpiece with flowers and evergreens. The materials required are a plastic centerpiece tray, floral foam, two candles, two candle cups and wired wooden pegs. Flowers like red carnations, white cushion chrysanthemums, red and white pixie carnations and roses can be used for this arrangement. Evergreens used are cedar, pine, princess pine, and variegated holly. The foam is placed in water in the tray. The candle cups with the candles are placed in...

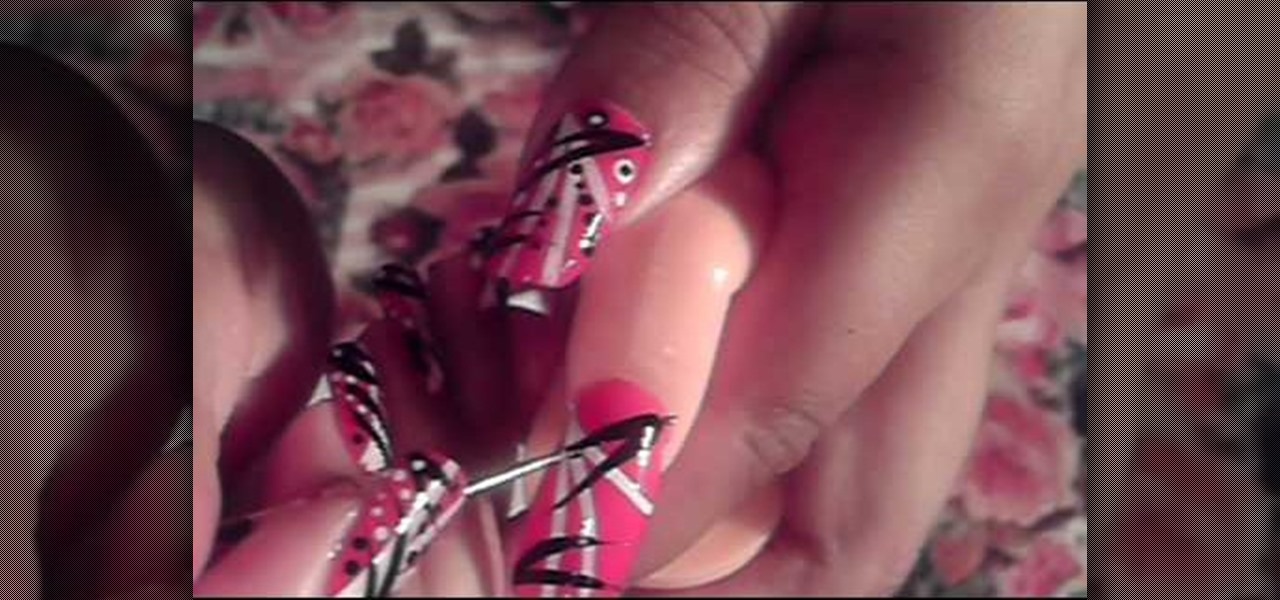
This video illustrate us how to create a sassy red, black and white nail design. Here are the following steps :step 1: First of all remove any previous nail paint.Step 2: Now apply some primer on the nails for long lasting effects of the nail paint.Step 3: Now take red nail paint and apply it all over the nails, let it dry.Step 4:Now take black nail paint and draw fine horizontal lines all over the nail.Step 5 : Now take white nail paint and apply polka dots on these lines as well as on the e...

To decorate a fall flower centerpiece for your home, create a table centerpiece. Get some dry flowers with attractive colors of your choice. Take a metallic pot for centerpiece. Place a Styrofoam ring in the bottom of pot or vase. Carefully insert stems of dried flowers into the foam. The interior design technique is to be perfect to fall, so that it looks natural. Make sure to have the tallest flower at the center of the pot. Work from the center outwards applying more flowers and stems. Mak...

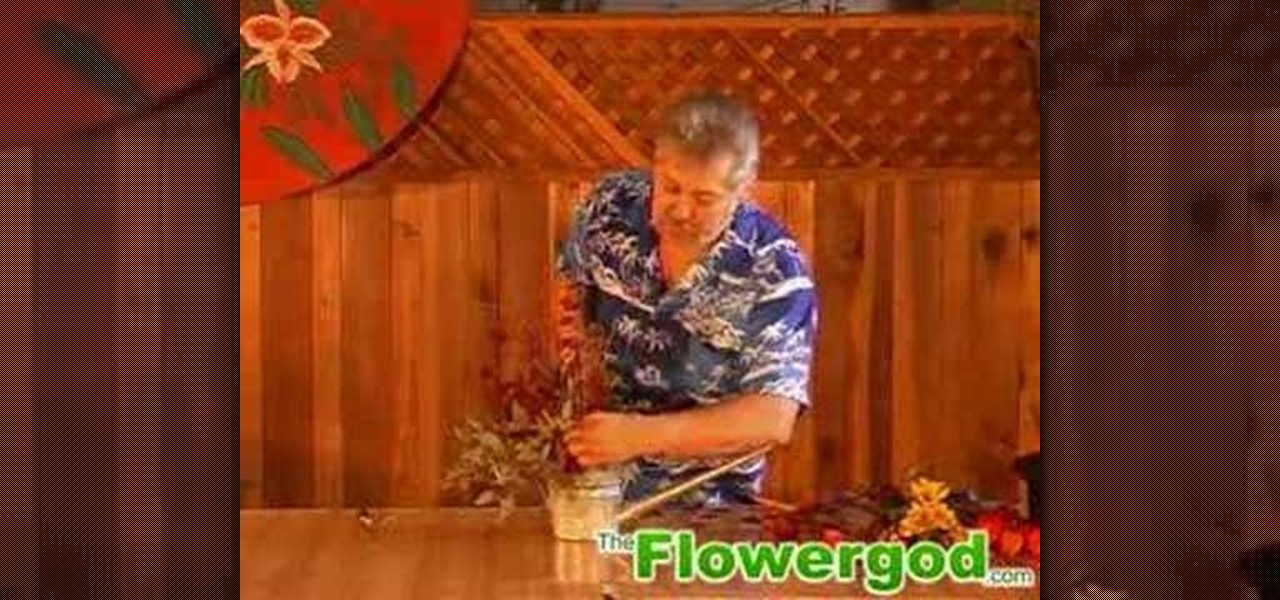
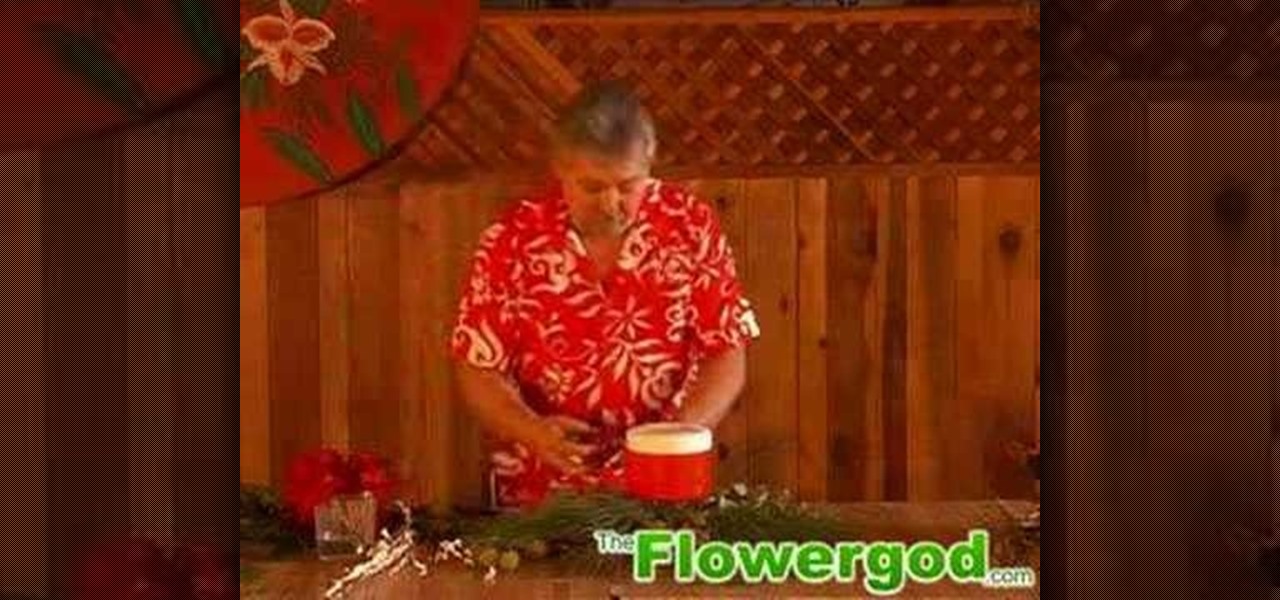
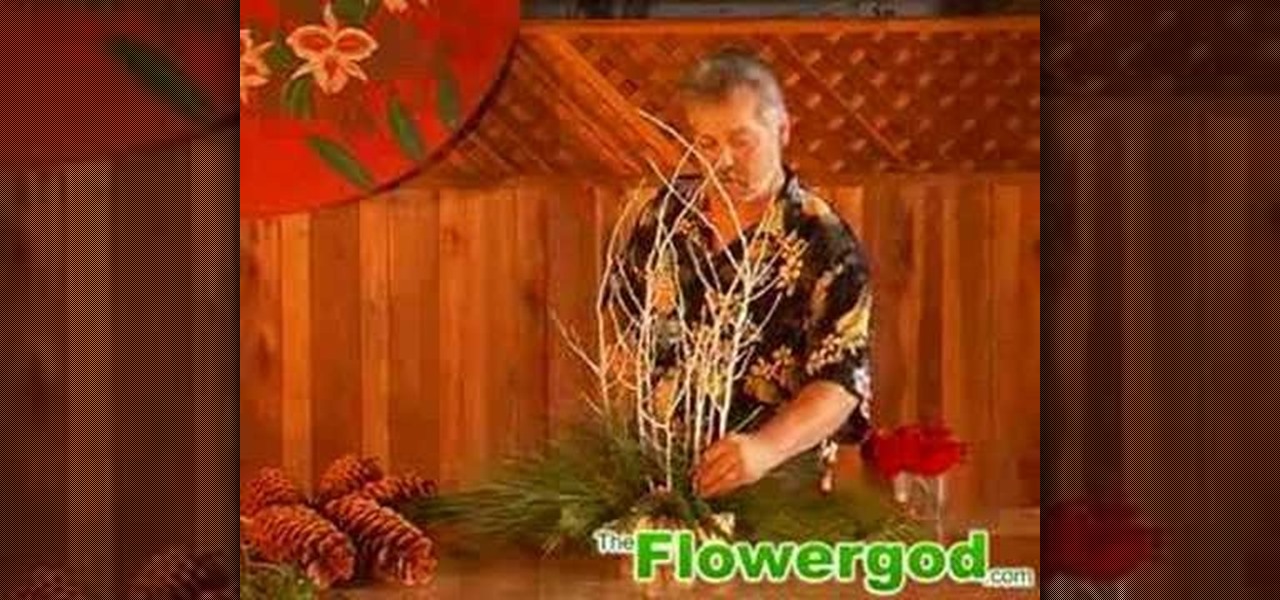
Are you looking for some fresh ideas to decorate your table for Christmas or any other special occasion? Then watching this video might give you some new and creative ideas to transform your table. The Flowergod shows you how to design a beautiful and innovative candle centerpiece for your table. He uses pine needles, cedar, pine cones and roses to create a decorative style. The candle is placed above a container to keep the wicks dry and the greens are placed in the container with some water...

In this video the author describes how to design a centerpiece for your table with a holiday or winter type theme. The author uses different types of foliage including cedar, pine, sugar pine cones, roses, and twigs to accomplish this masterpiece. This is a step-by-step video and is easy to follow along with. The author starts with floral foam and explains the process from start to finish with enthusiasm and detail. The finished product would decorate a large table for a party or gathering an...

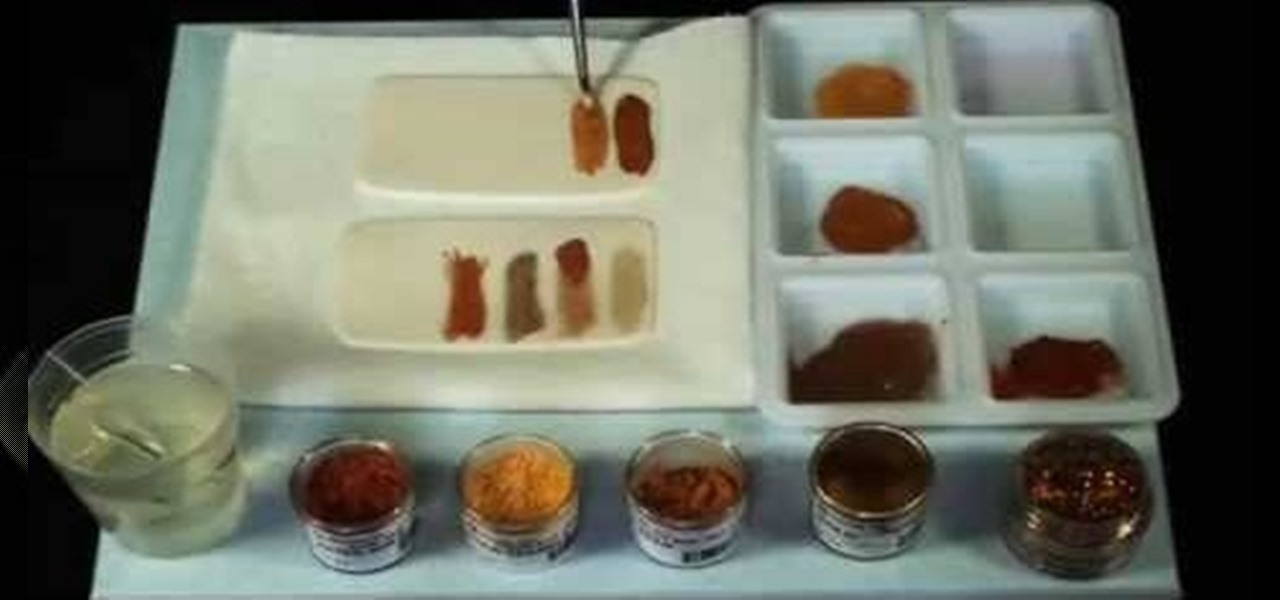
This is a video tutorial on how to design with gold dusts while decorating a cake. There are many different shades of gold available. Some of them are edible while some are not. The names of some types of gold color are Disco dust, Highlighter gold, Old gold, Sparkle gold, Aztec gold, etc. To intensify your colors, add some lemon extract or vodka to the color .When you use dry color, it looks a little lighter than when it is wet. The video will show you how to use different shades and types o...

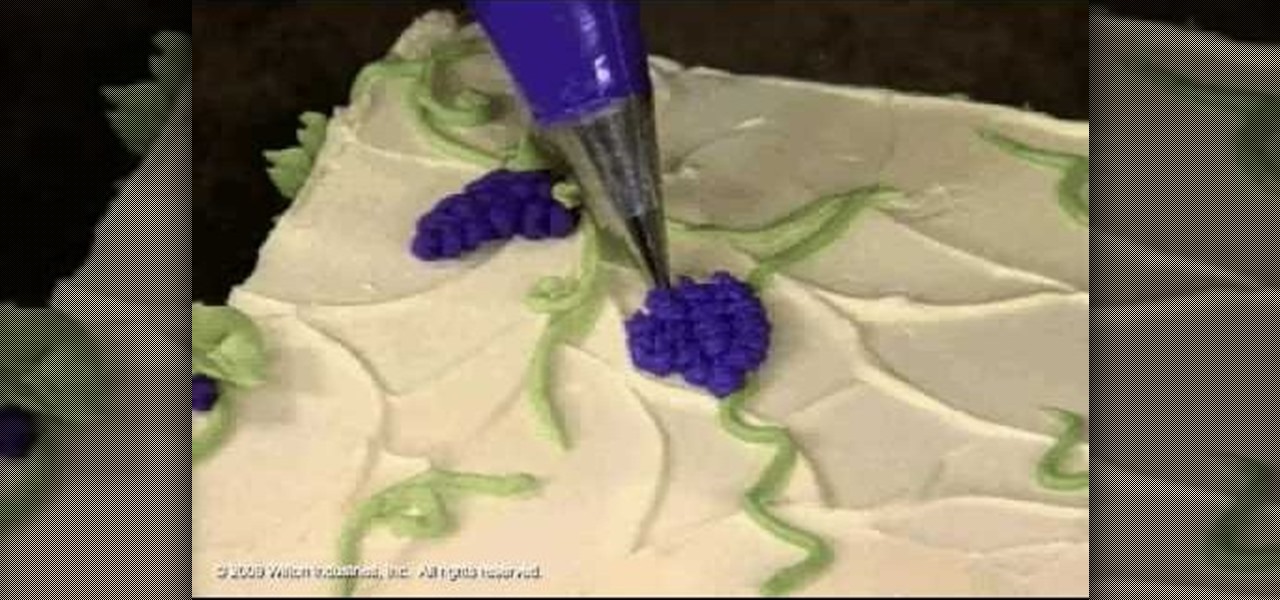
This video teaches the secrets of making and decorating a vintage celebration cake. First bake your favorite cake, apply cream over it and get it ready to decorate. Start by using green icing color pipe and design some vines on the cake. Now with violet icing color design the grapes by making beads and make some leaves with a big green icing tip. Use buttercup yellow icing color and make a leaf border all around the cake.

Don't trash your unfashionable old skirt, but turn it into something new, something unique, something fashionable. See how to create a designer tote from a skirt in this video from GiannyL.

The video is about tying a Zigzag braid knot design. At first, make the tag or rope into two by folding it. Take one end and make a small knot at the folded junction. Then take the second and pass it through the first made loop. Then take the other end and pass it through the loop made by second end. Continue the hitches to end the rope. Finish the knot by tightening the rope. Then rearrange the position of the hitches. This is done with care. The knot is made beautiful and prettier by making...

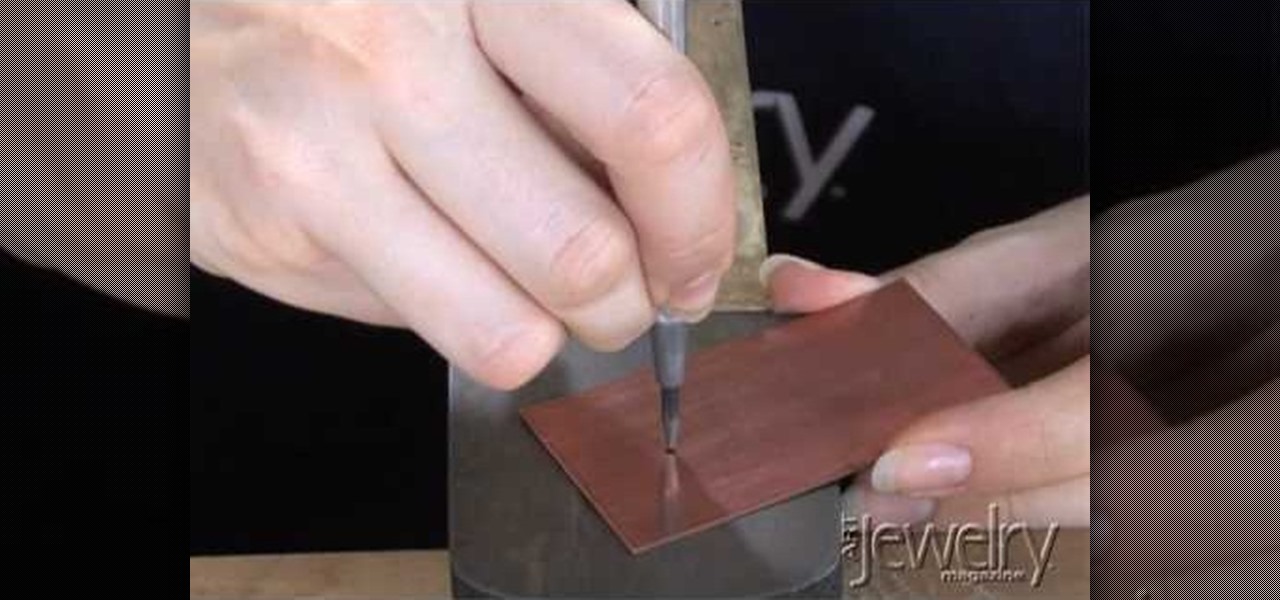
This video by one of the editors of Art Jewelry magazine, Addie Kid, will show you some basics on how to too drill into metal. Though this video does not show you how to make a specific jewelry design, but does teach skills so you can make your own design. First you'll need a piece of metal, a steel plate, and a small drill with a small bit. First you'll mark the place you want to drill, and punch into the metal with a center punch. The final part is to drill the hole with the drill. You'll n...

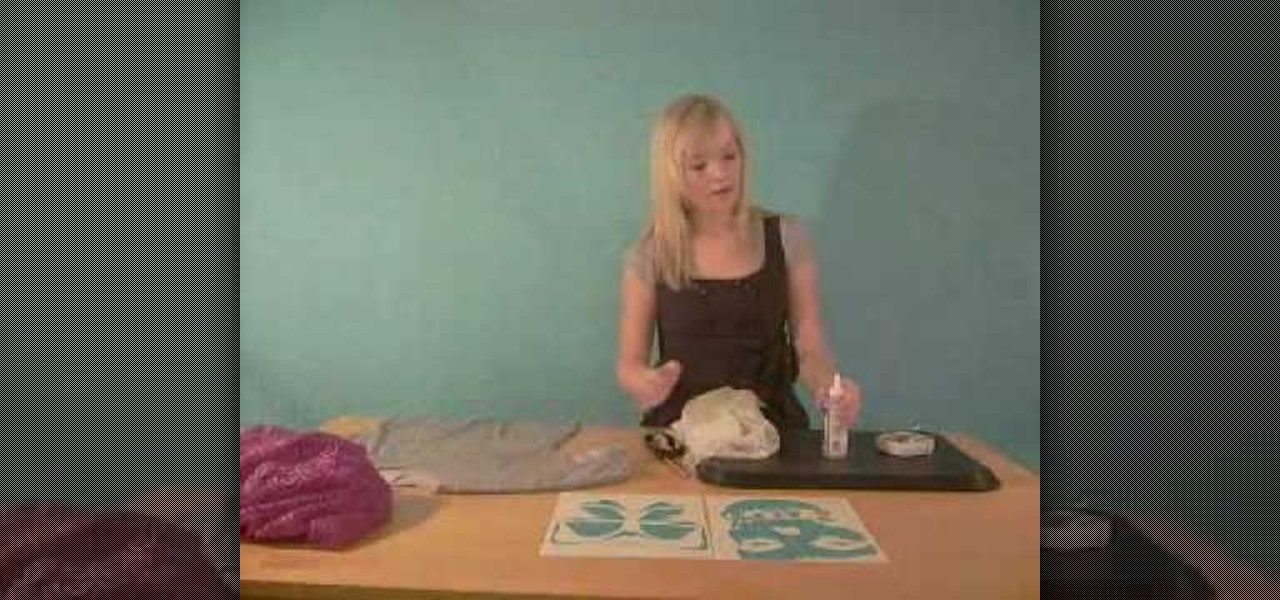
Watch this video to learn how to make a tank top or shirt with lace and a print. You need a template with the picture of your choice, some lace, some fabric glue and fabric pins or safety pins, and a flat board about the size of a meal tray. Slide the board into the shirt. Put the template on top of the lace, then pin it in place. Next cut out the lace along the lines of the template. Arrange the lace on top of the shirt in the desired shape and glue it in place. Wait 48 hours before washing....

Illustrator is a great tool for creating individual artwork. Creative and clever, it has many functions, one of which is mosaic. If you want to make your illustration or design appear to have a myriad of tiny 'squares' like a Roman mosaic, this guy can help you do it. The short clip explains clearly how to bring the chosen effect to your design. You can see on screen exactly how to do it, so you're not left in the dark, searching every menu for the right tool.

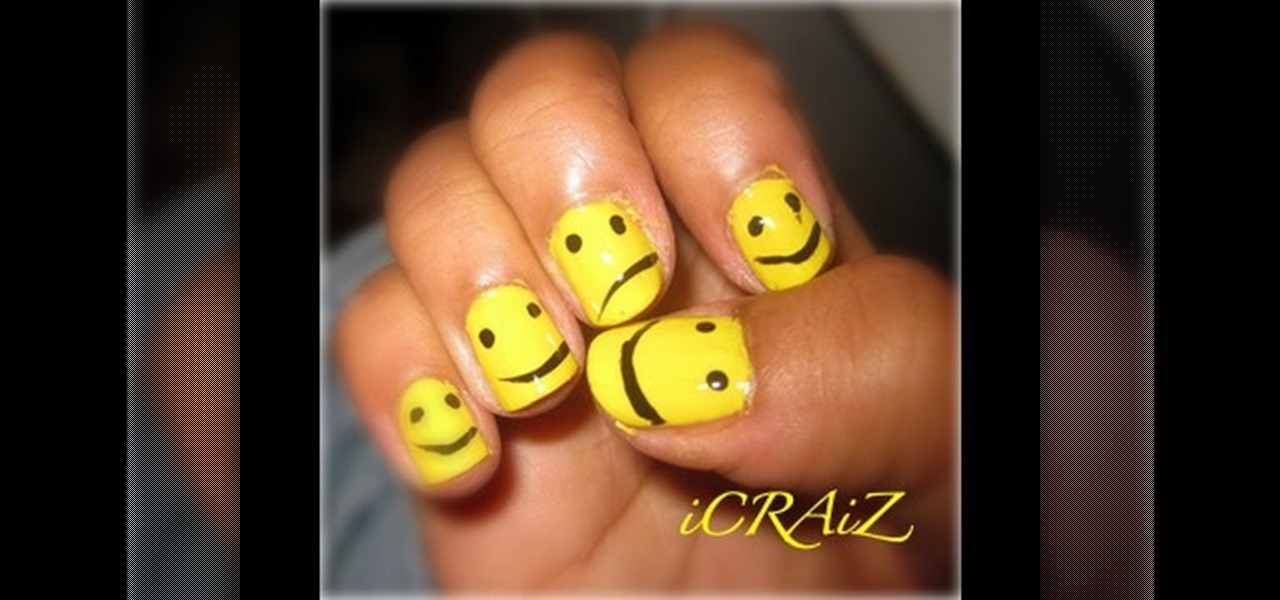
For those who would like to have fun, interestingly designed nails, this video shows how to paint smiley face nails. After applying a base coat, mix a plain matte bright yellow and a plain matte white nail polish together on a piece of paper. This will create a lighter shade of yellow. Apply the lighter yellow mixture to the nails. After applying two coats and allowing them to dry, use a black nail polish to draw the eyes and mouth of the smiley face. This will give you a cute and stylish des...

Creating your own earrings is the best way to save money and look good doing it. You can show your personality by designing your own jewelry. And in this video tutorial, get some ideas and follow along as you see how to make a pair of dangle earrings. These a basic dangling earrings, not hard to make at all.

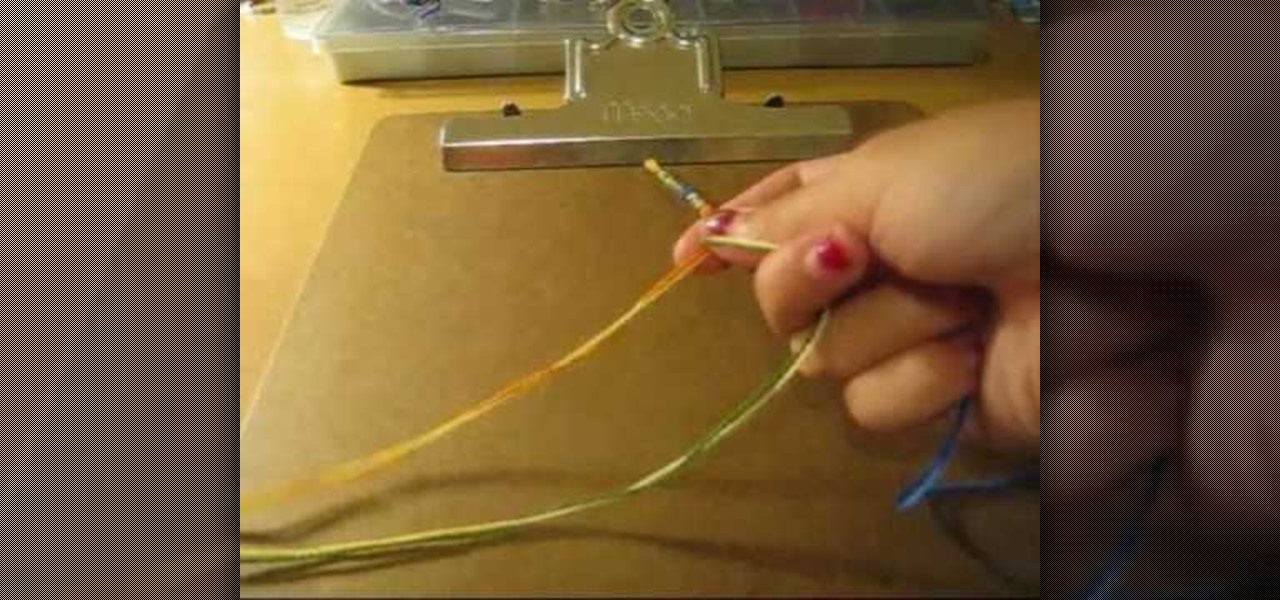
Making friendship bracelets are easy and keeps friends in touch even when apart. Not everybody wants to show off their friendship to everyone, but if you do, this video tutorial will show you how to make a friendship bracelet, specifically the Swirl N Braid friendship bracelet. This is a fun design and basically the Chinese staircase combined with braids.

Lauren, AKA QueenofBlendingMUA has joined the ranks with the other YouTube beauty gurus. Lauren is a makeup artist with a large collection of eye makeup & nail art video tutorials. Her eye makeup look span from everyday makeup to creative, more expressive party looks. Her nail art/ manicure looks are also lots of fun. Check out this nail art tutorial video to learn how to create a neon color block nail art design. Search QueenofBlendingMUA on WonderHowTo for more beauty videos.

Lauren, AKA QueenofBlendingMUA has joined the ranks with the other YouTube beauty gurus. Lauren is a makeup artist with a large collection of eye makeup & nail art video tutorials. Her eye makeup look span from everyday makeup to creative, more expressive party looks. Her nail art/ manicure looks are also lots of fun. Check out this nail art tutorial video to learn how to create a neon orange and dark blue nail art design. Search QueenofBlendingMUA on WonderHowTo for more beauty videos.

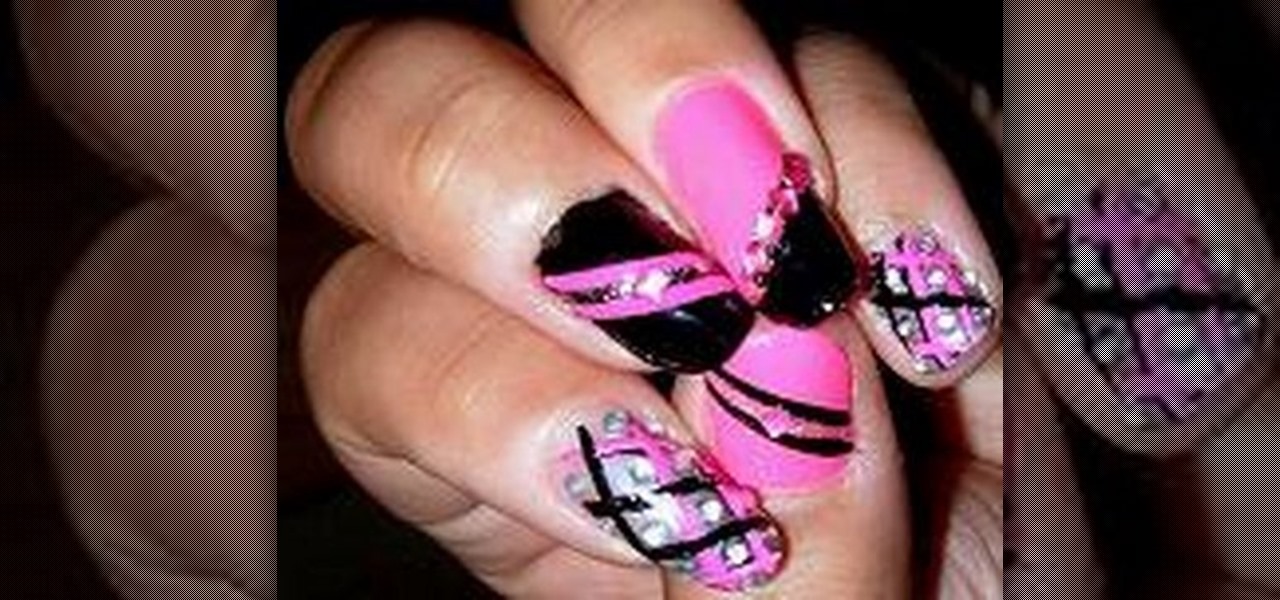
Lauren, AKA QueenofBlendingMUA has joined the ranks with the other YouTube beauty gurus. Lauren is a makeup artist with a large collection of eye makeup & nail art video tutorials. Her eye makeup look span from everyday makeup to creative, more expressive party looks. Her nail art/ manicure looks are also lots of fun. Check out this nail art tutorial video to learn how to create a hot pink and black nail art design. Search QueenofBlendingMUA on WonderHowTo for more beauty videos.

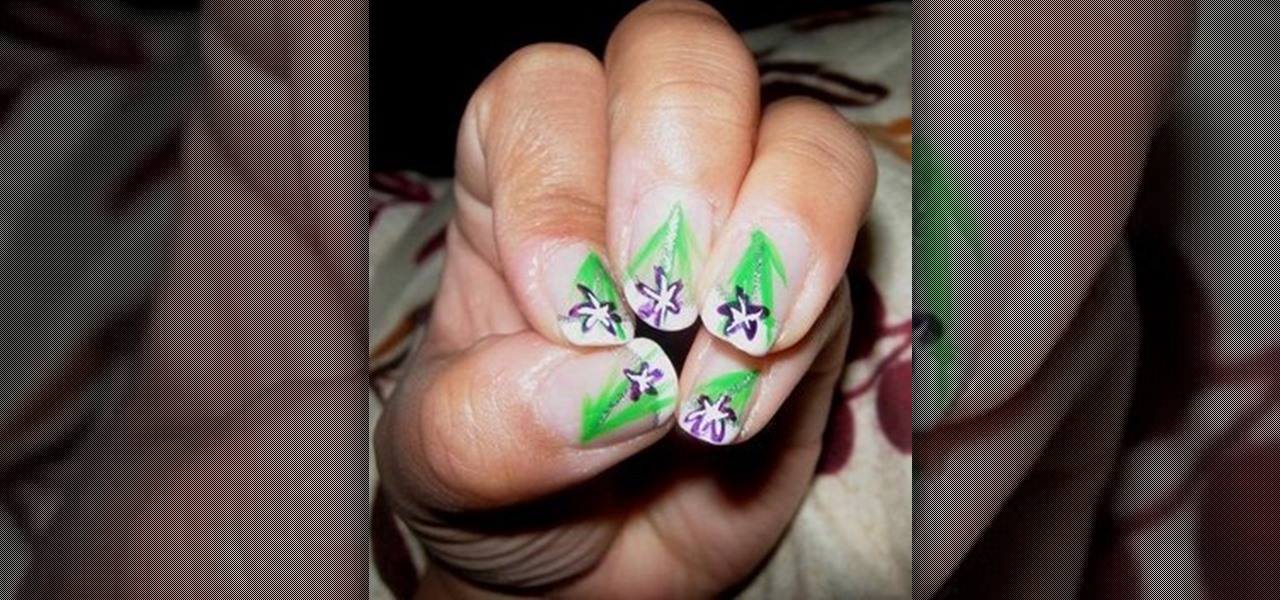
Lauren, AKA QueenofBlendingMUA has joined the ranks with the other YouTube beauty gurus. Lauren is a makeup artist with a large collection of eye makeup & nail art video tutorials. Her eye makeup look span from everyday makeup to creative, more expressive party looks. Her nail art/ manicure looks are also lots of fun. Check out this nail art tutorial video to learn how to create a purple flower nail art design. Search QueenofBlendingMUA on WonderHowTo for more beauty videos.

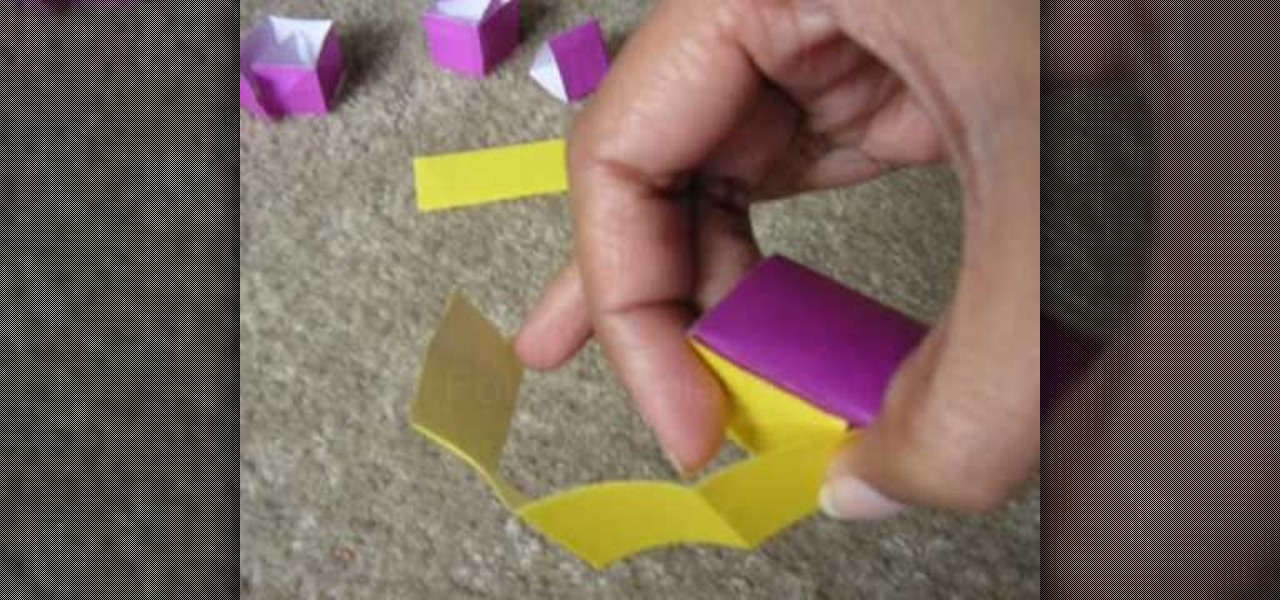
This video explains how to make an Origami Icosahedron (designed by Heinz Strobl) using 50 strips of paper. You need 20 strips of a single color for the triangles and 30 of a contrasting color to connect the triangles.

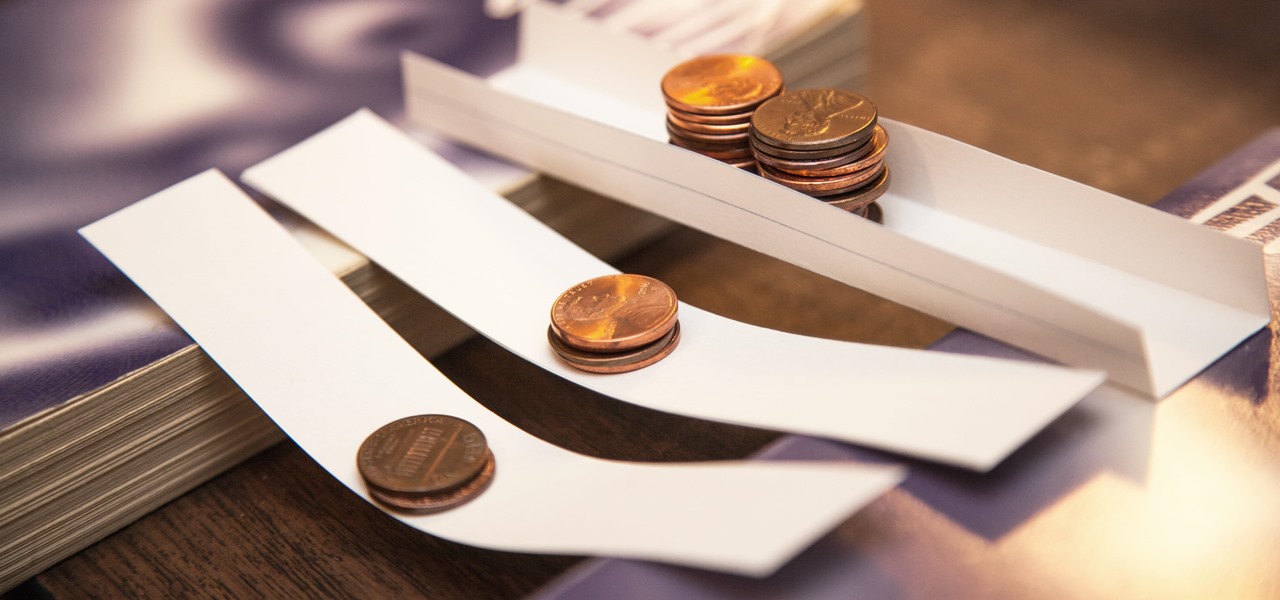
Every day we pass bridges, whether it's a foot bridge, a highway overpass, a span over water, or a viaduct over a valley. We pass on these structures without even thinking of the engineering genius that went into their design and construction, let alone the science behind their strength.

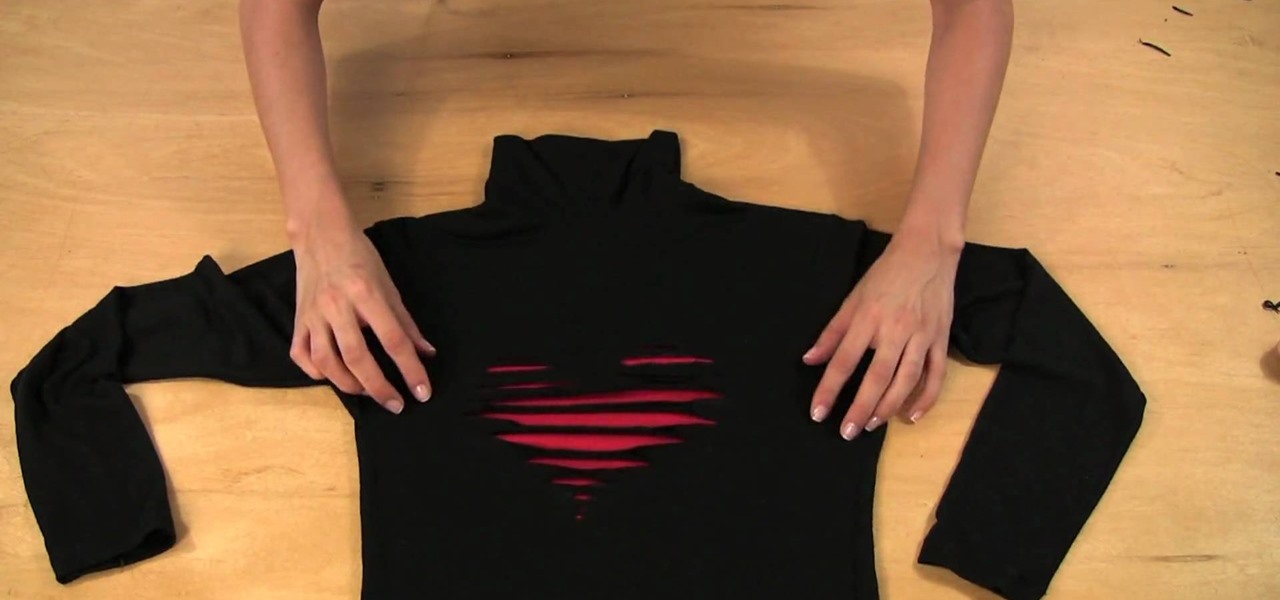
St. Valentine's Day is coming up soon in February, but do you have a special outfit planned for that special someone? Well, even if you don't have a valentine, this tattered heart black shirt will show the world you care. See how to make a tattered heart Valentine's Day T-shirt in this video from GiannyL.

Looking for a quick workout to get that six pack you've always wanted? Just like the classic 8 Minute Abs workout, this simulated workout will show you the exercises to motivate you to get a ripped midsection in no time at all!

Systm is the Do It Yourself show designed for the common geek who wants to quickly and easily learn how to dive into the latest and hottest tech projects. We will help you avoid pitfalls and get your project up and running fast.

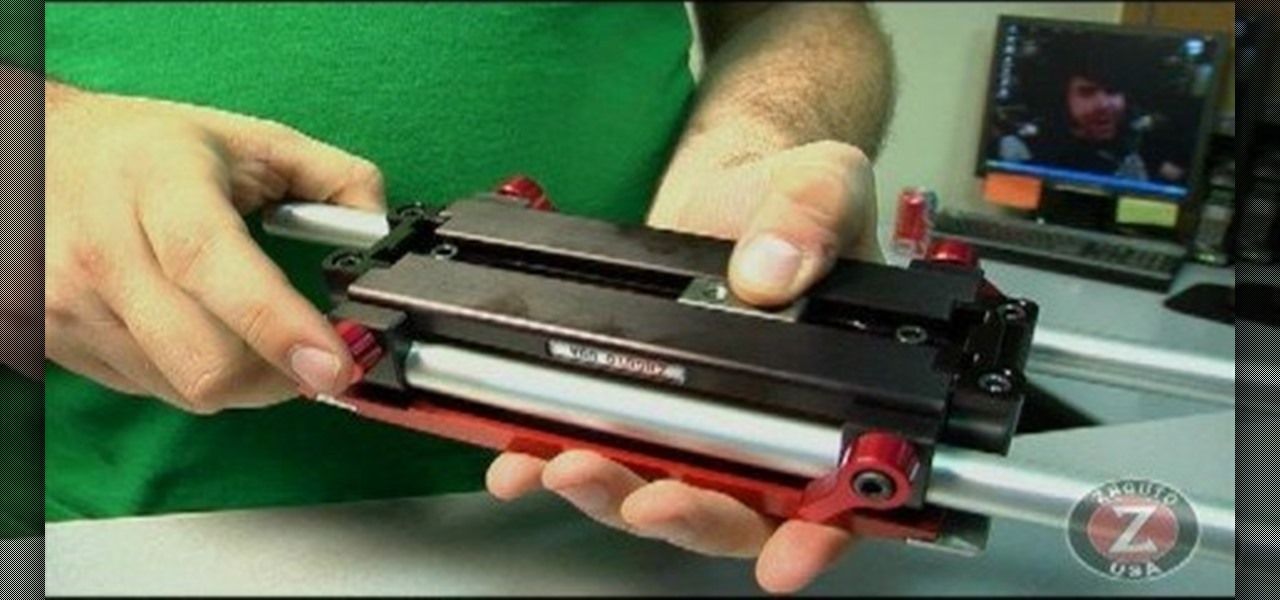
Zacuto Universal Baseplate V3, includes 12-inch rods and works with all cameras. Zacuto's Universal Baseplate allows mounting accessories off the front and the back of the rods. Our new version 3 Universal Baseplate is 22% lighter then Version 1 or 2. The baseplate measurements (excluding rods) are 7 x 4 x 1 ½

In this video we learn how to decorate a ceramic lamp base with Simon Leach. First, grab a small paint brush and then apply paint to it. Once you have this, start to paint your chosen design onto the pot. Painting a leaf or a plant will be the most appropriate for a large jar or lamp base. Use a brush that will move along the pot and create unique lines. Go all around the pot until your design is finished. Let this dry and then rinse your pot off when you are done. Let your personality shine ...


