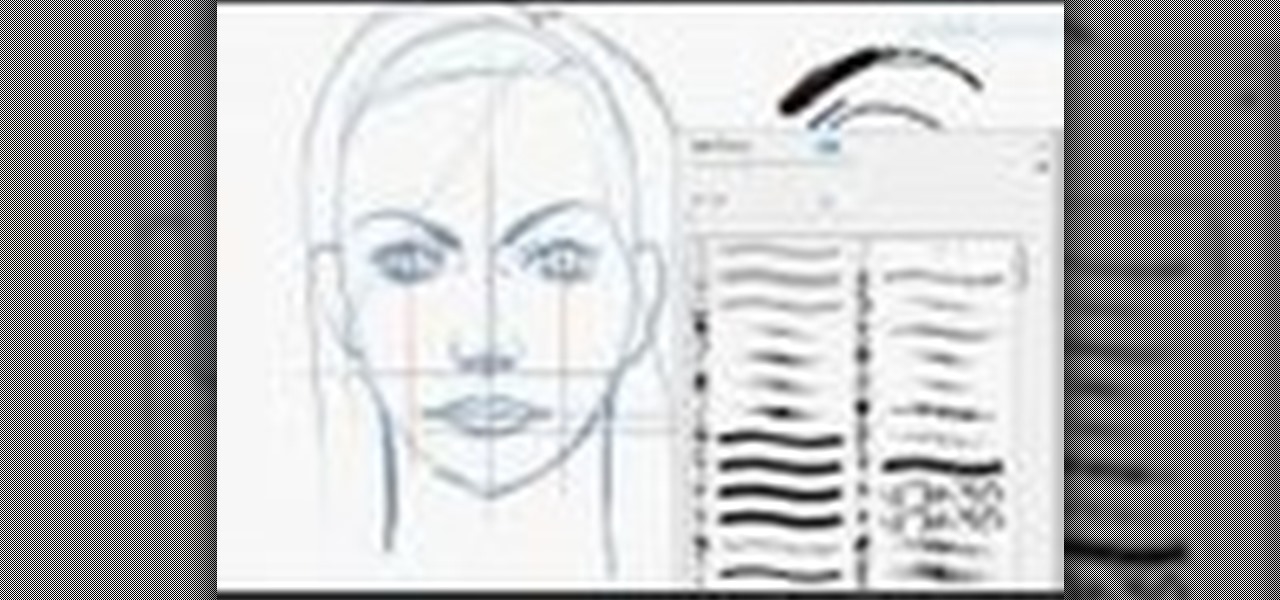
In this tutorial, we learn how to sketch a female face. Start with an upside down egg shape for the face, then draw in the contours of the chin. Use reference lines on the face to help you place where the eyes, nose, and mouth are going to go. After this, start to draw in the additional features, using a lot of lines to contour the face and make it look as realistic as possible. It's very important to use the lines in the background of the face so everything is even and lined up. After this, ...

In this tutorial, we learn how to draw Marik Ishtar. Start with the outline of the head (in a circle shape) and draw the reference lines around the front of the face. After this, draw in darker lines around the features of the face and start to add in details throughout the entire head. Draw in hair, a nose, eyes, ears, and everything else. Once you have finished with this, draw in the neck of the character and then the shoulders. After this, finish the hair off on the back of the had, then a...
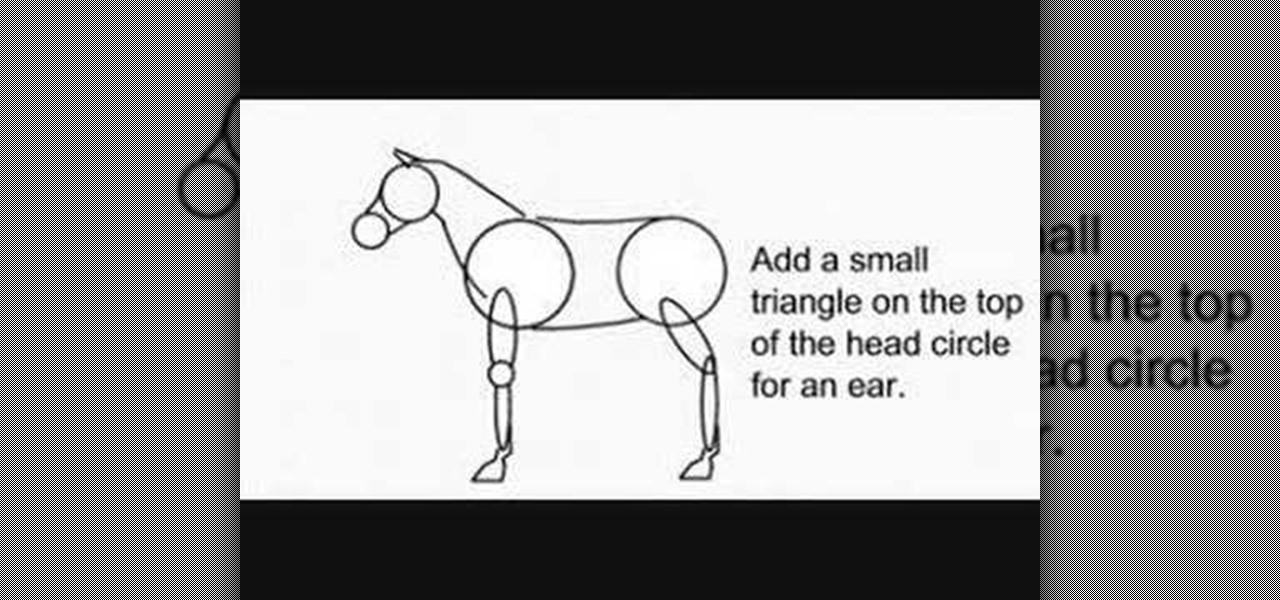
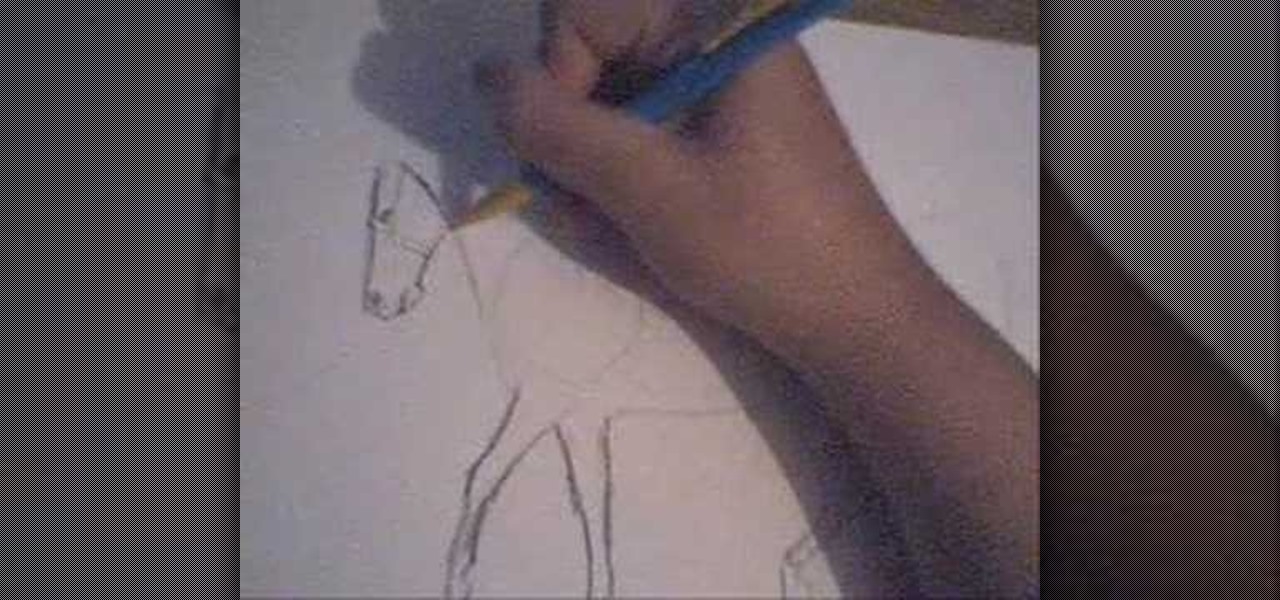
In this video, we learn how to draw a decent horse. First, start with two circles connected by two curved lines. Next, add a sausage for the top of each leg and add a small circle for the front of the knee. Then, add another for the lower part, and add two hoof outlines at the base of each leg. Then, add the back of the hooves. Next, draw two more lines that are far apart at the bottom and narrow at the top for the neck. Then, draw two circles for the top of the head and the muzzle. Join the ...
In this video, we learn how to write an essay for school. This is important because it will help you get into college! The main parts of an essay are: the title page, outline, body, introduction, conclusion, and footnotes. Make sure your title page has the title of the paper, the student's name, teacher of the class, and due date for the paper. For the rest of the pages, make sure you follow the guidelines that have been set by your teacher to properly write. Add in a lot of details and make ...
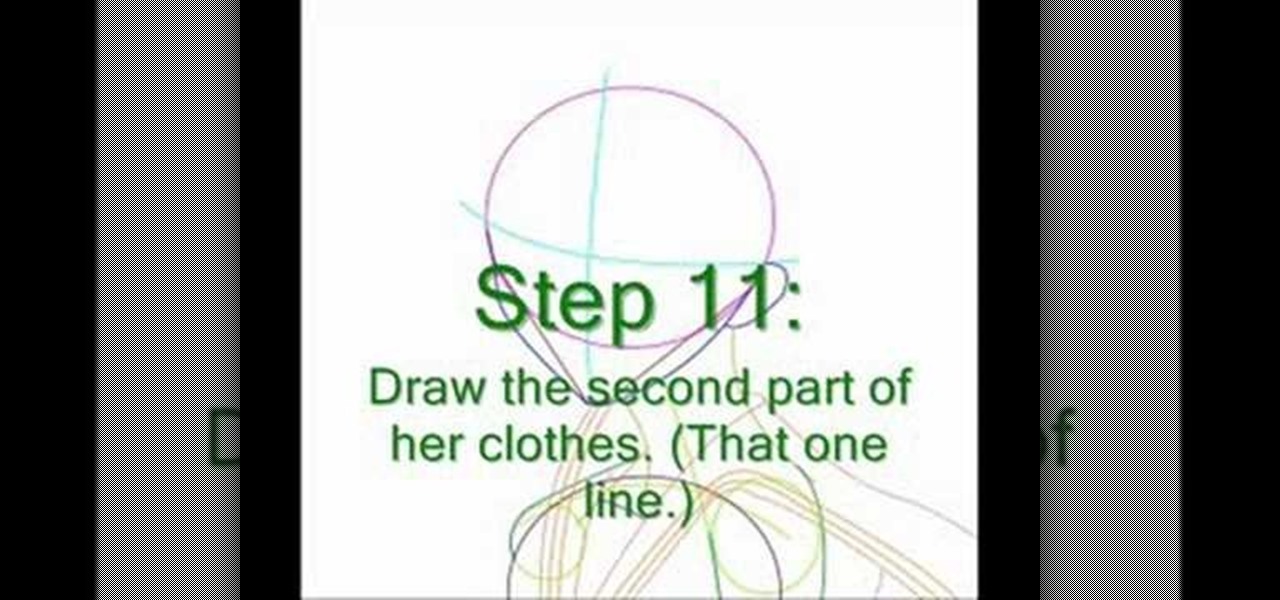
In this tutorial, we learn how to draw Tohru Honda. Start out by drawing a circle for the head, then lines on the face to reference where the facial features go. After this, draw a stick for the body alone with a neck. Draw in circles where the shoulders go, then start drawing around that to create the body. Draw on the school uniform for her, then draw on the ear and additional details for the uniform. After this, draw on the bangs and the hair, then add on the bows to the hair. Then, draw o...

In this tutorial, we learn how to draw Axel. Start out by drawing the head, then add in the facial features including the eyes, nose, ears, and mouth. After this, draw in the spiky hair that goes around Axel's head. Next, draw the neck and shoulders. Continue to draw down the body until you reach the feet. Add in the details of what the character is wearing, using lines on the clothing to make it look more realistic. After this, you will need to draw in shadowing on the drawing to make it loo...

In this tutorial, we learn how to cut your friends in half with film effects. To do this, you will need an actor, a still frame of blood, and some gory looking meat. Have your wounded actor lay on the floor with another actor laying next to him. Then, have them all leave the frame. Next, bring all the footage in After Effects and bring in the meat picture as well. Add blood and the meat in the pictures and remove the lower half of the body. Play with the colors to make it look more realistic,...

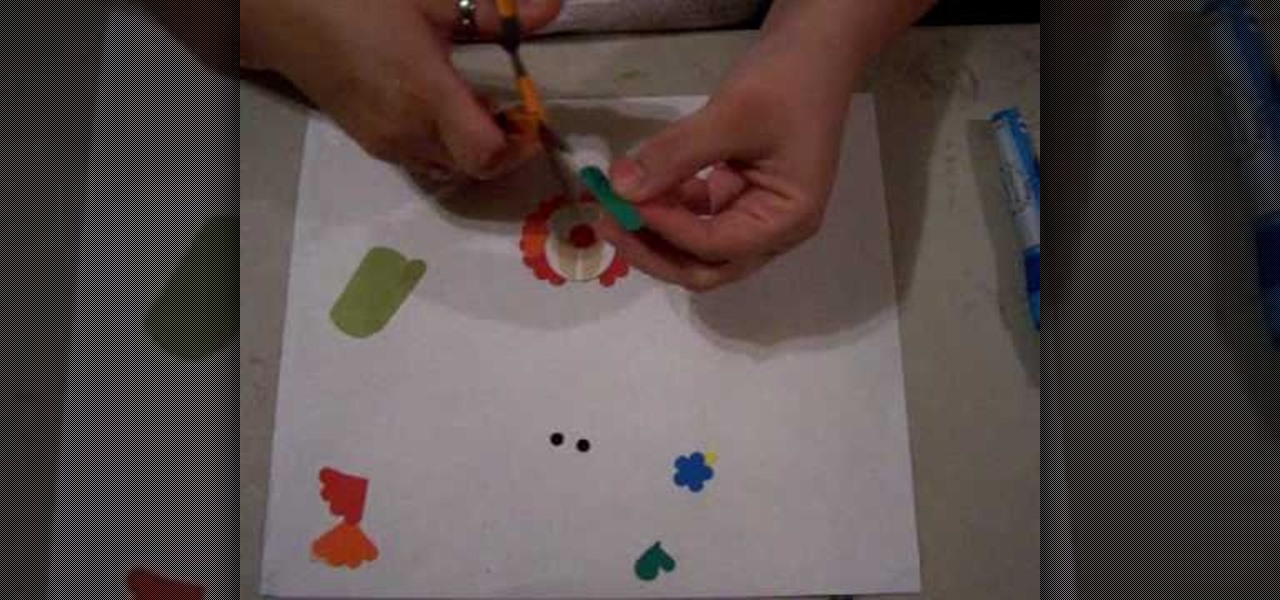
In this tutorial, we learn how to make a clown punch using Stampin' Up! products. You will need: a red scallop circle, green key punch, orange scallop circle, heart shape, circle, oval, red circle, flower, black eyes, and a yellow small circle. After you have these punched out, make the hat out of the green large and oval shapes, then apply the flower to the top of the hat. Next, glue the circle behind this, then cut up the orange and red scalloped circles to create hair on the sides. Next, a...

In this video, we learn how to draw Kagome Higurashi. Start with drawing the head and the reference lines for the face. Draw in the eyes slightly to the left, then draw in the rest of the details of the face. Make sure the eyes are wide and bright, and there are eyelashes on the sides of the eyes. Next, draw in a nose and a mouth, then an ear on the right hand side of the face. Draw in bangs and the rest of the hair for the character. Make sure there is a long neck with shoulders draw in as w...

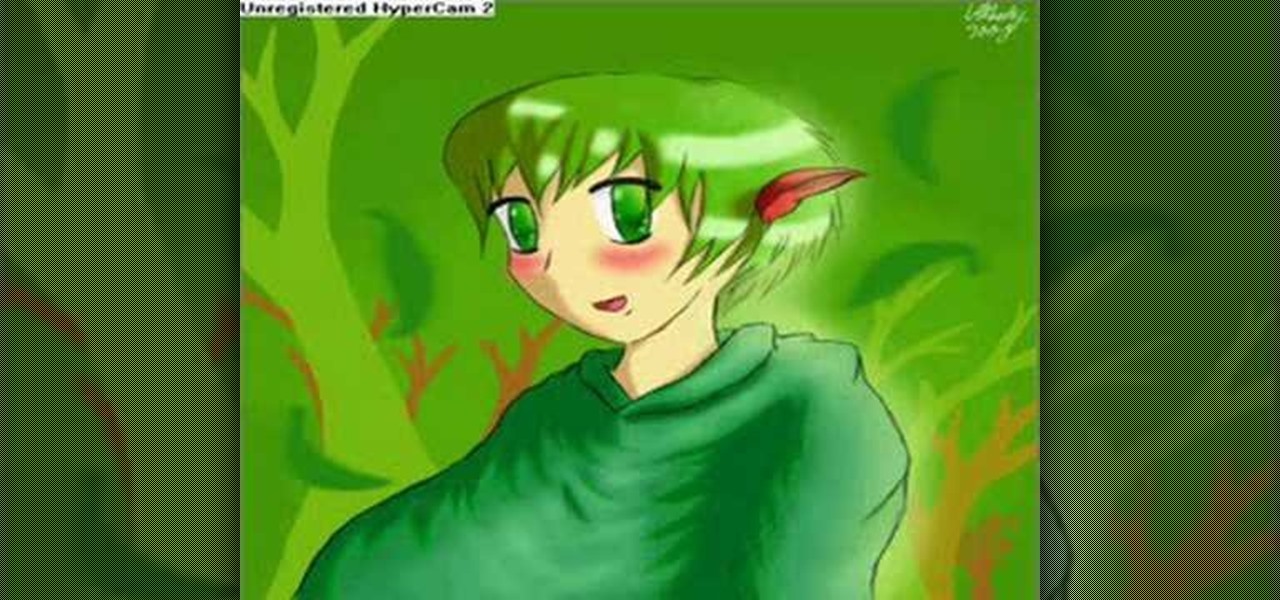
In this tutorial, we learn how to draw anime. Start off by drawing the outline of the anime, then color in the face, hair, and clothing. Add in the ear on the side of the head, then add in the features of the face. Next, add in shading to the face, hair, and clothing to add dimension to the drawing. Next, add in details to the face to make this look more realistic. Then, draw in trees and leaves for the background of the drawing and color them green and brown. After this, add in a light sheen...

We can't think of a heartier dish than a meatloaf. Big and meaty, ripe with rich spices like cayenne pepper, garlic, and thyme, and with the satisfying crunch of just the slightest amount of bread or croutons, meatloaf is simply divine.

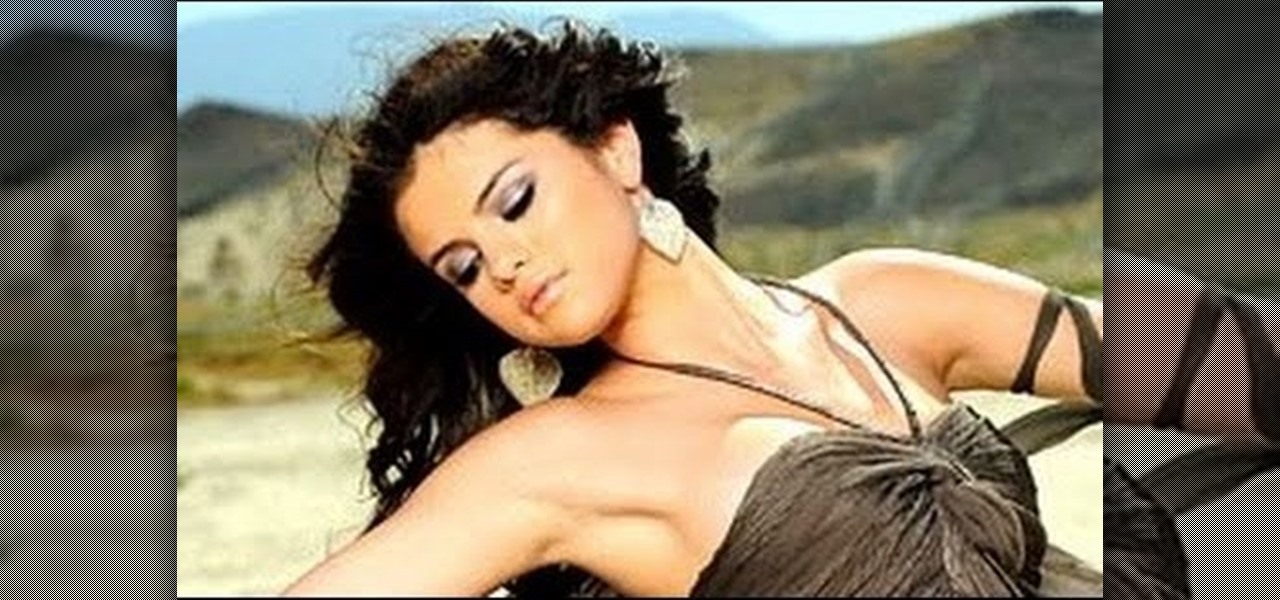
Selena Gomez's newest music video may be called "A Year Without Rain," but there's nothing dry or withered about Gomez's gorgeous and elegant makeup look from the video. Shimmery silver eyes complemented with cat eye liner and pale pink lips are a fabulous combination that anyone can pull off.

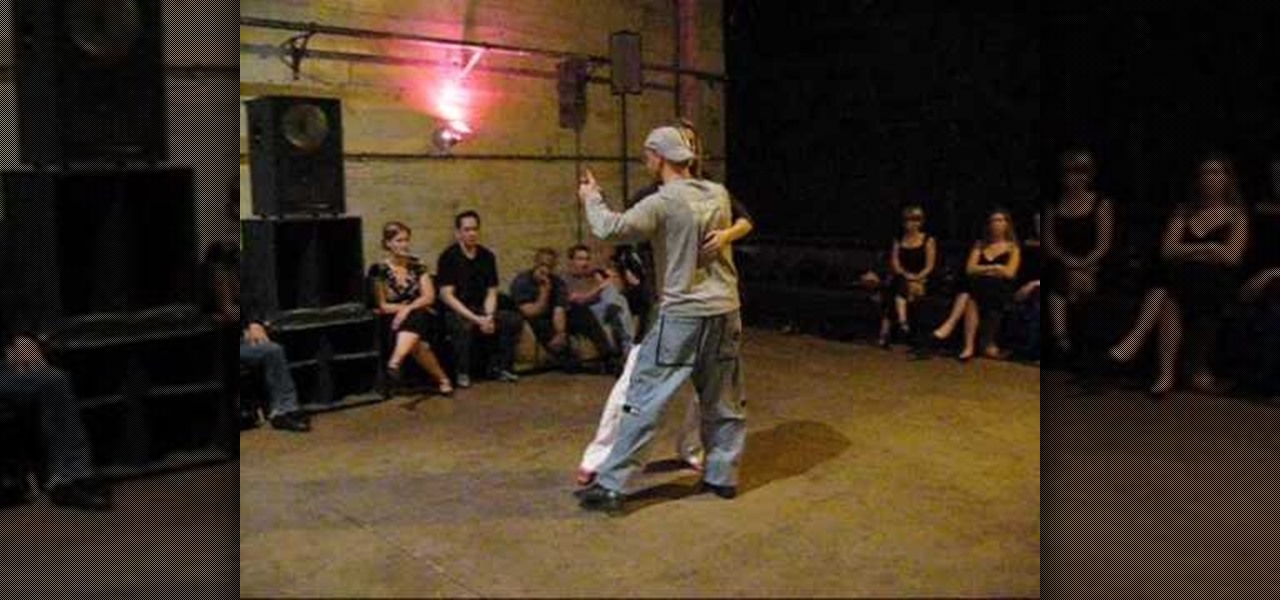
In this tutorial, we learn how to use breathing & intention in tango. Use the pattern of walking into the cross and add in elements of staying in the line. Lead the cross carefully and slowly by breathing slowly to help make an easy transition from closed to open. Put all these elements to help make the dance look better by paying attention to the details. Keep in mind that people are looking at you and want to see someone happy dancing. Keep a smile on your face but also make sure to pay clo...

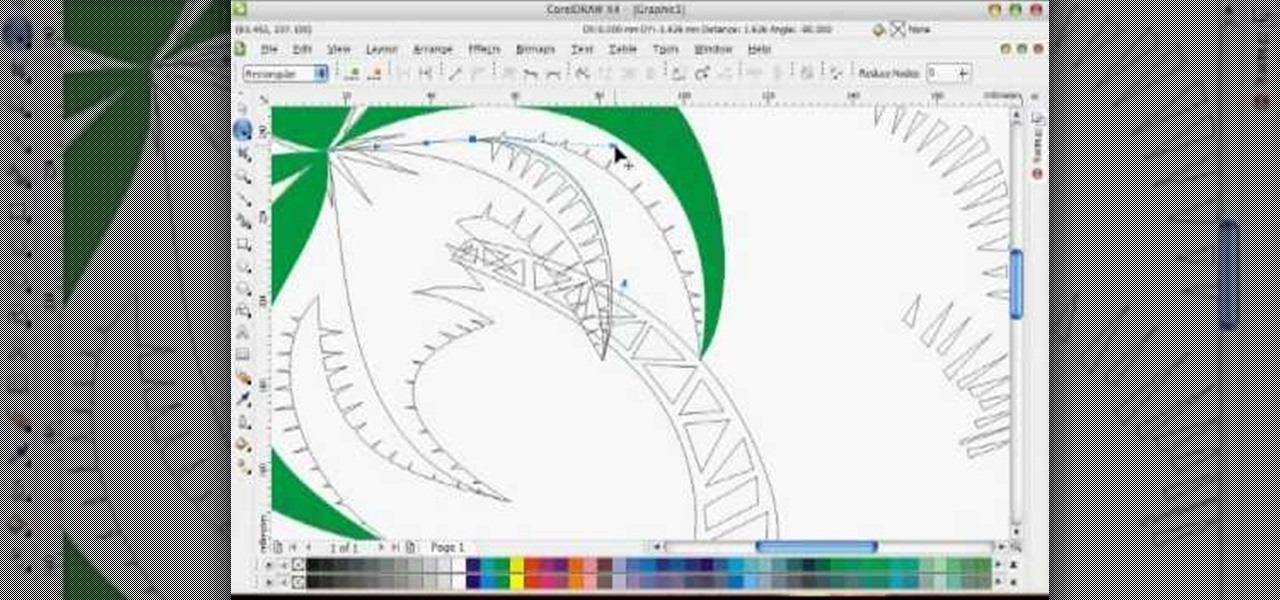
In this tutorial, we learn how to draw a vector art palm tree in CorelDraw X4. Start off in the CorelDraw program and create the base of the tree with a drawing tool in black. After this, draw small triangles inside of the base of the tree and then draw the leaves and branches of the palm tree. Fill this in with small spikes and then erase the middle nodes. From here, use a shaping tool to make the spikes on the palm tree more rounded and lifelike. After you do this, start to color in the ent...

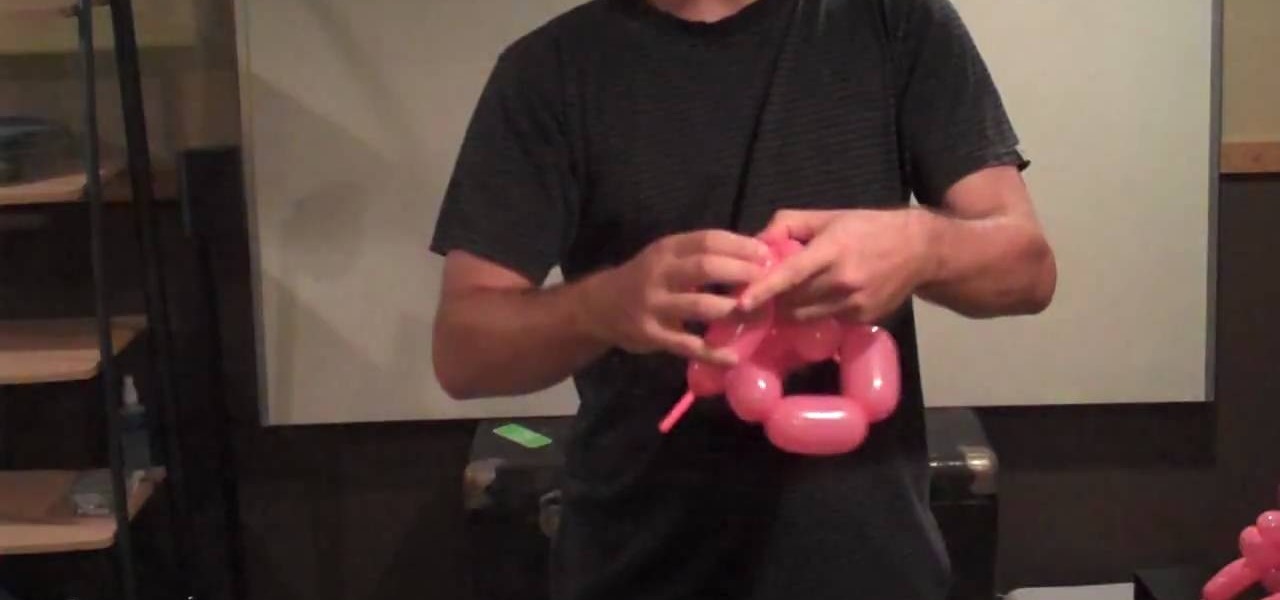
This video shows viewers how to create a maple leaf using two long balloons which are used for making animal balloons. You will begin by inflating the first balloon, leaving a few inches of empty space at the end of the balloon. Begin by making two small bubbles by twisting the balloon and creating consecutive bubbles in the balloon. Follow these with two larger bubbles and 3 more smaller ones, to create a hexagon shape. Continue to create small bubbles, folding them into each other to create...

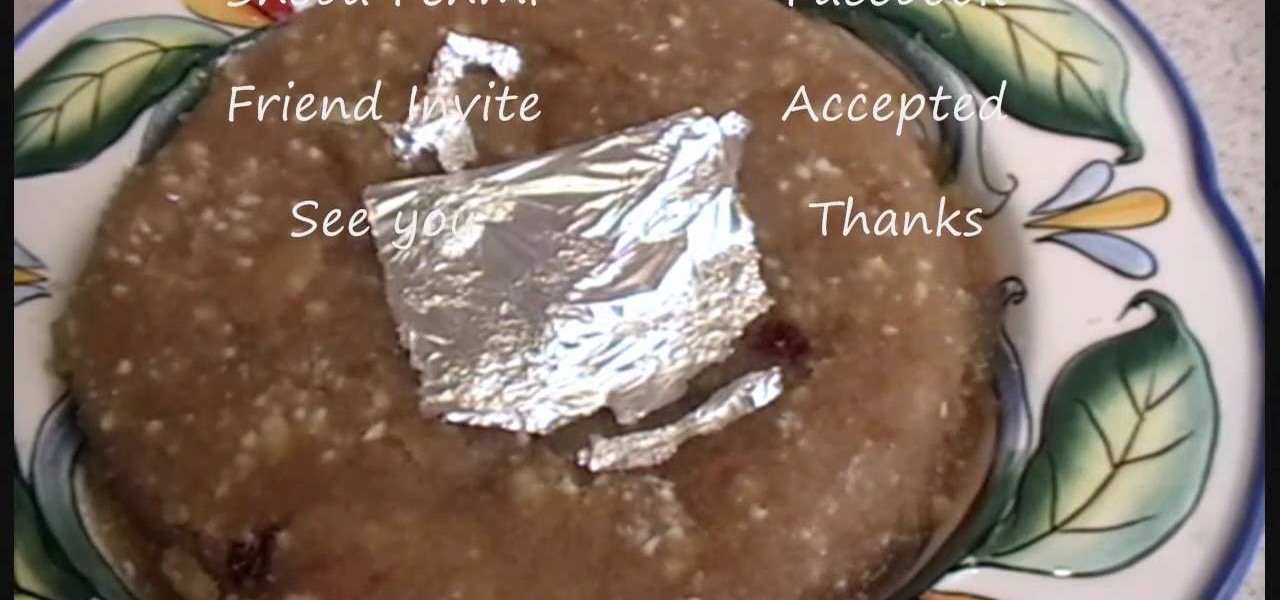
Sooji ka halwa is a traditional Indian and Asian treat that consists of a thick, sweet confection loaded with various mix ins, including pistachios, almonds, cashews, and raisins.

With all the stuff we have to do these days and our constant connectivity to the internet, it's no wonder most of us have a hard time taking a break. And no, by break we don't mean checking your Facebook and updating your satus.

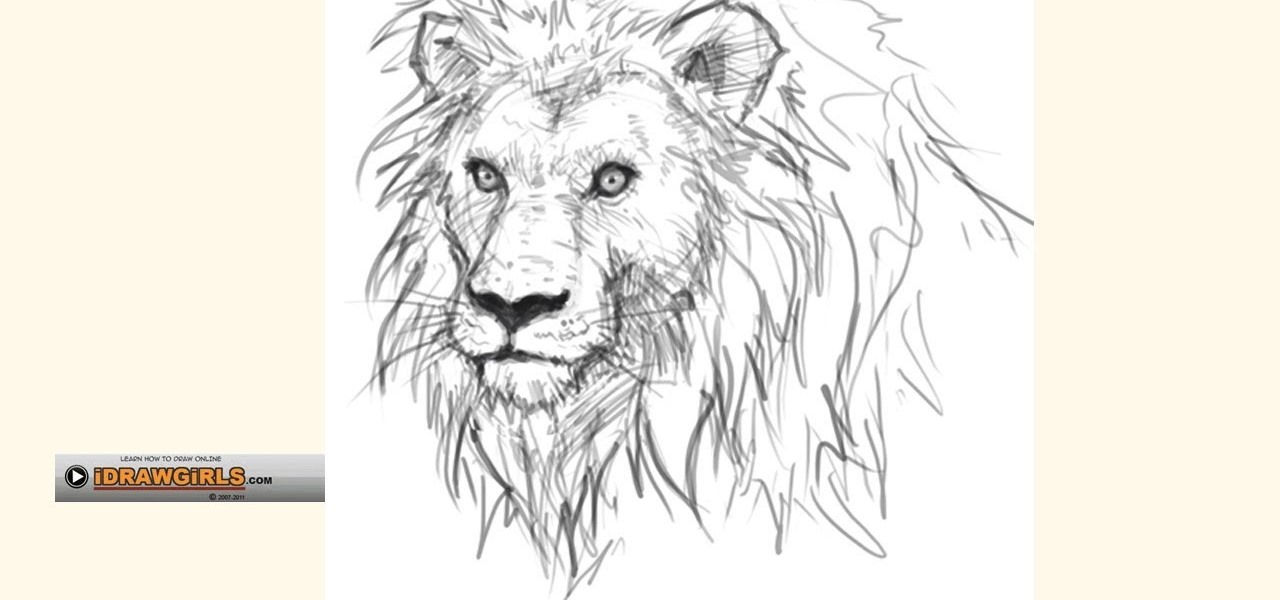
If you've ever watched "The Lion King," then you know just how kick-ass lions can be. Kings of the pride with a very prosh stride and a bark to match their bite, they are creatures of the hunt yet hold a regal stature about them.

In this video, we learn how to clear your browser cache. Cleaning out your cache and internet history can help keep your personal information safe and your computer running more quickly. In Internet Explorer, first go to tools, then to delete browsing history. Make sure all boxes are check, then click on "ok". After this, a window will pop up showing the status on what it's deleted. When that is finished, go back to your home page and delete the history again like you did in the previous step...

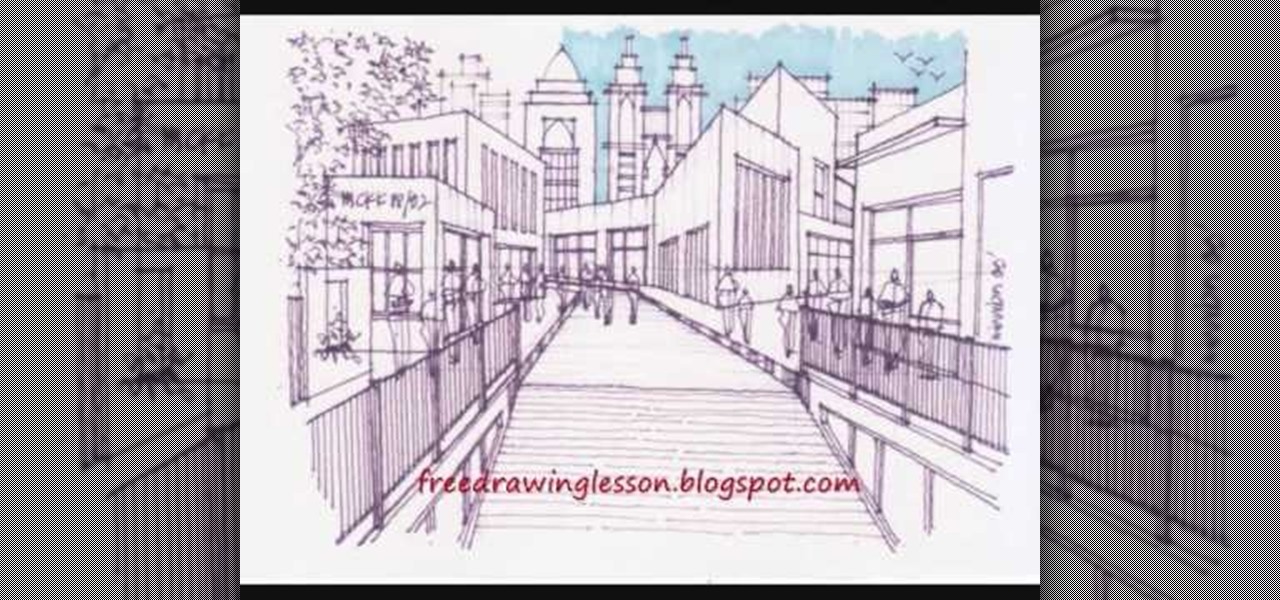
In this video, we learn how to draw and color a city with art markers. First, draw a horizontal line as your reference point to where the city buildings are going to go. Make a point in the middle as the background line. Now, start to draw in the buildings around the middle line, making diagonal straight lines, then drawing in the details of the buildings. Draw in taller buildings in the back, then start to draw the larger details in the front of the drawing. Add in shading and details as nee...

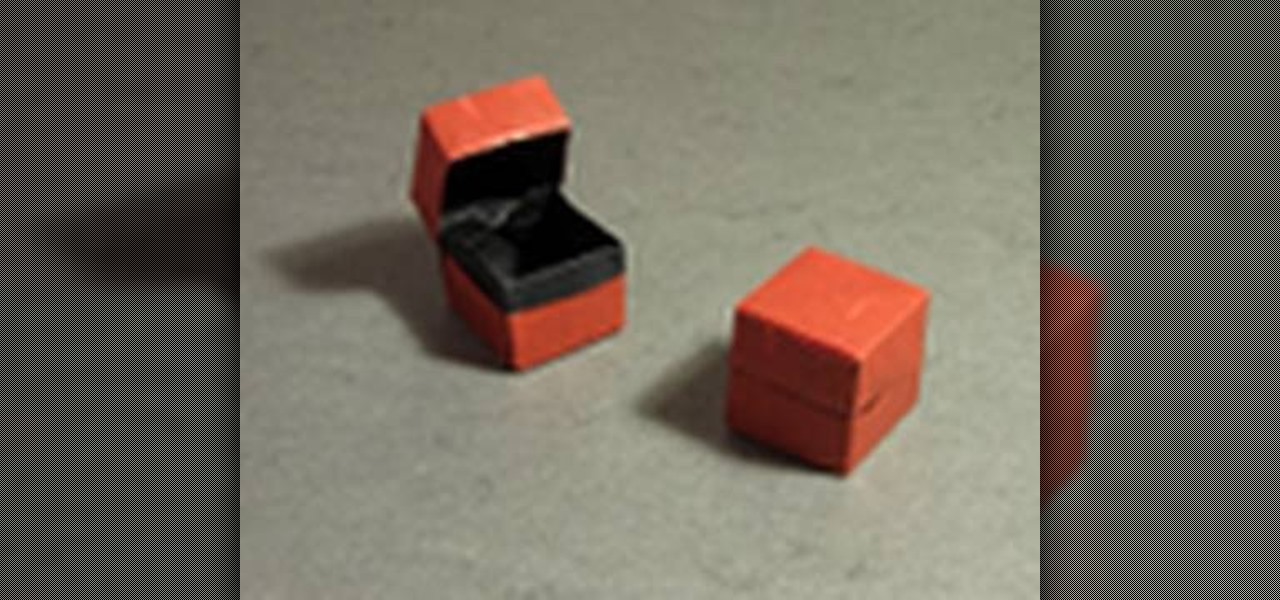
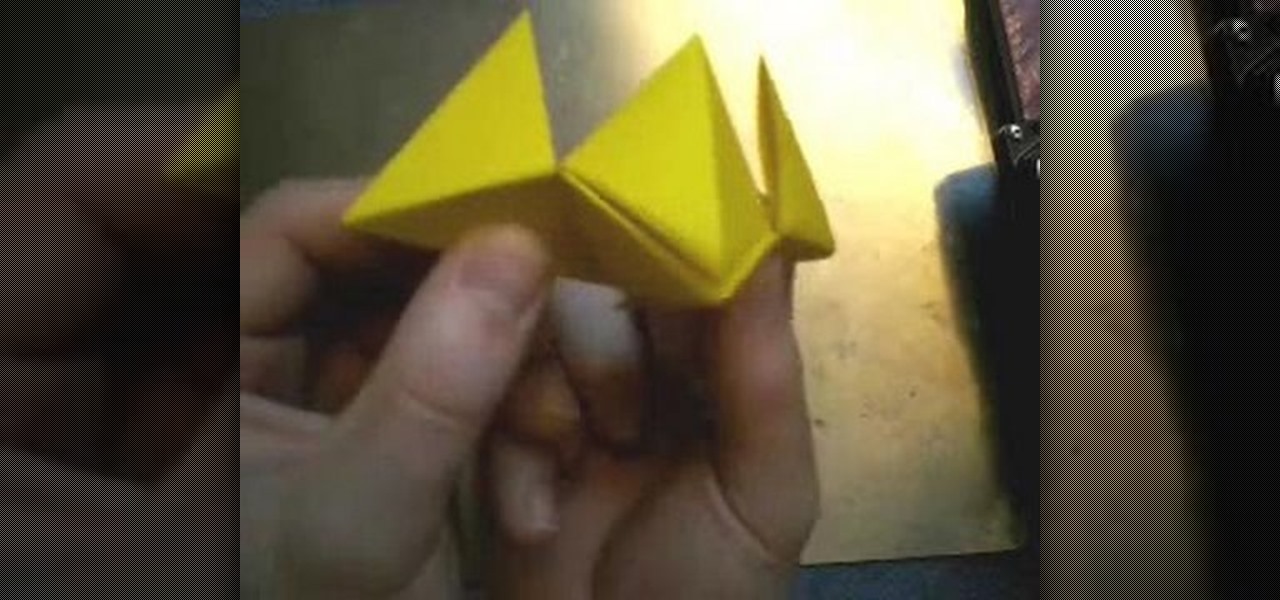
The origami version of a box and lid may seem like one of the simplest origami projects out there, but you should consider this origami box and lid the hard mode version of an otherwise beginner origami craft. Rather than use two sheets of paper total - one for the box and the other for the lid - this origami project only involves one piece of origami tissue paper.

Fried tuna? Pasta shells? Count us in. Combining our favorite comfort foods (fried anything and delicious carbs), this pasta dish is wonderful for serving at your dinner table after everyone's had a long day and wants to relax with a delicious, warm meal.

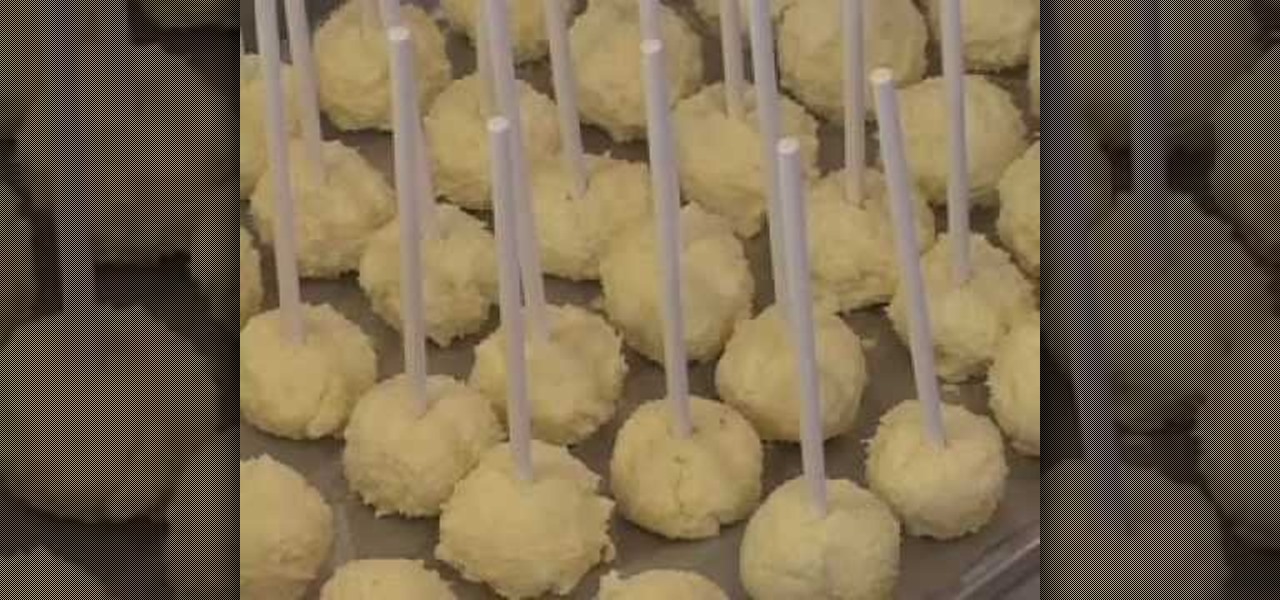
After having a slice of New York cheesecake for the first time we thought that life couldn't get any better...that is, until we encountered these lovely iced cheesecake pops! Basically these tiny desserts are cupcakes on a stick. And instead of adding frosting on top as you'd do with a traditional cake, these cheesecake pops are dipped into a layer of chocolate, cake crumbs, and can be covered with a coating of frosting if desired.

Are you a big fan of origami but scared to try it out yourself for fear that your creations will turn out more like balled up pieces of paper than strong, sturdy shapes? We hear you.

The difference between an amateur piece of jewelry and a professional one often lies in the details. Almost anyone can link chains together into a necklace and add small floral baubles, but the professional will take care to make sure the baubles are attached almost imperceptibly and the closure blends in with the rest of the necklace and also won't budge.

Have you ever tried to erase the background on an image so you can use the object image to layer with another document? You can do it in Adobe Photoshop, but if you don't know what you're doing, it could take hours… days to extract that image you want. But with Photoshop Elements, there's a handy tool called Magic Extractor that helps you get some of the dirty work out of the way, so you can concentrate on the finer details. Watch this video to see how it's done.

In this video, we learn how to draw a horse. First, draw the outline of the horse's body. Start with a circle for the head and wispy lines for the rest of the body. Make large shapes that connect to see where the mass of the body will be. Next, draw in the head, tail, back, and legs of the horse. After you have the outline finished, erased the lines inside of the picture. Now, draw in details on the horse. Add in lines to show where the hair is, then draw in the nose and eyes to the face. Als...

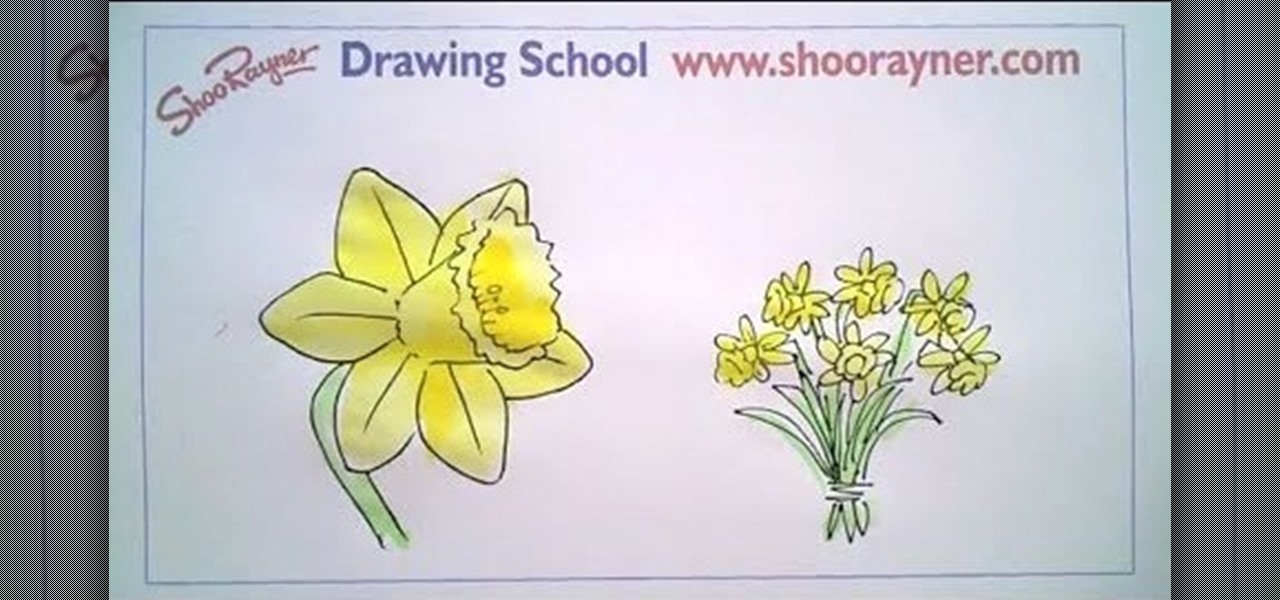
In this tutorial, we learn how to draw a daffodil for St. David's Day. Start off by drawing a circle to measure out where all of the different petals are going to go, then draw a circle in the middle you know where the middle will go. Next, start to draw out the petals onto the circle. After this, draw the middle of the daffodil with the seeds that are in the middle. After this, draw the lines that are in the middle of the leaves. You might want to use a real flower for a reference picture on...

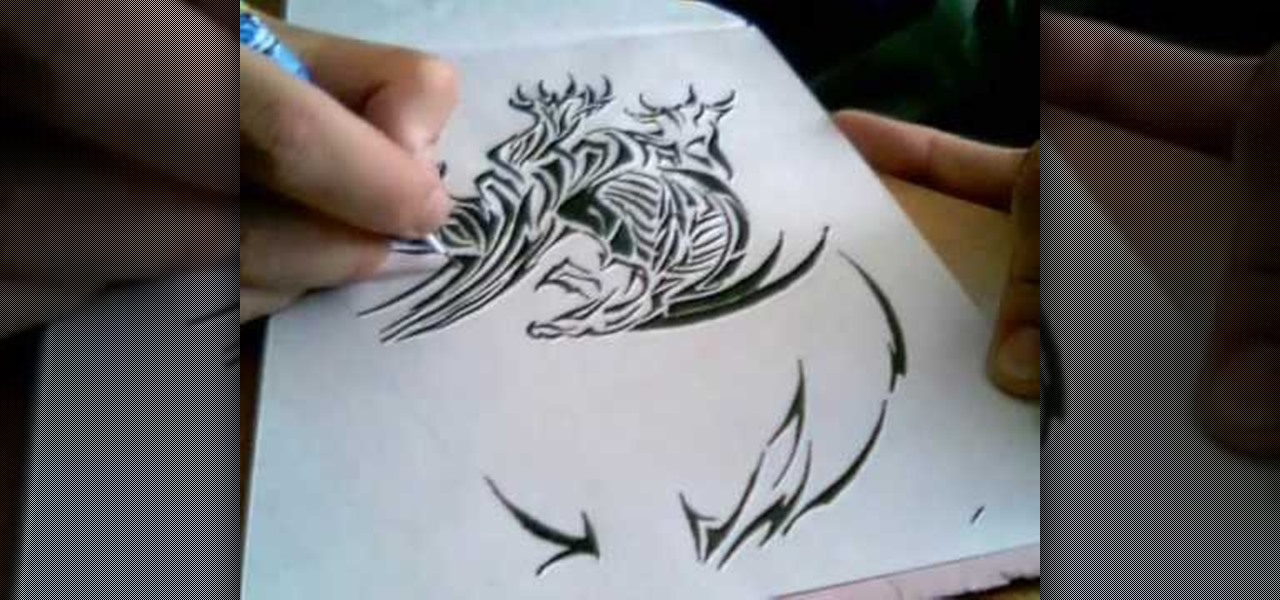
In this tutorial, we learn how to draw a tribal style dragon. Start off by drawing the wings of the dragon, adding in tribal designs on the inside of it. After this, start to draw the head of the dragon, as well the inside of the face. Also, draw the legs and the claws of the dragon. Add in more details until you have a full dragon design. Use a pen to fill in the lines on the tribal design. It will sort of look like a zebra pattern with the black and white colors rotating. When finished, sig...

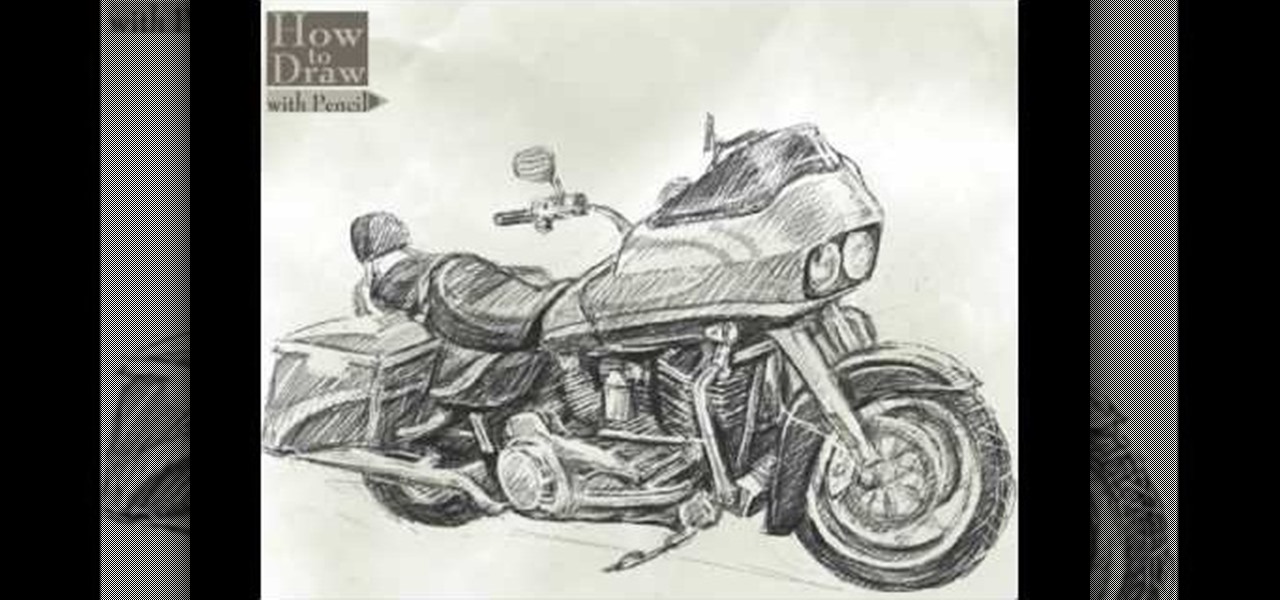
In this video, we learn how to draw a Harley Davidson Road Glide. Start off by drawing the body of the motorcycle as a rough outline. After this, start to fill in the different areas by making large sections of the bike 3-D. Draw in the wheels and the back of the bike, as well as the handle bars, mirrors, and lights. Draw the seat and back seat in, then start to add in further details. Apply shadowing to the car, making some parts darker than others. When you are finished with the drawing, co...

In this video, we learn how to draw Hamtaro. Start off by drawing the large head, followed by the body and the ears. After this, draw the arms and legs onto the character. Next, outline the drawing in a darker pen, then add in additional details. Draw on the eyes, nose, and pupils. Don't forget to draw on the paws and feel as well as lines to make it look like fur. To finish up this picture, you will need to add colors to the hamster. You can go with the traditional colors, or change them up ...

Michael Weisner teaches us how to draw an adorable little puppy in this tutorial. Start out by drawing the outline of the dog, drawing in all the details as well as the body. After you have the base done, grab a Sharpie and start to draw the top of the head and the ears. Make lines on the top to make it look like the dog has fur and don't forgot the eyes and nose on the face. After this, trace out the rest of the body, including the front and back paws. Make sure to add in any shading you fee...

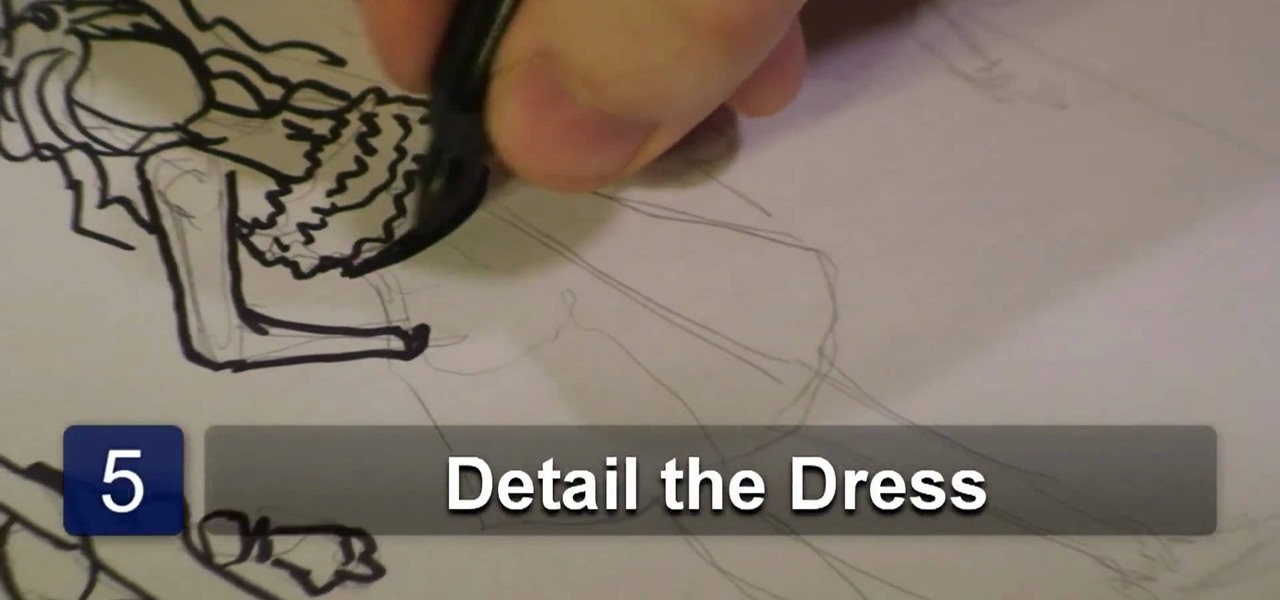
In this tutorial, we learn how to draw a variety of prom dresses. First, you will need to start out by drawing the dresses on different body shapes. Make dresses that are long, short, and knee-length. After this, use a marker to draw the outline of the body and the dress, then start to add in the pleats and the dress details. Add on scarves and other items to the different types of dresses, then continue doing this for the different types of dresses and body shapes. When you are done, draw in...

In this tutorial, we learn how to draw the anime character Tobi. Start off by using light pencil markings to outline the face and the head. After this, use a marker to draw in the eyes and pupils. Next, draw in the eyebrows over the eyes, then make a small mark for the nose. Draw in a line for the mouth, then make one of the eyes a diagonal line, like the character is winking. Start to outline the chin, then draw in the ears and start making the hair. The hair should be spiked and going down ...

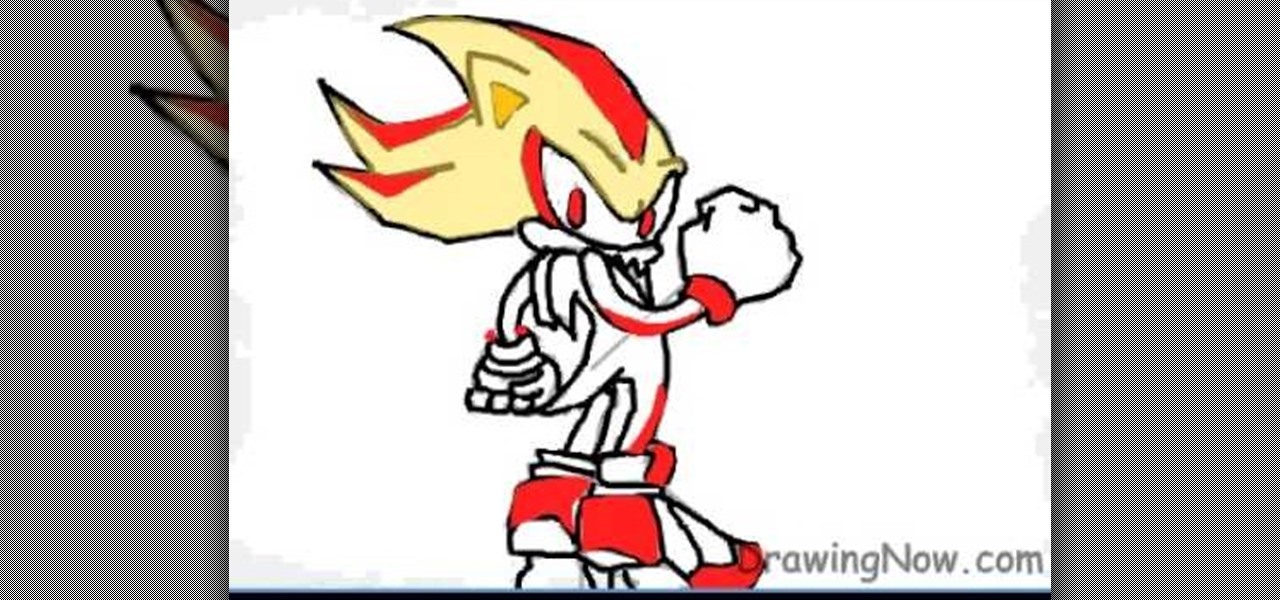
In this tutorial, we learn how to draw Super Shadow from Sonic the Hedgehog. Start off by drawing the spikes for the hair, then draw the ears and the eyes on the face. After this, draw the arms, upper body, lower body, and legs. When you are finished with this, use a dark pen to outline the cartoon character and draw in any additional details. Next, you will add in colors to the character, using reds on the outside of the hair and legs, then orange and tan on the inside. Finish this off with ...

In this video, we learn how to draw a wolf step-by-step. First, draw out an outline of the body using circles and lines to show where the legs will go. Next, make the snout for the nose and then draw in the ears and the eyes. Next, draw in lines around the outside of the wolf to show that it has fur. Next, use a darker pen to outline the wolf, then add in details to the legs and the rest of the lower body. Add in a tail that is curved but not high in the air. When you are done, you will have ...

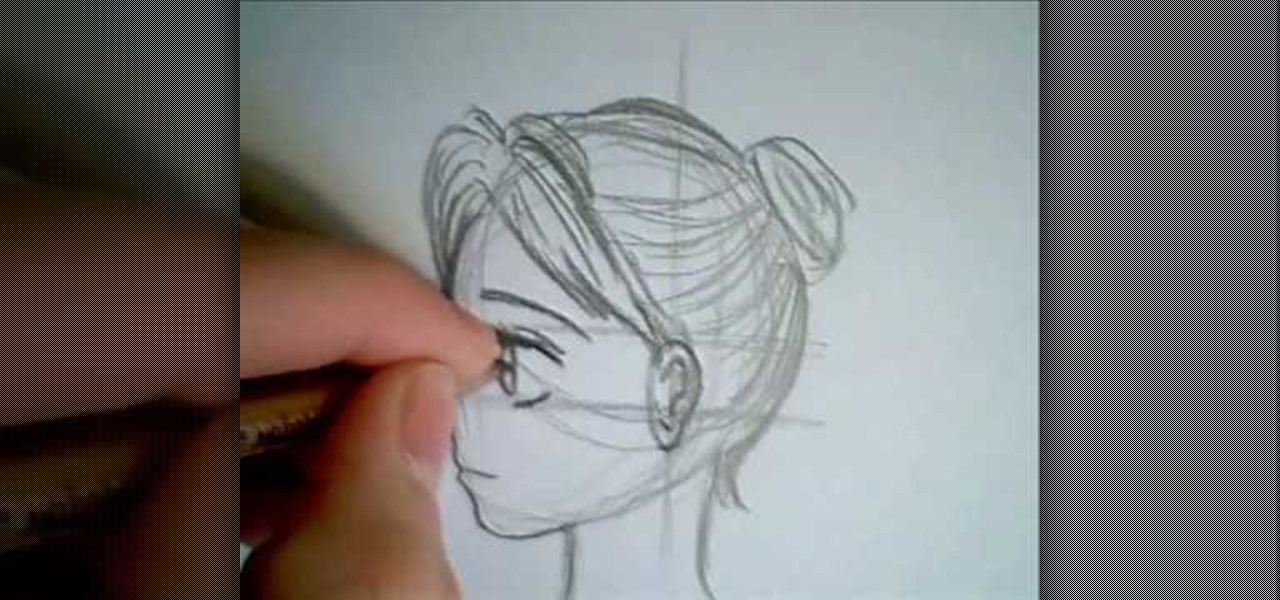
In this video, we learn how to draw a manga face sideways. start by drawing a round circle with a light pencil. After this, draw a chin that is from the side view. Next, add on the nose and make the chin look more prominent, like you are seeing the profile of the face. After this, draw on the ear to the center of the face, then start to add in further details. Make the eye and add shading by the nose to make it appear as though there's another eye. Add in eyelashes, then start to add in hair ...

In this tutorial, we learn how to draw couture dresses. First, sketch the body onto the paper and then outline it with a black permanent marker. Make the lines soft and outline the body to have curves like a real woman. After this, start to add in the details of the dress, making the shoulders poof and adding accents to the side shoulder. Next, start to polish up the drawing by defining any lines and making different shapes. Make sure to draw the dress exactly how you want it, showing how it ...

In this tutorial, we learn how to draw different kinds of eyes. If you are drawing an eye from the side, make sure you show the eye bulging out of the eye, and show the long eyelashes and layers of the lids. If you are drawing an eye looking up, make sure to show the socket of the eye and the layers underneath the top of the eyelid. To draw an eye closed, you will show the brow bone and crease of the eye, as well as the lashes and the circles underneath the eye. There are a lot of different e...

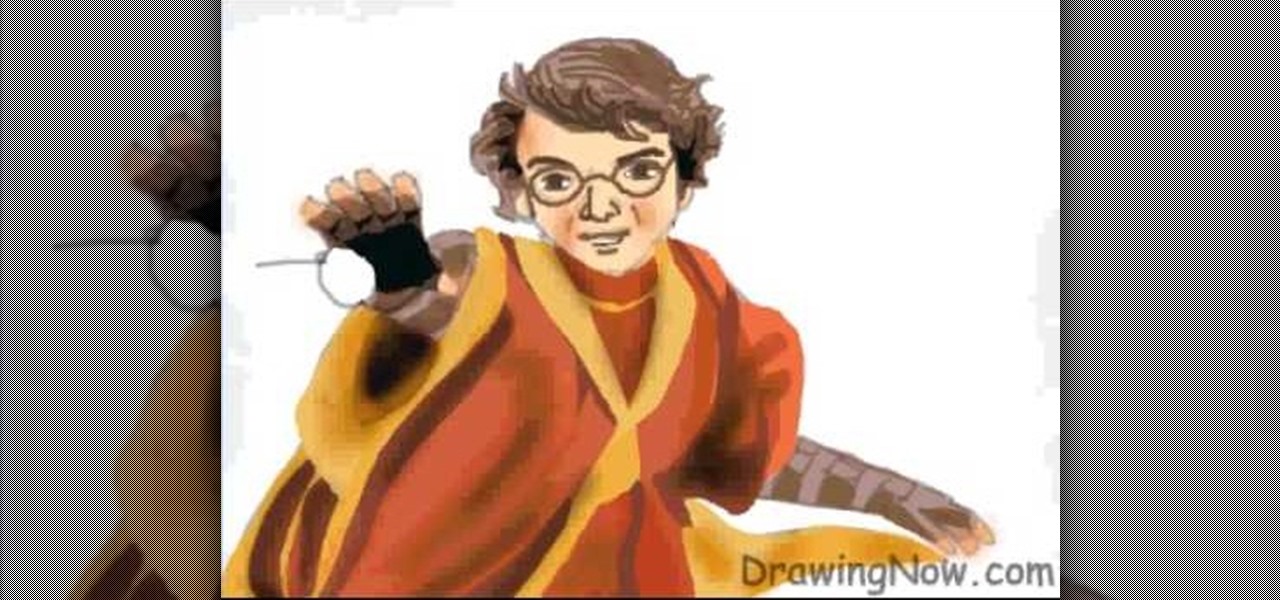
In this tutorial, we learn how to draw Harry Potter. Start out by drawing Harry's face, adding in all the details, such as: his hair, eyes, glasses, nose, and mouth. After this, start to draw his upper body wearing his Quidditch robes, and draw his arms. One arm should be reaching in the air for the ball and the other should be to his side to balance him out. After this, start to add colors to the picture. Add in his skin color, then add in his brown hair and gold and red for his sports robes...


