DominickDiy teaches you how to use a wood router. You figure out what and how you will use it for by looking at it and adjusting the blade. Then lock it into place and you're ready to cut. The piece of wood you'll be working on should be on top of a piece of rubber mat, so that the wood doesn't slip. You also don't want the router to slip, as it might injure you or cut a wrong way. You go from a rip to a cross cut, when going from one side to another, via a corner. So one time you will be pus...

This video shows a quick way to lift your sagging jowls with face exercises. This video targets the platysma and sternomastoid muscles at the front of
Many people speak from their chests by default. If you're serious about singing, however, you should make an effort to sing from your belly. Not only will you increase your volume, but your singing will take on a sweeter, more open tone.

Operating the Toyota Prius 2010 cruise control is very simple if you watch this video. The switches of the cruise control is located on the stock which is behind the right side of the steering wheel. The on/off button is at the end of the stock. Once you turn it on, accelerate to your desired speed and push the stock down to set it on the current speed. If desired to change speed, hold the stock up to increase the speed and release it when speed desired is reached, and to decrease the speed h...

Dawn5377 teaches you how to make a twist box. Start with a piece of designer paper and fold it according to video specifications. Once done you will fold all the score lines, which are both horizontal and vertical. For the Xs you will fold in once one way and then the other. You will also crease the tiny line to the edge of the paper, using a sort of pinch motion. You punch three holes on each side - top and bottom. Fold the paper horizontally and glue it. Push the two ends opposite of each o...
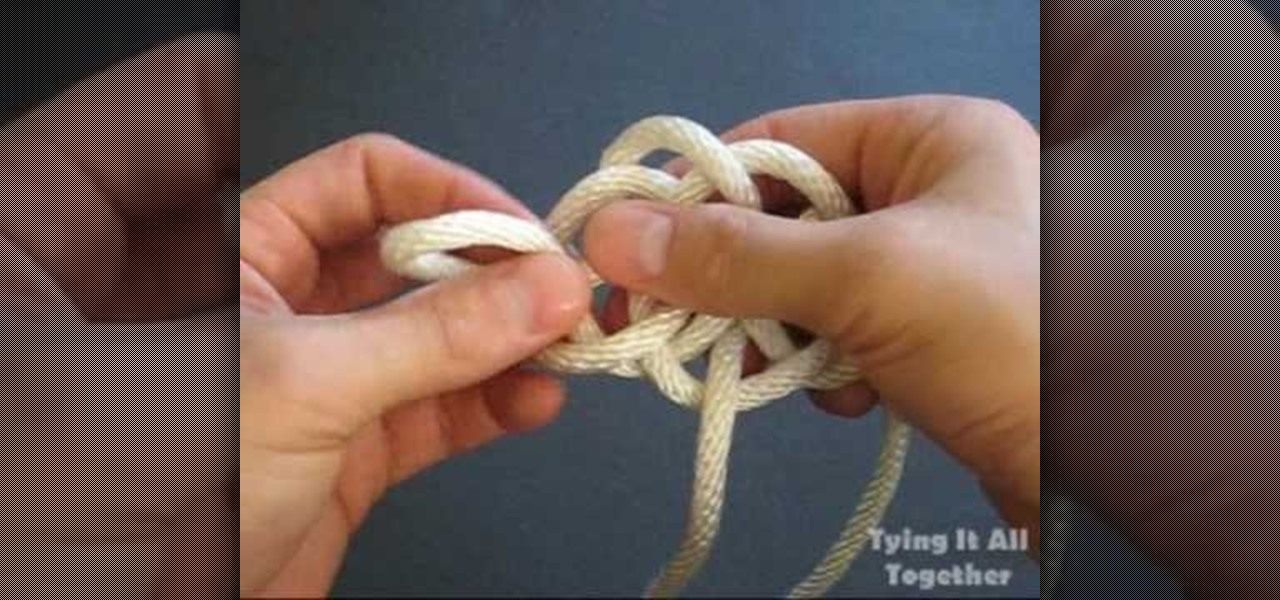
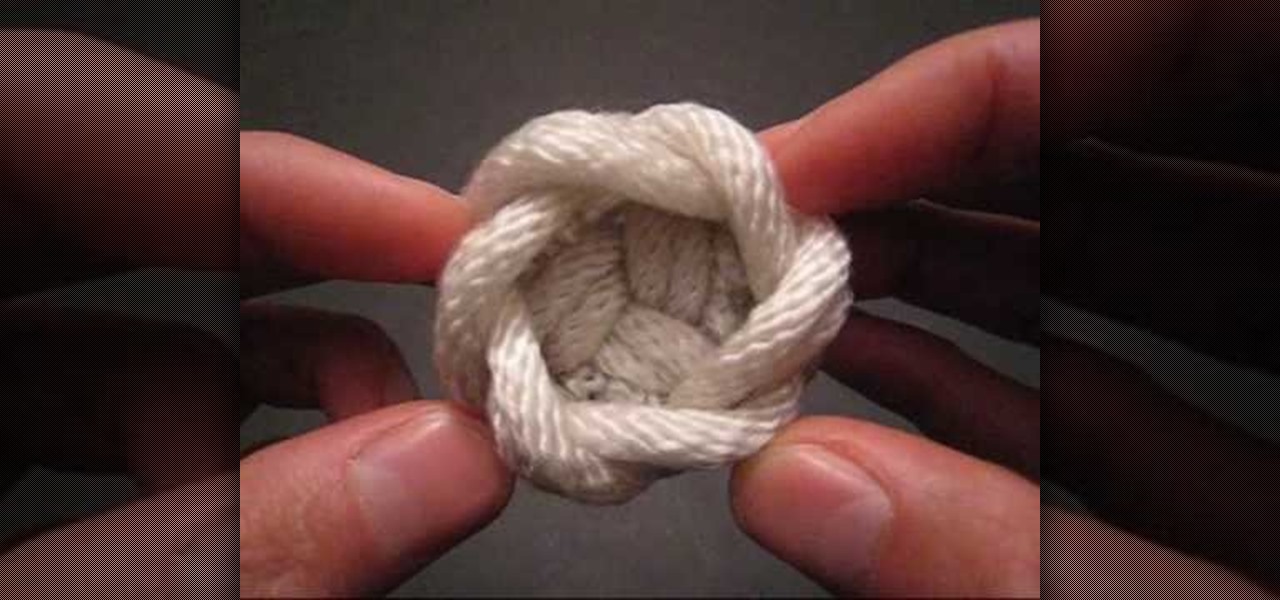
This video from Tying It All Together demonstrates how to tie a river knot. Holding the rope in your left hand, make a loop to the right and bring the rope down so it lies over the loop. Bring it up behind and pull it through the loop. This makes a loose knot with three overlapping loops. Make another loop on the right and pull the end through the lower part of the right loop. Then make another loop on the left and pull it through the lower part of the left loop. Take the rope from the left s...

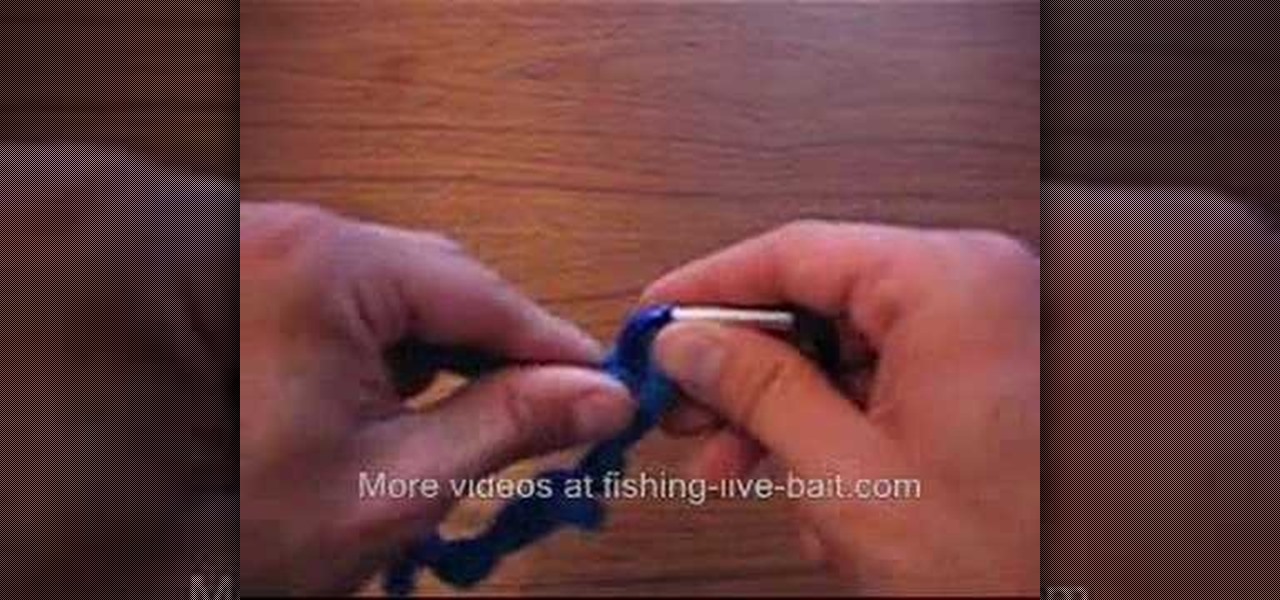
Fishing-Live-Bait shows how to tie an improved clinch knot, combining basic knowledge of how to tie a regular knot with an improved technique to make the knot even stronger. You begin by putting the line through the hook and then wrap the end of the line around the main line a total of six times. Wrapping the line that many number of times ensures the strength of the knot. The end of the line goes through the loop next to the hook. The difference between a normal clinch knot and this improved...

This video teaches how to tie the Dropper Loop fishing knot. The presenter explains the uses of the Dropper Loop, then begins the instructions. First, make a loop in your line, remembering that the size of this loop will affect the size of loop you have when the knot is tied and sizing accordingly. Take the end of the line and make another loop that goes inside of the big loop and then wraps around the line 4 times. Now you have a big loop, and a length of wrapped line with a hole in the midd...

If you're into arts and crafts then you know that there is more that you can do with a long piece of string than just tie your shoes. On this TyingitAllTogether video you have the opportunity to tie the teacup decorative knot using one long piece of string folded in half. The author of the video first shows you what the end product will look like then methodically begins to walk you through setting up the string in Y-configuration to "crossing each bights crook" which involves overlapping and...

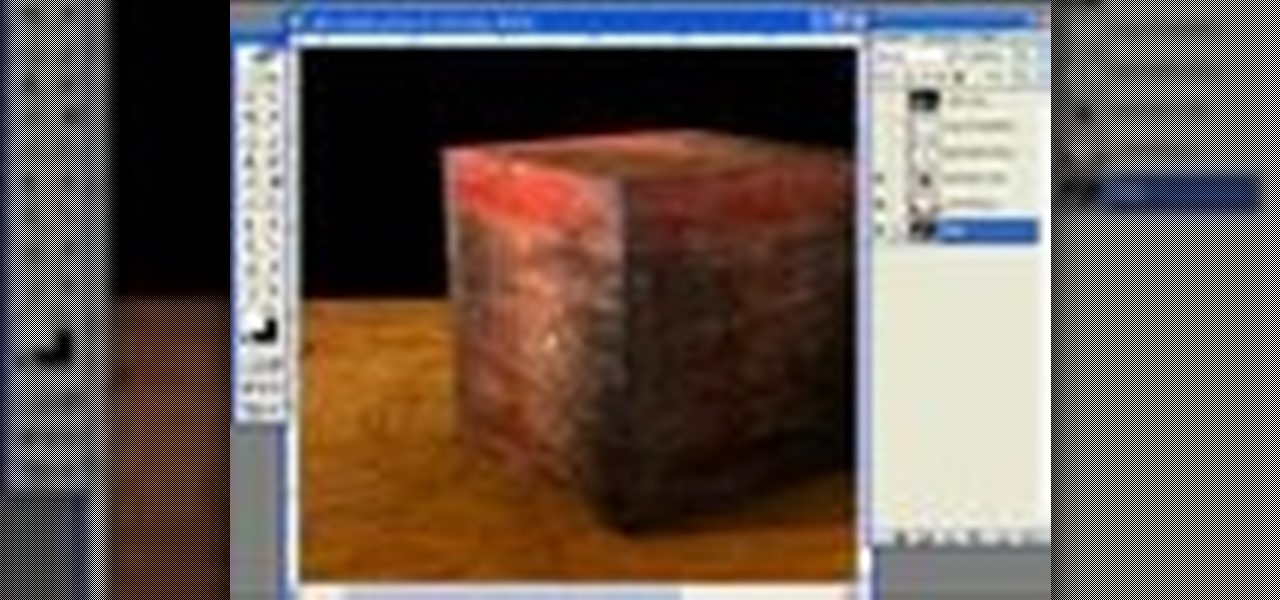
Photoshop can be a daunting program with so many tools to use and details to adjust. This simple guide shows you how to create realistic textures and details on anything or everything you could ever think of by teaching you a few easy steps. He shows you how to take an existing texture and adjust the angles so that it fits perfectly on the surface you want. Then he displays how to add a bit of detail to make the object seem even more realistic by adding what looks like wear and tear on your f...

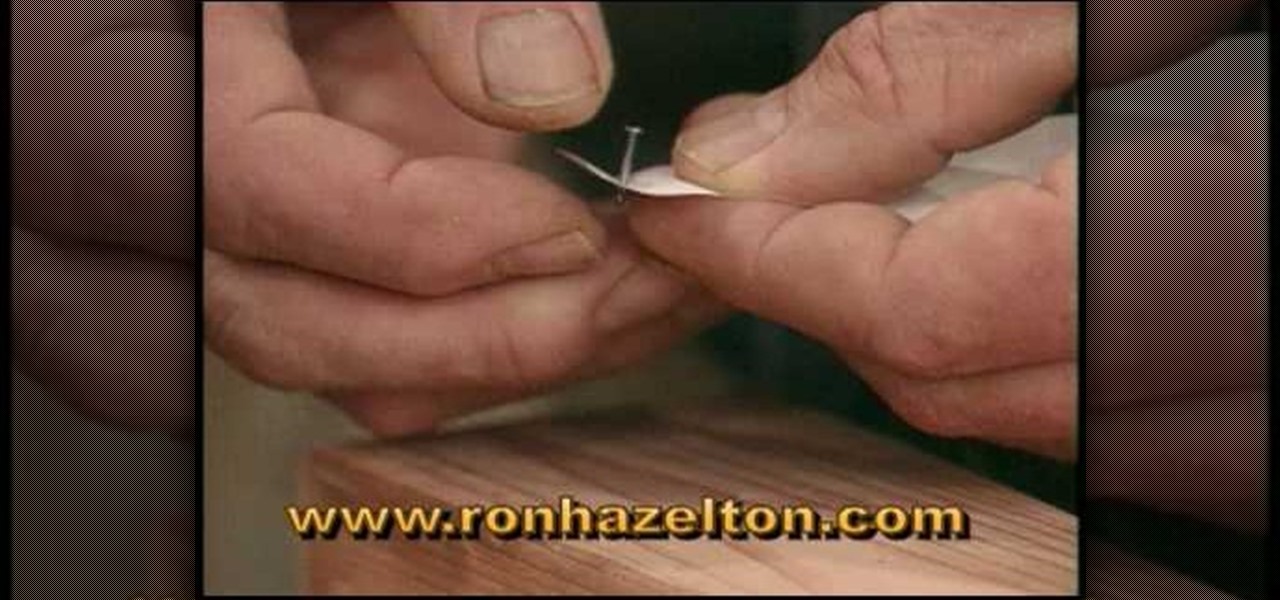
This video shows you how to hold small nails without hitting you fingers with a hammer. Get a piece of paper and push the nail through the paper. Position the nail where you want it and begin hammering it in. Before the nail is totally in, remove the paper and continuing the hammering. You can cut a little slit into a piece of cardboard putting the small nail into the slit before hammering. You can also put the small nail between the teeth in a comb before hammering.

An interesting party decor idea is to place balloons inside other balloons. This can be accomplished easily by first inflating a large balloon. Using a small stick, push a second, smaller balloon inside the larger one and then inflate the smaller balloon while it is inside the larger one. You can then tie up the second balloon, leaving the smaller one inside the large balloon. This can be repeated with multiple small balloons, so your balloons will have a unique and interesting look. This tut...

These rings are so frustrating. This video is a great tutorial showing you to put it on different places on your body.

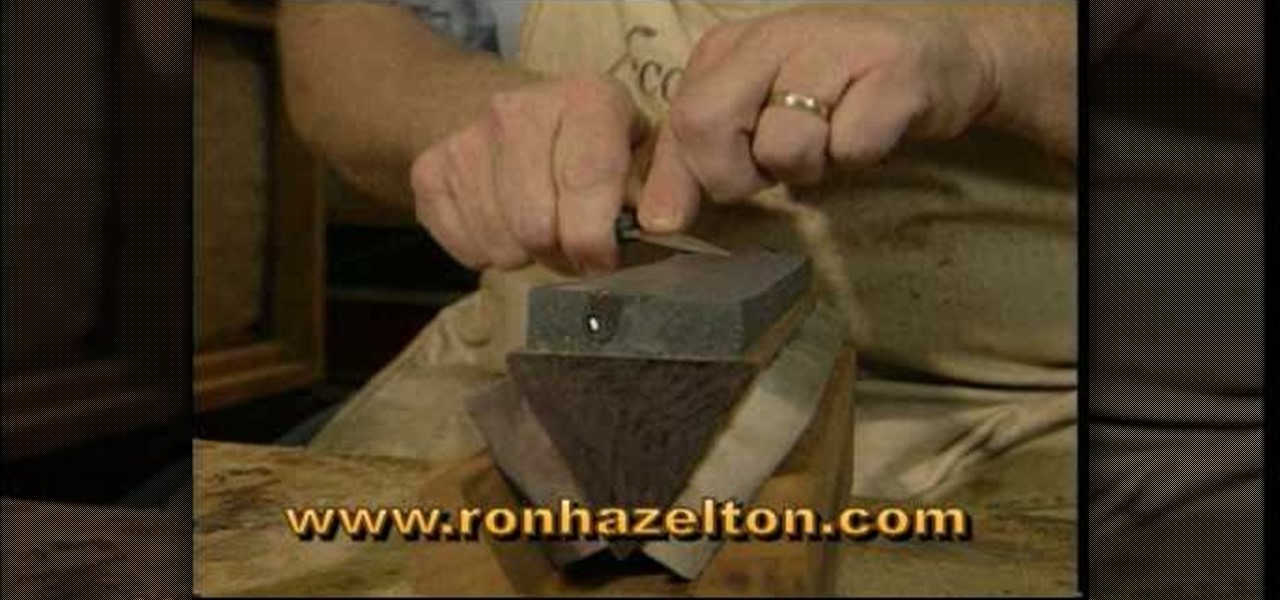
This video shows you how to sharpen a jack knife or wood-carving knife using coarse, medium, and fine stones and cooking oil. Use the coarse stone, applying oil to the stone first then pushing the knife down on the stone in each direction, matching the bevel to the stone. Next is the medium stone. Add oil before continuing the sharpening process. Apply cooking oil to the fine stone and finish the sharpening process. Using a leather strop will remove any burrs and polish the knife.

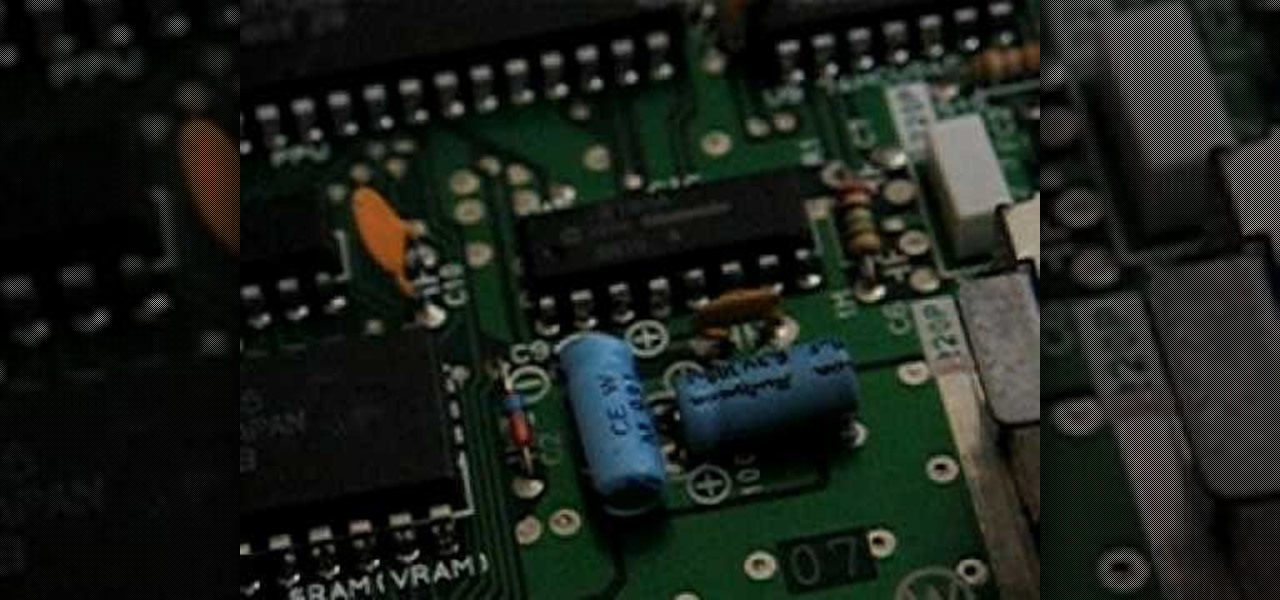
The board does not always look like this: occasionally the nearby capacitors aren't present. Also, Pin 4 is the 4th pin from the L on the bottom. This is the side closest to where the cartridge loads, also, the writing on the chip should be right-side up. Please note this is a console, not a game cartridge.

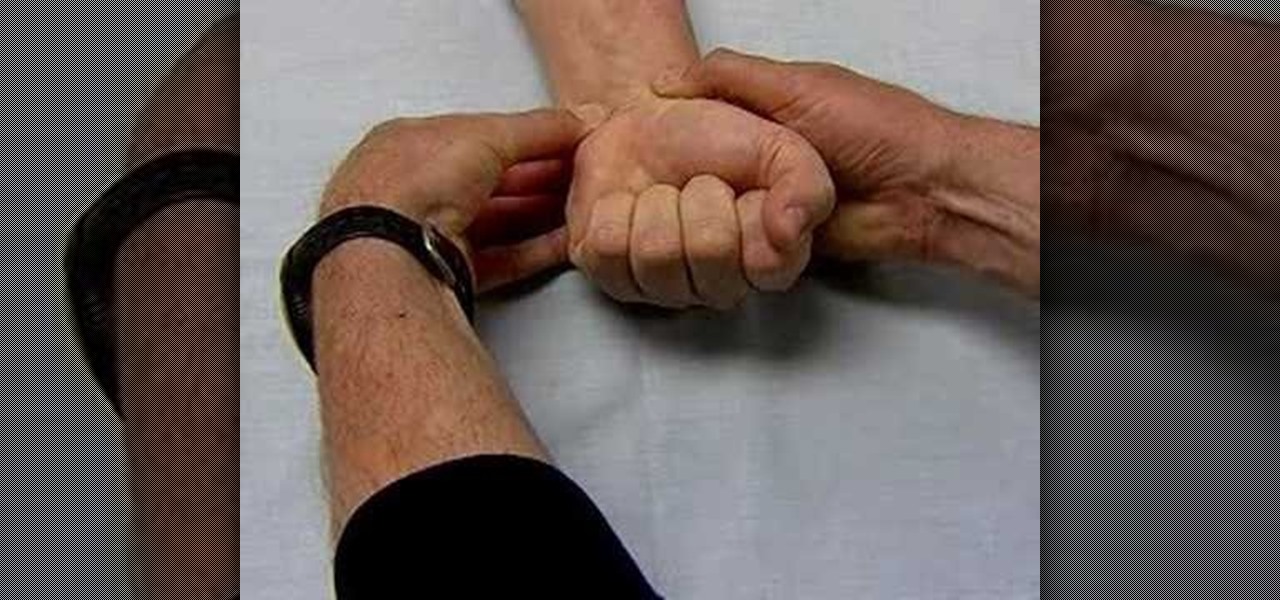
This how-to video demonstrates how to test radial and ulnar artery circulation. To begin have the patient clench the hand tightly. Upon release the blood should return quickly. If you push down on both arteries, specifically the radial side, the hand remains white after loosening the clenched hand. If you release the ulnar side you will notice that the hand returns to a normal pink color. Follow along and learn to test radial and ulnar artery circulation.

Hip flexors are important muscles to target when weight training to build functional strength in the legs. Learn how to do hip flexor exercises in this strength training video. Take action: knees to chest exercise targets core, hold weight between feet, raise knees as high as you can, start in push up position and bring alternate knees to elbows, and work for quick reps and endurance. Tom Clifford, the instructor in this how-to video, has a degree in physical education, fitness and health fro...

This modo tutorial shows you how to detail paint textures maps on meshes and how to bake them using the render engine. Modo leverages its high-quality rendering engine for baking tasks as well. Check out this tutorial which shows how to leverage said baking during the painting process.

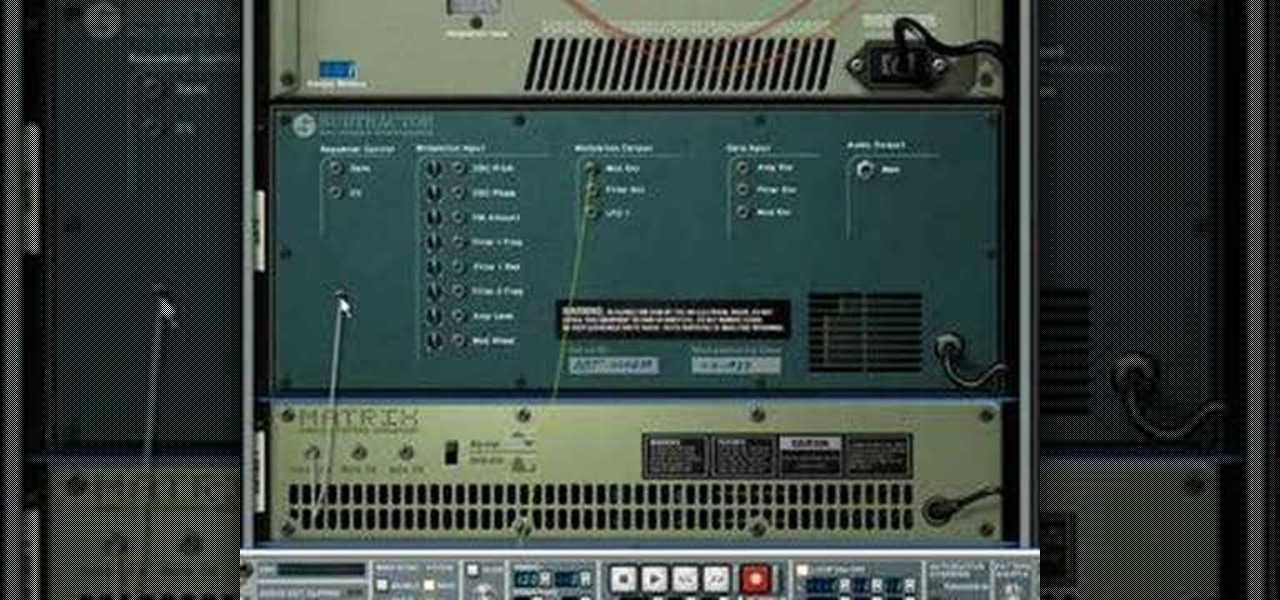
This music production software tutorial describes a hack to allow you to trigger an instrument or effect when you RELEASE a key in Reason 3 or 4. This is useful for guitar strums, Hi-hats, mutes or delays, or vinyl scratch effects. With this trigger trick you can create back beats easily. Have one effect produced when you push a key, and another when you release the key using release gates in Reason 3 or Reason 4.

Need to know how to drive a stick shift and have no time to learn? Simple, watch this quick automotive video tutorial to learn how to drive a manual transmission with ease.

Asking out that cute girl you've been crushing on for what seems like thousands of years can be intimidating and nervewracking, to say the least. What if she rejects you and rips out your heart and stomps on it right then and there, right?

The first step needed to maintain an edge on your woodcarving knife is to test the knife each time before use. One sign of a woodcarving knife becoming dull is for the cuts to come off in small splinters instead of curled shavings. One of the easiest ways to sharpen your knife is to hold it at a 20 degree angle on your sharping belt and push away from your person. You must repeat the rolling motion shown in the video around ten to twelve times before retesting for sharpness. This step can be ...

In this video we learn how to make a candy DNA model. First, purchase some black licorice and another color. Grab two each from the pack and then purchase some gummy bears. After this, pick out four different colors from the gummy bears bag. Take your scissors and put the licorice together. Cut one inch pieces so you end up with six of them. These will represent the sugars in the molecules. Once you do this, you will take the string and push it through the holes that are in the licorice. Laye...

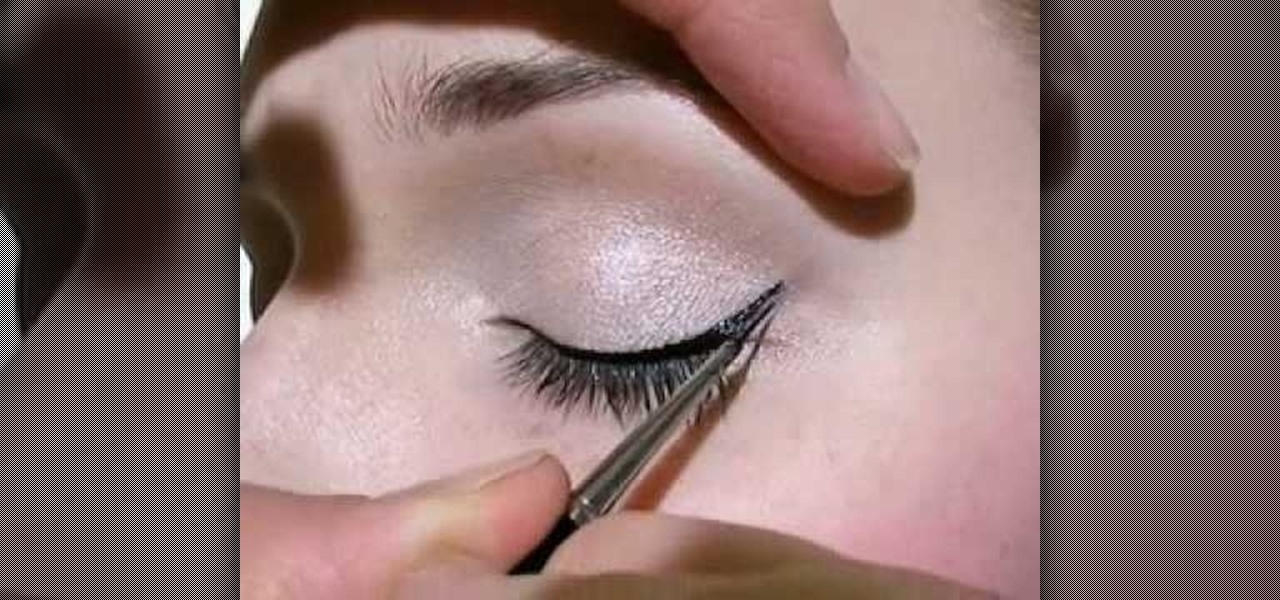
In this tutorial, we learn how to apply hot liquid eyeliner. First, line the eye with a slanted eyeliner brush that has been dipped into the liquid eyeliner. Line from the inside corner to the eye out to the outside of the eye. Pull the lid up gently so you can really push the eyeliner into the lashes to make them look darker and fuller. After this, line the outside corner of the eye and make a light flare if you would like a more dramatic look. This will finish the eyeliner look, have fun wi...

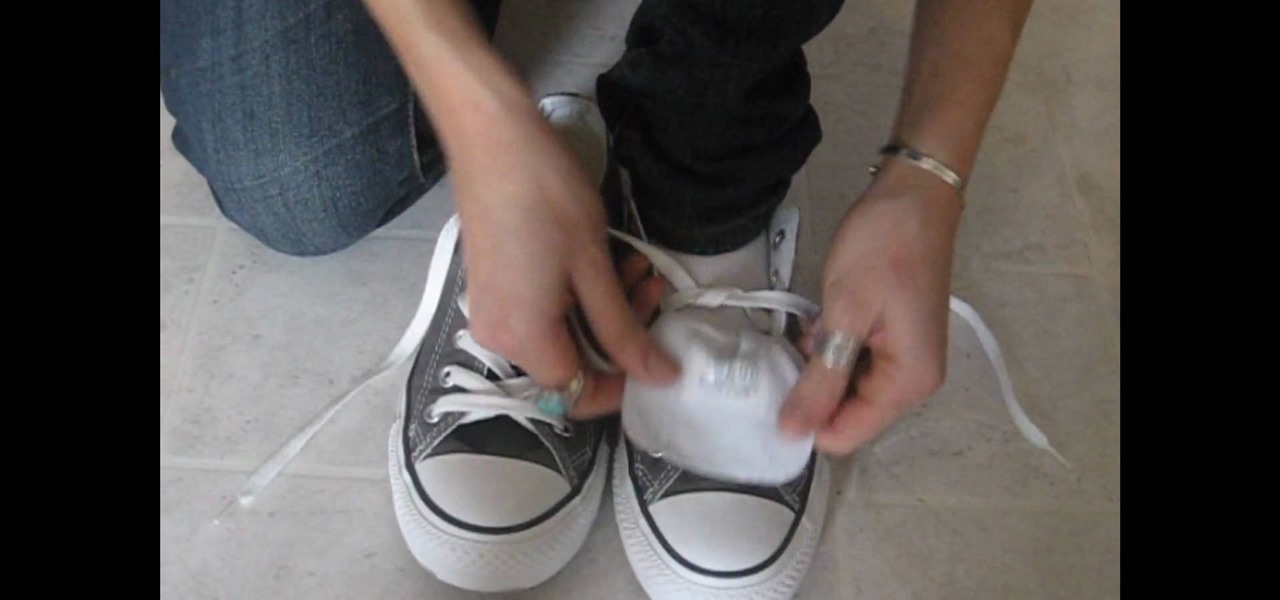
In this video from carahamelie03 we learn how to wear your Converse with skinny jeans. First make sure your Converse are laced the right way. The laces should go up and through the holes downward toward the shoe. Unlace the first two holes on both shoes. Wear socks that go decently far up so the Converse won't push your socks down. Put your foot in the shoe and fold the bill down towards your toes and tie the laces under the bill. tuck the bow into the side of your shoe. If it's too tight, ma...

In this video, we learn how to lay floor tiles. Lay the tiles in a diamond pattern, using a tape measure to make sure you have enough of them. You will need to cut the corner tiles so they fit in with the rest of them. Lay the tile adhesive down first before you lay the tiles down and make sure they are pushed down into place securely. Continue to lay the tiles down until you have covered the entire area. After this, you will lay mortar in the middle of it and then wipe it off clean to finish...

In this video, we learn how to get 360 waves using olive oil. First, buy some extra virgin olive oil and your brush. After this, get a rag and put hot water on it, then ring it out. From here, rub this all over your hair to get rid of any chemicals in your hair. Now, brush your hair as normal all over until it's fully combed. Then, put the olive oil into the palm of your hand and spread it around your head, pushing towards your forehead. Then, brush your hair again until the olive oil has bee...

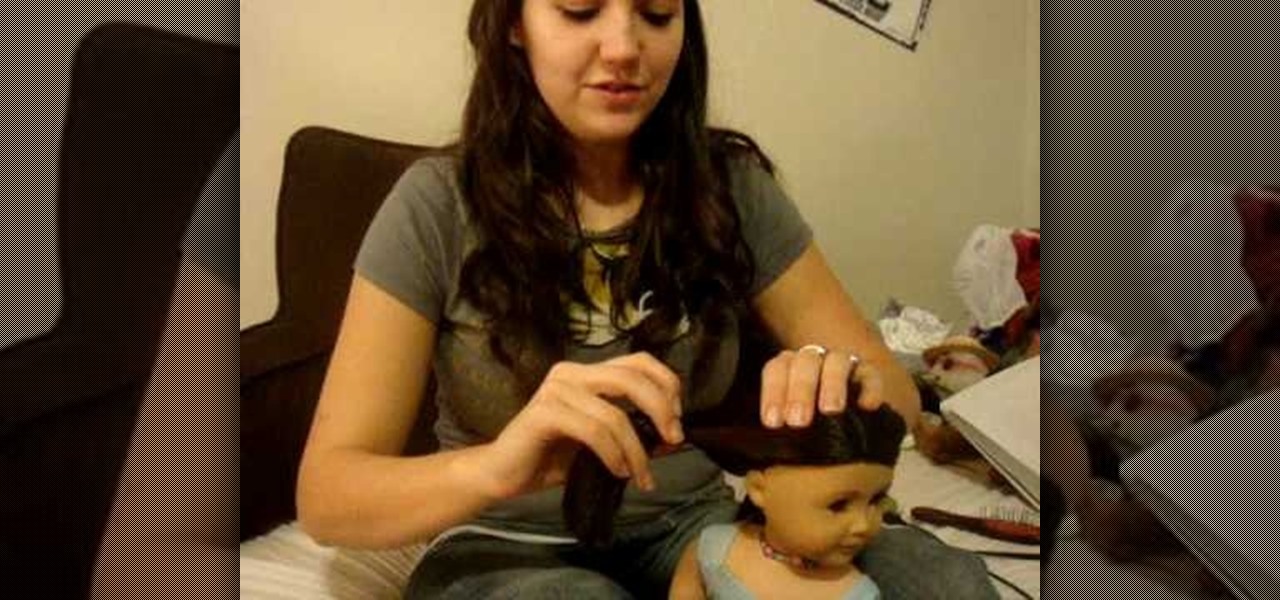
In this video, we learn how to do a double twist flip on your American Girl doll. First, part the hair down the middle and then brush it out. From here, pull out the rubber band one side and then split the middle of the hair in half. Push the rubber band with the hair through this, then tighten it up. Do this on the other side of the hair to make them both even. This will finish the hairstyle on your doll! The great thing is that you can do this on dolls that have short hair or long hair and ...

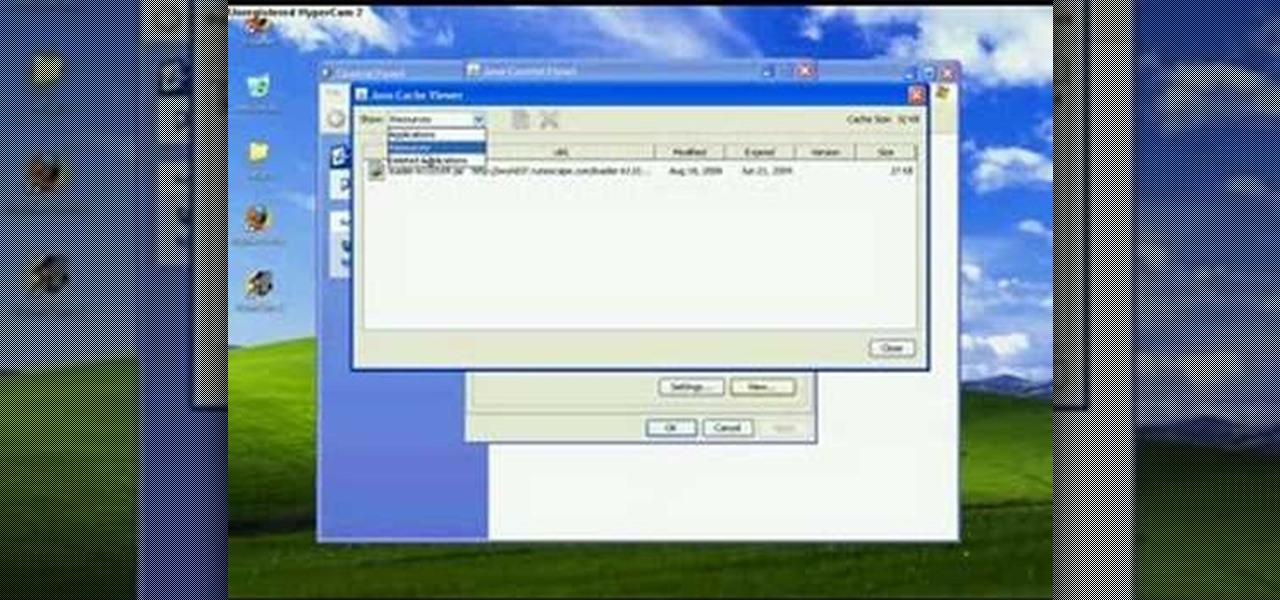
In this tutorial, we learn how to clear your Java cache. First, go to the control panel and then open up Java from the thumbnails menu. After this, you will right click on the program and then go to 'view cache'. From here, select all of the Java and click inside the boxes to do this. Then, push 'ctrl+a" and it will start to clear. After this the cache will clear out and you will be finished. It may take a few minutes to load depending on how much information you have loaded in the cache. Exi...

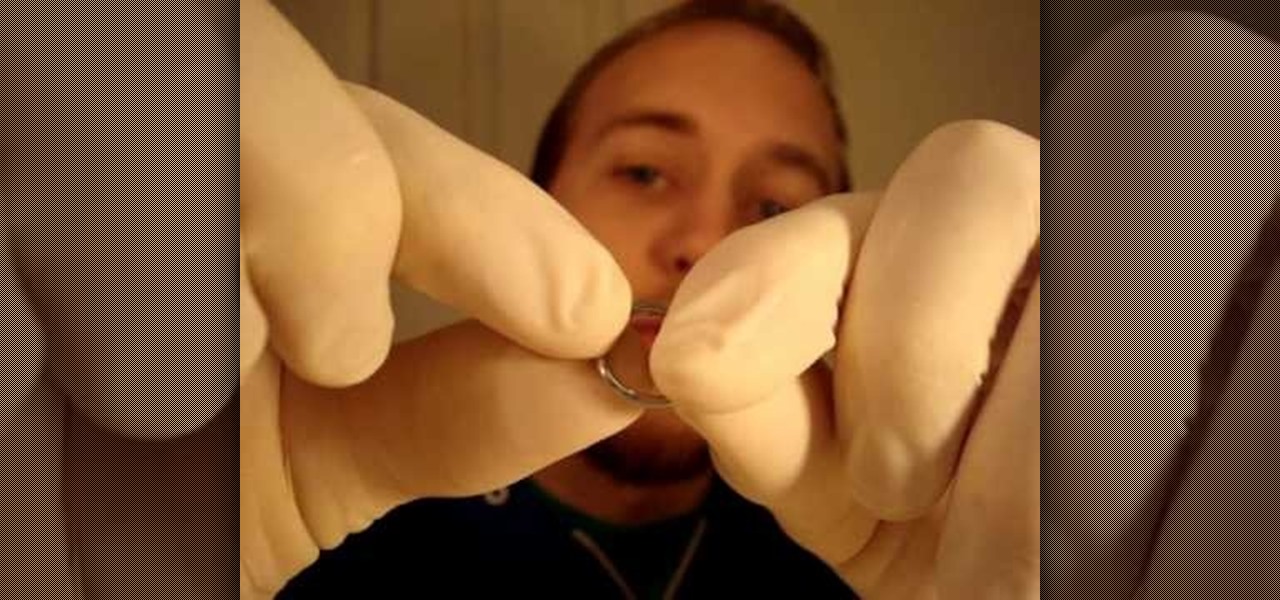
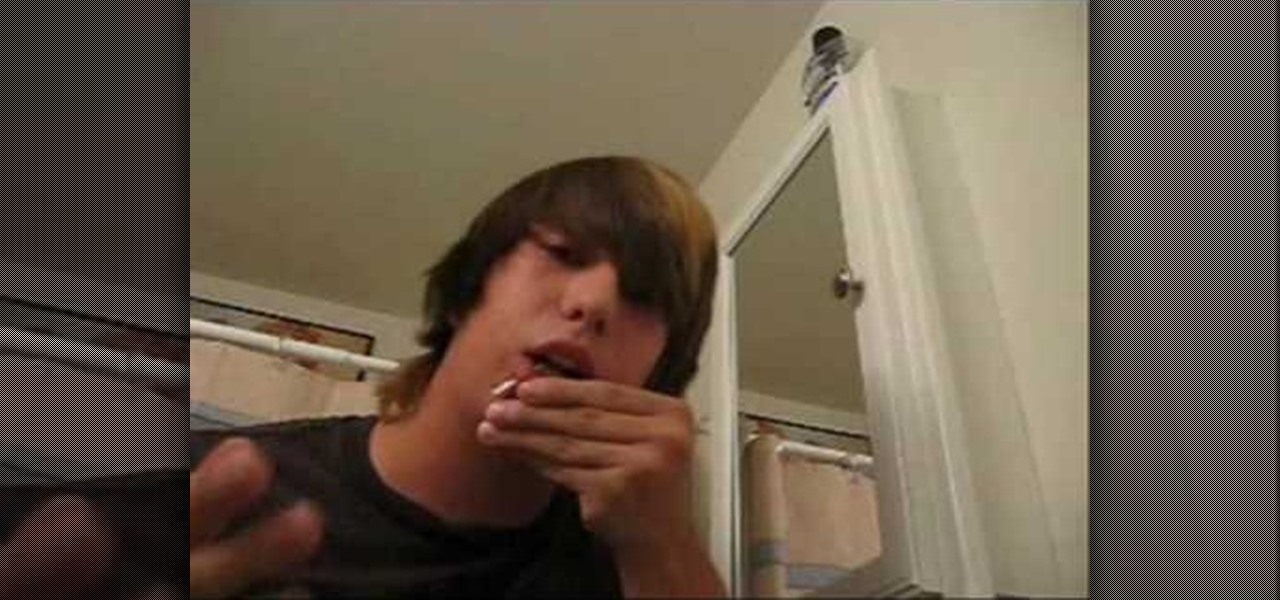
In this video, we learn how to pierce your own lip and avoid infection. First, mark the spot on your lip where you want to pierce it and then check it in the mirror. After this, grab your needle and clean it off with antiseptic or mouth wash that has alcohol in it. Push the needle all the way through the spot on your lip and then place the jewelry into your lip. Once finished, you will need to rinse your mouth out with mouth wash that has alcohol in it. Make sure to clean this regularly so yo...

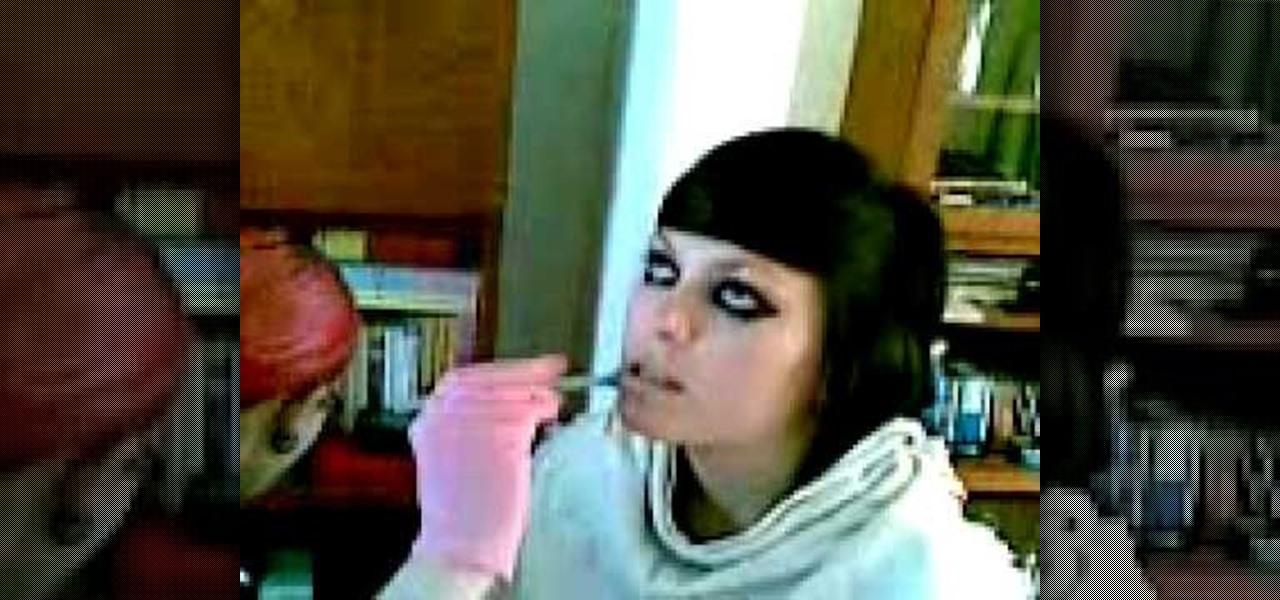
In this video, we learn how to pierce your lip at home the professional way. First, sit the subject down and put a cloth around their upper body. Then, grab a clamp and place it where you are going to pierce the hole. After this, push the needle through the spaces in the clamp and follow this by sticking in the jewelry. Apply cleaning products into the mouth that are for cleaning the wound specifically. When finished, make sure to take proper care of the piercing and the jewelry as well so it...

In this tutorial, we learn how to prevent mice from living in your house. To start, you will need to inspect around your home and see if there are any holes that mice can get in and out of. Also, look for signs of their waste laying around. Get on the roof and make sure it's secure, with no holes in it where mice can get into your attic. If there are small holes, cover them up using small pieces of wire that they cannot push their way through. After you do this, your home will be safe from mi...

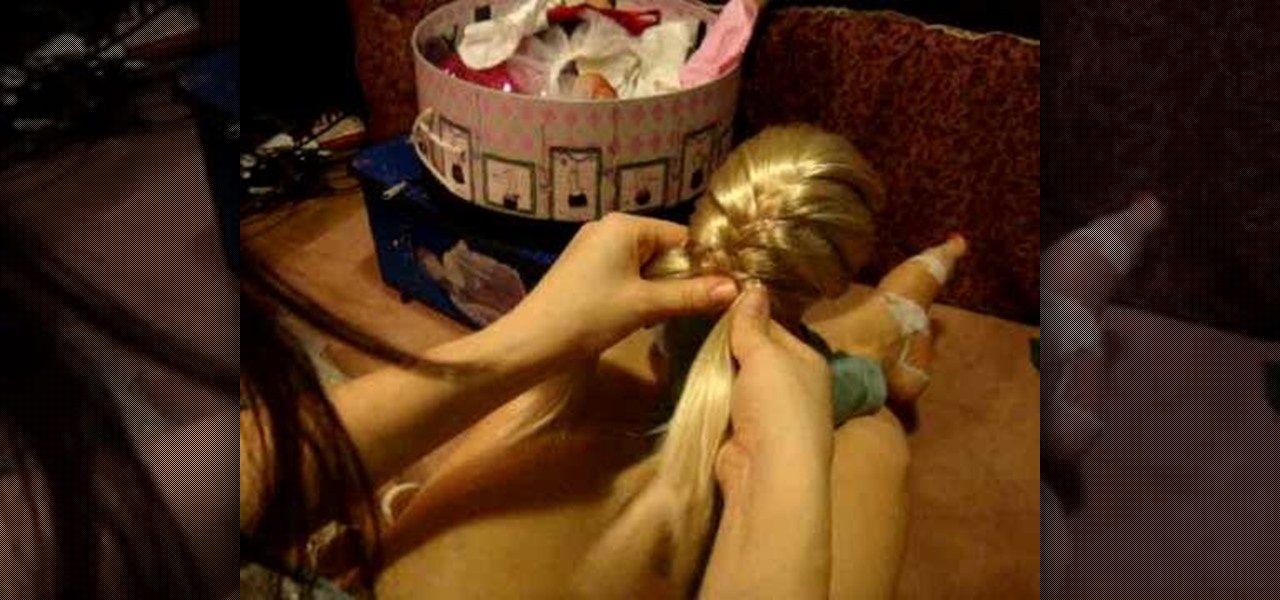
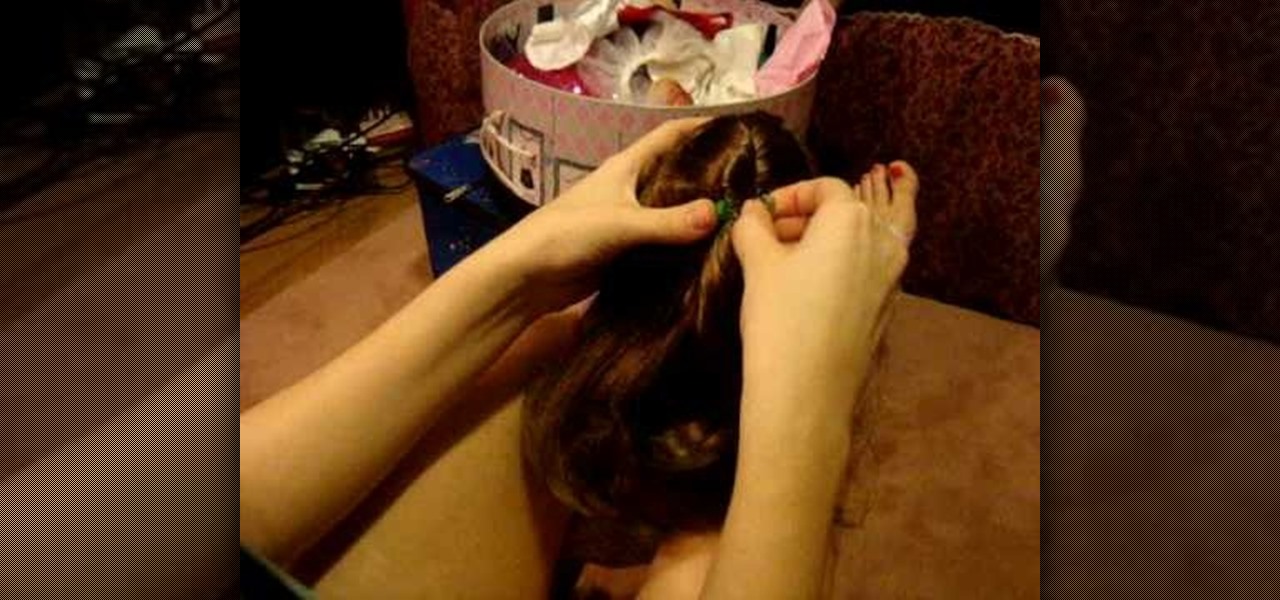
In this video, we learn how to do a fishtail variation on your American Girl doll. First, brush the hair out so it's smooth and then take a section from the top right side and top left side. Cross these together on the back of the head and then grab another piece of hair. Start to braid these together and push them from side to side. Alternate grabbing pieces of hair from each side of the head, making them as big or little chunks as you want to. As you continue to cross the hair, you will rea...

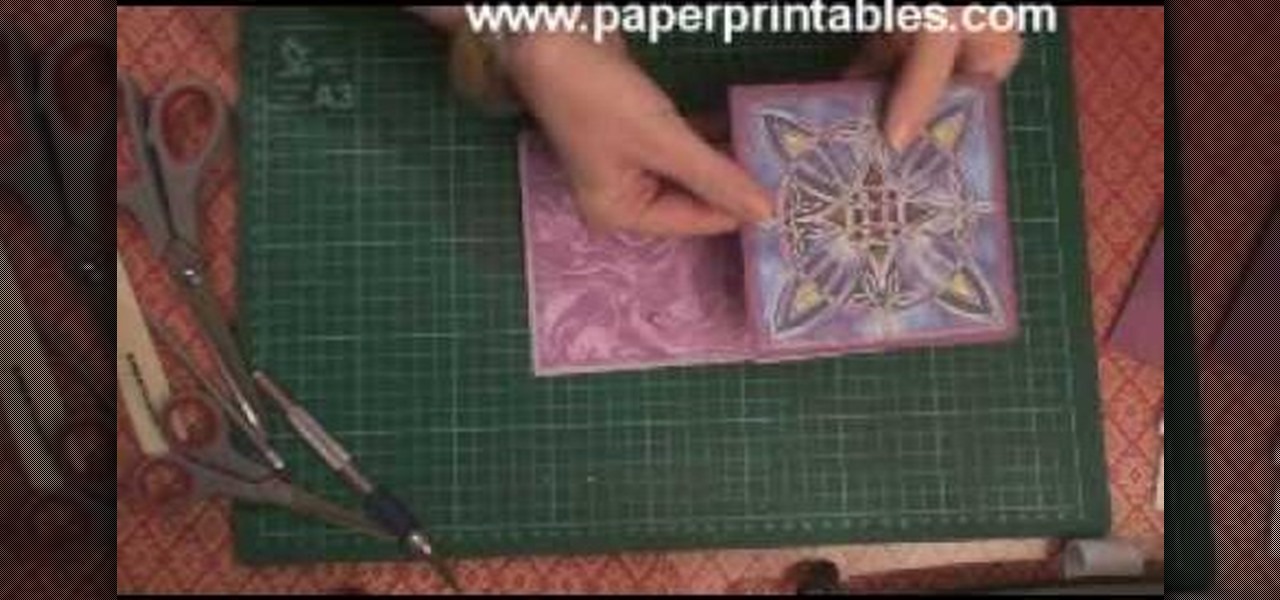
In this tutorial, we learn how to make a half/quarter easel card. First, grab several pieces of colors of card stock that you like. After this, fold the main one up into a square. After you have folded this, fold the edges into the middle and push the creases down. From here, you will glue the bottoms of the other pieces and glue them onto each other so they are backgrounds. After this, you will create a border around the front main picture. When finished, fold this up and then you will have ...

In this tutorial, we learn how to get scrunchy hair right out of the shower. First, take a smoothing liquid you like in your hair and run it through your entire head of hair. After this, take a volumizing gel and run it through your hair as well. Now, spray hair spray all over your hair, working it from the top to the bottom all over. Next, you will take your hands and scrunch your hair by pushing it up and crunching it with your hands. Do this all over until you have the scrunch that you wou...

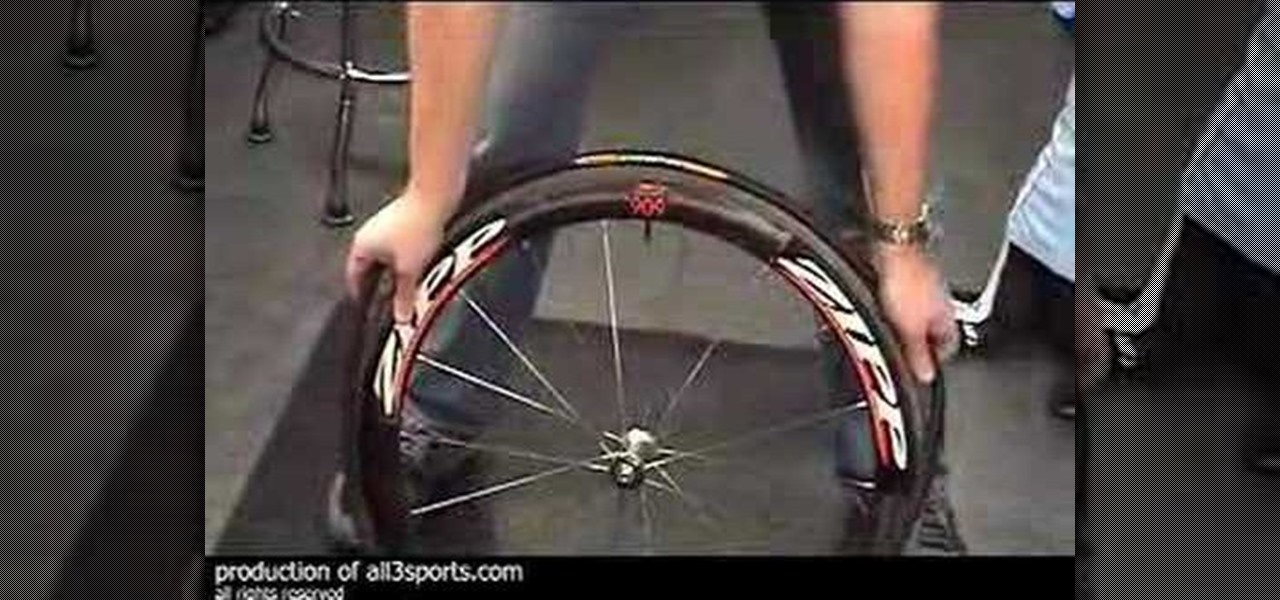
In this tutorial we learn how to change a flat tubular tire. First, grab your tools and remove the tire from the wheel. Do this by locating the stem and finding the spot across the other side from it. Once you have take this off entirely, you can move onto the next step. Once finished, replace the new tire back onto the wheel. Start with the same area and make sure to push the stem through the hole. Use your body weight to stretch the tire around. To finish this process, you will simply need ...

In this tutorial, we learn how to do a really cute hairstyle on your American Girl. First, brush the hair out and then pick up the hair from the top of the head. Brush this and then twist the hair and push it up so it creates a poofed effect. You may have to do this several times to get it right. Then, clip the hair into place and grab the right side of the hair. Twist this until you reach the base of the neck and tie it into place. Do this on the other side and then combine both sides togeth...

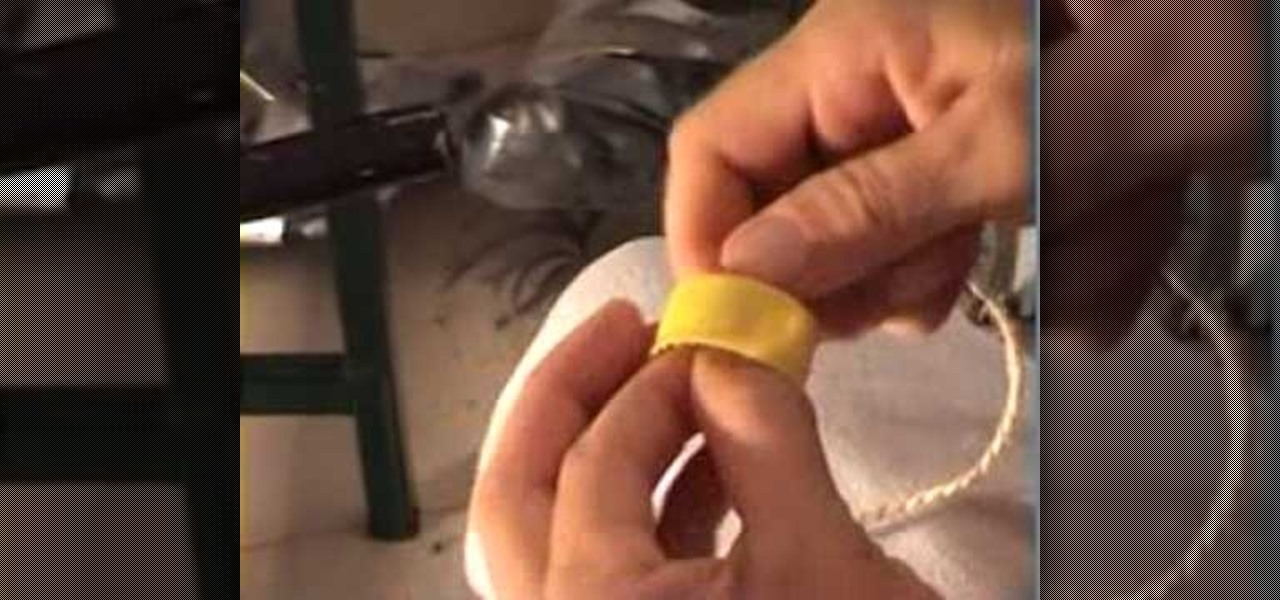
In this tutorial, we learn how to recycle a plastic bottle to make a toy bottle rocket. First, take a large plastic bottle and a sharp knife, then cut it in half. After this, take the side with the cap on it and then paint on the inside of the bottle. You can paint whatever you want on the inside, feel free to use different colors and get as creative as you want! From here, take some bottle caps and poke holes in the center of them. Then, string these together by pushing a string in the middl...

In this tutorial, we learn how to pick up stitches along a curved edge. You can see the slope on your fabric that you can work with. If you slip the first stitch you can avoid this. First, slip the first stitch and then bind off the next stitch as usual. This will create a nice curve. To pick up stitches, you will use a circular needle and then poke it through the area in the last row. Find a 'v' shape and then push the needle through this. Pull through just like you are normally knitting and...

In this tutorial, we learn how to fit a dry lining back box. This is very easy to install, and the sides will grip the wires on your light. First, determine where you want your switch, then mark a quick line using a sturdy level. Next, you will cut out a hole in the wall the size of the box. After this, push the box into the wall. Then, you can add in the light switch to the box and secure it with the wires that are inside. This will finish up this project, just make sure the wires are place ...


