Before you start this recipe, make sure you have the proper pan: You'll need a 9- or 10-inch cake pan with sides that are at least 2 inches tall. (Most standard 9-inch cake pans have 1-inch sides, which will leave you with overflowing batter.) If you strike out in the cake pan department, an ovenproof skillet with similar dimensions will work. This cake is so fabulous, I would strongly consider buying a 9 by 2-inch cake pan especially for this recipe. It's surprisingly easy to make, and as a ...
This crafty project is inexpensive, it's easy to do and it's really handy for attaching things like letters, photos and to-do lists. This isn't like a cork memo board, because you won't need any push pins or cork pins! Watch and learn how to make this French memo board. This is the pretty alternative to drab store-bought memo boards.
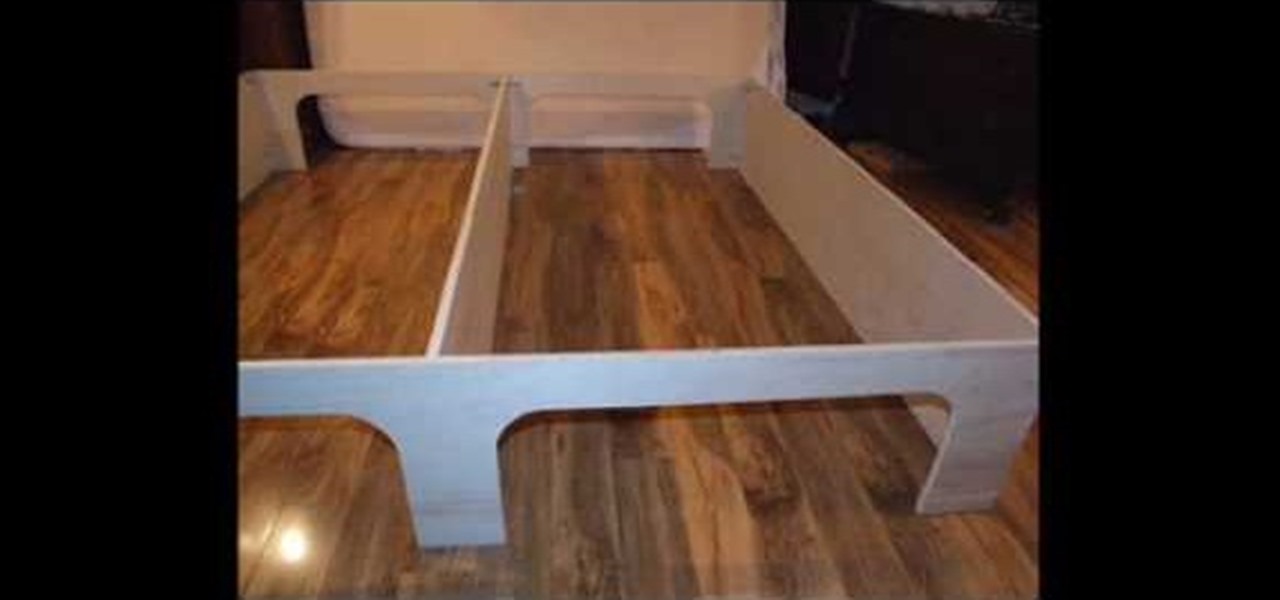
Following are the steps to describe how-to build a platform storage bed at a low cost: 1. All you need are the following materials: (Say a bed size of 16. 5 inch)4 sheets of plywood, 3 (1x4x8) plywood, 20 2-inch corner braces, 1 (1/4-inch) drywall screw, few nails.
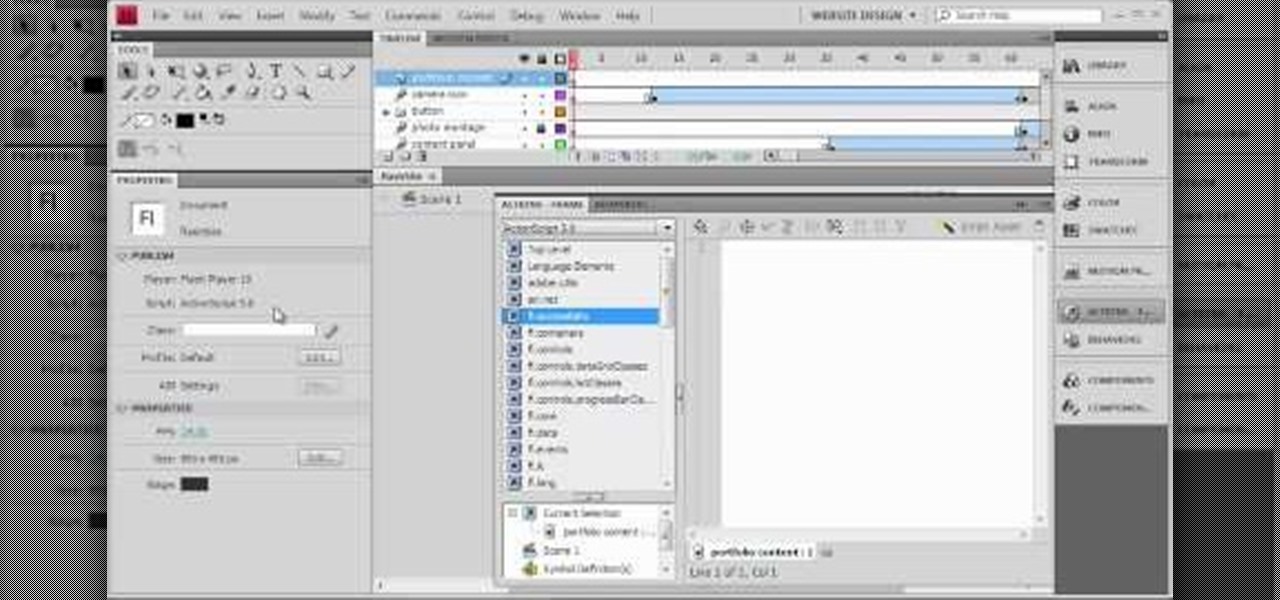
Welcome to part 7 of this epic 60-part video series on how to make your own website using Flash CS4 from scratch, no experience necessary! This section details how to use actionscripts and other techniques to make your websites more interactive and appealing to potential traffic.

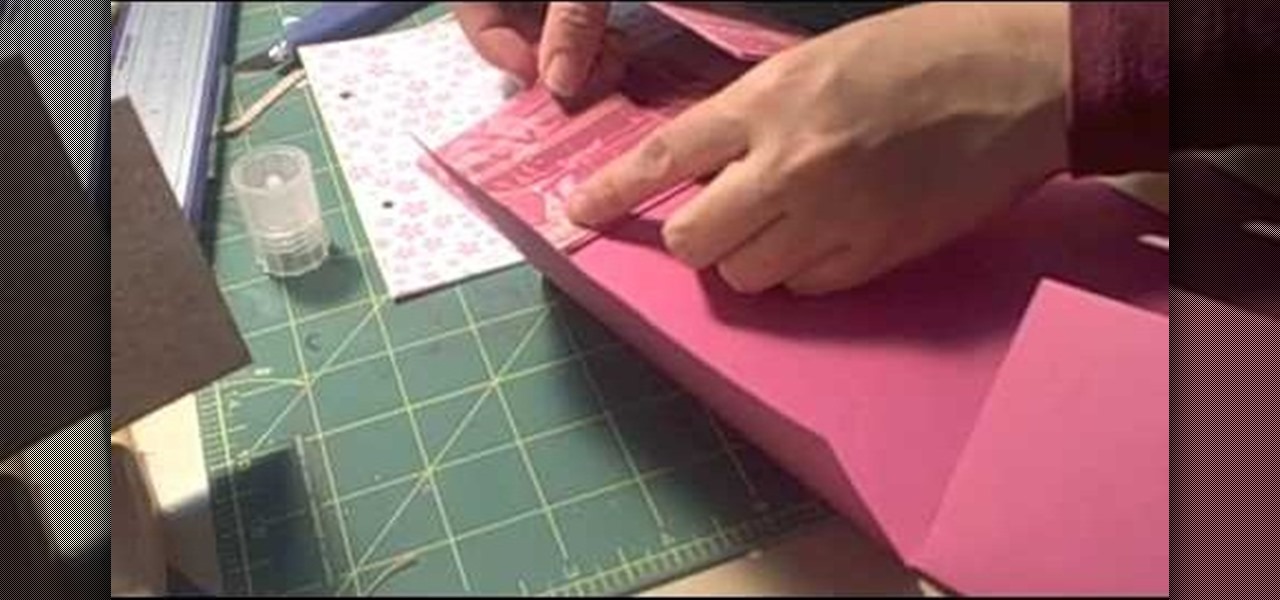
This video features an image from Squizzlefly. The card is Spring suite 2. Use a regular A2 size card. Cut 8 1/2 x 5 1/2. Score in the middle. Go down another 1/2 inch and score. Take a ruler across the top of the fold. Make a pencil mark at every 1/4 inch. Should be 21 small hash marks. Measure down 1/4 inch on both sides. Go 1/2 inch in and make a dot every 1/2 inch. Go down 1/2 inch from the fold and make a dot every 1/2 inch. Make long-short, long-short cuts with the dots along the whole ...
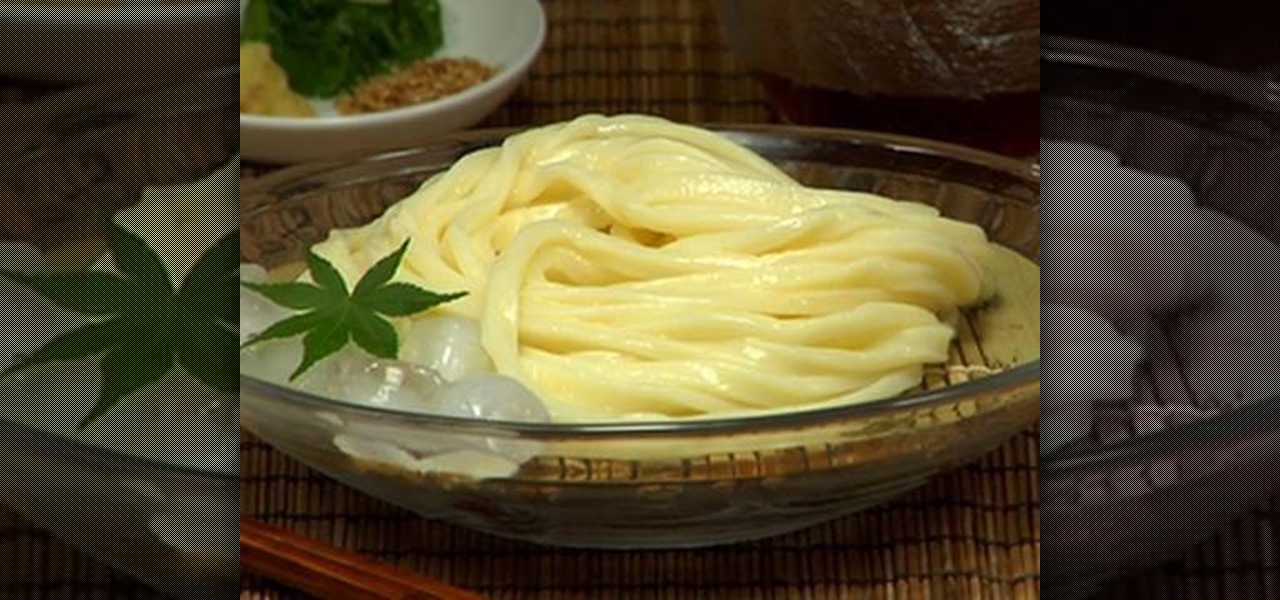
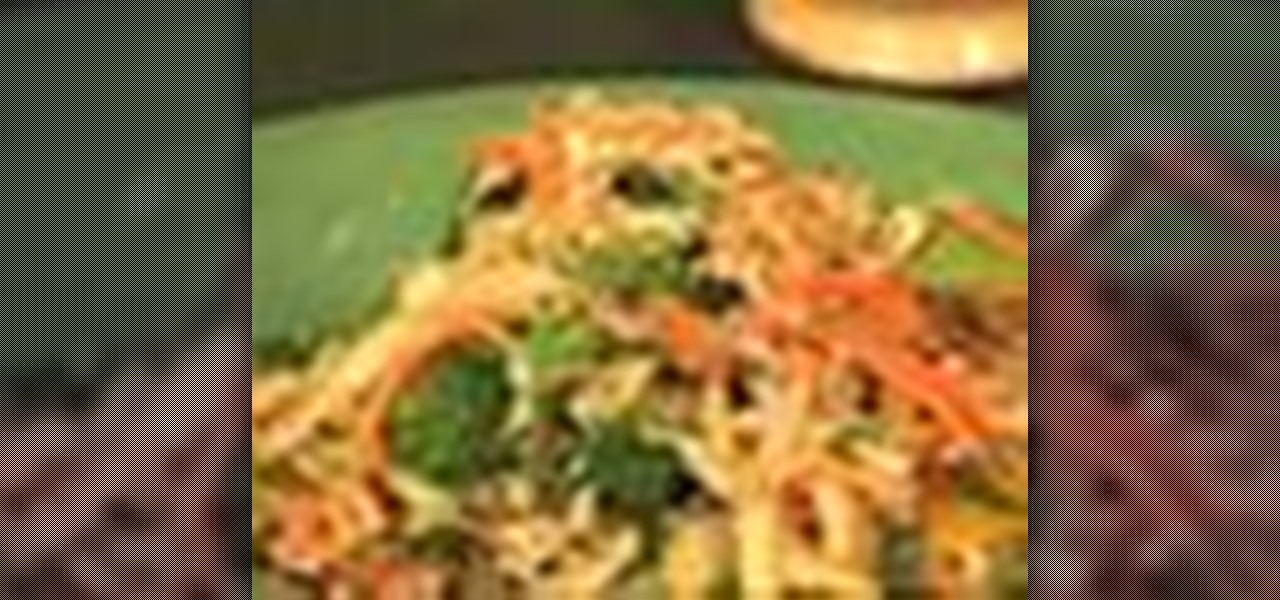
In this tutorial, learn how to make a classic Asian dish, Teuchi Udon. These tasty noodles make the perfect side dish or dinner and go great with many other Asian speciaties.

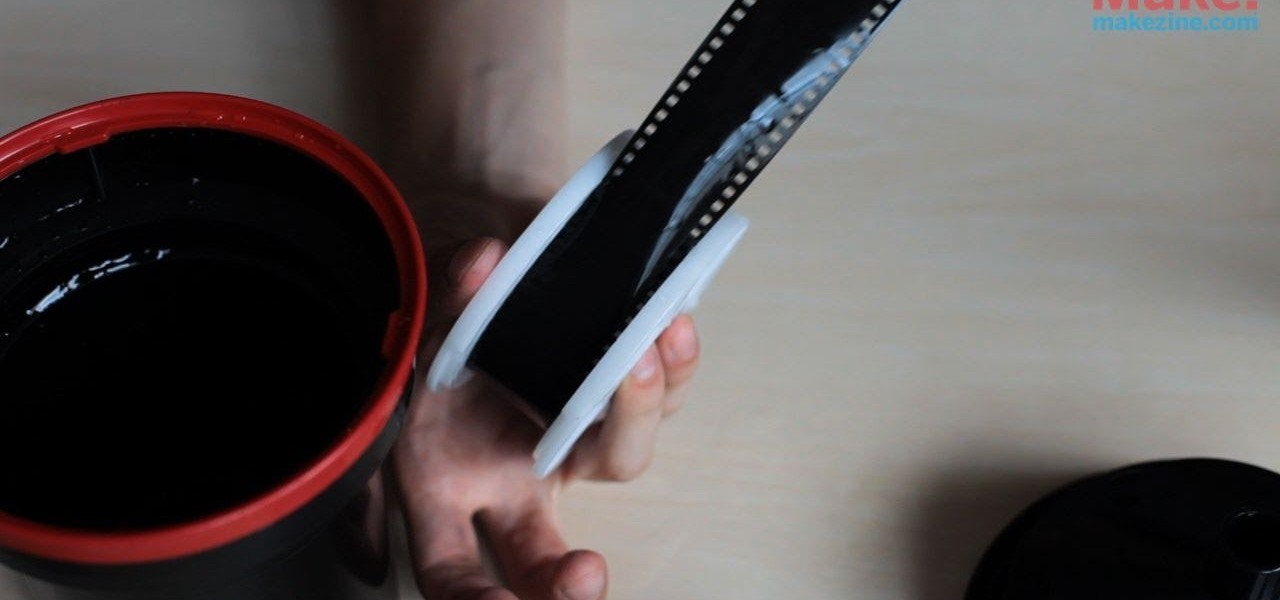
This four-part video describes, in great detail, how to develop black-and-white 120 film. With photo labs becoming rarer by the day, knowing how to do this yourself will become increasing important if you want to continue to take and develop pictures with film. Developing 120 is a bit different than developing 35 millimeter, so if you can already do that still watching this video! Thankfully, the presenter demonstrates the process in full light. Bear in mind it will be very dark when you do t...
Sandra Lee shows viewers how to make a No-Bake Love Cake in this video. You will need the following ingredients:
Losing weight can be a battle, but why not be realistic about your goals rather than kill yourself striving for a size 0? A happier alternative to the cycle of weight loss and gain is to achieve a weight you and your doctor can both live with. In this tutorial, learn how to calculate your BMI and ways to figure what your "happy weight" is.
This video is a demonstration on how to bake a lovely rubber ducky cake for your baby's first birthday. You will need one 8 inch round, one 9 inch round and one small cake baked in a ten ounce custard cup. The dome of the 8 inch cake is cut and kept inverted. The edges of the 9 inch cake should be cut and kept on the 8 inch base with yellow frosting in between. The edges of the custard cake is trimmed and set on the 9 inch cake with some frosting underneath and it acts as the head of the duck...
Poke, jab, and stab your opponent without taking out an eye. You Will Need
If MacGyver ever needed to develop some black and white film, this is how he would do it. Check out this awesome recipe for film developer, which uses instant coffee, Vitamin C, and washing soda to set up your own darkroom developing lab.
In this tutorial, we learn how to read a tape measure like a professional. Rulers are awkward and you can't measure something over 13 inches with them. A retractable tape measure will measure as long as you would like and it has different markings on it. It has an inch, half inch, and goes on and on. The smallest is 3 32nd's of an inch. As you become more familiar with measuring the tape measure, you will take more accurate measurements for the projects you're working on. When finished learni...
In this tutorial, we learn how to read a school box ruler. A ruler will be divided into inches, each inch will be divided in half. From there, it will be in quarters, then eighths, then sixteenths. Once you understand how the inches get divided up into halves, you will be able to read the ruler better. Start off by counting the small lines that you see on the ruler to get an idea of where the eight, quarter, and half inches are located at. After practicing this, you will be able to read a rul...
In this tutorial, we learn how to know the ruler. An inch ruler will have 12 inches on it. Each mark will be right next to these. Half of these marks will be a half an inch and the half of those with be an eighth. Half of this will be a sixteenth. On the other side of the ruler, you will see the metric system of the ruler, which is not used in the United States. It has centimeters listed on it instead of inches. To use the ruler, you will need to look at the mark it is on, then count the smal...
This video tutorial is in the Arts & Crafts category which will show you how to make a flip square album. Take a 12 x 12 inches square cardstock and make a score line at 3 inches on all 4 sides of the paper. Now cut along the score line at the top and bottom of the paper up to the 3 inch line. Next you fold along all the score lines inwards and you have all the flaps ready. Then mark along the edge of the center part of the sheet and punch two holes for tying the album as shown in the video. ...
In this clip, you'll learn how to convert between yards and inches by formula. From Ramanujan to calculus co-creator Gottfried Leibniz, many of the world's best and brightest mathematical minds have belonged to autodidacts. And, thanks to the Internet, it's easier than ever to follow in their footsteps. With this installment from Internet pedagogical superstar Salman Khan's series of free math tutorials, you'll learn how to solve word problems that require you to express yards as inches or in...
This video teaches the viewer how to make a bow for your hair. You need a few materials to do this including 12 1/2 inches of ribbon that is approximately 1 inch wide, Two to three inches of contrasting ribbon for your center piece, a glue gun, 5 inches of craft wire and a hair clip. You can chose the colors or create several different ones to coordinate them with your wardrobe. They take only about 5 minutes to complete as long as you have all the materials on hand. Make sure to have a pair ...
Calculating The Area Of A Parallelogram A parallelogram is a 4-sided shape formed by two pairs of parallel lines. Opposite sides are equal in length and opposite angles are equal in measure. To find the area of a parallelogram, multiply the base by the height. The formula is:
Patti Moreno, the Garden Girl, shows how to install a drip irrigation system in a container garden for growing herbs and vegetables. Container plants also need more fertilizer. First, at the spigot, connect a manifold/timer with a fertilizer dispenser and a filter to remove particles. Then run a half-inch main tube line to the patio, using clamps to secure the tubing to fencing and elbow joints at any corners. For each container, punch a hole in the main tube and attach a quarter-inch tube wi...
If shaky home videos are making your audience seasick, it's time to steady your hand. Watch this video to learn how to make a camcorder stabilizer.
Save money and become a more complete photographer. Learn how to develop your own film in this free darkroom tutorial from a professional photographer.
It's quite unfortunate, but most of us don't possess a french fry press at home (you know, the big clamping machine with square cut shapes on the bottom to produce perfectly cut french fries at fast food joints).
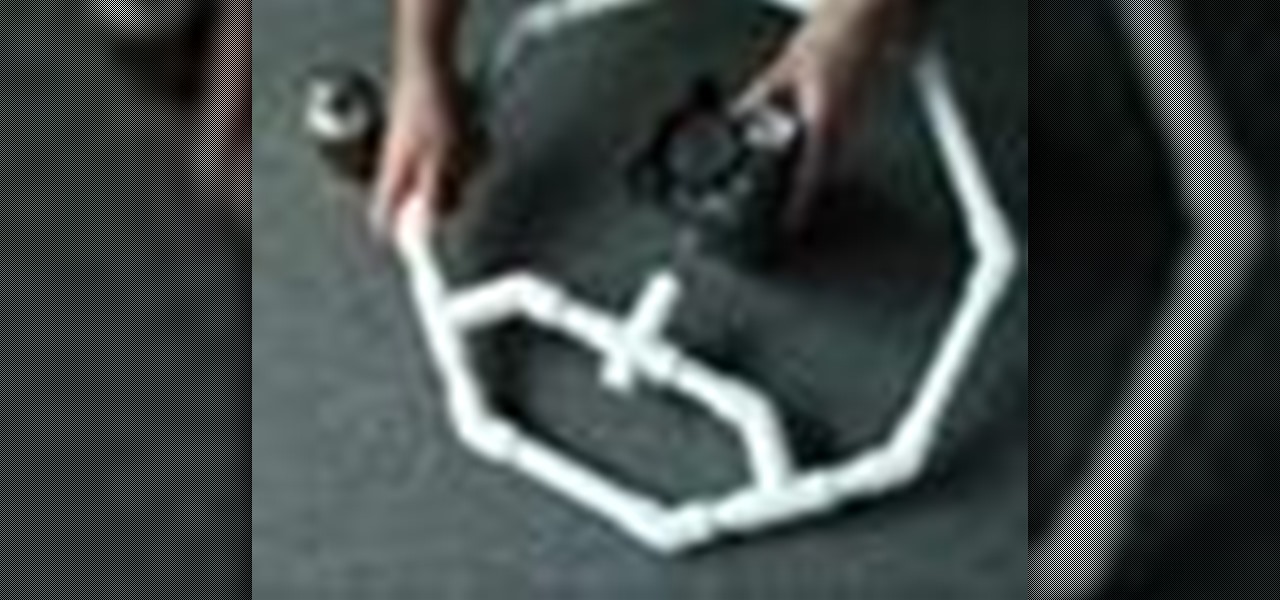
Need some cool sound effects for your next film? Kipkay's got an idea… the "Rumble Pipe". This noisemaking pipe creates a rumbling sound perfect for any drone SFX. Try it out. It's just a little sounds effects gizmo. Cheap and easy!
This survival cache is made for adventurers who, if lost, may stumble upon this handy little tube and immediately get some food and knowledge of their geographic location.
Duct tape is so versatile. You can make incredibly cool things out of tape. Duct tape is cheap, tough and sturdy. In this tutorial, learn how to make a very cool project - a top hat! Look just like a punk rock Abe Lincoln with this tall top hat made from duct tape. Get creative - try different colored tape and make fun designs!
How to prepare bok choy for Chinese food
To build your plate display you will need a plate collection, some plate hangers, and a hammer. A good part of hanging plates on the wall is you can use cracked and chipped plates in your display. To get the plates ready to hang all you have to do is make sure they are clean and measured correctly so that you can get the right hangers for the plates. When purchasing plate hangers go with the smaller size. If the plate is 10 inches buy the 7-10 inch hanger rather than the 10-14 inch hanger. Yo...
Circle or infinity scarves became really popular this year, and this little how-to shows you how to knit one up yourself. Knit 1, perl two. You can do it! Follow the steps and fight that cold neck feeling!
CakePHP is the Ruby on Rails of the PHP world, an open-source web application framework that allows users to create really cool websites and software without spending money on expensive programs. This extensive video series will teach you everything you need to know about working with CakePHP and should make your website a lot more interesting.
In this two part episode, Jennifer shows you how to develop your awareness of the natural rhythm in English. Learn to pause naturally by grouping your words into thoughts, also called thought groups. This is great for all levels of students learning English as a second language (ESL).
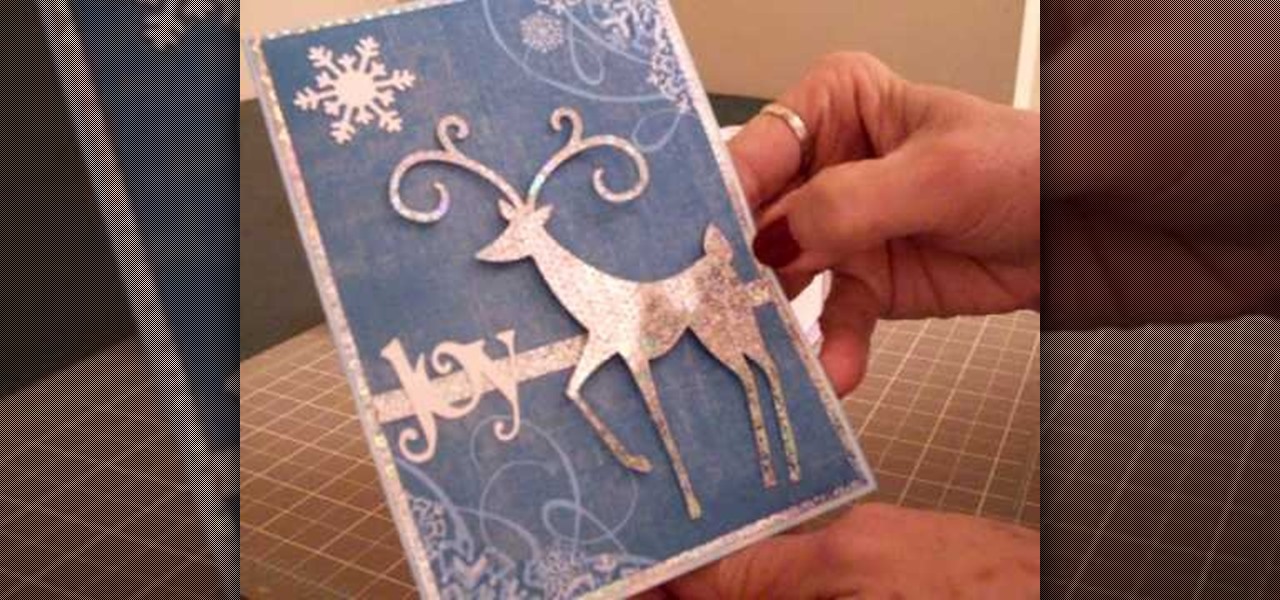
In this Arts & Crafts video tutorial you will learn how to make a Christmas card using Cricut Winter Woodland. The card is 4 1/2 x 6 1/4 inches and it has a picture of a deer and the word "Joy". On page 56 you will find the picture of a deer. Cut it out at 4 1/2 inches and the word "Joy" is on page 78. Cut it out at 1 1/4 inch. Use the snow flake punch to cut out a snow flake. From "The Winter Matstack" choose a paper that has some snowflakes on it. Then you can cut out thin strips of some or...
Sometimes an ordinary coleslaw just doesn't do it, so that's when you try out different ethnic recipes. And this Asian spin on slaw is sure to be added to your list of favorites, from the dressing to the actual salad mix. Check out the recipe for this delicious Asian coleslaw with peanut dressing.
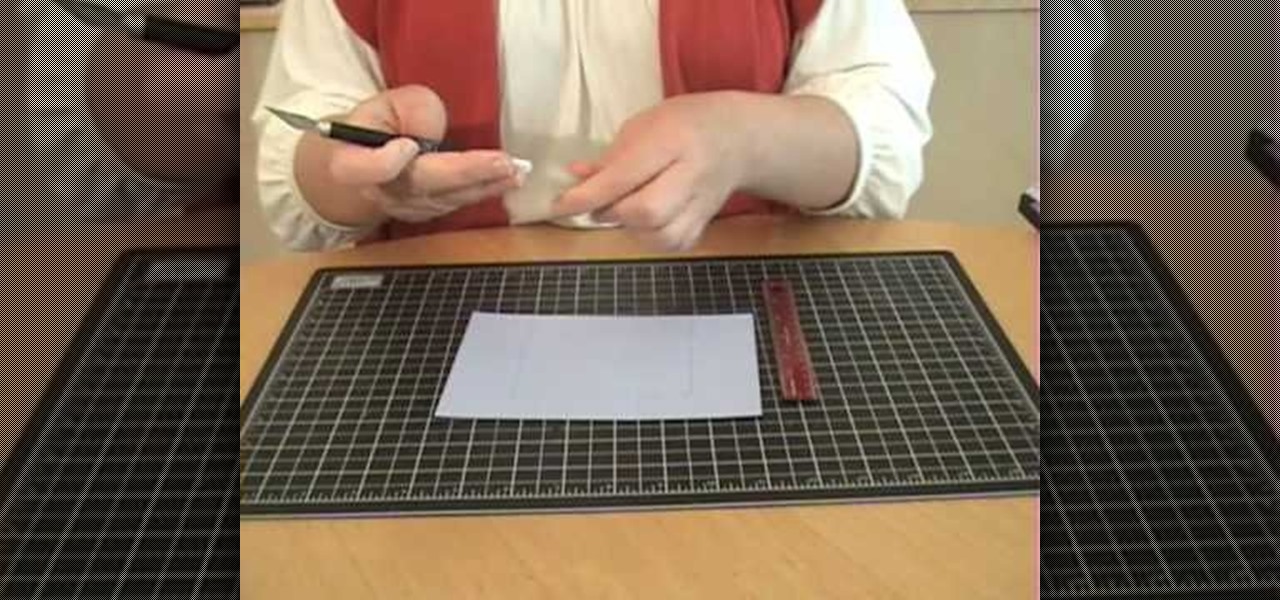
This video shows how to make a swing or flip card. These are called swing or flip cards because when you open them the middle swings out to show the message. To make the card, you need a piece of cardstock that measures five inches by seven inches. Stamp or emboss the card while it is still whole. Then make two score marks on the long side of your card at two and three fourth inches and four and one fourth inches. Next, measure one and one half inches from each side, toward the middle, markin...
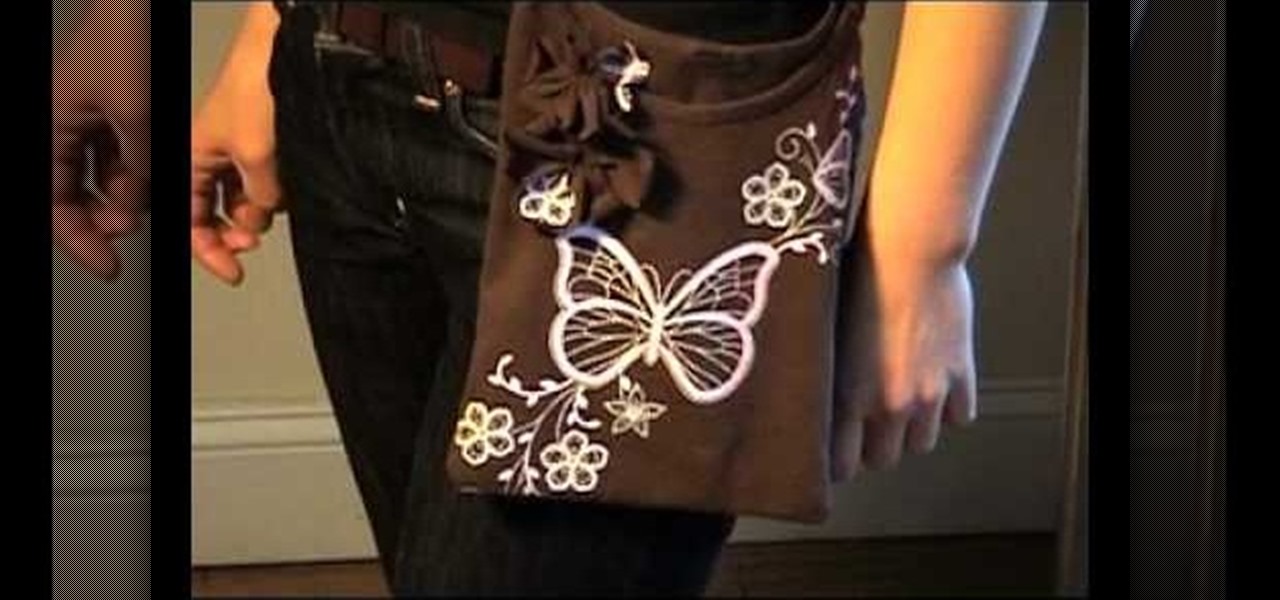
Shiho Masuda demonstrates how to make a T-shirt pochette using recycled materials in this video. You will need an old T-shirt, gardening twine (or leather strap), needle and thread, a ruler, a scissors and a pencil. First, sketch the dimension of your pochette on the T-shirt, staying about 1 inch from the sides of the collar. Next, cut along the lines (save the excess material). Flip the T-shirt inside out and sew the sides together, leaving 1 inch at the top for shoulder straps. Now flip the...
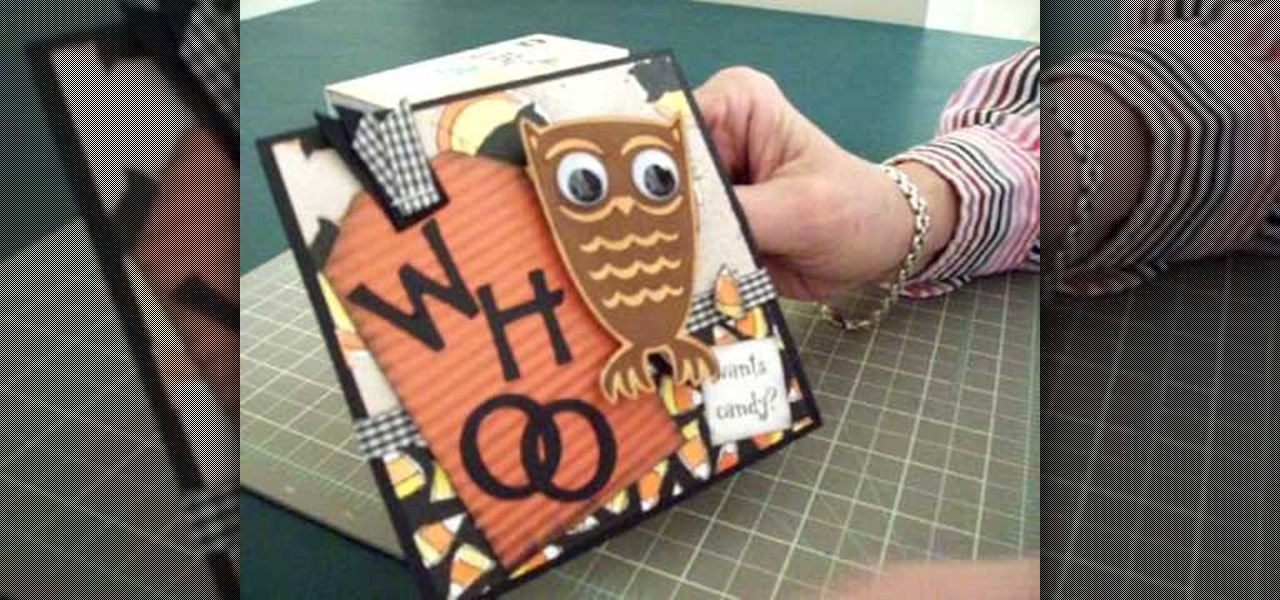
Learn how to make an owl Halloween card using the Cricut Storybook cartridge: Mary explains how to make a 5 x 5 inch square Halloween card in a few simple steps. On page 34 of the Cricut Storybook manual you'll find the owl. Cut the owl at 3 inches out of the darker brown by hitting shift and the owl. Then cut the owl out in the shadow and layer it. Give the owl big google eyes. Cut a tag out of Tags, Bags, Boxes and More at 4 inches. Then run it through the crimper. Then cut the letters W-H-...
This simple video teaches "how to find the area of a rectangle" in a very simple way. Area is the amount of squares inside a two dimensional shape.
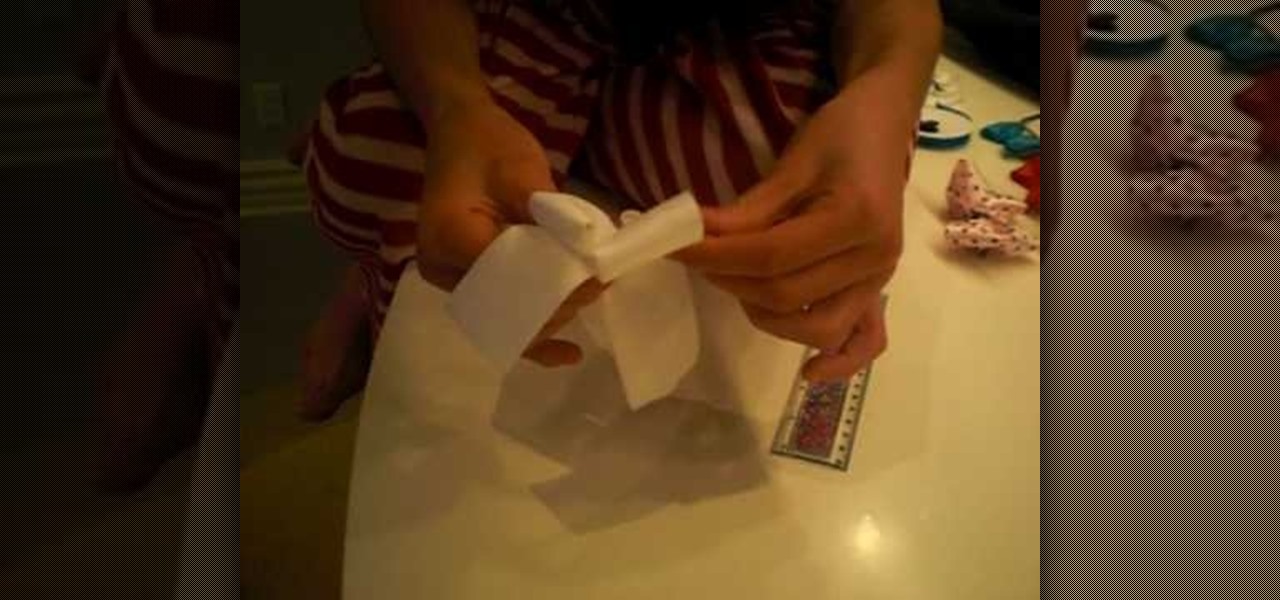
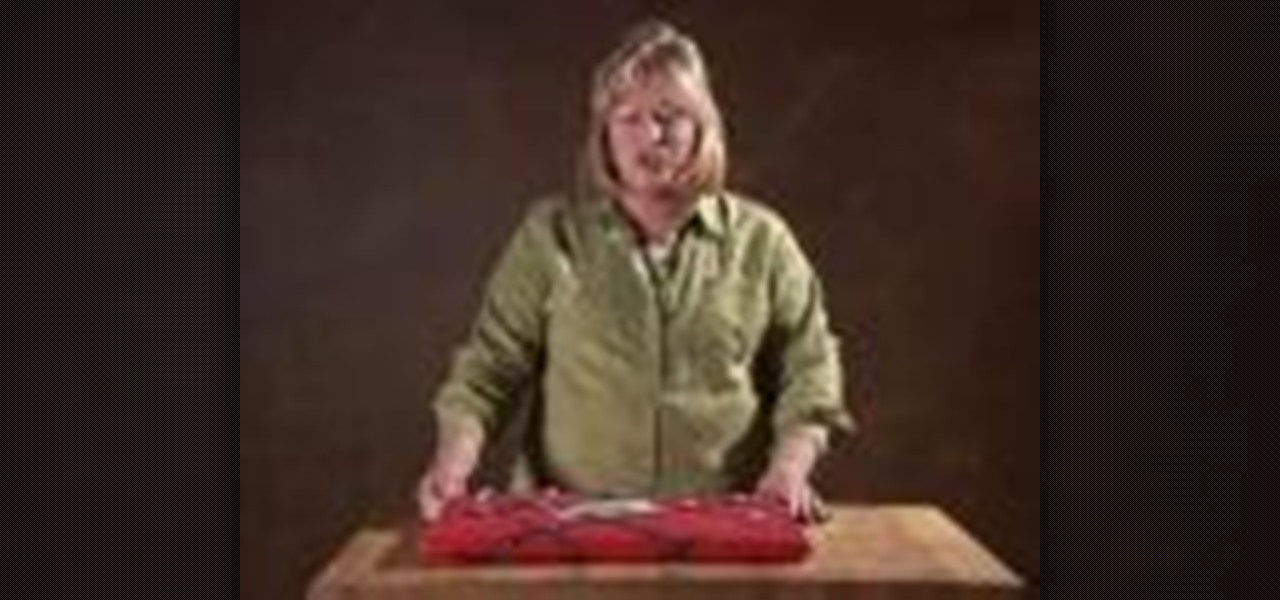
Not sure what bottle of wine to get your wine-loving friend for their birthday? Don't sweat it. Get them a wine bag, and save money by making it yourself from old clothes!! Why spend money on wine gift bags when you can craft your own from stuff you already have in your closet?
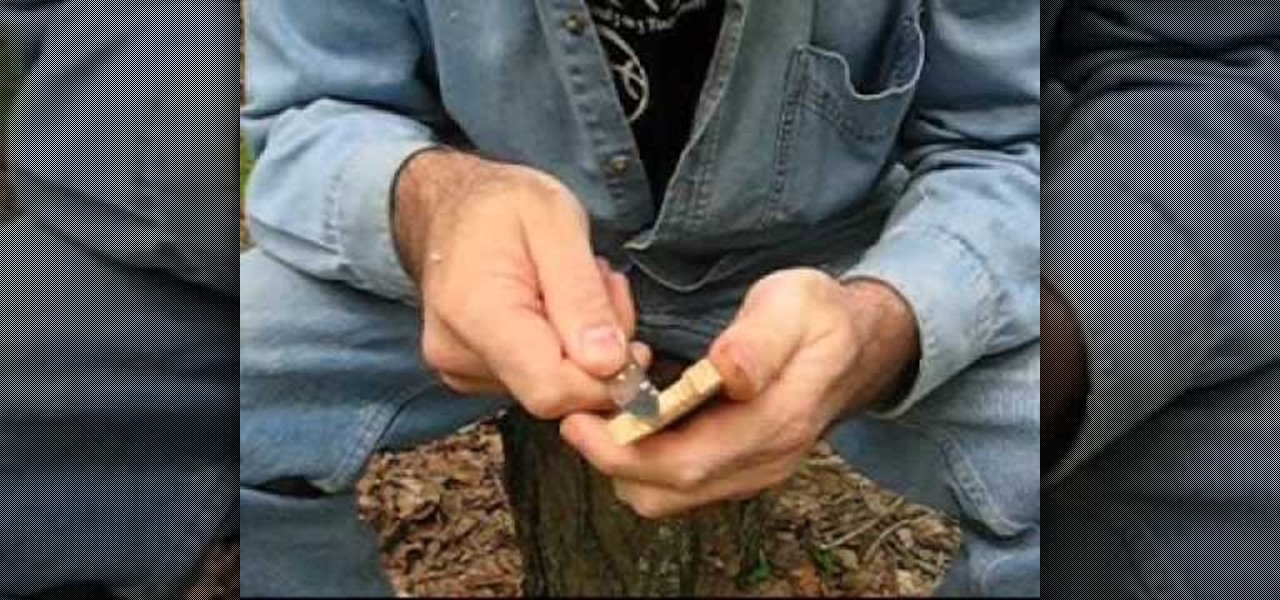
Carving a net needle from wood is probably easier than you think as long as you have your trusty Swiss army knife at hand. It has a wide array of available tools in a small unit. First you will need a piece of balsa wood. It should be 1/8 of an inch thick by 3 inches wide and 8 inches tall. Using the sharp narrow blade of the knife, you will cut 3 reference holes in a triangular pattern. The points of the triangle should be 1 inch apart at the bottom and the triangle should be 2 inches high. ...
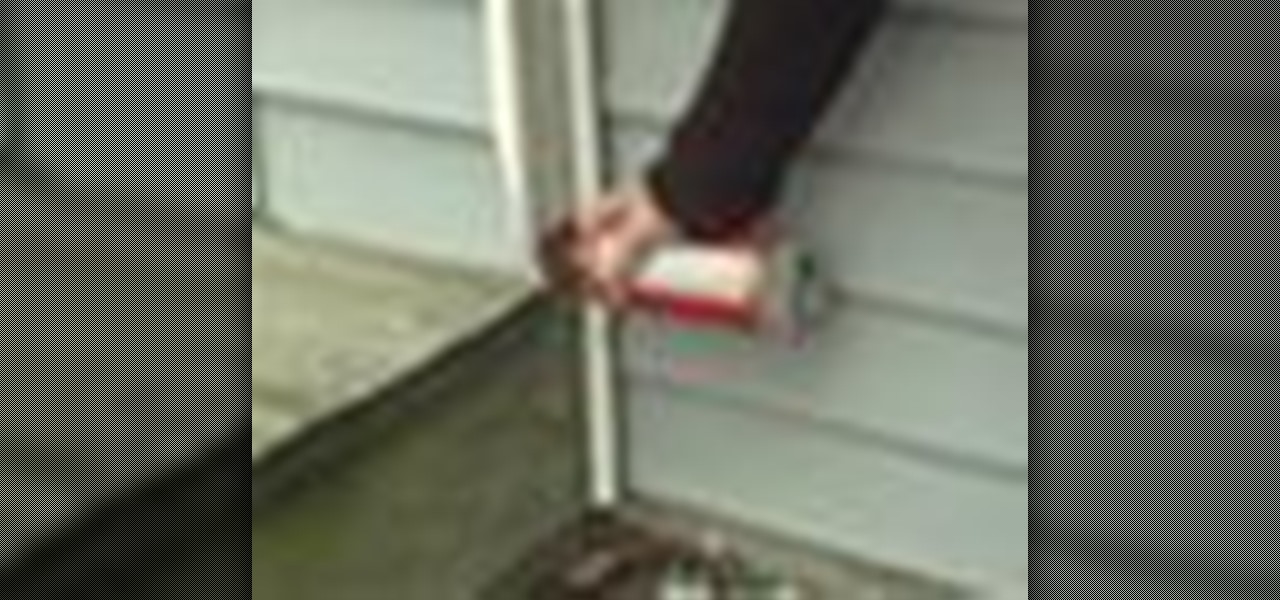
Having a 1/16-inch unsealed crack around a window is like leaving that window open 3 inches. Decrease your heating bill and your energy use by sealing up air leaks. You will need caulk cartridges, a caulking gun, a putty knife, weather stripping and optional: expanding foam sealant. Tip: Caulking guns with an automatic release create much less mess than simple caulk guns and are well worth the extra few dollars.