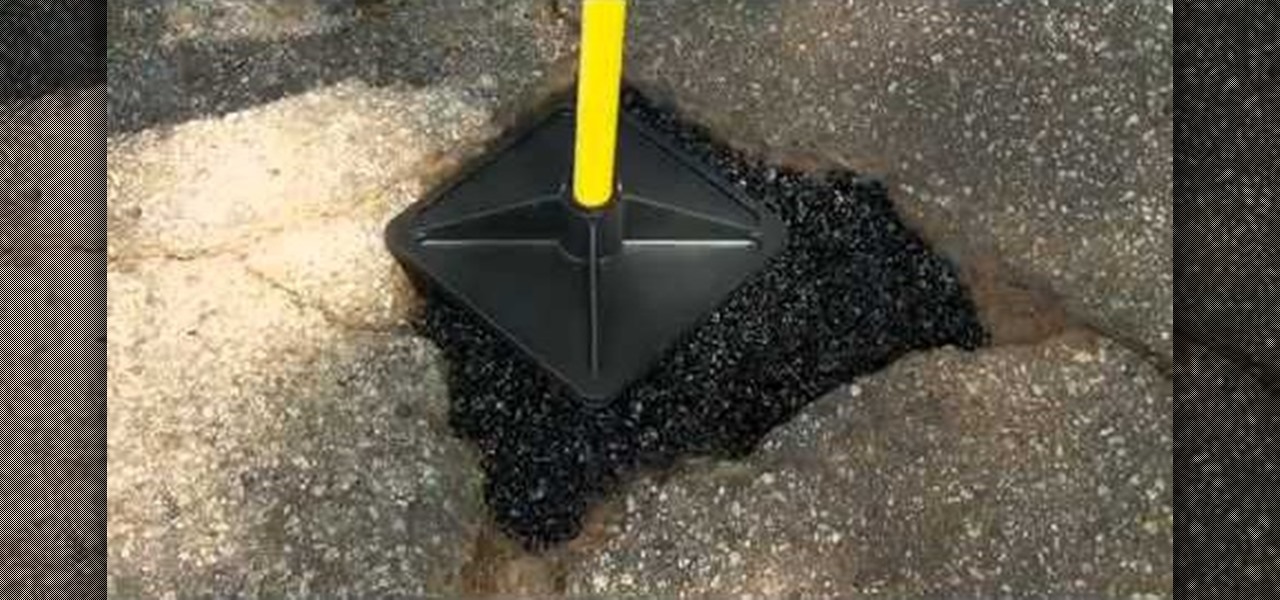
If you've managed to patch all of the unsightly and bothersome cracks in your home's driveway using QPR's Pavement Crack Filler, then you might have some bigger problems to repair— potholes. But don't worry, there's a super easy fix for that, too. QPR's Pothole Repair Products are permanent fixes for ghastly and embarrassing potholes in your driveway.

As little girls, we always read stories about beautiful princesses with neverending long hair, some with hair so long they could turn it into a rope to aid their prince to rescue them.
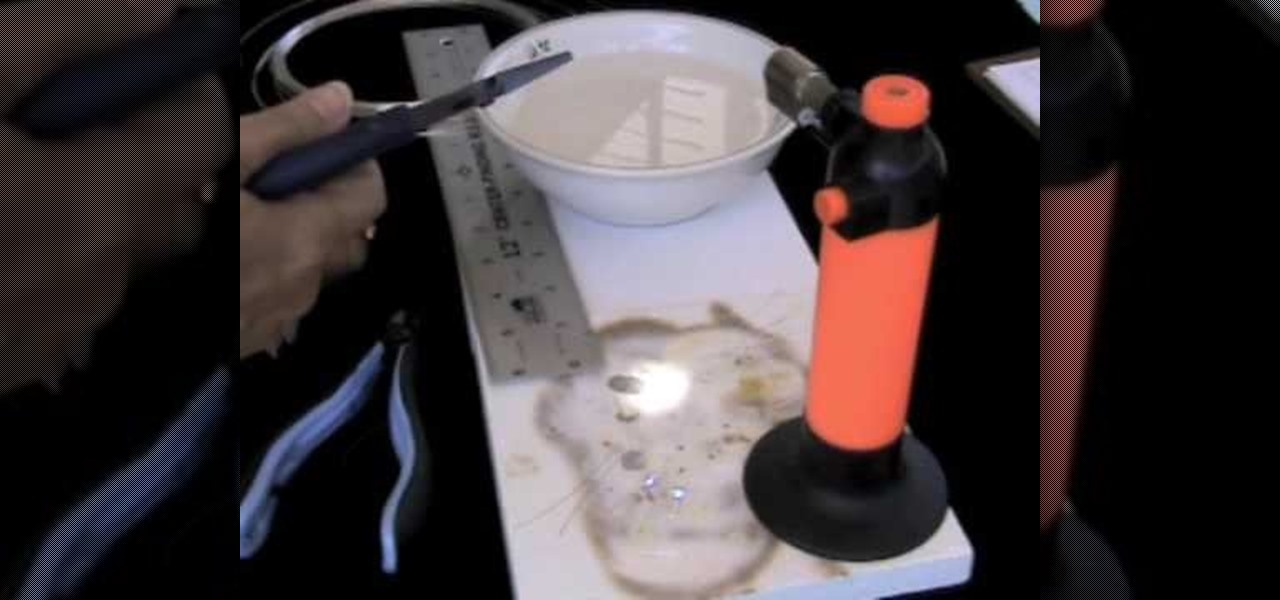
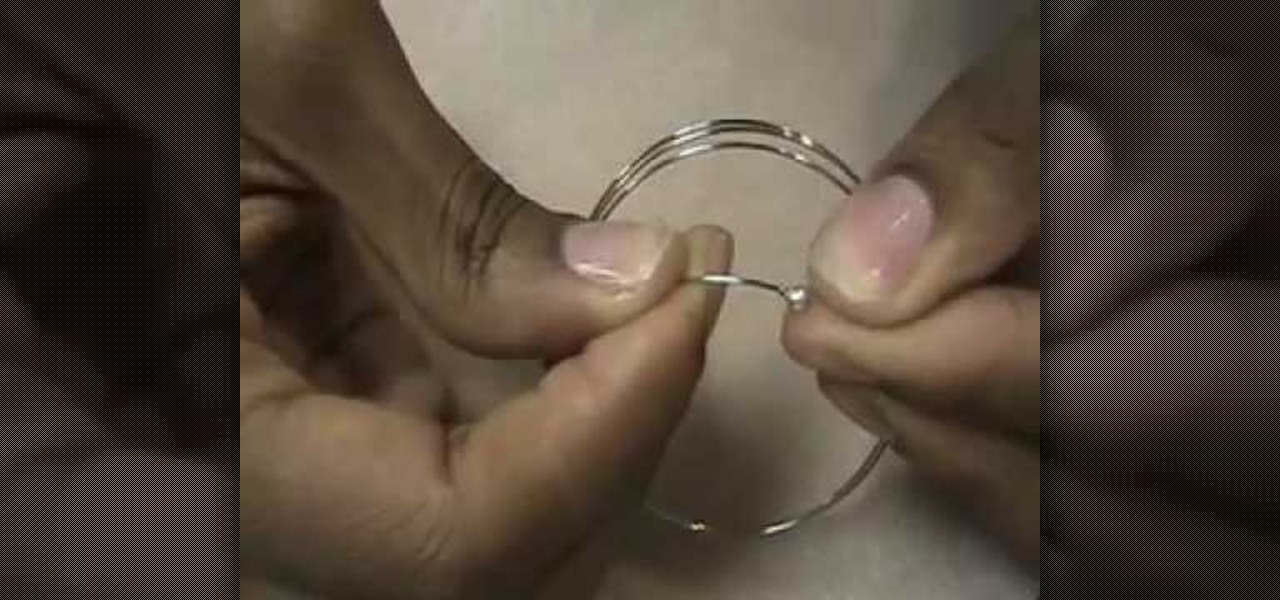
In this video, we learn how to make your own sterling silver headpins. You will first need a torch (one from your kitchen will work fine), a heat protected surface, bowl of cold water, and fine silver. Next, cut out two inch pieces (or longer if that suits you best). Put on safety glasses and turn on your torch. Now, pick up one of the piece you cut and put it into the tip of the flame. Quickly, the silver will ball up at the end of the pin. When it has balled up, place it on the cooled surfa...
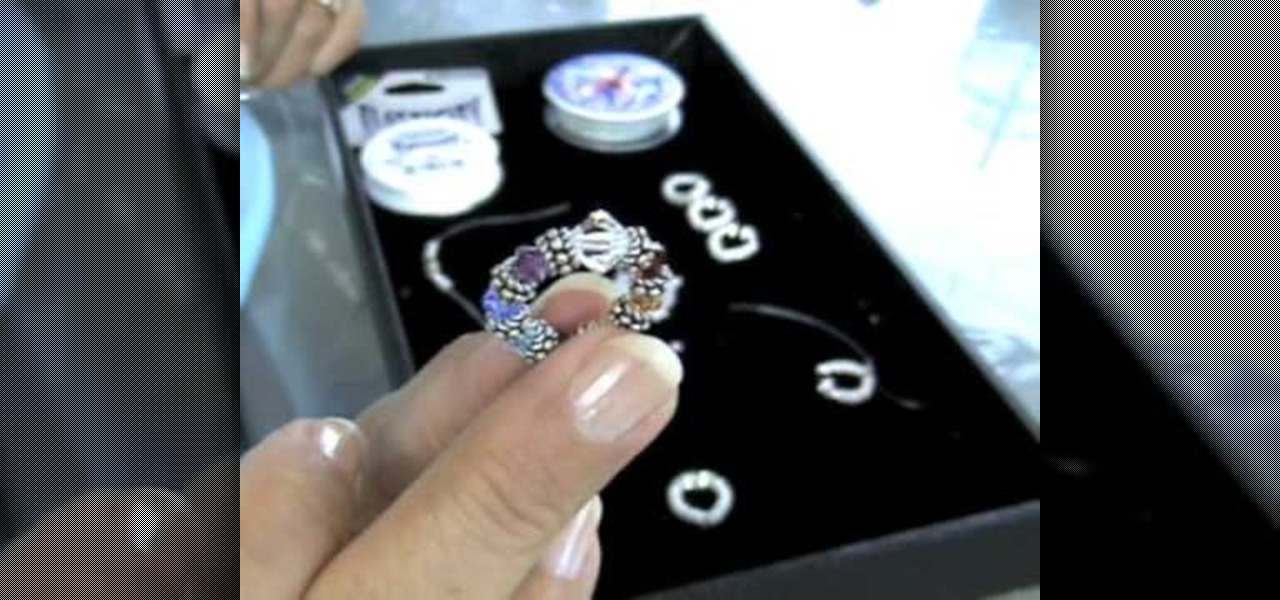
In this tutorial, we learn how to make an elastic Bali bead & crystal ring. First, you need to get all of your supplies together, which include: elastic cord, crystals, glue, beads, and scissors. Start by cutting a 6 inch piece of the elastic cord, then string a bead to the middle of it. Then take a crystal and string it onto one side along with another bead and a silver bead. After this, place more beads around the other side of the middle bead then put it around your finger to see if it's t...
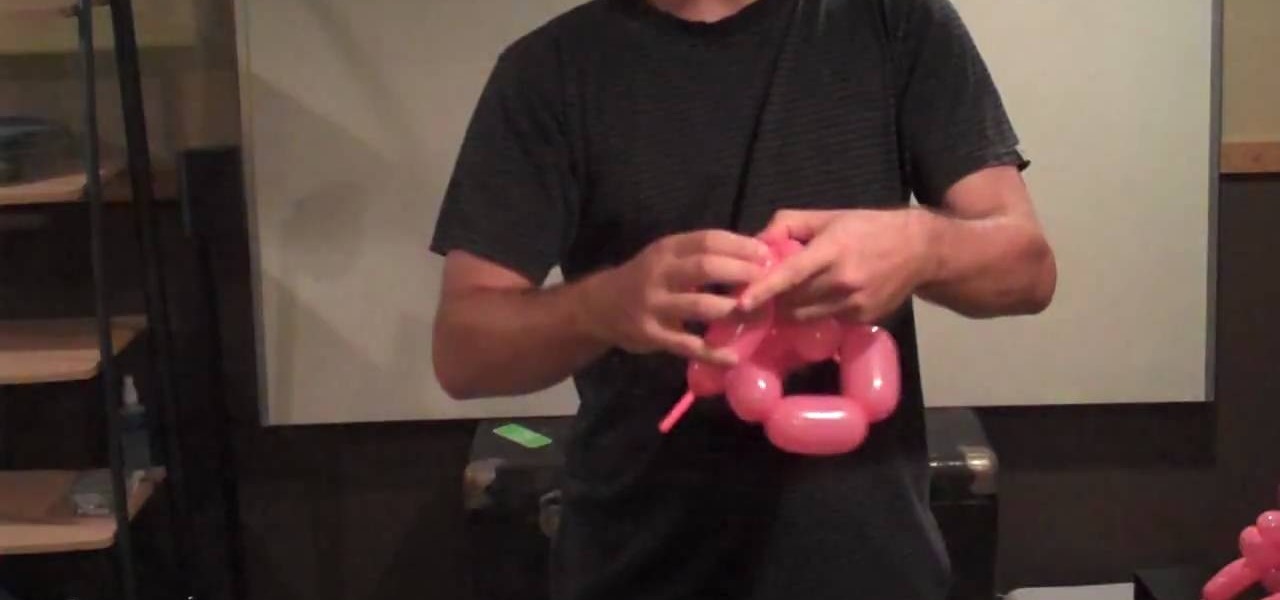
This video shows viewers how to create a maple leaf using two long balloons which are used for making animal balloons. You will begin by inflating the first balloon, leaving a few inches of empty space at the end of the balloon. Begin by making two small bubbles by twisting the balloon and creating consecutive bubbles in the balloon. Follow these with two larger bubbles and 3 more smaller ones, to create a hexagon shape. Continue to create small bubbles, folding them into each other to create...
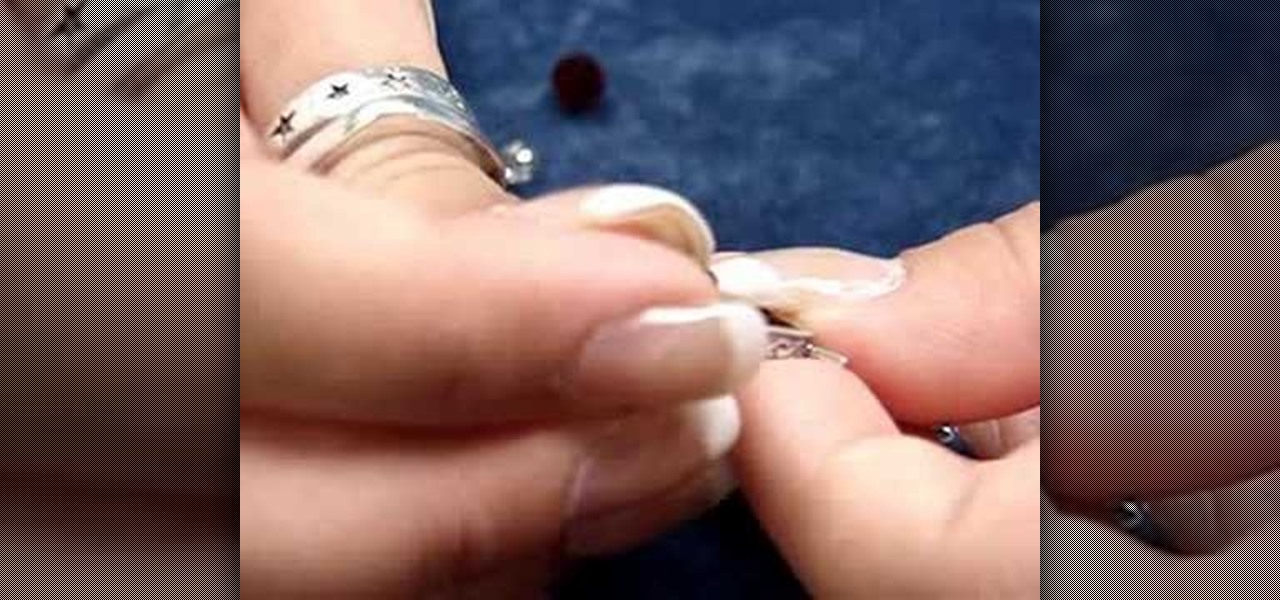
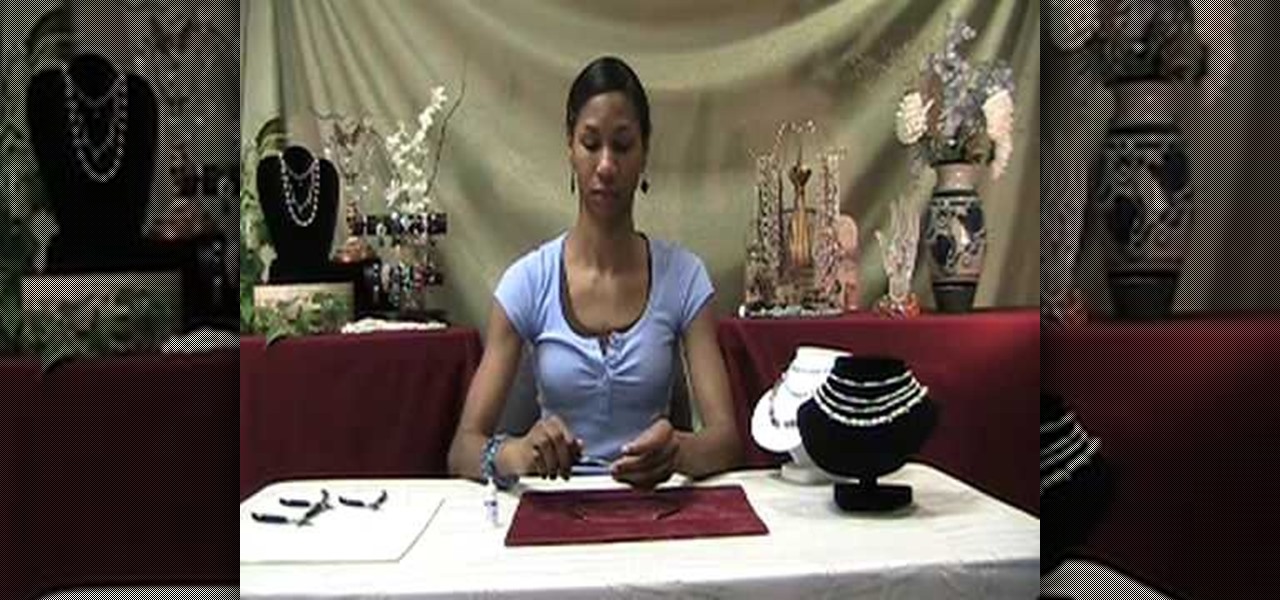
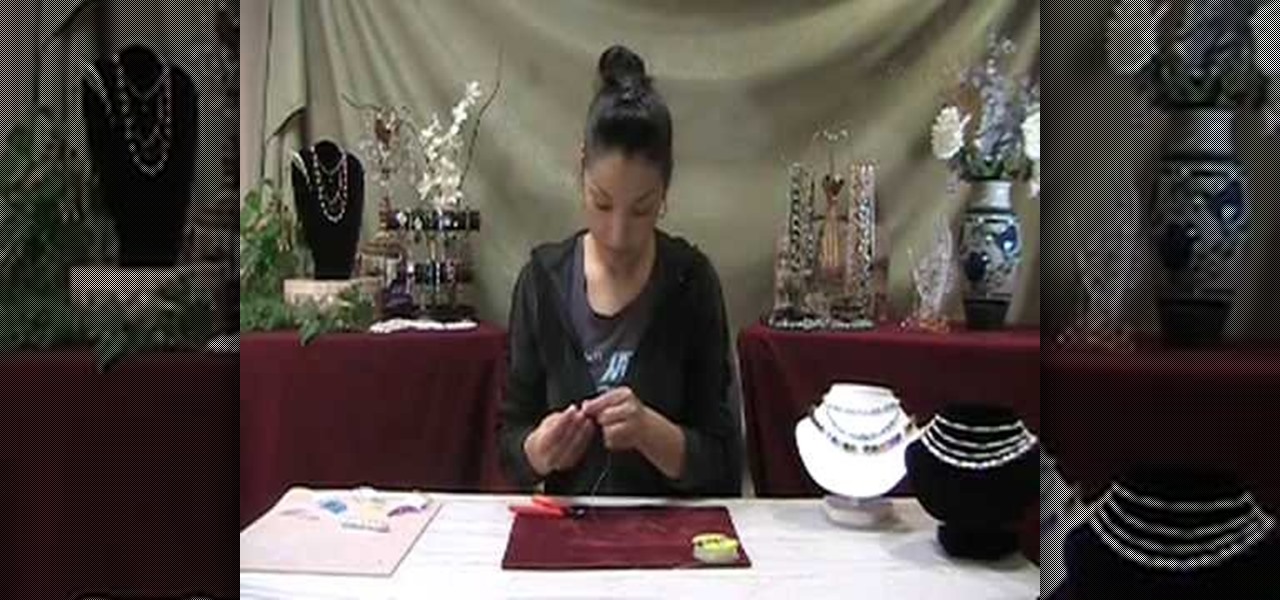
In order to make an adjustable cable necklace, you will need the following: 20 inch adjustable cable chain, a slide bead frame, 2 head pins, 8 mm bi-cone, 8 mm crystal, 2 6-mm round rondells, 2 7-mm jump rings, a pair of nipper tools, a pair of round nose pliers, and a pair of chain nose pliers.

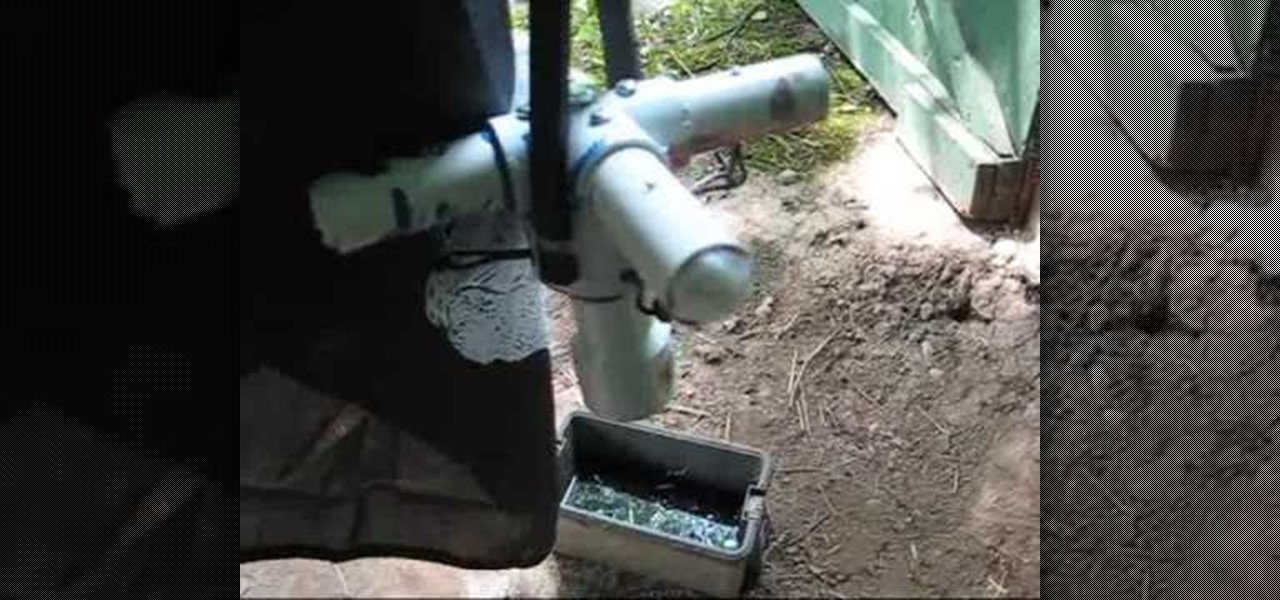
To make an Airsoft grenade, you will need to following: PVC pipe, PVT, a pin, a bolt, a PVC coupling, glue, torch, wire, spring, washer, pressure switch, cloth, bungee cord, 1 inch PVC, and a nut.

In order to make your own silver wire wrap earrings, you will need the following: sterling 20-gauge wire, chain nose or small round nose pliers, fine sterling wire, and multicolored crystal beads.

In this video, we learn how to make a beaded 7 petal faerie flower pendant. First, string 14 beads on an 18 inch piece of string. Next, create a circle in the beads, then tie it off. After this, add three blue beads to your first pico stitch, then go through two more beads after this. Continue to do this all the way around the bracelet until you reach the other side. After this, go through the first pico stitch and add one red bead, followed by blue and red beads to make petals. Continue this...

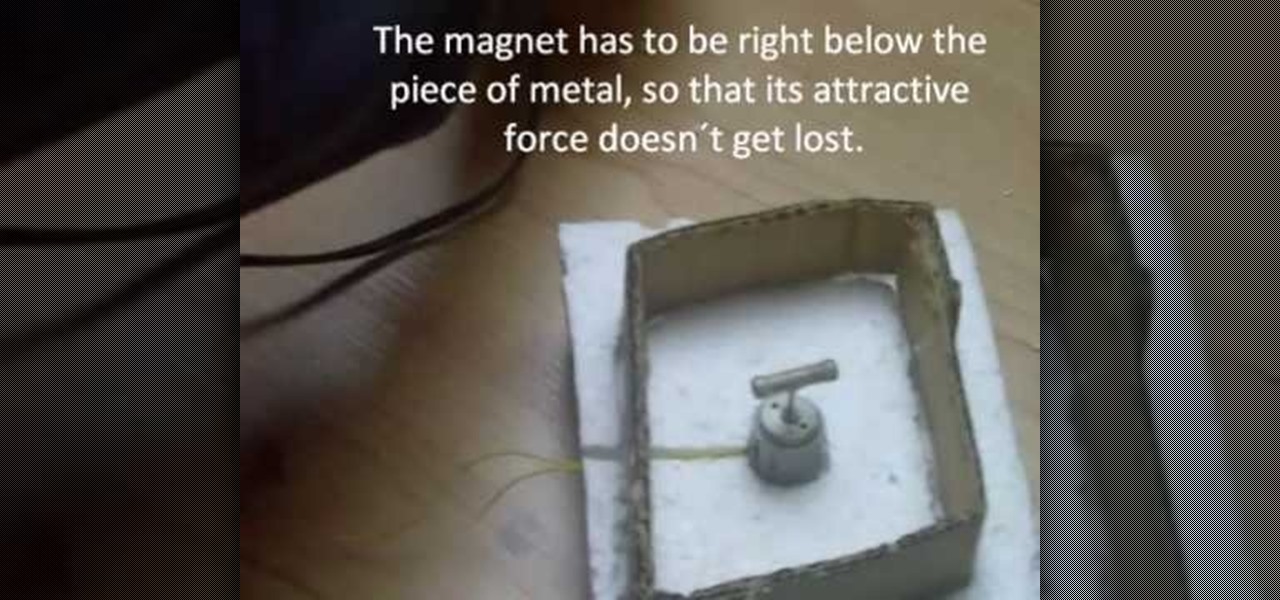
In this video, we learn how to build a magnetic stirring device. First you will need: a block of 1 inch thick Styrofoam, a piece of cardboard, 2 magnets, a small electric motor, a piece of non-magnetic metal, a hot glue gun, and a soldering iron. First, draw the shape of your cardboard square on the foam and cut it out. After this, take your soldering iron and melt away the Styrofoam from the outside. Then, make a hole in the middle for where the motor will be placed and push it inside. After...

When you get you're "My Kitchen" cartridge from Cricut, you will need to test the cartridge, in order to make sure it works. Then, you should look at the manual. Remove the pages that you don't need: those in foreign languages.

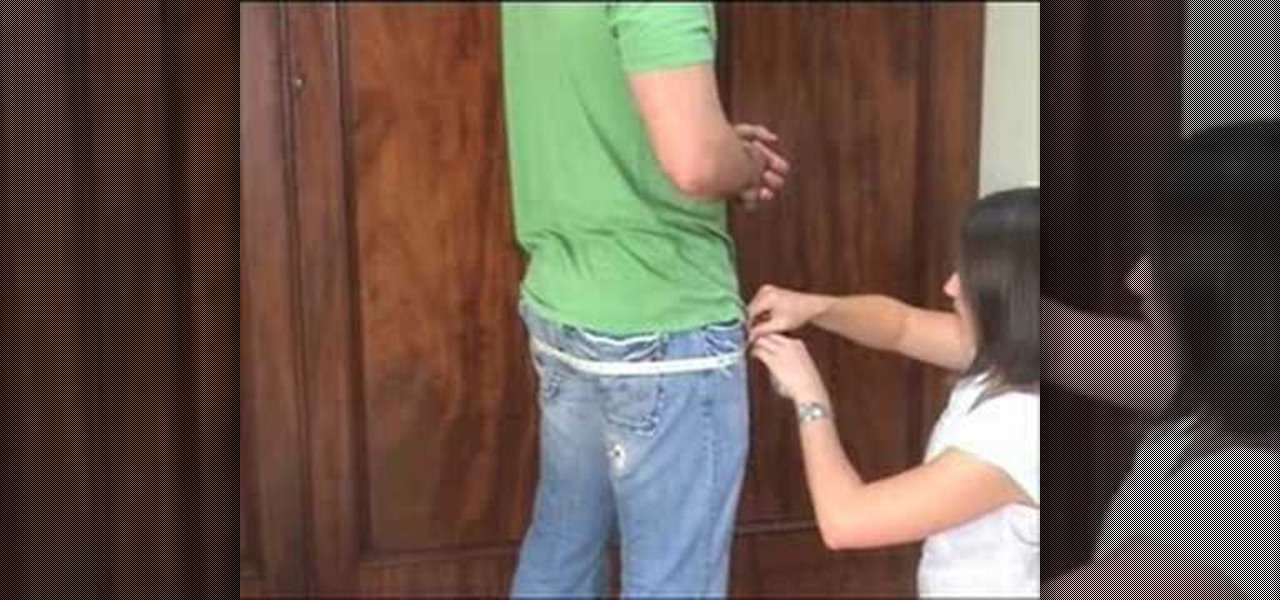
In this tutorial, we learn how to measure a traditional 8 yard kilt. First, make sure you have someone else take your measurements, don't do it by yourself. Have your waist measured first, measure about two inches above the belly button or where you want your kilt to sit. Next, measure the seat by taking the measurement around the widest part of your hips. Finally, measure the kilt length by measuring straight down from the waist line until you reach the middle of the knee cap. After this, yo...

In order to make a neoprene necklace, you will need the following: neoprene, scissors, end caps, clasps, glue, and 2 pairs of pliers.

In this video tutorial, viewers learn how to make a Mediterranean blue bracelet. The materials required for this project are: memory wire, Mediterranean Czech glass bead mix, 4mm sea side mix Czech fire polish round beads, wire cutter, super glue, bead stopper and 2 3mm memory wire end caps. Begin by cutting 3 1/2 clamps of wire and glue one memory wire end cap to the end of the wire. Then string the beads. Users may decide to make a repetitive pattern with the beads or randomly string the be...

In this video, we learn how to use cones when jewelry making with Christina. First, take a half inch hard wire with a looped end and use a pair of pliers to open up the loop slightly. Next, take your strands of beads and place them onto the loop. After this, close the loop making sure it's secure and the beads won't fall off. Then, take the cone and insert the wire through the wide end and pull it through the narrow end. Using your fingers, bend the wire to a ninety degree angle, then trim of...

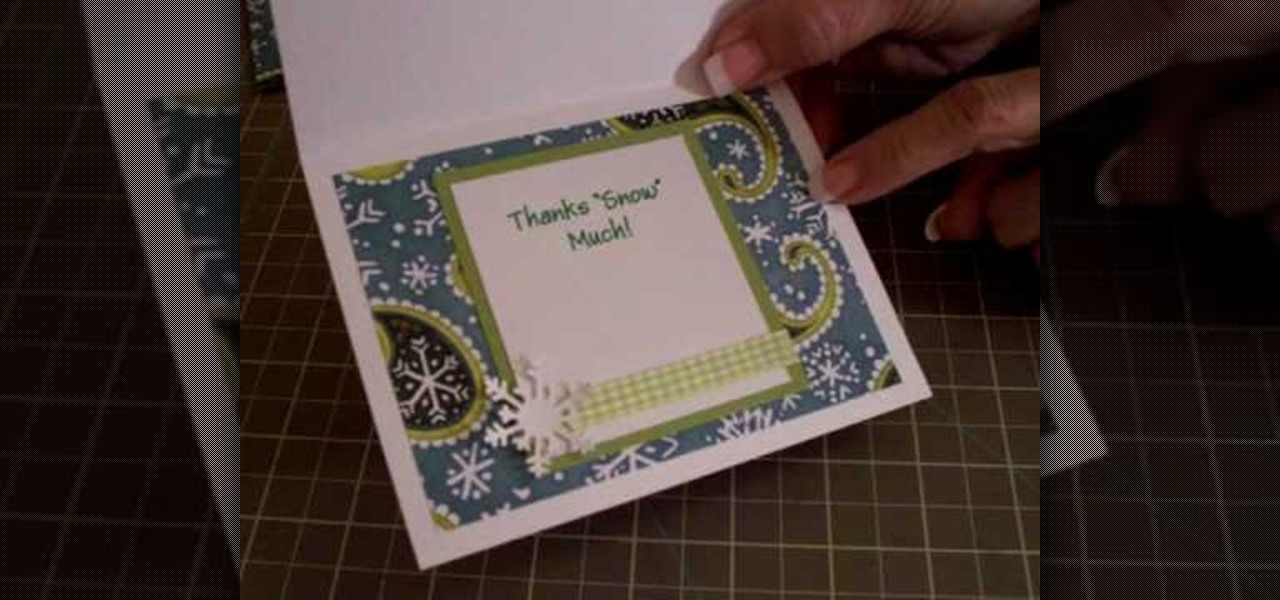
In order to make a thank you card for Christmas gifts, you will need the following: Winter Woodland cartridge, glimmer misty, pop dots, adhesive, gingham ribbon, and pattern paper.

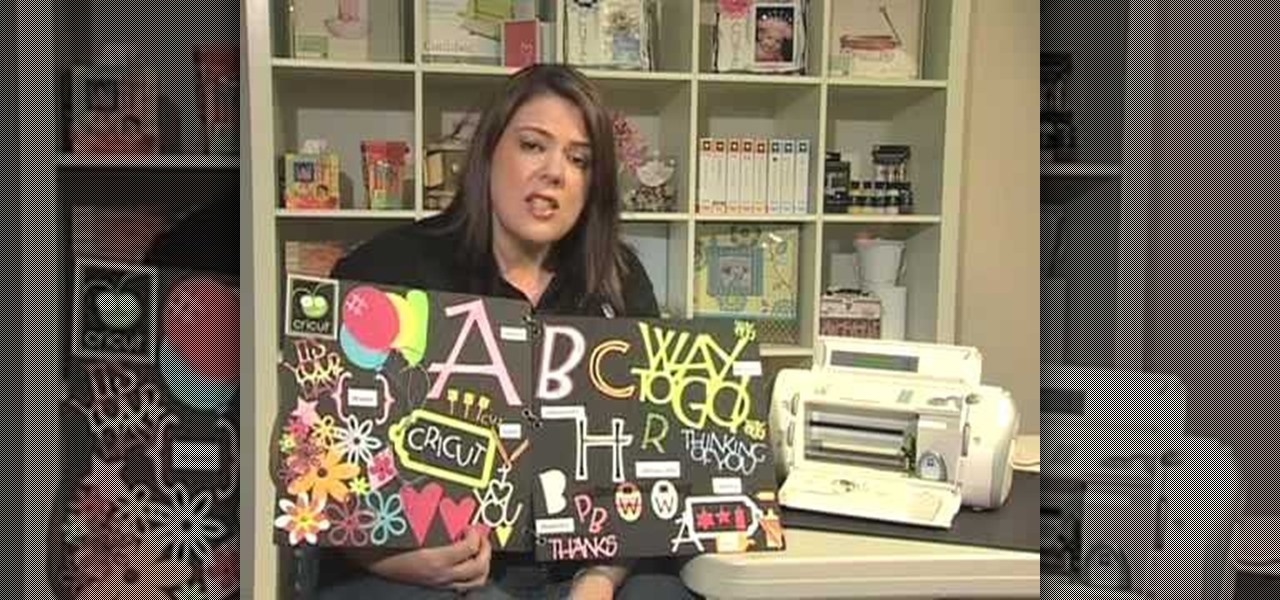
In this tutorial, we learn how to use the feature keys for your Cricut machine. There are six feature keys on every cartridge. The first is the shadow feature key that create a matte to highlight your letter. The shadow blackout key creates a solid matte that doesn't cut out the holes in between the letters. The charm feature key puts a charm top on the top of letters. The sign feature key puts letters inside of a small sign post, making it one inch from top to bottom. The slotted feature key...

In order to make a ribbon tree, you will need the following: 50 2" pieces of ribbon, scissors, a hot glue gun, hot glue sticks, and a floral tree.

In this tutorial, we learn how to do a side headband braid with ribbon intertwined. First, grab a ribbon that is around 32 inches and any color you want. Now, take a chunk of hair on the side of your head, and place the middle of the ribbon underneath it. Now, separate your hair into three sections, then start to braid by connecting the ribbon in with the strands. Once you finish this, tie off at the end. Now, make a messy bun in the back of your hair with the braid on the side still. After t...

In this tutorial, we learn how to cook dry beans, step by step. First, rinse and soak the beans in water for 6 hours. When this finished, heat up oil and add in carrots, onion, garlic, and celery in a large pot. Next, add the beans to the pot and cover everything with water by an inch, then bring it to a boil and cover. After this has boiled, reduce the heat and let simmer for one to two more hours. When the beans are finished and tender, sprinkle salt over them then serve while hot in a bowl...

In this video, we learn how to work with Stretch Magic. This is a beading technique that is very easy to use. It's great for making bracelets, because no clasp is required. First, cut a piece of Stretch Magic 4-5 inches longer than you want it. Now, string your favorite beads onto the Stretch Magic. When you are finished with this, connect the ends with a square not and add a drop of super glue for added security. After this, cut off the excess strings from the end and you will be able to wea...

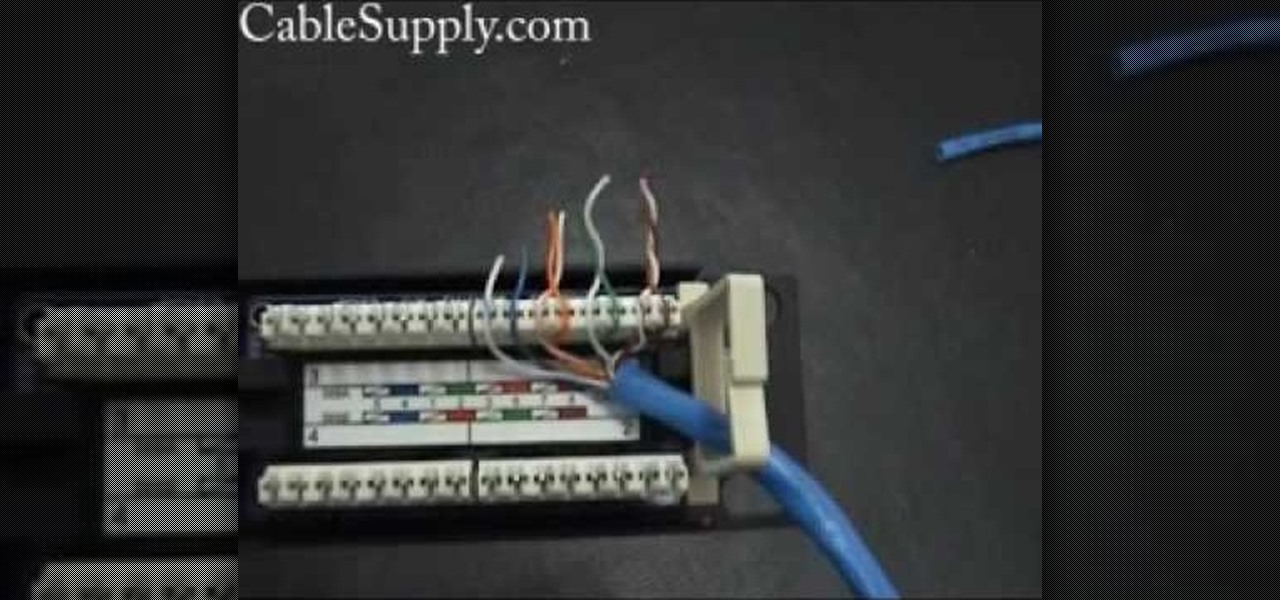
In this video, we learn how to punch down a 12 port patch panel. Start off by grabbing your cable and using scissors to cut off the outer covering of the cable. Next, use the wire scissors to cut off the end of the wires (about 1-2 inches). After this, place the stripped down wires into the appropriate spots that correspond to the colors that are on the 12 port patch panel. After you finished this, you will need to grab your punch down tool. Use this tool to push down on the wires, then it wi...

In this tutorial, we learn how to weave a (king) cobra stitch for paracord bracelets. First, take a 10 inch cord, fold it in half, then tie a knot at the end of it. Put this on a holder, then tie another chord on the bottom of it and hold it with your knees for tension. Next, start to weave the other color chord around it by going in and out of the two sides of the first chord. Continue to do this for the entire bracelet, then knot it off at the end to finish. You can add your favorite colors...

In this tutorial, we learn how to make a paper rose with a paper towel. First, roll one end to the other, then stick your finger inside one end and pinch the tip while twisting a few inches down. This will be your bud and your stem for the flower. Keep twisting down until you reach halfway to the end of the flower. Now, fold the loose piece on the bottom so it's parallel to the stem. Then, twist the leaf and wrap it around the bud. Then, shape the bud to the type of flower you want, then enjo...

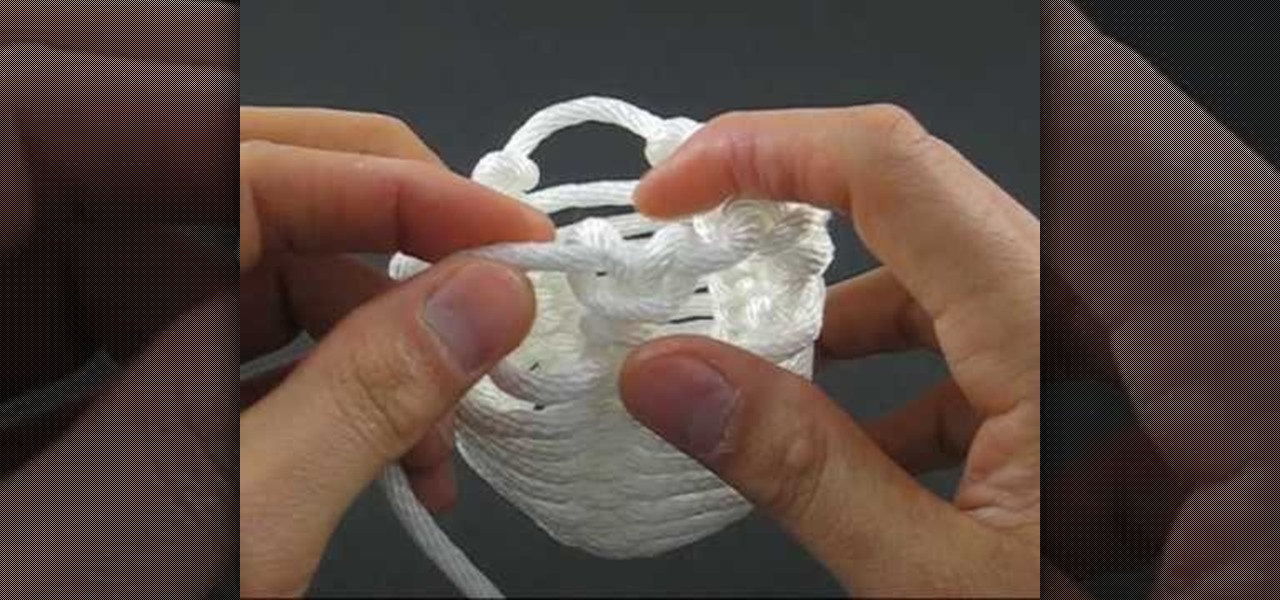
In this video, we learn how to tie a honey rope basket knot. To do this, you will need a 10ft of nylon rope. Start off by tying a counter-clockwise slipknot at one end of the rope. After this, pull the loop of the slipknot out four inches. Then, tie a second slip knot clockwise next to the first slipknot. Draw the loop length of the second so it's equal to the first. Next, continue to create slipknots next to each other until you've done five. No, hook your working end into the first loop and...

In this tutorial, we learn how to do every elevator on CoD4 and Modern Warfare2. Once you get used to the technique you use it will be very easy to do on each different level. First, go find a spot where you cannot stand and go to a staircase. Line yourself up so you're straight with the wall, then go into crouch and don't move forward or backwards at all. Look to the right slightly, then move to the left until you can't stand up anymore. Then, move your right stick to the left slightly and t...

In this tutorial, we learn how to make a window valance. If you have a drop down shade, a valance will help cover up the hardware that is located underneath it. Start out with your choice of fabric, then add in 1 inch to the top, bottom and sides. Next, line the fabric and place Velcro on the top. Now, use a wrap around and mark where you want to fold the fabric in at. After this, sew the valance and then use the Velcro to stick it onto the metal part of the drapes. When finished, enjoy your ...

This video tutorial is in the Arts & Crafts category where you will learn how to make a multi-layered embossed floral gift card. Take a piece of 11 x 8 1/2 inch Stampin' Up card stock and fold it in half. Next you punch out layers of colored paper of rose red, very vanilla, regal rose and blush blossom colors of different sizes as stated in the video using the Boho Blossom Paper Punch. Now you take a Sizzix Big Shot Die and cut out a craft paper and set the cut outs aside. Now you got to stam...

In this video tutorial, viewers learn how to tie a four-in-hand knot with a skinny necktie. Begin with the wide end at least 12 inches longer than the thin end. Then put the wide end over the narrow end and wrap it around once more. Now bring the wide end under the loop and down through the front of the knot. Then pull the knot tight and adjust the tie. This video will benefit those viewers who have a skinny tie, and would like to learn how to tie it because hey are attending a formal dinner,...

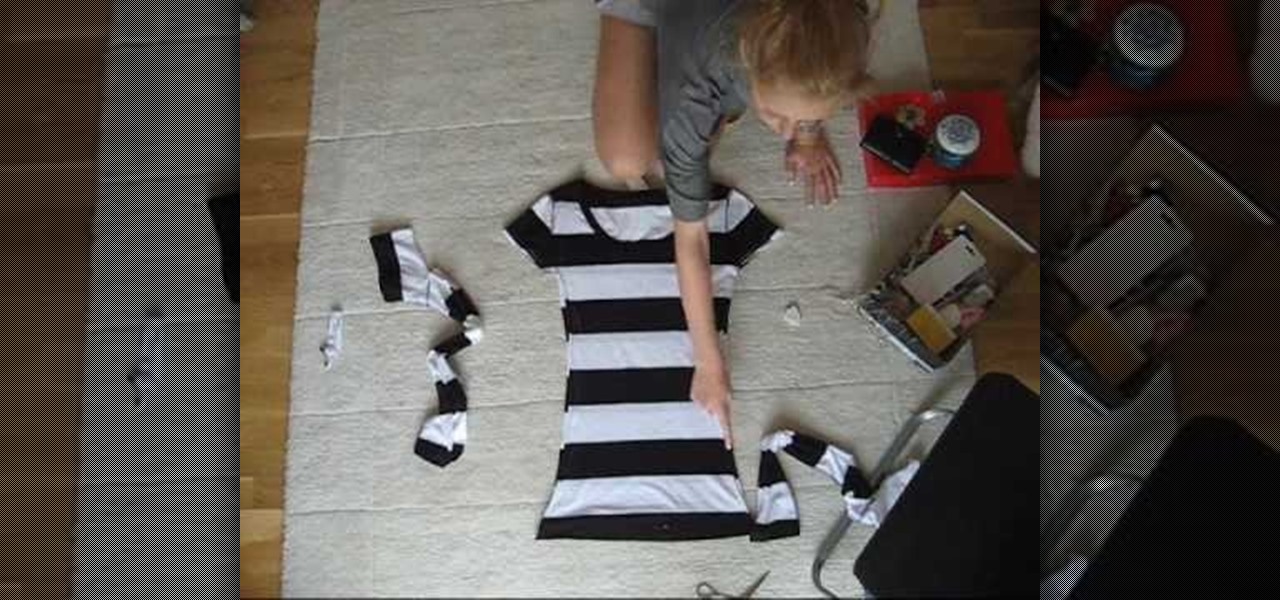
In this tutorial, we learn how to make a t-shirt. First, measure around your waist and your bust, as well as around the hips. Now, take your old boxy t-shirt and flip it inside out. Now, place your measuring tape on the shirt and pin it where your measurements are. Draw out your measurements so you know where to cut. Once you have the new shirt drawn out, Cut out an inch out of the lines and toss the rest of the cloth in the trash. After this, sew the shirt on all the open sides. To finish, t...

In this tutorial, we learn how to make your lawn tractor faster. First, add an exhaust to your lawn tractor with a one inch pipe out the back. Make sure it's secured so it doesn't fall down onto the ground while you're driving the tractor. Also, add on a 51" belt instead of a 52" belt to make the tractor run faster. The last thing you can do to make your tractor faster is to place a spring and wire around the throttle to start the machine faster. This could make your tractor go up to at least...

In this tutorial, we learn how to increase your Wi-Fi signal with a coffee can. Materials you will need are : a knife, a coffee can, tape, USB Wi-Fi adapter, and marker. First, measure 1 inch from the bottom of the coffee can then trace your USB around that mark. Now, cut a hole in that shape in the can. Next, cover the hole with your tape. Next, hook your USB up to your cable adapter, and then place it in the coffee can. Now, plug your USB into your computer and you should have more signals ...

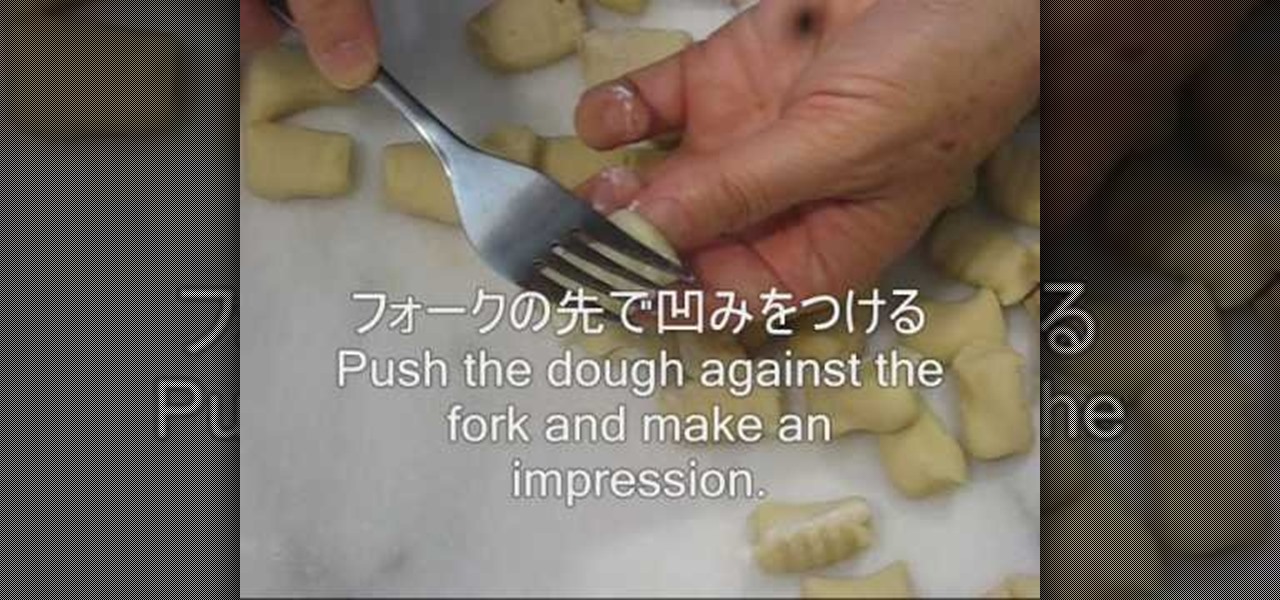
In this tutorial, we learn how to make potato gnocchi. First, microwave 1 lb of potatoes until they are soft. Next, let them cool, then peel them and cut them into cubes. Now, mash them with a masher or food processor. After this, add in 2/3 tsp salt, 2 tbsp grated Gorgonzola cheese, 1 1/4 c flour, and 1/2 egg. Blend until everything is well combined, then make the dough into a ball. Cut part of it off, then roll it into a thin roll 3/4" in diameter. Now, cut the roll into 1 inch piece and pu...

In this tutorial, we learn how to straight pipe your small tractor engine. First, insert a one inch screw pipe to your exhaust, then connect pipes into it so it connects to the back of the vehicle. You will need to install several elbow pipes as well as longer straight pipes. The pipes should reach the end of your tractor out of the tires. Make sure it's secured tightly to the floor boards and screwed in on the bottom of the tractor. You can experiment with different types and shapes of pipes...

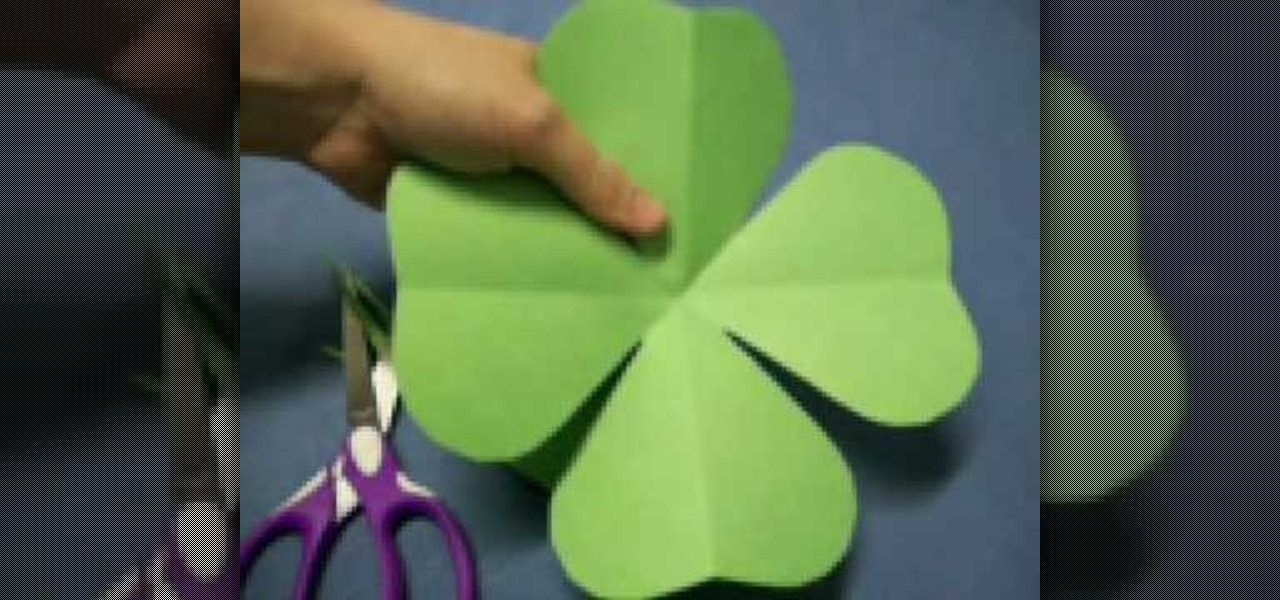
In this tutorial, we learn how to make a four leaf clover pattern. First, fold your paper in half, then fold it in half in the other direction. Next, fold the edges making a point and then cut a half an inch along the edge, making a cone shape. end the shape on the right side, making a heart shape. When you unfold, you will have a four leaf clover! You can use any size of paper to make this, just make sure you use green paper to keep the theme Irish. This is a great project for kids to learn ...

In this video tutorial, viewers learn how to make a carrot patch. Begin by cutting out a egg carton with 4 egg holders. Then cover it with a green felt and staple the bottom. Now poke a hole in the center of each egg cup. Then fold a green 3 inch pipe cleaner in half and add 2 orange beans into the pipe cleaner. Bend the ends down and make 3 more carrots. Finish by inserting the 4 carrots into the 4 holes in the egg carton. This video will benefit those viewers who enjoy making arts and craft...

In this tutorial, we learn how to get wavy hair in less than five minutes. First, apply silk hair serum to your entire hair, avoiding the roots. Next, take a curling iron and curl your hair from the bottom up. Only curl around 1 inch curls, or smaller if you want tight curls. If you want your hair to be shiny, flatten it with a straightening iron before you do this. Curl your entire head of hair, sectioning off sides as you go. When you are finished, your hair will be curly and sexy! Use flex...

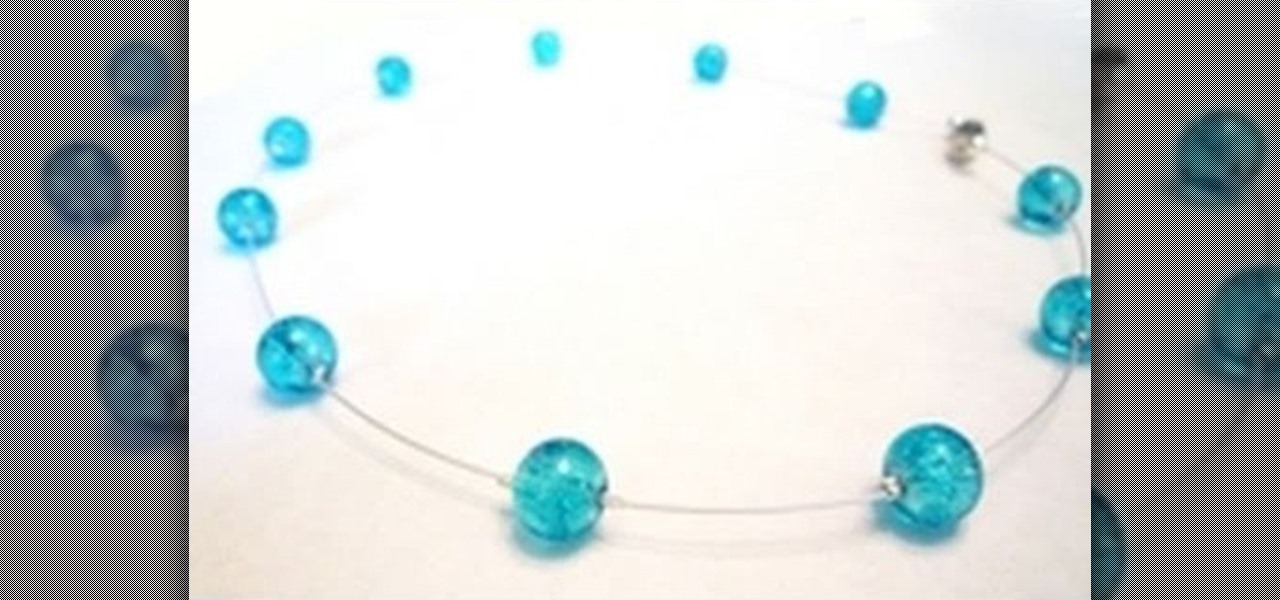
In this tutorial, we learn how to make a floating illusion style necklace. You will need: beading wire, crimping pliers, wire cutters, beads (your choice), crimp beads, crimp covers (3mm), and a clasp (barrel clasp). First, cut your beading wire to the length you want your necklace, add 3-4 extra inches. Next, space your beads out on a beading board evenly, 1 1/2" apart. Now string a crimp bead onto your wire and take the end of the wire and string it through the crimp bead on the opposite si...

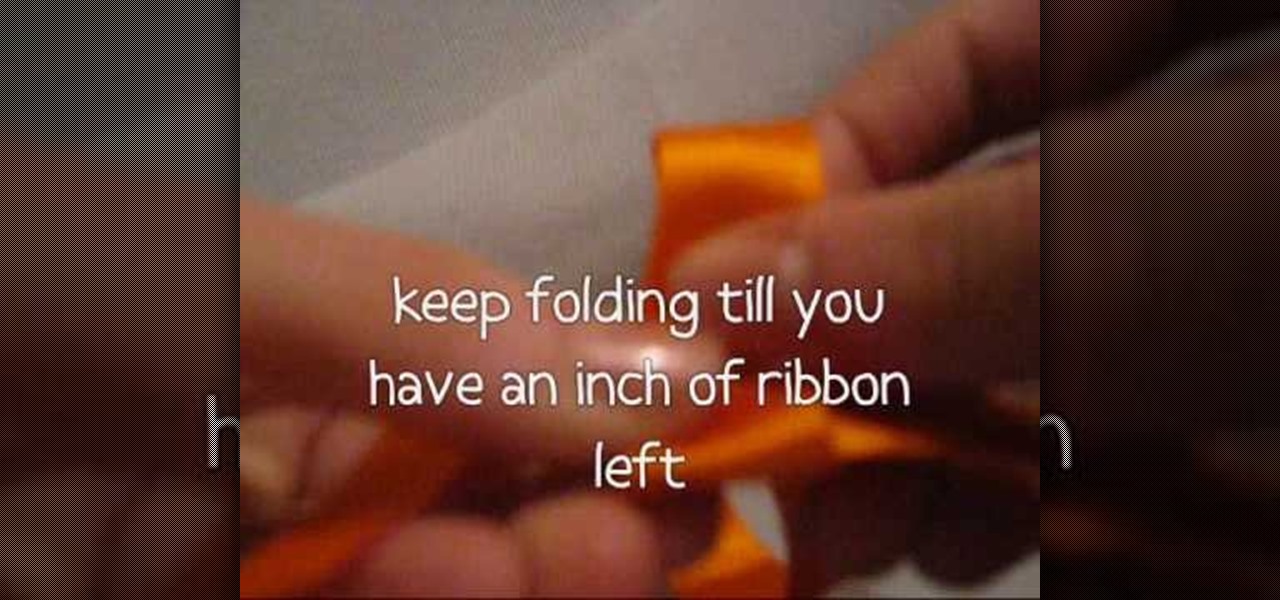
In this video tutorial, viewers learn how to make a ribbon rose. Users will need approximately 60 cm of 16 mm of satin ribbon. Begin by folding your ribbon in half and then pinch fold the end. Now fold the front half sideways and pinch it in place. Then turn it over and fold the ribbon to the opposite side. Keep folding until there is only about 1 inch of ribbon left. Users should end up with a pile of little folds. Pinch the two ends together and let go of the pile. As you pinch the ends tog...

In this tutorial, we learn how to get curls from using a hair straightener. First, prep your hair with a heat protector, which will also help smooth the hair. Next, apply a curl activator mist evenly throughout the hair. Next, section your hair from ear to ear using your fingers, then secure one side so it's out of the way. Now, take about an inch of hair in your straightener then turn it 180 degrees, then pull straight down. Keep doing this for your entire head of hair, and you should get be...


