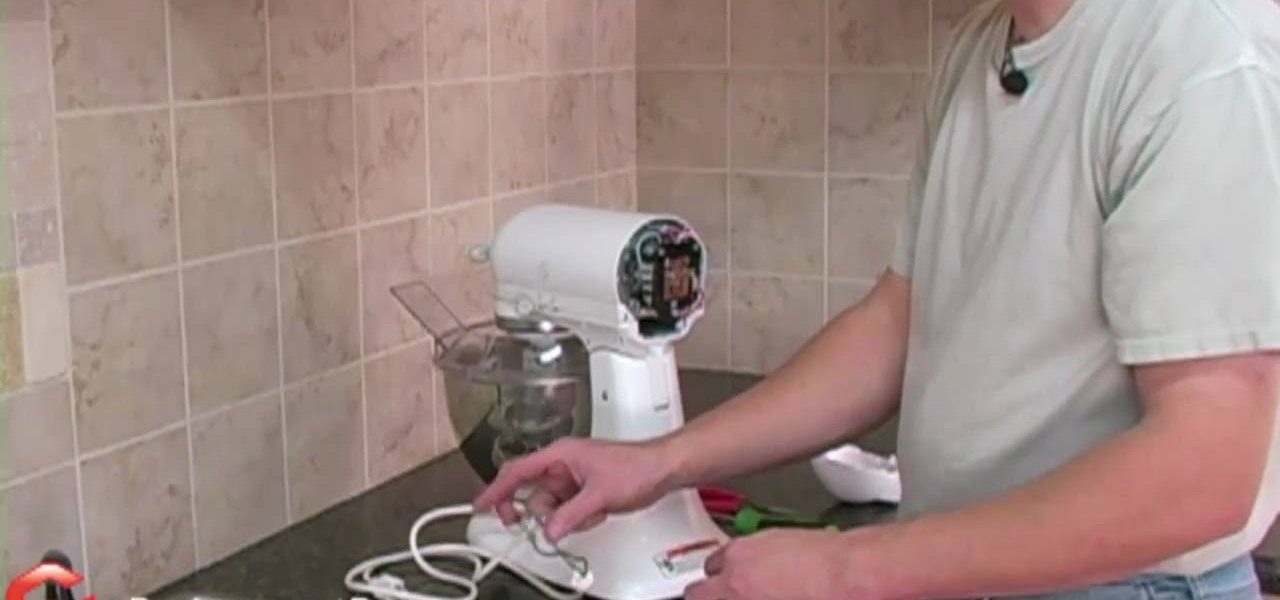
With Thanksgiving just a week away and Christmas arriving steadily, you're going to inevitably get stuck in the kitchen rolling dough, baking pies, and using a bunch of food processng gadgets.
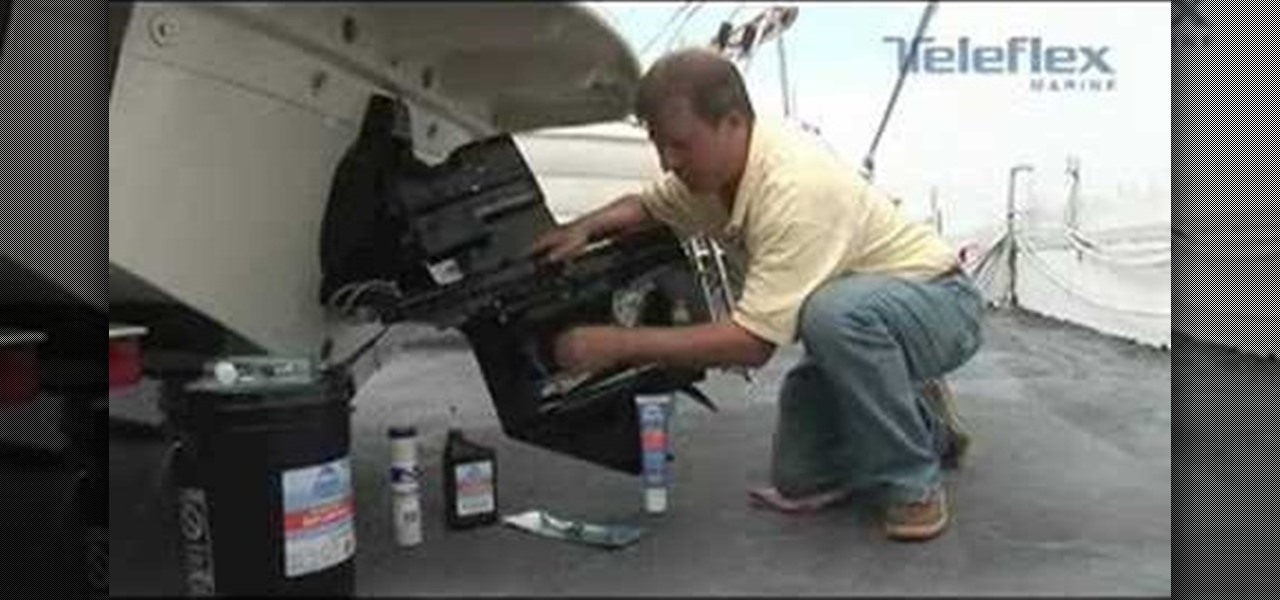
In this tutorial, we learn how to winterize the stern drive unit on your boat. By draining the oil as the last step, you must inspect for moisture. If you have no moisture, you can assume there is no water intrusion so you don't have to do any repairs. Remove the oil out of the lower unit first, making sure to keep an eye out for metal shavings and moisture. Use the proper gear lube to make sure you are draining all the areas properly. When finished, your boat will be ready to be stored and b...
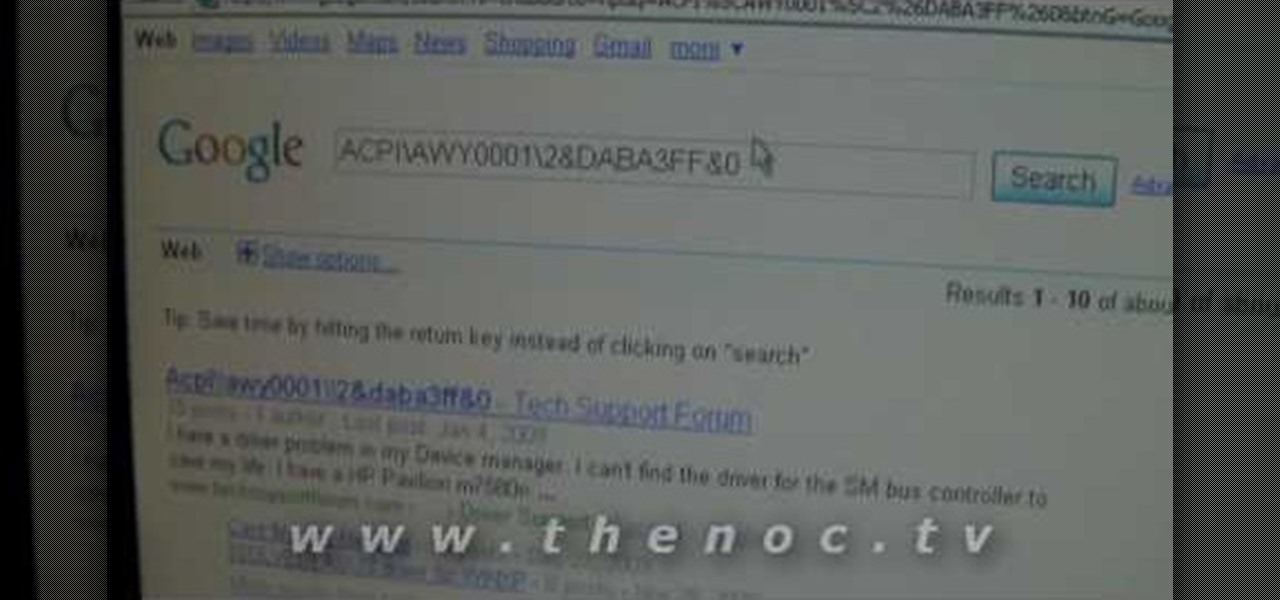
This video narrates and explains how to figure out how to install an unknown device using the device manager. The first step is to access the device manager through the control panel/system. Once in device manager you must select the show devices options. Once the device menu is visible you then find the unknown device section and copy the name of the device driver. The next step is to open Google search engine and paste the unknown device ID name. After the search is complete you will see ma...

In this video, we learn how to restore Windows 7 after it crashes. First, turn on your computer with the Windows disc inside of it. From here, click on the 'repair your computer' link on the bottom. Then, it will give you a recovery tool to choose from. To restore this to an earlier time, click on 'system restore'. Then, choose the time where you want to restore your computer to, before your computer crashed. Then, your computer will start to run through the restoration process. After this, i...
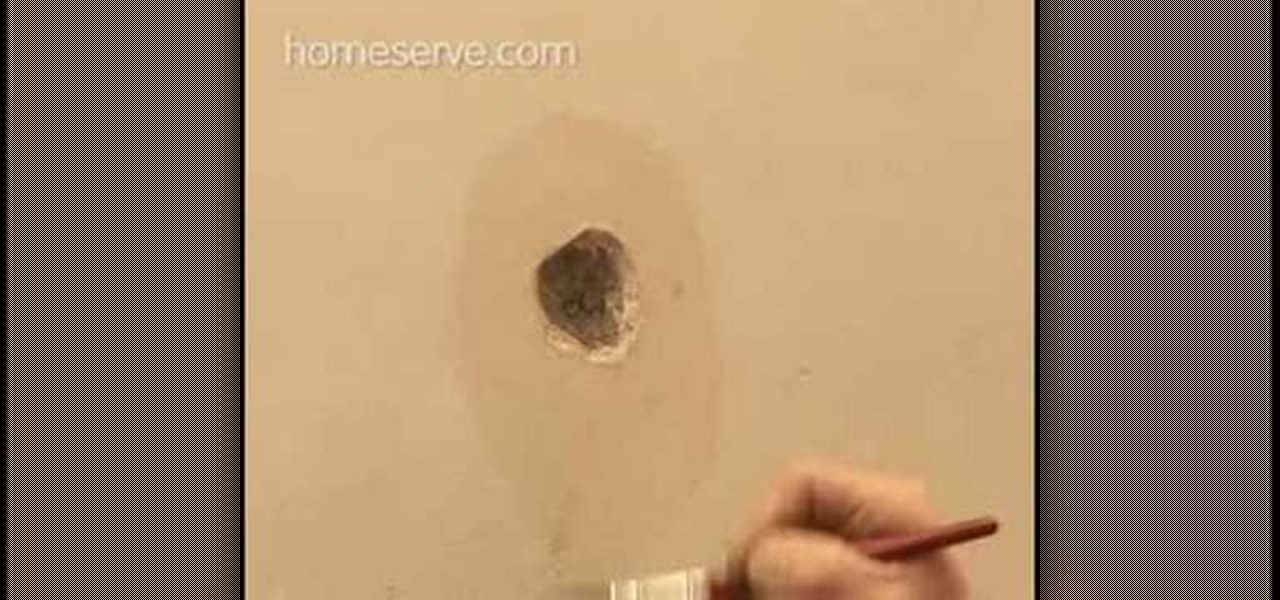
In this tutorial, we are shown how to prep your walls for wallpaper, which is very easy! Preparing your walls only takes a few minutes and makes applying the wallpaper easier and look a lot better. You will need: rags, soapy water, wallpaper stripping knife, and sandpaper to do this. First, you need to apply the soapy water to the current wallpaper and then take it off with the stripping knife. Once it's all removed, you need to repair any holes in the wall. Next, sand down the surface of the...
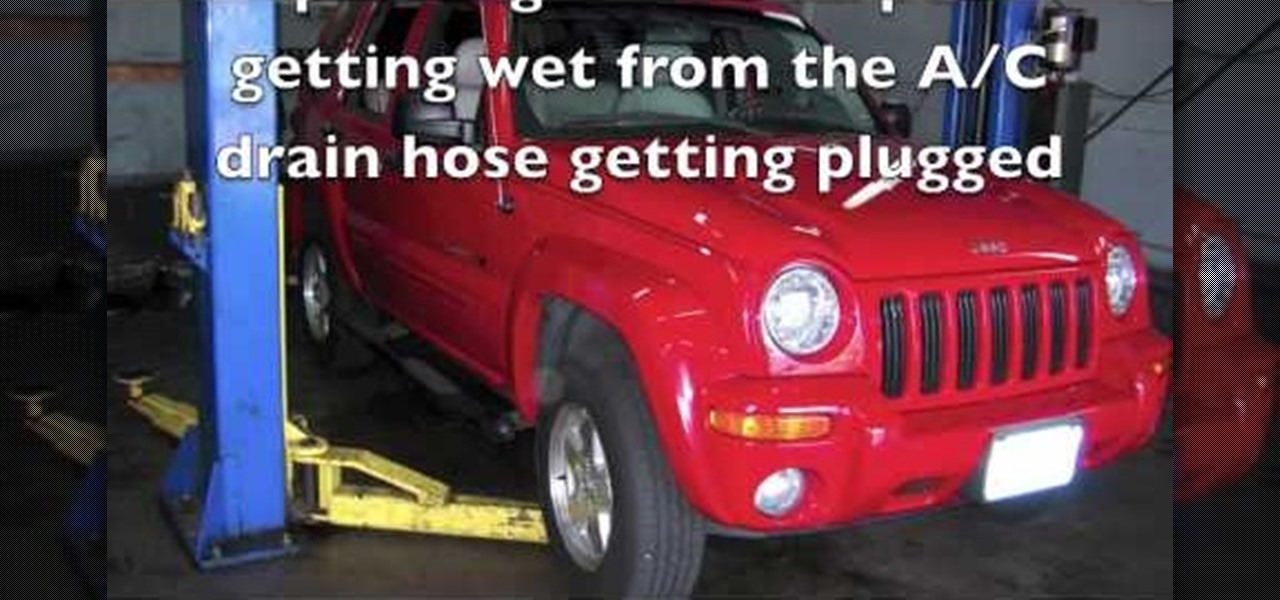
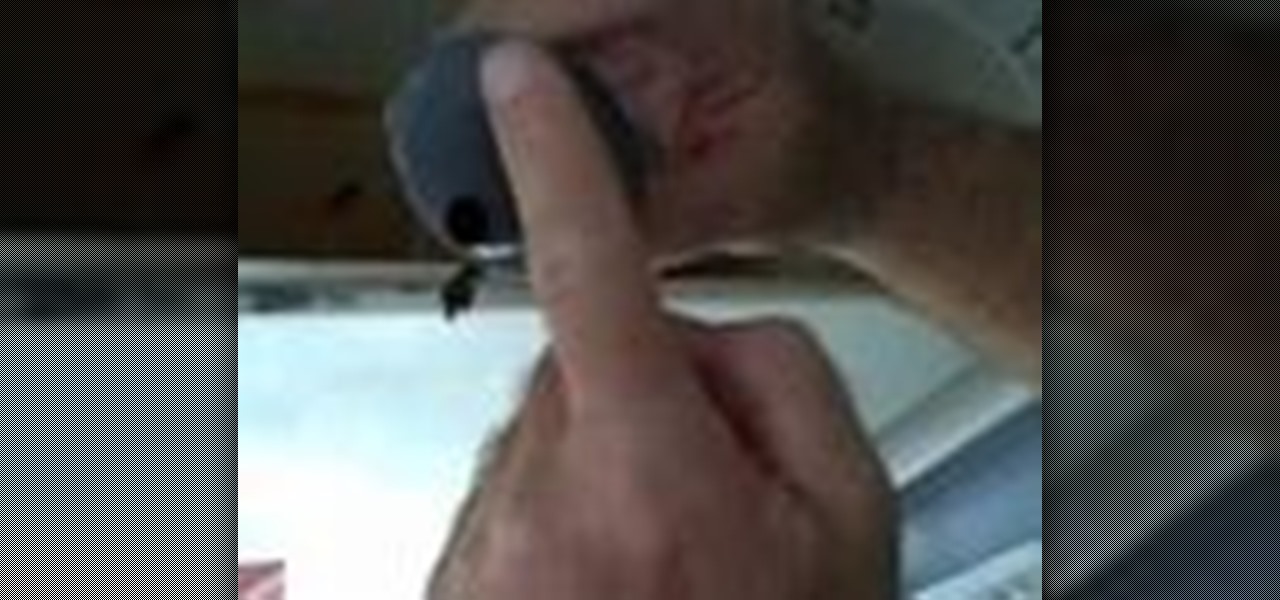
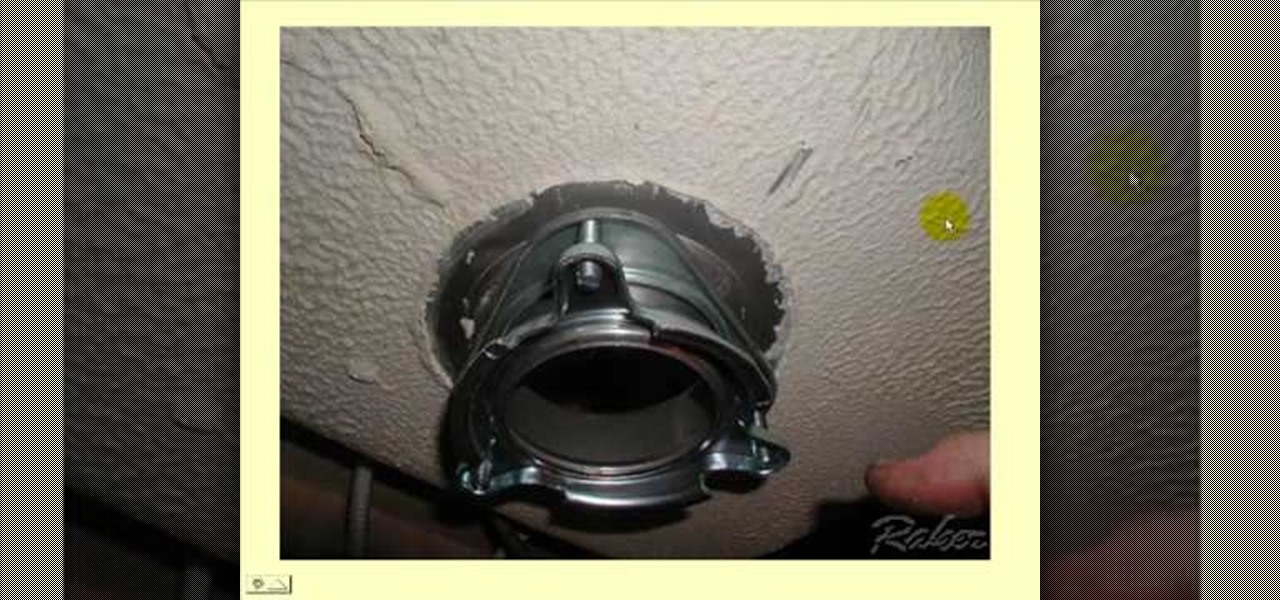
A common problem on Jeep Liberty SUVs involves the passenger side carpet getting wet because of the air conditioner drain hose being plugged, where the condensation water is supposed to drain from. The drain hose sticks out about an inch inside the engine compartment, and is relatively easy to access. All you need to do is use a wire, at least six inches, to probe into it and release and buildup. You can also blow air into the hose. Watch and learn this simple A/C repair trick.

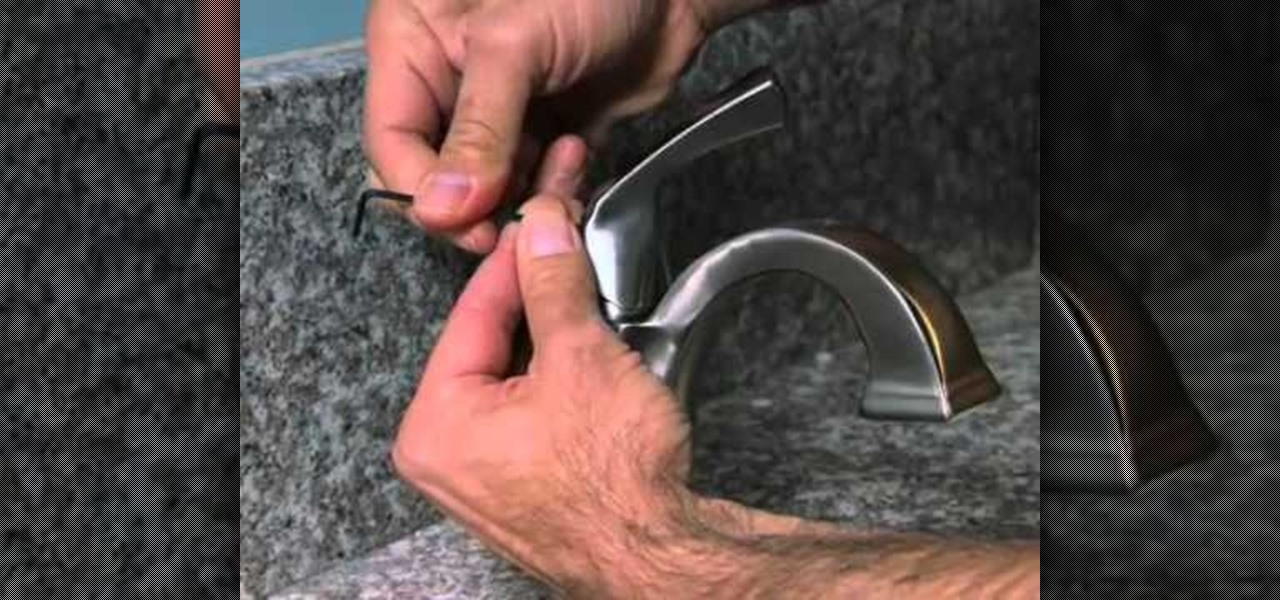
If you're faucet is making noise, it might be time to repair it. Does it make the noise when you turn it on and off? The answer could be as simple as flushing the lines. Lowe's provides this video on flushing the lines of your Delta bathroom faucet to silence the noise. You'll need a cloth, towel, 1/8" allen wrench, adjustable wrench, bucket or mixing bowl, white vinegar and an extra set of hands.
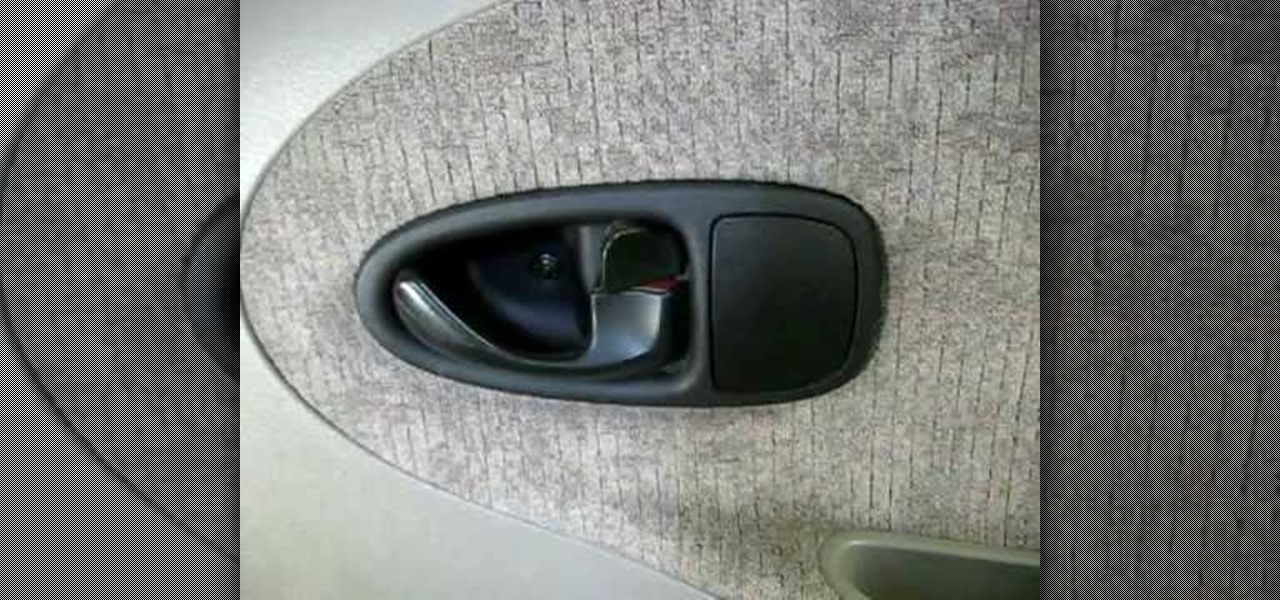
In this tutorial, we learn how to remove a rear inside door panel from a Saturn S series. First, open the door and take off the handle to the door, then remove the screw inside of that. After this, unlatch the side of the door and unscrew the bolts from this. Now, go inside the side pocket of the door and remove the screws from that, then set aside. Remove the foam padding against the inside of the door, then loosen up the wires on the inside of it. Now you will be able to remove the door and...
If you have a sunroof on your car, it's important that you regularly clean out the sunroof drains. Not doing so will result in a wet, stinky interior that can lead to a hefty repair bill.
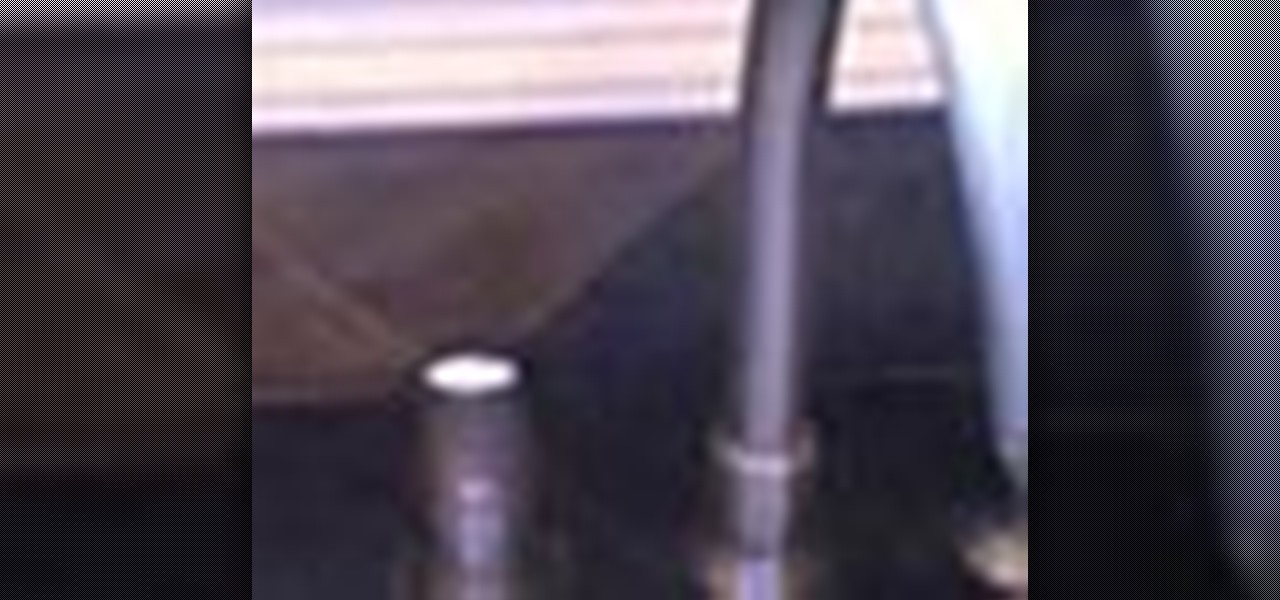
In this video, we learn how to fix a leaky faucet in the kitchen. This is for a faucet that is leaking around the handle. You will want to start off by figuring out what type of faucet you have, and get the proper parts and repair tools for it. Next, you will need to turn off the water that goes into your faucet, and then remove the hardware from the top. Once you get to the inside of the faucet head, put the replacement part in and then turn your water back on. Now, test your faucet to see i...
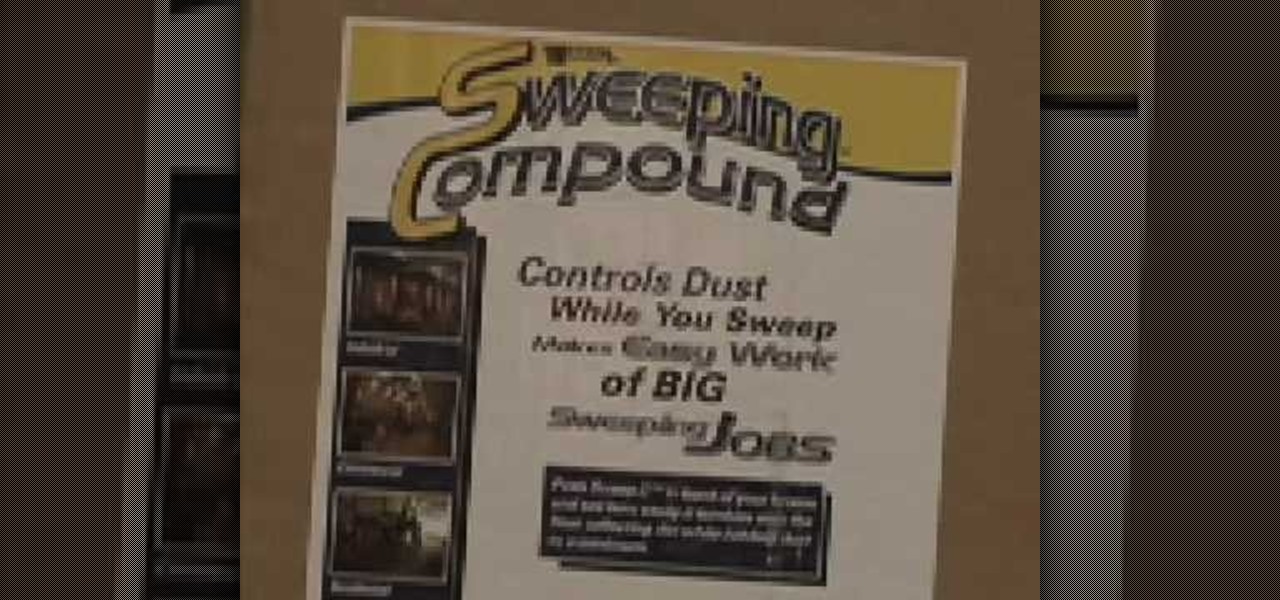
In this video, we learn how to keep dust to a minimum in your home. First, keep an eye on your furnace and make sure that when you are doing home repairs, it doesn't get onto your furnace. Also, make sure your filters throughout the home are clean or replaced very often, especially while you are doing home projects. Also, keep windows closed, especially while it's windy outside, because this can let dust enter your home easily. You should also avoid extra aggressive sweeping, because this can...
In this video tutorial, viewers learn how to remove a BMW E46 ignition/valve cover to access ignition coils. Begin by removing the center section of the factory strut braes. Then remove the 3 twist locks, take the cover off and remove the cabin air filter. Before removing the housing, users will need to remove the plastic cover that holds the positive cable. At the bottom of the cabin air filter, users will need to remove the 4 screws. Now users will be able to remove the entire cabin air hou...
If you're looking for Easter Eggs in the Xbox 360 hit, Fallout 3, this next tutorial will show you one that is quite shocking. In this video you'll be going after the electric toilet that can only be found at Hubris Comics. It's a regular toilet but is wired to 35 microfusion cells. Try to drink from it and you'll lose some health thanks to a little shock. Now if you're repair skill is high enough, you can actually disarm the toilet and take the cells with you. But first, you need to find it ...
When you own a car, it's important to know how things work and how to replace it. This not only educates you with how things work, but give you an upper-hand when it comes to repairs. This can be useful for those who are on a budget and need to save some time and money. So in this next tutorial, you'll find out how to change the headlights to a 2010 Kia Rio. It's an easy task that can take less than an hour to complete. So good luck and enjoy!
In this tutorial, learn how to fix a missing or corrupt error message "System32\Drivers\Ntfs.sys" Step 1:
From time to time, toilets can be worn out and eventually break, resulting in repairs. Now calling a handyman or plumber is fine, but why spend so much money for something that you can easily do for fraction of what they would charge you? In this tutorial, you'll find out how to fix a toilet's tank. There can be many different problems that go on in a tank, but this is one of the most common problems. So check it out and good luck!
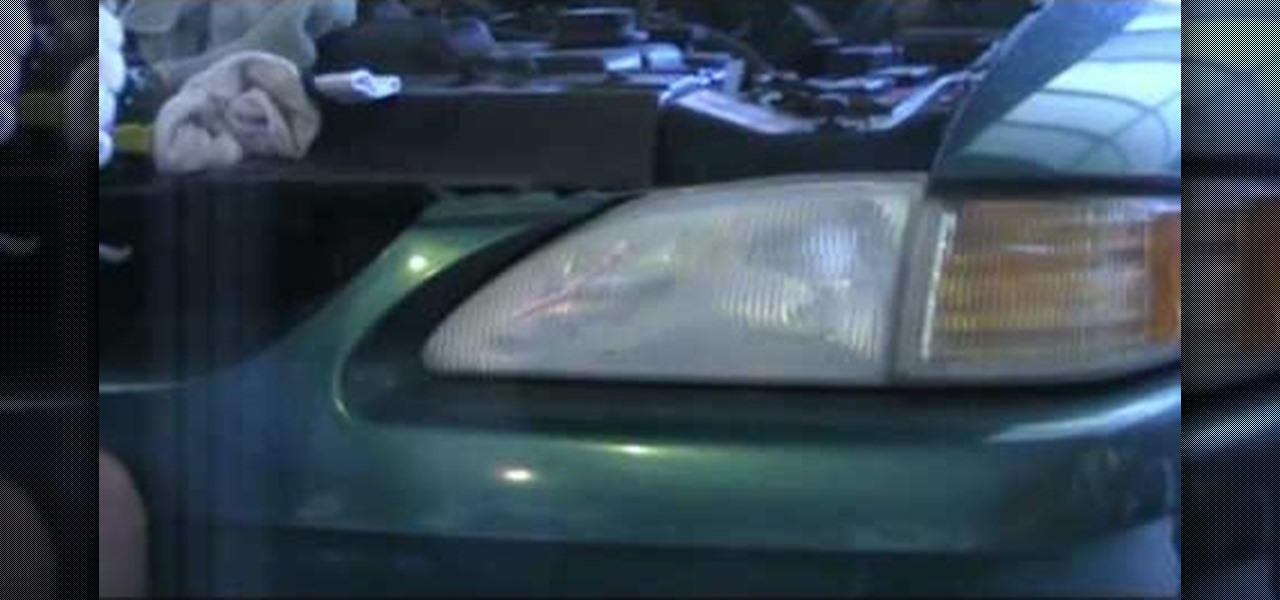
In this how to video, you will learn how to clean your plastic headlights. This is important if you cannot afford to replace the headlights of your classic or semi-classic car. Toothpaste works great as a rubbing compound to fix this. First, take a rag and rub the toothpaste into the headlights. Next, take the paste off with another rag. Use some water to aid you in this. Now, your once clouded lens will be fairly clear. You can then move on to the other side to finish the whole car. This vid...
New to Microsoft Excel? Looking for a tip? How about a tip so mind-blowingly useful as to qualify as a magic trick? You're in luck. In this MS Excel tutorial from ExcelIsFun, the 530th installment in their series of digital spreadsheet magic tricks, you'll learn how to use the OR, SEARCH and ISNUMBER functions to see if the descriptions in a data set contain a given value (in this case, "Repair" or "Rework").
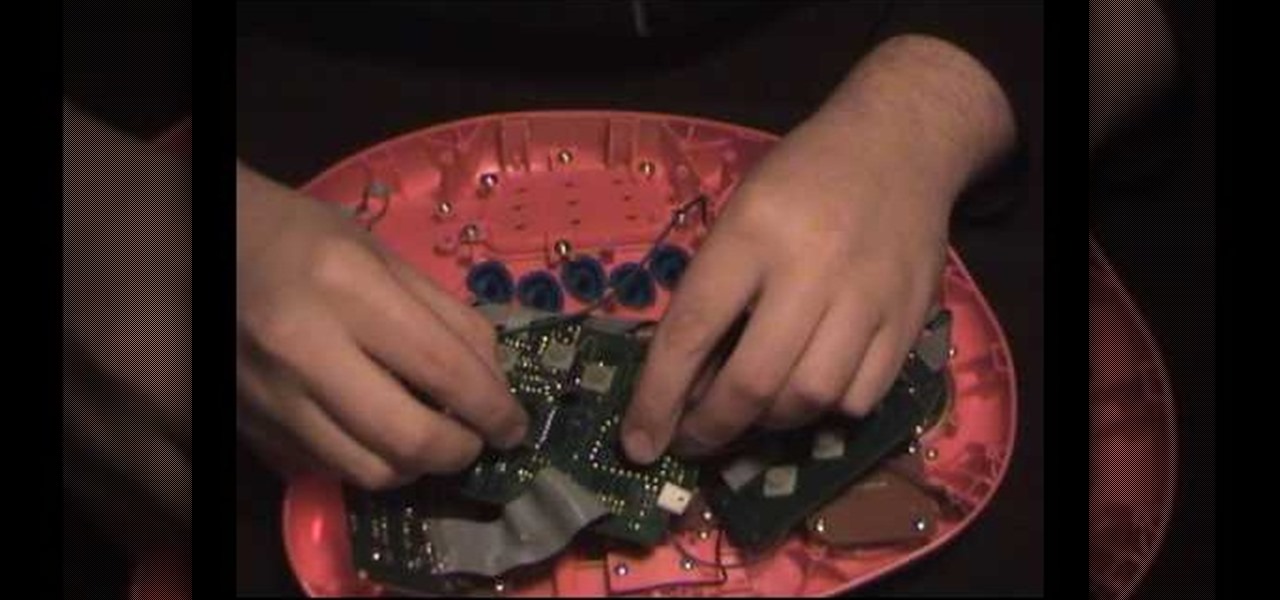
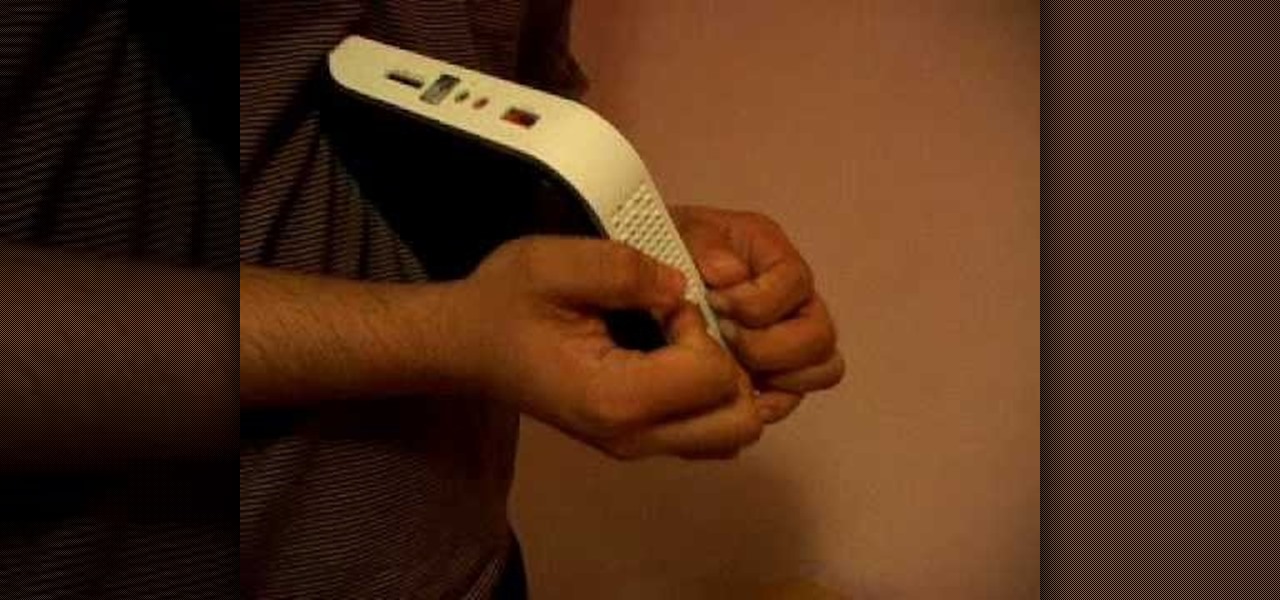
In this how-to video, you will learn how to perform basic circuit bending. You will need a screw driver, alligator clips, solder, a soldering iron, wires, a wire stripper, a button or switch, and a drill. Open up the device you want to circuit bend. Once the side of the board with the solder points is exposed, take your alligator clips and find two solder points that make an interesting noise. Be careful of areas where the battery is connected, as you might shock your self or destroy the devi...
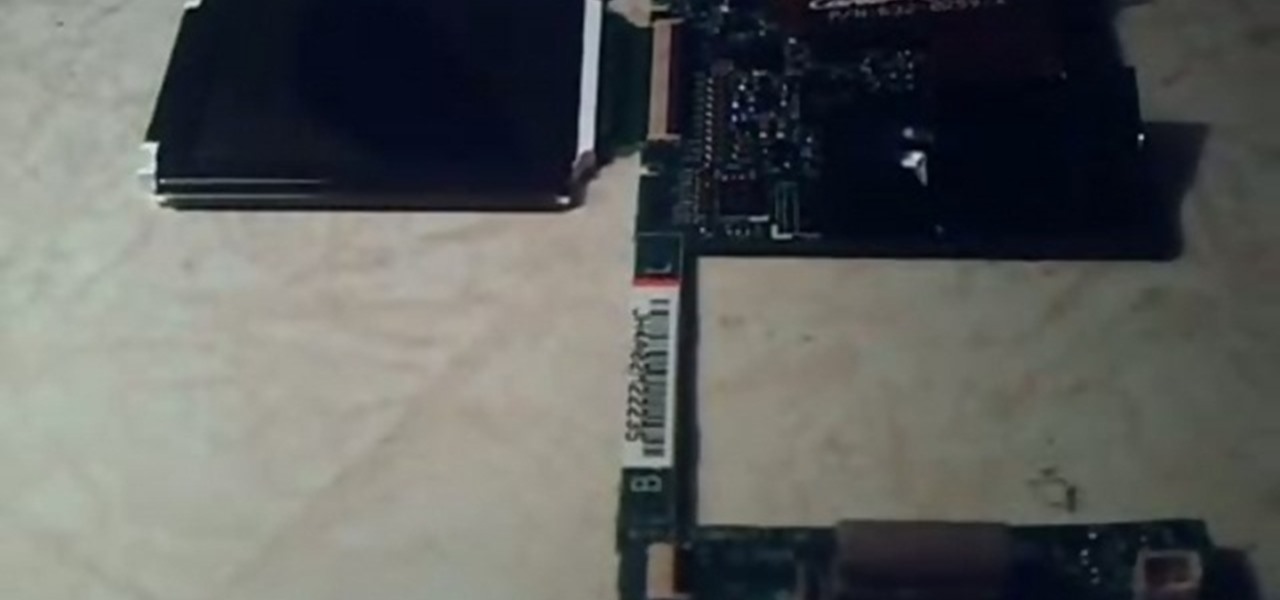
This video will help you repair your iPod classic first to fourth or fifth generation that has been damaged. Overall goal is to remove the broken, smashed, destroyed screen by removing the broken screen from the main board and replacing it with another screen. You start first by removing the screen which is connected by a short ribbon cable. To detach the ribbon cable from the main board, you have to lift up the clip away by pushing your fingernail into the pin hole. This will push the black ...
This video teaches you how to replace a LCD screen for the 5th generation iPod. The tools you will need are a soft cloth, a mini screwdriver, a plastic or metal putty knife, and of course your iPod. First, pry your iPod open with your putty knife. Place the knife in between the metal base and white case and pull the knife around the iPod, to undo the clips holding the case together. Once open, lift up the hardware, remove the headphone assembly, and take out the screws on the side. Take the e...
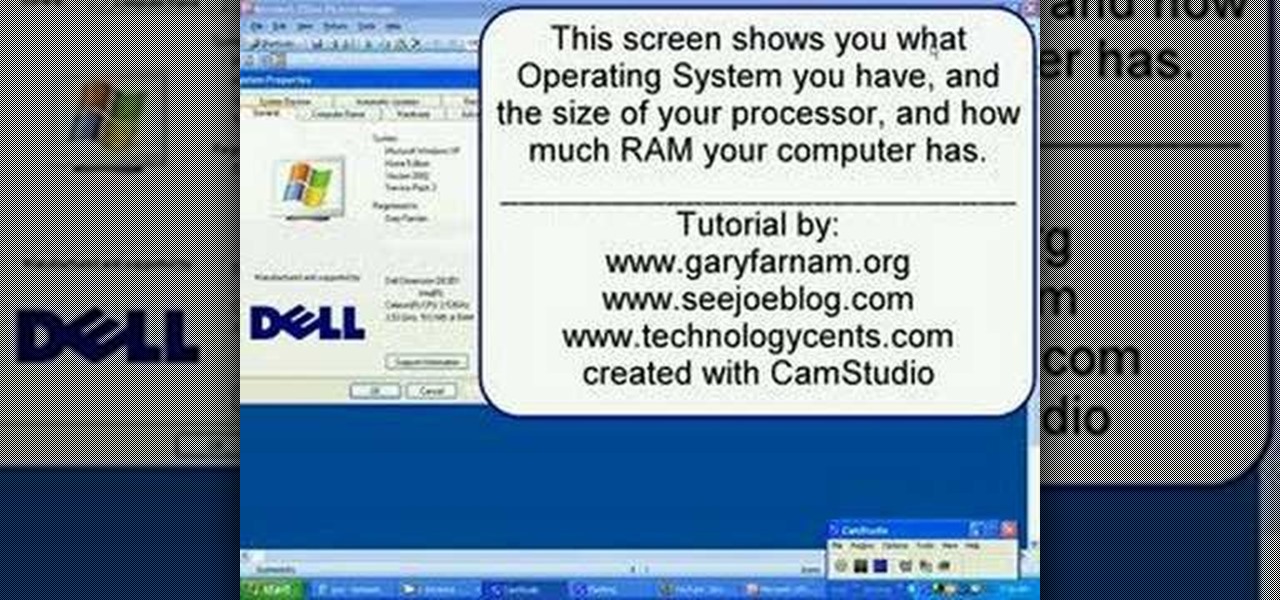
In this how-to video, you will learn how to check your personal computer's RAM, processor speed, and operating system information on Windows XP. First, go to start and select my computer. From here, click view system information to open a new window. A screen will show you the information you need, such as the type of operating system you are running, the size and speed of the processor, and the amount of ram you have. Click okay to exit this window. This will be helpful for doing upgrades or...
In this video tutorial, viewers learn how to remove the fan assembly from a G5 i-Mac computer. This process is very fast, simple and easy to do. Begin by laying the i-Mac screen face down and remove the screws on the back cover. Then remove the back cover of the screen. There are 3 fans inside the i-Mac. These fans are not supported by any screws. Just simply lift up each fan to remove it. This video will benefit those viewers who have an i-Mac computer and would like to learn how to remove t...
In this tutorial, learn how to get the best play out of your guitar by performing routine maintenance.
In this how-to video, you will learn how to disassemble an Acer Aspire Revo. First, unscrew the screw on the side of the laptop. From here, you must pull the top cover with the logo apart. This will be tough, but eventually it will be come off. A prying tool may be useful for this task. Now you will have access to the hard drive, RAM, CPU fan, processor, and wireless card. Now you are ready to perform any upgrades or repairs on your Acer Aspire. This video shows you the essential steps in ord...
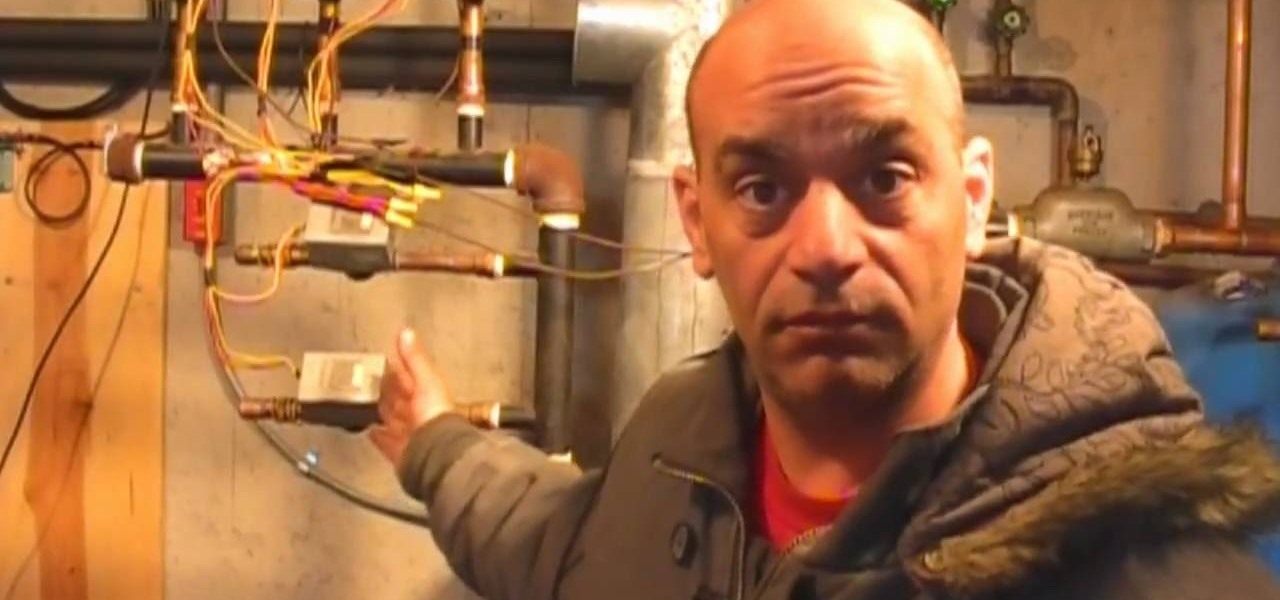
If you hear a lot of banging coming from your boiler or heating system, you may need to perform a little repair. The banging could be the result of not enough water in your system, but it could also mean there is too much air in your expansion tank. And expansion tank is attached to your boiler and helps regulate the air to water ratio for optimum performance. If the air in your expansion tank expands too much, you may need to release some of the air in order to use your tanks properly and st...
In this how-to video, you will learn how to quickly make a Windows 7 boot disk. This is essential for making backups or booting from something other than the operating system on your hard drive. First, go to the control panel and click the back up your computer option under system and security. Next, go to the left and click create a system repair disk. Put a blank DVD in to the optical drive. Select your drive and press create disk. This video shows just how quick and easy it is to make a bo...
Macherie has an excellent method for conditioning hair. No matter what texture, deep conditioning is essential for healthy hair. Shampoo with hydrating/detangling shampoo. When drying focus on removing the excess moisture from your hair. Conditioner works best and penetrates hair that's not sopping wet. Using her fingers, she separates her hair, as she doesn't use a comb when its in this fragile state. Use approximately a quarter size amount of conditioner starting from the roots to the end. ...
You might not be alone in having issues running Windows Vista, but you can be alone in knowing how to fix your problems without expensive repair services. With this tutorial, learn exactly how to unlock the hidden administrator account and gain more access to your own computer.
Harry shows ways to fix common garbage disposal problems. First he shows if it hums use a crowbar to break free what is stuck. If you flip the switch and nothing happens it may be the red reset button on the bottom has popped out. He enplanes it may even be a bad wall switch or a bad breaker. He then shows you how to replace the disposal if that is what needs to be done. He shows you what to do if your new pipe is too short, how to properly wire your new one, and how to hook the drain for you...
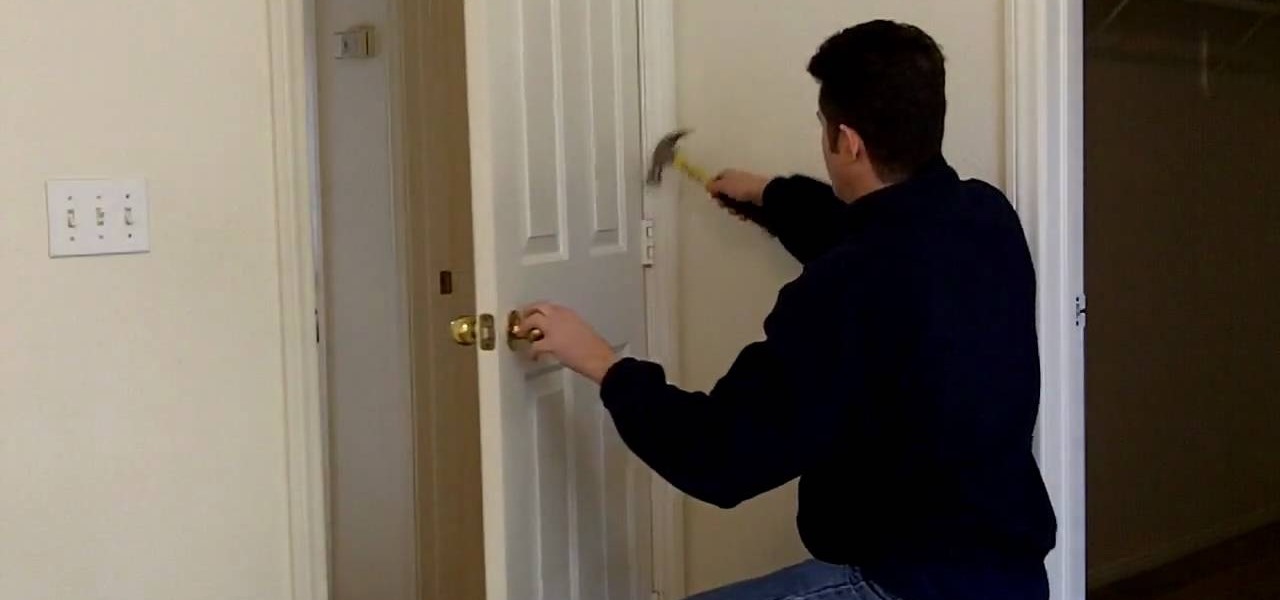
This video is about fixing self-closing doors. Doors close by themselves when they're not hung plumb, and gravity closes the door. The solution is to remove the hinge-pins and to roughen the bottom of the hinge-pins to create friction, keeping the door open. One removes the hinge-pin with a hammer and small screwdriver. Tap the bottom of the hinge-pin against a cinder block or rough, hard surface. If using this "friction-ized" hinge-pin does not solve your problem, try repeating this process ...
This video shows the viewer how to rejuvenate damaged hair with a few simple techniques. The first stage is to not let the hair get damaged in the first place. One of the most common causes of damaged hair is excess use of heat on the hair – either through a blow drier, straightening iron or a curling iron. Another cause of damaged hair is allowing the hair to become matted. This can be sorted out by simply combing the hair. If the hair has become damaged the recommended approach is to get it...
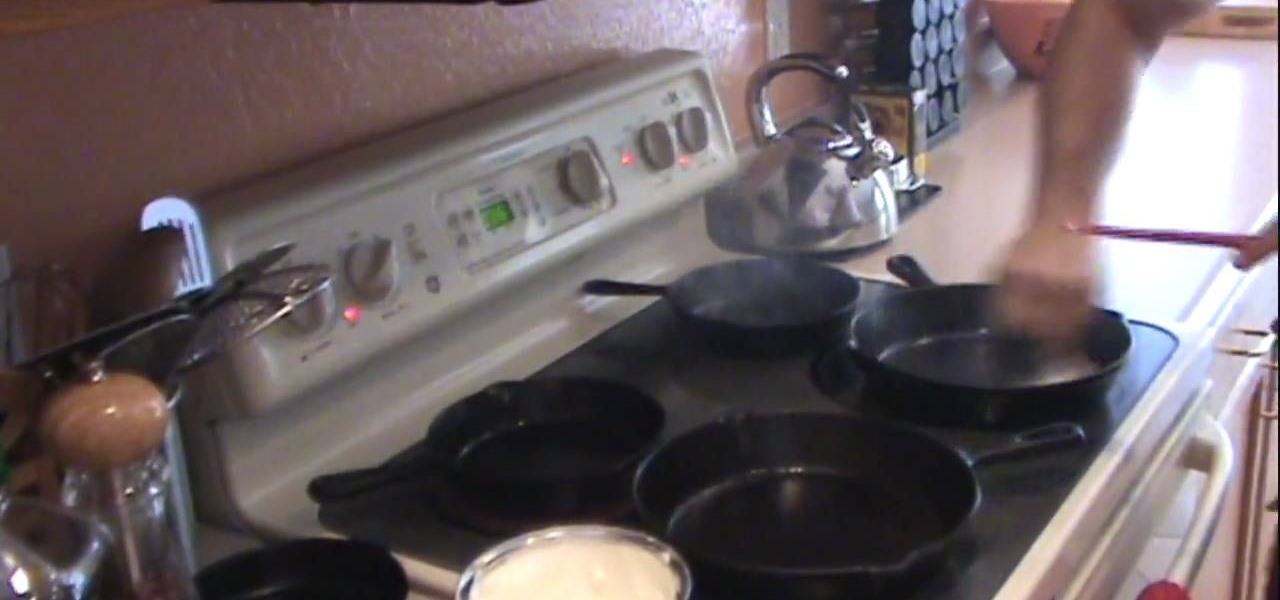
For this to work, you will need to take your pan through a process of heating and cooling. You put it on the stove, start the heat and apply a thin layer of fat on it, with a napkin or brush. This will open up the pours of the pan. As the fat becomes to burn and the pan heats even more, place it on a lower setting on another part of the stove and continue to apply fat. This process repairs the pan, as it pushes the rust away from the pores, so you will have a stronger pan in the end. This wil...
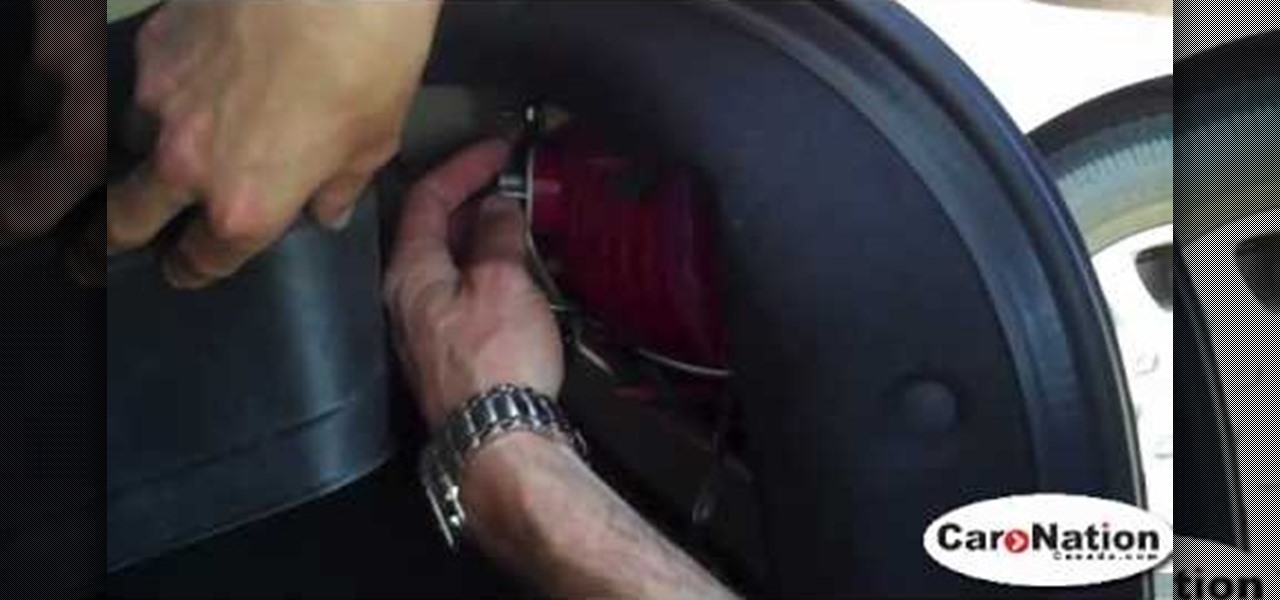
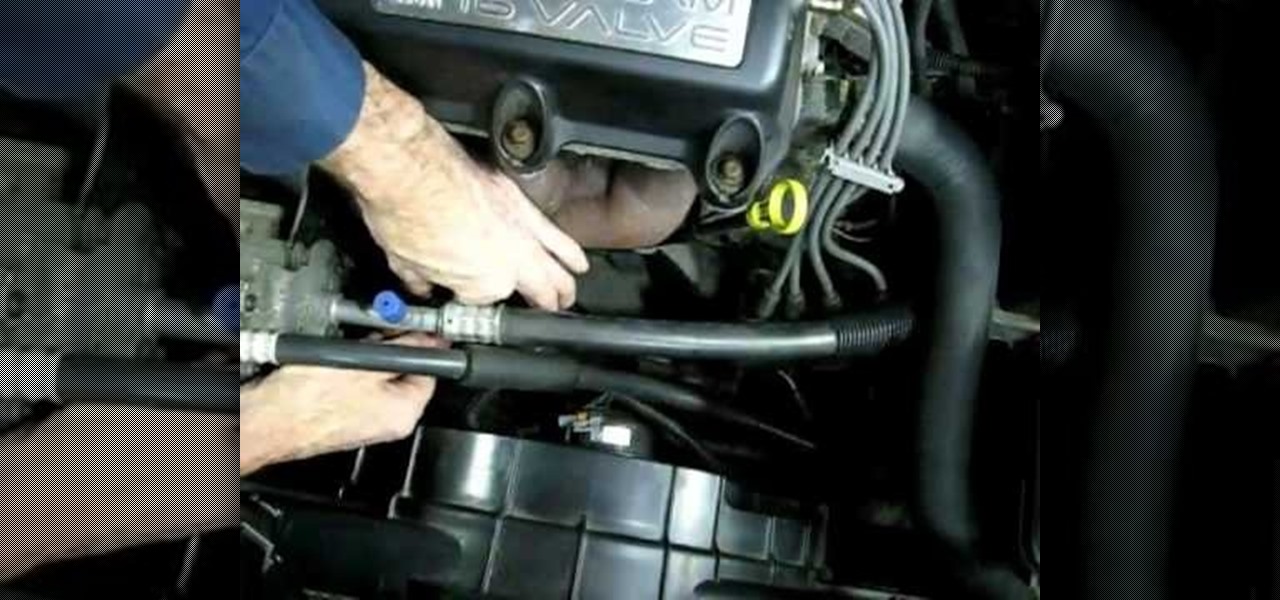
Richpin's Auto Repair takes you through the steps of replacing the front oxygen sensor on a Saturn s-series vehicle. To begin replacing this sensor, you are shown how to remove the resonator box. Once the resonator box is removed you'll be shown a quick tip on how to make the removal of the oxygen sensor a little easier using PB Blaster spray. Next you'll be shown how to remove the electrical connector to the sensor and be given a suggestion on which tools are necessary to remove the sensor f...
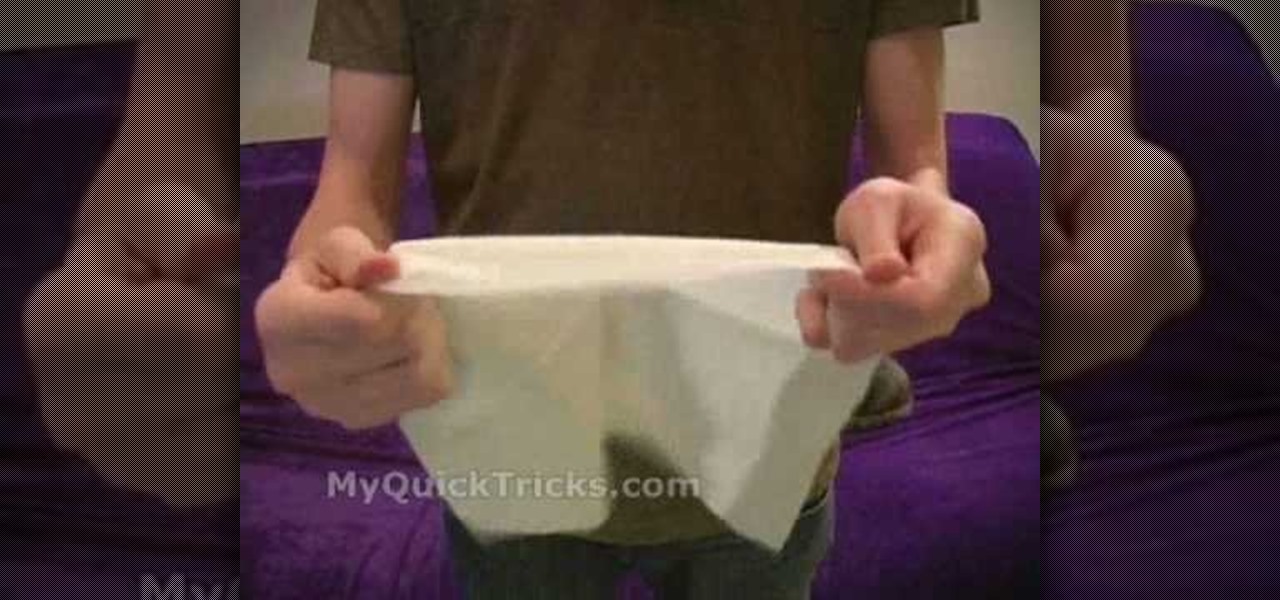
This is a video tutorial on how to perform the torn and restored trick. The effect is that a napkin is torn into several pieces and magically restored to the state it was before. To perform the trick, you need not one, but two napkins and a pen or a straw. Keep the pen in your back pocket. Keep one napkin hidden in your hand in the shape of a ball. While tearing up the other napkin, be careful not to flash the napkin ball in your hand. After you tear up the napkin, roll it into a ball and put...
This is a step-by-step video tutorial on how to keep up your guitar maintenance by tightening your cable input jack, a very simple but extremely important maintenance routine for your guitar. If you let the cable input jack loosen, it could end up costing you quite a bit for repair. First, you are going to need a 1/2" socket and a Phillips head screwdriver. You will need to unscrew the cable input jack. Next, use the 1/2" socket to tighten the nut on your input jack. Then screw the cable inpu...
Elizabeth Chamberlain with Space Lift demonstrates how to stop overspending with feng shui at home. Feng shui is a great way to stop overspending and start saving. First, find your focus room by looking at your energy map. Lay your energy map over your home floor plan. The wealth area is in the far left hand corner of your home from the front door facing in. If your bathroom is in your wealth area, stop draining energy. Keep the toilet seat down. Plug any tubs or showers. Also, immediately re...
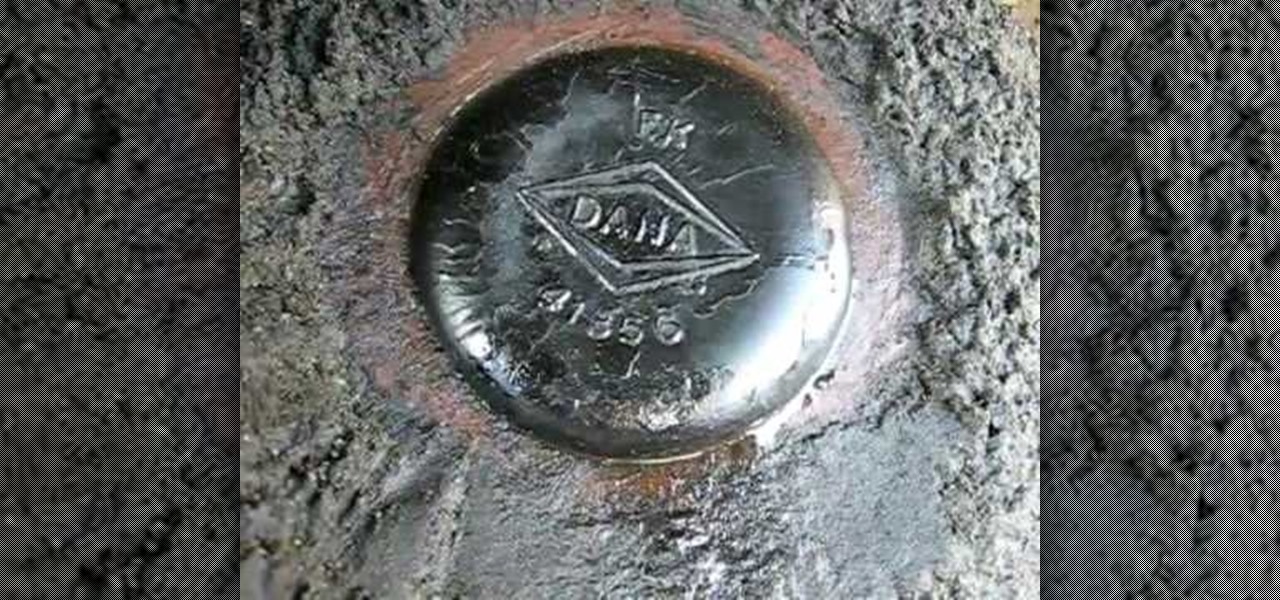
Richpin's Auto Repair shows you how to properly identify the rear axle of a Jeep Grand Cherokee. This information will allow you to obtain the correct information for replacing this specific automobile part. The video will show you where you need to look beneath the vehicle to find out which style of rear axle your Jeep Grand Cherokee has. You'll be shown where to clean the dirt off of a specific area of the axle to obtain this important information. In this particular case, the rear end axle...
Got holes in your shoes? Don't throw them away. Learn from one wise skater how to fix them up and get back on your feet. Get your hands on some Shoe Goo, which can be purchased at any sporting goods store. Grab a tissue or napkin and use it to plug the hole in your shoe. This will act as the base upon which you'll place the Shoe Goo. Once it's in place, coat the hole completely with Shoe Goo. Use gloves if you prefer, but it washes off your hands easily. Cover the torn area sufficiently that ...
Ever find yourself short on material and that one board you really need has a nice open knot in it? You could always go out and buy more material, but sometimes its just easier and faster to stabilize and repair the knot. And instead of trying to hide the knot, sometimes it's just better to embrace it and make it look look resinous and natural. And that's the goal here. Our guide uses an epoxy/dye mixture to create a stable and decorative knot. With a little elbow grease, and this video from ...